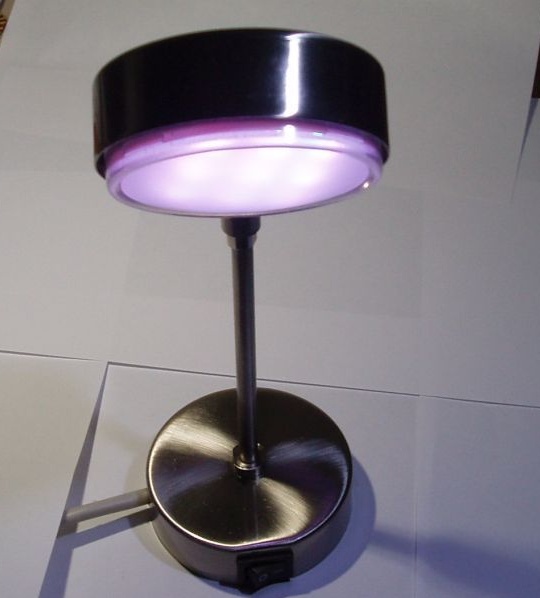
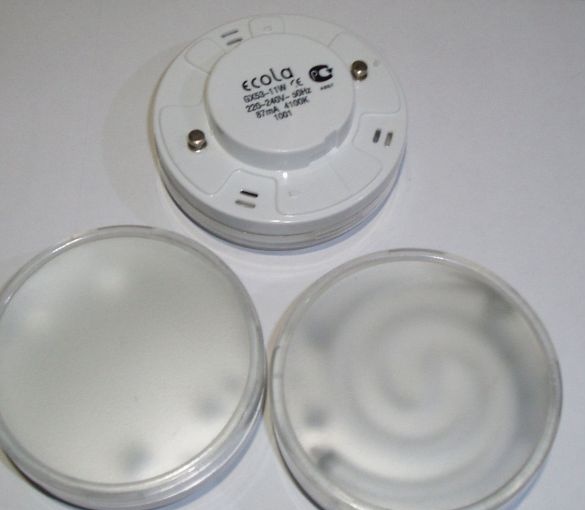
A few years ago, on occasion, I bought a lamp - a sconce with a compact fluorescent lamp ECOLA GX53 - 9W. It really hurt the look and shape I liked. For some time he worked properly, but ... less than six months later, CFL burned out. Changed. After a couple of months, it burned down again. The third lamp that I changed in a year in this lamp fluttered a blue flame so that the glass cracked already. It became clear that we need to move to another economical and durable light source - an LED lamp.
What is needed for that:
1. Burnt Compact Fluorescent Lamp
2. Housing from a suitable luminaire, for example, ECOLA FS5351
3. Three pieces of 1W LED RGB tape ()
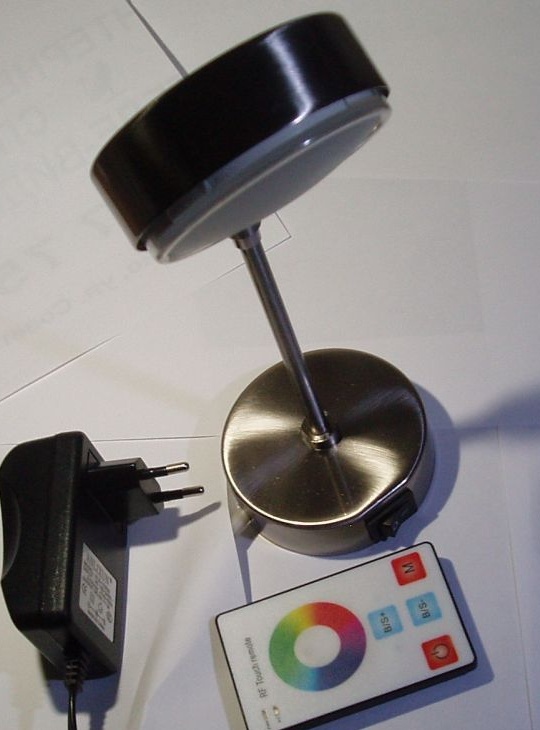
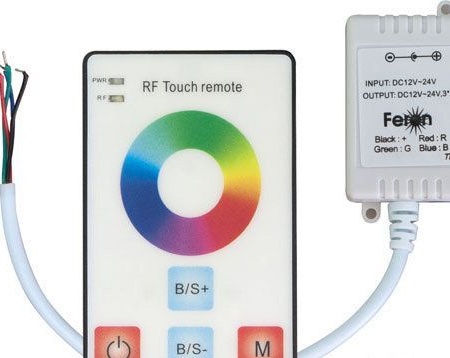
4. The controller from the RGB tape with the remote control. ()
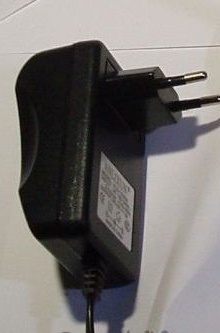
5. Network adapter for 12V 500 mA
6. Soldering iron, wires, thermal gun
As it turned out, LED lamps with such a cartridge and housing GX53 - 9W also do. Here are just the prices they have - comparable to the price of the lamp itself. And then I decided to just disassemble the lamp and insert an inexpensive LED strip into it. And at the same time, to diversify its glow with various colors and effects using the controller of the LED RGB tape.
Take a burnt fluorescent lamp. Fortunately, I now have a lot of them ...
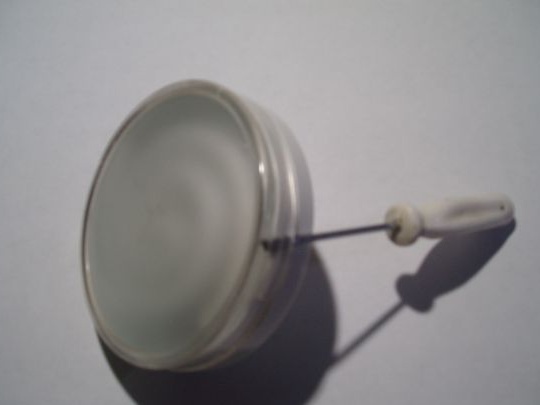
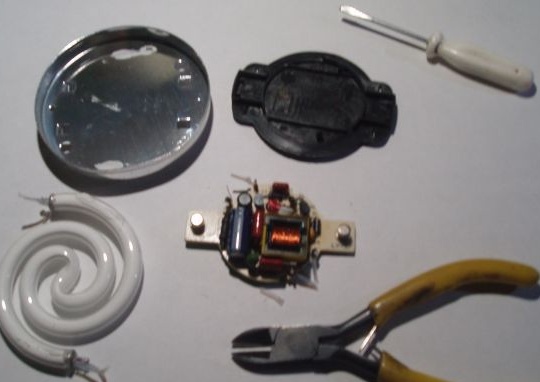
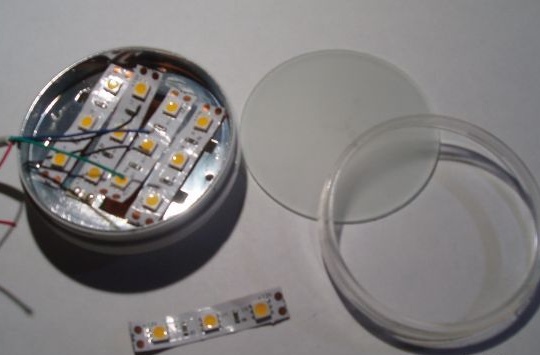
Although it seems airtight, it is easily disassembled with a thin screwdriver. Carefully bite off the wiring from the discharge tube and carefully remove it. In no case do not break it, it contains poisonous vapors of mercury. A burned-out board with a mount is also unnecessary for us. We leave only a brilliant reflector. We insert it back into the lamp housing. We take the LED strip and cut from it pieces of 3 diodes, which we put on the reflector and solder successively with wire segments. Then we bring the wires out and insert our “modernized” lamp back into the lamp, fixing it with hot glue.
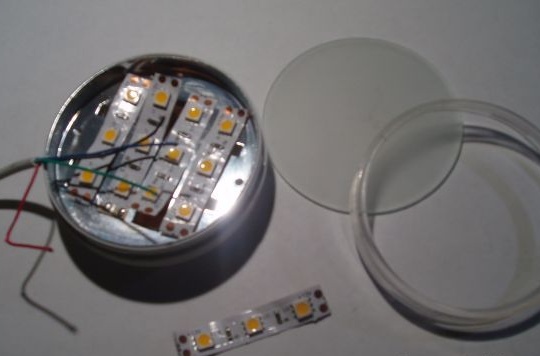
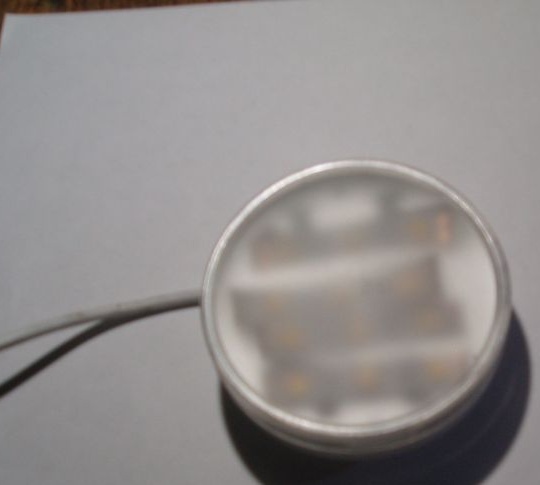
It is clear that we pull the old wire out of the tube, and instead we stretch a new bundle of multi-colored wires into the base of the lamp. In the same place, at the base we install the RGB controller board, and solder the wires to it in colors. The controller itself is powered from a small network adapter remaining from the old cordless telephone with 12V, 500 mA. In addition to the control board, we fasten two ... lead sinkers from the bottom fishing rod to the lamp base with a hot glue, so that the lamp is stable. In conclusion, close the bottom with a plastic cover and fix it with hot glue.
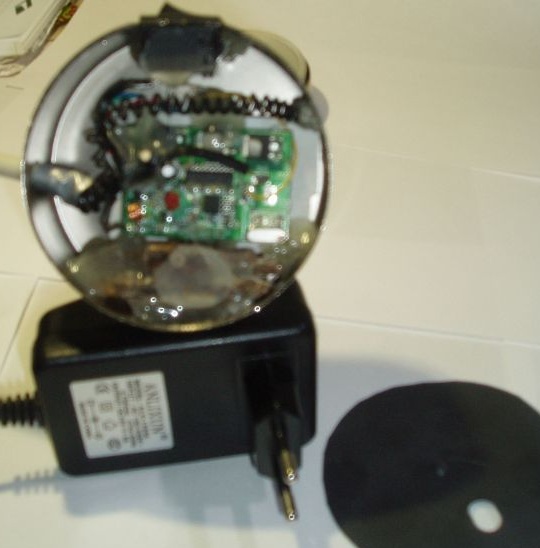
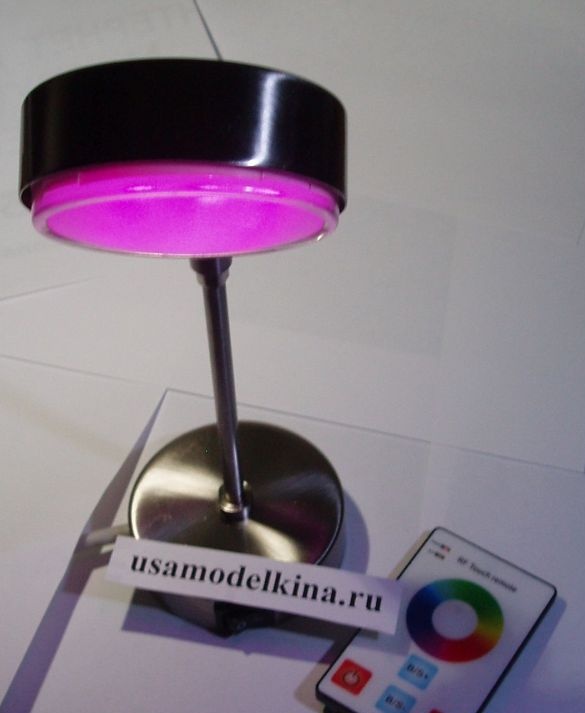
Children really like the lamp, especially when one color in another slowly changes with overflows.
