
All of you perfectly know how little kittens, and some adult cats, love various active games. But over time, ordinary “mice” and other classic cat-like entertainments bother them.
In this article, the author of The Q channel YouTube will tell you how to make a mechanical game for cats.

This game is a popular game was invented by the Japanese in the mid 70s of the last century. Of course, it was designed for children, but the author modified it a little, and adapted it for cats. It’s called “Whac-a-mole,” or “slam a mole.”
This homemade product is simple enough to make inhome conditions without the use of sophisticated tools.
Materials
- Corrugated cardboard, thick fabric
- Aluminum wire
- Pine round timber
- PVC pipe
- Balls for table tennis
- Kapron twine
- Steel stud, nuts M4 - M8
Instruments, used by the author.
— Glue gun
— Bulgariancutting disc
- Vise, hacksaw
- Pliers, nippers, knife
- Ruler, pencil, scissors.
Manufacturing process.
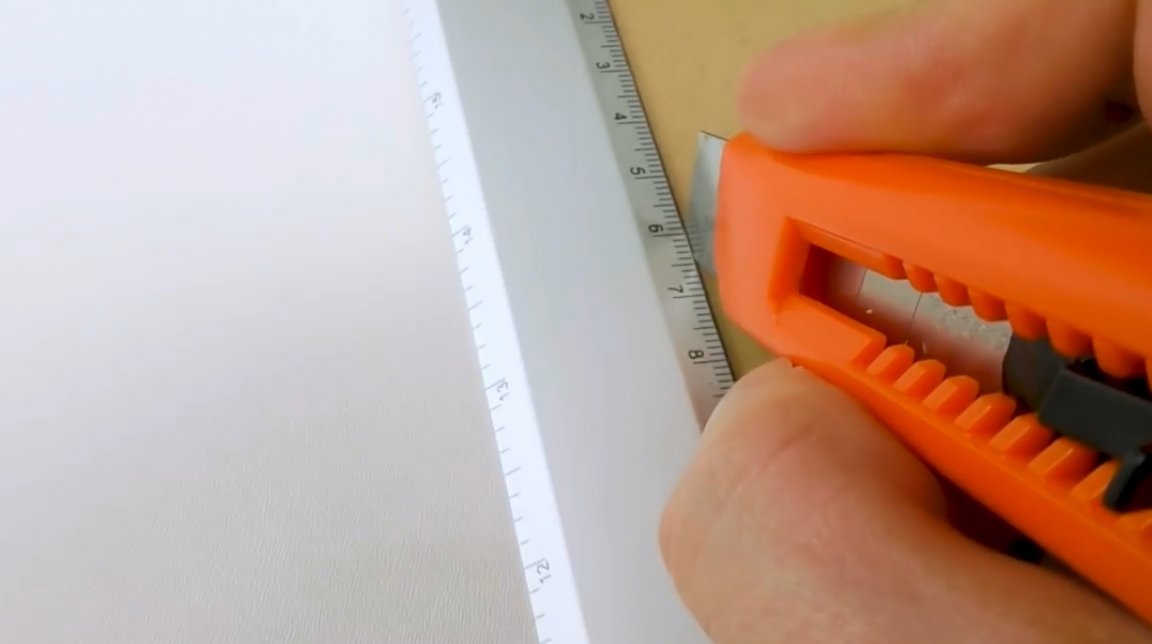
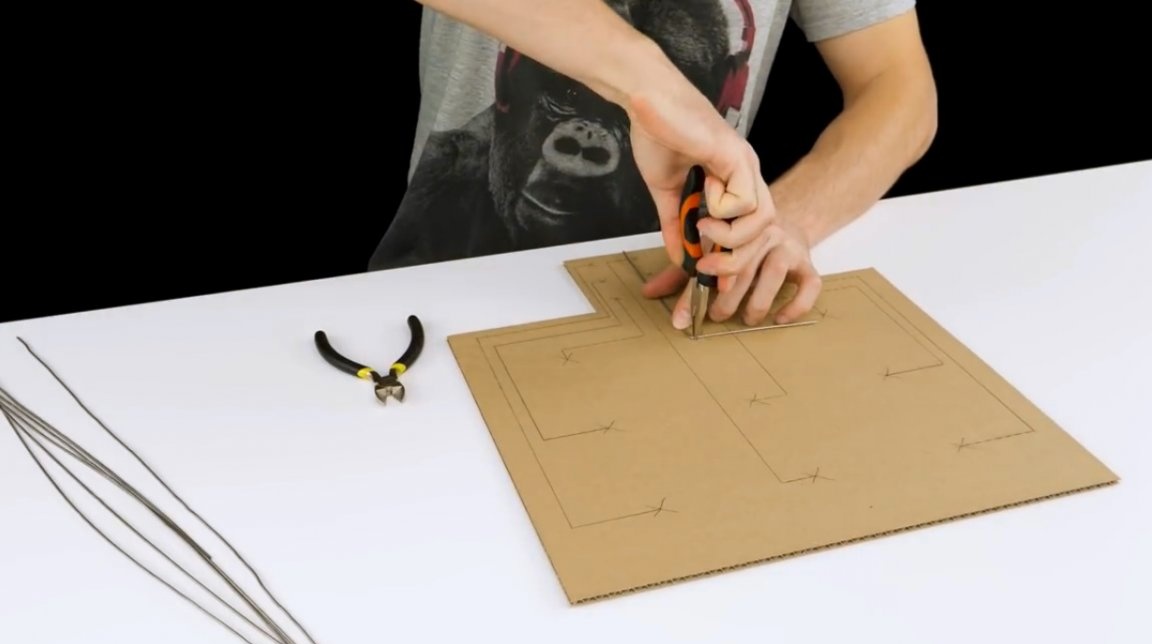
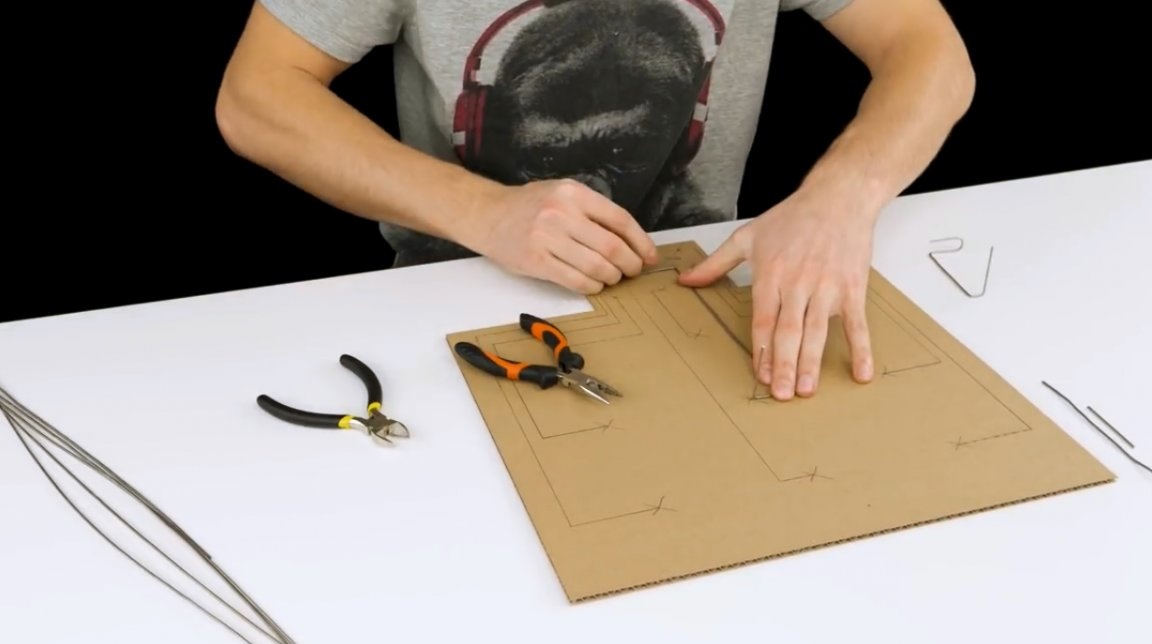
First of all, for the base of the case, you need corrugated cardboard 40X40 cm in size. On it, you need to mark the future centers for nine keys, and the location of the figures. Then the contours of the base are marked, and it is cut with a sharp knife under the ruler. When cutting on a table, be sure to place something under the workpiece so as not to scratch the surface.
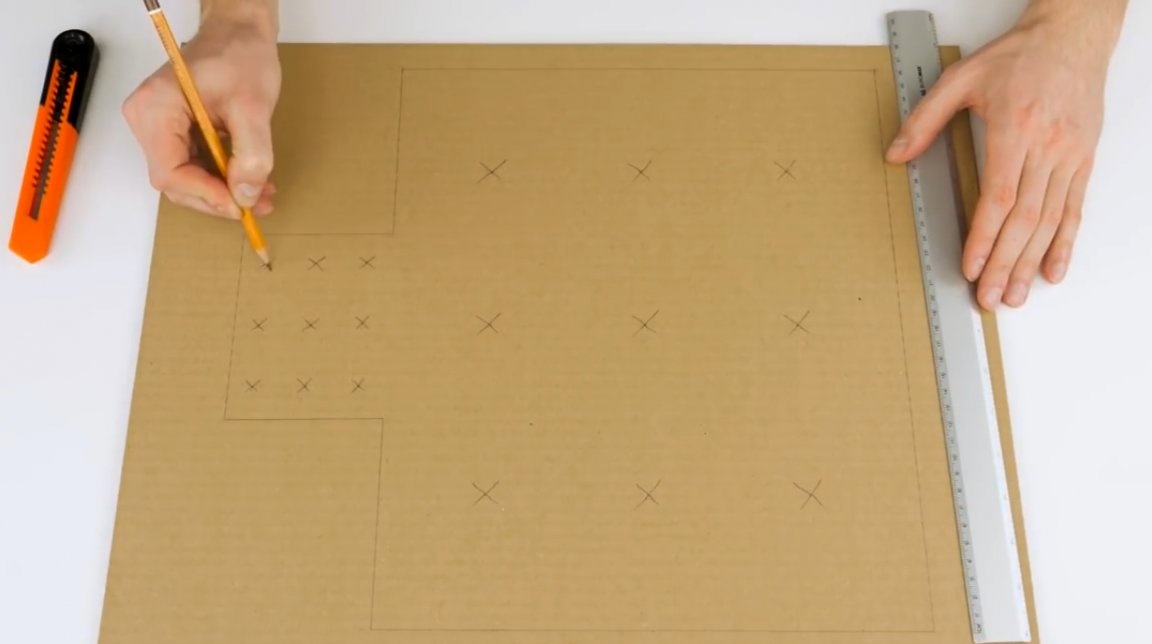
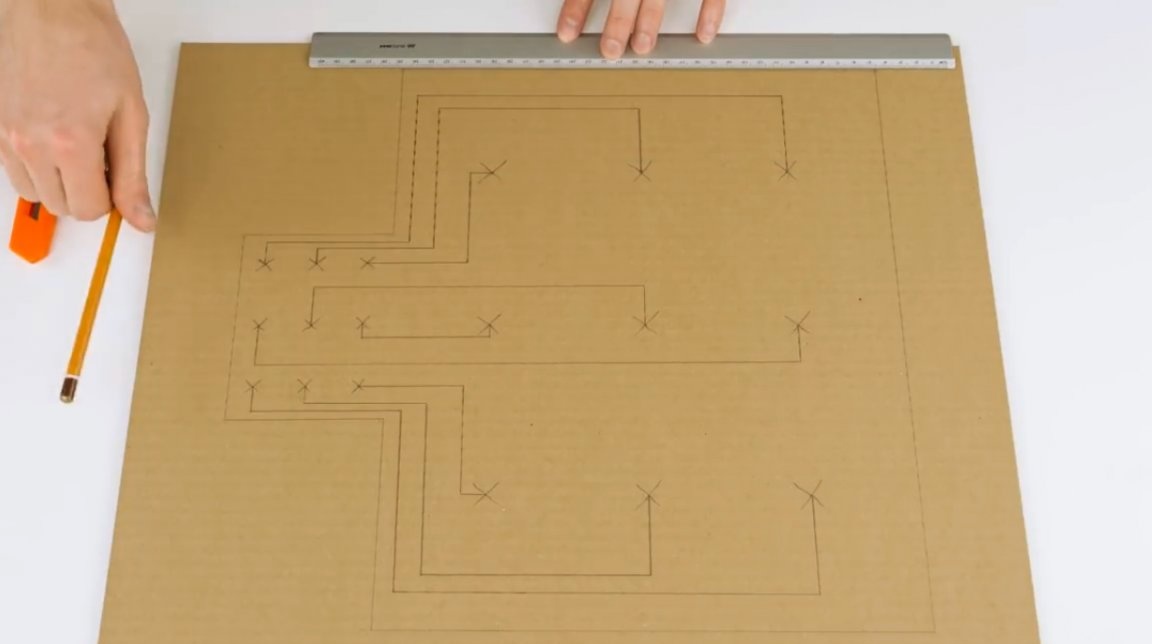
The result is a base with these dimensions. On the same contour, you immediately need to make a cover, and transfer the marks of the centers to it.

For the manufacture of levers suitable aluminum wire, or steel.

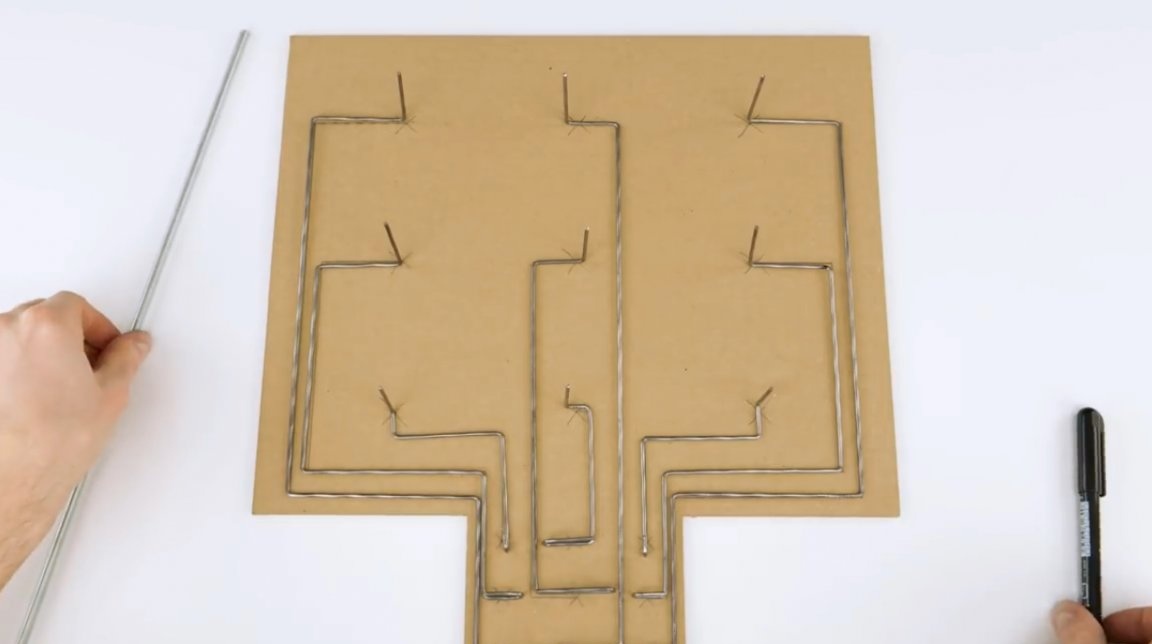
Using pliers and nippers, the author makes all the levers according to the existing markup.

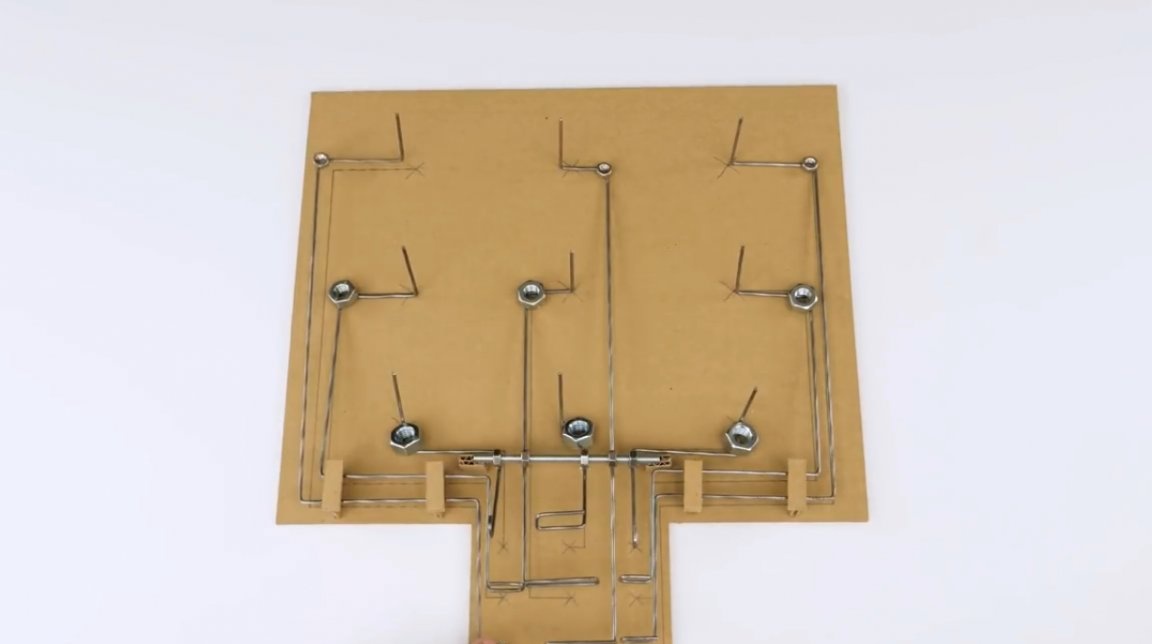
Near future keys, you need to bend small loops, and for figures - bend the edges of the wire vertically. As a result, these are the details of the mechanism.
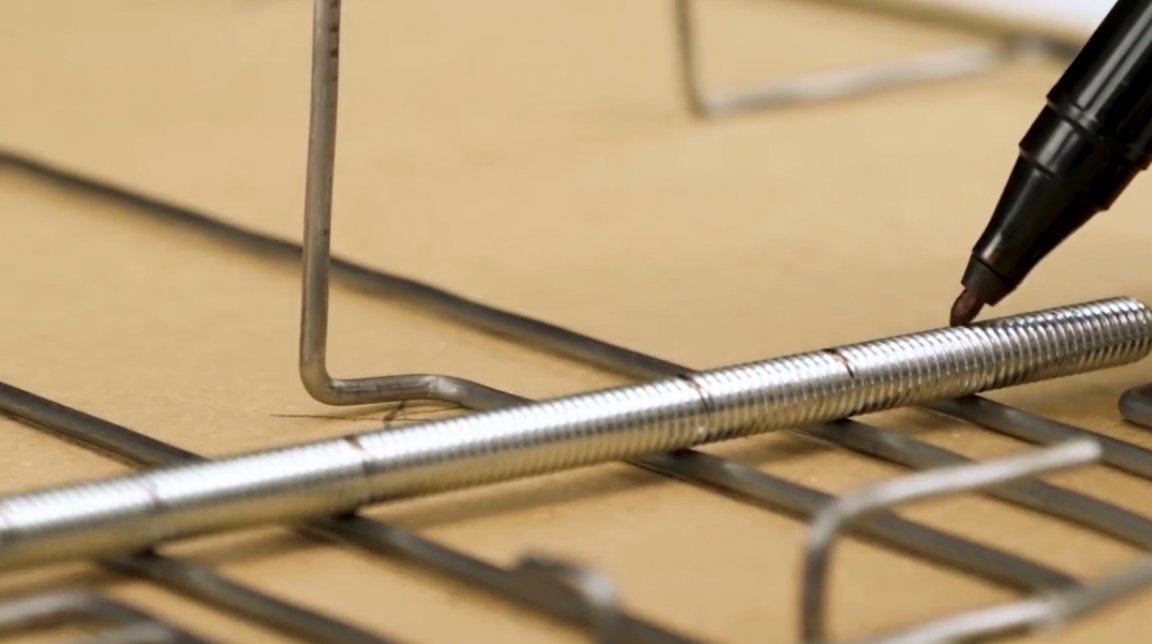
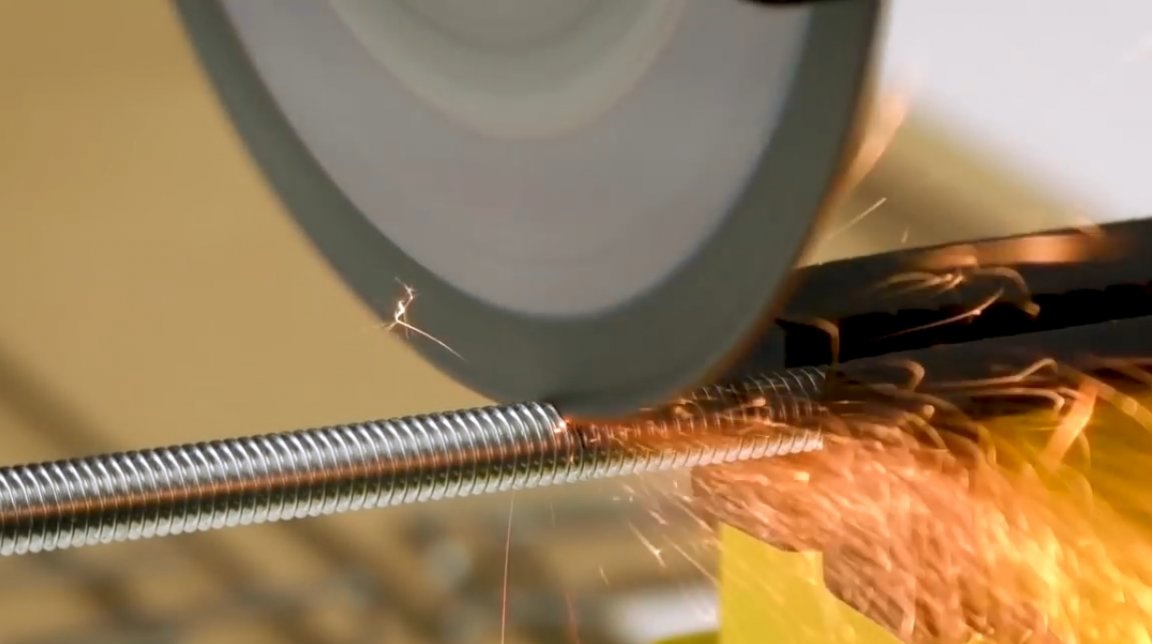
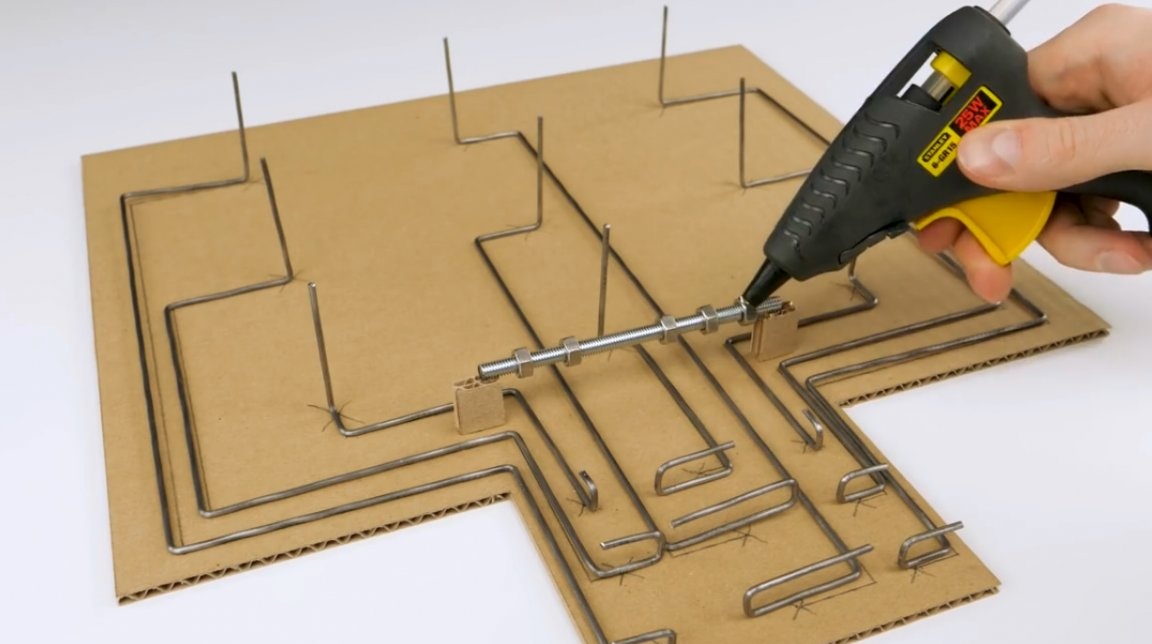
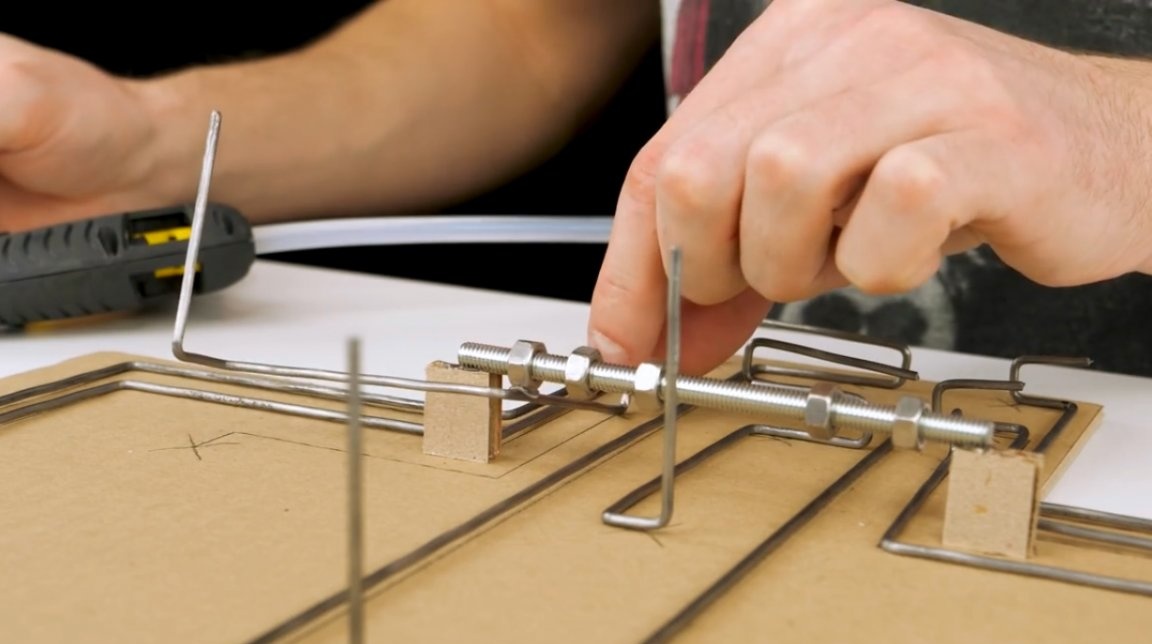
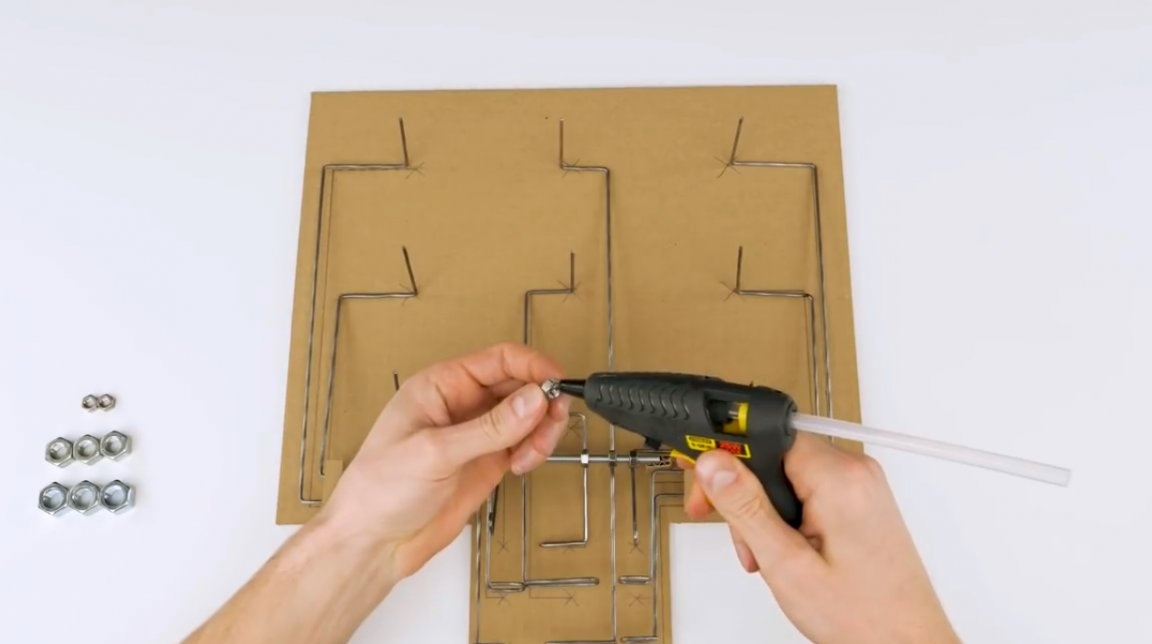
For the first and central lines to work, it will be necessary to make an axis from the M4 stud. On it, the points of intersection with levers are marked with a marker.
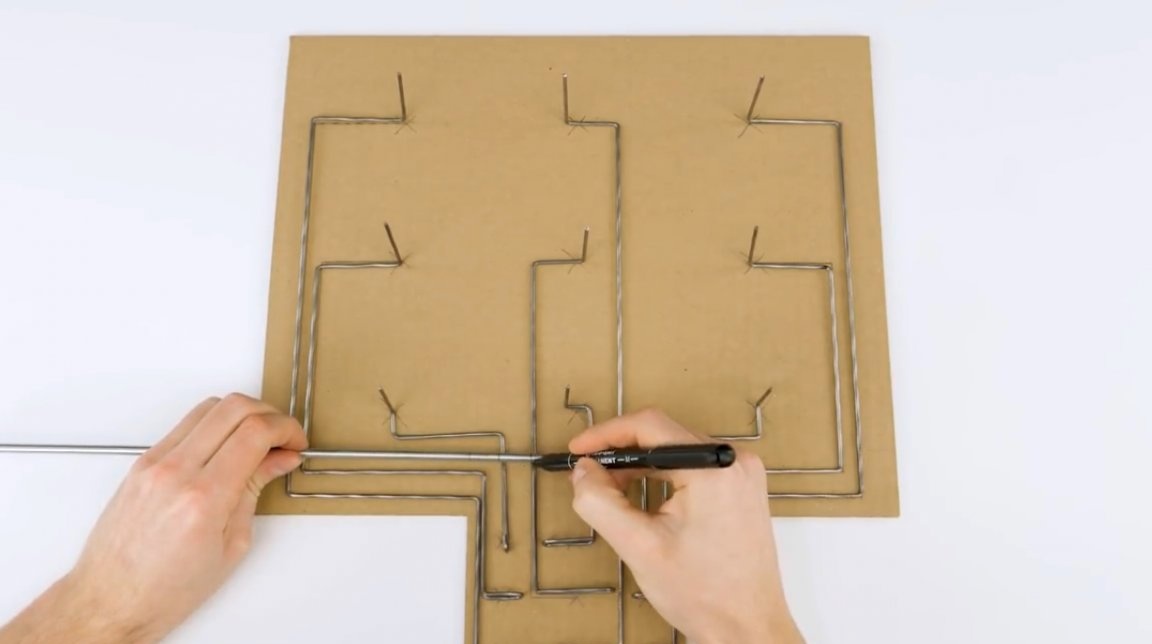
Then the hairpin is shortened to the required length. This can be done as a grinder, and a conventional hacksaw for metal.
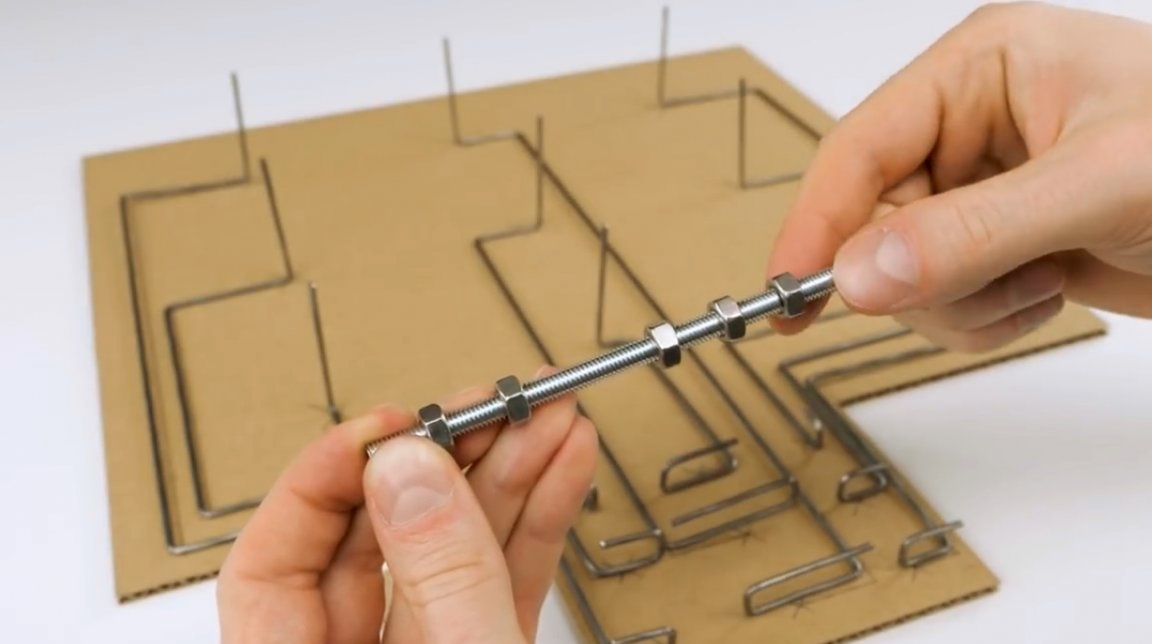
5 nuts are screwed onto the hairpin, positioning them so that they fall on the marks.
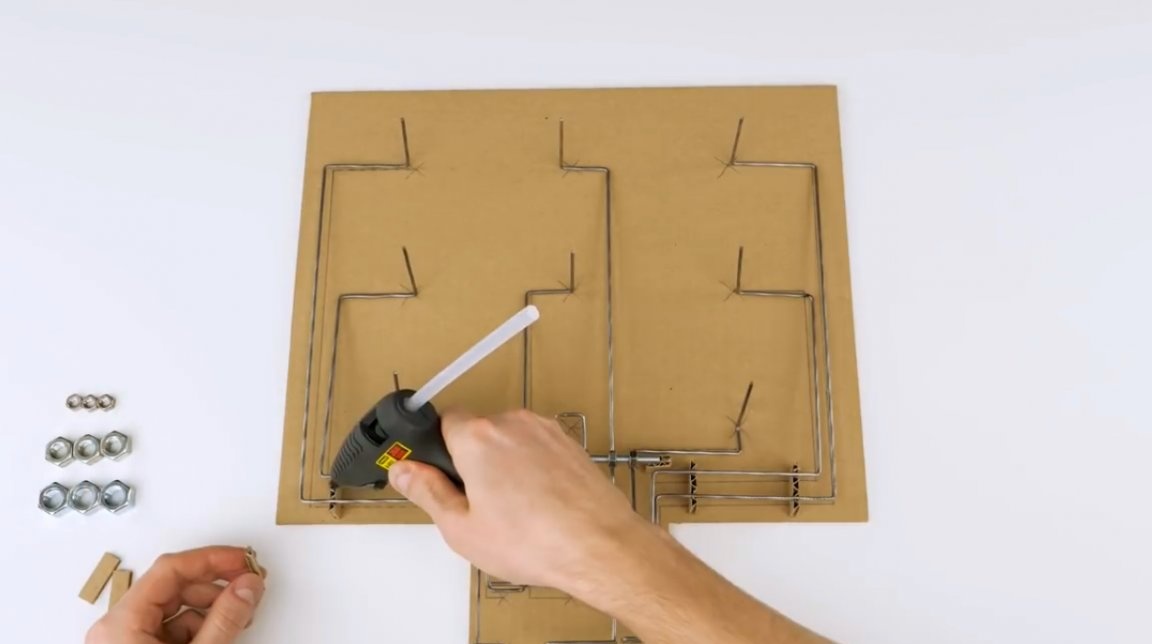
To the right and left of the levers, small cardboard stands are glued, and then the axis is fixed on them.This can be done with hot glue.
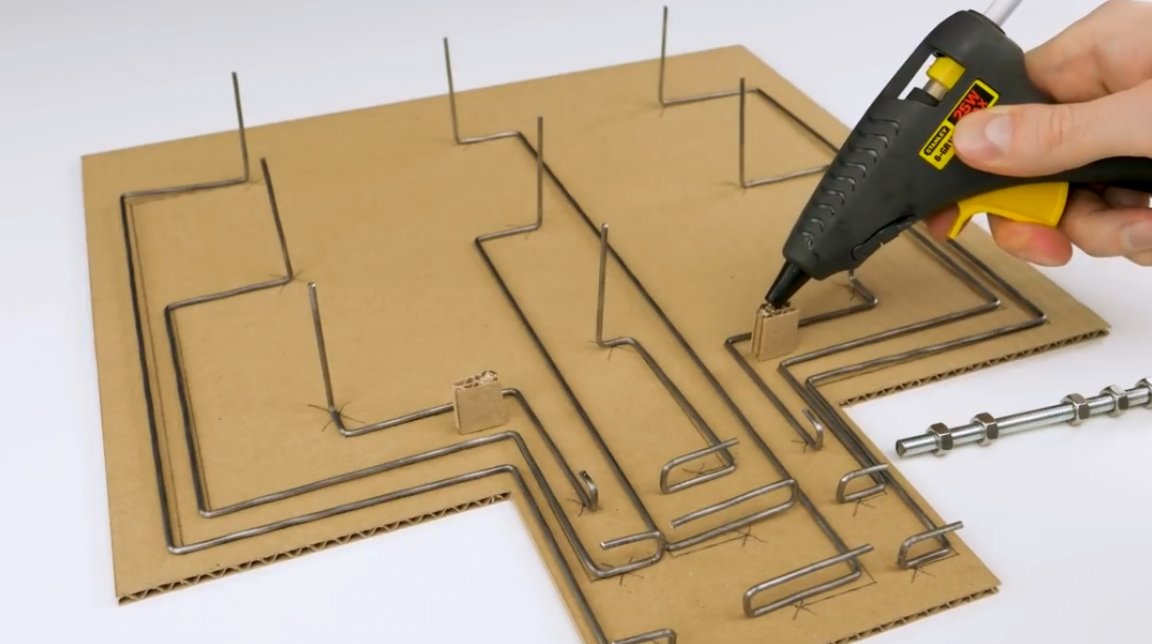

Next, a drop of glue is applied to one face of the nut, and a lever is pressed against it from the bottom side. This point is one of the design weaknesses. It is better to glue the joints with second glue.
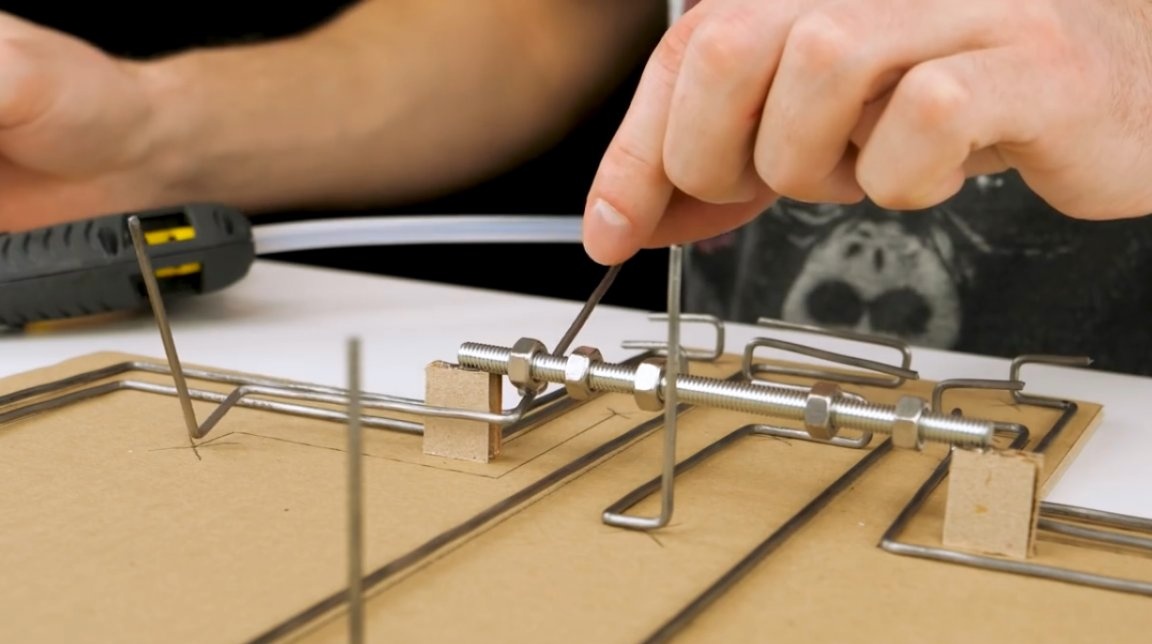
It is also important not to shift the marking lever.
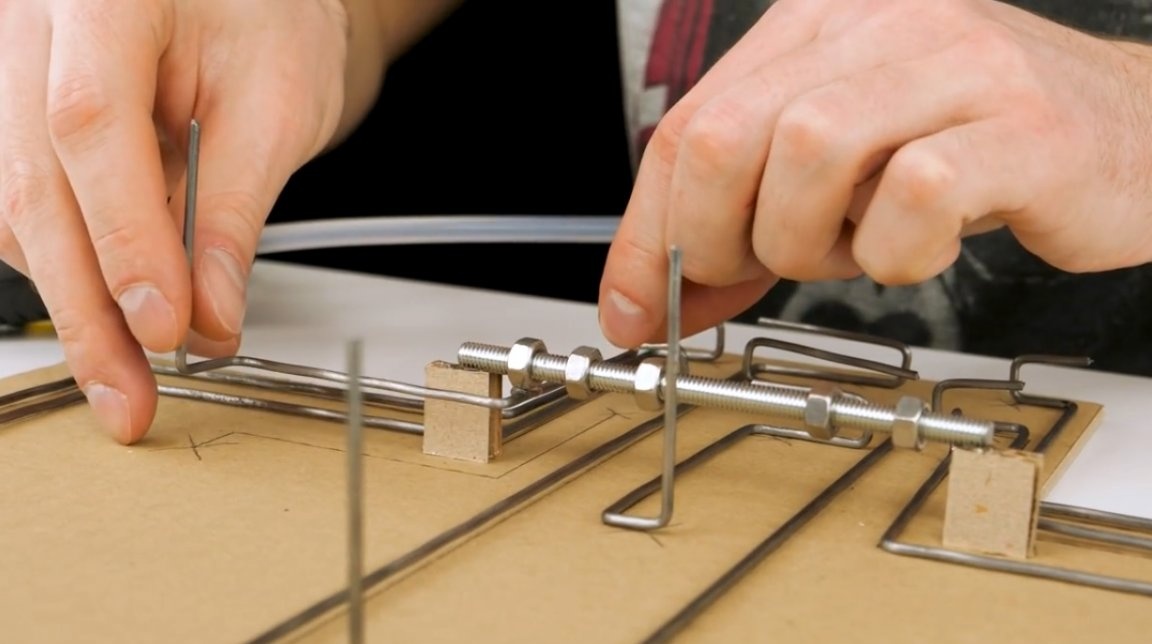
The first key is working, you can stick the rest. As you already understood, the nut should easily turn on a hairpin; after gluing, they will need to be lubricated with machine oil.
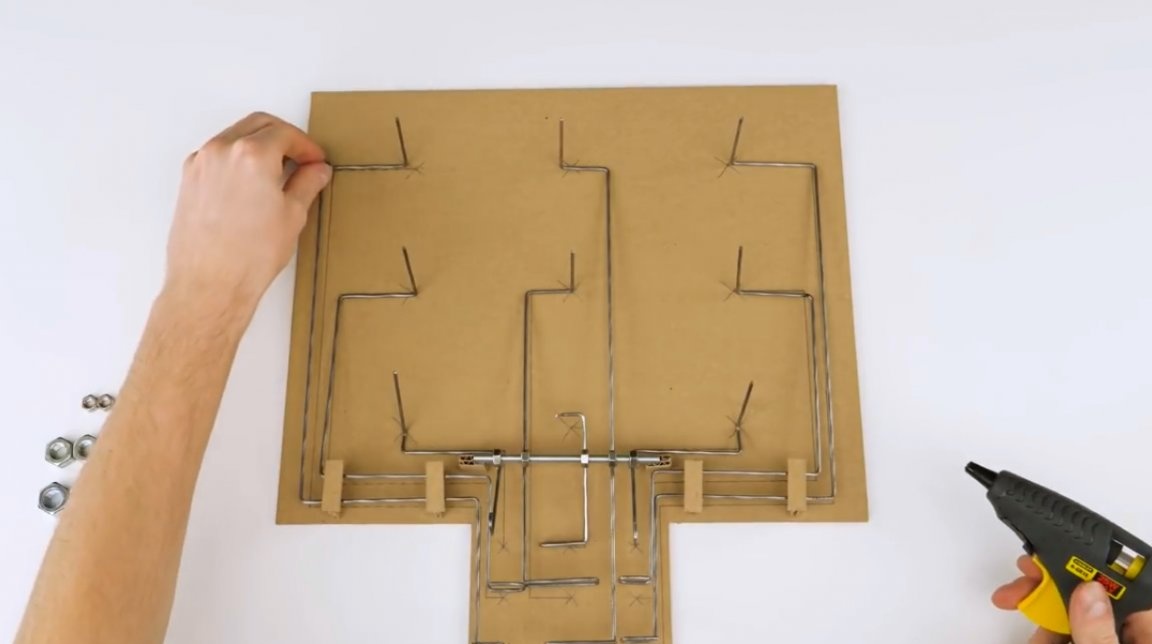
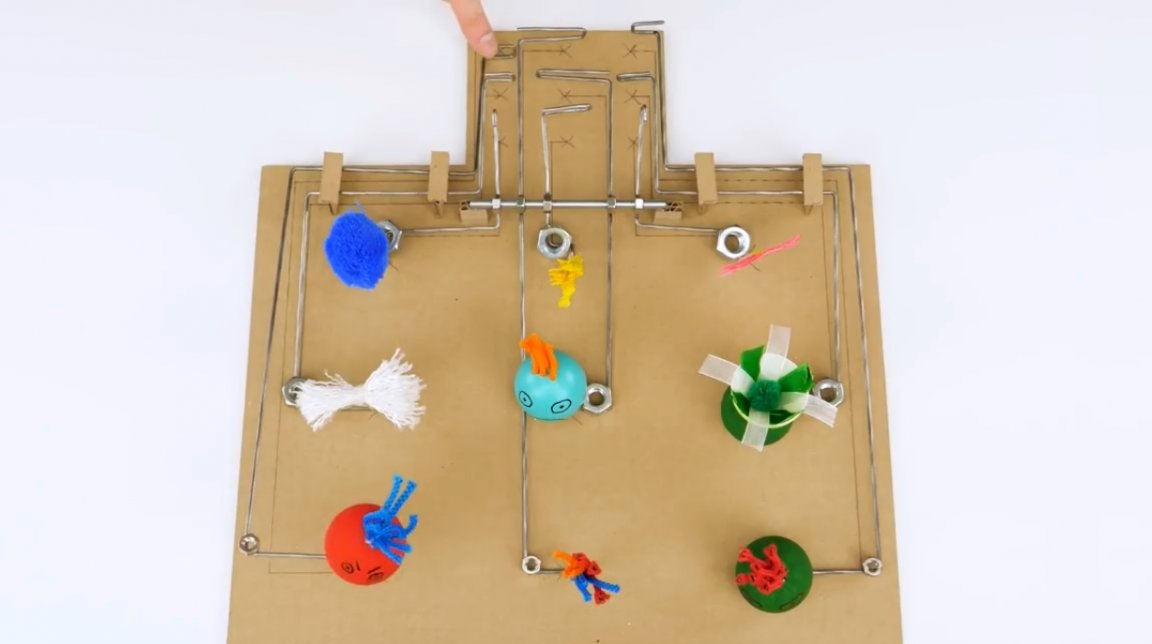
So, the central part of the mechanism is ready.
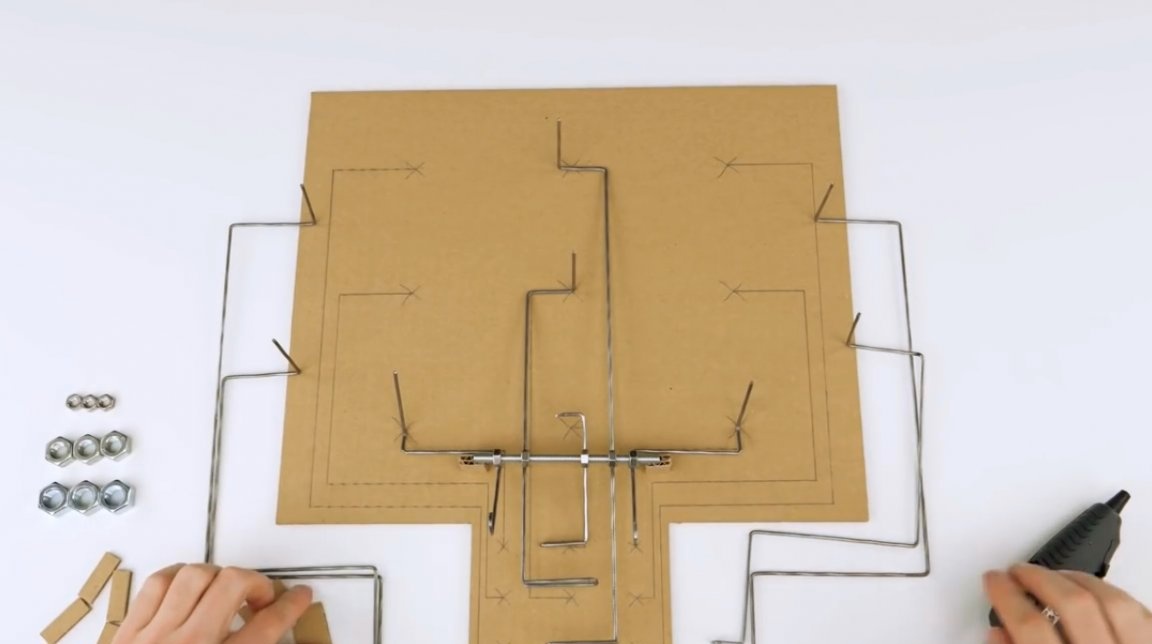
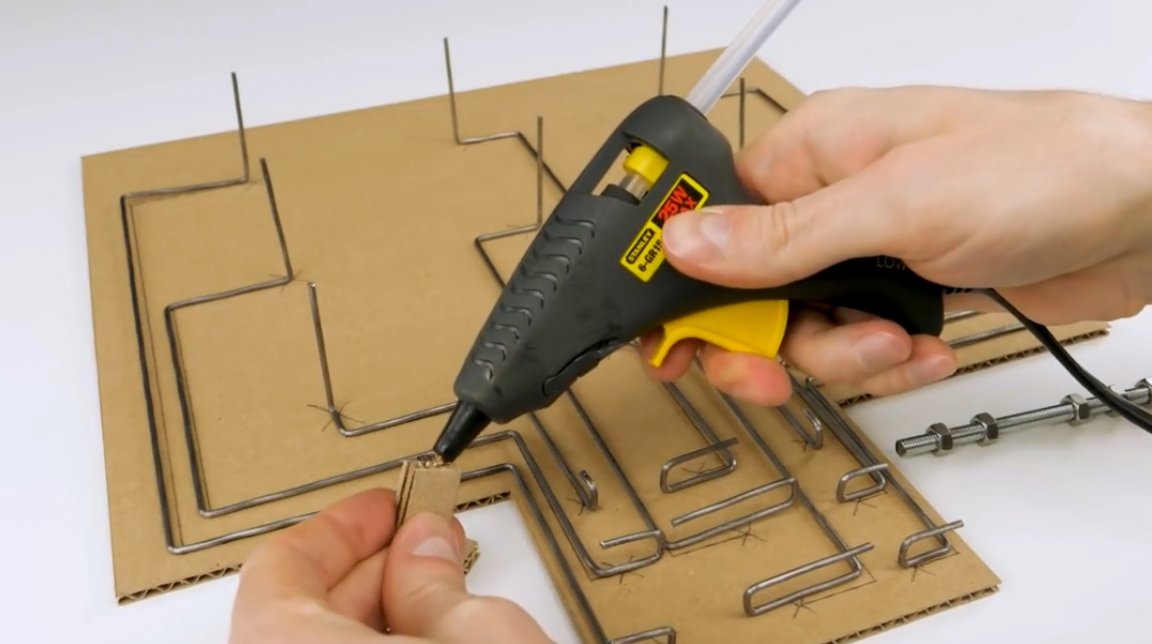
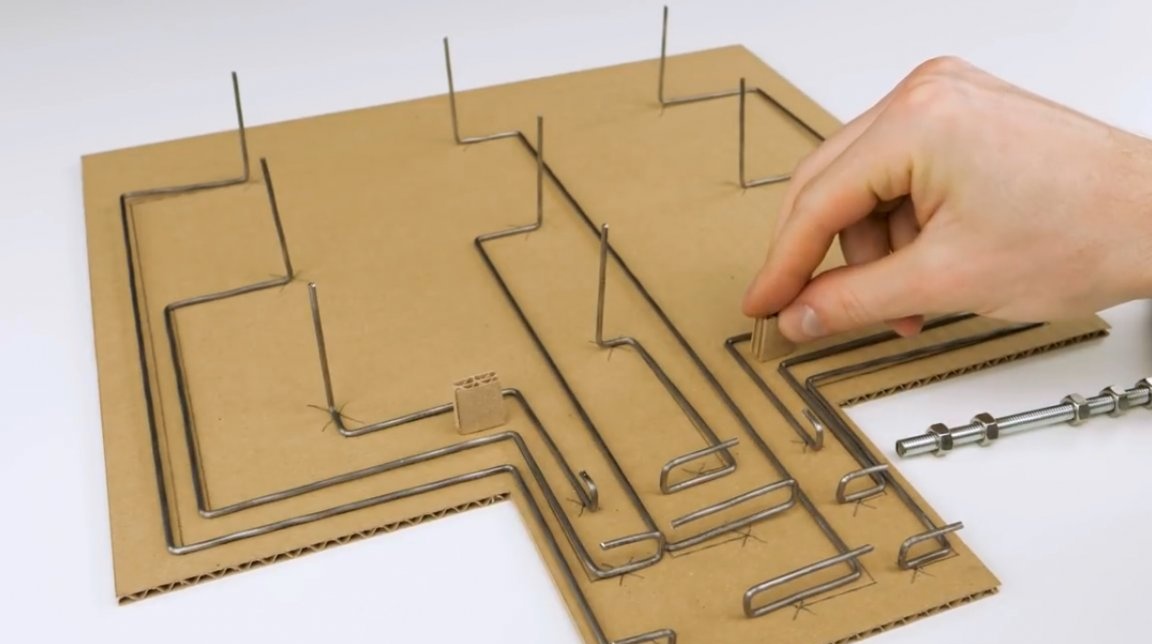
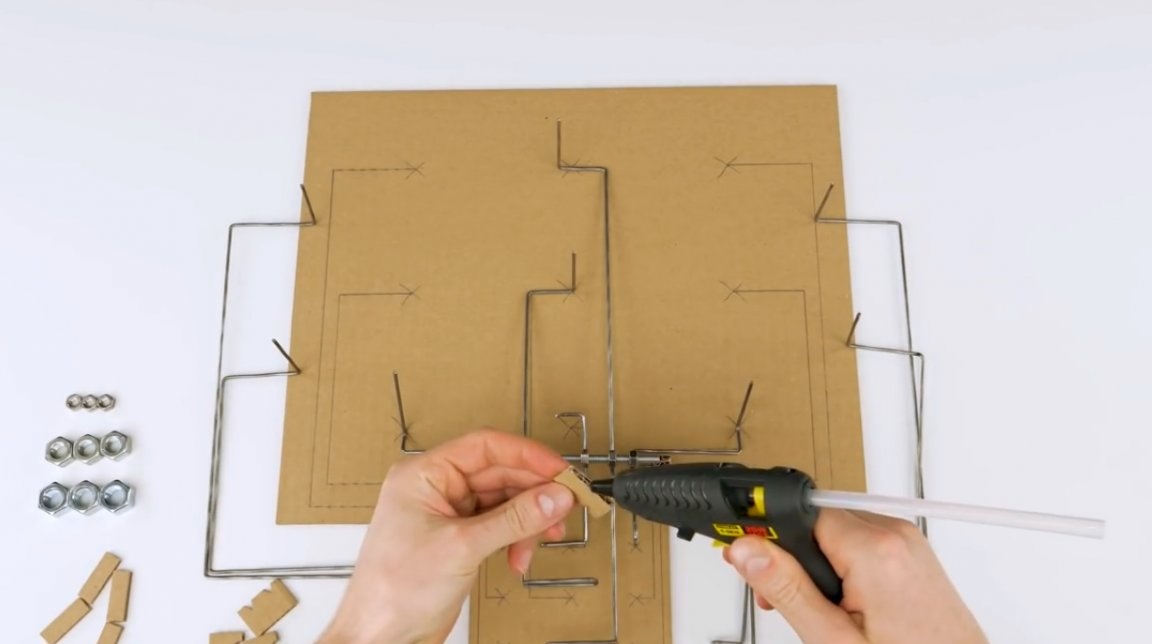
For the other four levers, the master decided to make another mounting system. He glued four cardboard stands to the base, gently pressed the wire into them, and then fixed it with small patch plugs.
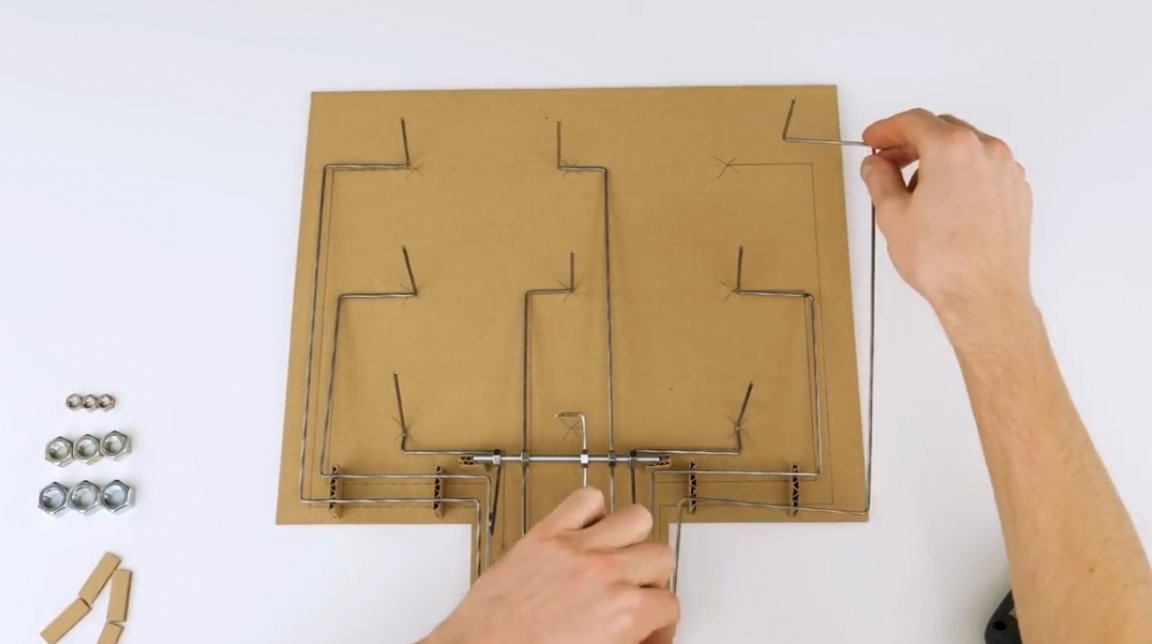

Now you need to solve the issue of automatically returning the figures inside the box. The figures themselves will be quite light, so he glues counterweights from nuts of different sizes to the edges of the levers. The longest levers are the lightest, and the short ones are heavy.
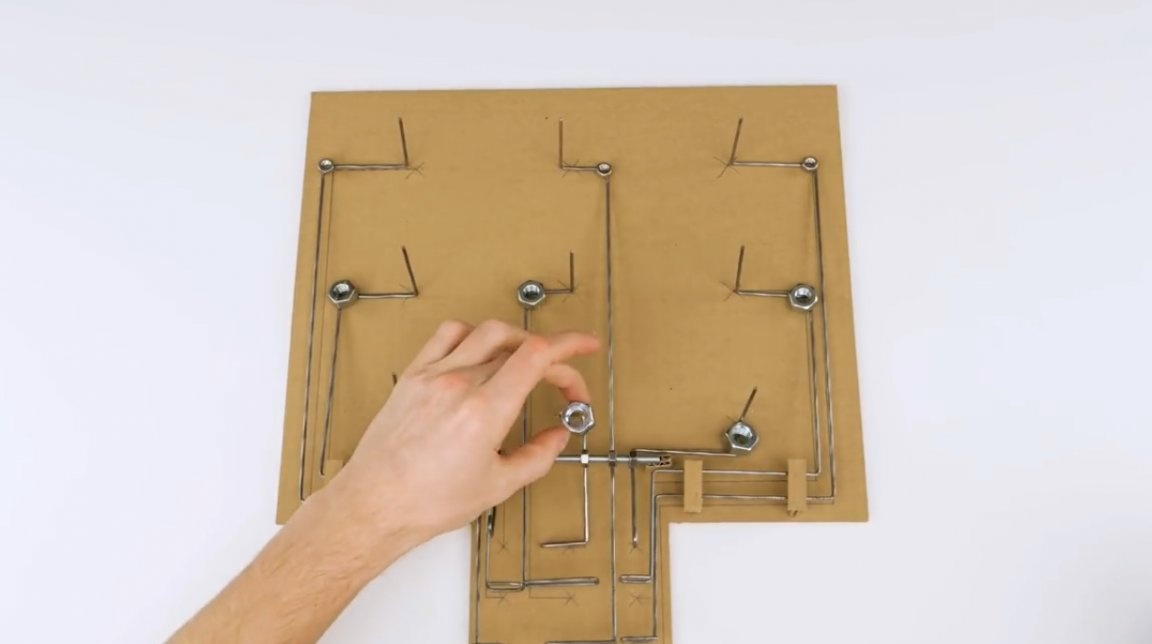
The counterbalance system worked as it should. Pay attention to the location of the weights. The author did not put them on the pin, although this would be logical. If you do this, then there will be a high probability of the lever skewing.

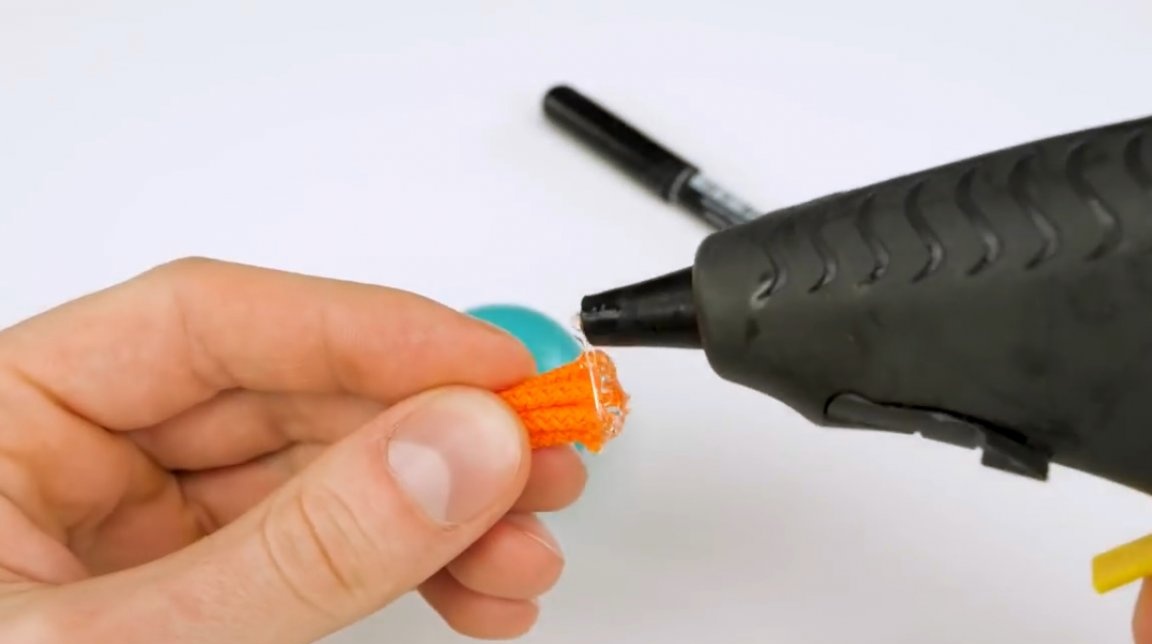
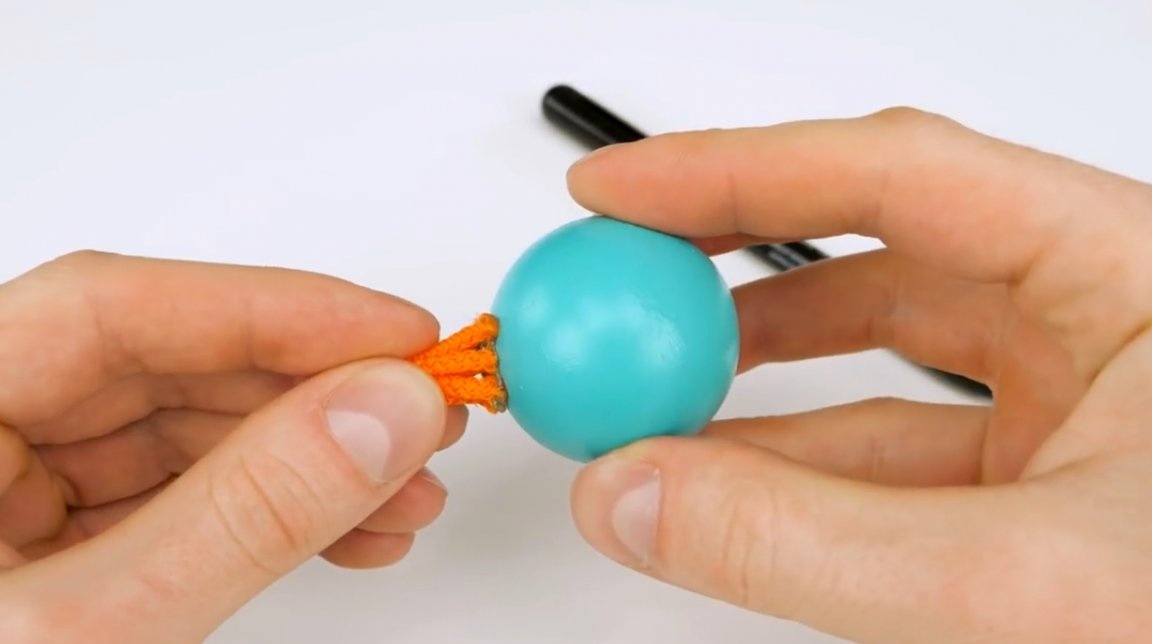
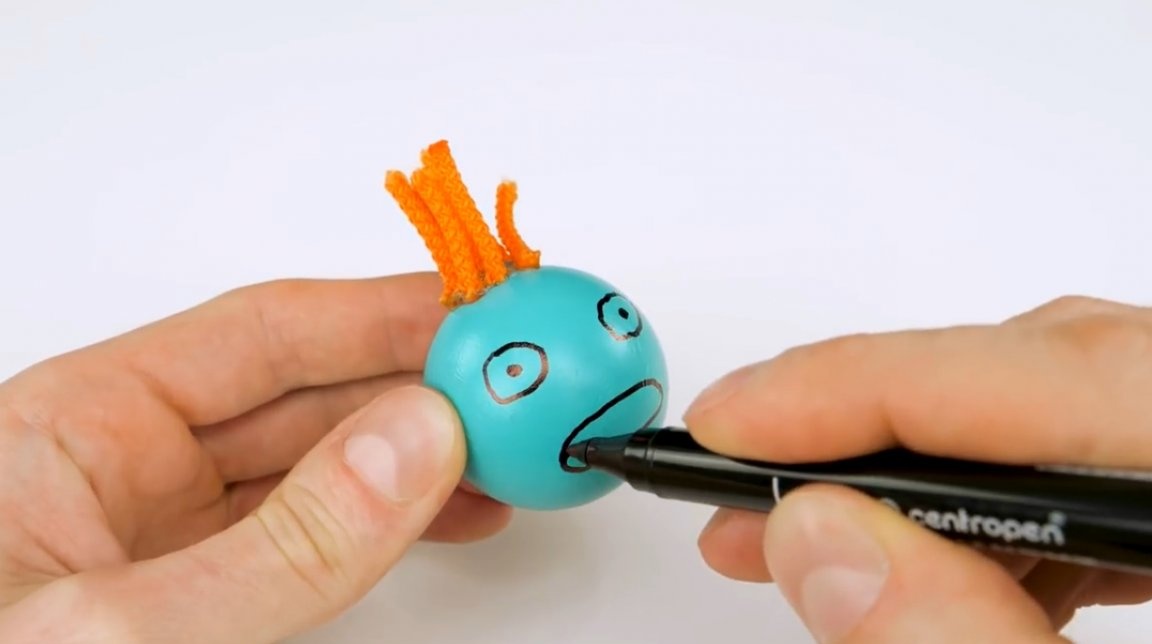
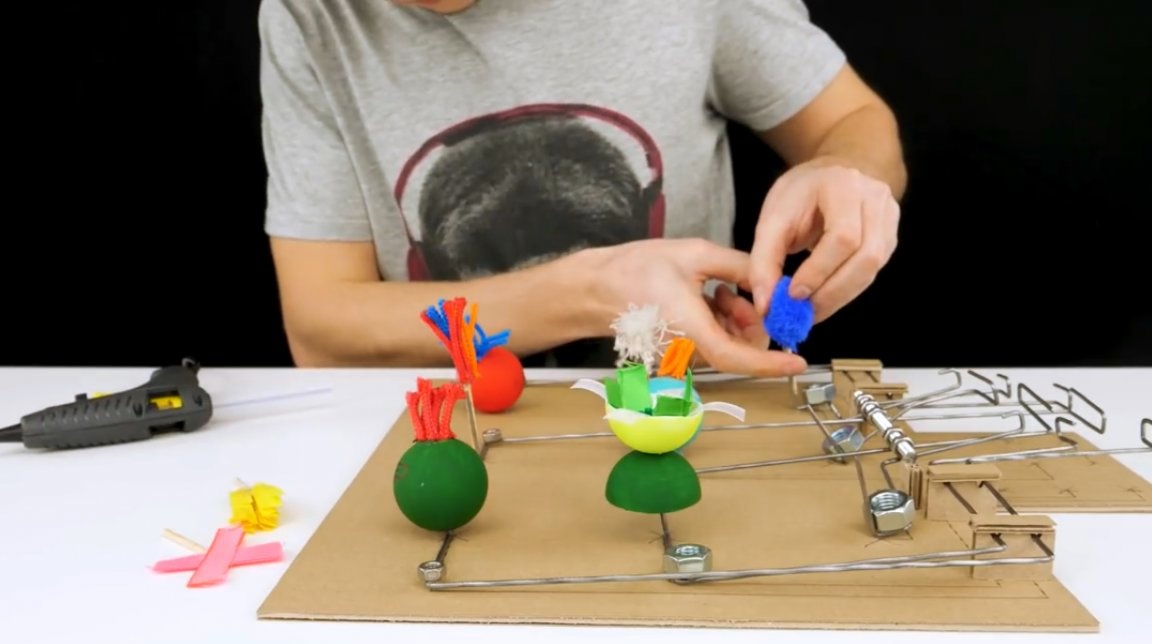
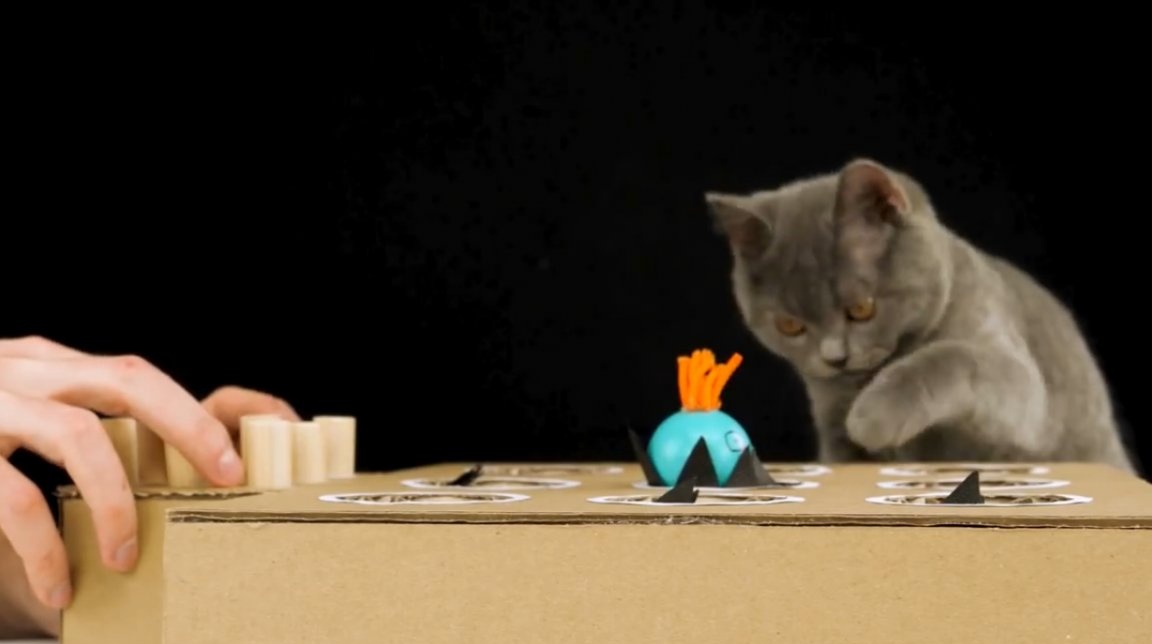
It's time to get to the figures themselves. The master makes them from balls for table tennis, staining them with acrylic paints.

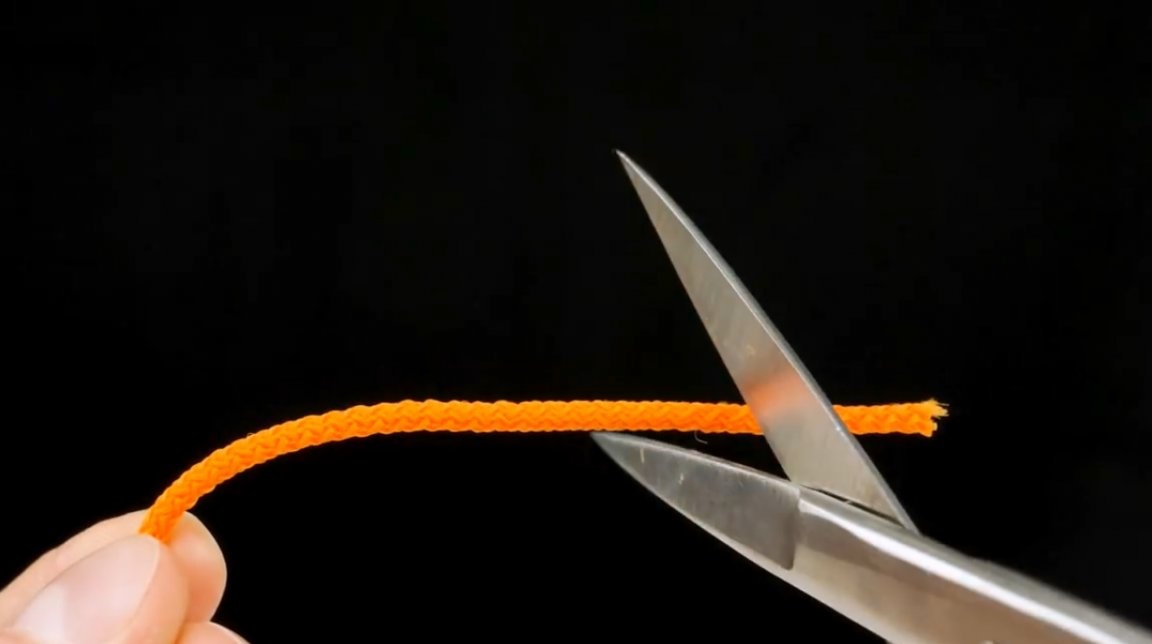
After drying the colors, you can do the decoration and painting of faces. As a hair, trimmings of bright kapron twine are perfect. They stick to the "body" with hot glue. Actually figures can be made of the most various materials, and to paint them as you like.
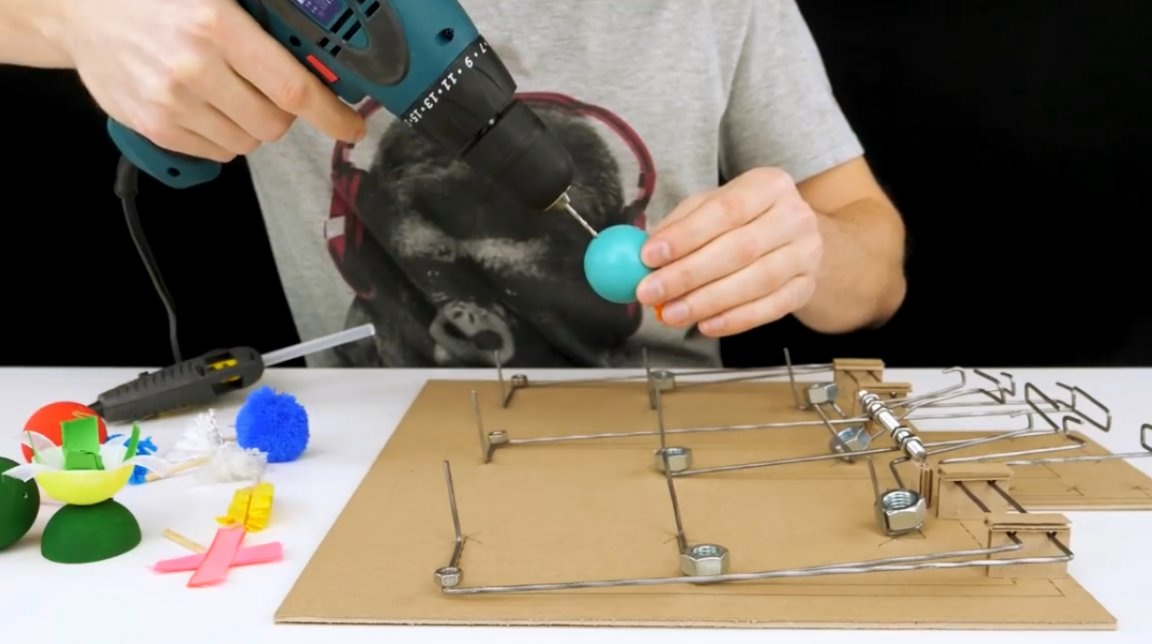
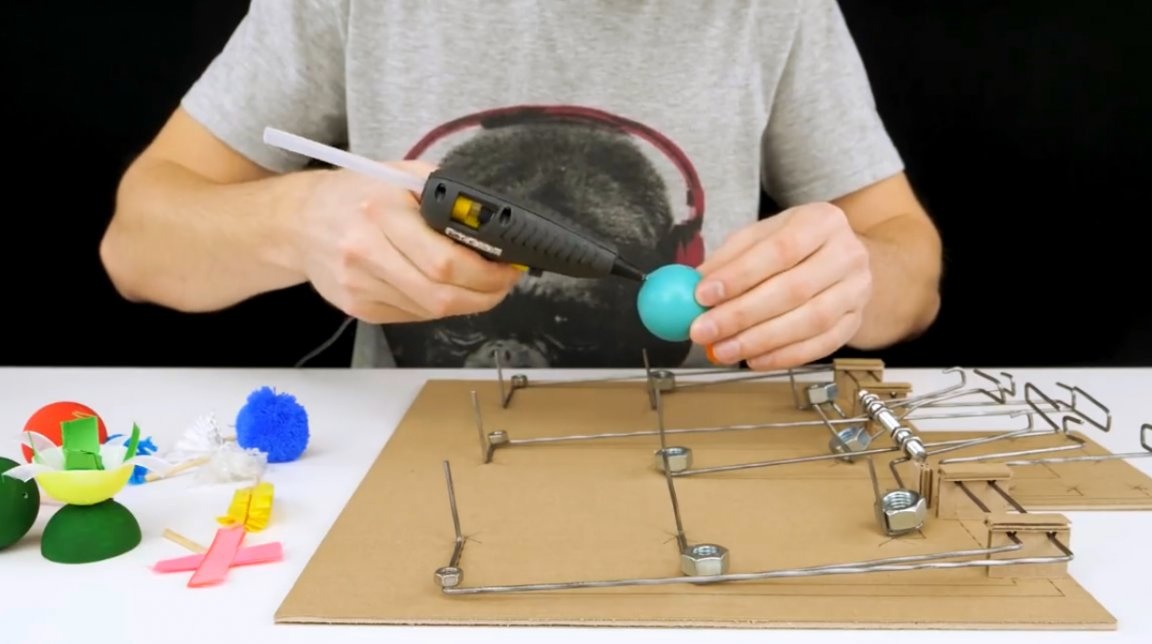
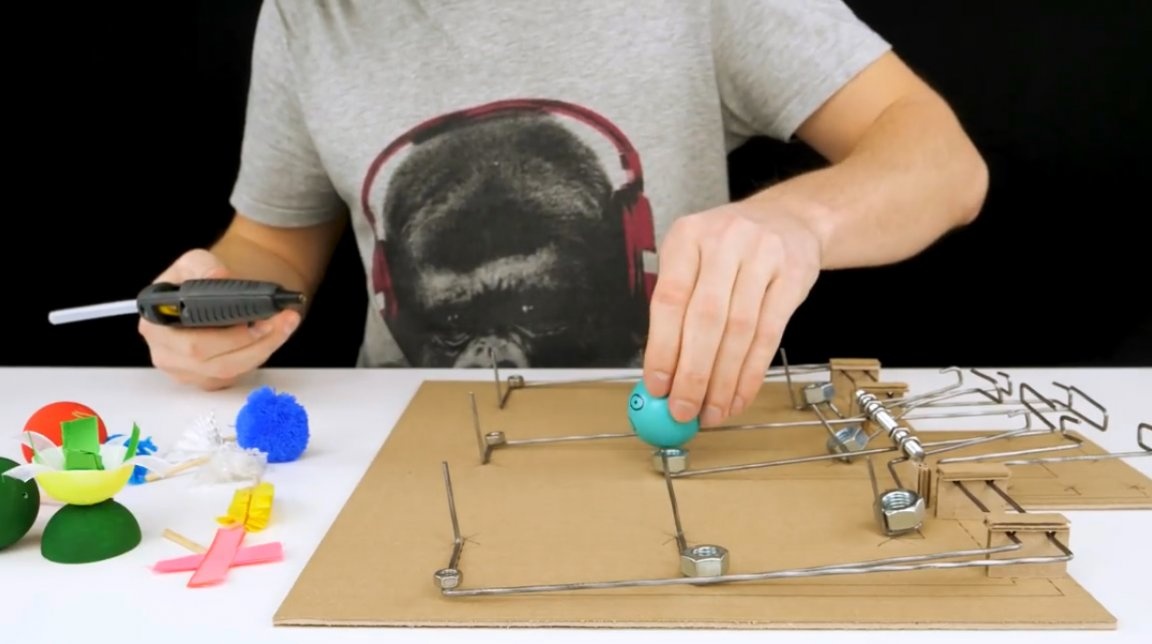
At the bottom of the figures, a hole is drilled along the diameter of the lever wire. Hot glue is applied and the stuffed animals are put on the pins.
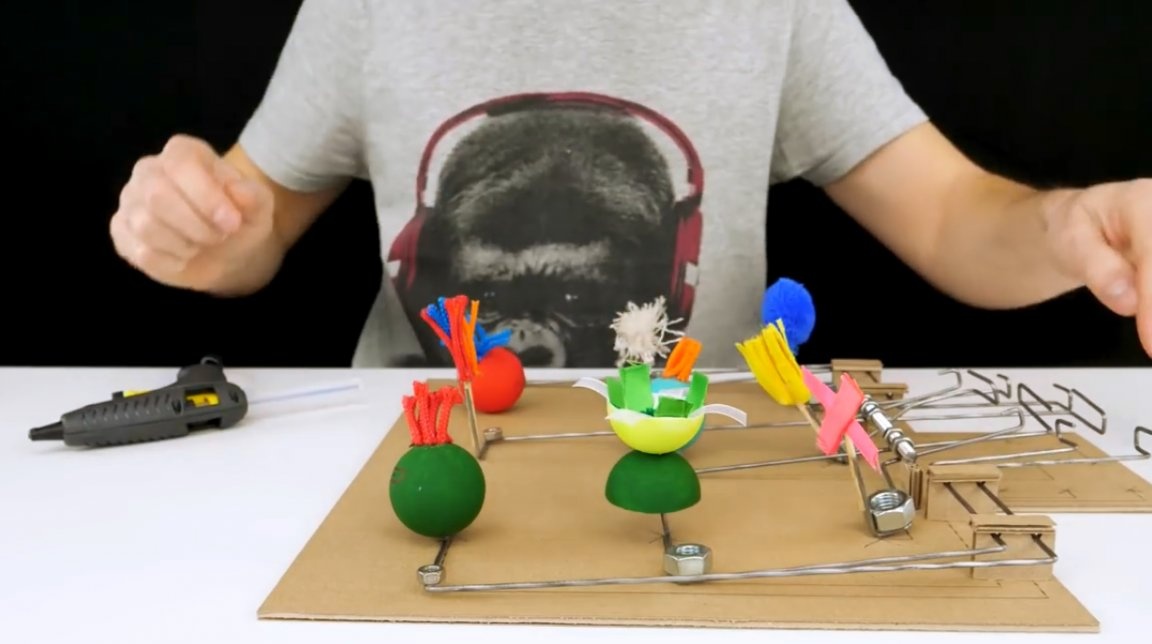
Further, the author played out a fantasy, and he made a variety of options for the figures. And from pieces of foam rubber, rags, threads, and strips of plastic.
On the edges of the resulting structure, boards with a height of about 40 mm are glued.

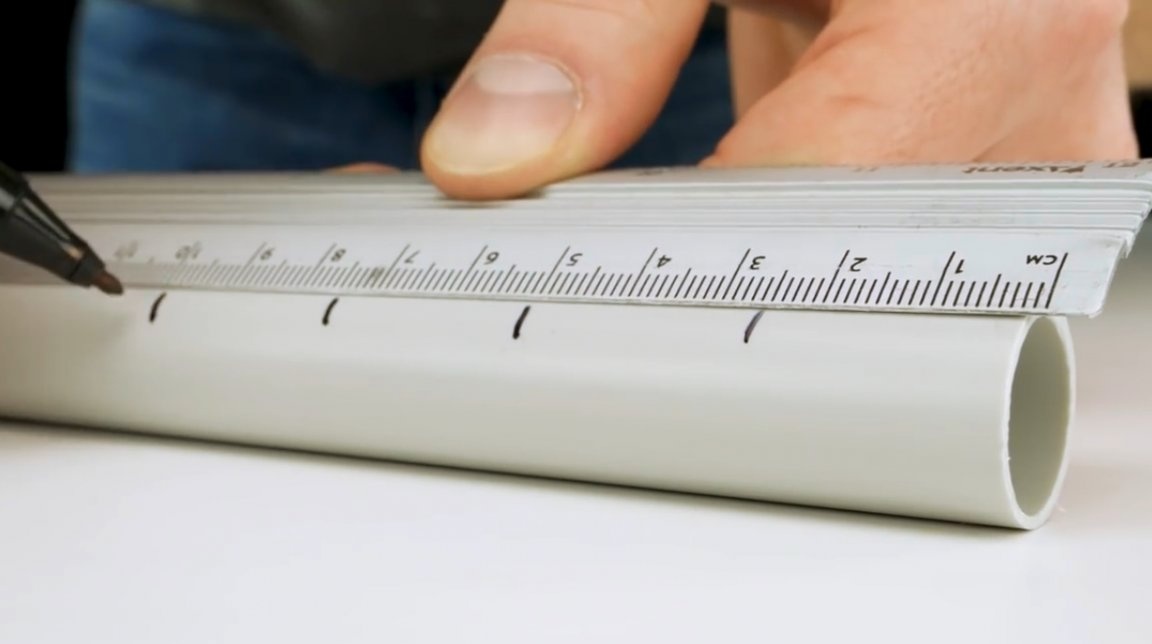
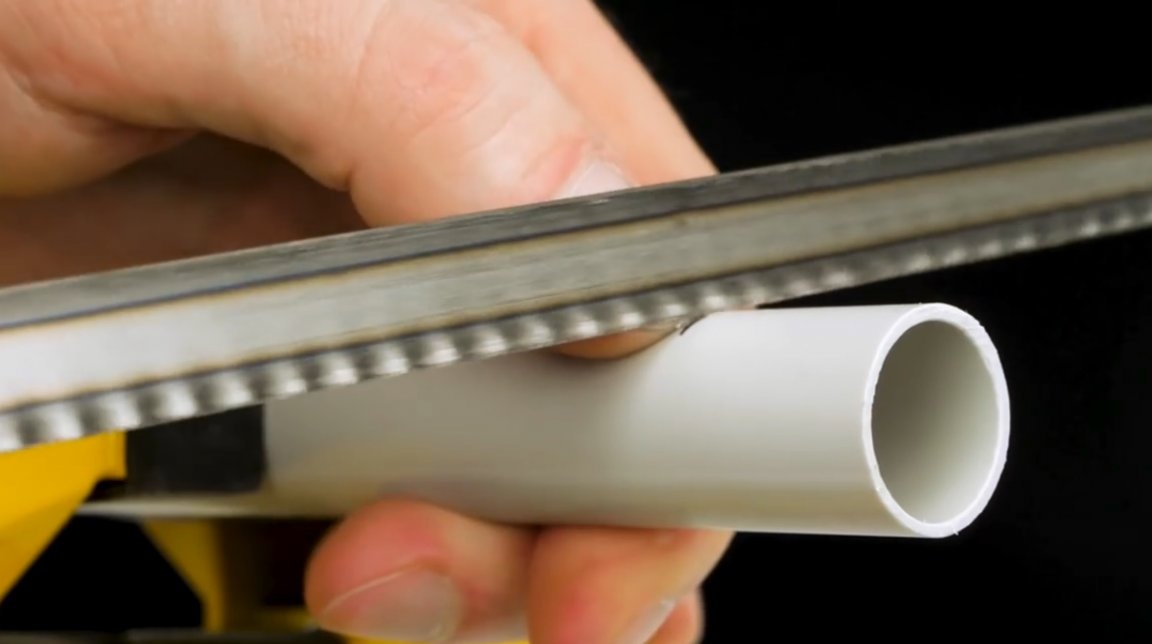
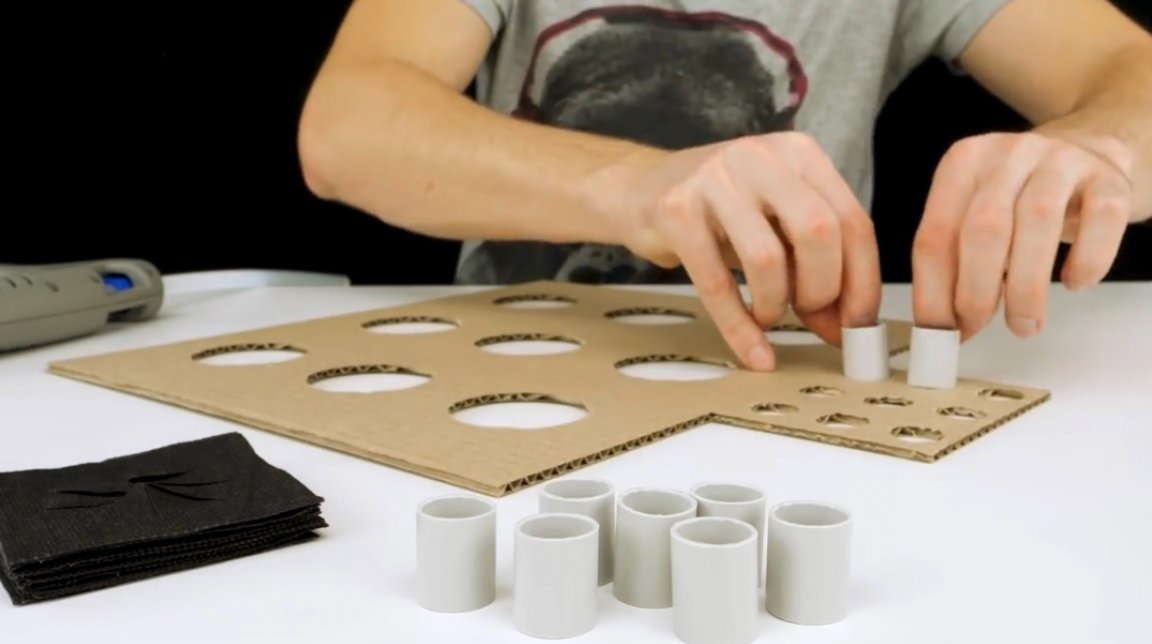
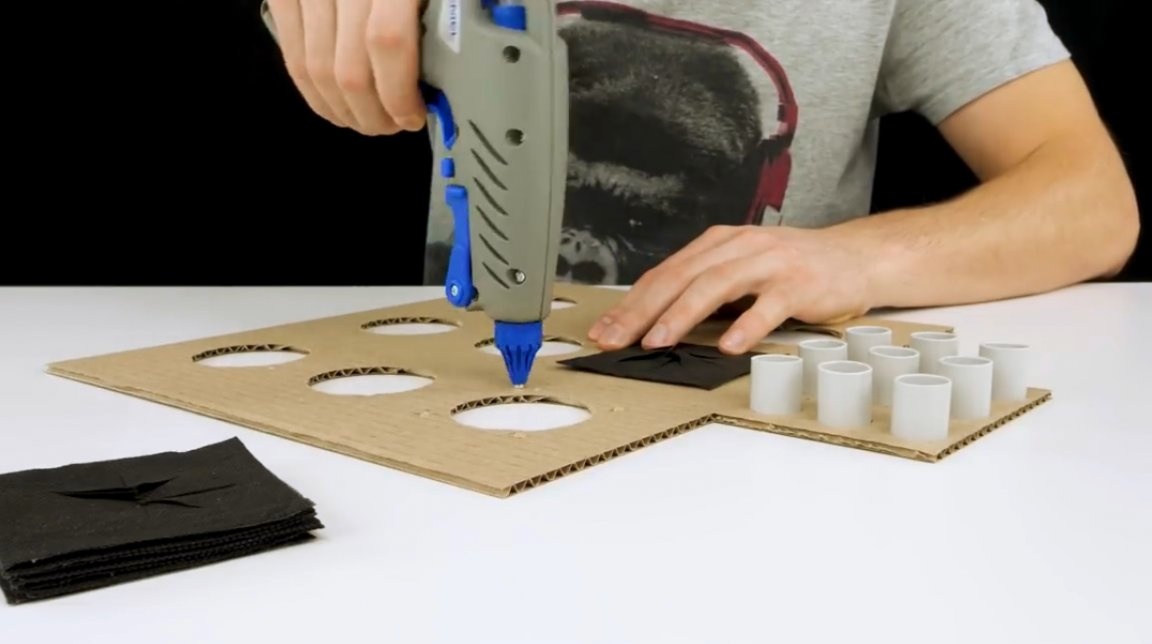
Now, guide sleeves 25 mm long for keys are cut from a thin-walled PVC tube.
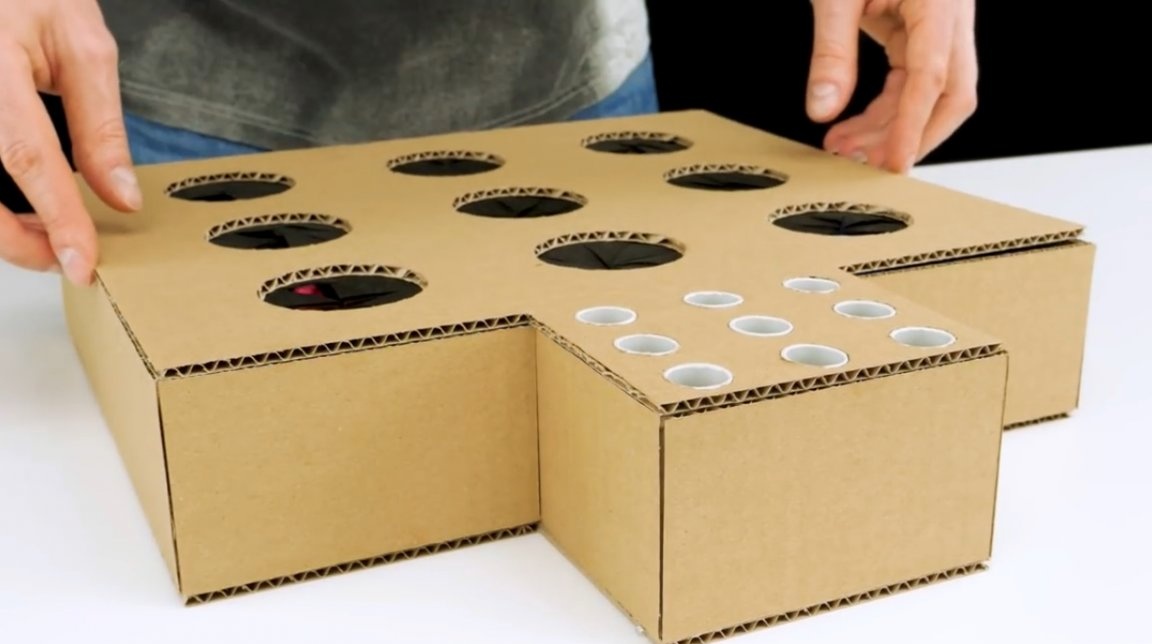
In the cover itself, holes for keys are cut along the diameter of the tubes, then the bushings are glued into place. The holes for the figures can be of any shape.
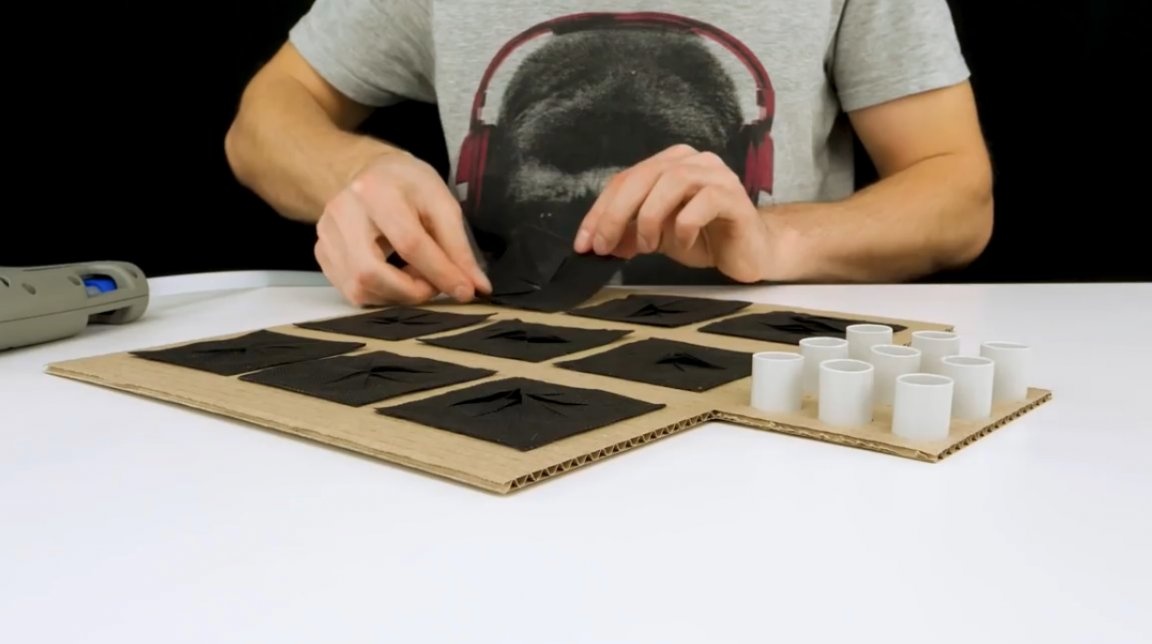
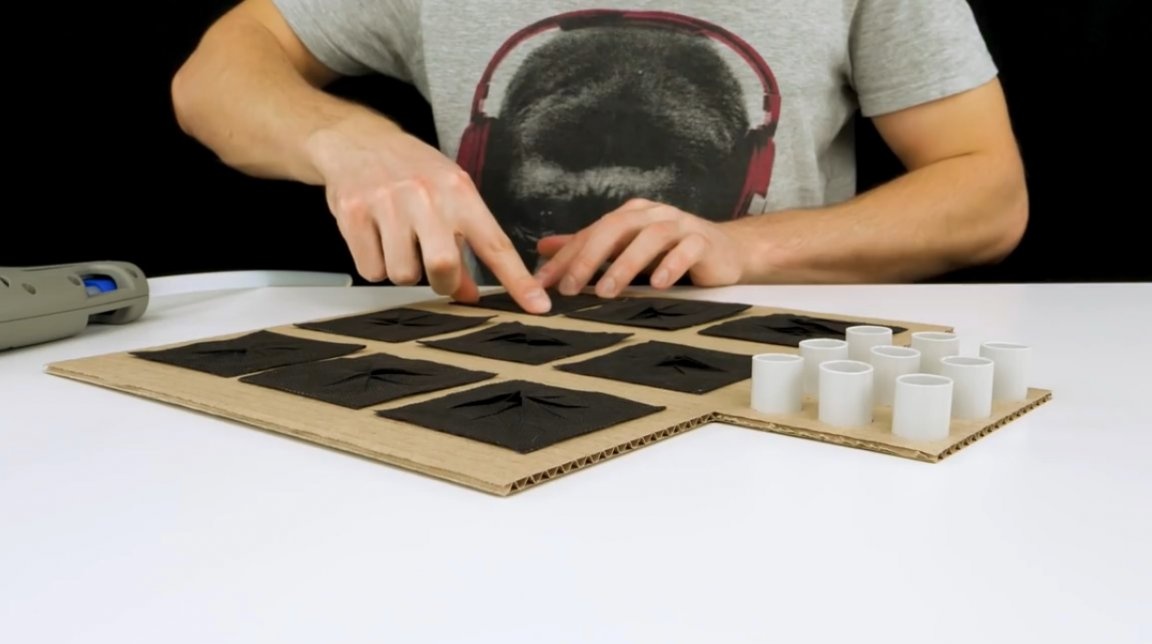
In order to “hide” the figure, the author made lockable linings from thick fabric. In the squares, incisions are made in the form of a star.
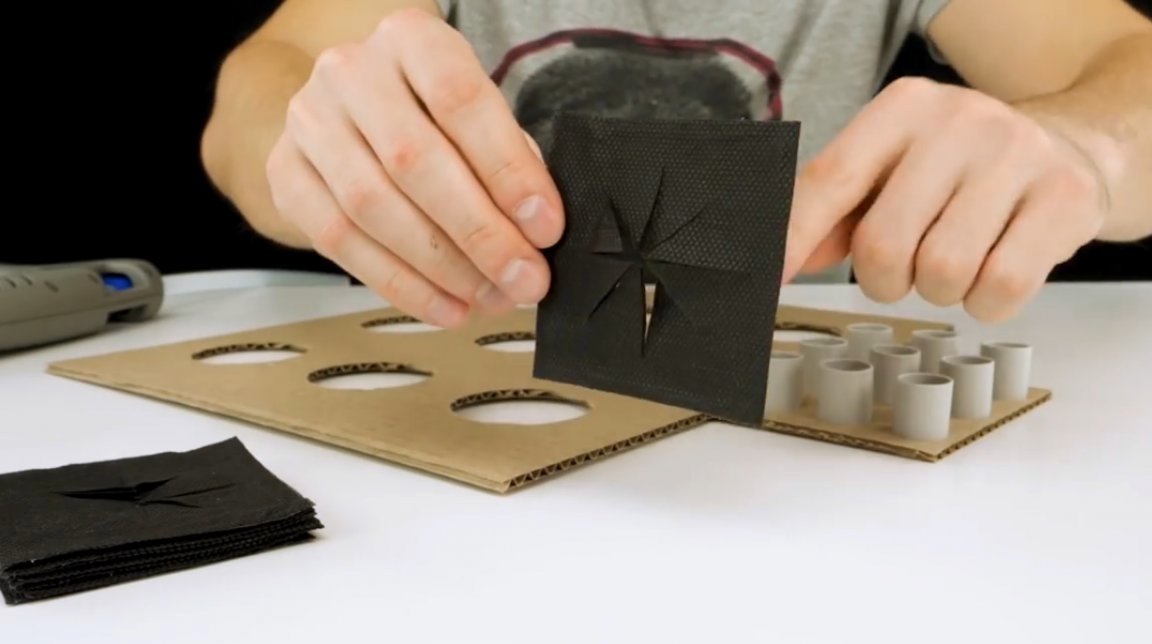

Now it remains to glue the “curtains” into place from the bottom of the lid. Here PVA glue or other universal glue is better.
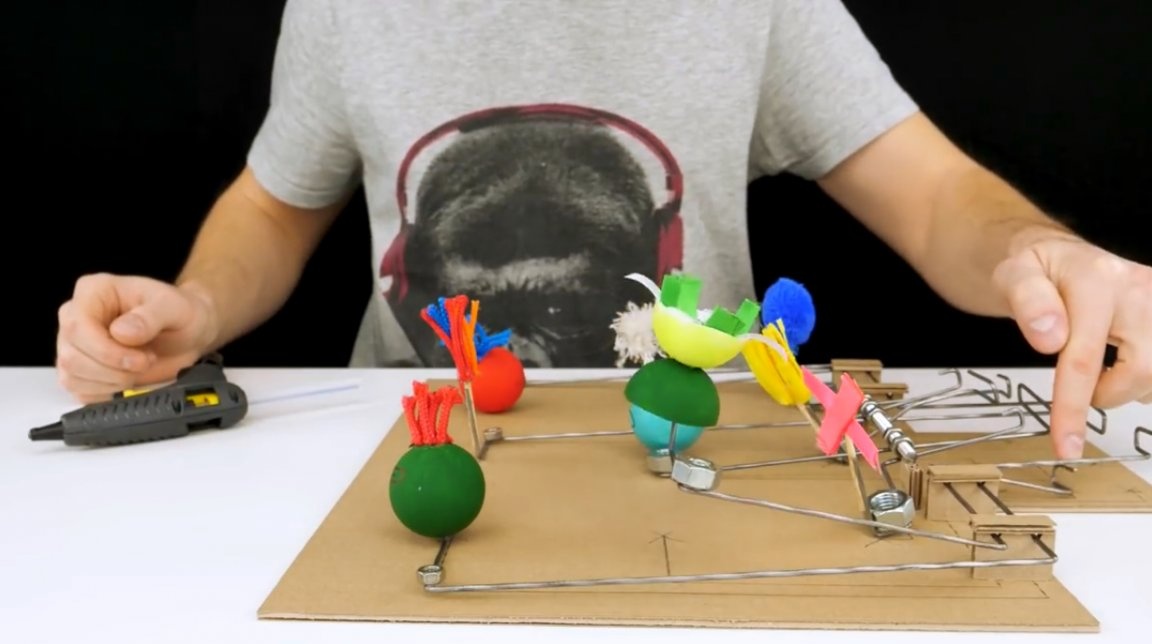
The cover can be installed in place, and pre-check the operation of the mechanisms.
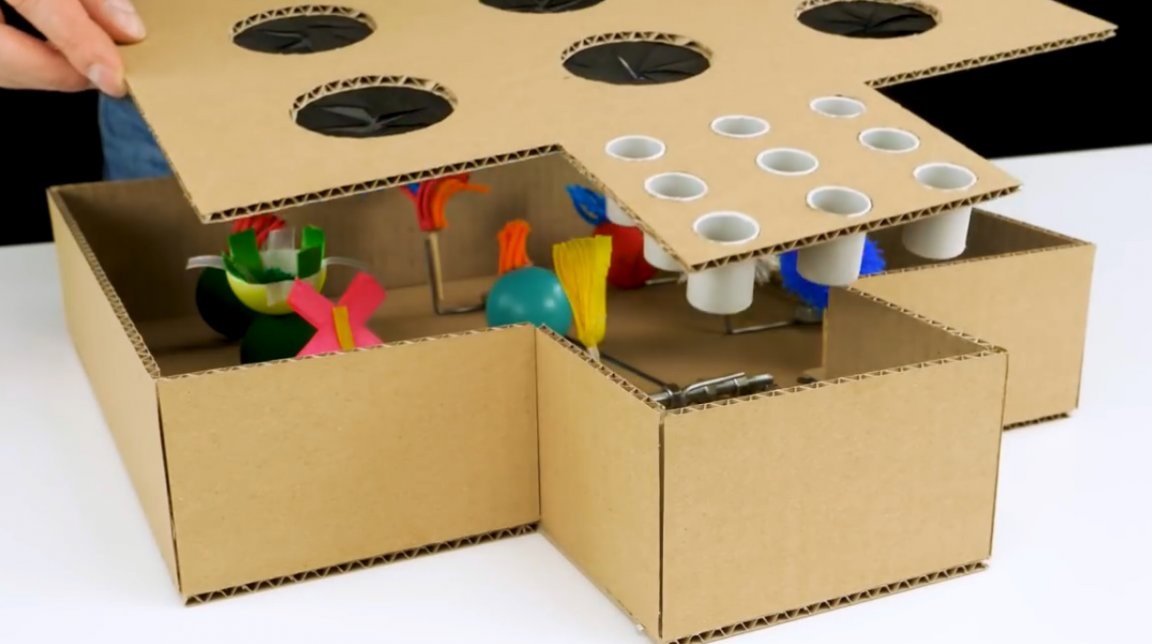
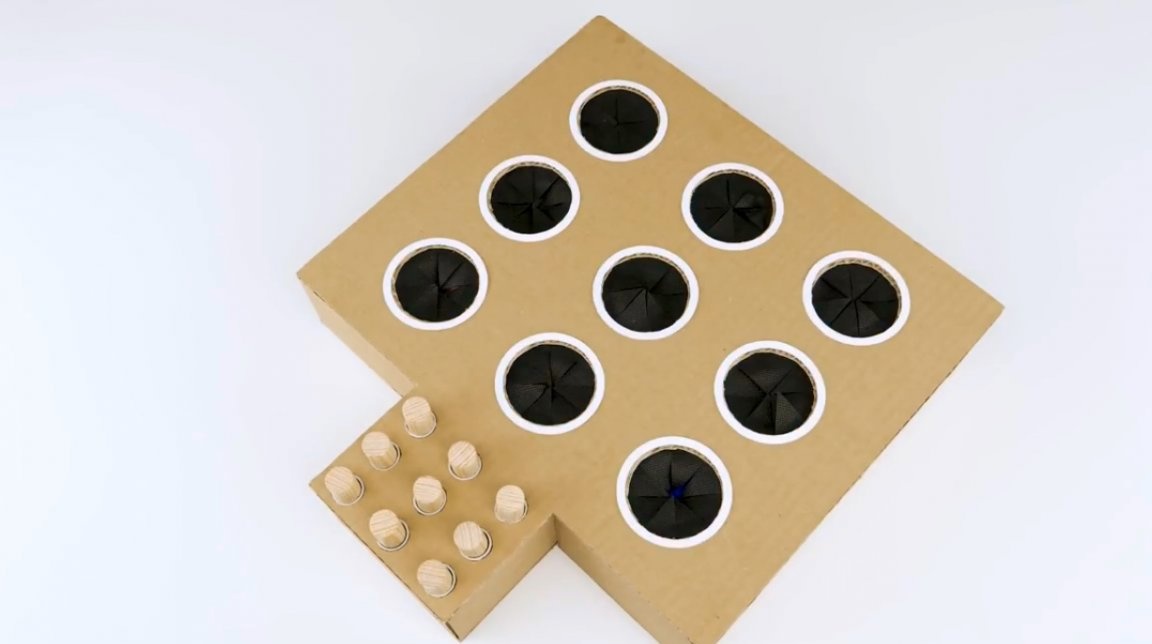
The author himself made the keys in the form of small wooden cylinders, set them in place, and fixed the lid at several points. It is not worth gluing it tightly, it is better to make simple latches. You may want to replace the figures, or repair the mechanism.
To improve the appearance, the author circled the hatches with white paint. Each person will think up the subsequent coloring of a product.

Well, it's time to please your beloved pet!
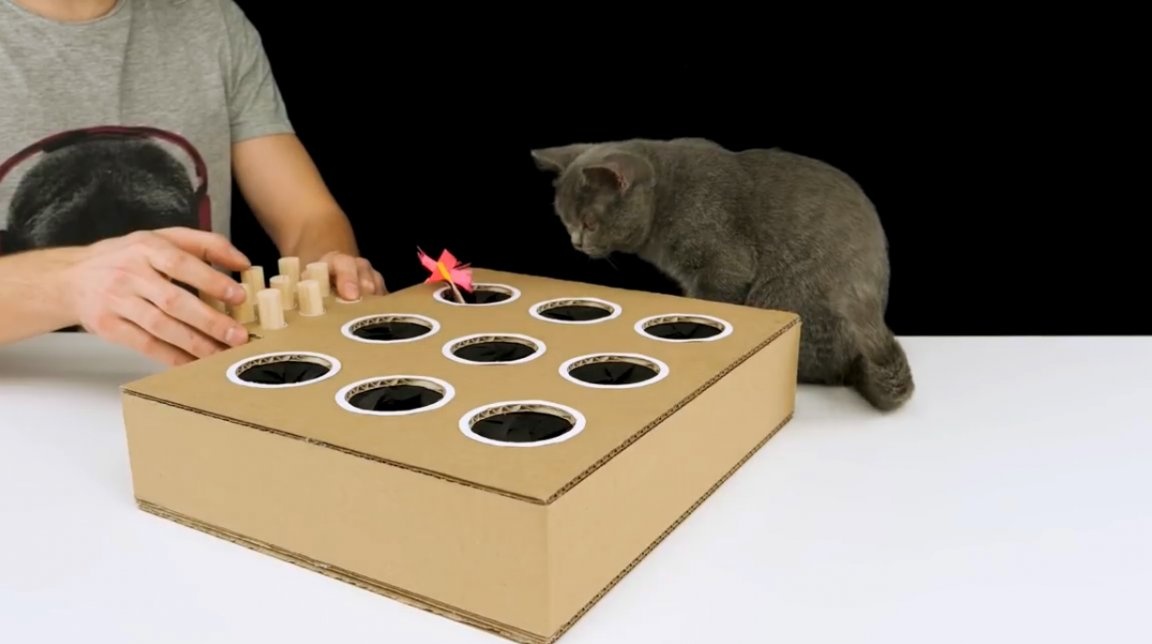
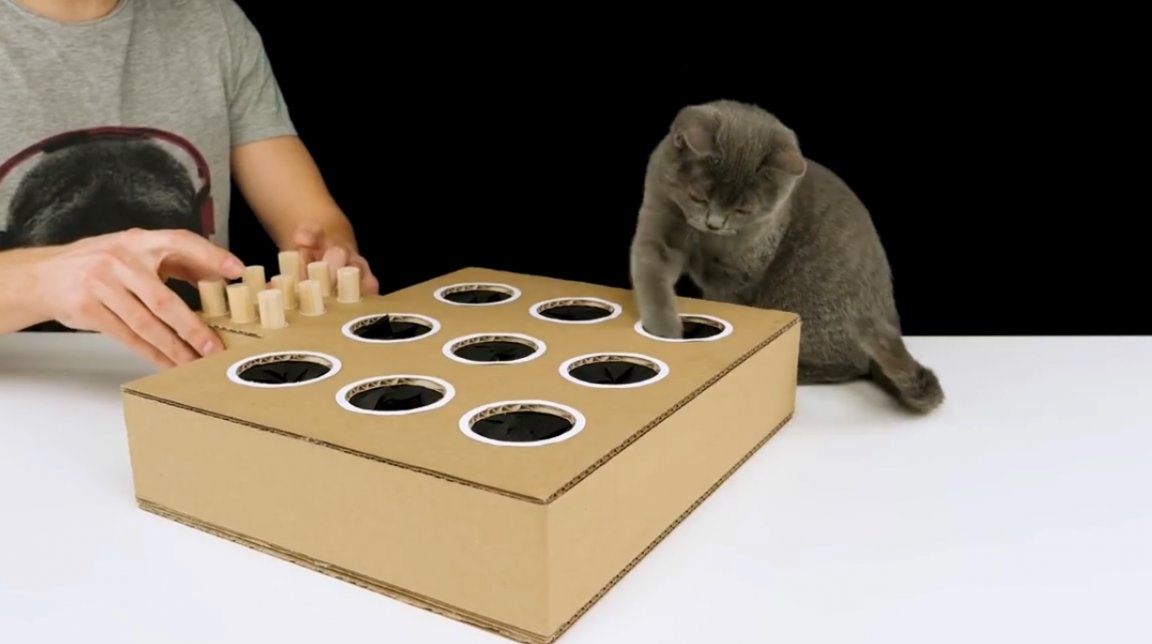
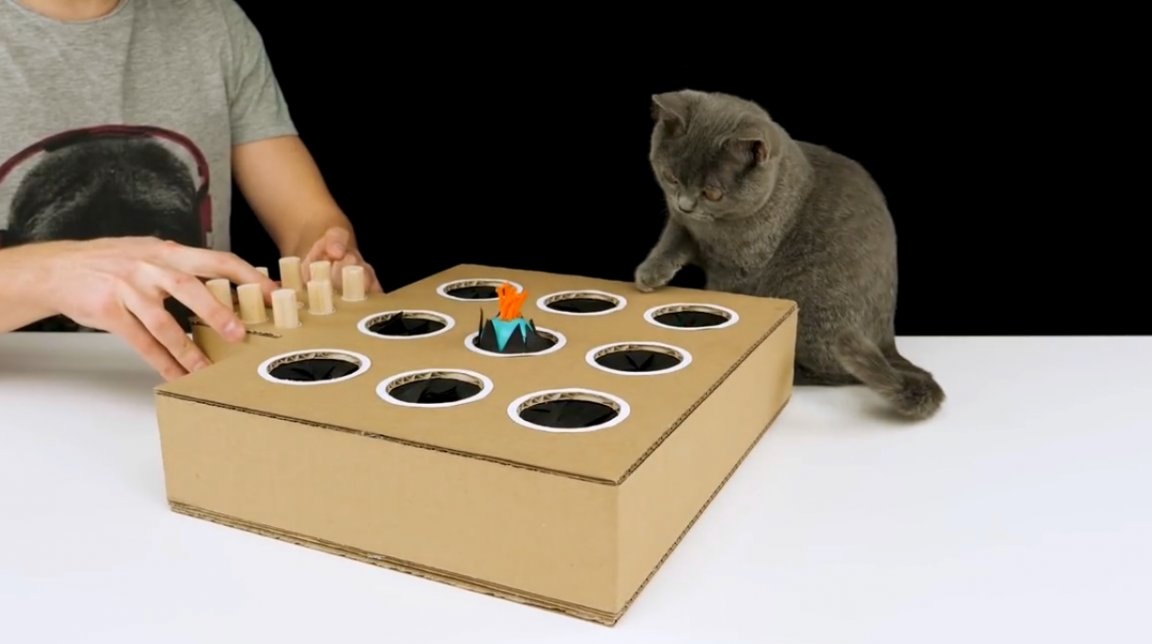
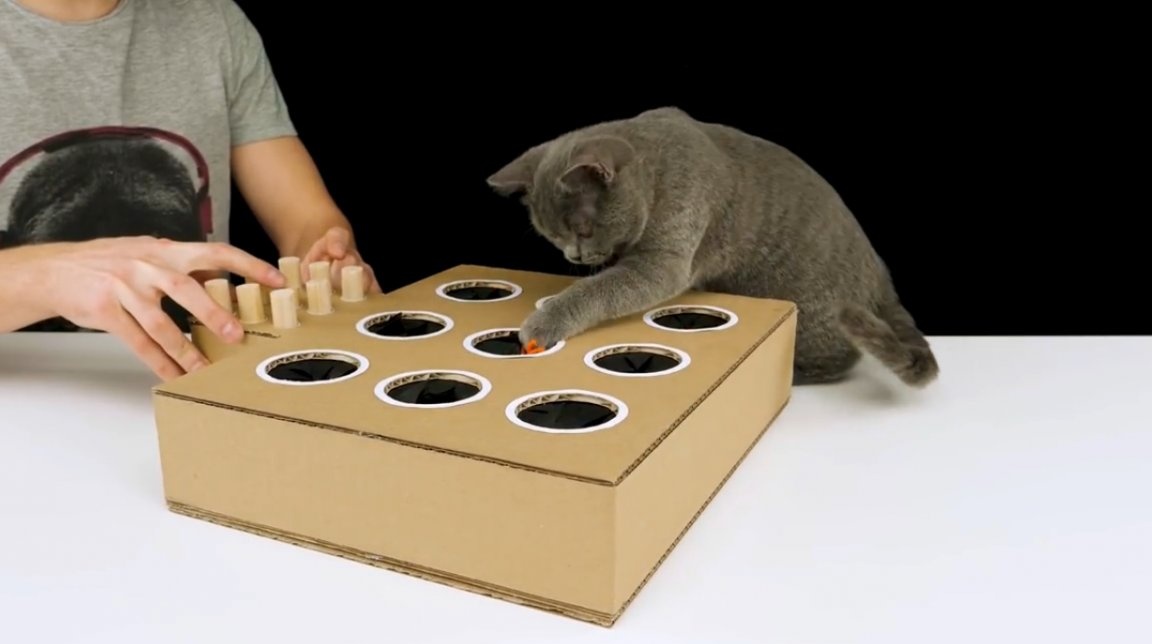

Now you can have fun with the cat, and check its reaction. And if besides cats there are also children, then entertainment for the whole family is provided!

I thank the author for a very simple and interesting idea of a homemade toy!
In the process of writing the article, I had the idea to replace the figures with pieces of hard sausage. But then you have to do spring-loaded hatches.
If you have interesting homemade products, share them on this site. Here you will get a real reward, not a “bunch of green stuff" at the entertainment forum.
All good mood, good luck, and interesting ideas!
Author video can be found here.