
Surely many of you would like to have at least a small jointer in your workshop.
In this article, the author of the Amazing Woodworking Techniques YouTube channel will tell you how he implemented this project in a fairly simple way.
This homemade product is very simple to manufacture, but requires high precision parts. It is quite simple to manufacture, however, boards with high quality processing will be required.
Materials
- Pine pallet board
- sheet plywood
- spring
- Wood screws, furniture nuts, screws, nuts, washers
- PVA glue.
Tools used by the author.
— Electric planer
— Safety pusher
— Manual frezer
— A circular saw
— Screwdriver
— Countersink drill
- Square, pencil, ruler, wrench, screwdriver, hammer.
Manufacturing process.
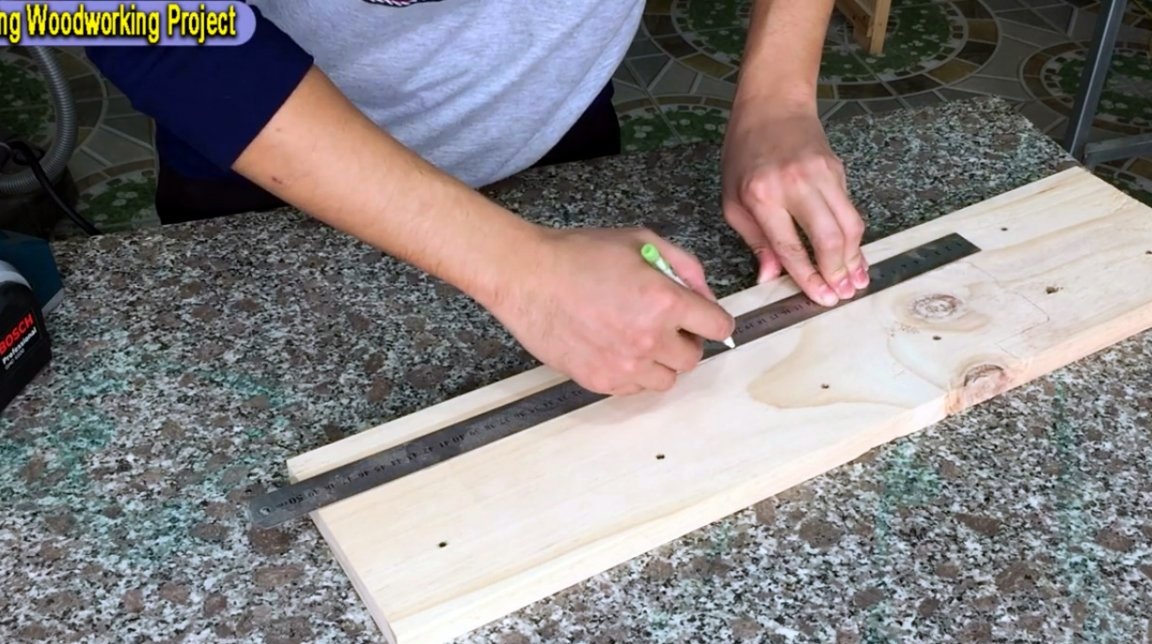
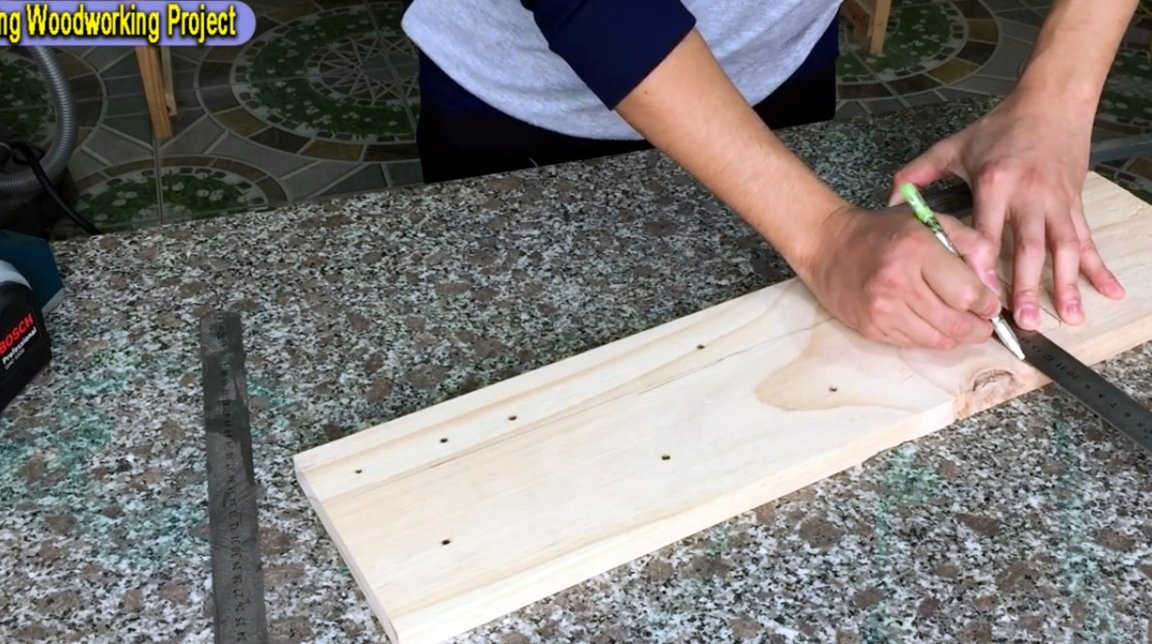
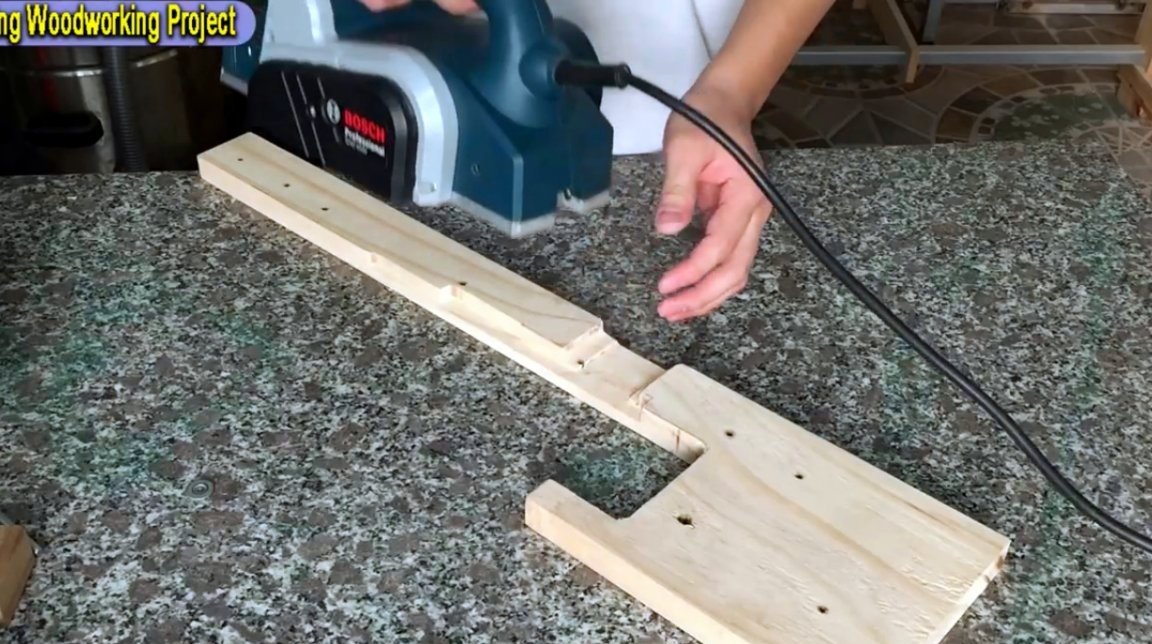
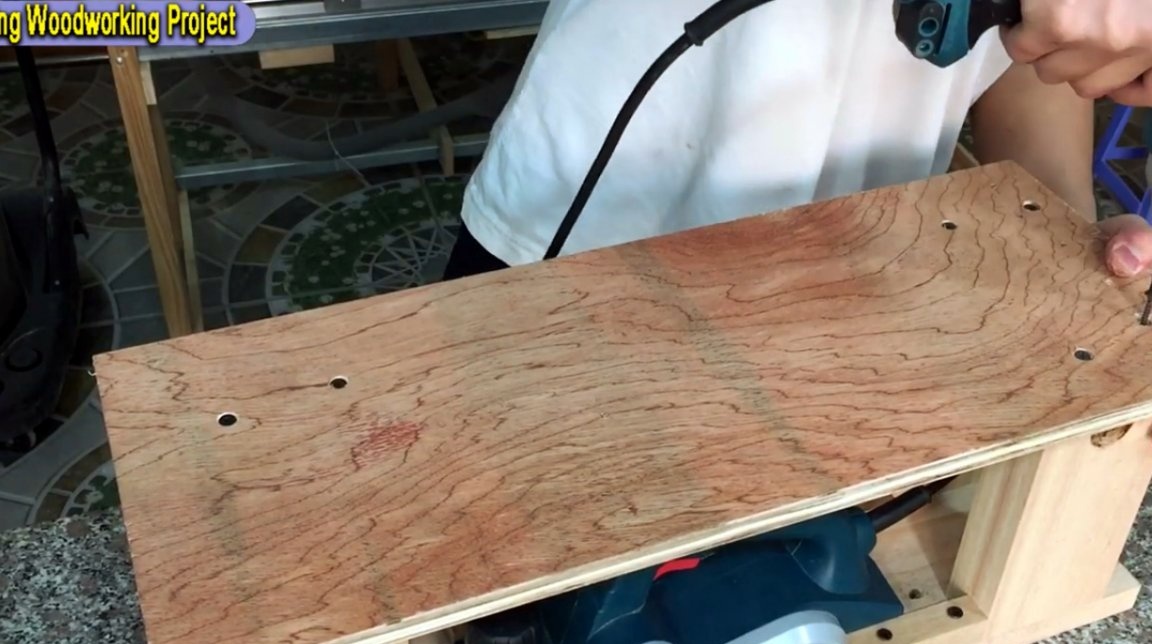
First of all, the master marks out the contours of an electric planer on a pine board.
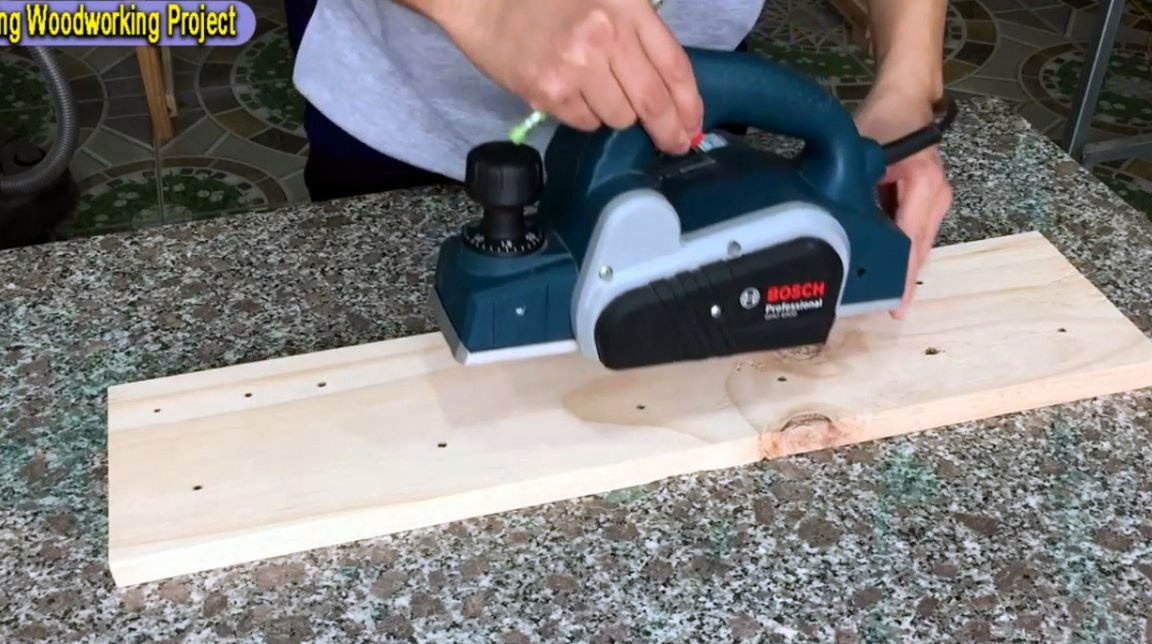
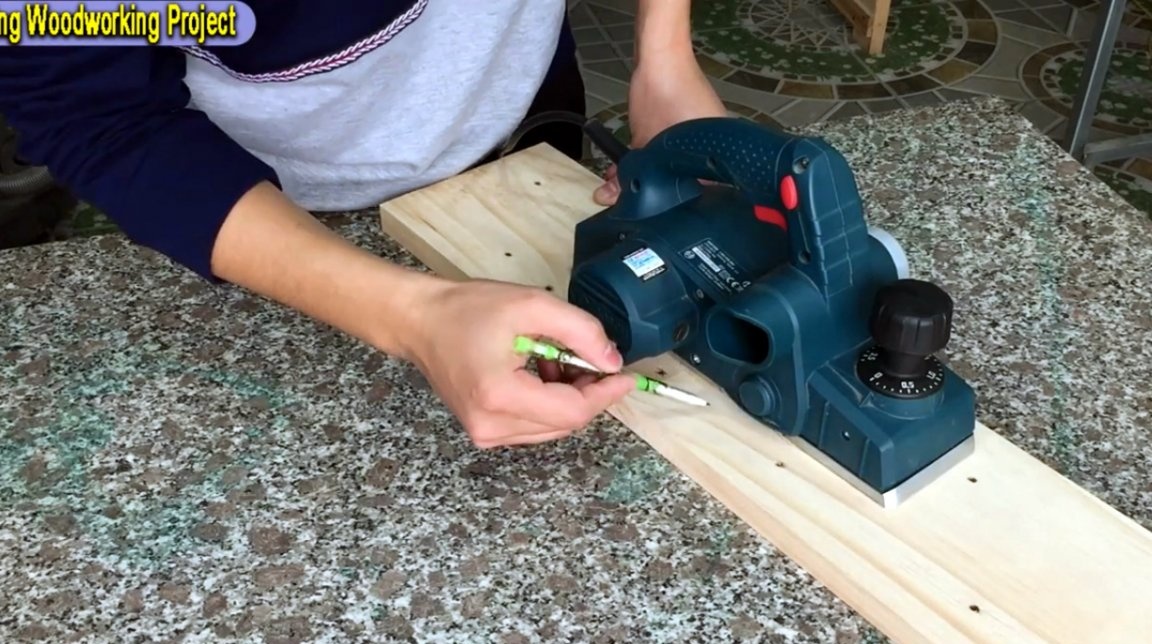
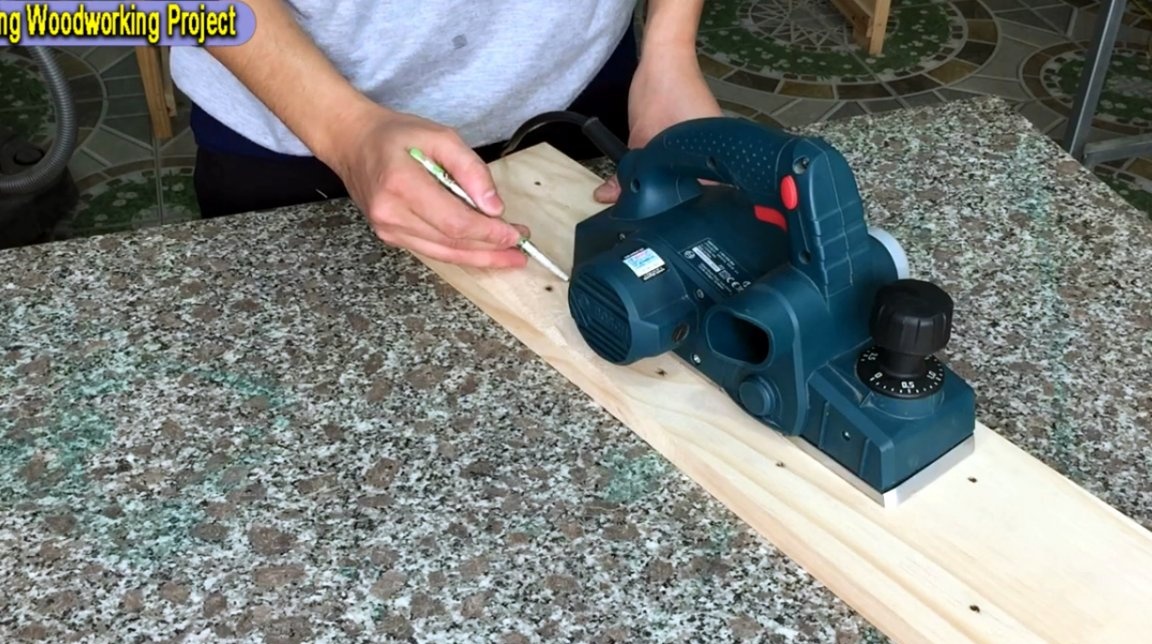
Future slots for the working part and recesses for the engine housing are also marked.
The author cuts off excess material on a makeshift circular table with a carriage.
The grooves for the engine housing, and other technological notches, he performs using a milling machine.
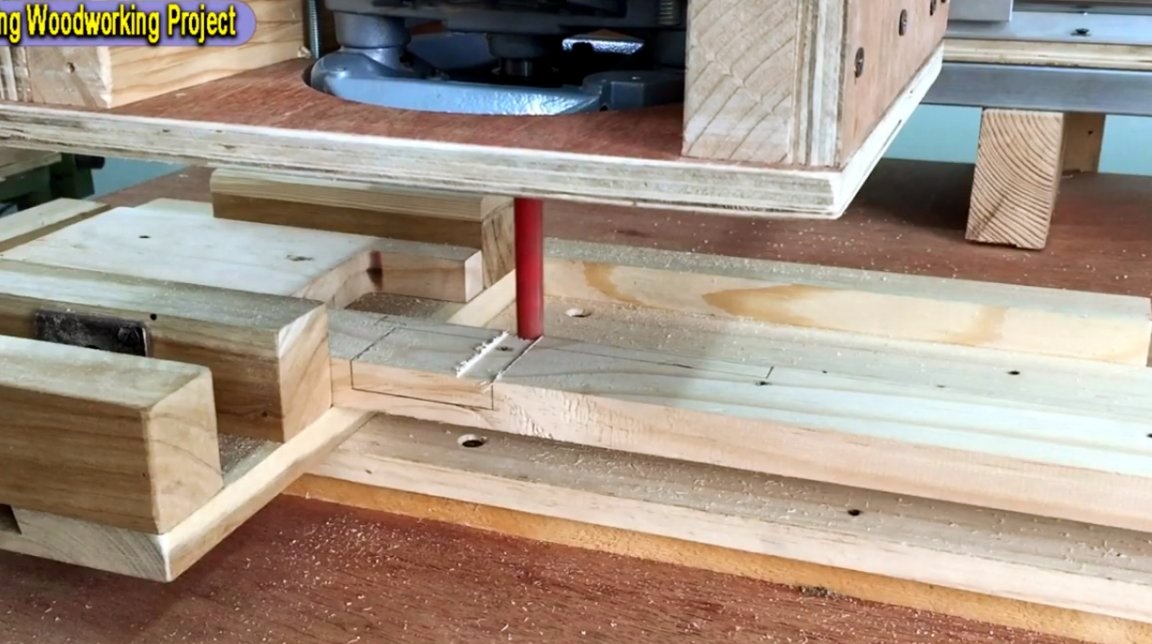
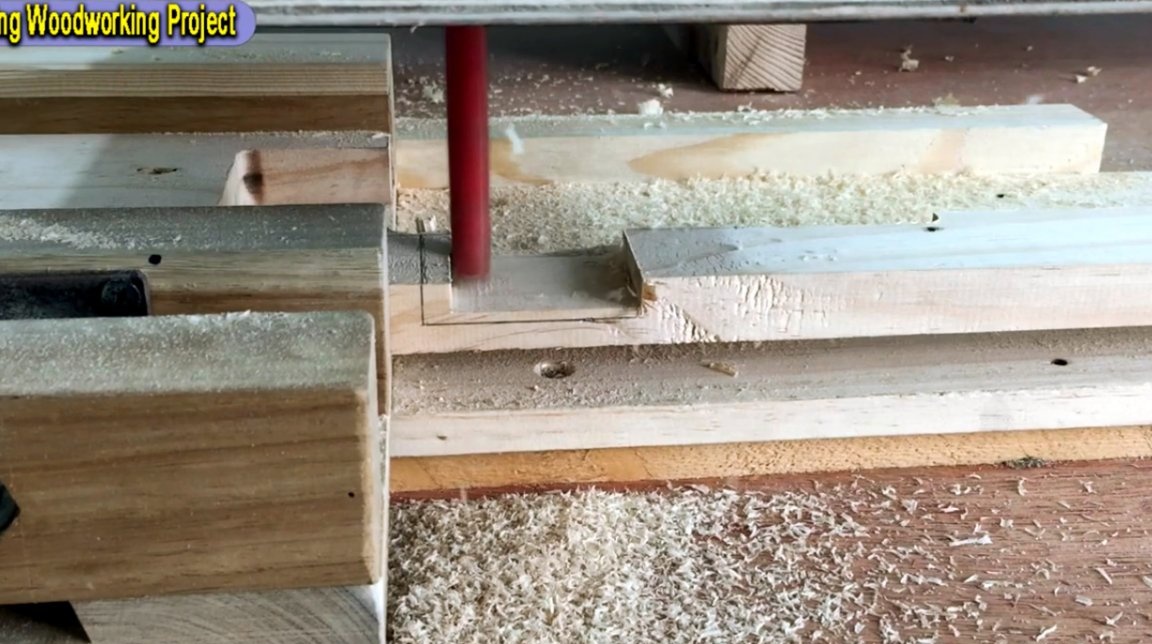
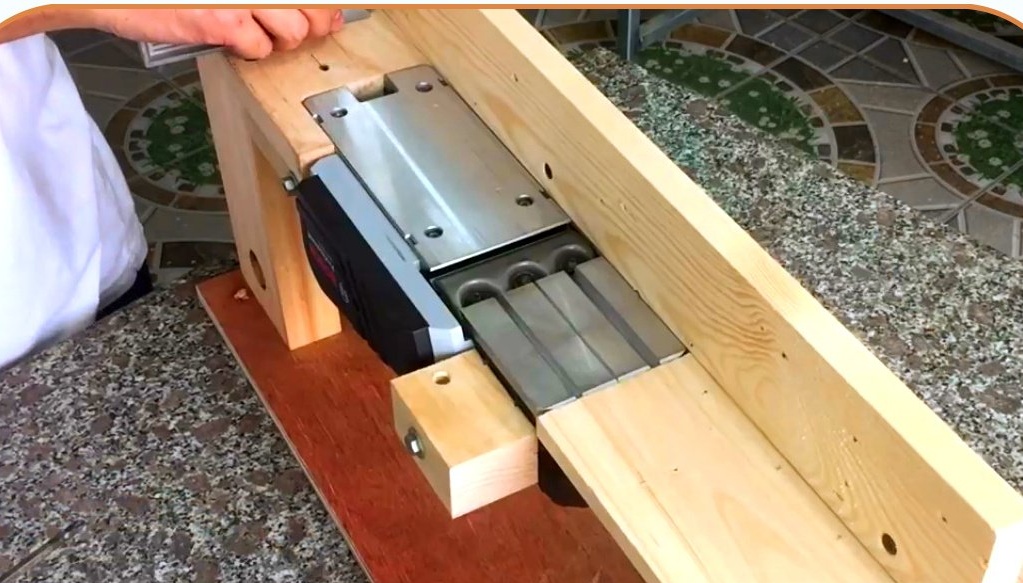
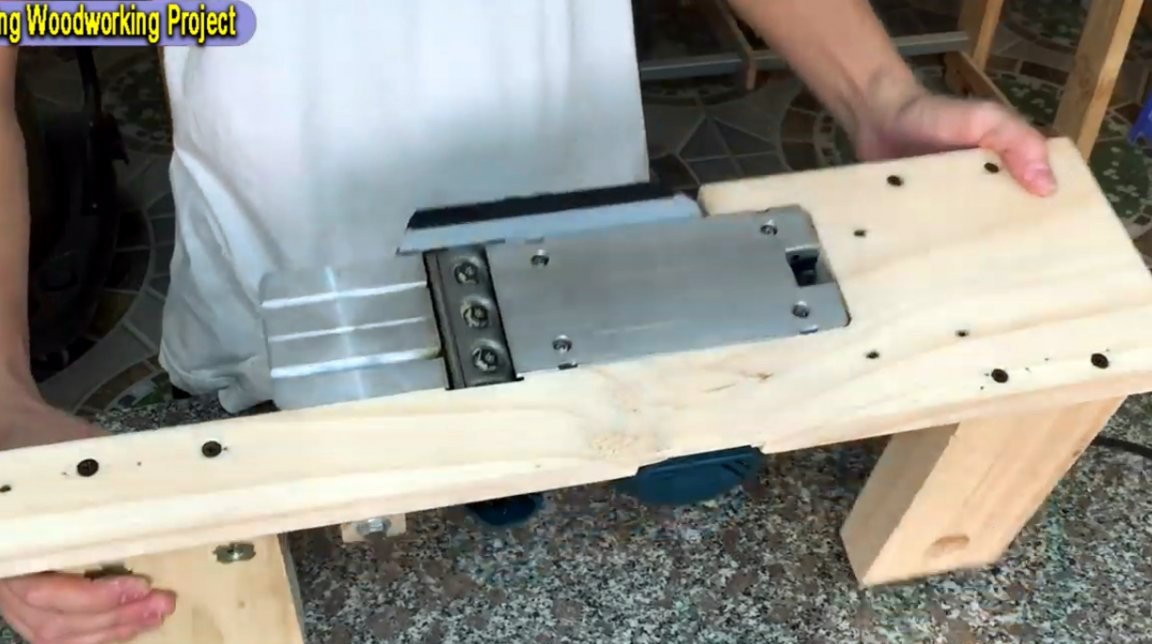
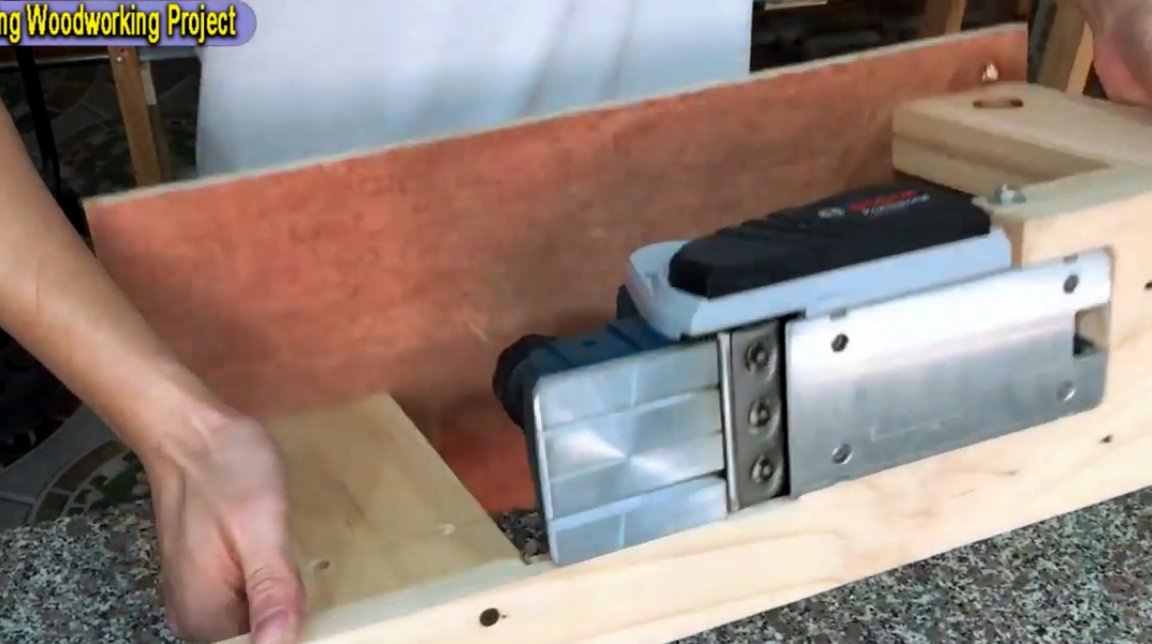
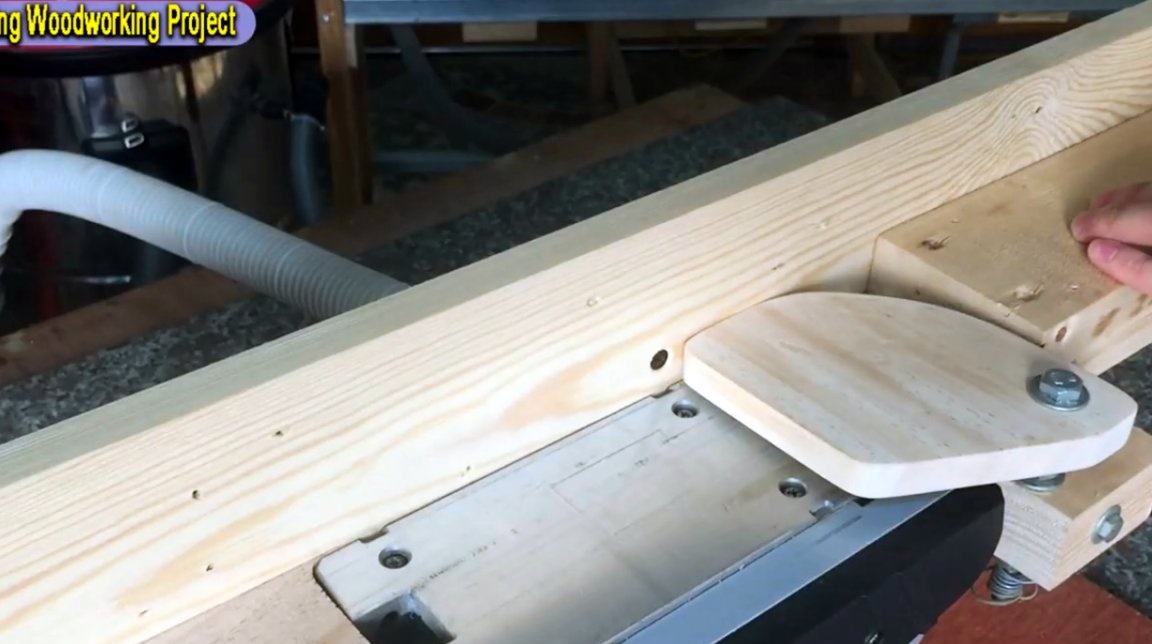
The result is a platform on which the planer himself sits. It is imperative that the top of the board is perfectly flat.
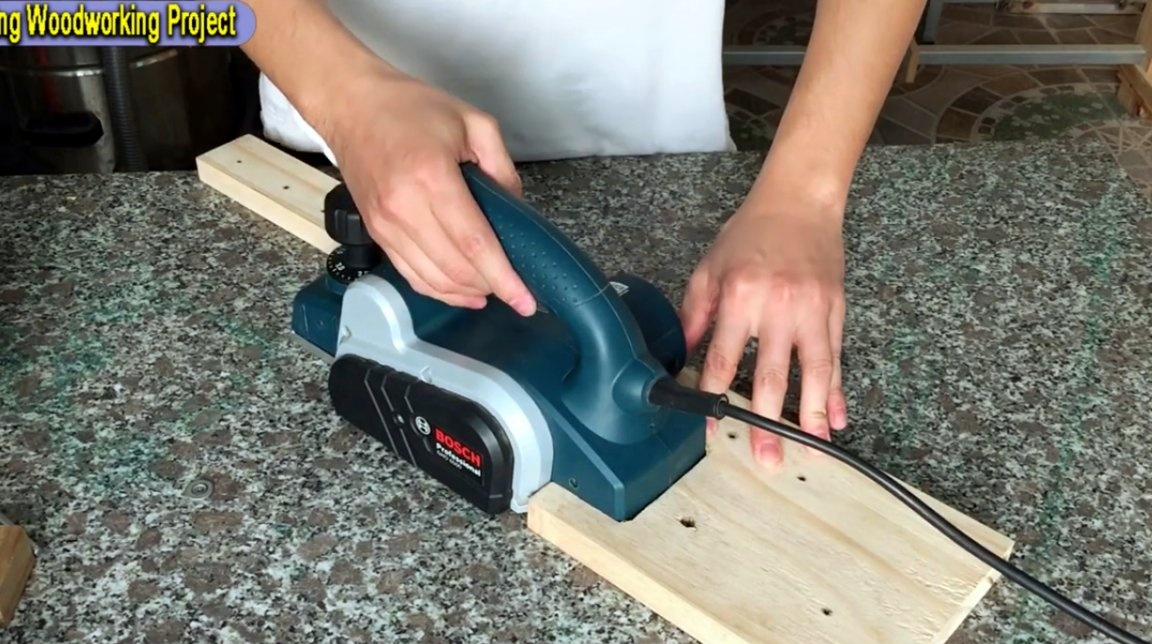
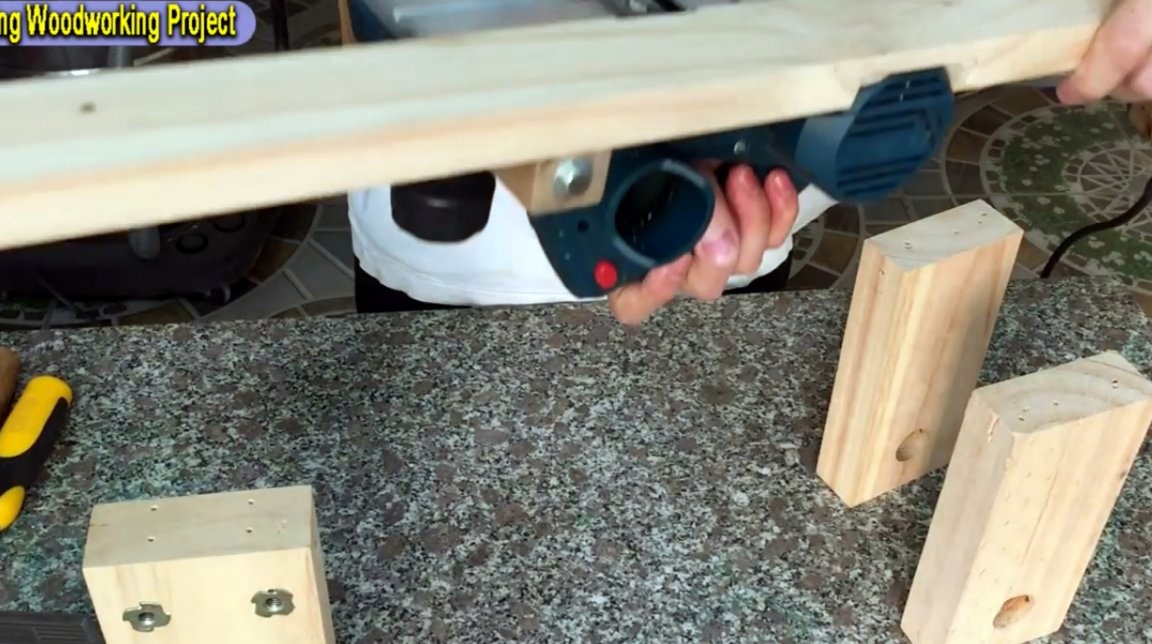
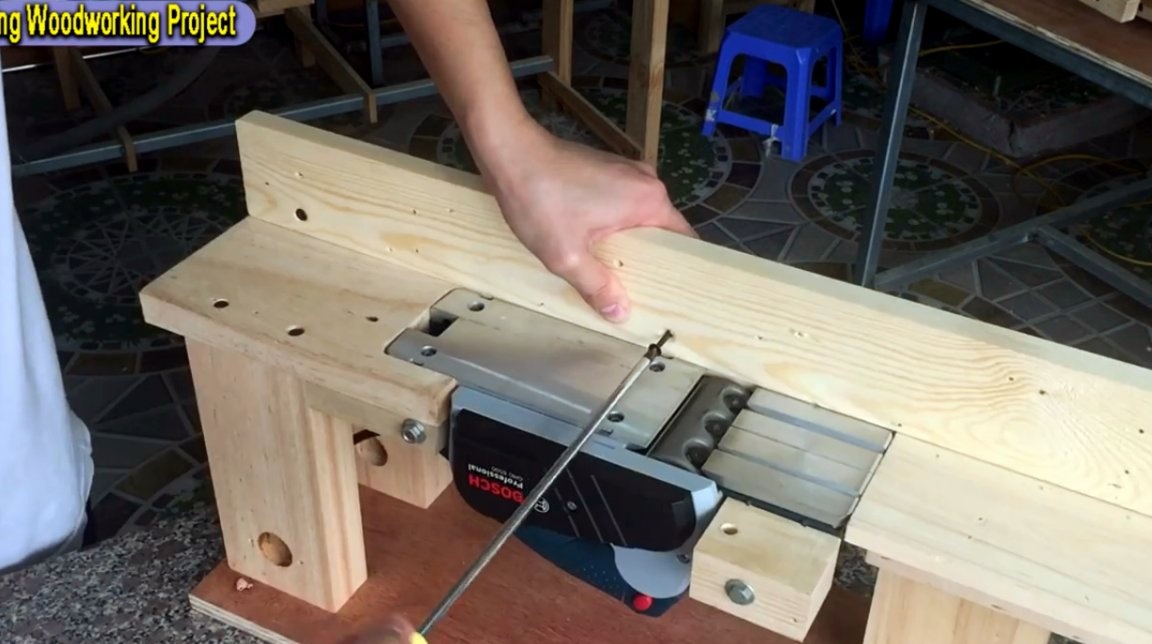
To attach the tool to the table itself, the master secures its back with two stands, and a bolt through the hole for the handle.
After aligning the coasters, they are screwed to the table with screws on the bottom side.
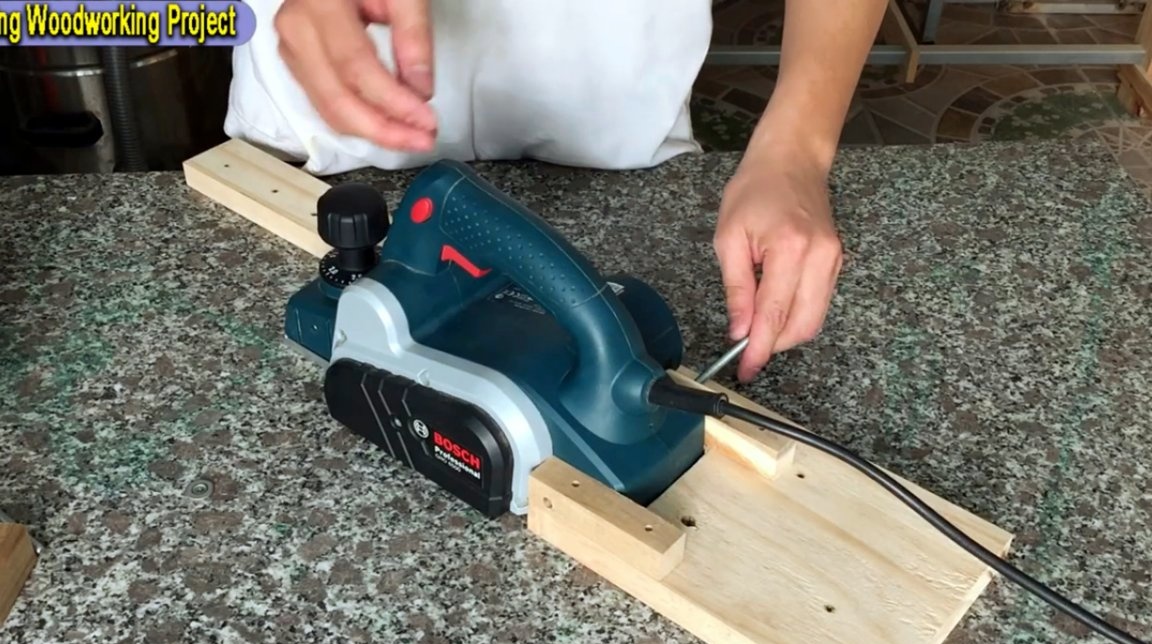
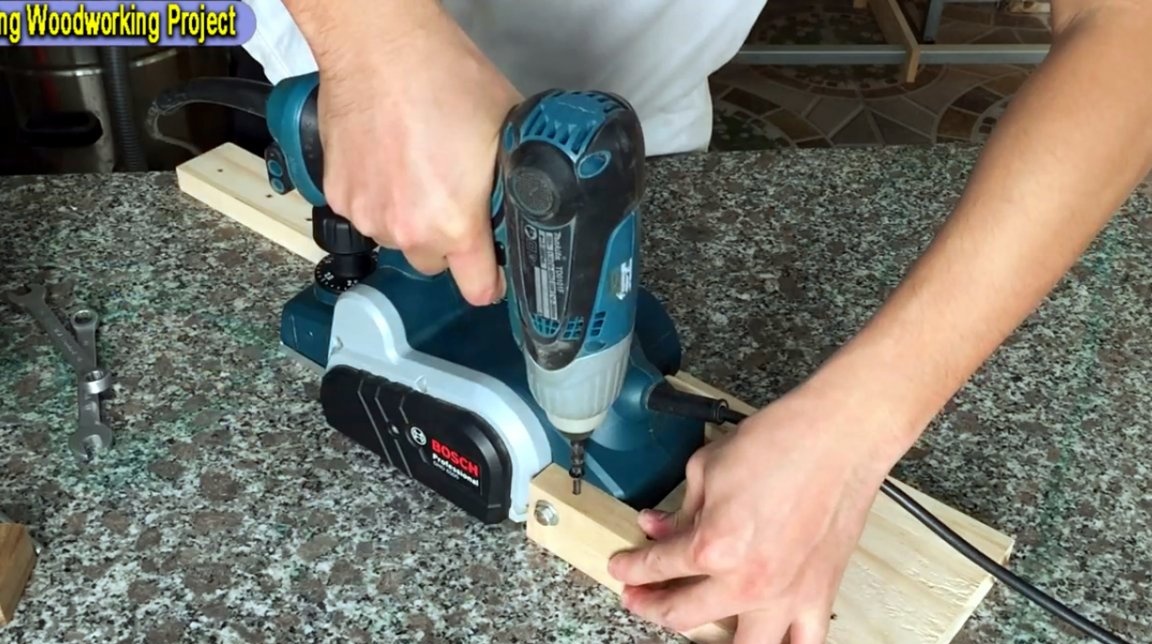
The front part of the tool is attached in a similar way, however, in this case, the screw does not pass through, but is firmly fixed in the hole.

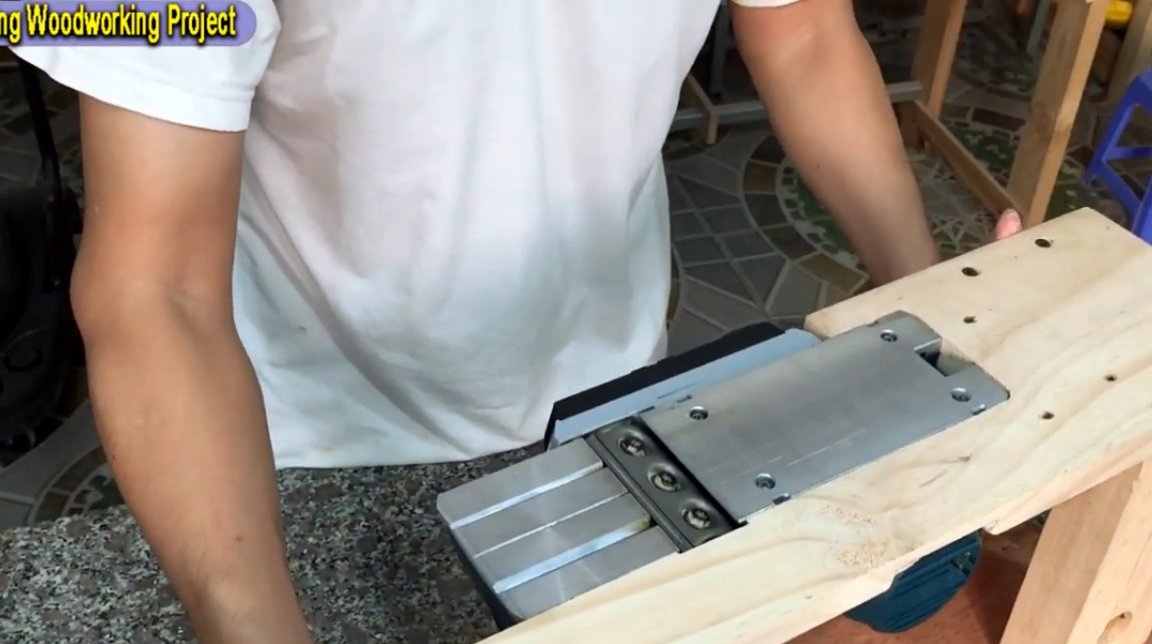
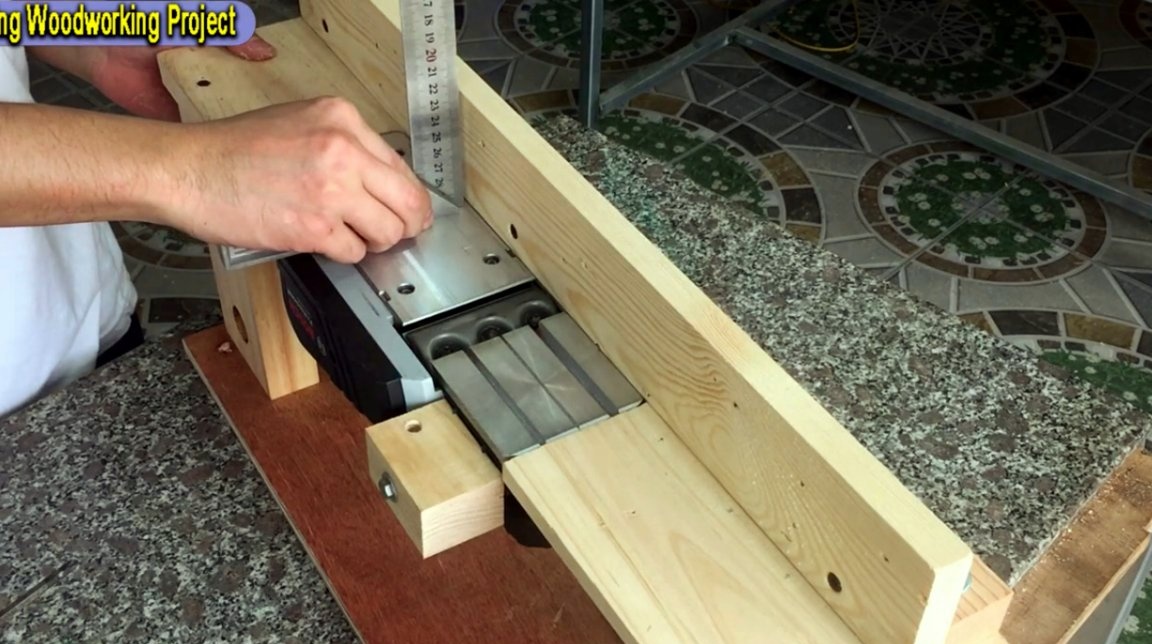
The whole structure obtained is turned over to its normal position, then the alignment of the sole and the table is checked using a square.
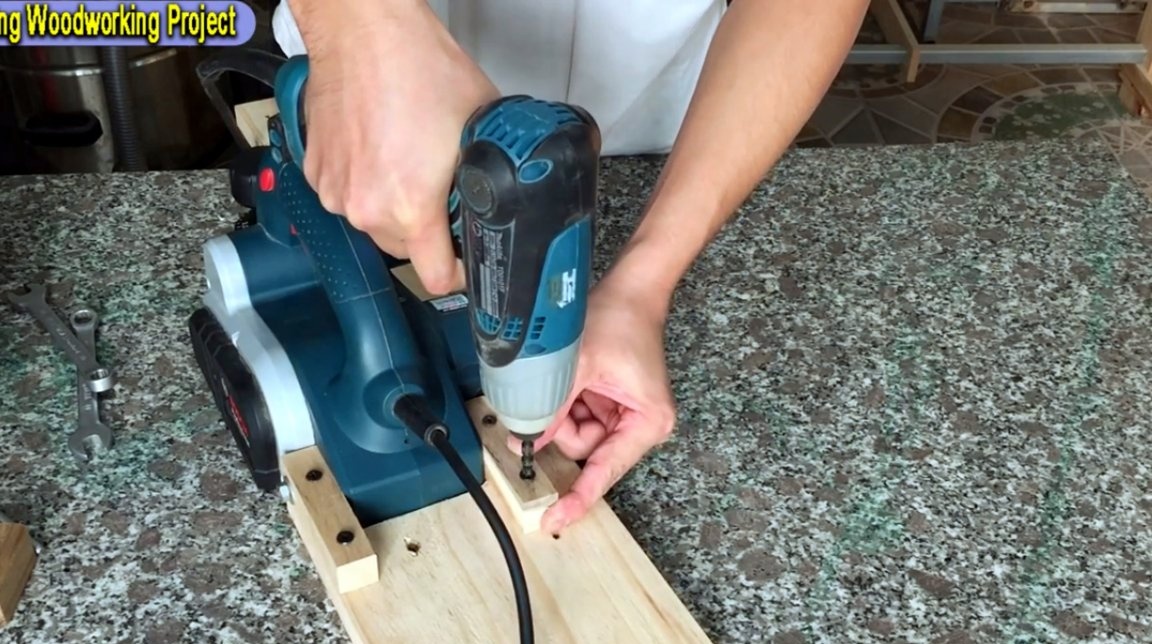
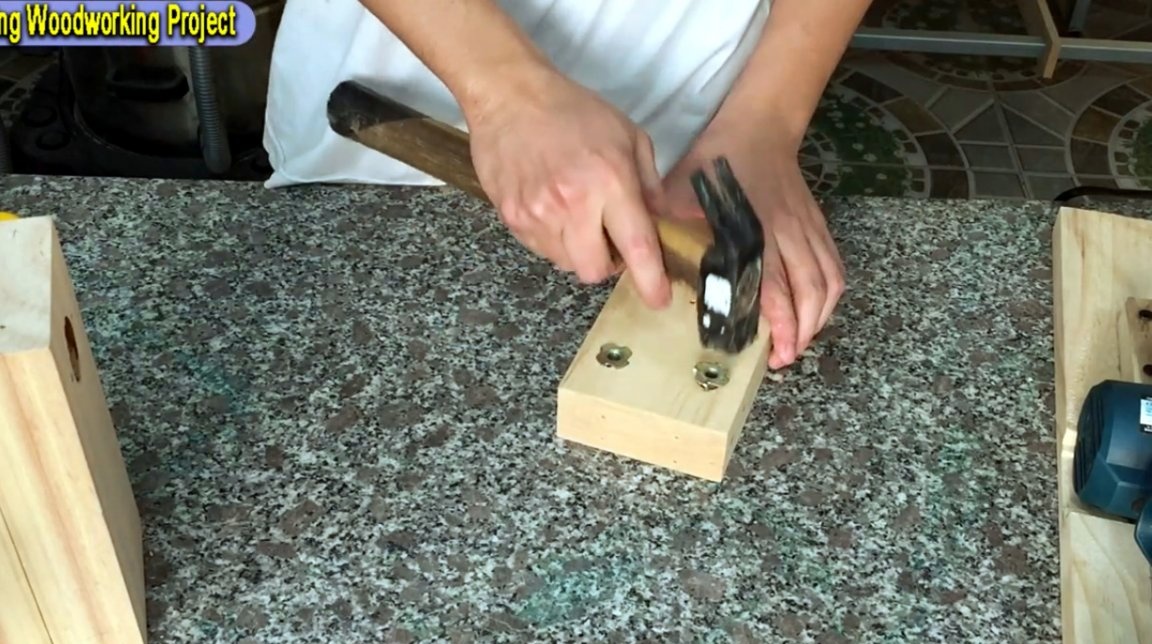
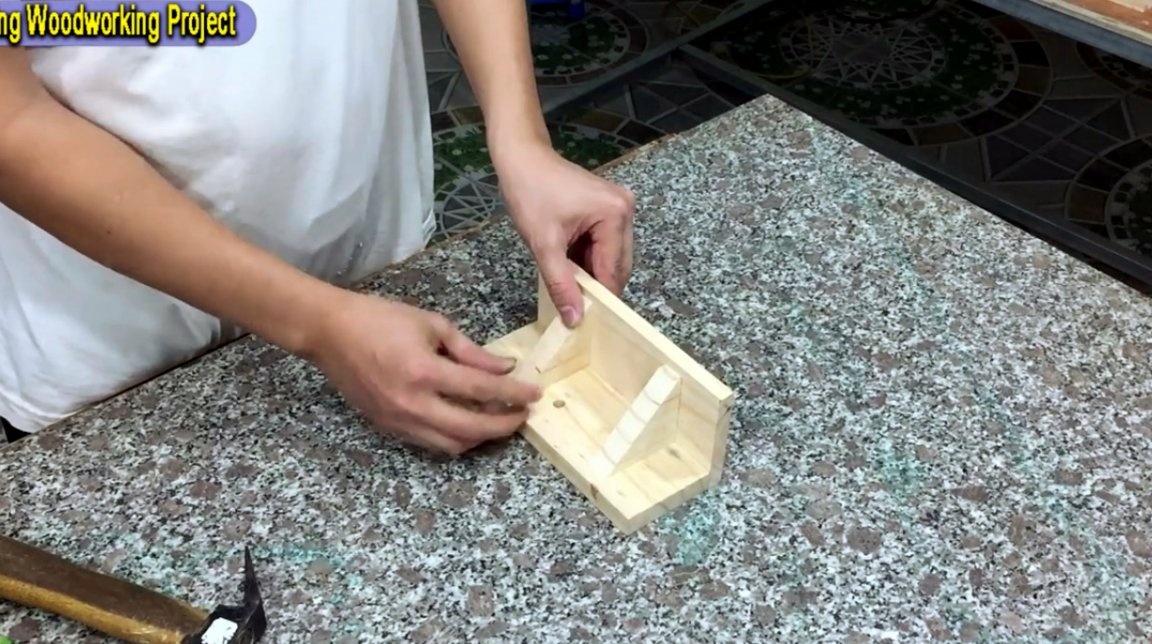
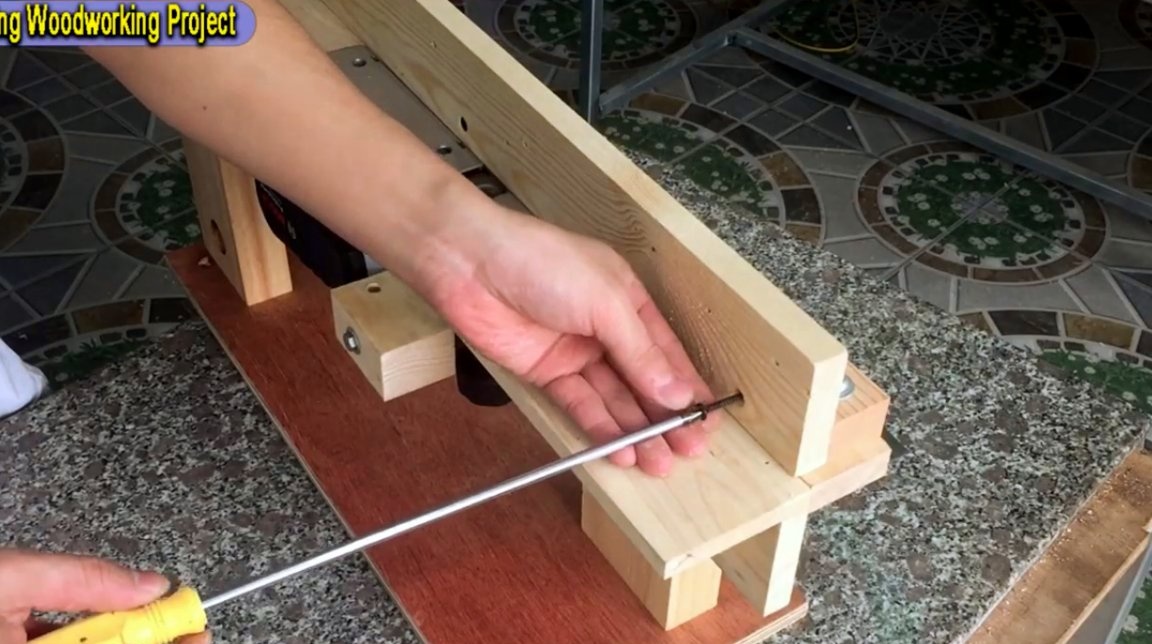
Next, you need to make three supports, in one of which through holes are drilled, and furniture nuts are hammered.
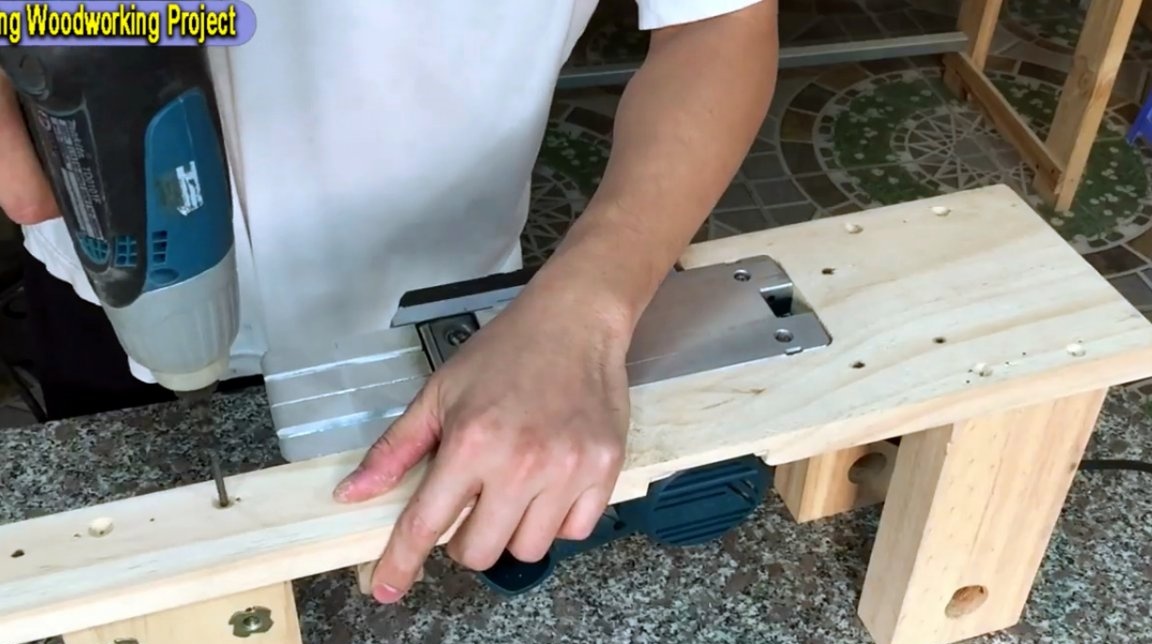
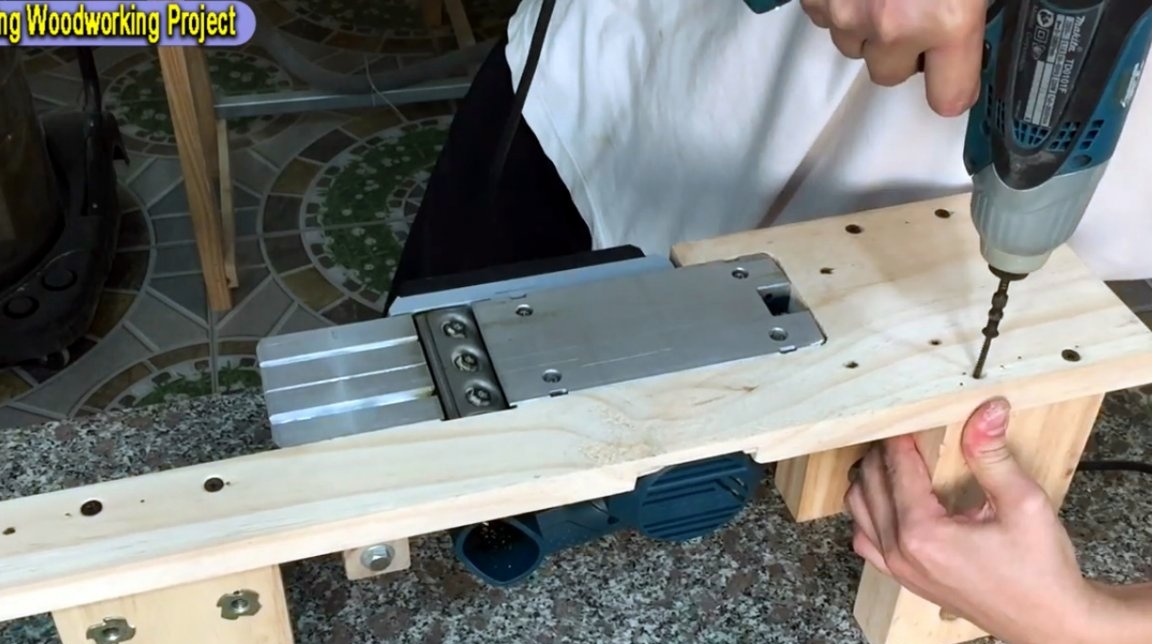
Now the table itself can be attached to the supports using long self-tapping screws, having previously drilled the pilot holes and countersink them.
The whole structure is turned over again, and a base of sheet plywood is attached to its lower part.

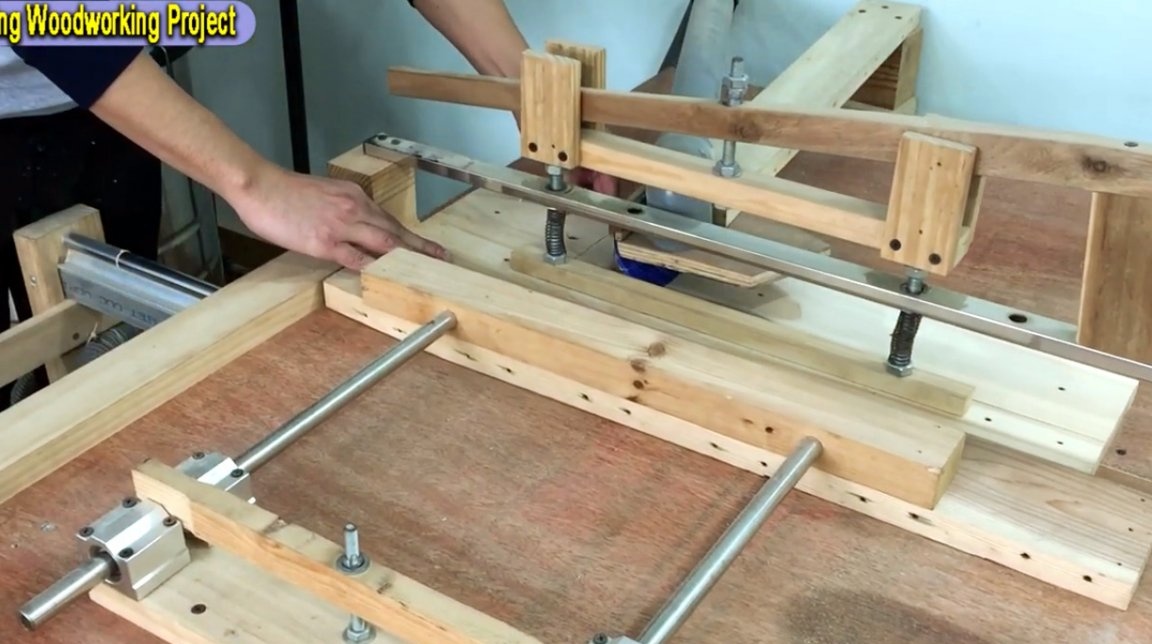
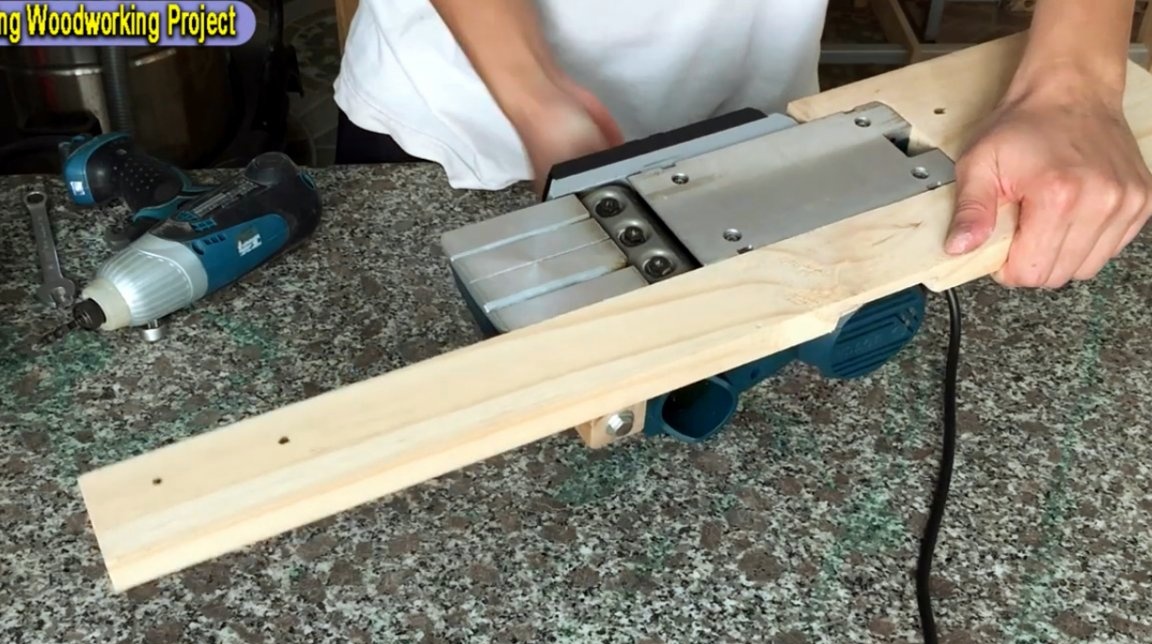
So, the basic design of the machine is very simple, and ready.
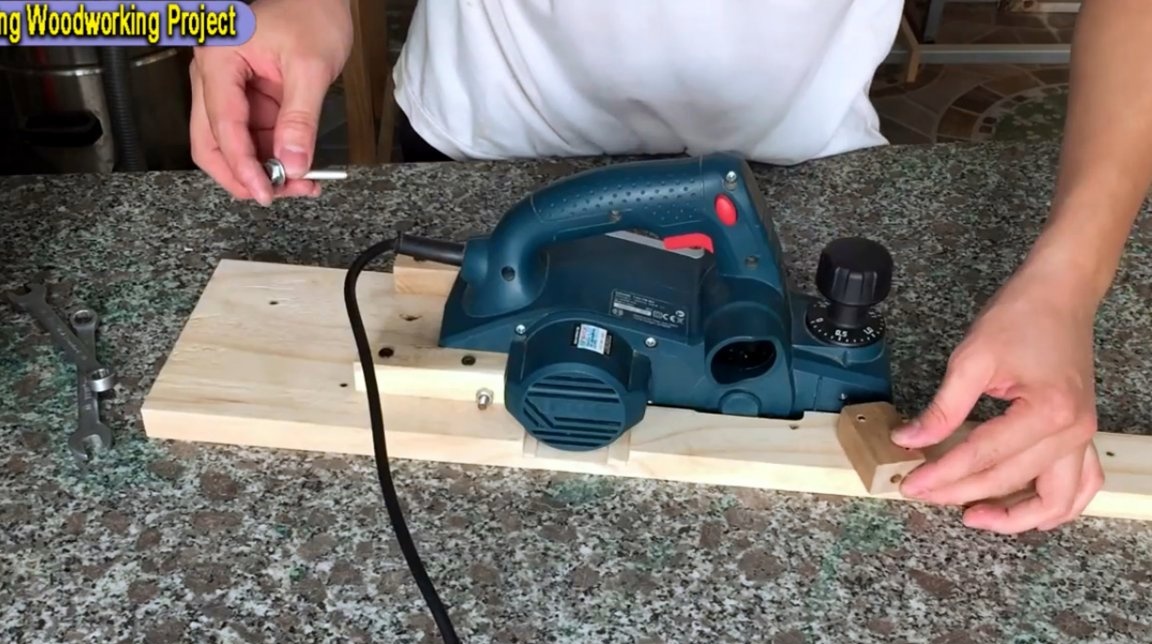
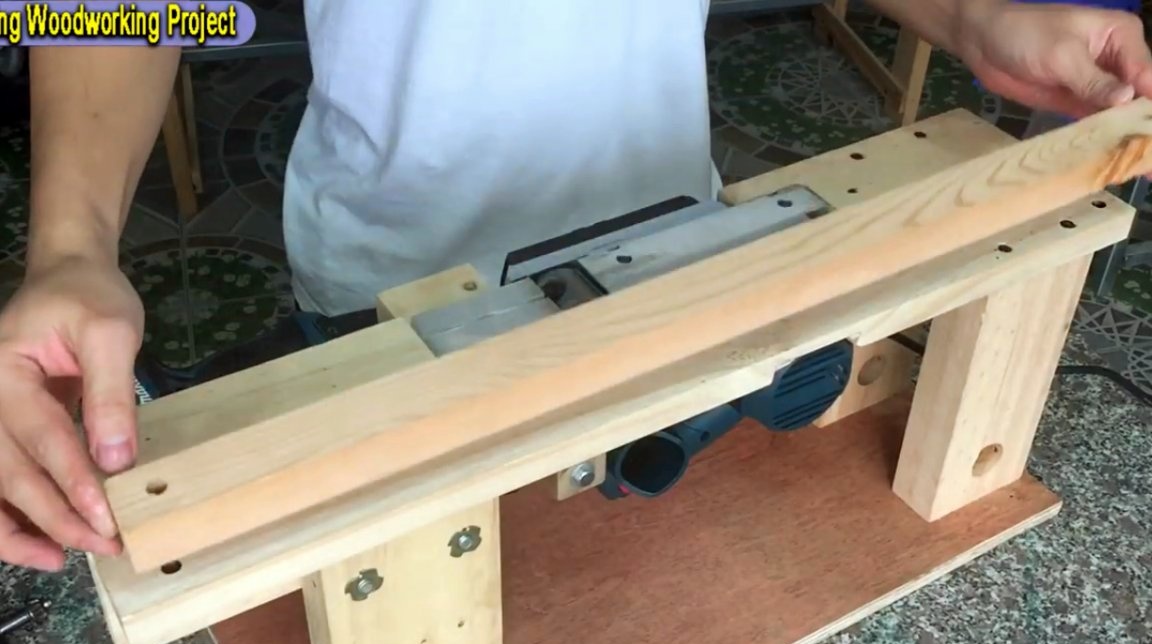
The next step is to make a small base pad.It can be made of boards or plywood of suitable thickness, and fastened together with a pair of corners.
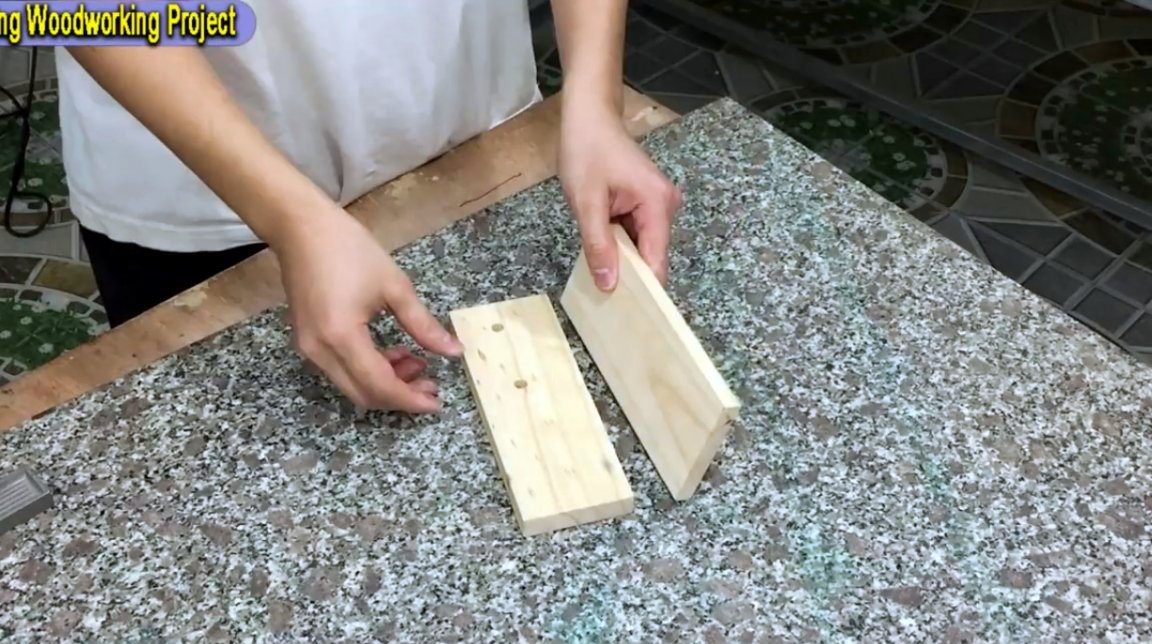
The support is attached to the extreme part of the body, forming one plane with an adjustable platform.
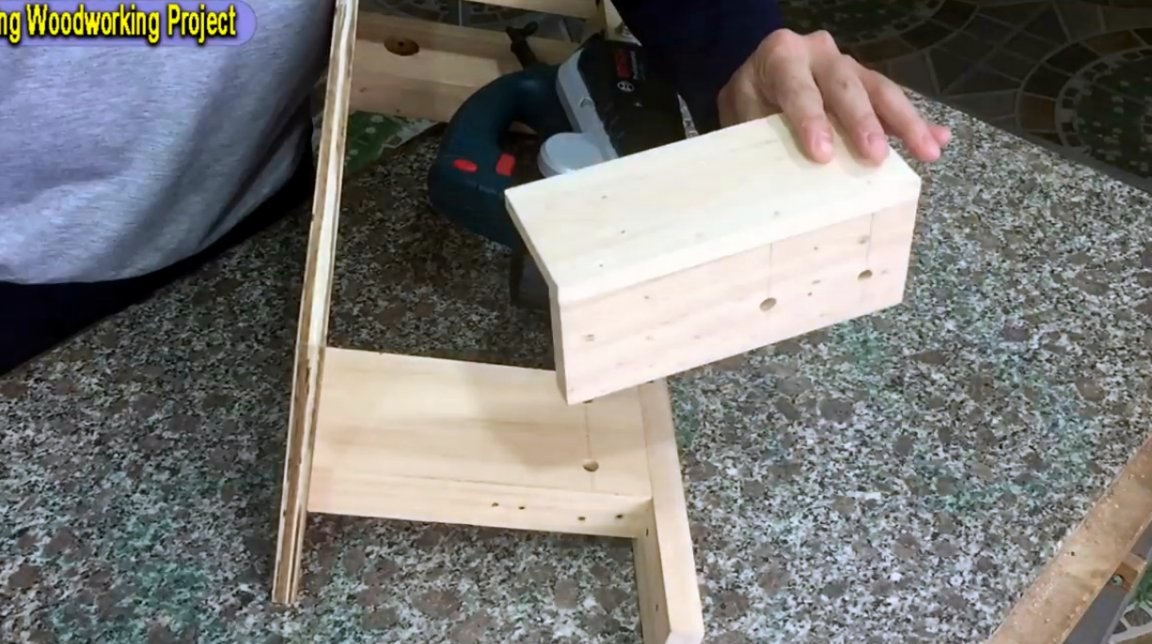
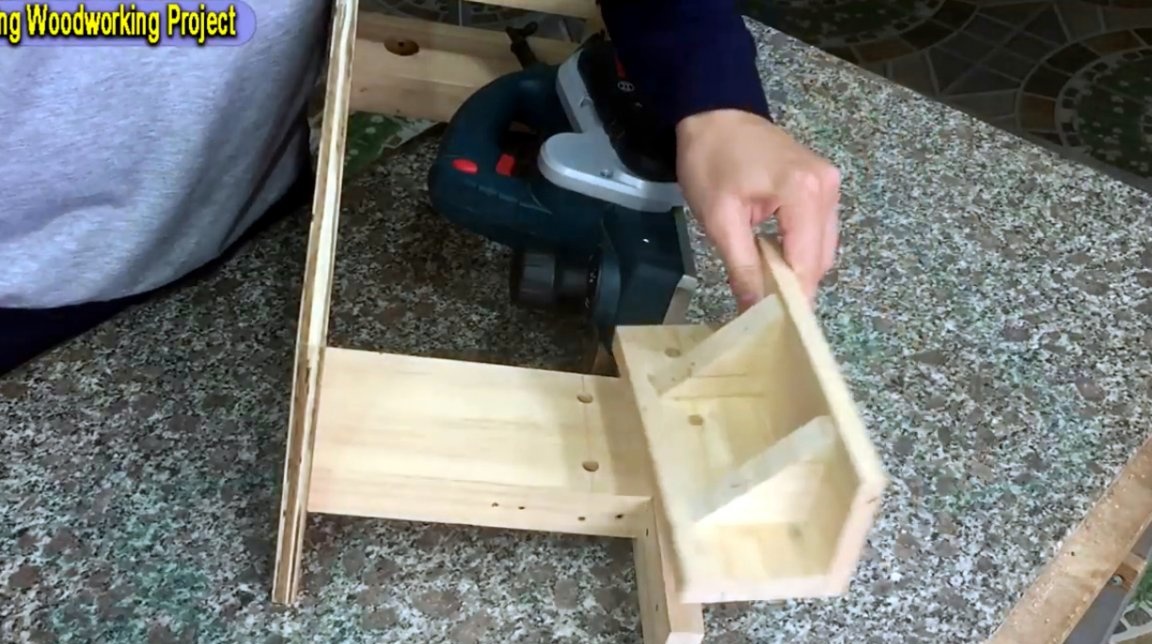
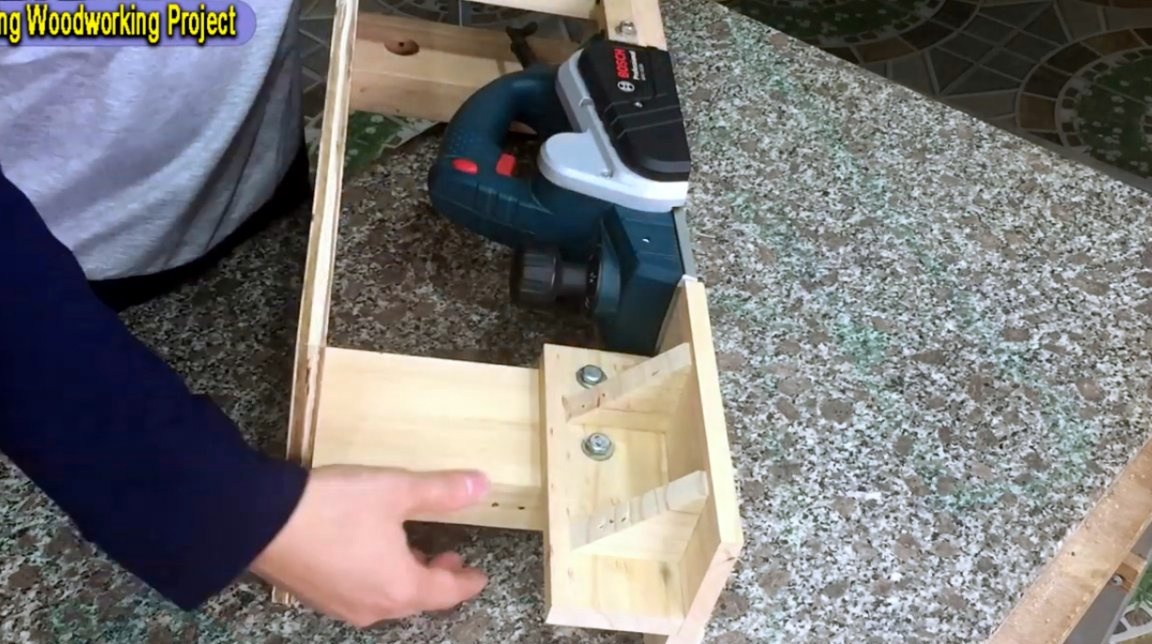
Due to the holes of a slightly larger diameter in the platform itself, it has the ability to adjust vertically, which will allow you to change the thickness of the material being removed.
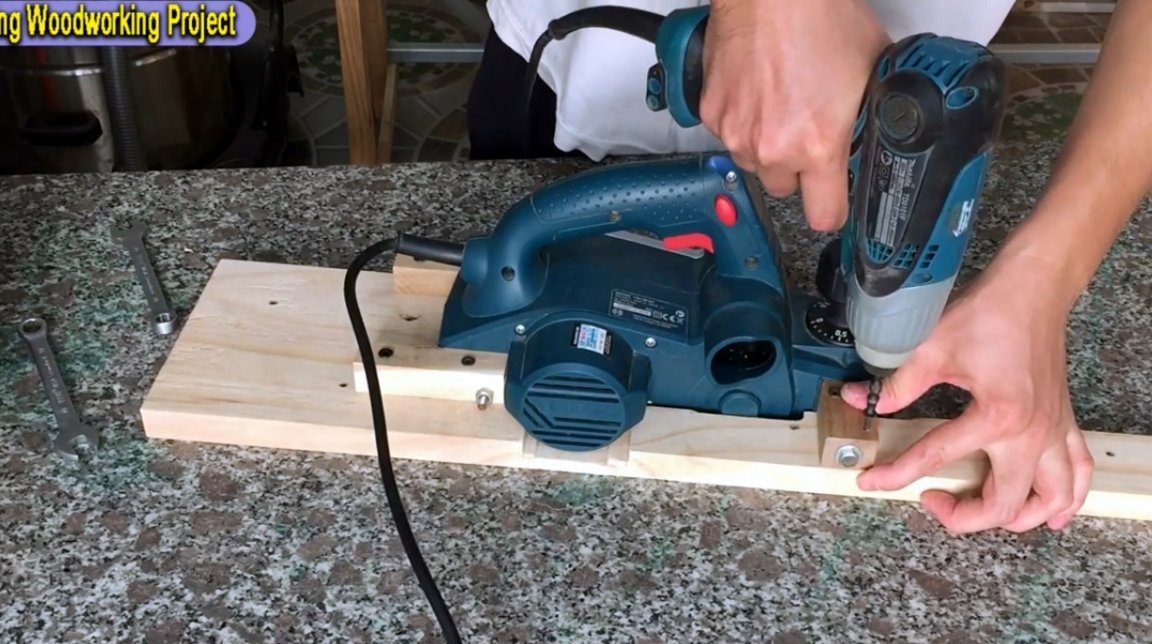
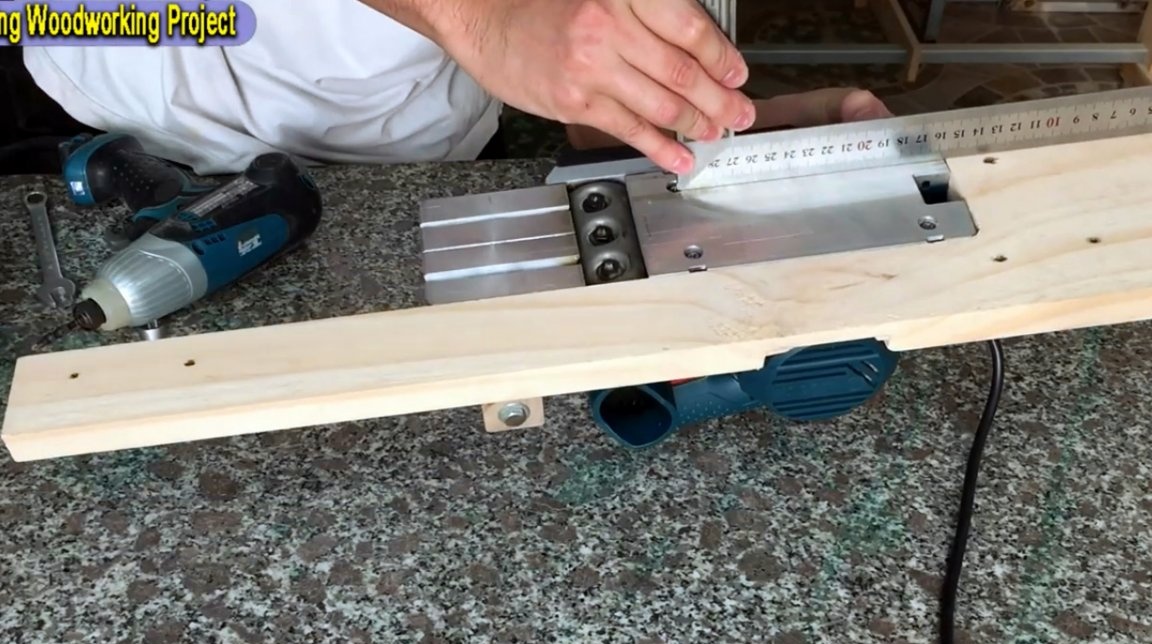
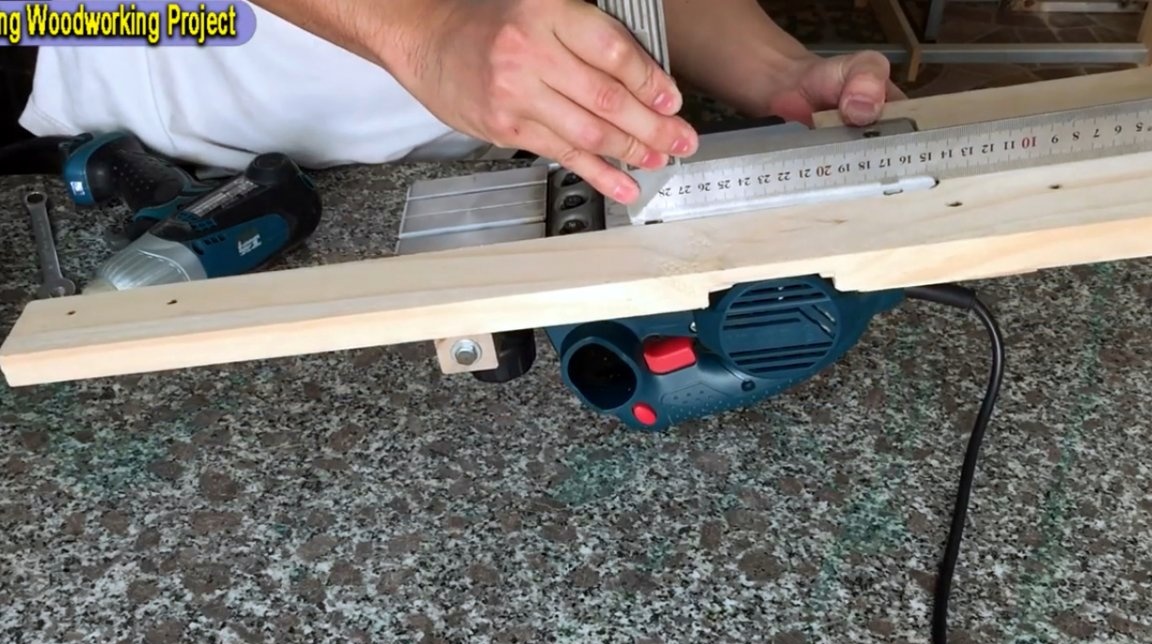
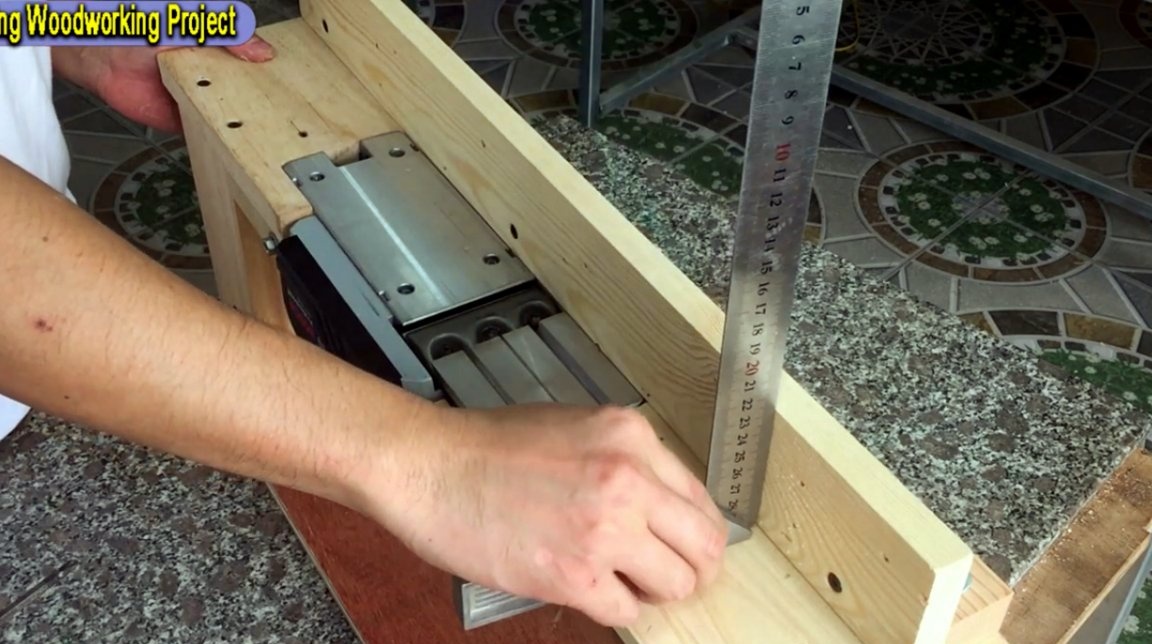
After leveling and fixing with bolts, the planes of the soles and props should be checked using a square or level. This must also be done diagonally.
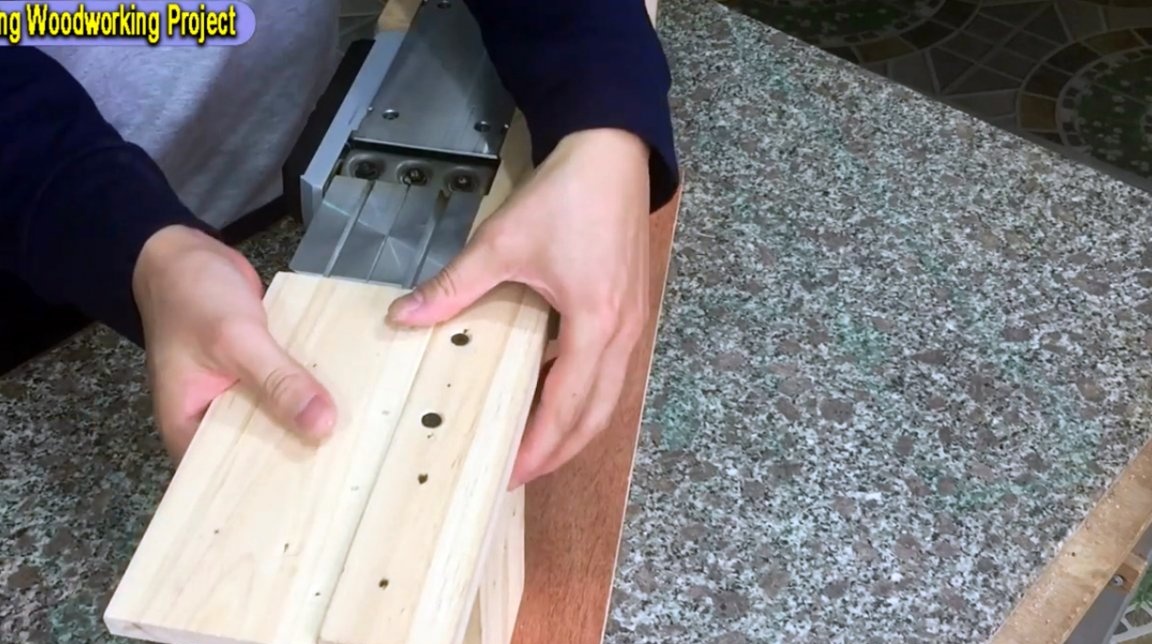
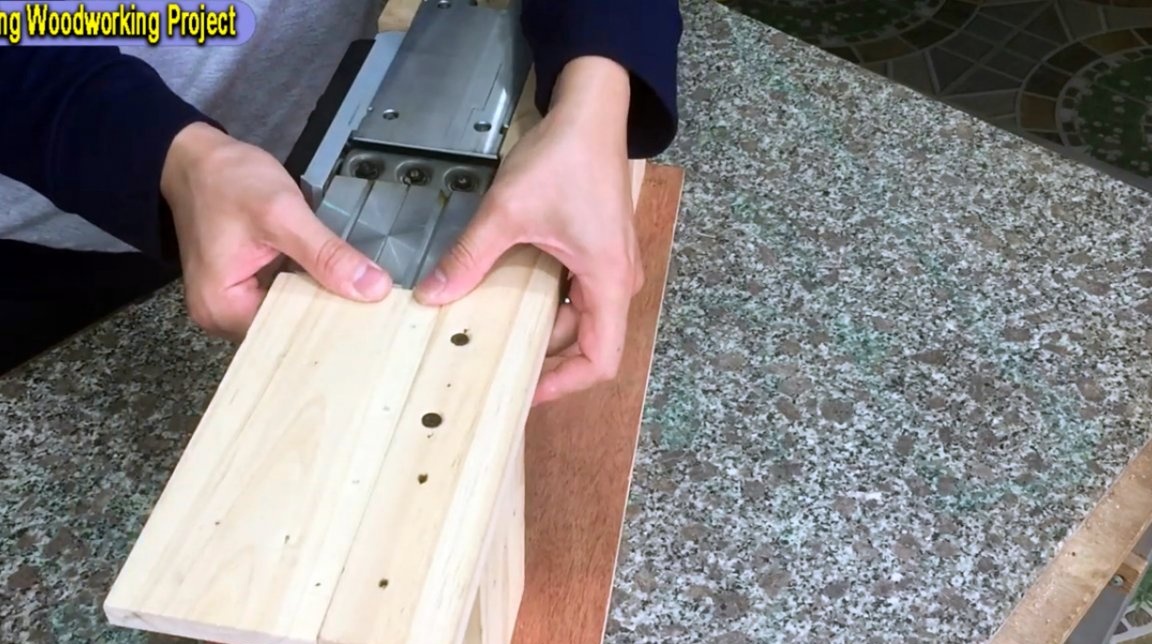
It’s time to install the side parallel stop. Its first part will be a pine beam. The master fixes it with the wing nuts, which will enable subsequent adjustment.
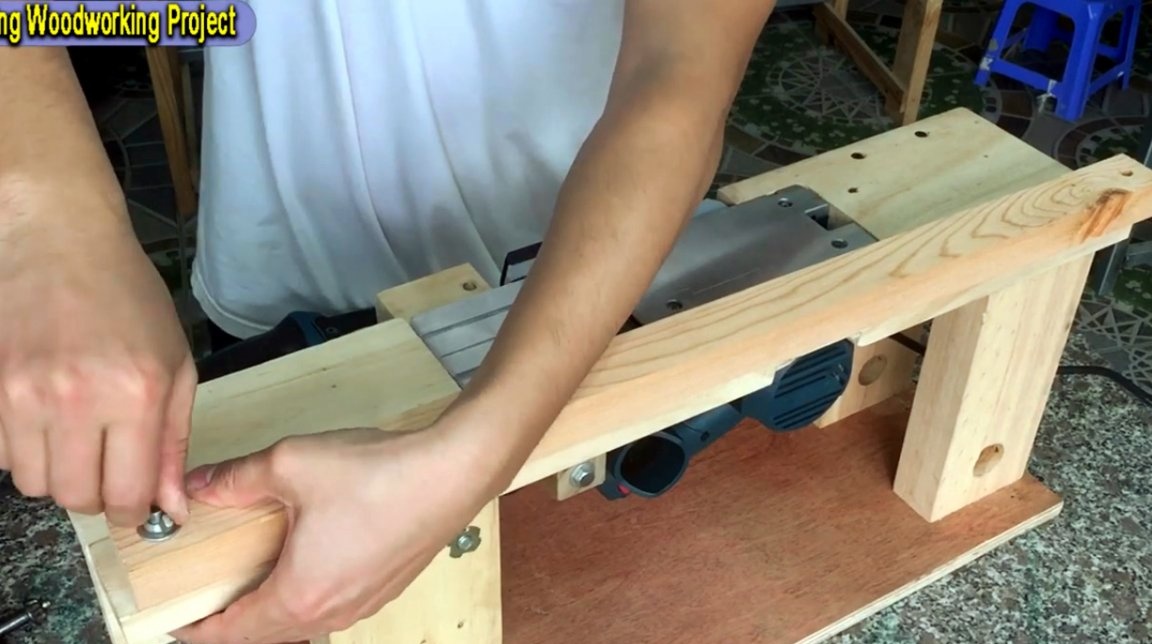
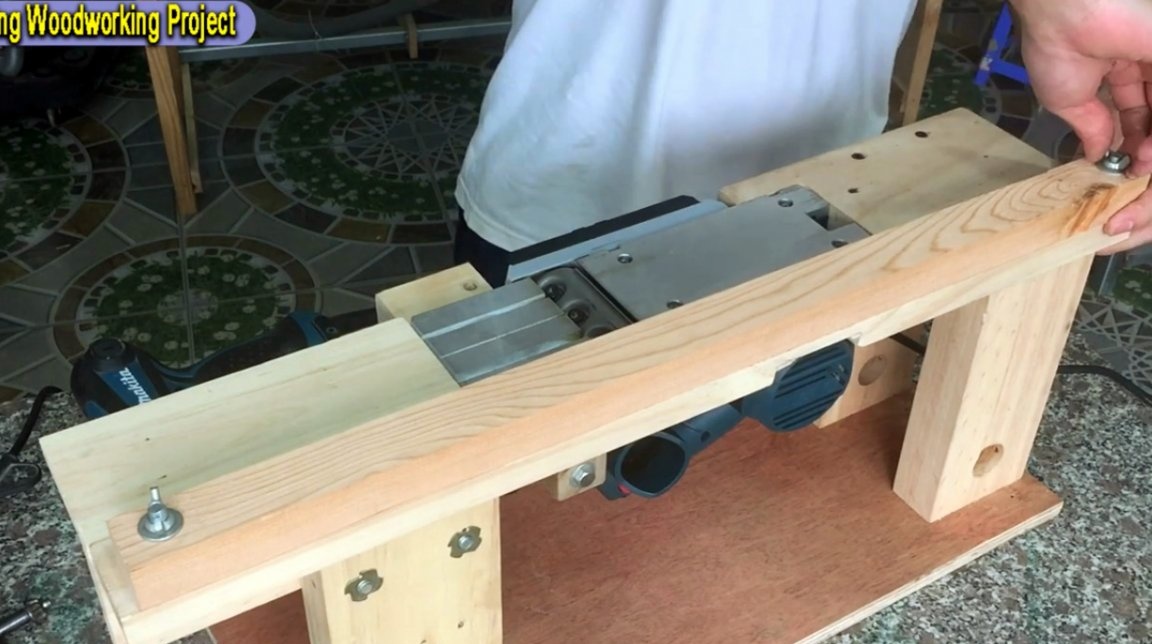
Then another plank is screwed onto the bar, also from a lined pine board.
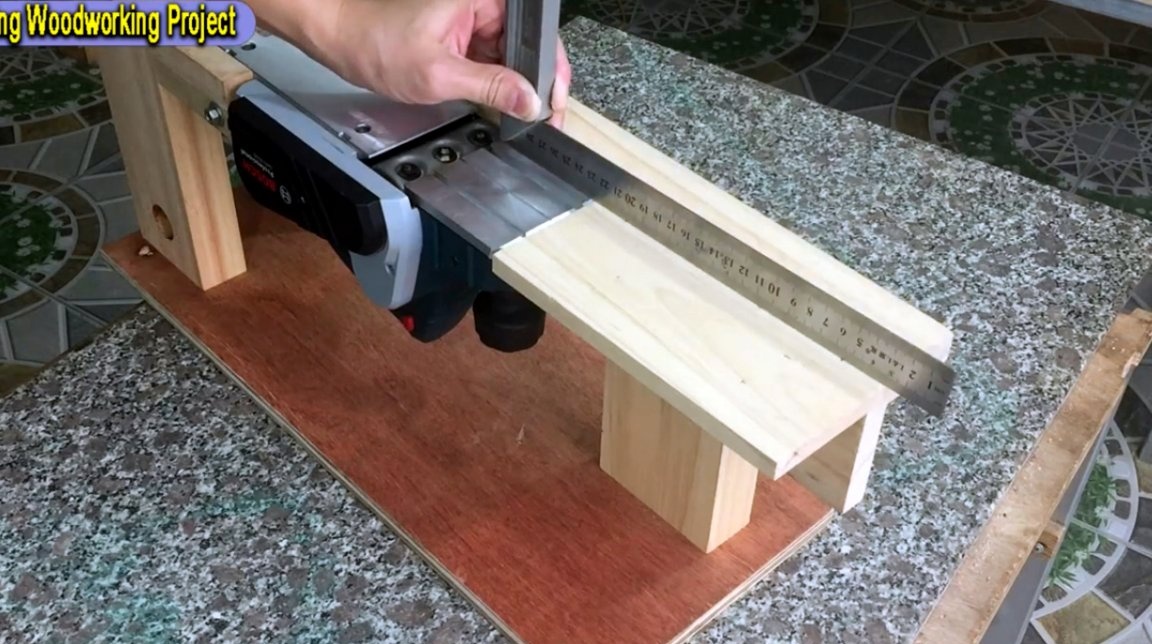
Now you need to check the perpendicularity of the stop plane relative to the bottom of the plane and the table itself.
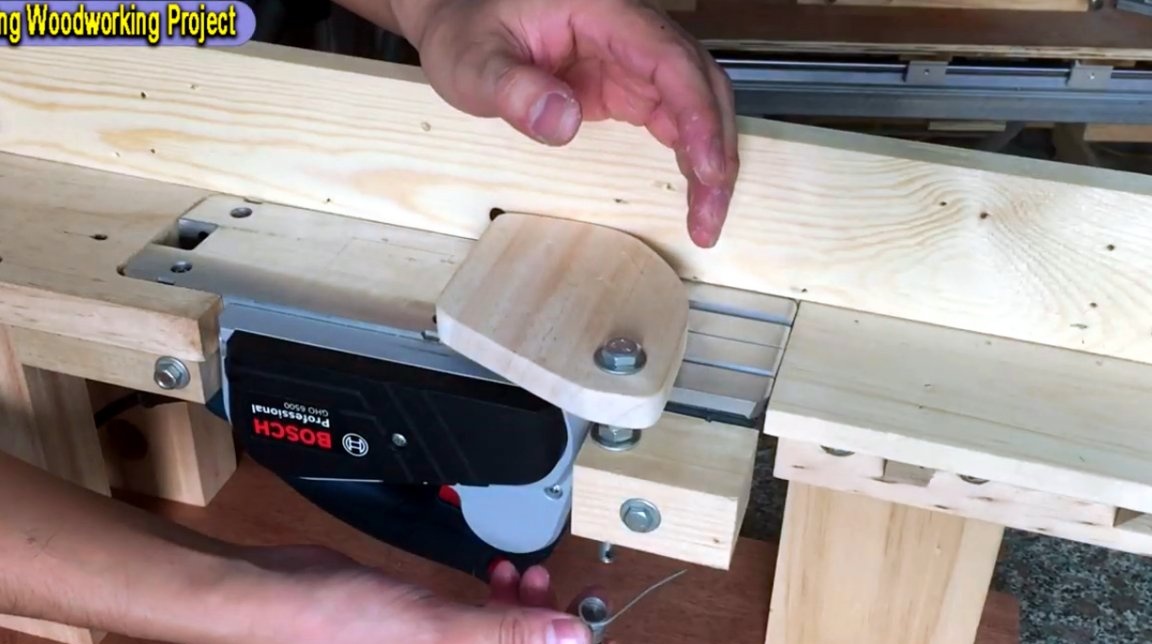
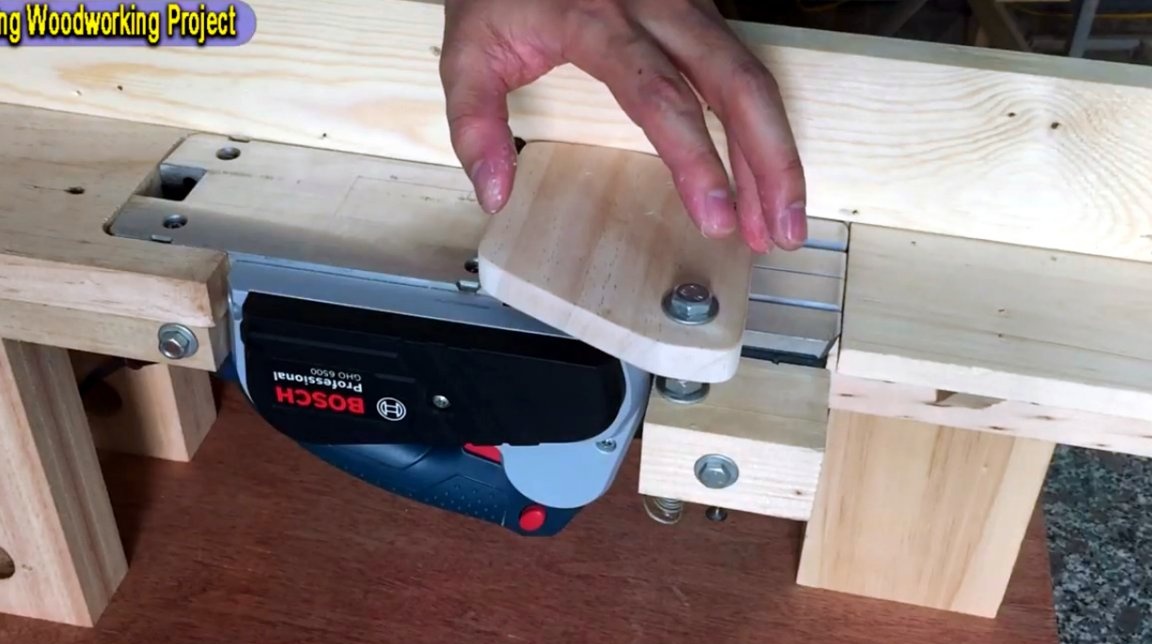
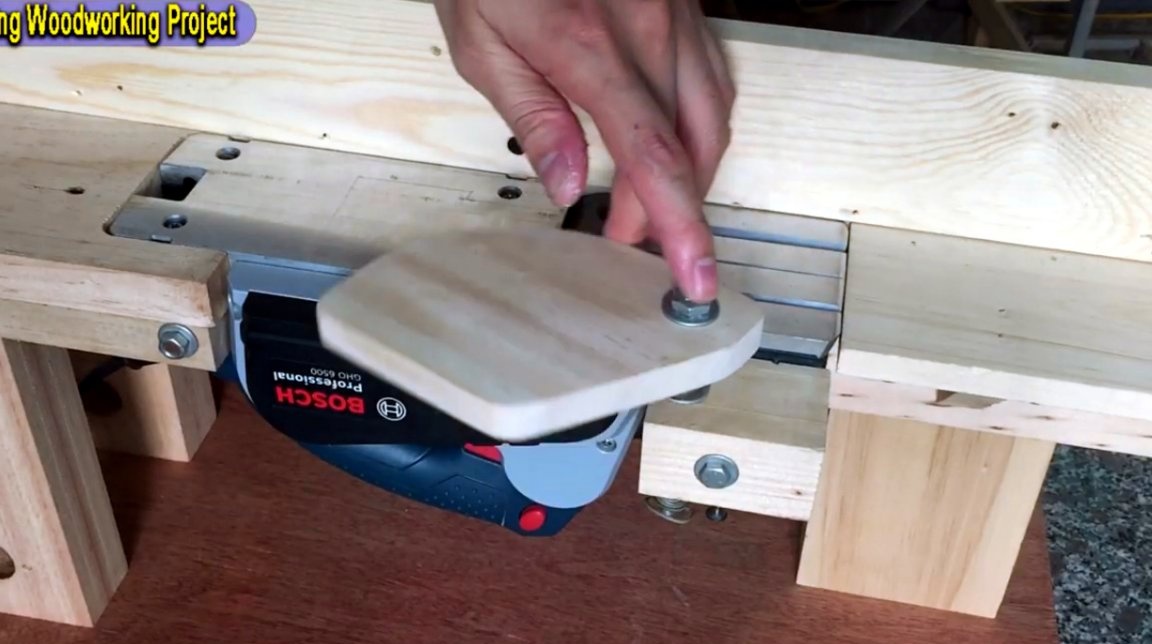
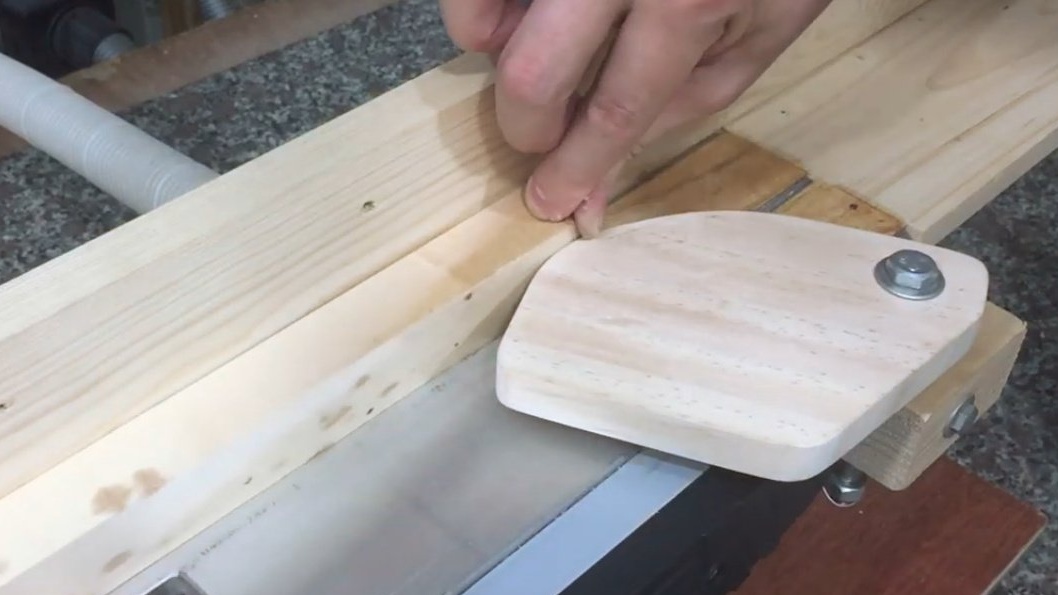
And now the most important point is to ensure safe operation. To do this, a small wooden block is screwed to the second hole for the clamps.

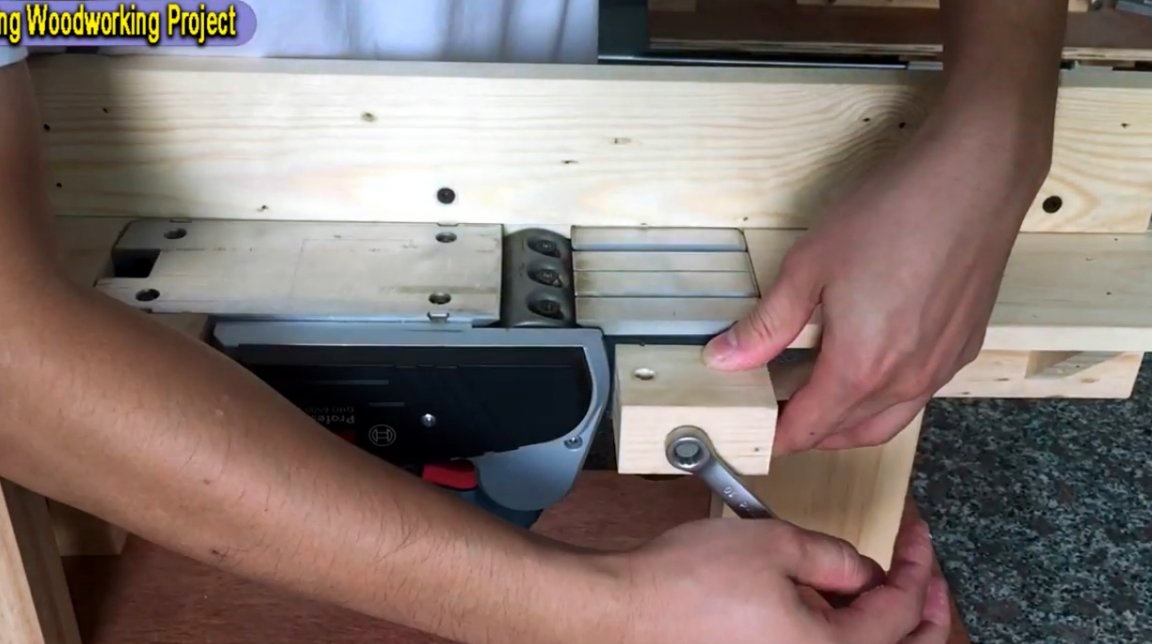
A special protective tab is installed on this block, the axis of which will be the M8 bolt, at the end of which a transverse hole has been drilled for attaching the tail of the spring. The bolt is firmly pressed against the petal, fixed on both sides by washers, and pressed by three nuts in the form of a stand.
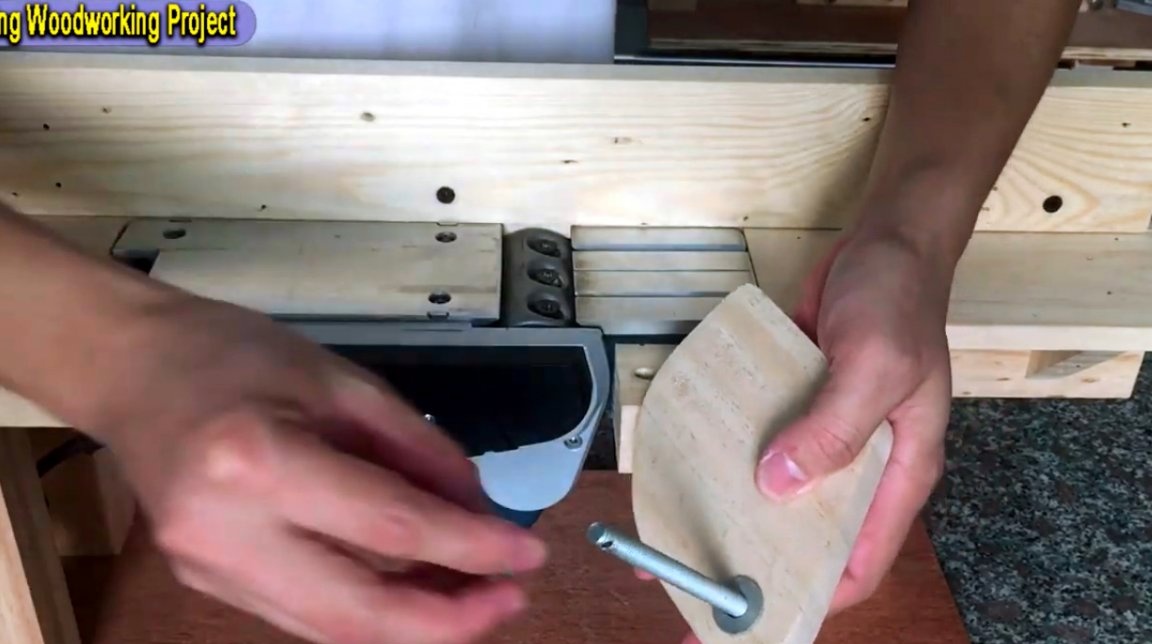
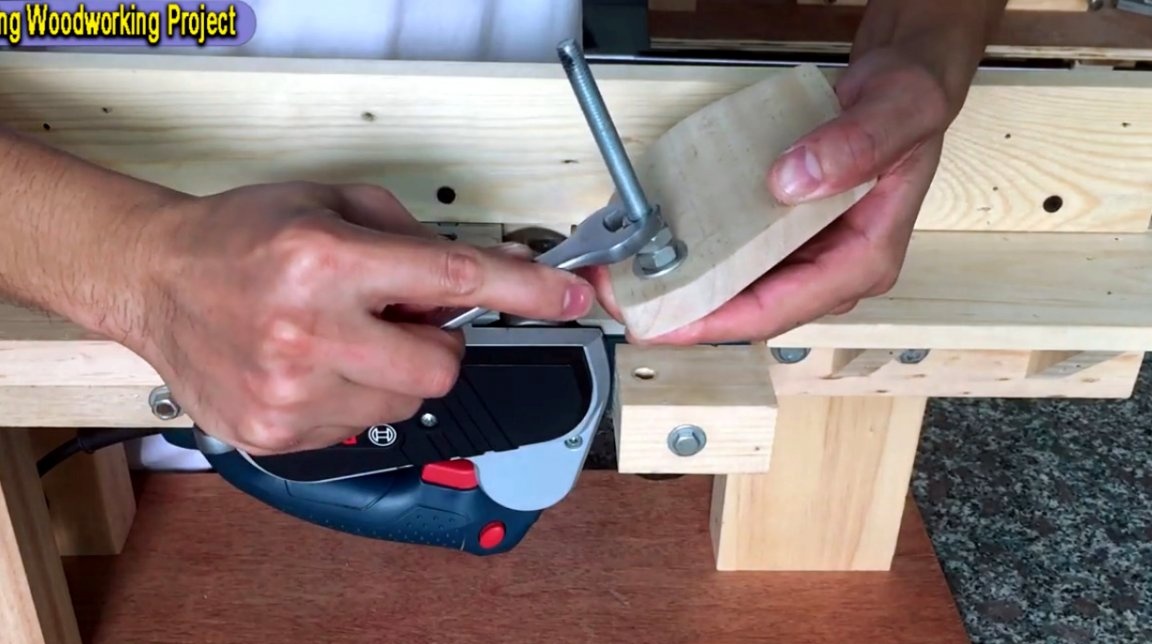
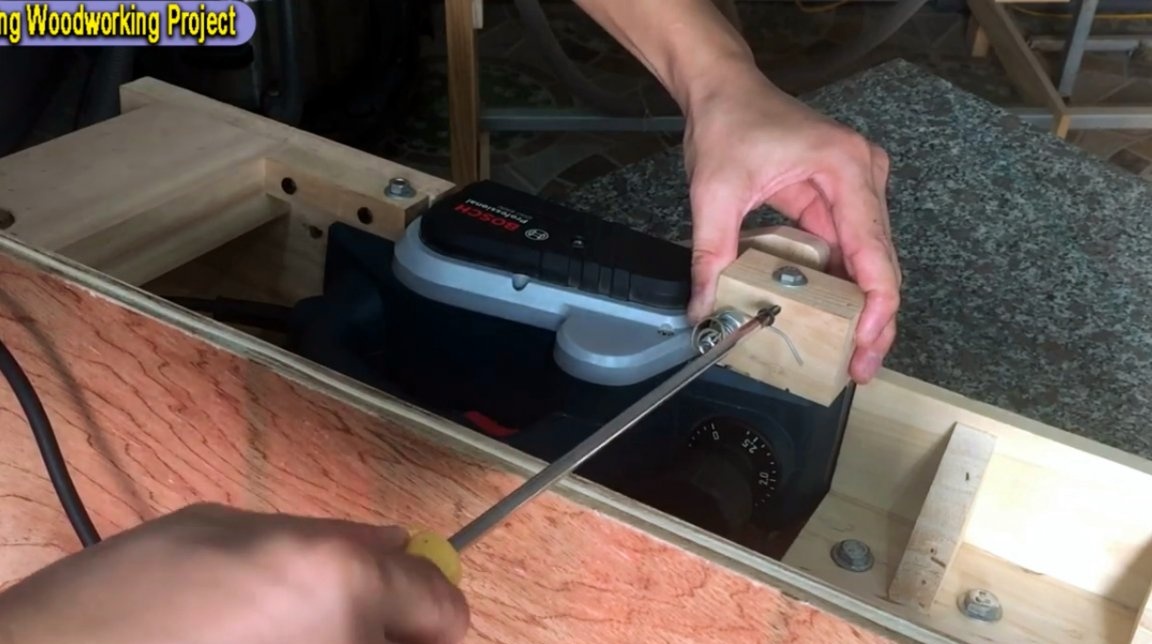
The master places another washer between the nuts and the support block, and then installs a tension spring.
Having adjusted the necessary spring force, its second end is fixed with a self-tapping screw with a press washer to the bottom of the unit.
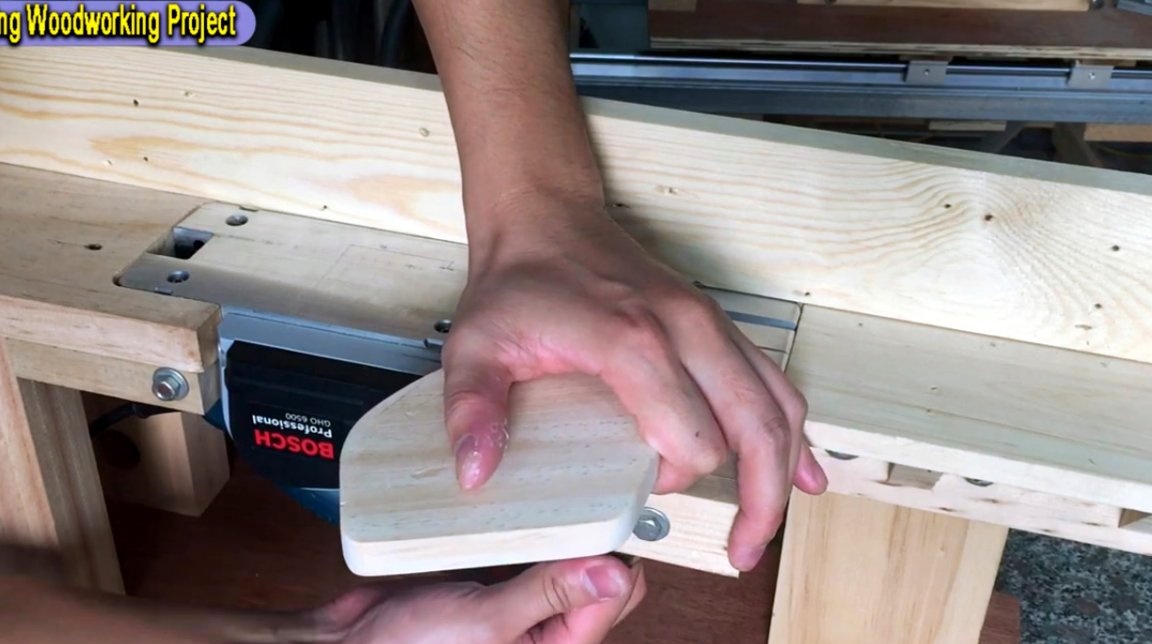


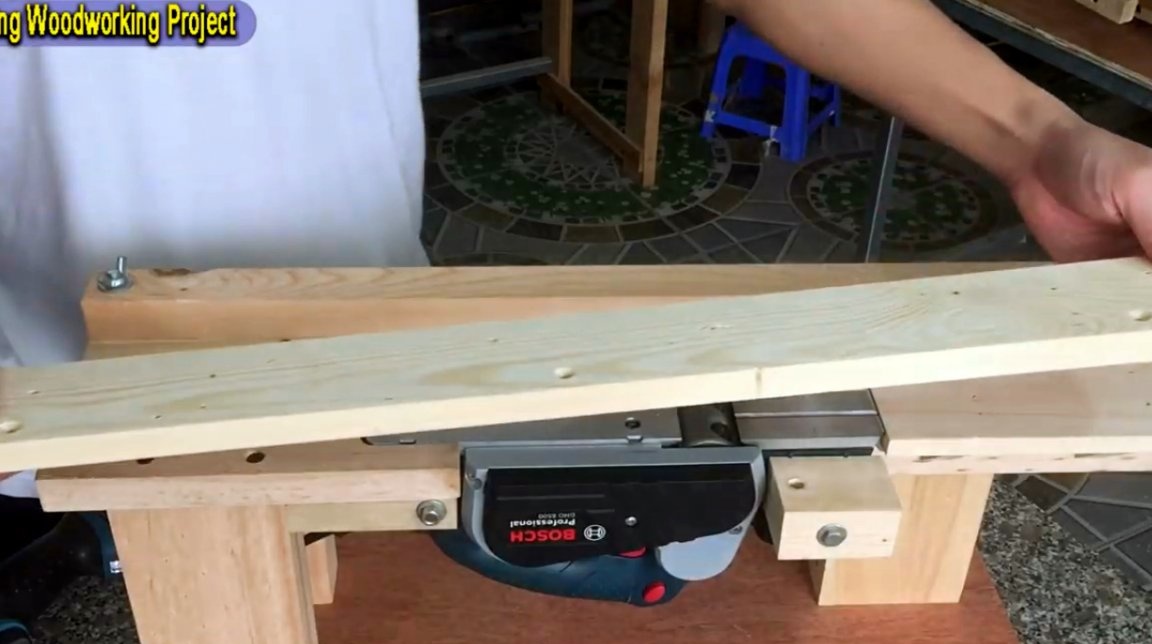
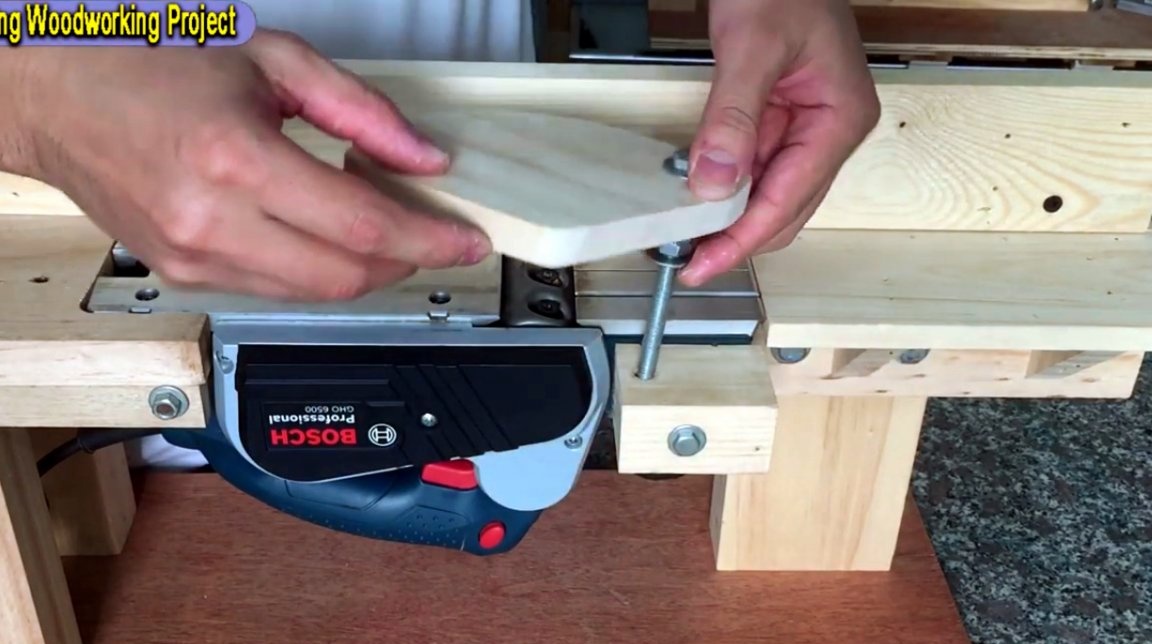
Now the petal will cover the working blades of the planer in the absence of blanks. This is how this mechanism works.
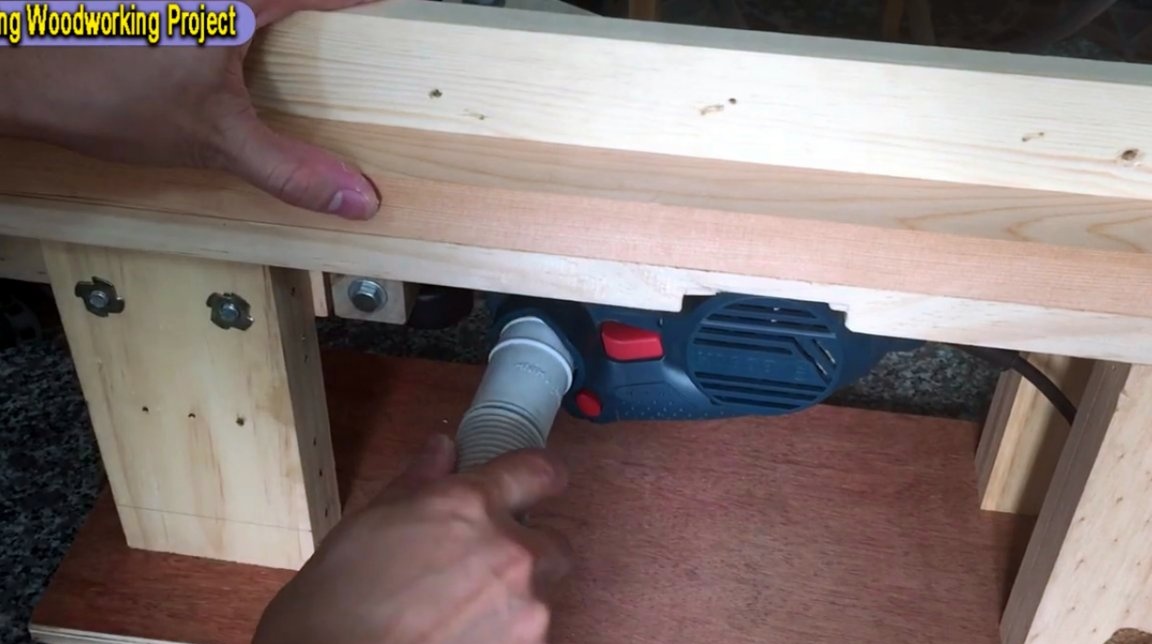
Almost everything is ready, it remains to connect a common dust removal system, and you can begin to work. However, before this, it is recommended to treat all surfaces with wood impregnation, or polyurethane. For better gliding of parts on the table it is worth using aerosol silicone grease.
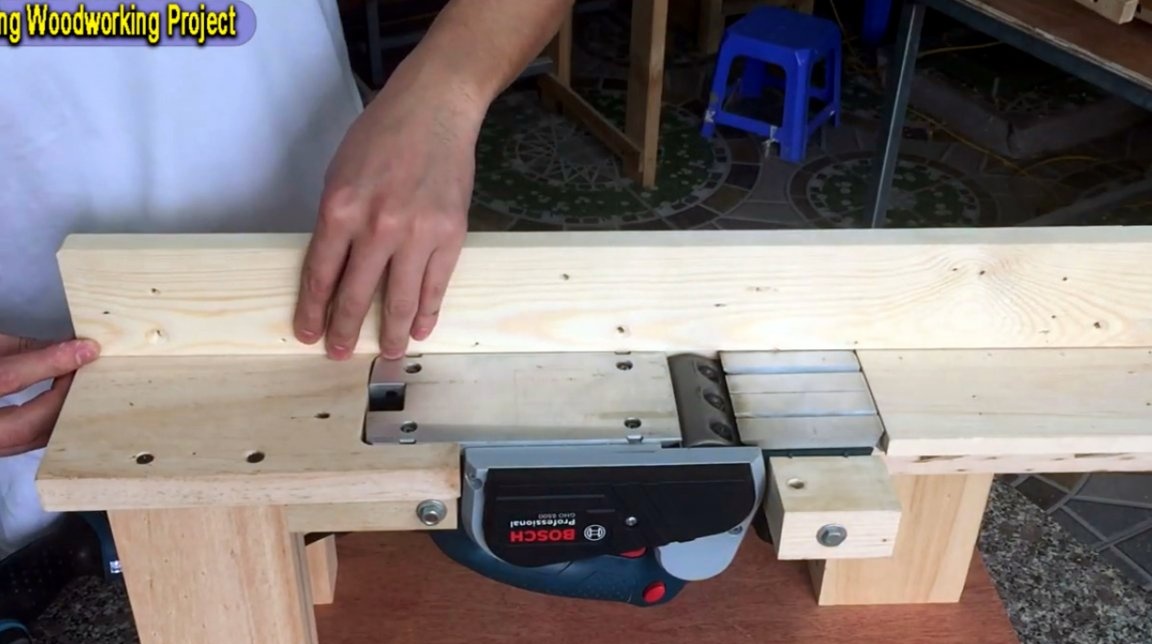
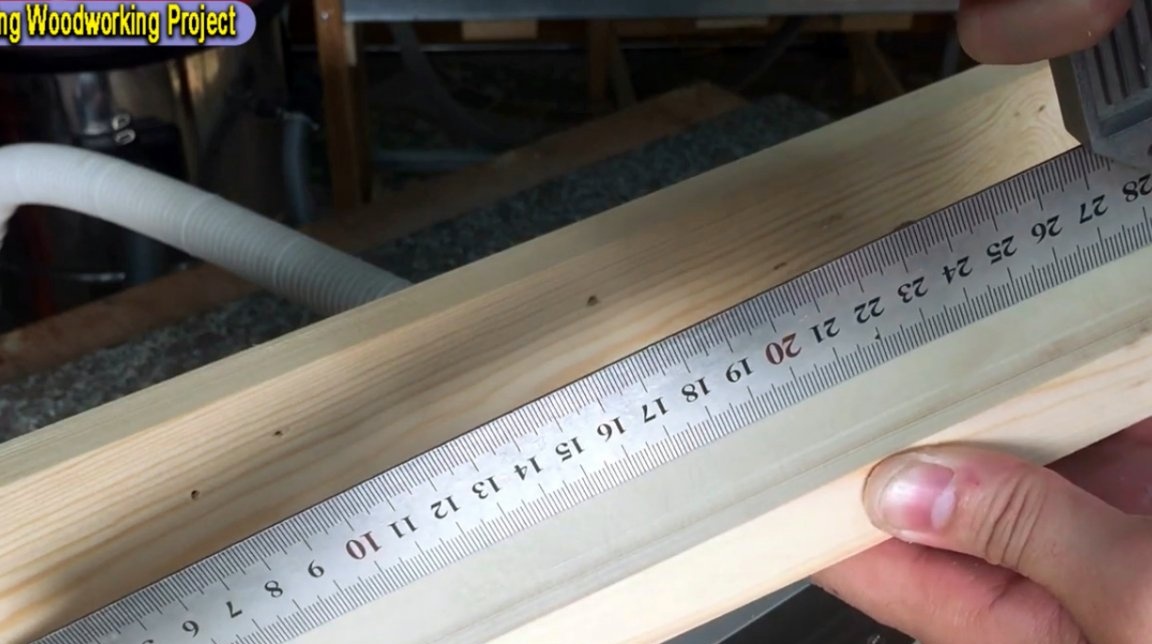
So, the first to process the master takes the old board from the pallet. And the result is just perfect.
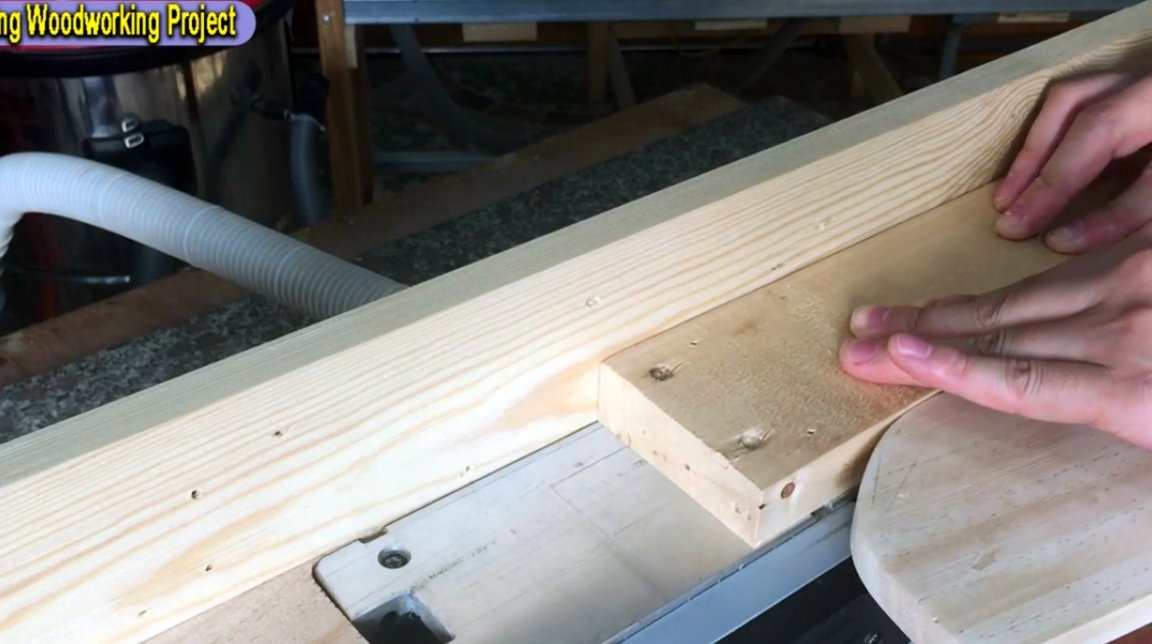
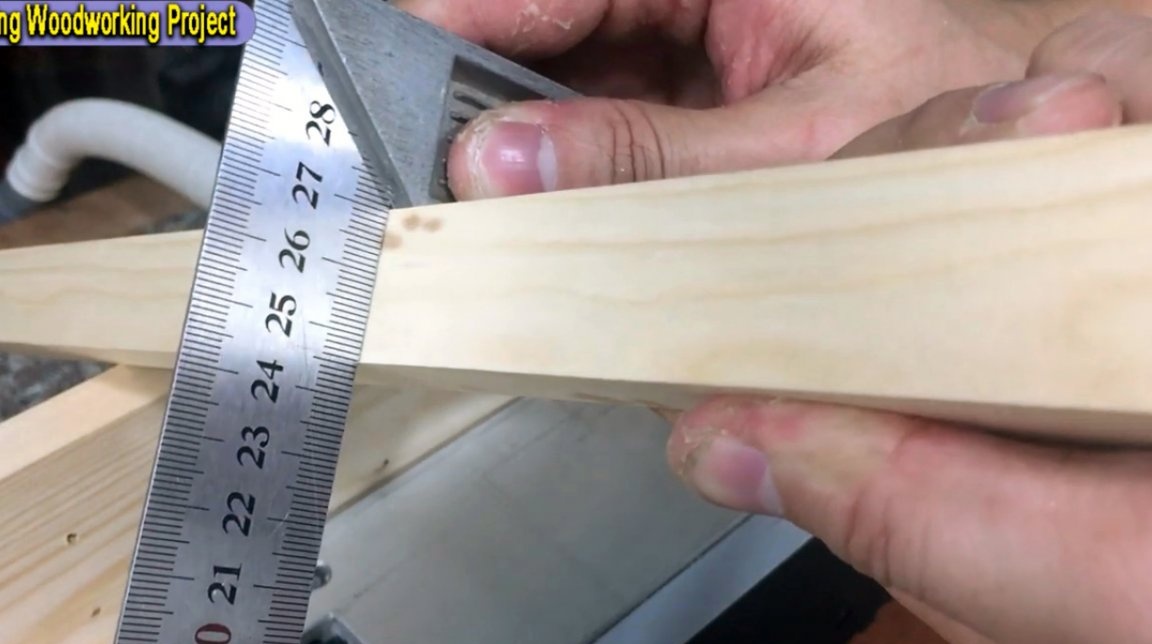
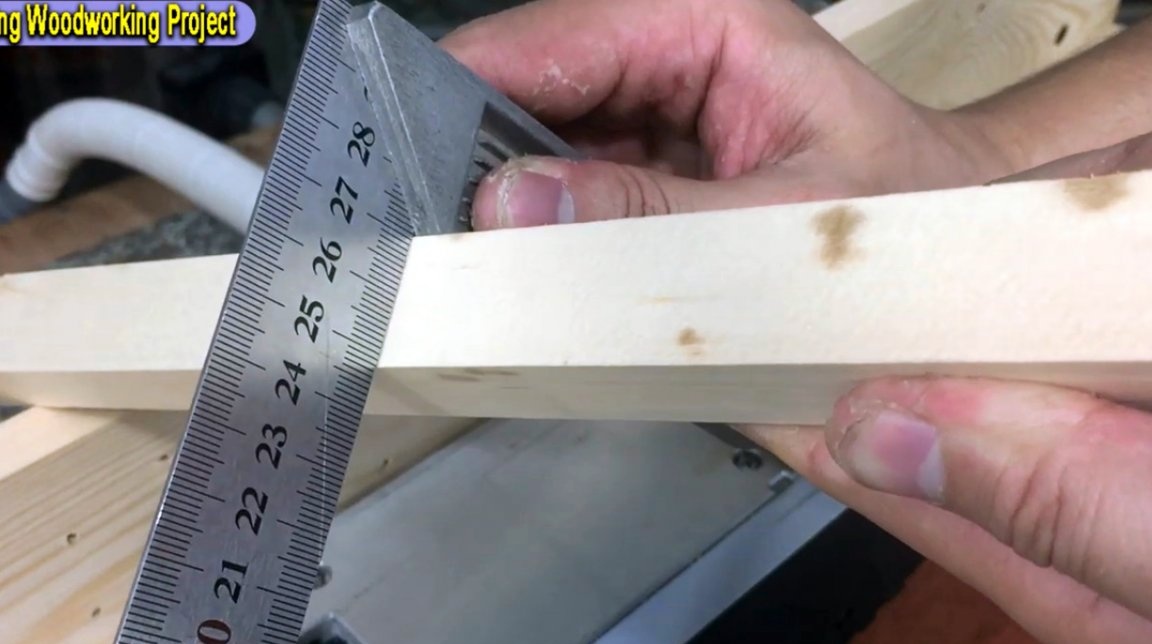
The next client will be a 40X40mm wooden beam. The author processes all four of its facets.
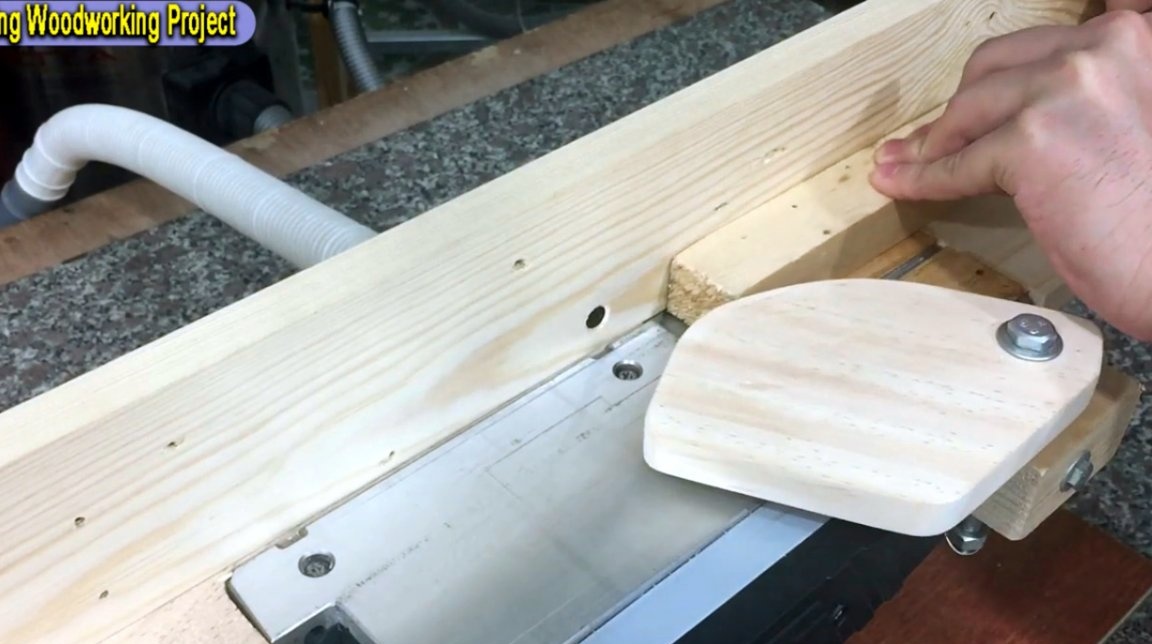
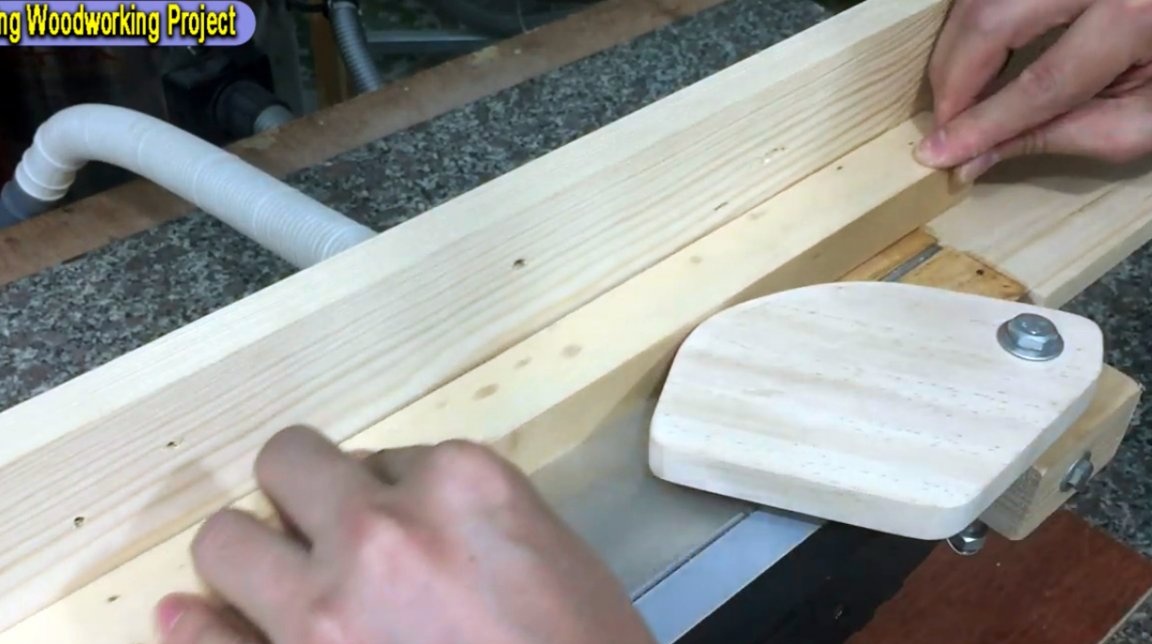
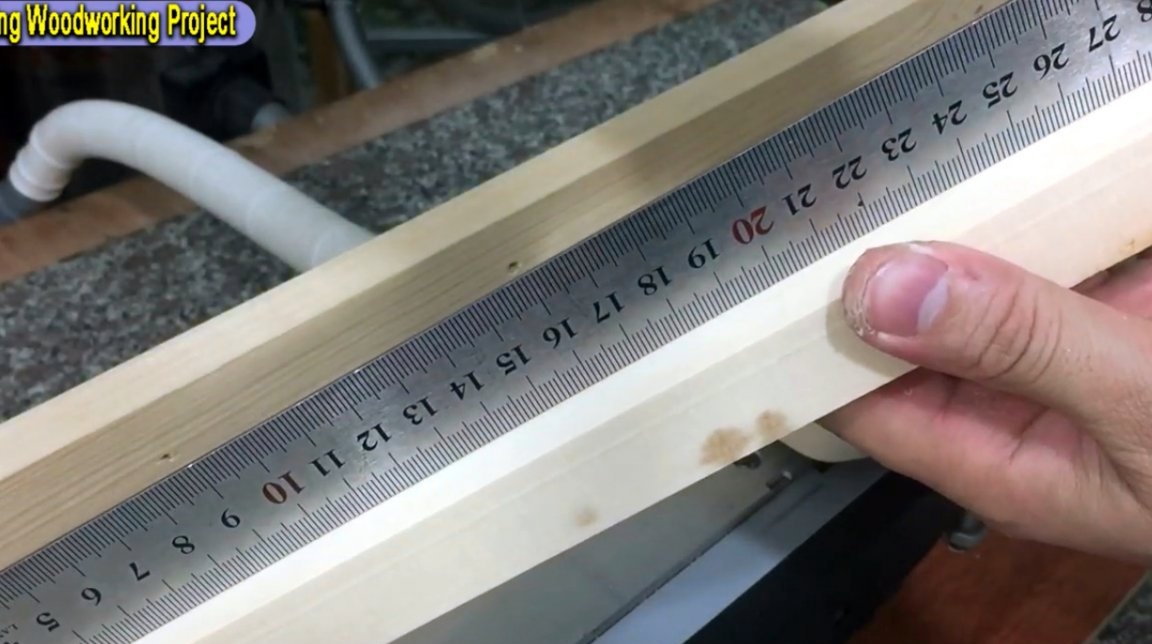
And in the end, both the surfaces and the corners of the resulting beam have ideal geometric shapes.
To improve the quality of processing of wooden blanks, it is better to use an aluminum profile as a table and emphasis. And also use special pushers if you do not want to be left without fingers. I highly recommend using safety pusher.
I repeat. The author does this extremely unsafe, although he came up with protection on the machine. However, it is intended to protect only in the absence of a workpiece at the time of rotation of the blades of the jointer. At the next moment, the workpiece may be pulled out due to, for example, a stuck clove, or a knot. and the finger will slip onto a rotating drum with blades.
Regarding the detection of nails in old pieces of wood, you can use the following tool. This thing is able to look not only for nails in wood, but also to find fittings and wiring in the walls.
Follow safety instructions!
I thank the author for the simple idea of a very useful machine for a small carpentry workshop!
If you have interesting homemade products, share them on this site. Here you will get a real reward, not a “bunch of green stuff" at the entertainment forum.
All good mood, good luck, and interesting ideas!
Author video can be found here.