The training strain gauge of the author of Instructables under the nickname Ene SIlvian will not replace the real one, since it does not provide a constant curve of the dependence of resistance on force - it will inevitably “float”. But homemade perfectly explains the principle of the strain gauge, especially if the student himself makes it do it yourself.
Everything you need to repeat the design can be found in any ... office. Visit the store electronic no components needed. True, in order to test the finished result, you still need a multimeter, and in the future you can connect a strain gauge to Arduino.
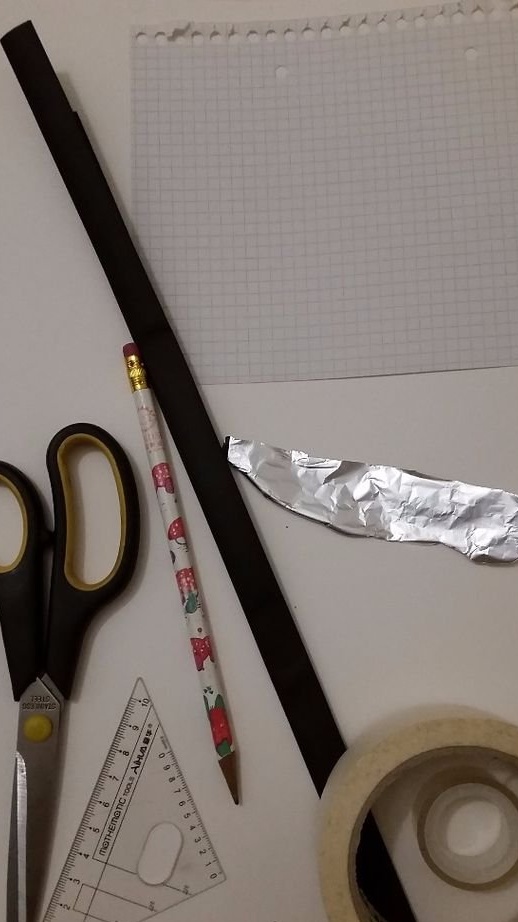
The master begins work on homemade work by painting a piece of paper with a soft simple pencil, you can also take a piece of an antistatic bag, they are also not uncommon in offices where they change things in computers. Of course, you don’t need to paint over a piece of the package - it already has a coating acting as a resistor.
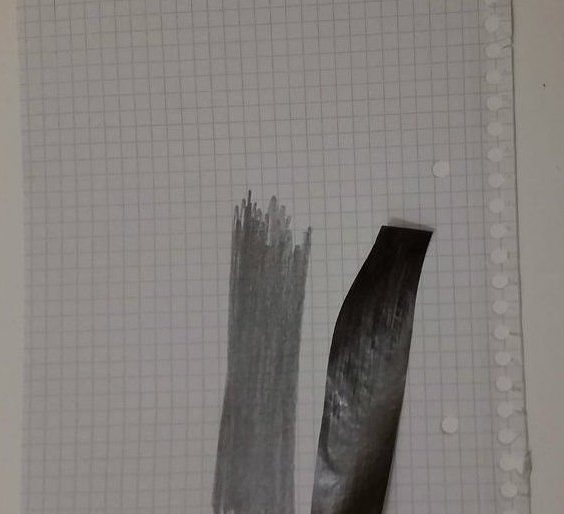
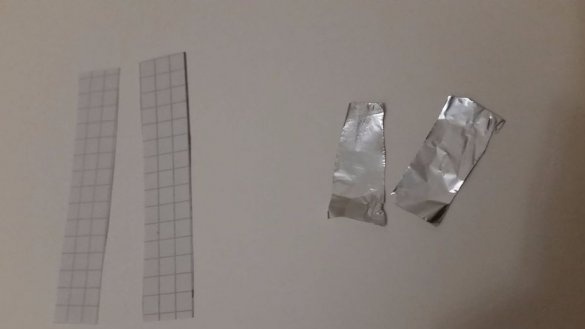
The master makes foil pads, as well as paper strips:
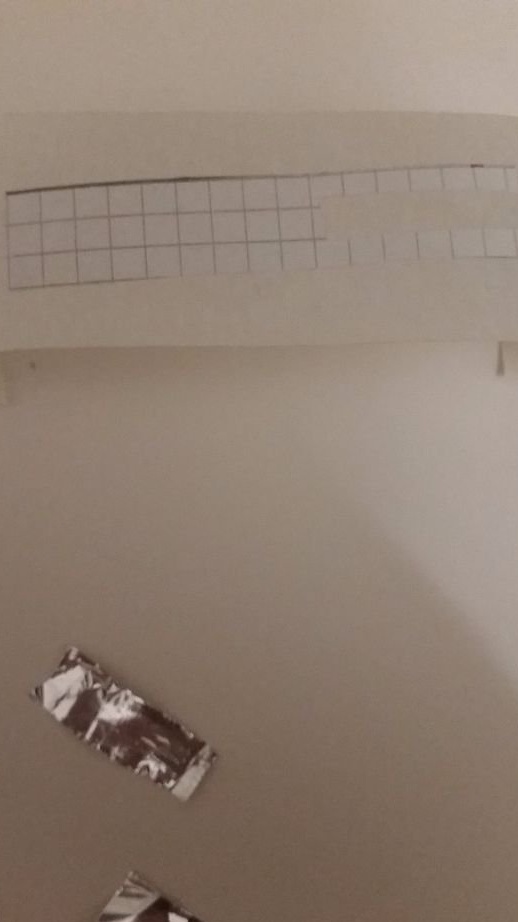
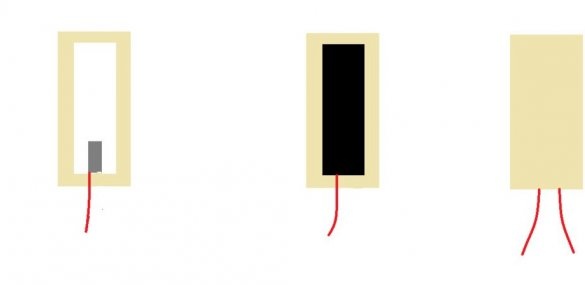
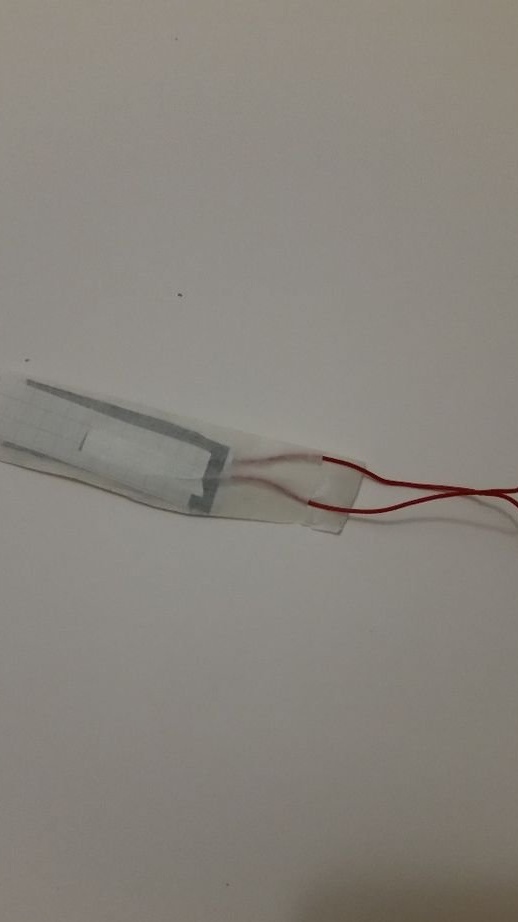
A flexible “resistor” bends in half with the coating outward, presses to it on each side along the contact pad with the conductor, seals it with paper strips, fixes the conductors with masking tape:
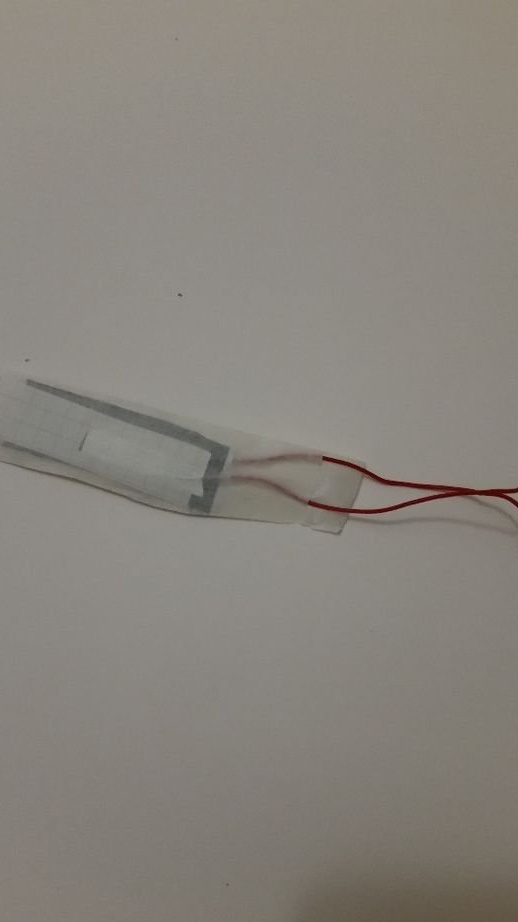
The training strain gauge is ready, it reacts to bending and pressure, which can be easily verified with a multimeter operating in ohmmeter mode. He will show that when the strain gauge returns to its original position, its resistance each time is somewhat different from the previous one, which makes it unsuitable for accurate measurements. To connect a strain gauge to an Arduino or other device with an analog input, you must include it in the voltage divider. It is impossible to pass a current of more than a few mA through the strain gauge to avoid overheating.

