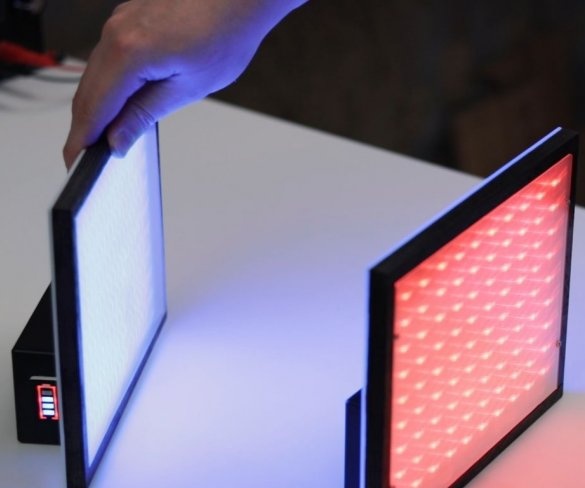
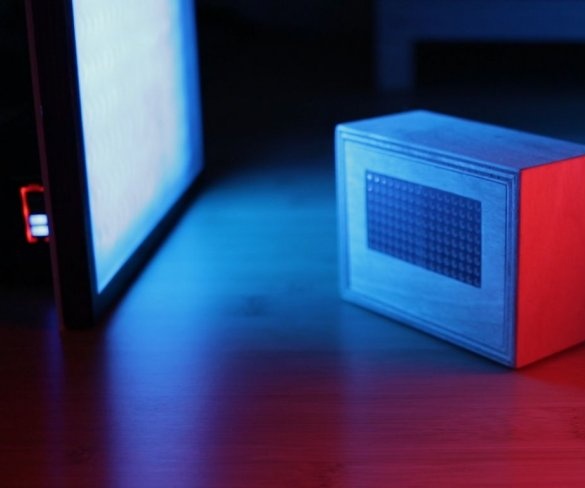
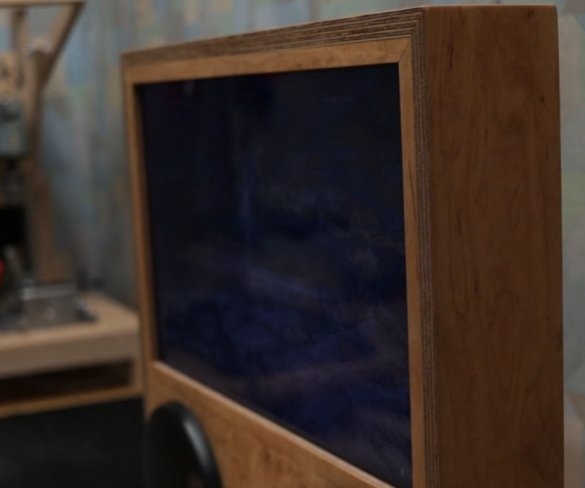
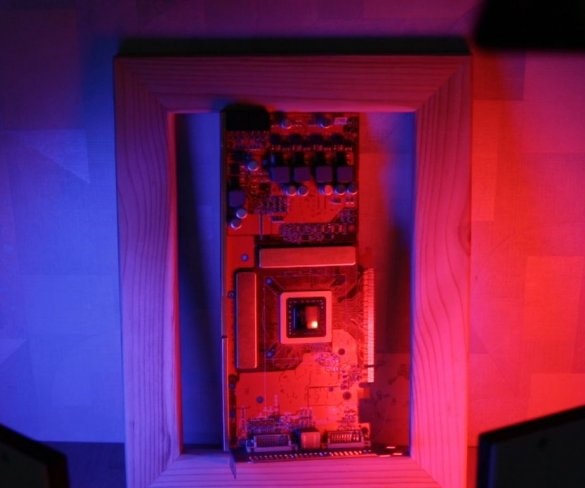
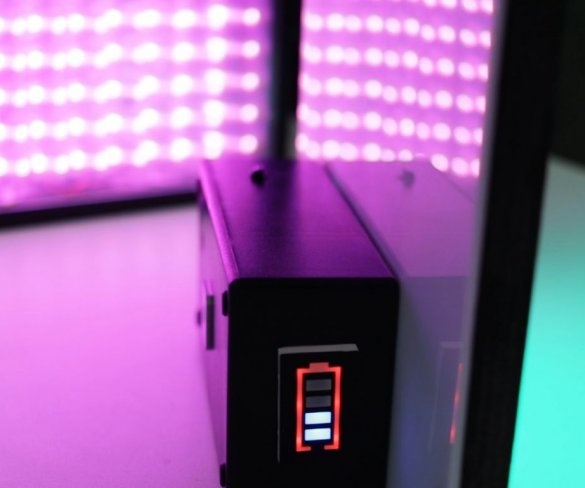
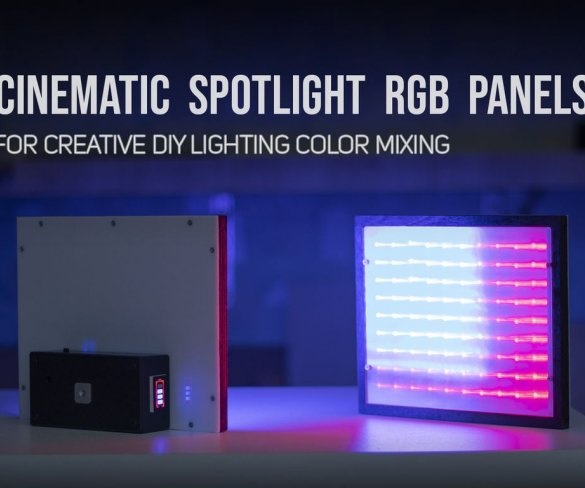
In this article, the Wizard will tell us how to make an RGB LED panel for photo / video shooting. A key part of the panel is the diffuser sheet from a broken laptop screen. Its use gives good contrast light. The device uses a controller that can be controlled via an audio channel, which allows it to be used as color and music panels.
Tools and materials:
-A screwdriver;
-Knife;
-Clamp;
-Gon;
-Engraver;
- Electric jigsaw;
Milling cutter;
-Roulette;
-Multimeter;
-Nippers;
-Soldering accessories;
-Glue gun;
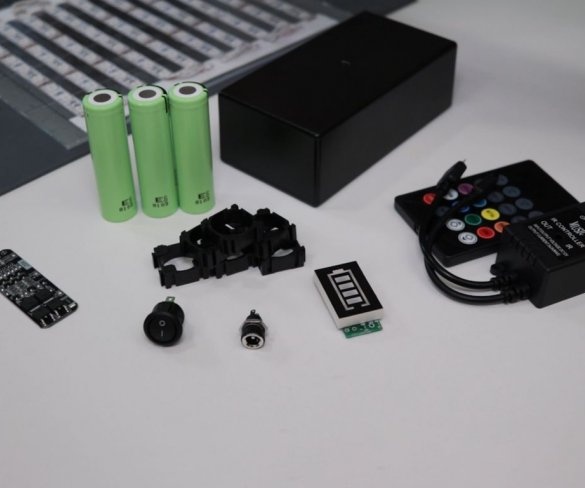
- RGB LED strip 5 m;
-RGB LED music controller;
- Batteries 3.7 V 18650;
-Charge module;
-18650 battery holder;
-Switch;
-Connector;
-Battery indicator
-Plywood;
-Acrylic;
-Wire;
-Fasteners;
-Double sided tape;
-Heat-shrink tubing;
- Aluminum tape;
Step One: About Monitors
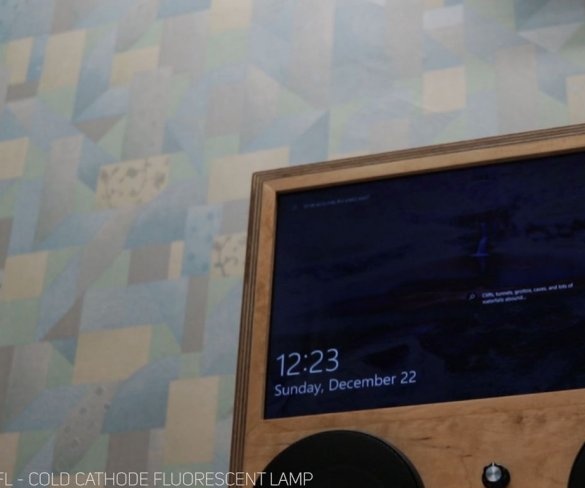
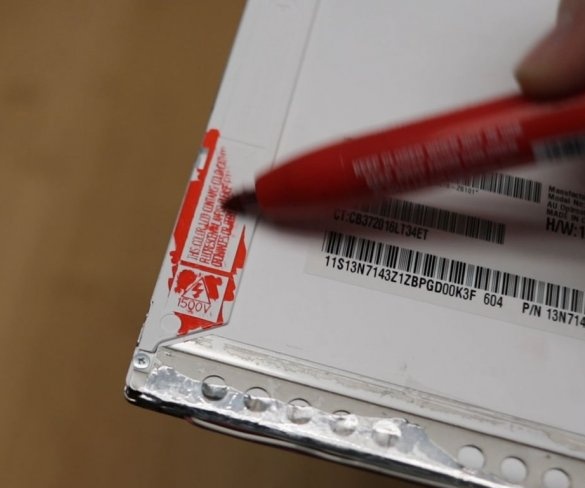
For this homemade the master uses parts from monitors made using CCFL TN technology. In principle, such monitors can also be used in other projects, for example, converted into a standalone display, but the fluorescent backlight for years of operation loses its effectiveness, and replacement is impractical.
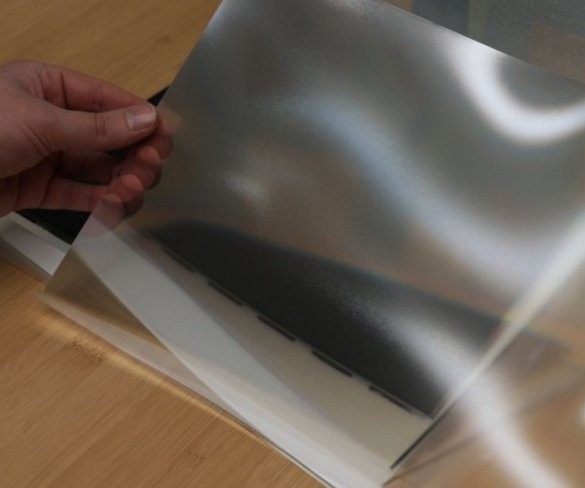
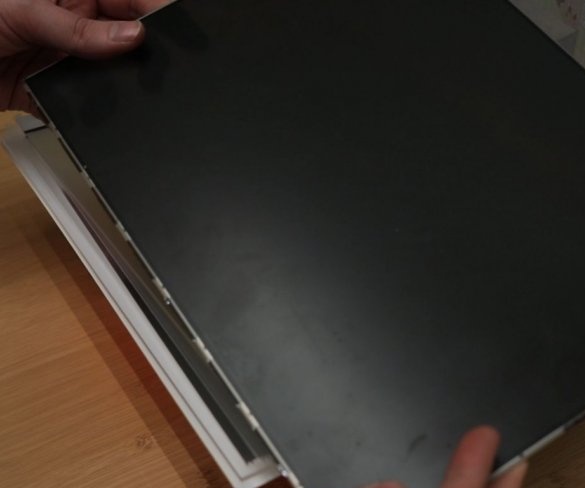
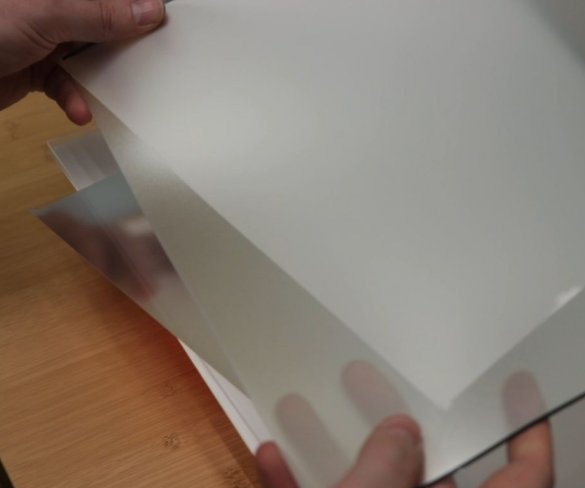
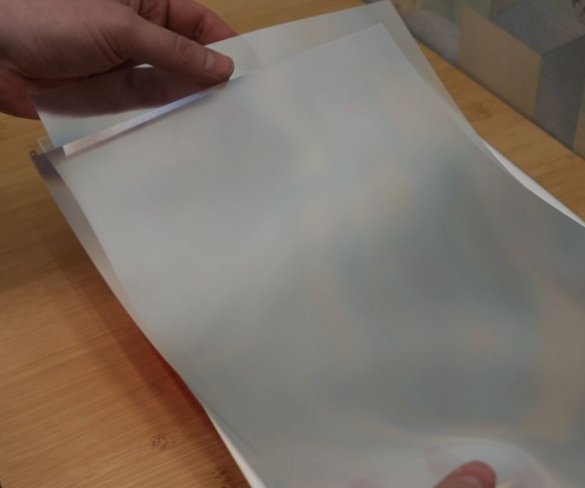
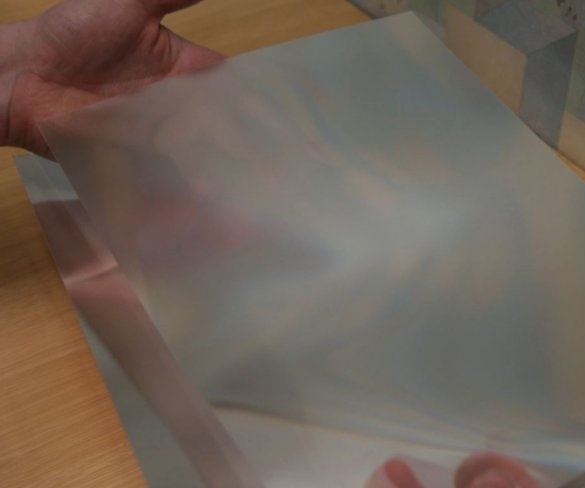
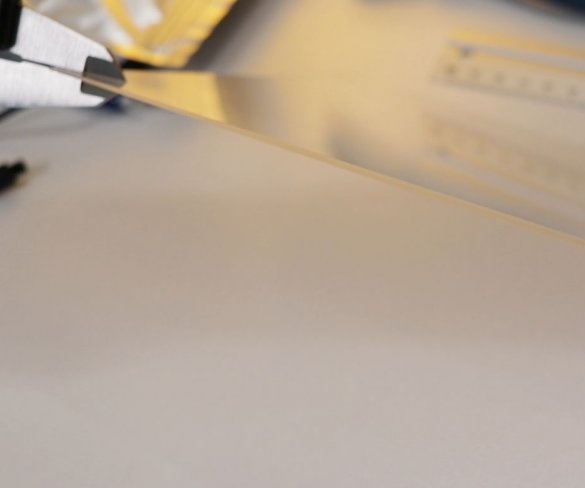
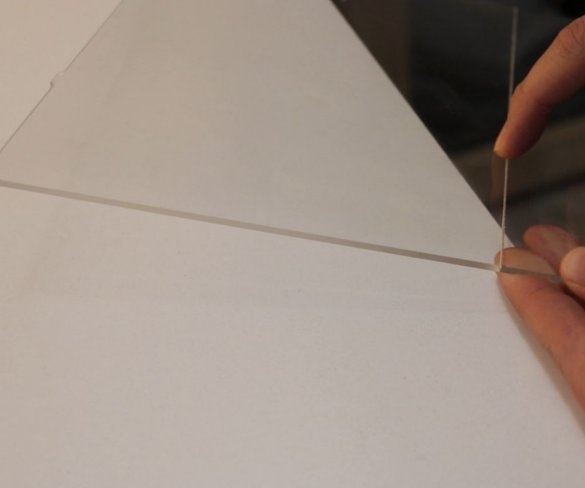
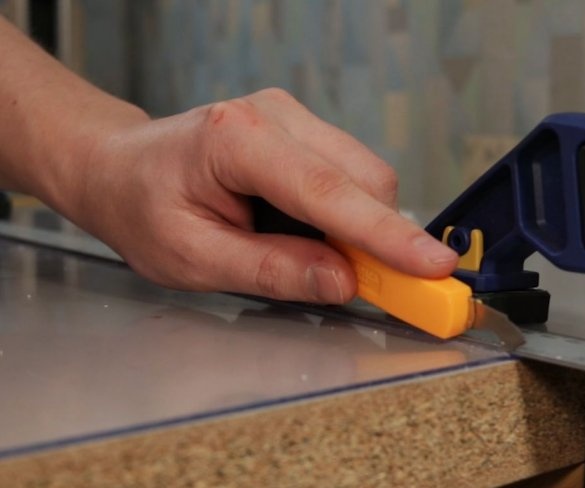
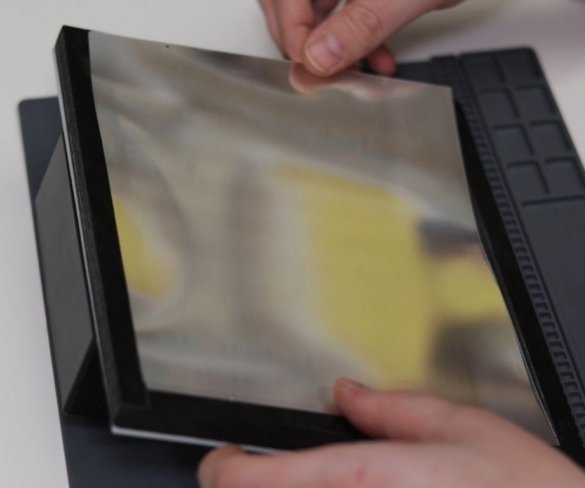
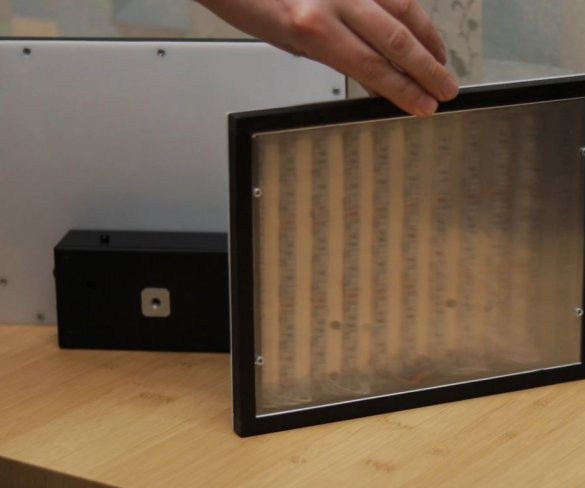
You need to carefully disassemble the monitor and remove the scarf sheets. There are only four sheets. Two ordinary white diffusers, two sheets are translucent. Translucent sheets are viewed only at a certain angle.
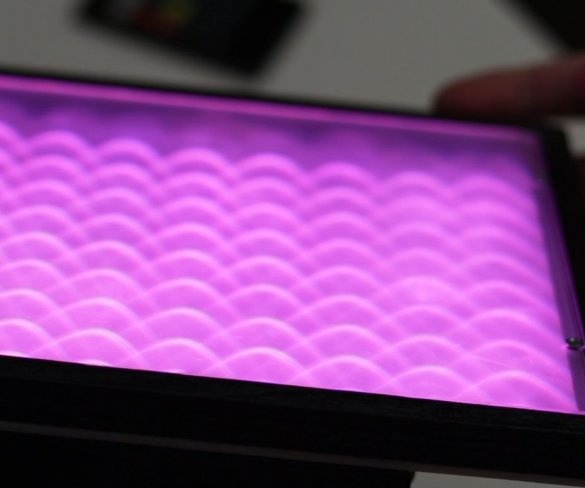
These sheets have another feature. If you look at the backlit sheets, you can see the light path in the form of a wave.
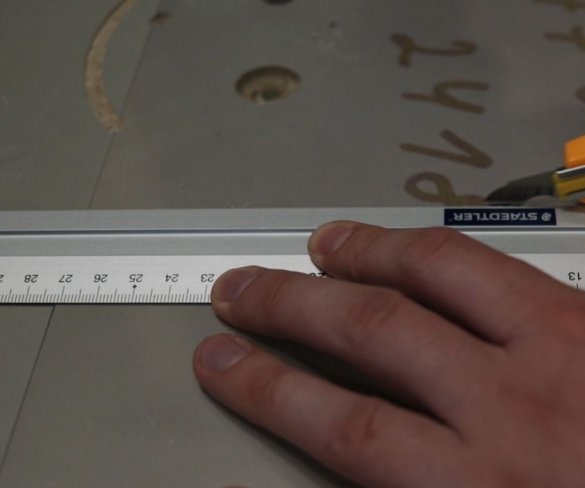
For use in the device, two such sheets are needed. Since the wizard will make two devices, he cuts the sheets in half.
Step Two: Frame
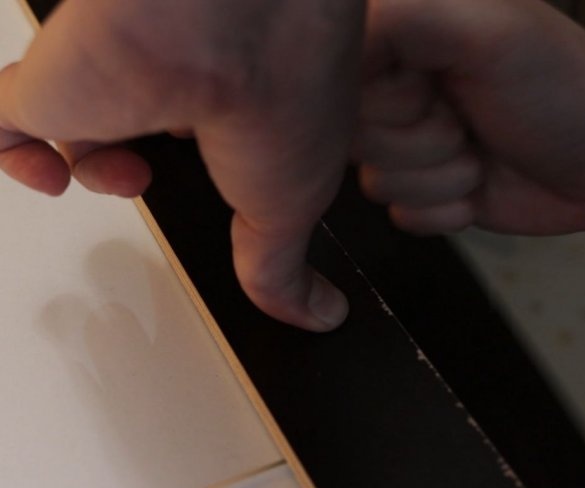
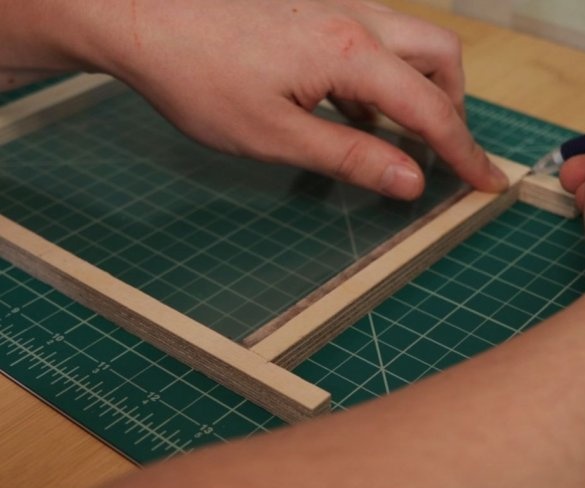
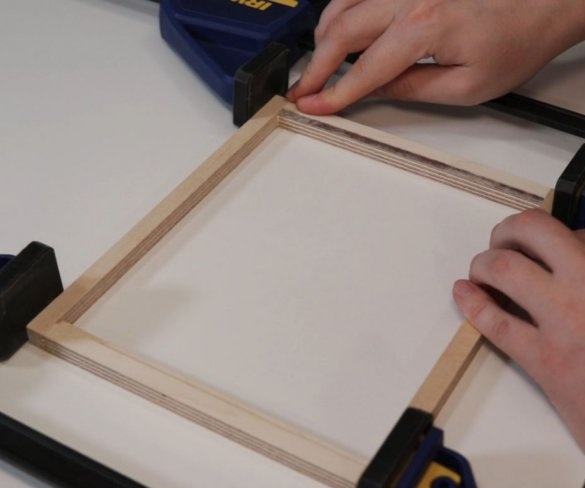
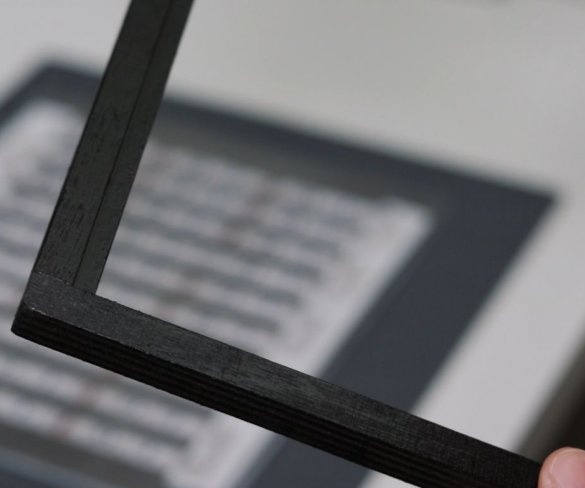
Next, the master makes a frame. Paints it black.
Step Three: LEDs
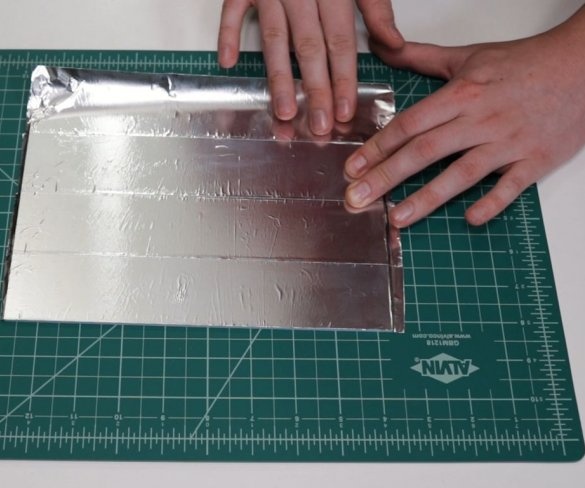
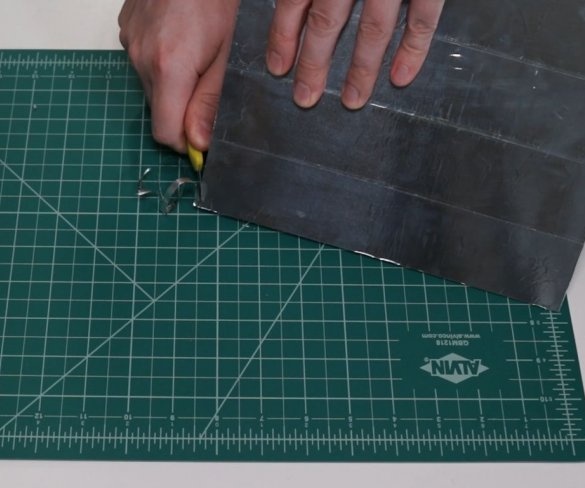
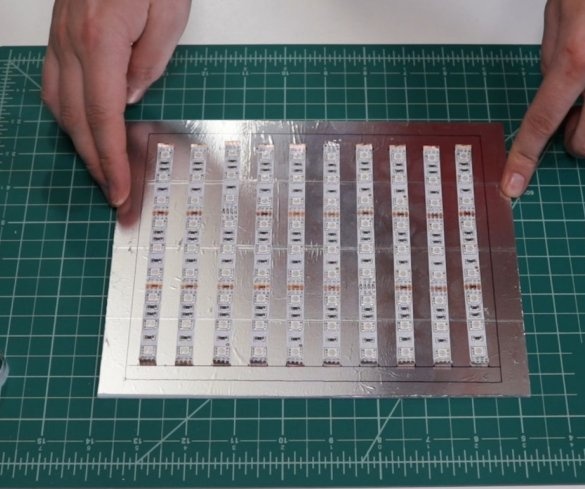
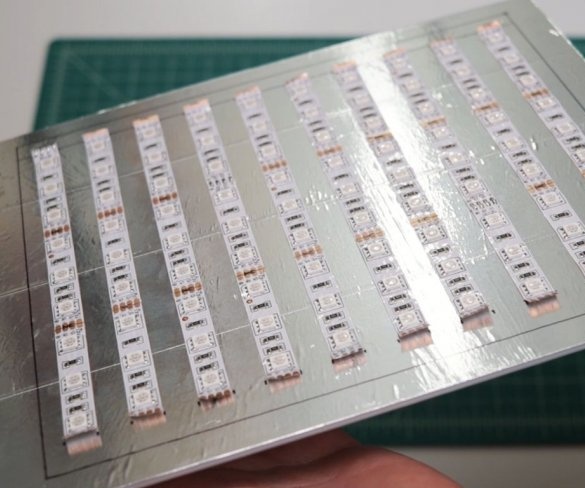
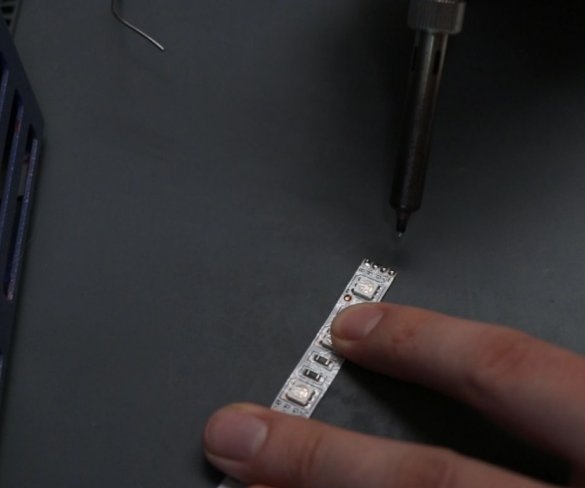
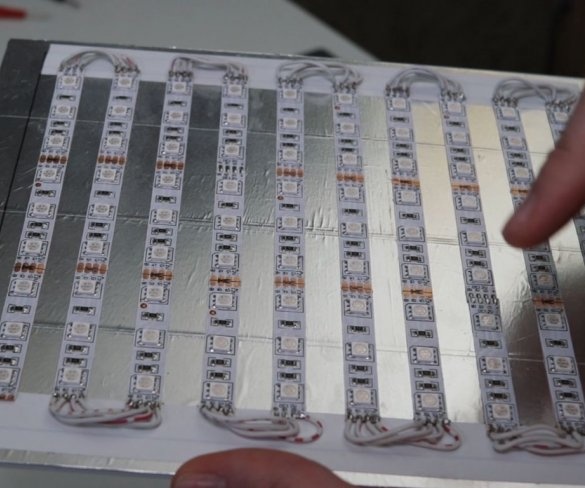
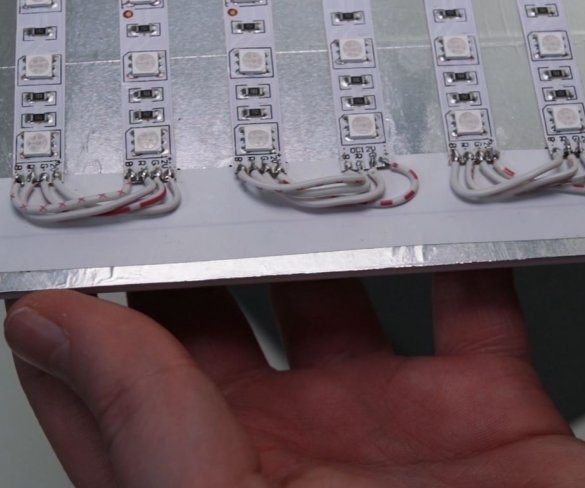
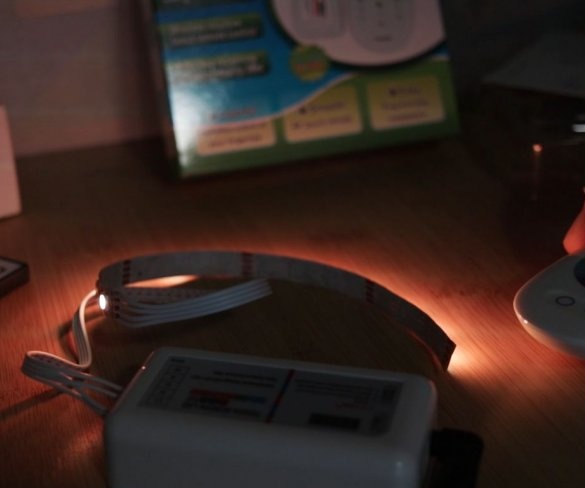
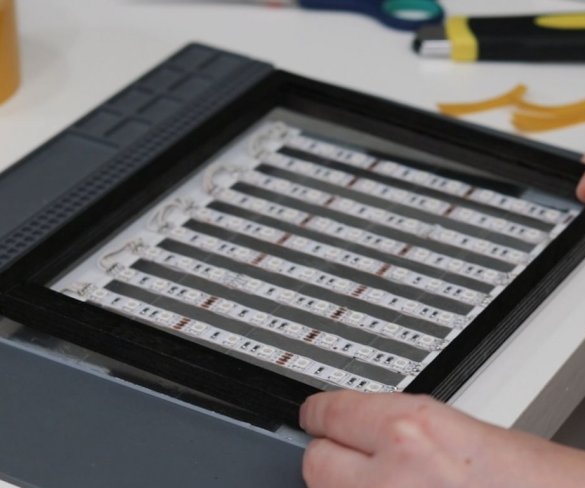
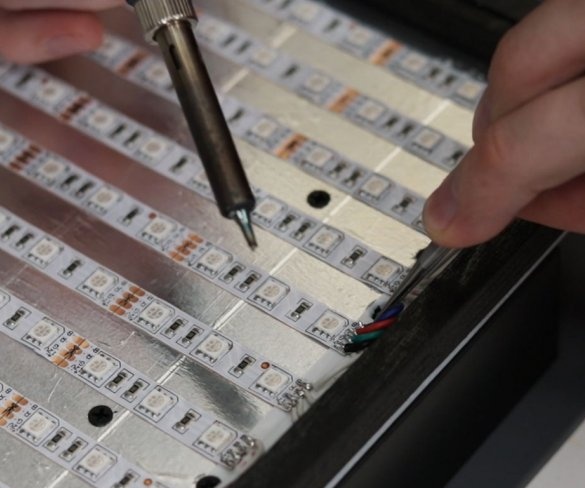
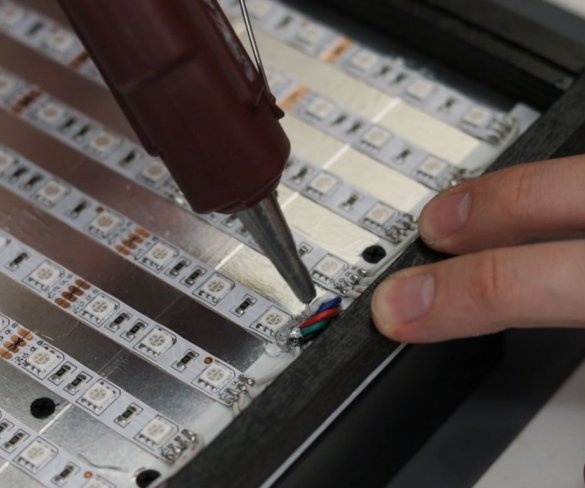
The master glues aluminum tape on an acrylic sheet. On an adhesive tape sticks LED strips. In total, 10 strips of 15 centimeters each were glued. If you need to increase the brightness of the panel, then you can increase the number of LEDs.
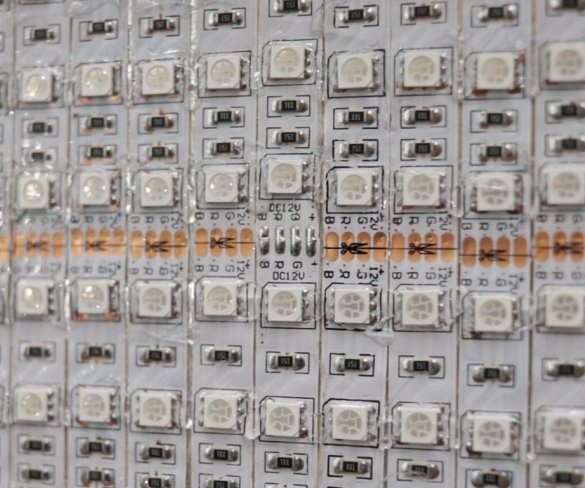
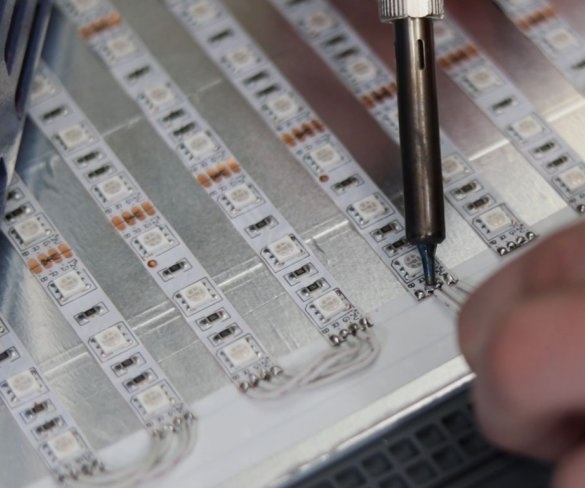
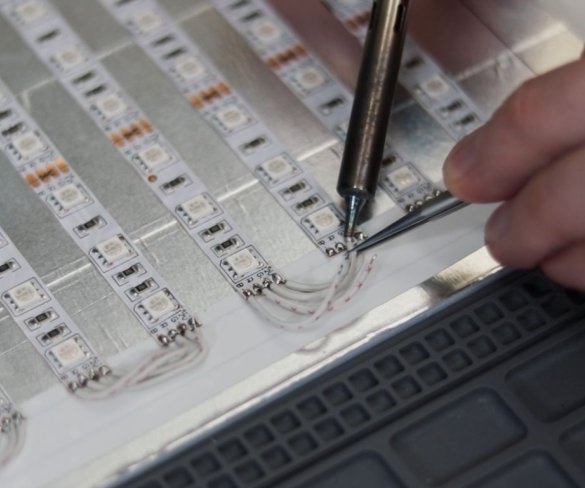
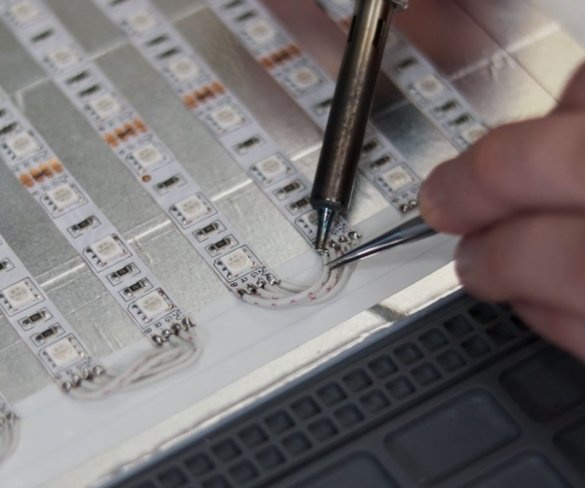
Next, you need to make a consistent installation of LED strips.
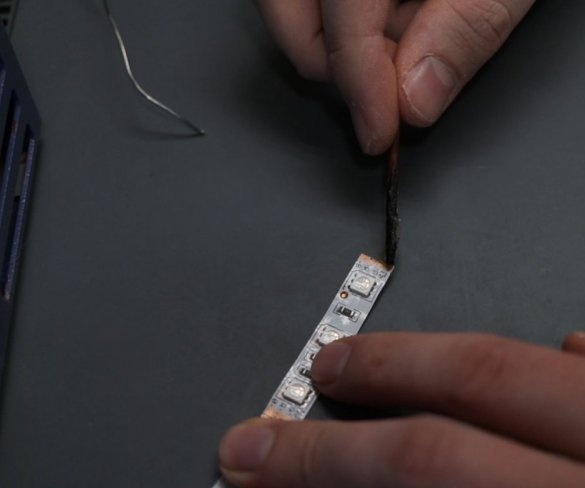
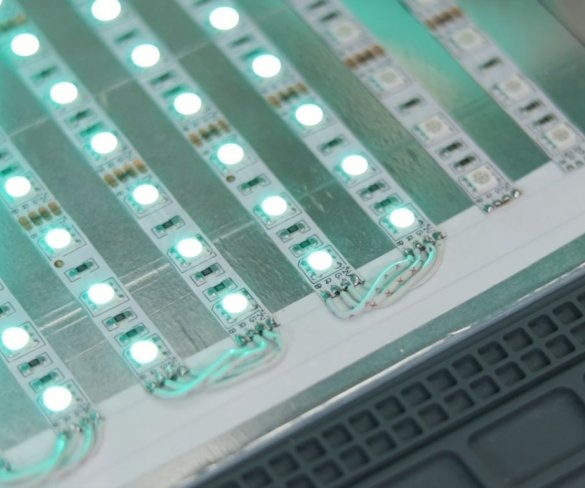
The master advises after soldering to check the connection of each strip. The contact pads on the LED strips are small and with improper sloppy installation, the effect of flickering LEDs is possible.
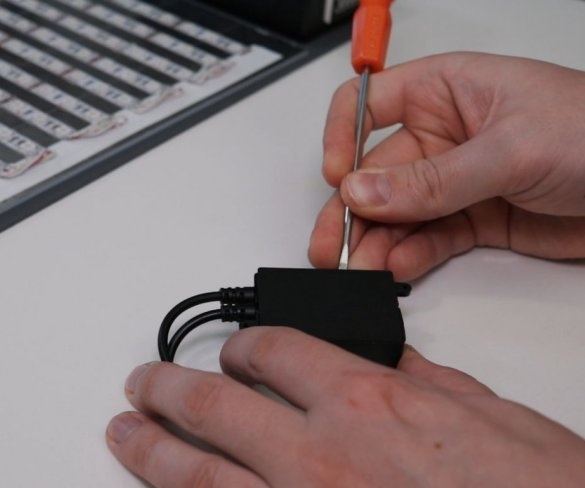
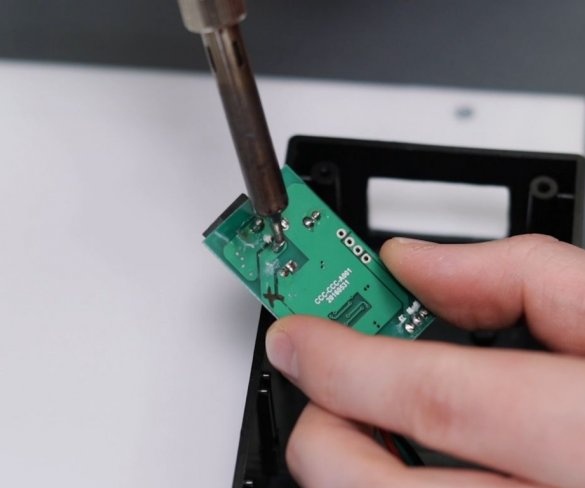
Step Four: Controller
The device uses a music controller. This controller has the function of flashing LEDs to the rhythm of the music. A plus is the lack of a built-in LED in the controller itself. Thus, unlike other models, there is no extraneous flicker.
Step Five: Case
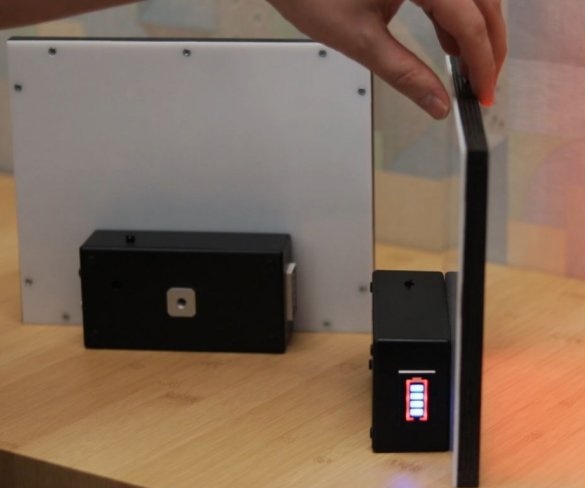
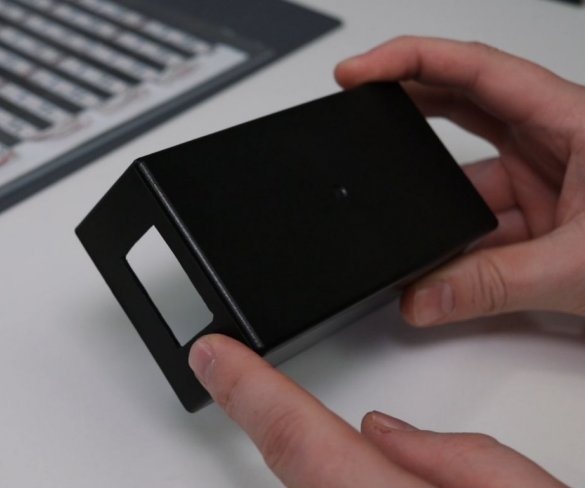
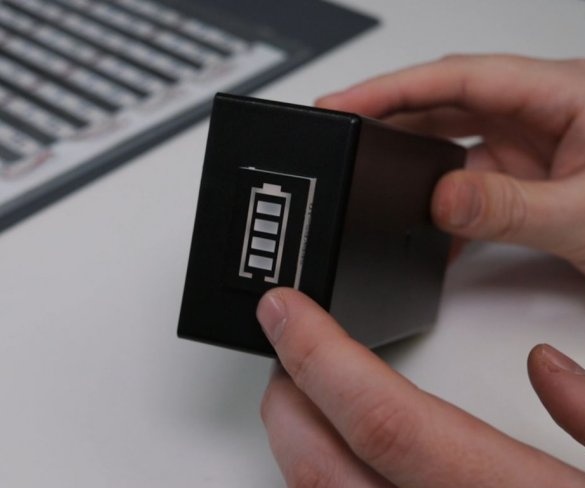
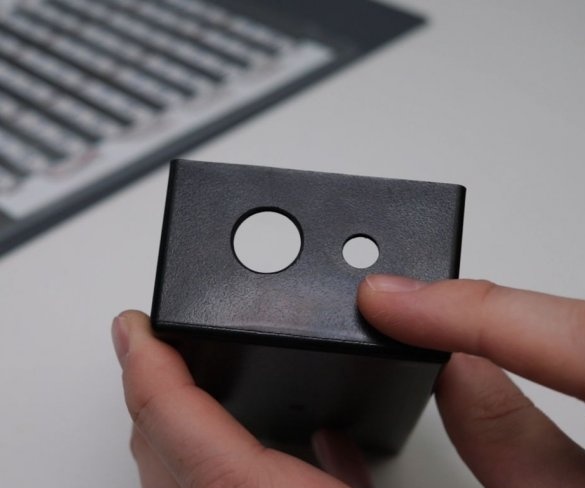
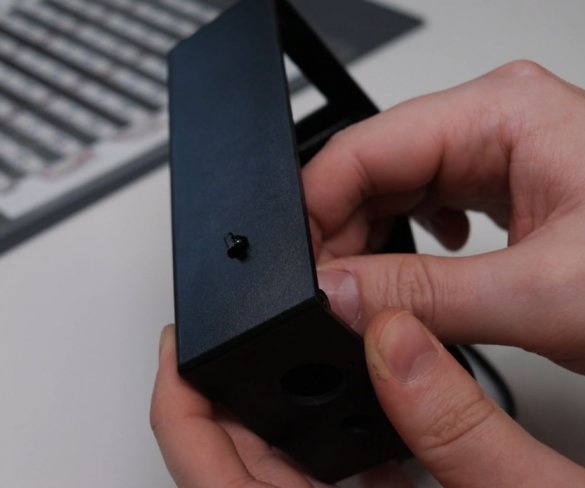
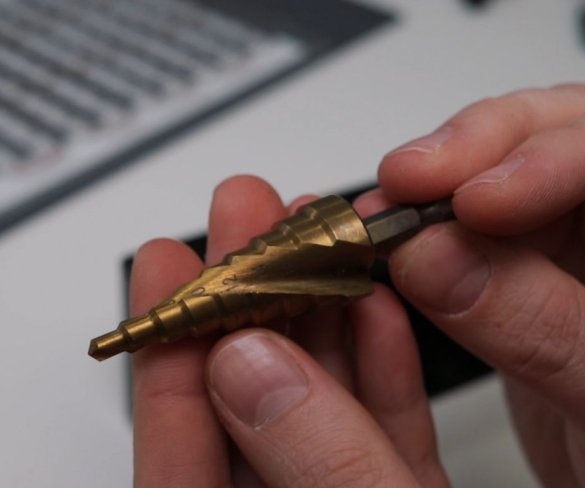
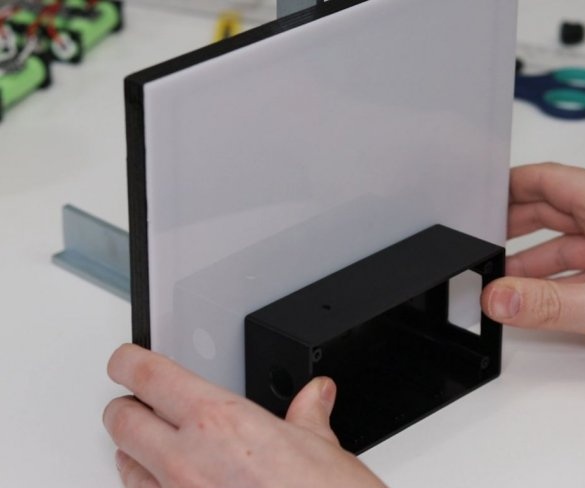
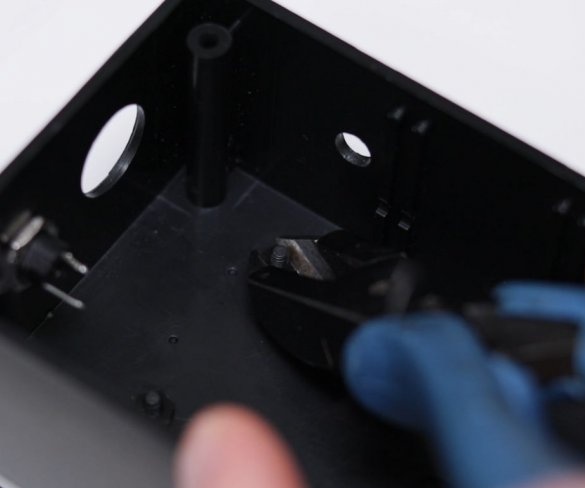
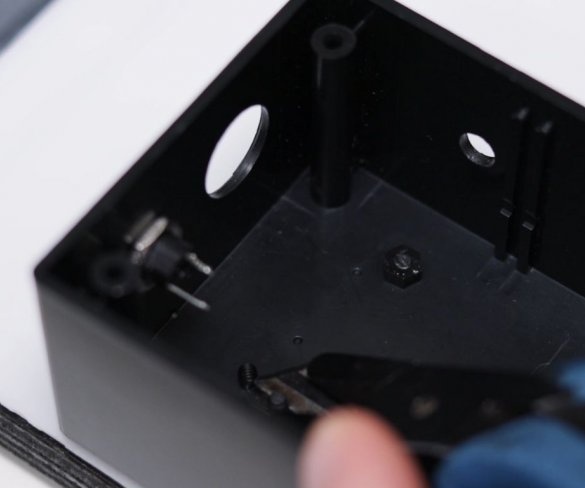
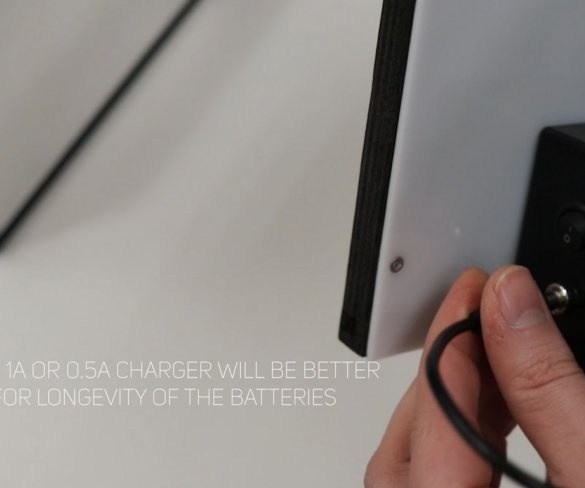
Electronics will be installed in a plastic box. In it, the master makes a series of holes, for a battery indicator, for wires, for a charging port.
Step Six: Battery Pack
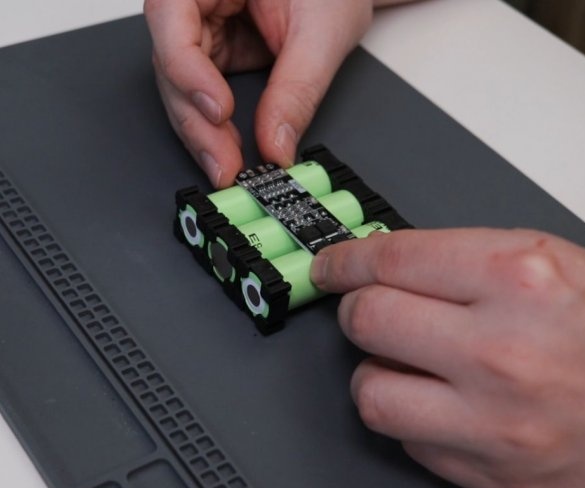
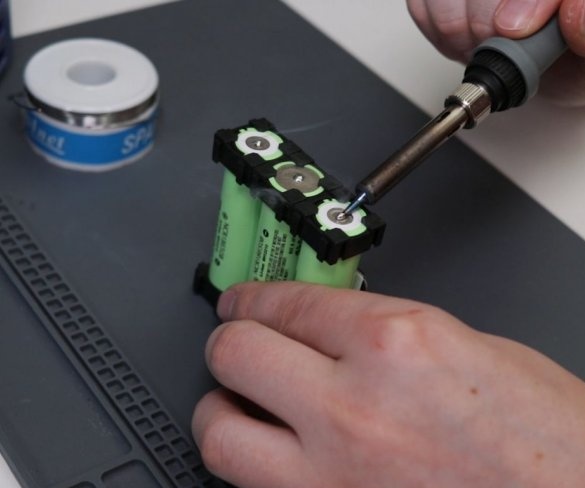
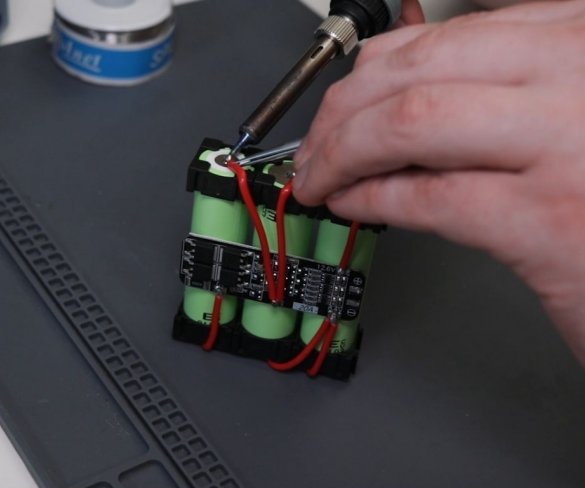
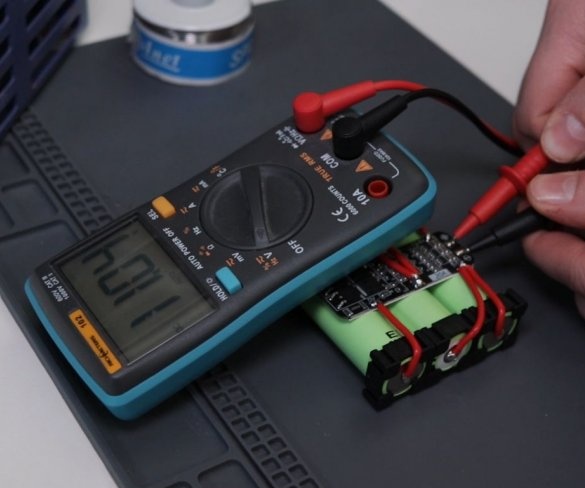
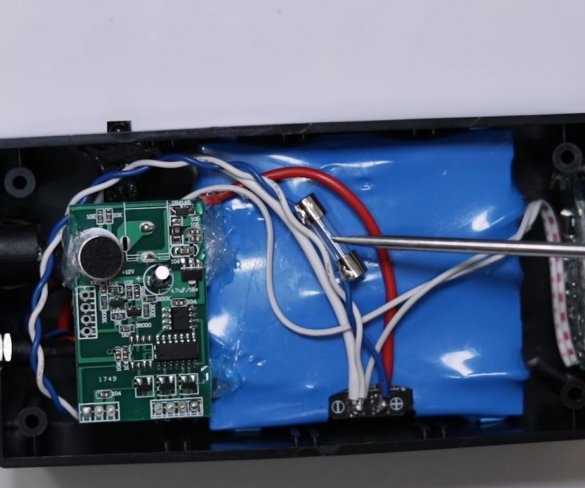
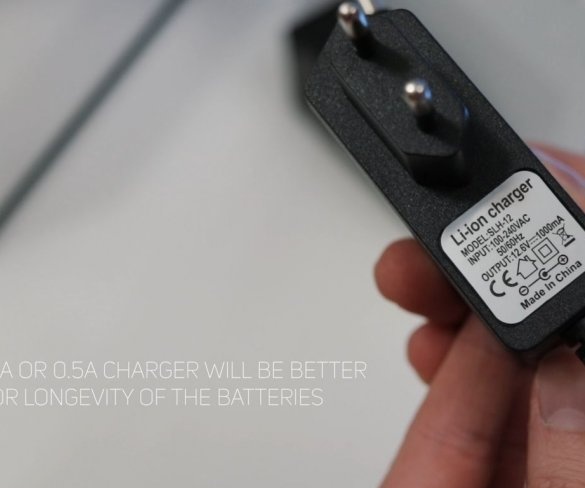
Next, the master assembles the battery pack and mounts the charge controller.
Seventh step: assembly
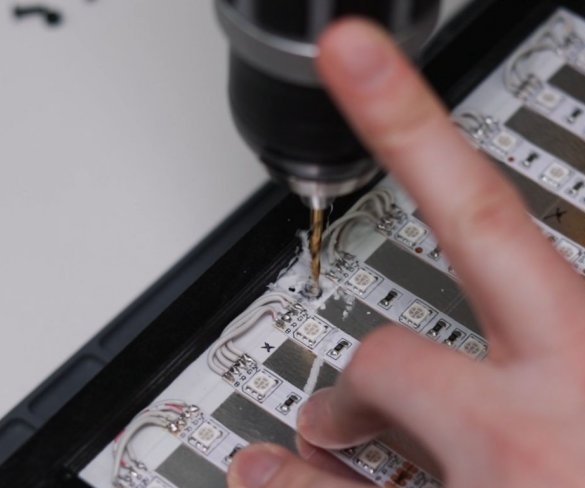
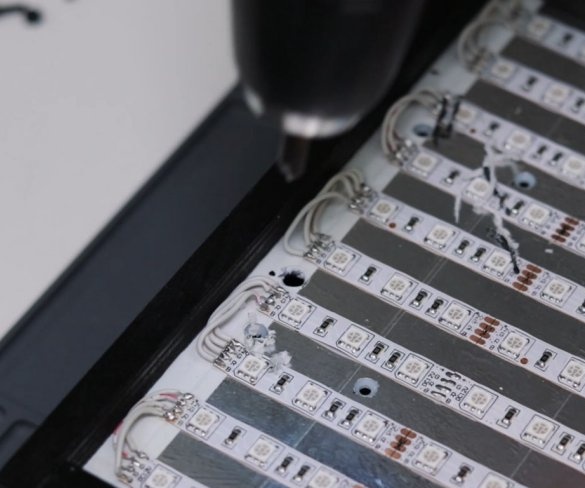
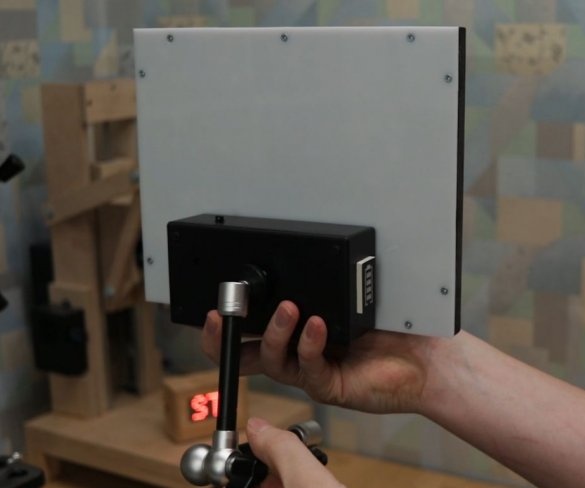
Glues and then fastens the LED panel to the frame. Puts a box on it and drills a hole for the wire.
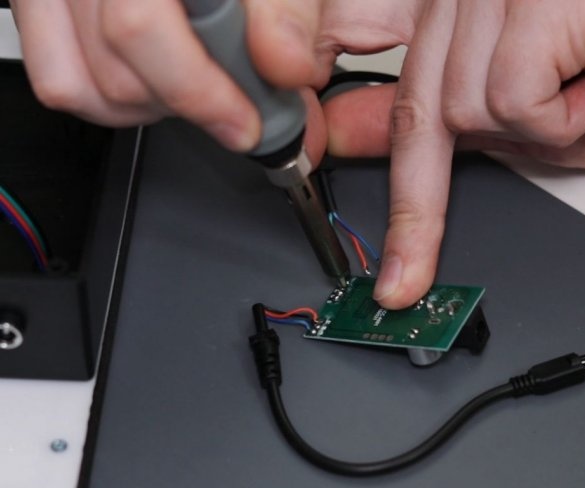
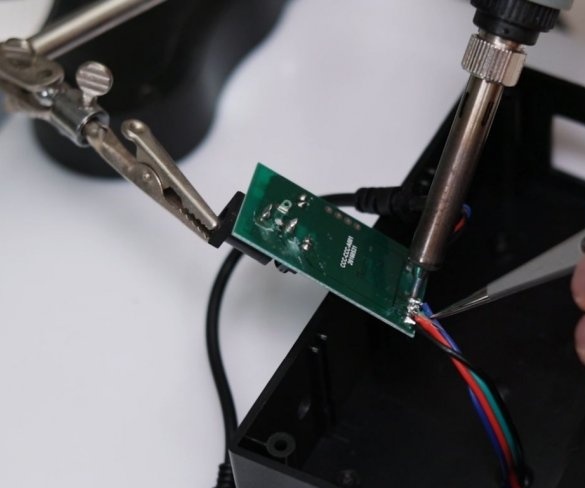
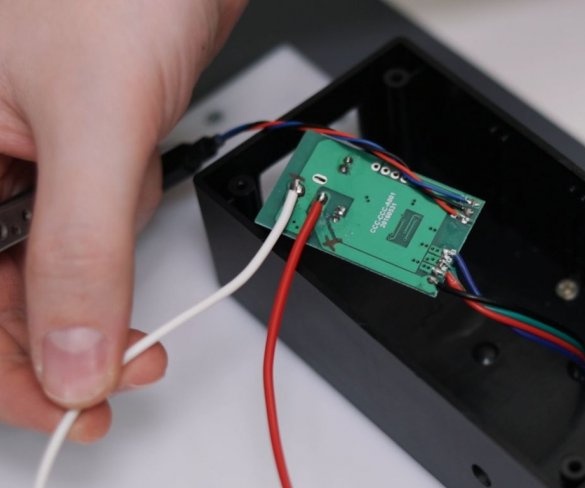
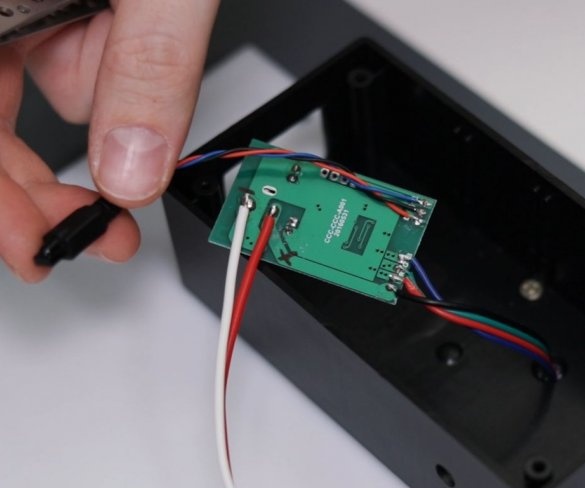
Solder the wire to the LED strip. The second end is soldered to the controller.
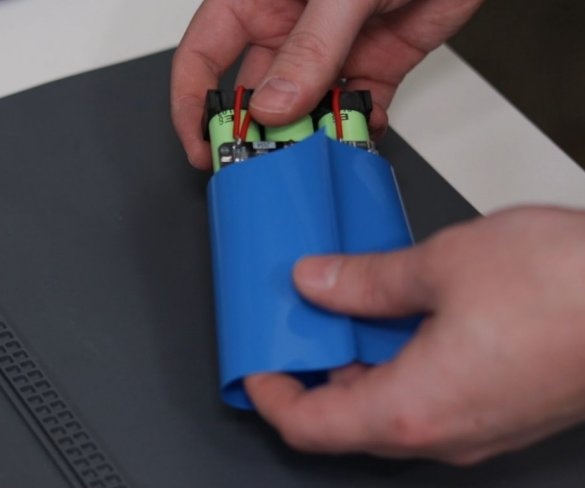
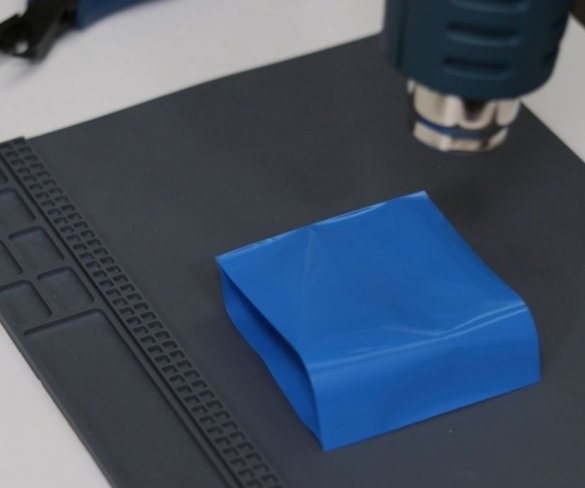
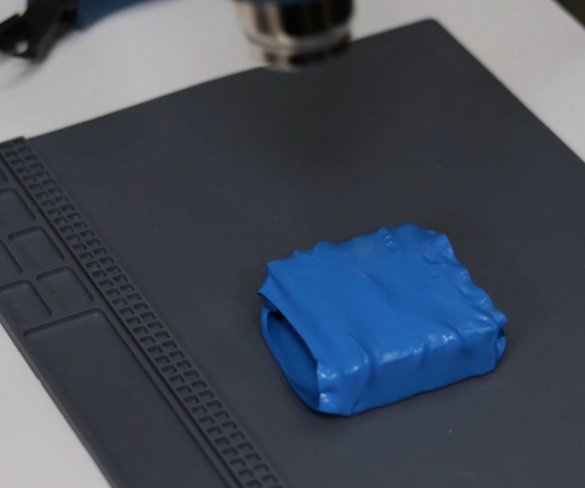
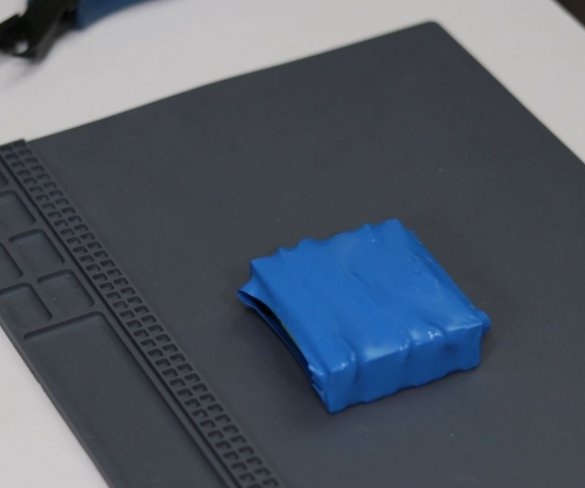
Packs batteries in thermal film.
Mounts the electronics according to the circuit.
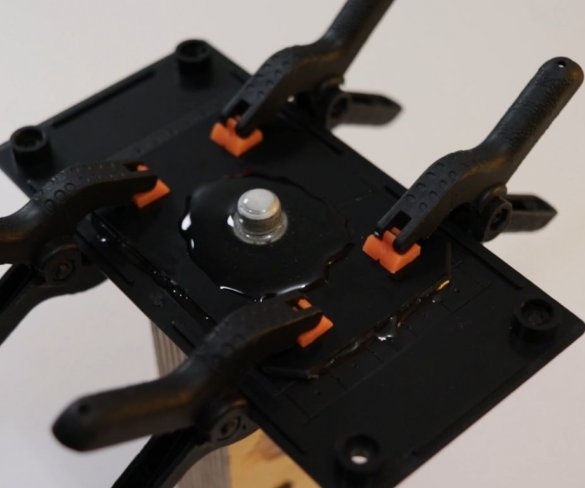
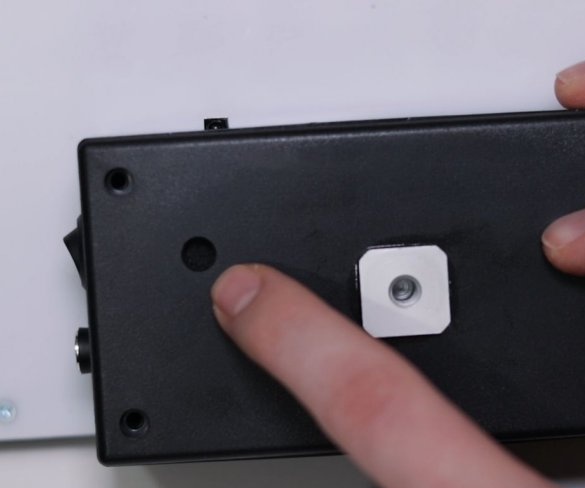
On the lid of the box, mounts the camera mount.
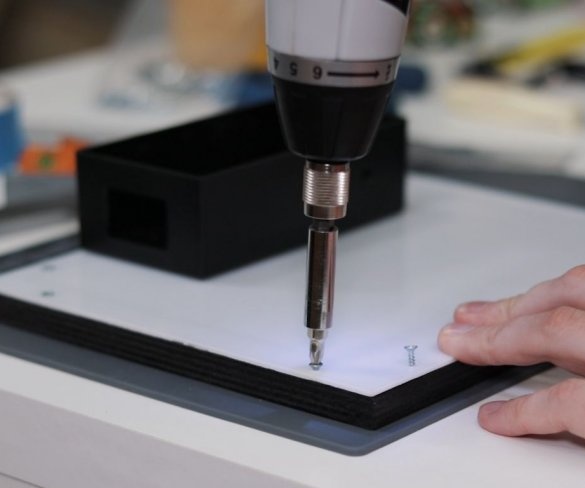
Now it remains to fix, with four screws, the sheet dismantled from the monitor, and charge the batteries.
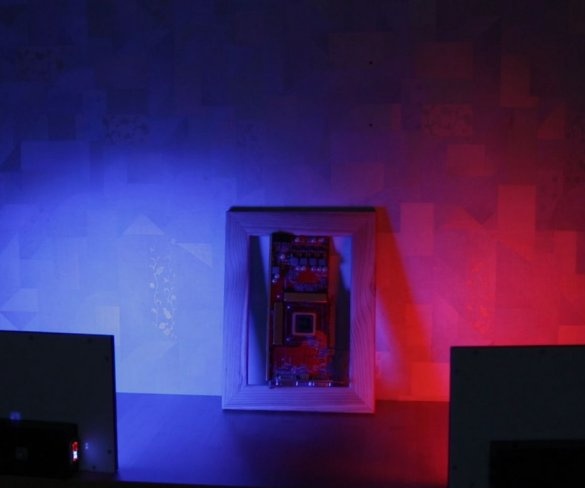
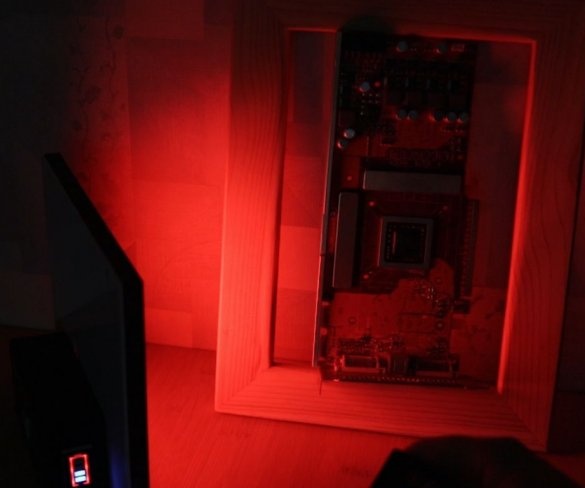
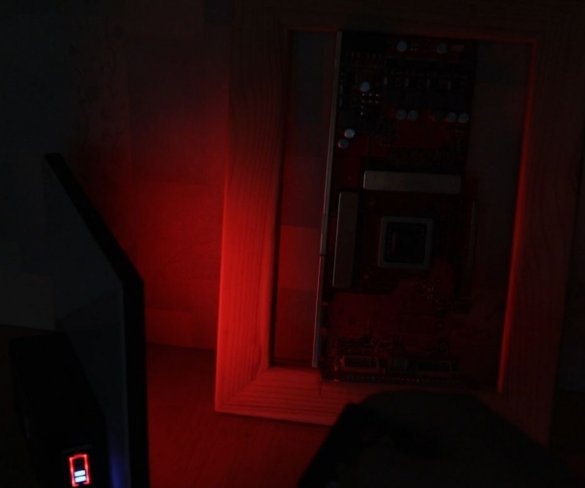
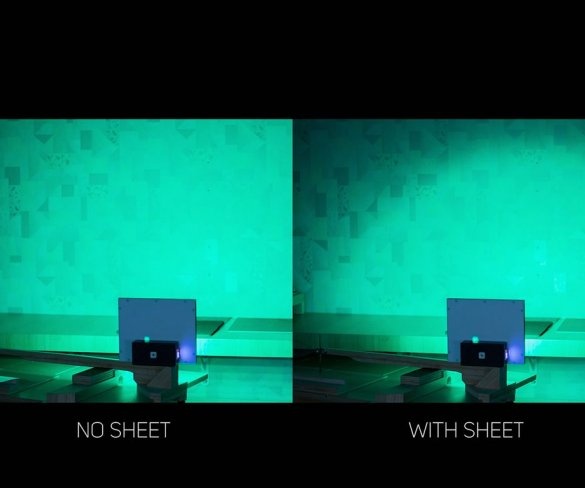
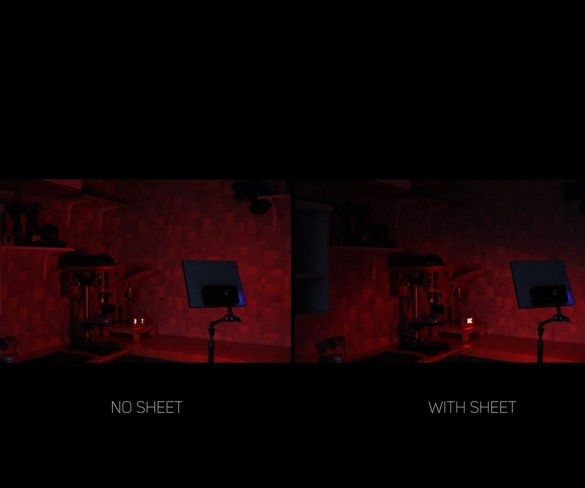
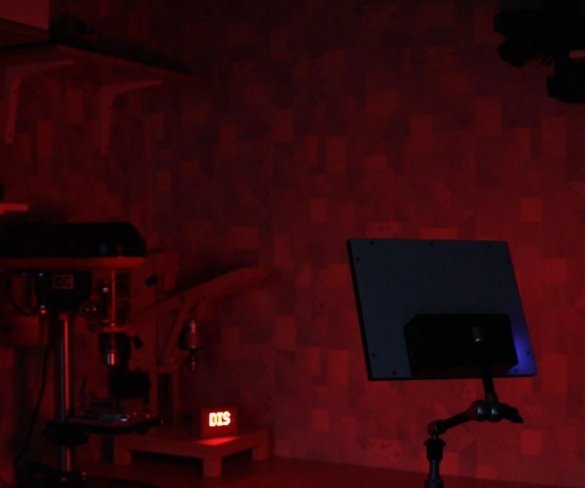
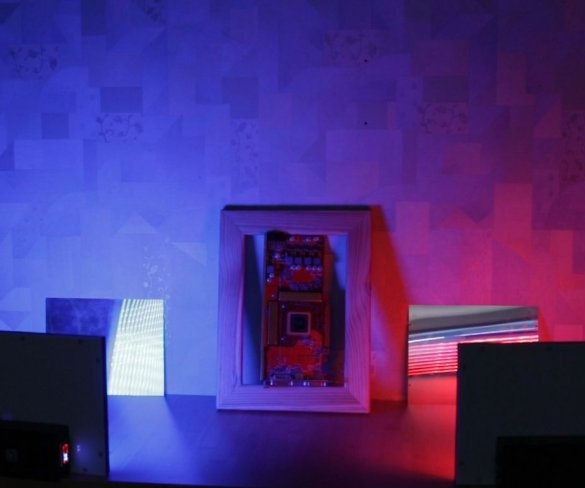
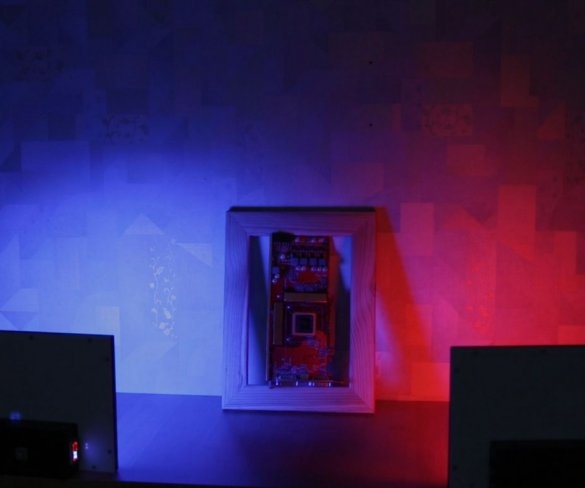
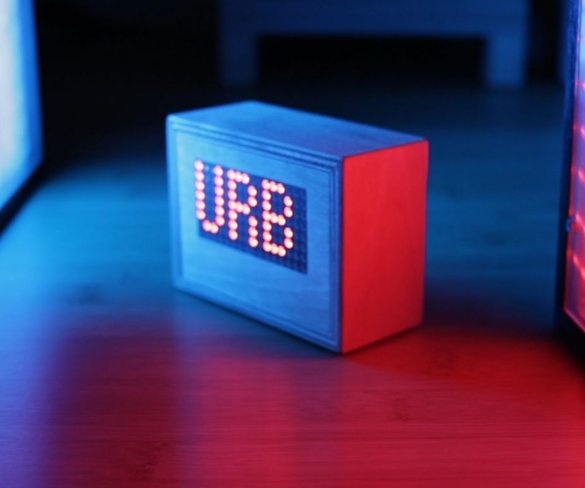
Everything is ready and the master checks the operation of the light panel. On the first photo, objects without lighting are visible, on the next panel is turned on.
The master is quite pleased with the result. According to him, such lighting gives high-contrast lighting, which is difficult to achieve in other conditions.
The whole process of manufacturing such an LED panel can be seen in the video.

