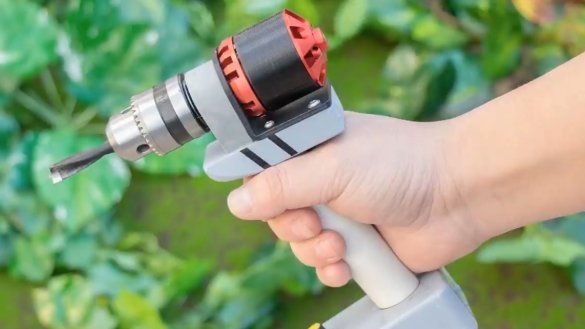
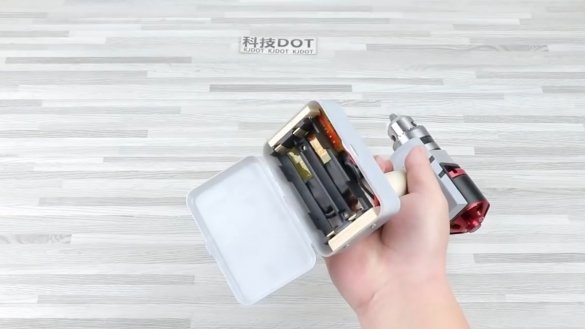
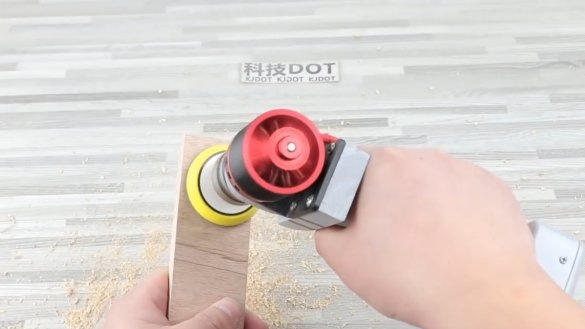
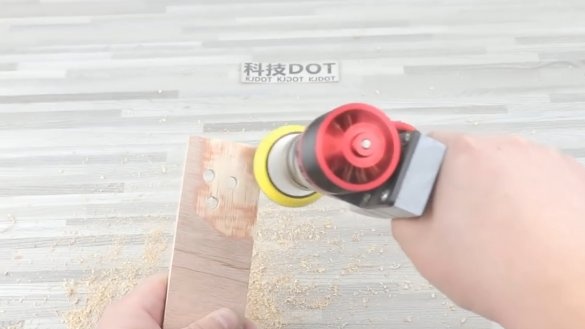
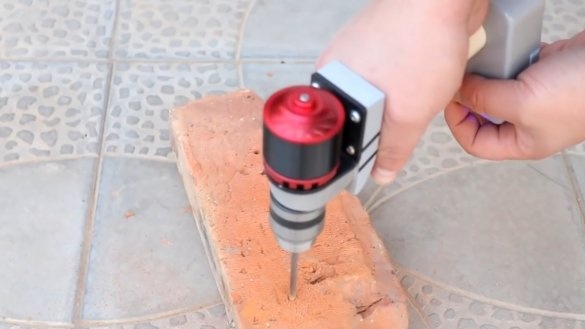
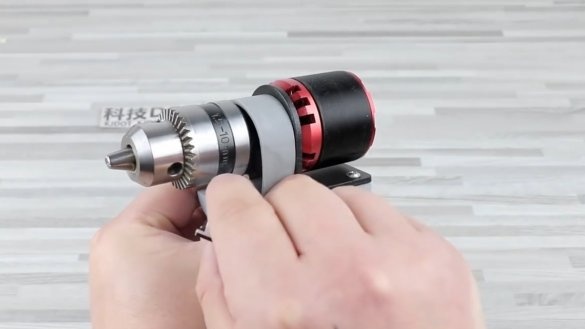
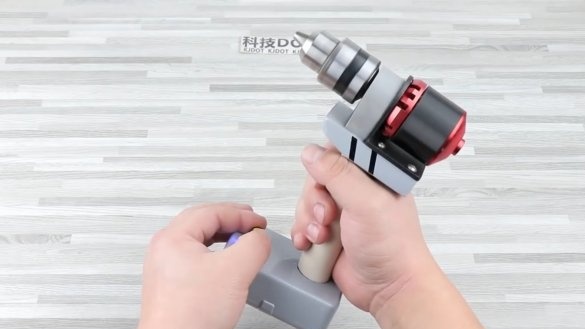
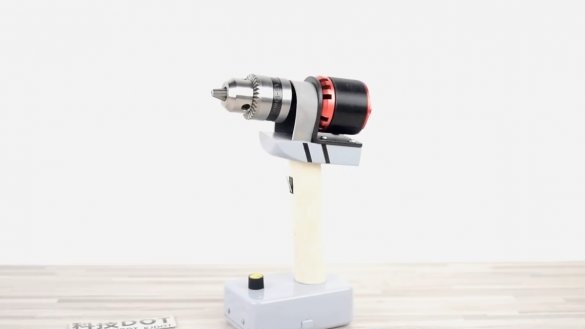
I welcome all fans to craft, I propose to consider instructions for making a simple drill with a brushless motor do it yourself. The author drills with such a drill not only wood, but even bricks, and also puts a disk nozzle for grinding. The author used the C4250 model, and everything works on two 18650 batteries, which are easily installed and removed from the holder. Of course, for long-term battery life you need to remember to equip homemade suitable BMS. Everything is made of ready-made materials, if the project interests you, I propose to study it in more detail!
Materials and tools used by the author:
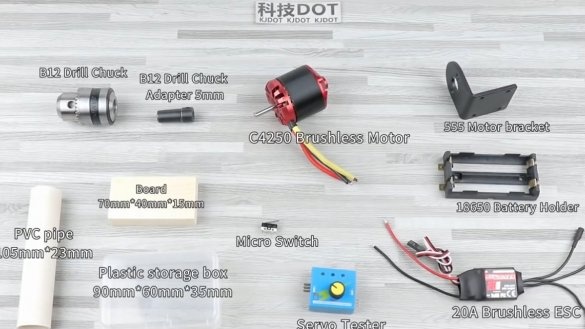
Material List:
- motor C4250;
- drill chuck B12;
- adapter from motor shaft to 5 mm cartridge;
- fasteners for the motor 555;
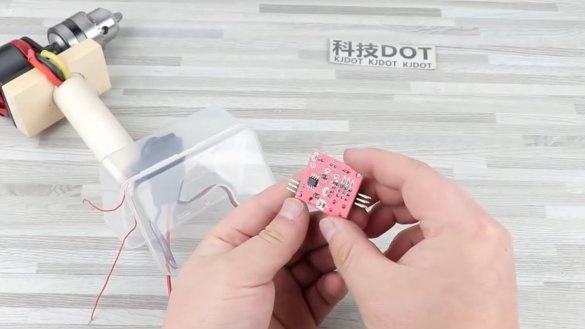
- servo tester (speed controller);
- 20A ESC controller;
- push button switch;
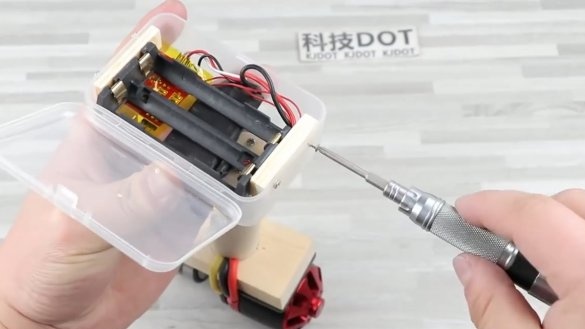
- holder for 18650 batteries;
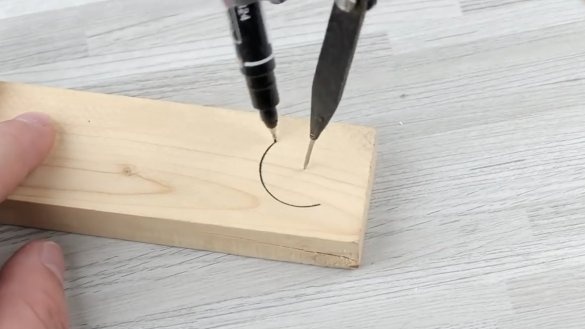
- a piece of plywood or board 70X40X15 mm;
- a piece of PVC pipe 105X23mm;
- a plastic container 90X60X35 mm.
Tool List:
- screwdriver;
- jigsaw;
- compass;
- glue;
- nippers;
- drill;
- soldering iron.
Homemade manufacturing process:
Step one. Cartridge shaft mounting
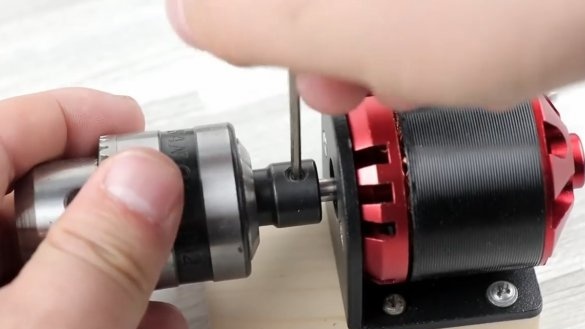
First of all, we install a drill chuck on the motor shaft. The shaft has a diameter of 5 mm, we will need the appropriate adapter, with which we will put the drill chuck.
The engine itself can be mounted on a purchased bracket for the 555 motor, or you can do the same from the corner. Well, we fix the bracket with screws to a piece of board or plywood.
Step Two A pen
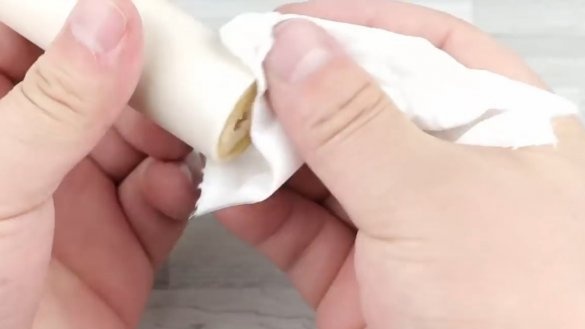
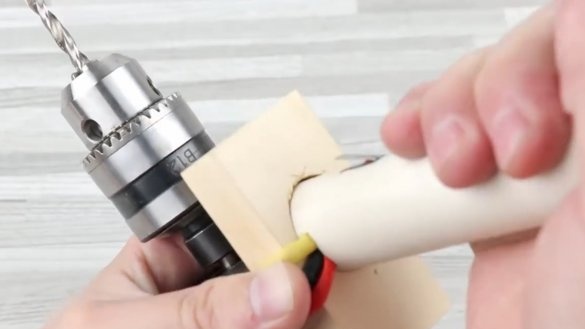
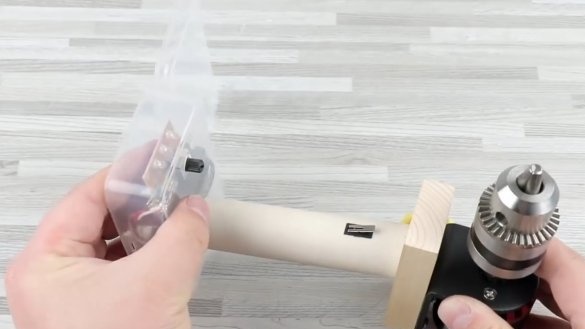
The author used a piece of sewer pipe as a handle for a drill. We fix the pipe to a wooden platform on which the motor is mounted. Everything needs to be connected securely, since we will press on the motor and the mount at this moment should not break.
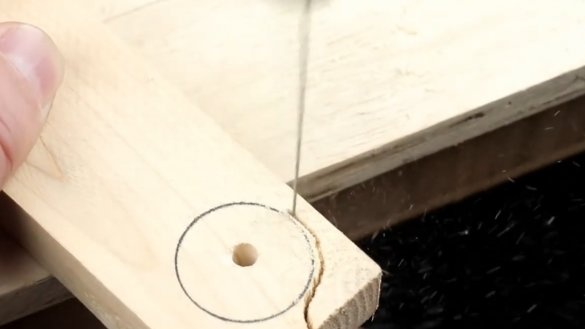
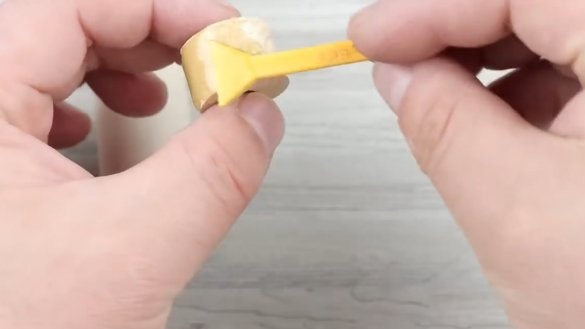
The author built a power button in the pen, and also wired it to the base. From the bottom, the author pasted a wooden plug with a hole for the wires into the tube. Using this plug, we fasten a plastic container to the handle for further assembly.
Step ThreeFurther assembly
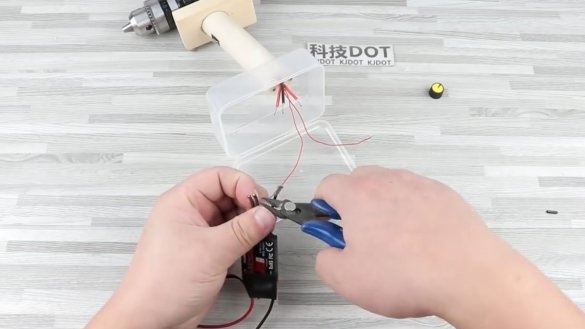
In a plastic container, we securely fasten the controller to control the speed, and also place the holder for the batteries. Do not forget to bring out the motor speed control knob. After assembly, the container with all contents will be closed.
At the end, the author painted the homemade product and made a casing of plastic over the connector. You can try to drill, the homemade product works fine, but how much battery power is enough remains unknown. The motor is quite powerful, it pulls the disk nozzle with sanding paper. After drilling, the author takes out the batteries, and put on charging.
Of course, in the case of deep discharge, the batteries will quickly lose their original capacity, so be sure to put on a homemade BMS!
The project is completed on this, I hope you liked the homemade work, and you found useful thoughts. Good luck and creative inspiration, if you decide to repeat this. Do not forget to share your ideas and homemade things with us!

