

I welcome all fans to craft, I propose to consider instructions for the manufacture of a large concrete sink do it yourself. For the manufacture, the author used a ready-mixed concrete mix GFRC and a white dye. To give concrete strength, it is reinforced with fiberglass. Looks homemade excellent, yet it is strong and durable. If the project interests you, I propose to study it in more detail!
Materials and tools used by the author:
Material List:
- concrete mix GFRC;
- synthetic fibers (for reinforcement);
- titanium dioxide (white dye);
- reinforcing mesh;
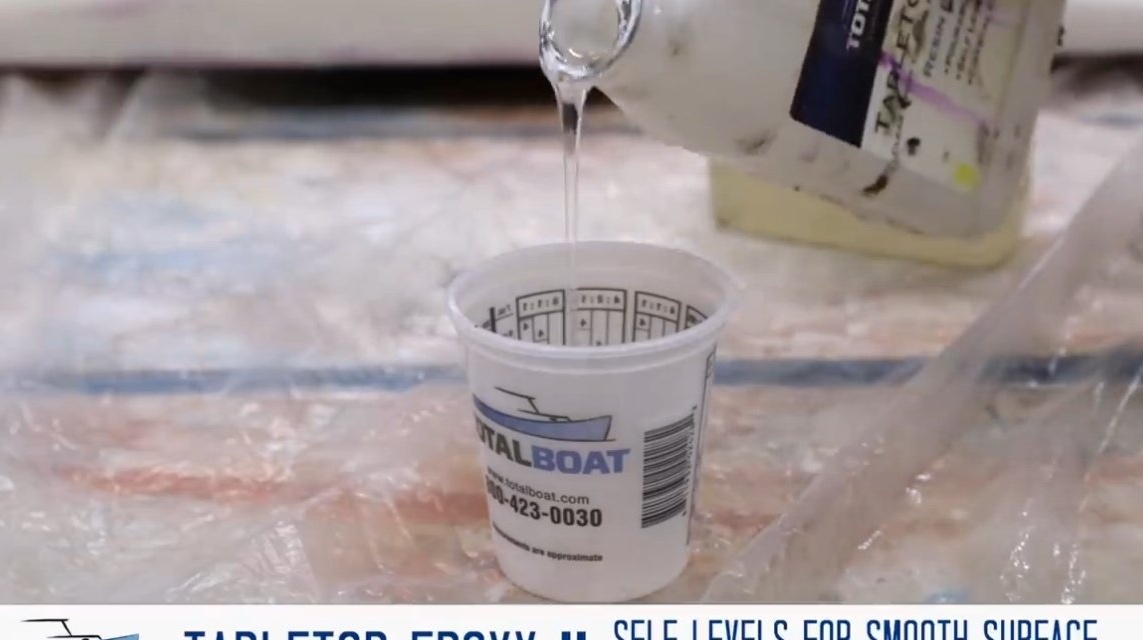
- epoxy resin.
Tool List:
- a circular saw;
- vibration grinding machine;
- screwdriver;
- compressor;
- Bulgarian and more.
Homemade manufacturing process:
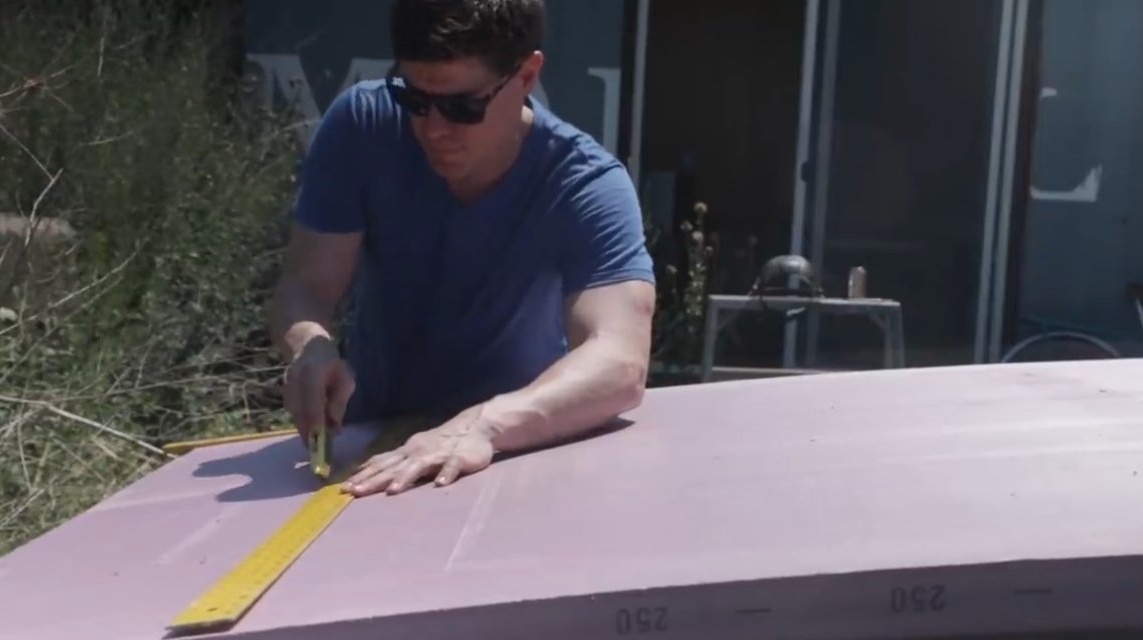
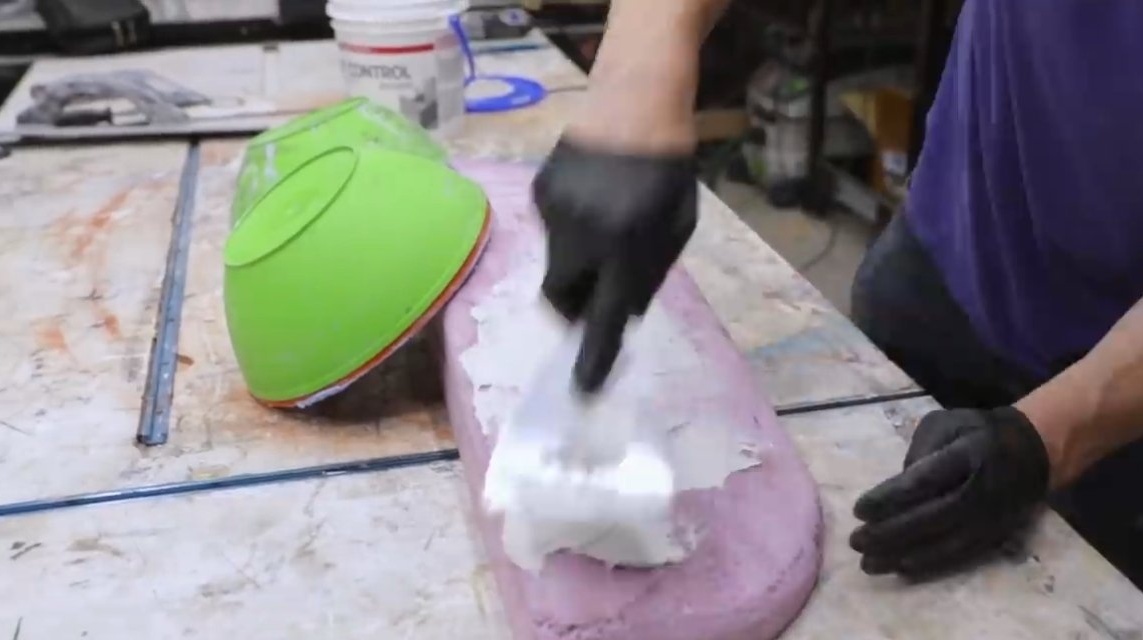
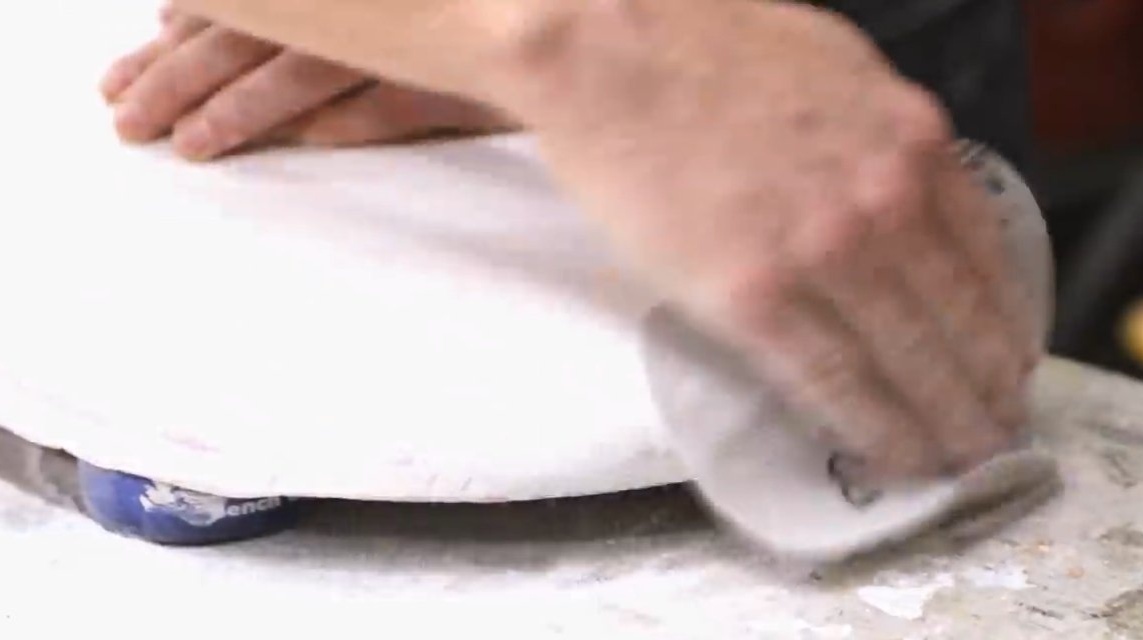
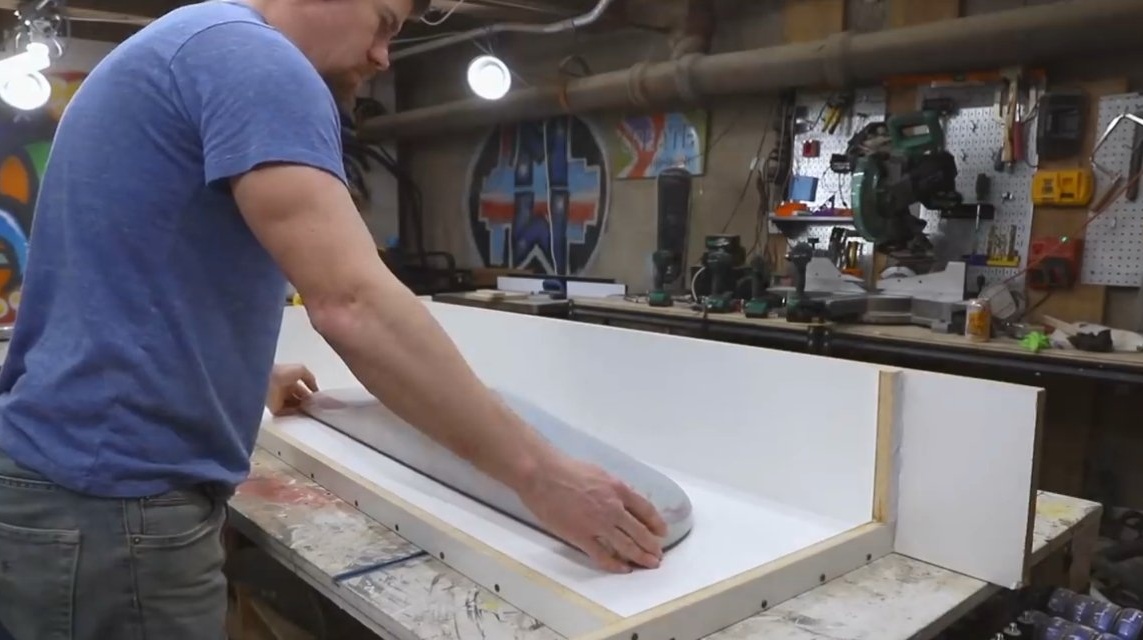
Step one. Cavity insert
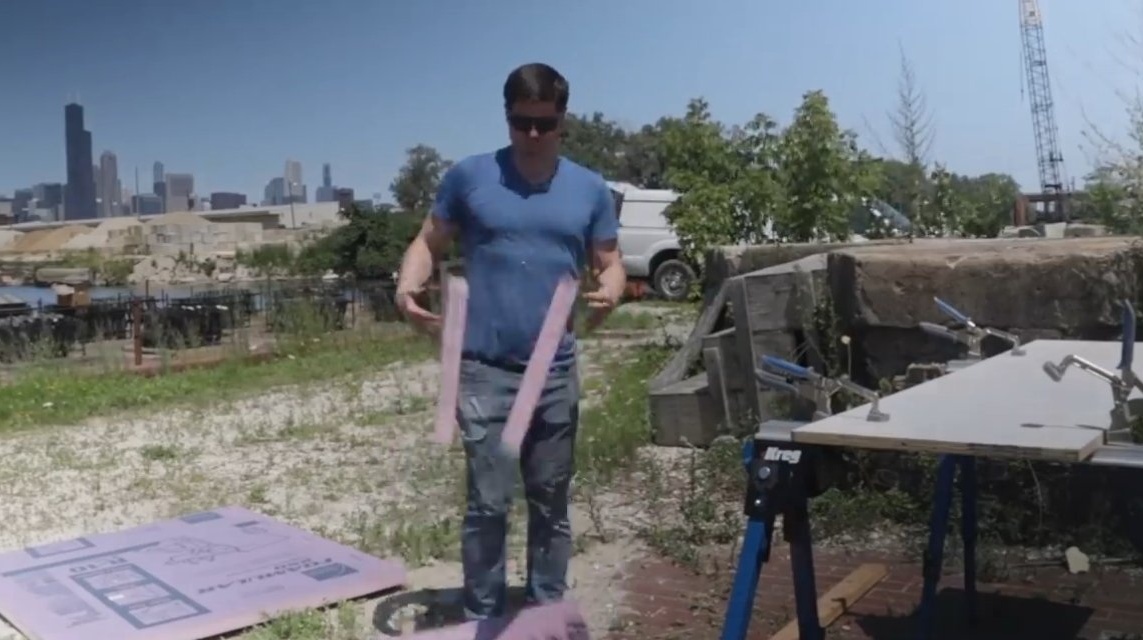
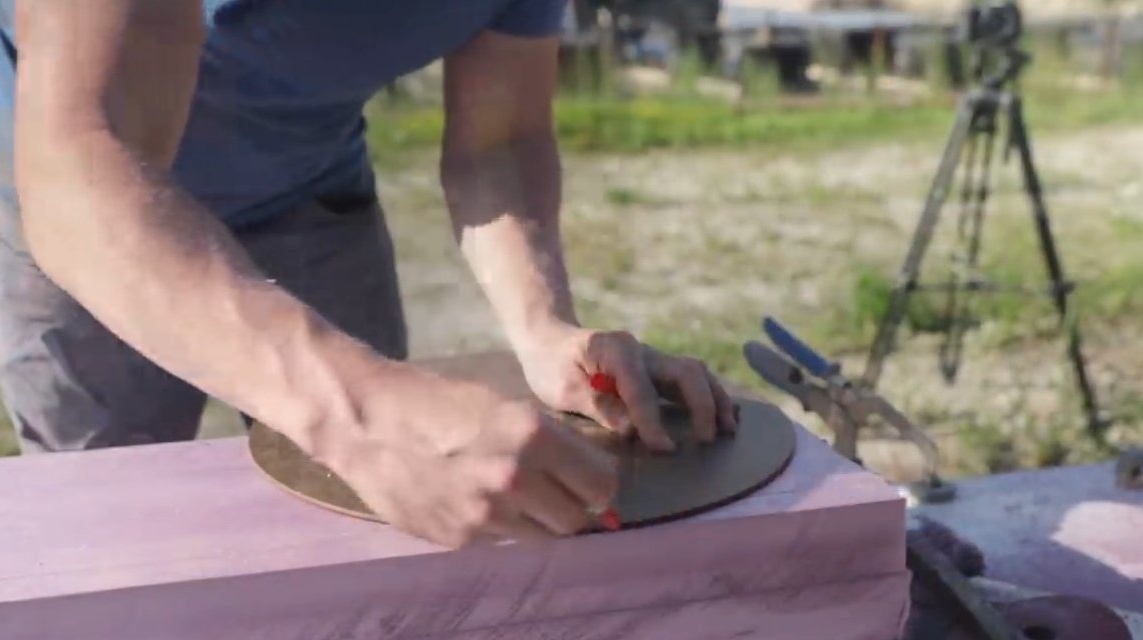
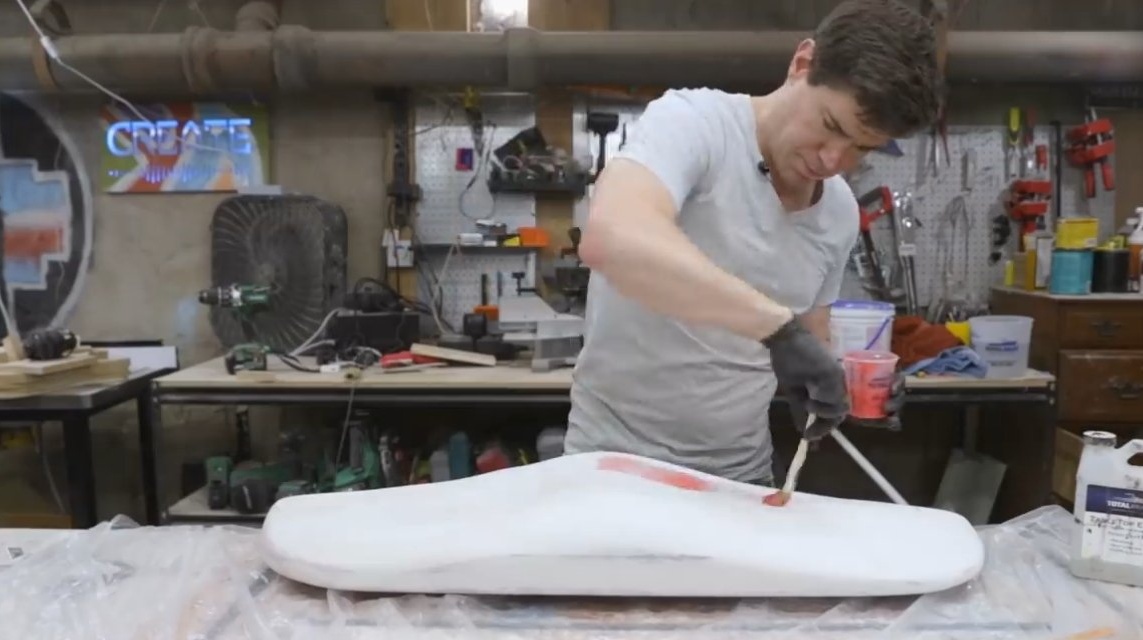
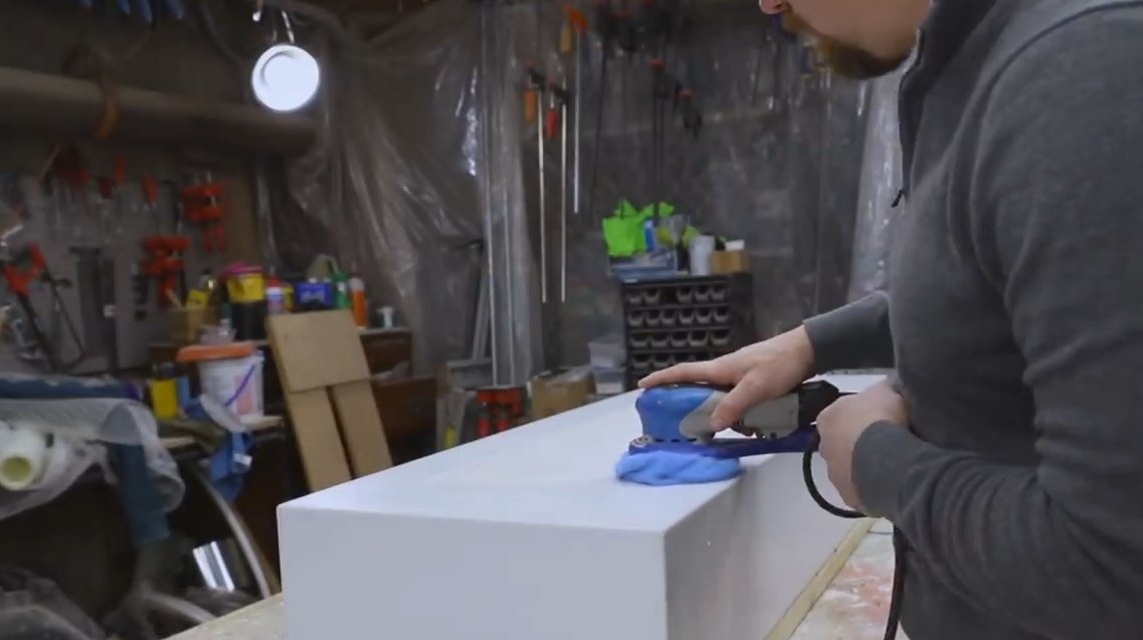
First of all, we need to make the formwork, thanks to which a cavity in the sink will be formed. The product may be formed from dense foam or the like. The author covered the blank with putty, polished it well, and then applied a layer of epoxy on top. As a result, an insert was obtained to which the concrete mixture does not stick, and it can also be reused.
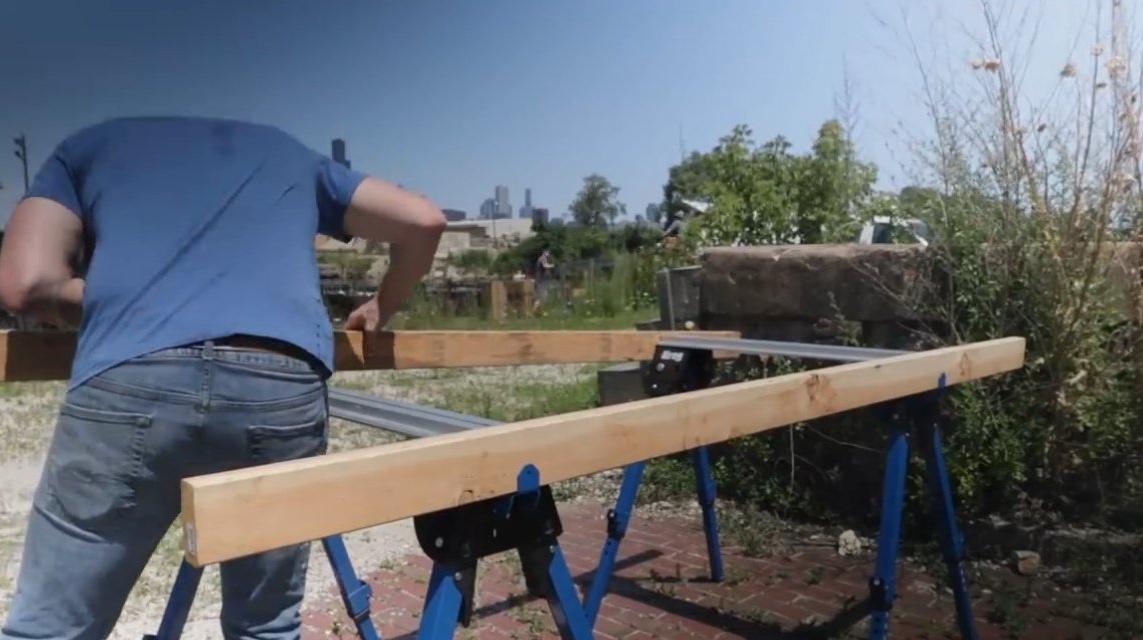


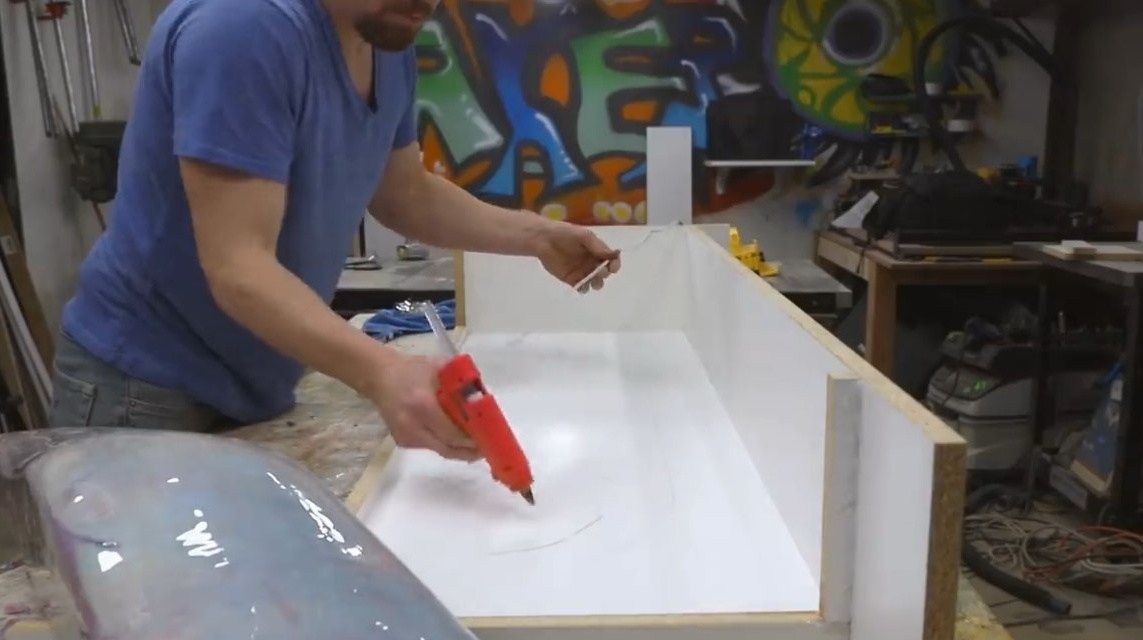
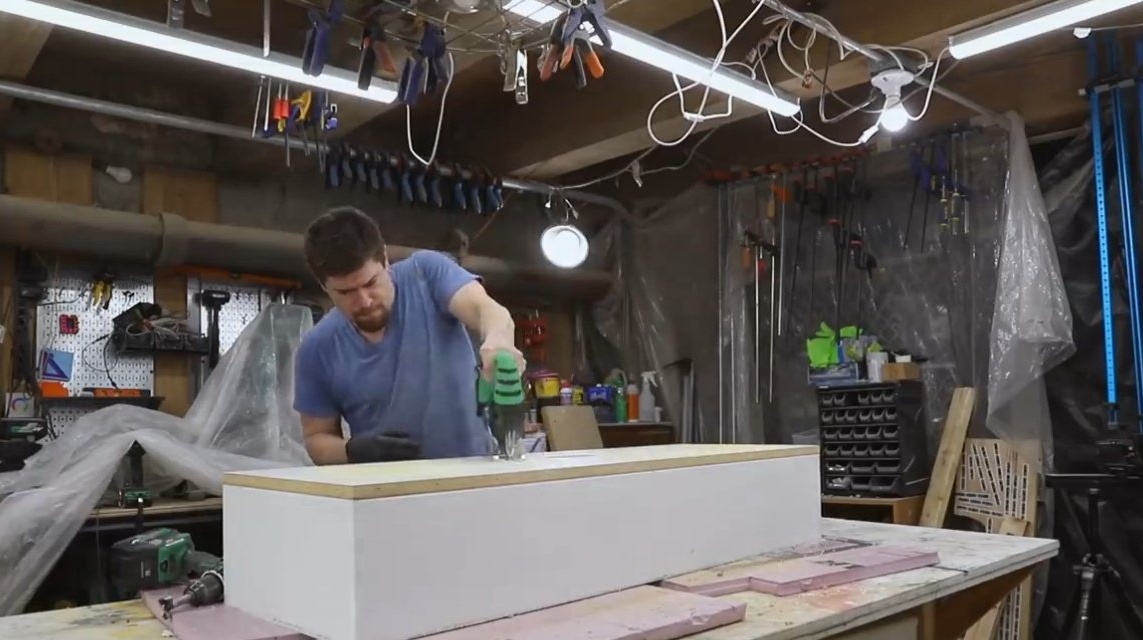
Step Two Basic formwork
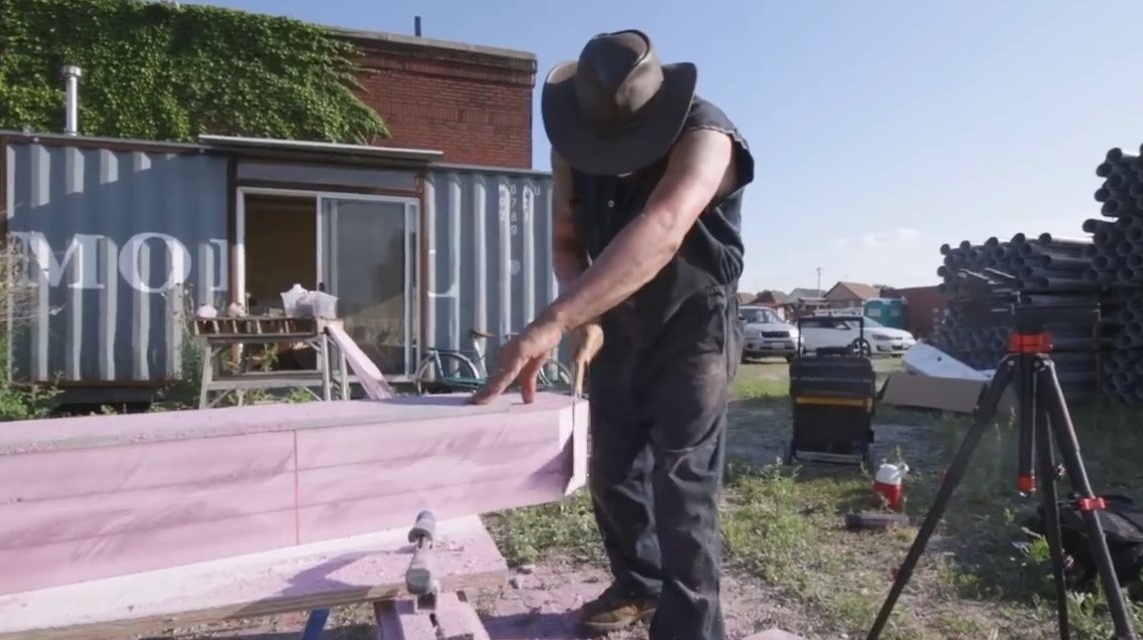
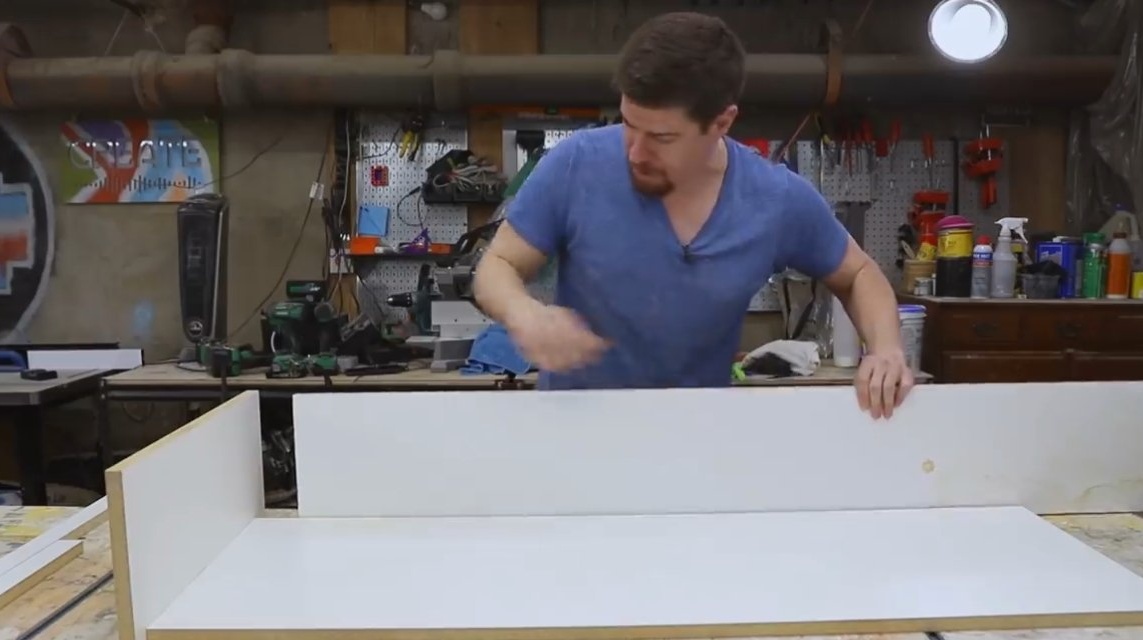
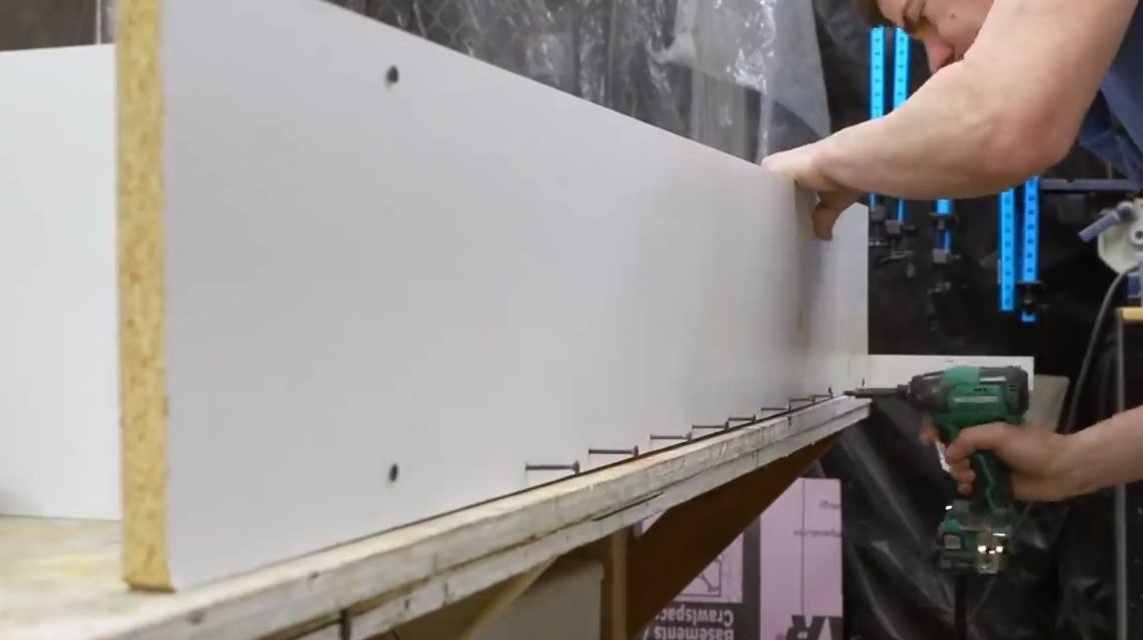
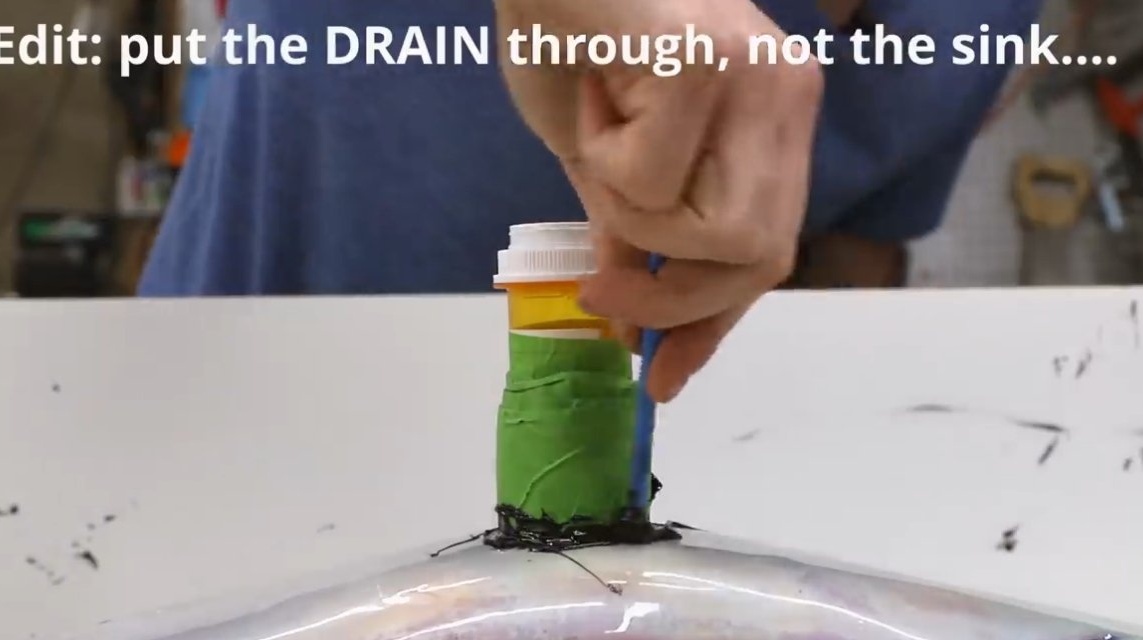
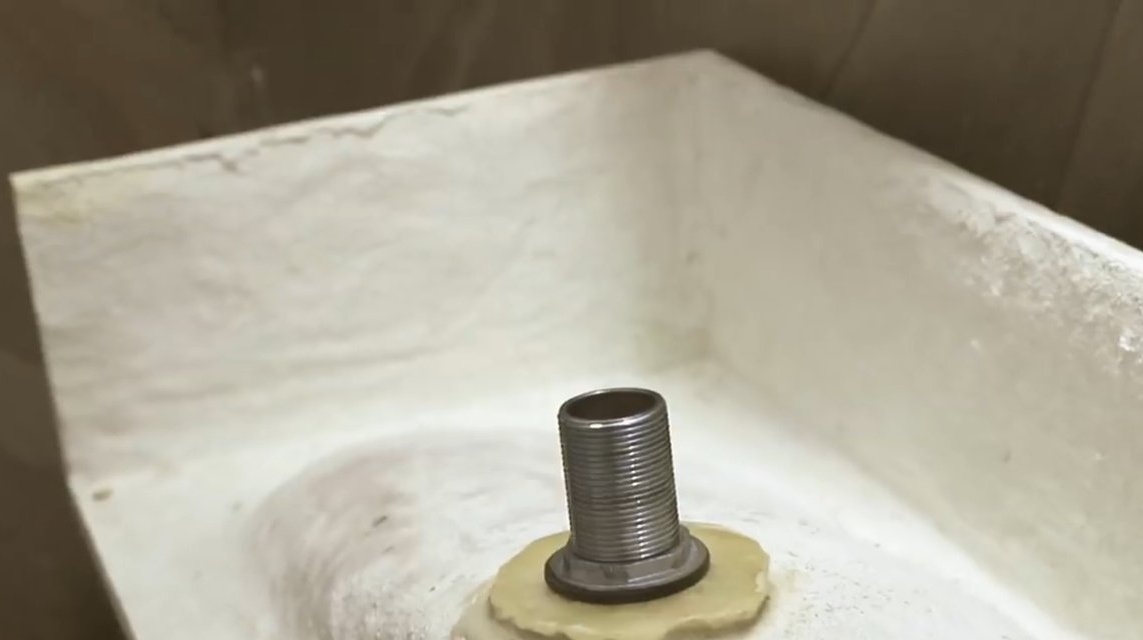
We assemble the main formwork, for these purposes the author used chipboard, just twist it with self-tapping screws. All joints must be lubricated with silicone sealant. In the central part, do not forget to install the part made earlier, this will be our niche in the sink. Chipboard, if desired, can be coated with release wax.


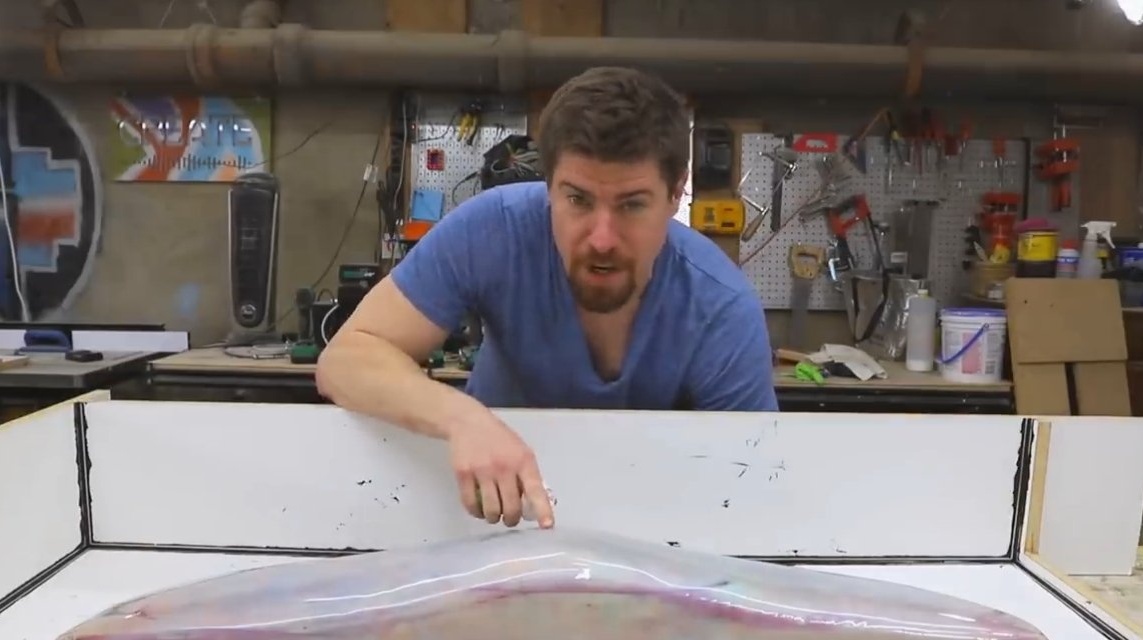

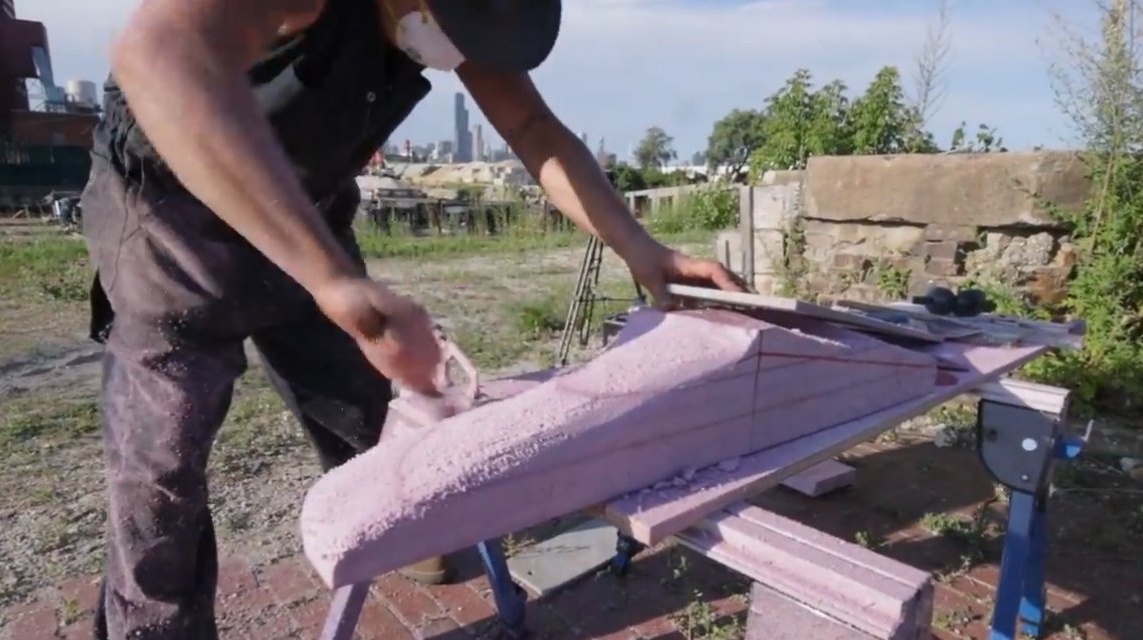
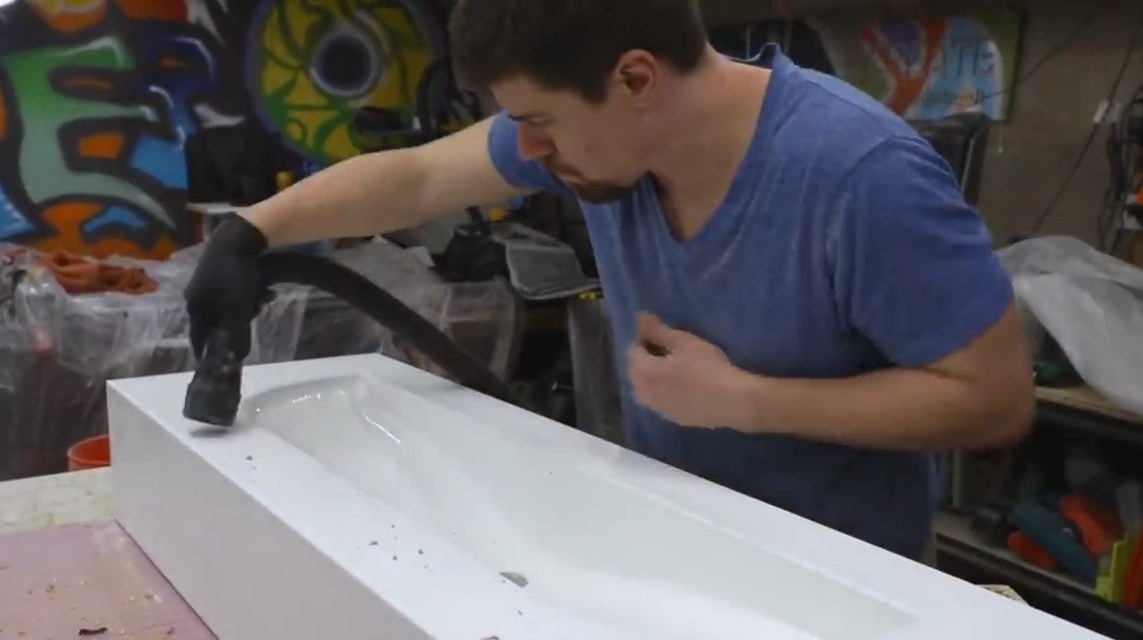
Step Three We form a sink
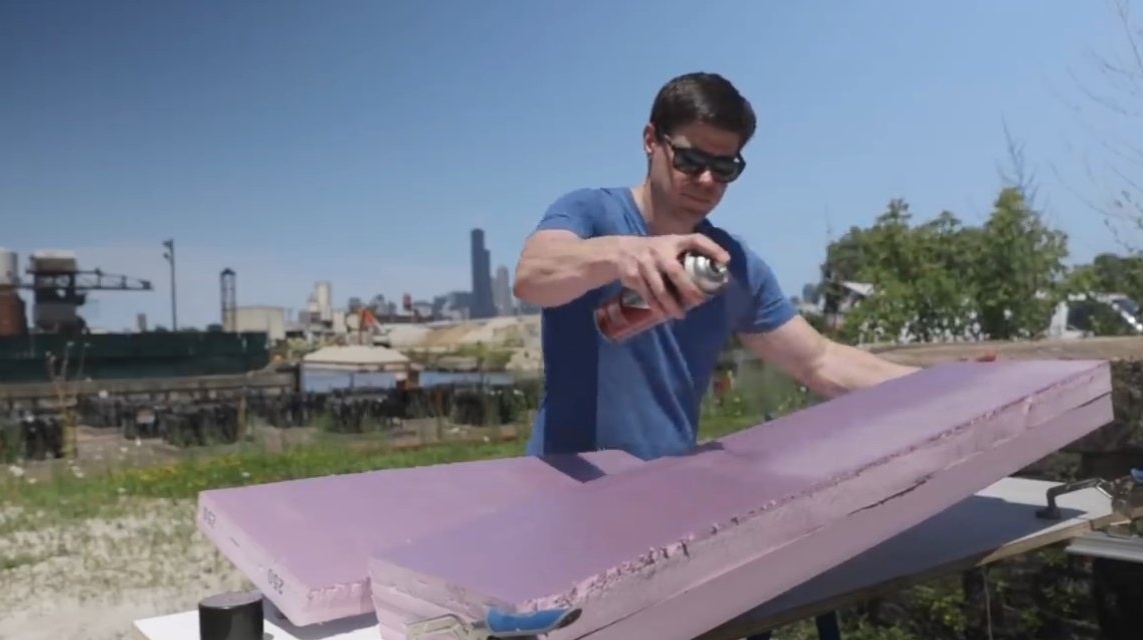
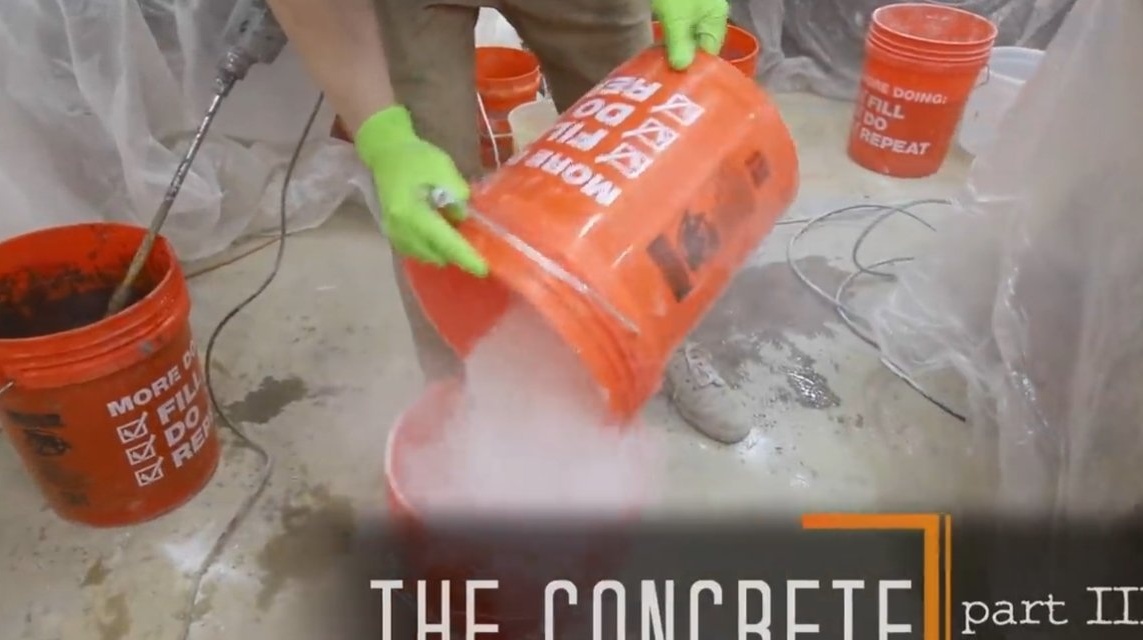
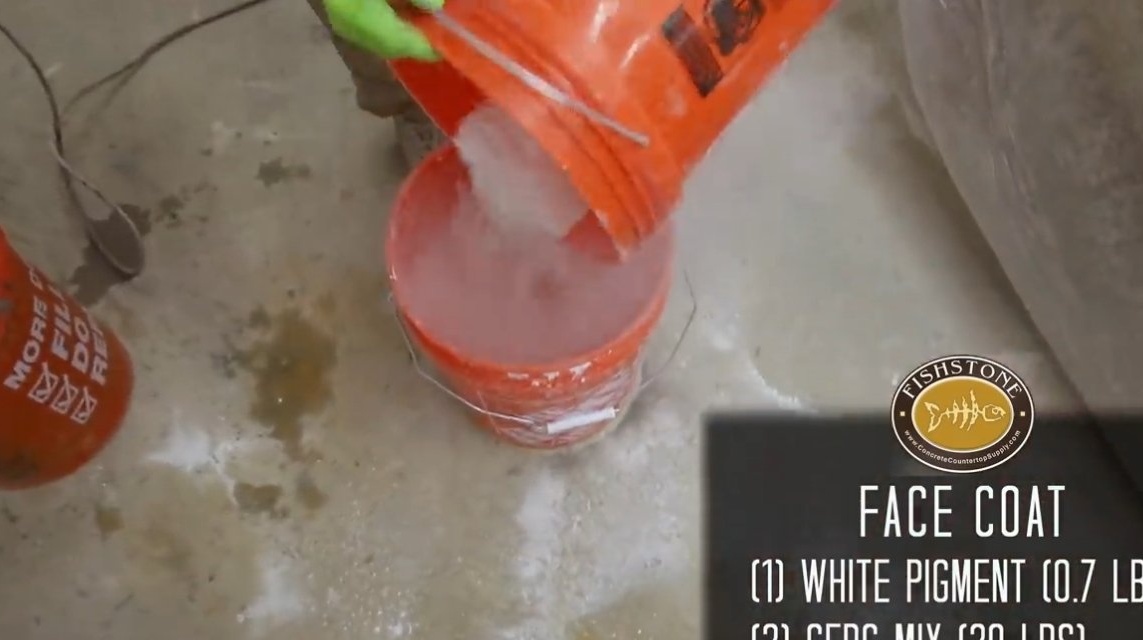
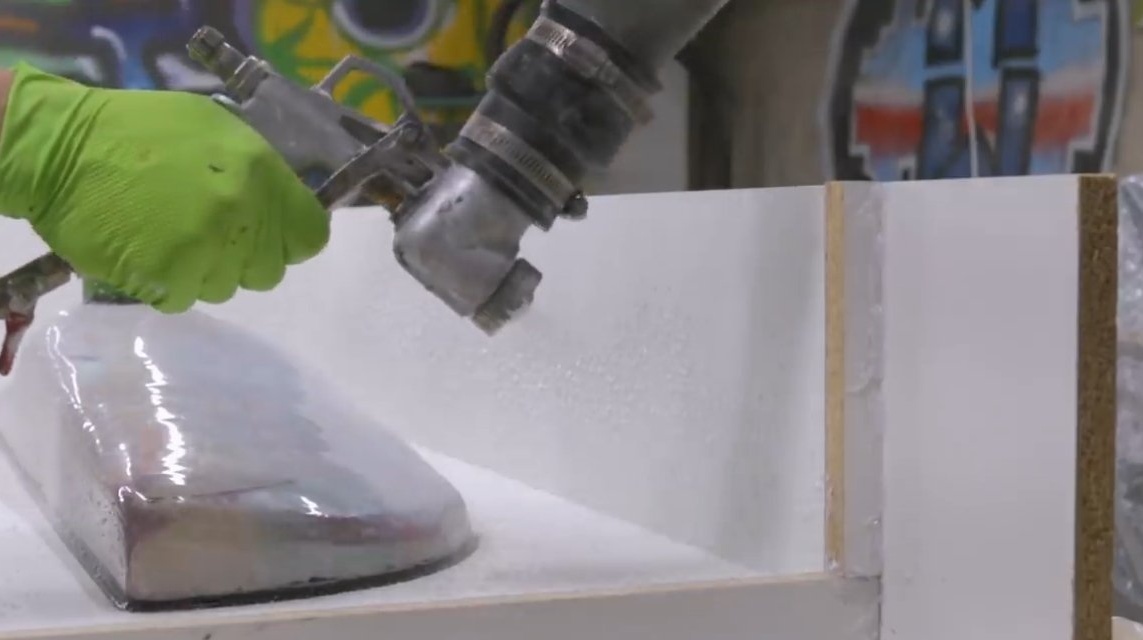
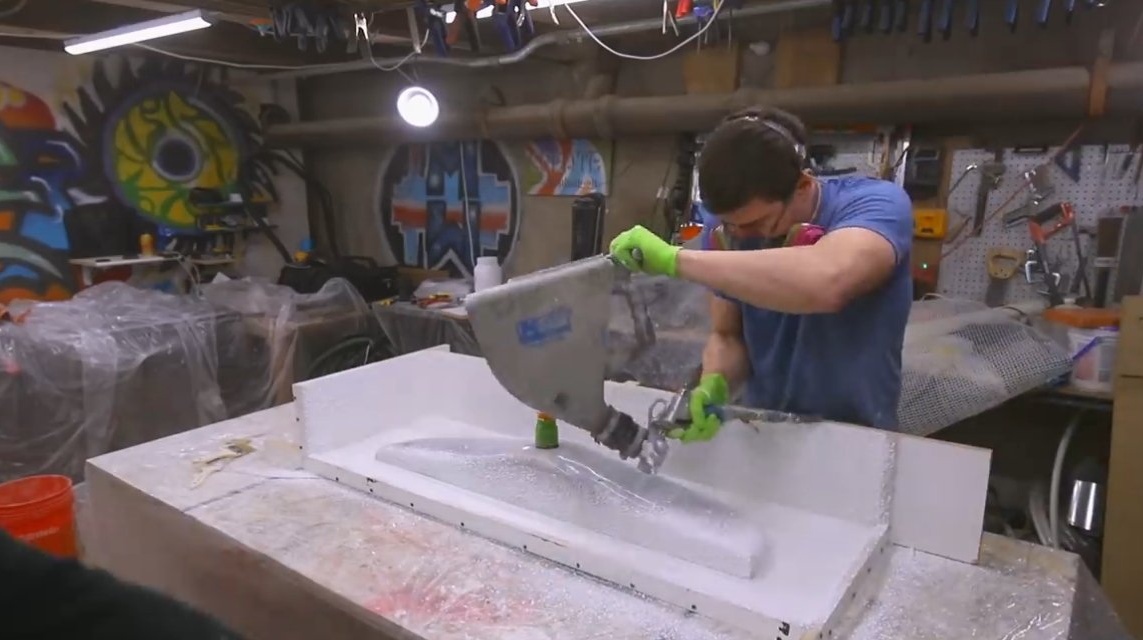
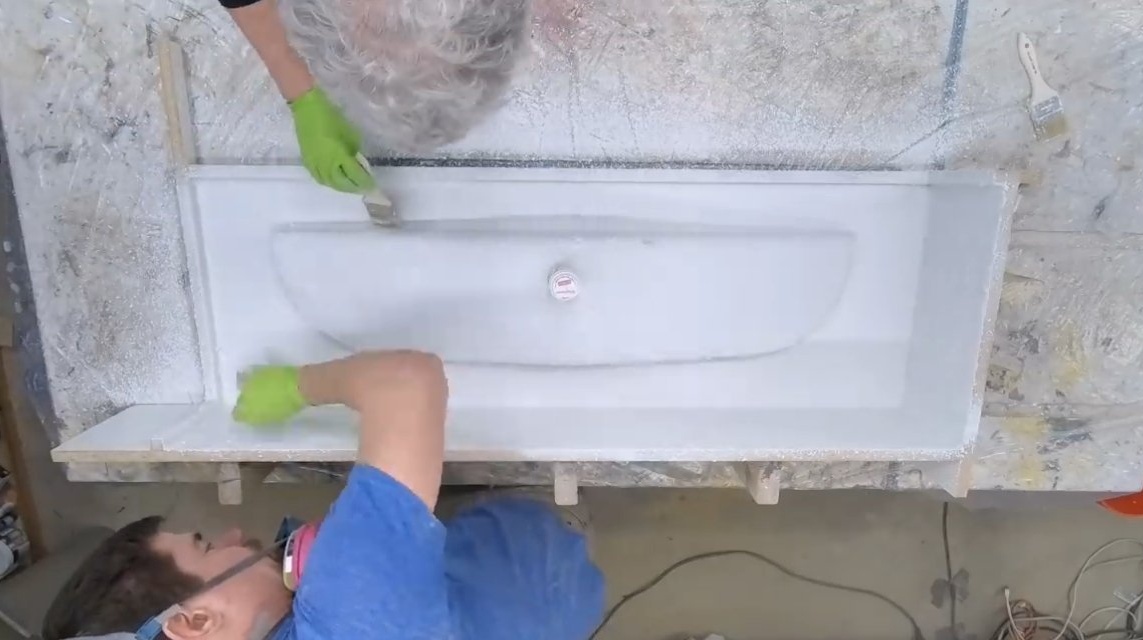
We proceed to the formation of a shell made of concrete. First of all, we dilute the concrete mixture GFRC and add white dye to it. The resulting mixture must be sprayed onto the formwork, this coating will be the front side of the sink. As a result of spraying, everything will lie evenly and evenly. After the sprayer, the author carefully passes with a spatula, trimming irregularities.

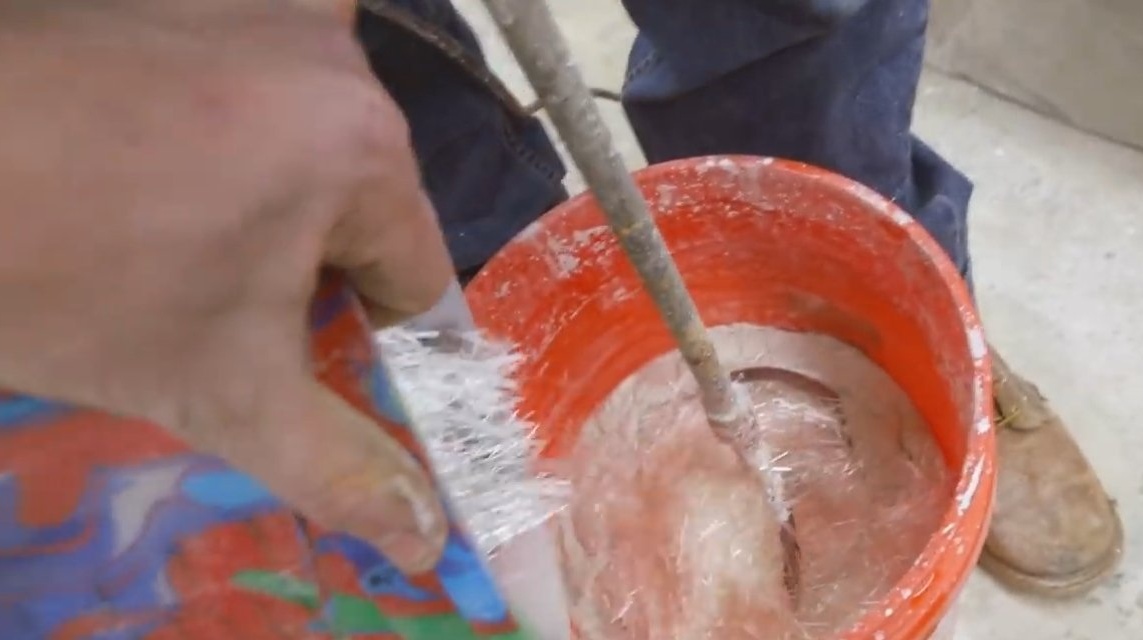
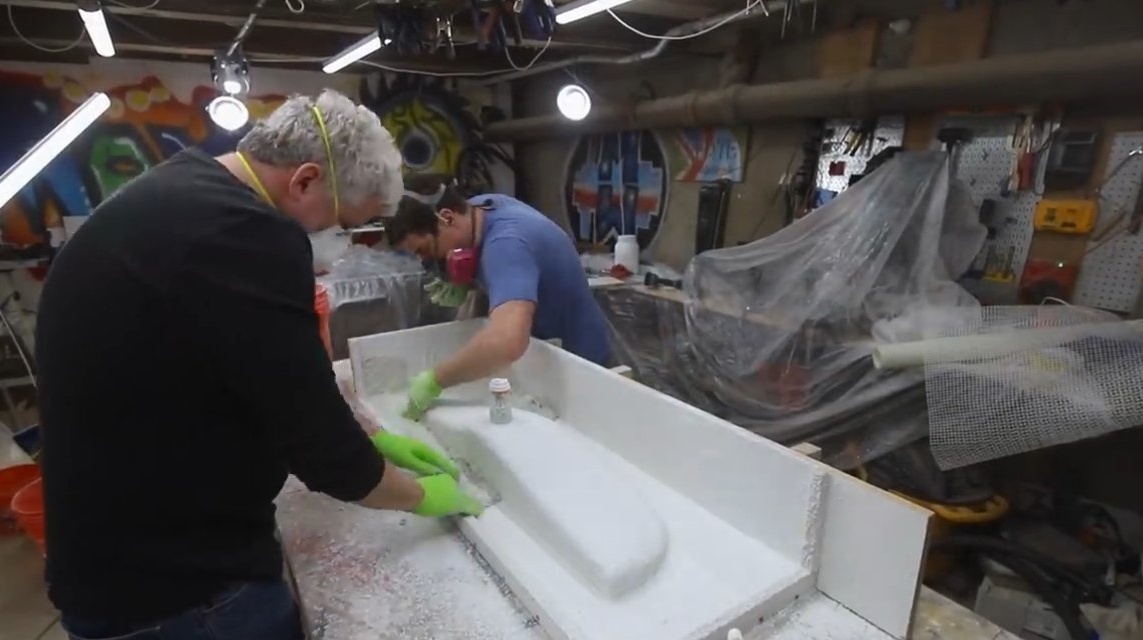

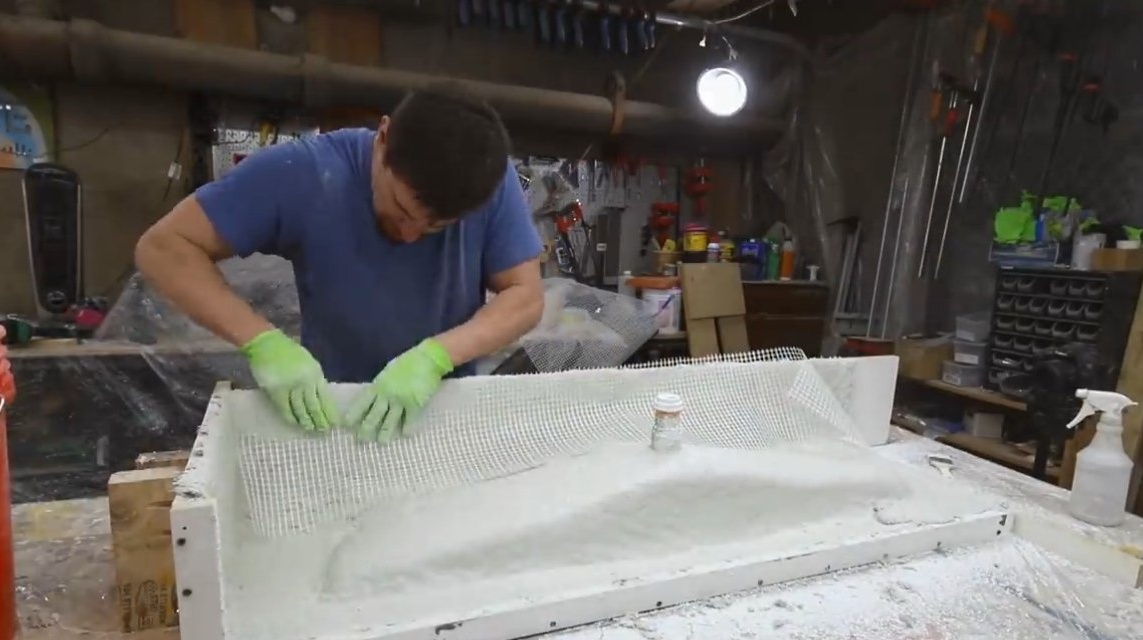
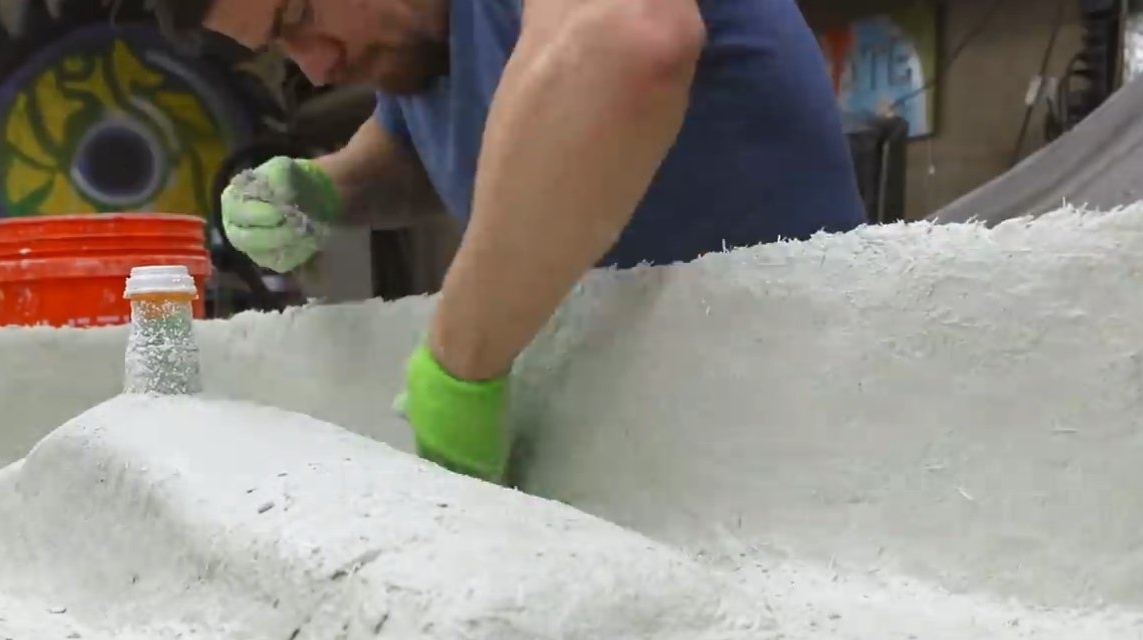

Then a power layer is applied, synthetic fibers are added to the concrete mixture and laid into the formwork.The author also mounts the mesh as a reinforcement and covers it with concrete mix on top. At the end, it remains to wait for the concrete to harden.
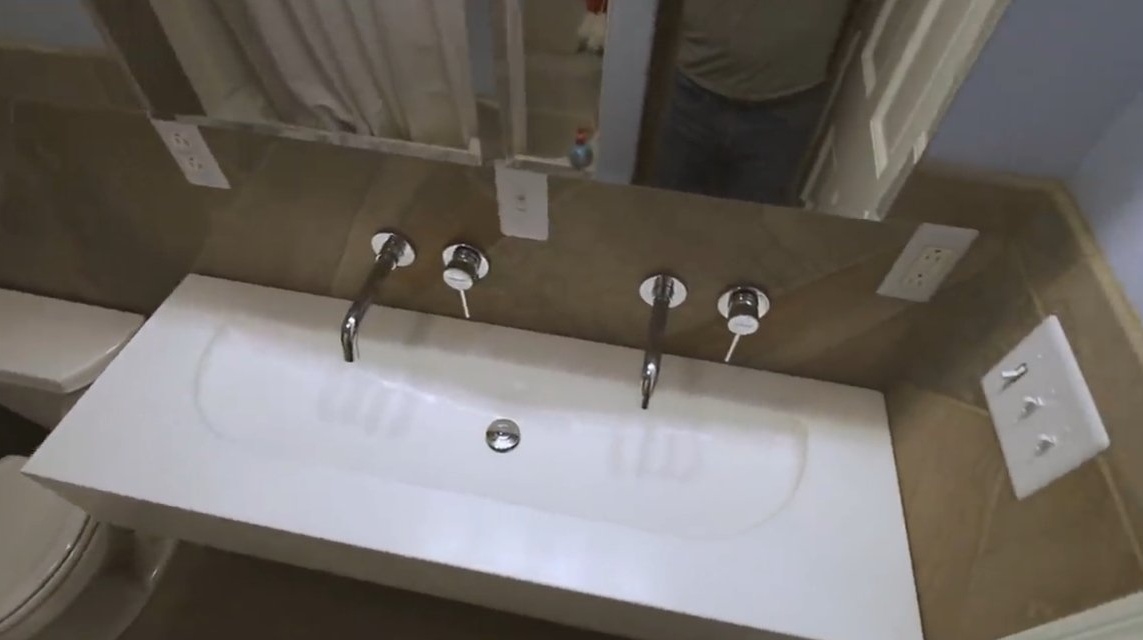
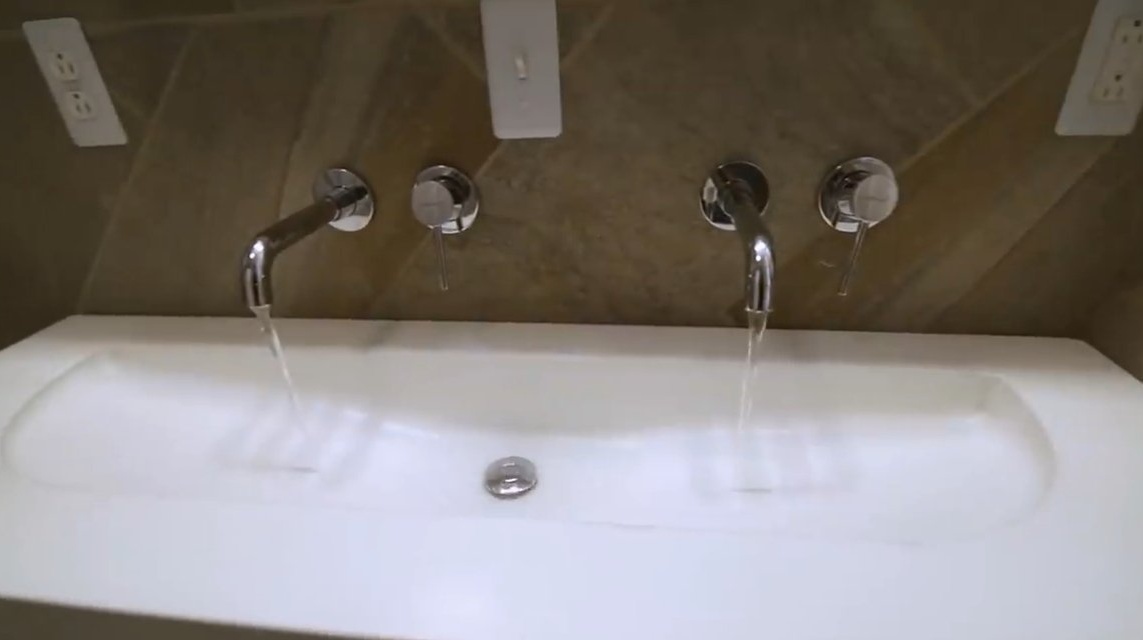
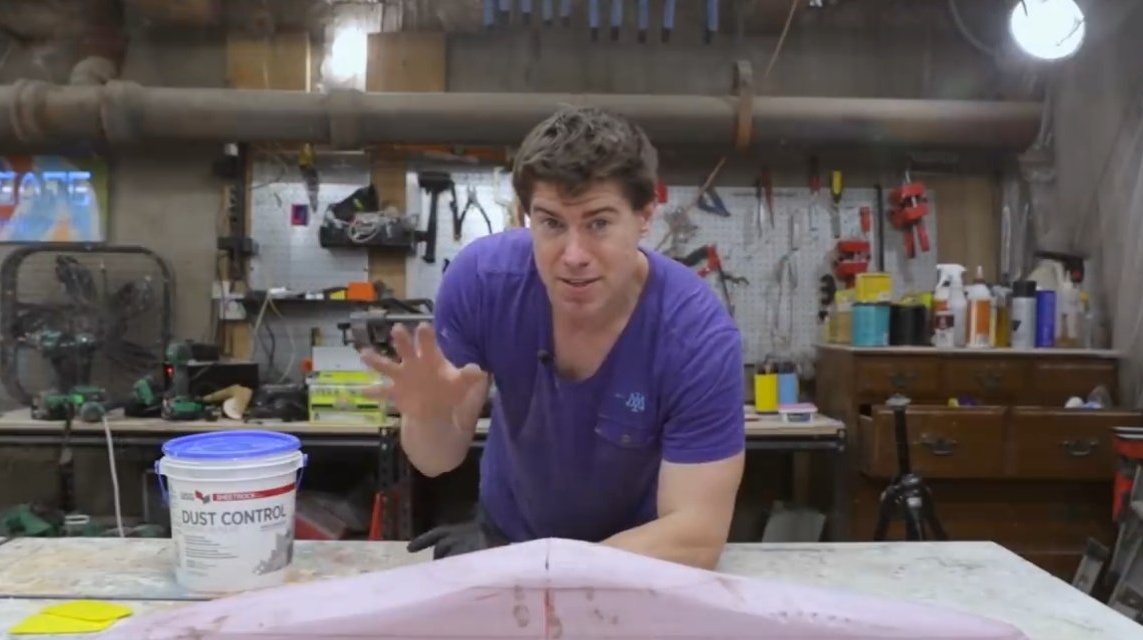
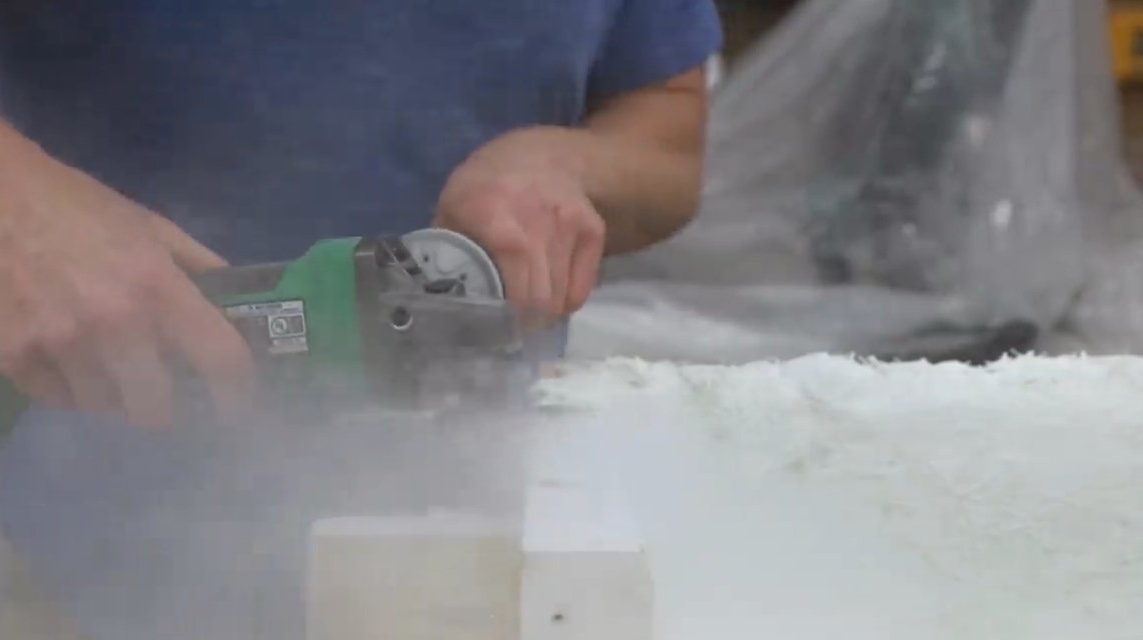
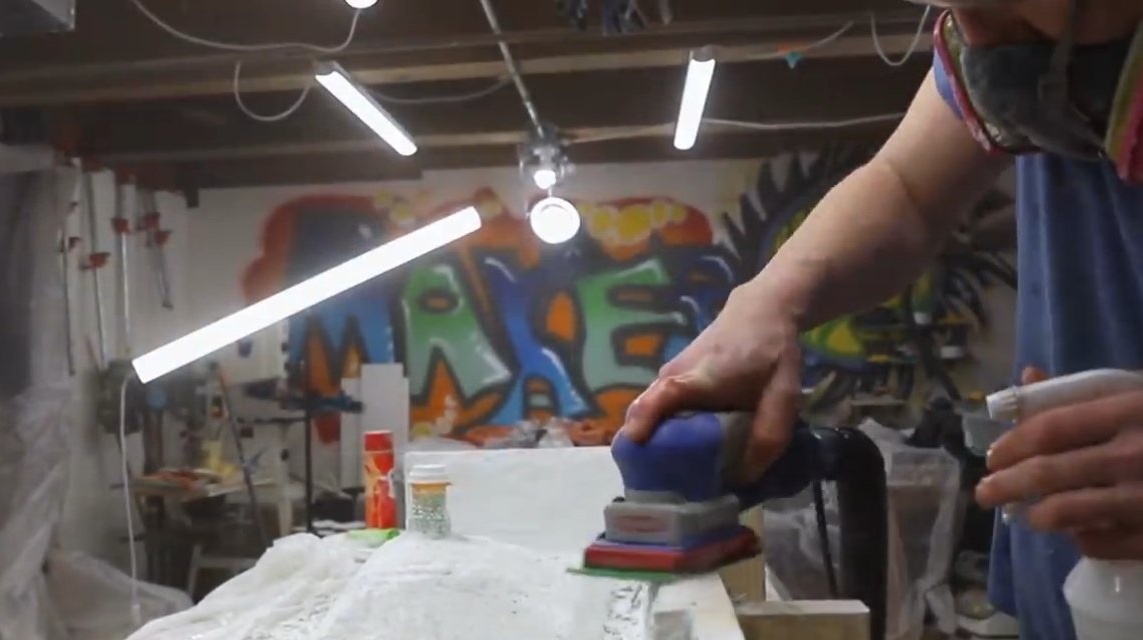
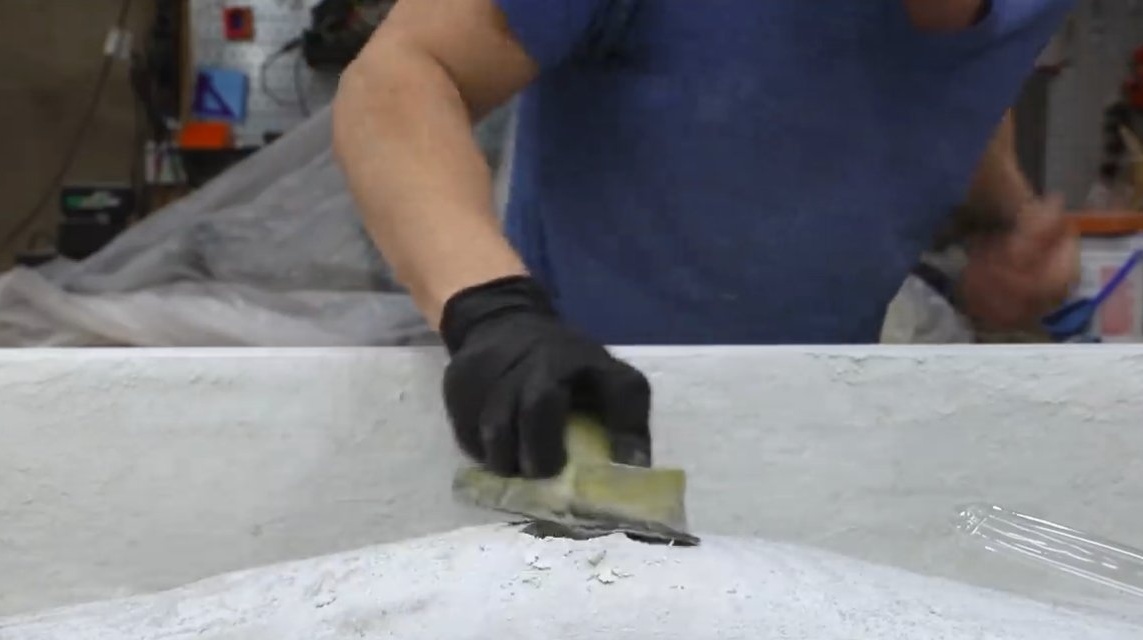
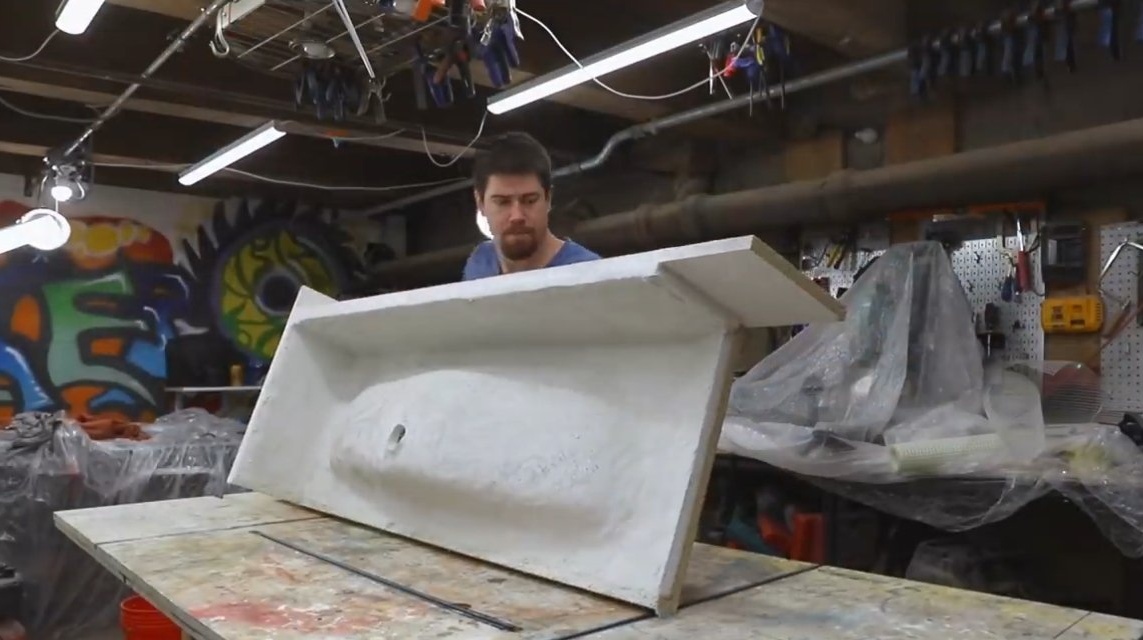
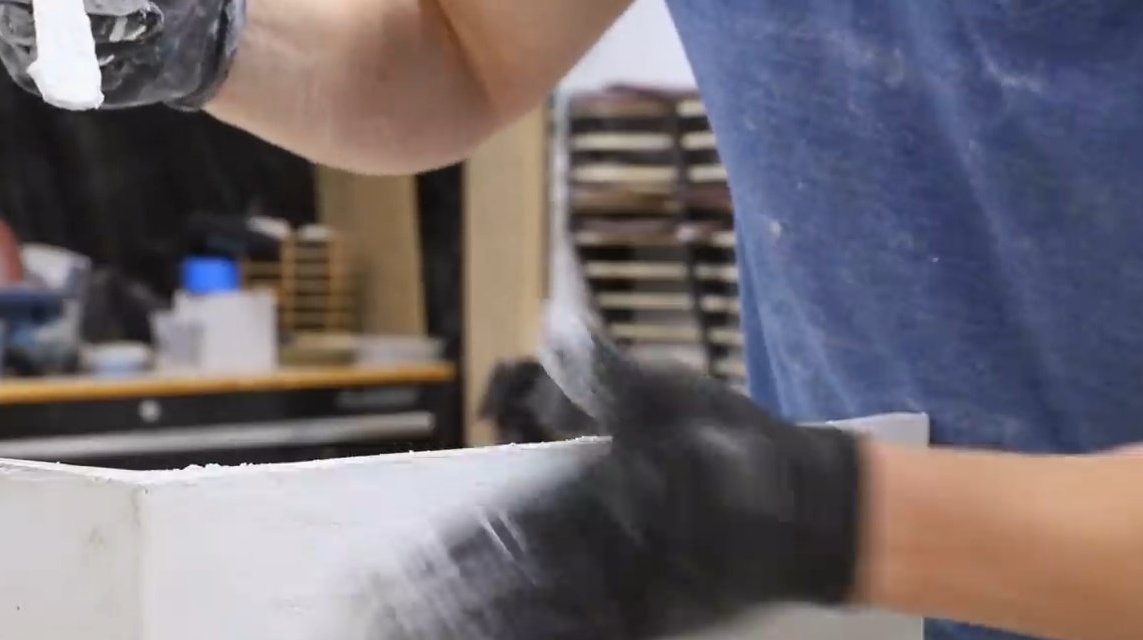
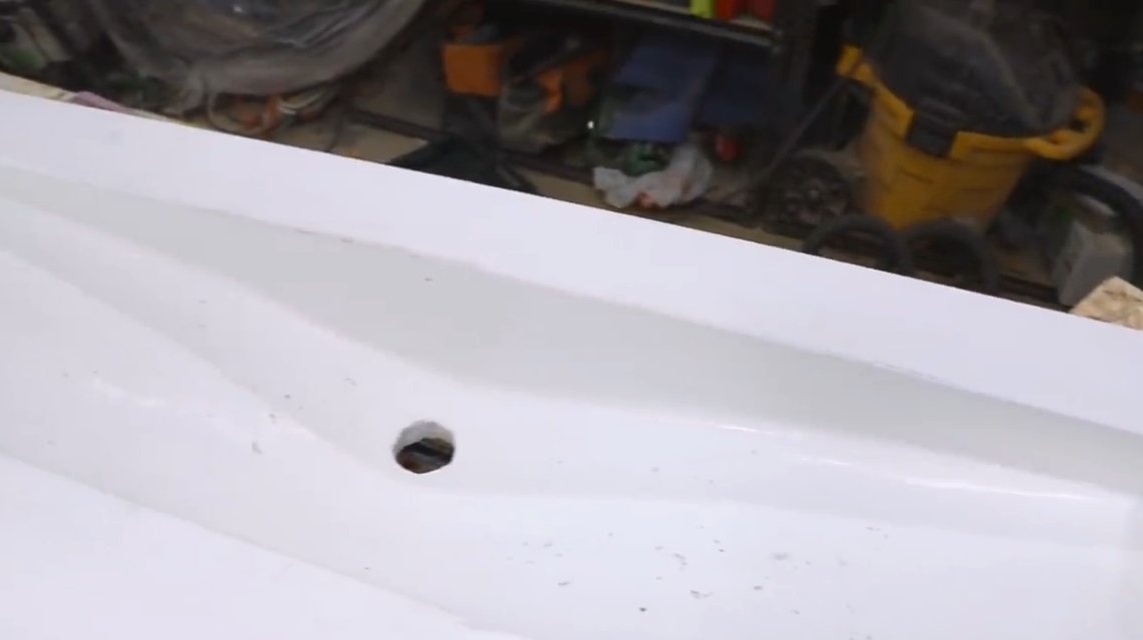
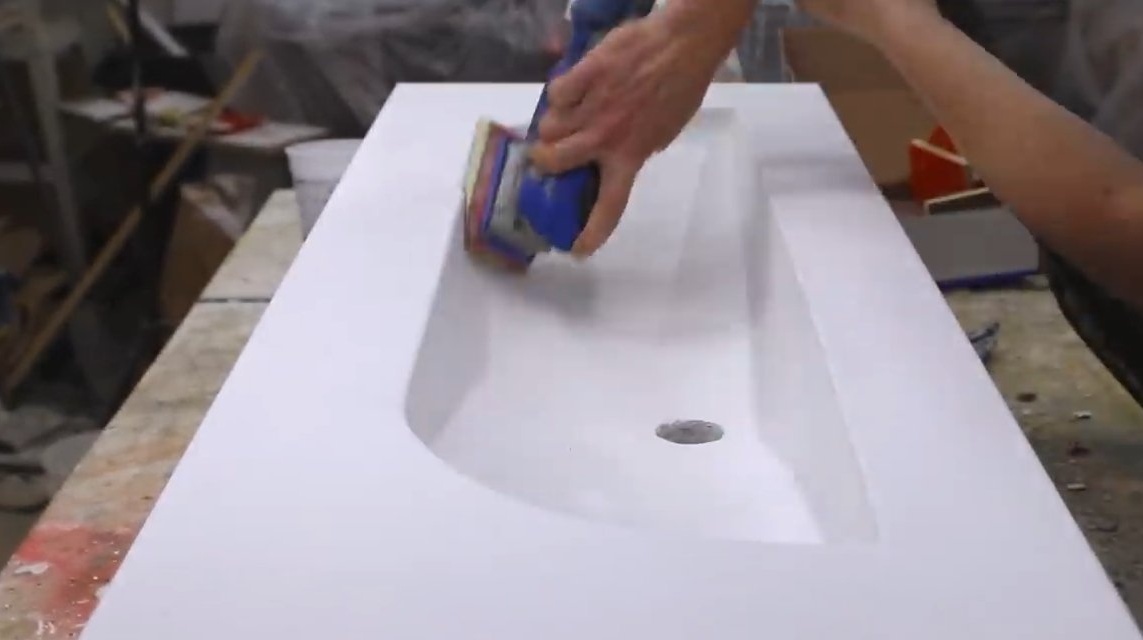
Step Four Refinement and installation
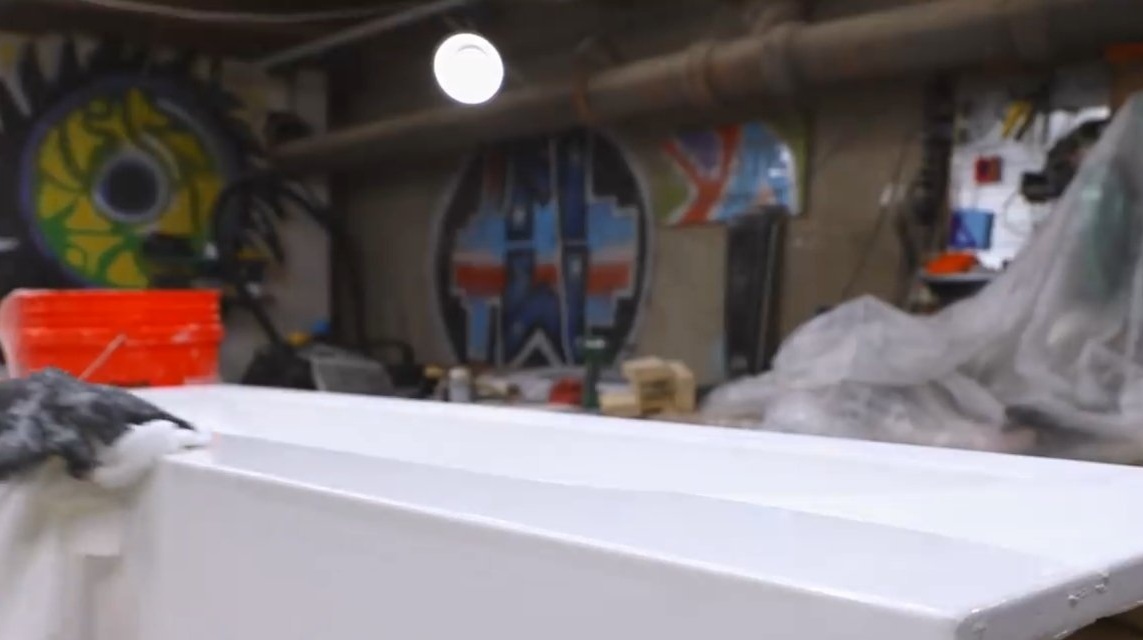
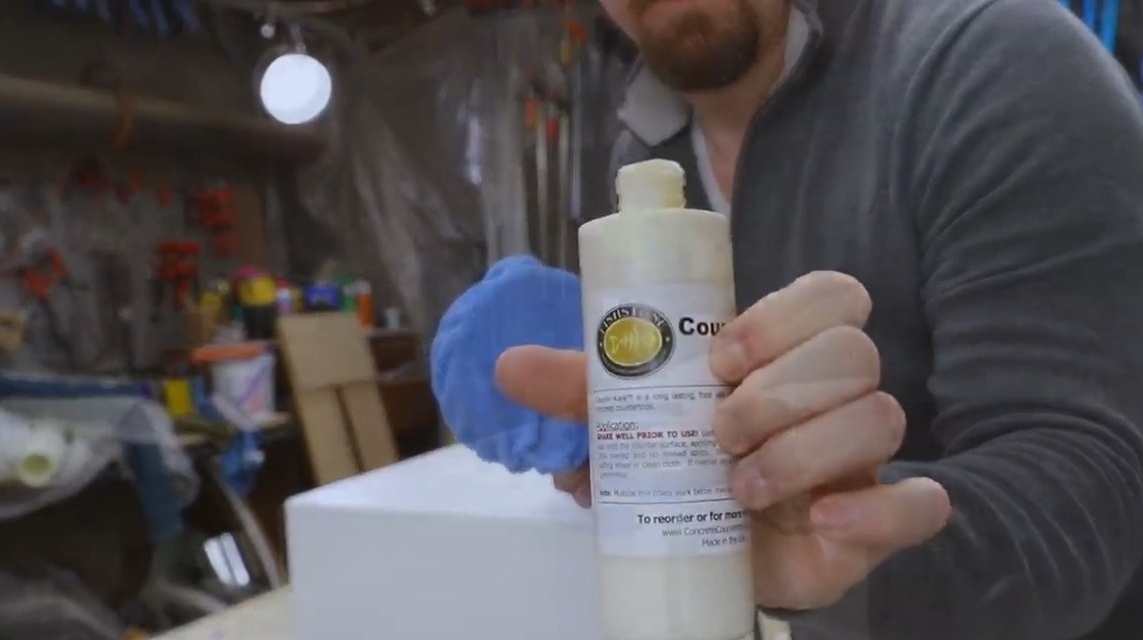
At the end, the formwork is removed, the sink is carefully sanded and polished. After manufacturing, it can be mounted. The homemade product looks great, the sink is not too heavy due to the small wall thickness. You can wash such a sink with ceramic or glass products.


The project is completed on this, I hope you liked the homemade work, and you found useful thoughts. Good luck and creative inspiration, if you decide to repeat this. Do not forget to share your ideas and homemade things with us!