DO NOT HURRY!!!!!!!!
I would like to tell you how my husband and I built rabbit cages from 2 such lockers. Very easy, fast and cheap !!!!
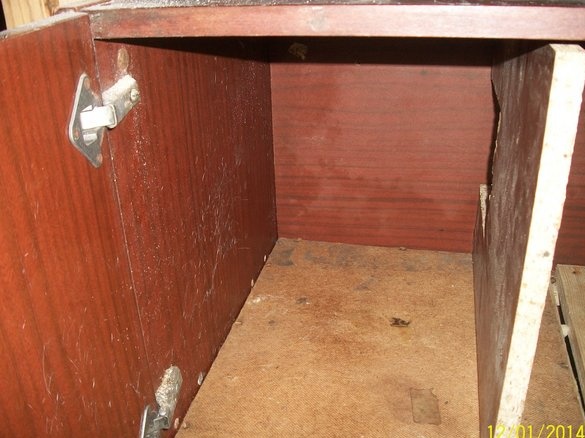
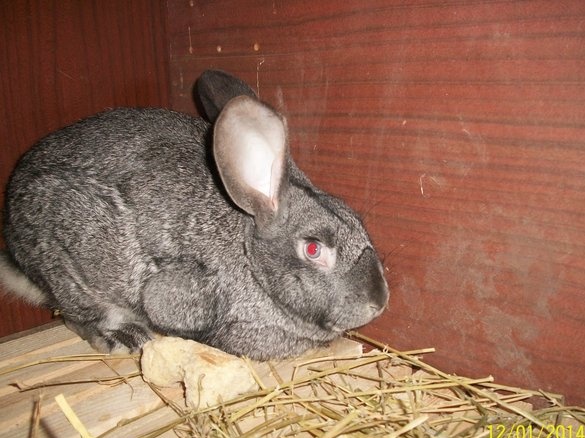
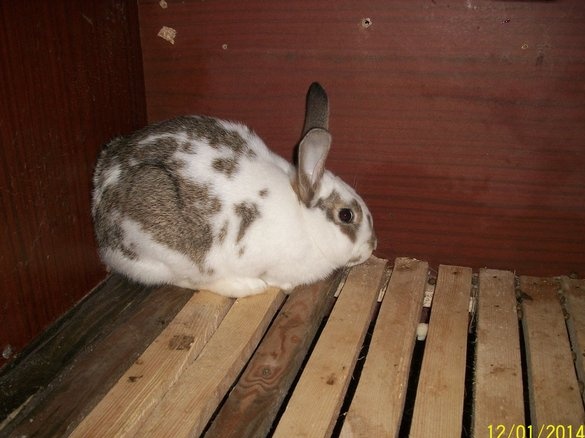
So let's get started. It all started with the fact that I was presented with 2 rabbits for my birthday and here there was a question about cages that we didn’t have. In the summer kitchen there were 2 empty mezzanine cabinets from old wardrobe units.
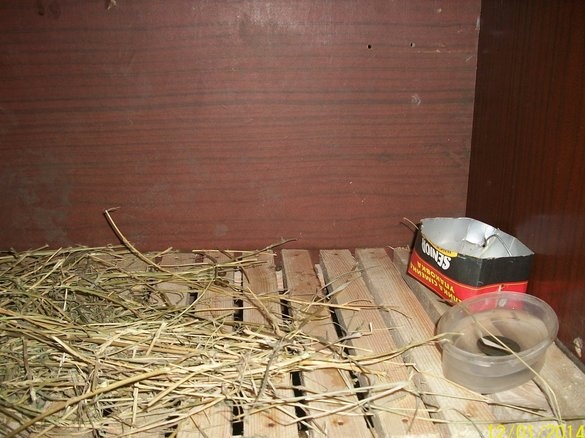
Partially disassembling them, namely removing the lower shelf and the rear plywood. In place of the rear plywood, put the shelf from the bottom. And on the bottom we make the floor for rabbits. To do this, make a frame from a bar and fill it with laths.
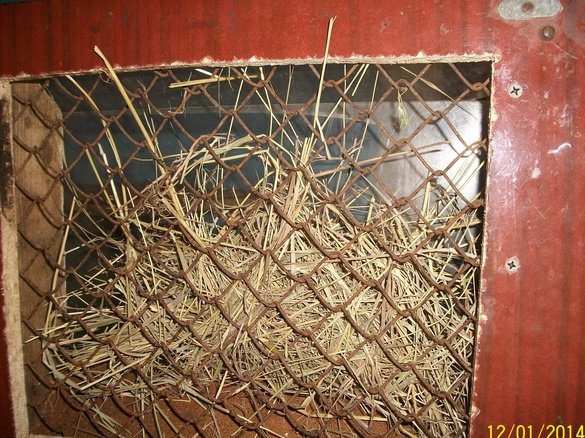
Now we proceed to the doors. Having removed one of them from the fasteners, we carefully cut the square inside the door with the grinder. We get the frame with the previous fasteners. We fix the grid here, preferably with a cell more than 2 cm. It is desirable, of course, 5 cm, but we did not find one.
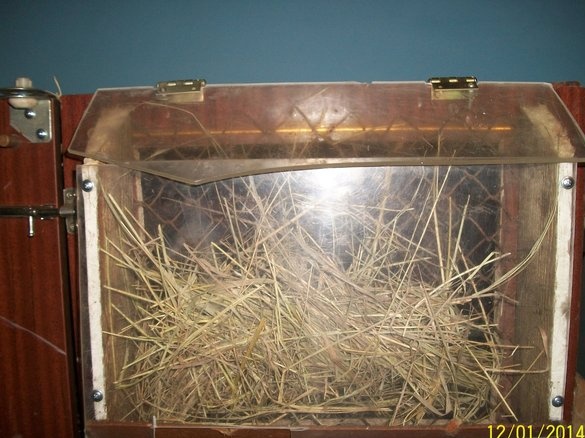
Now from the side of the street, on two sides we beat off the leftovers, we used the old platbands. This is the basis of our hay feeder. To them we beat a piece of plywood cut from the back wall to the bottom. This is the bottom of the feeder. We decided to make the front of the feeder and the top cover from plexiglass so that the light gets into the cage. We attach the upper lid to small loops.
This is what our feeder looks like on the outside.
To prevent our rabbits from escaping, we fasten the latch on one door and the fixing handle on the second. For greater reliability, on the blind door and on the top panel, we attached ordinary locking arms.
In this photo you can clearly see the loops on the feeder, and the latch, and temples.
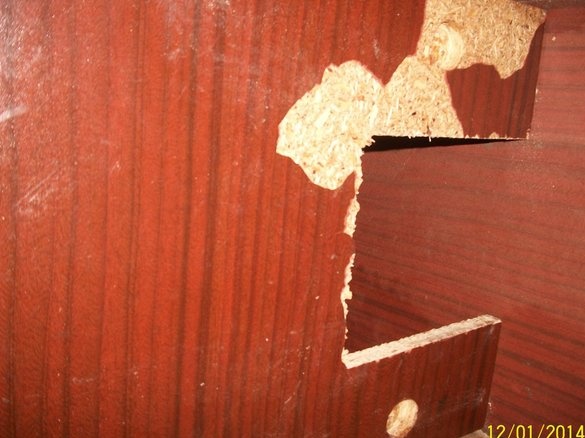
In order for the rabbit to have a queen mother for okroly, we cut out a window in a well-sized stitch and put it in a constant place to drill holes both in the plank and in the blank door. The same holes were drilled from the top cover, so we got a removable queen. In normal times, the rabbit walks all over the cage, and when the time for the okrol is suitable, a piece of plywood is laid to the bottom and our partition is attached.
This is how it looks.
It remains to attach the legs to the cage, but that's what anyone wants. We made the legs from the bars found at home.
Here is the cage and ready.
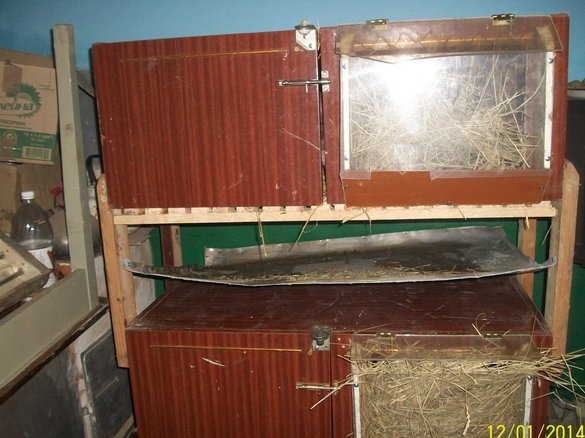
Since we made two cells (for a boy and a girl), the husband decided to make one of them two-tier, attaching one on top of the second.
But only in this case it is necessary to make a tray for feces. We attached a galvanized sheet to the legs of the upper cage, a little at an angle. So that it was possible to fix the motherboard, and the stack was.
That's what we got

