
Portable acoustic products have recently become especially popular. This is due to the fact that humanity is striving for independence in every possible way. Modern man does not want to be shackled by wires, space. Portable speakers can be purchased at specialized stores, can be ordered online, but can be made independently.
If you have never tried to build a mobile audio system yourself, but it’s very interesting for you, then you can try to do it by watching our video.
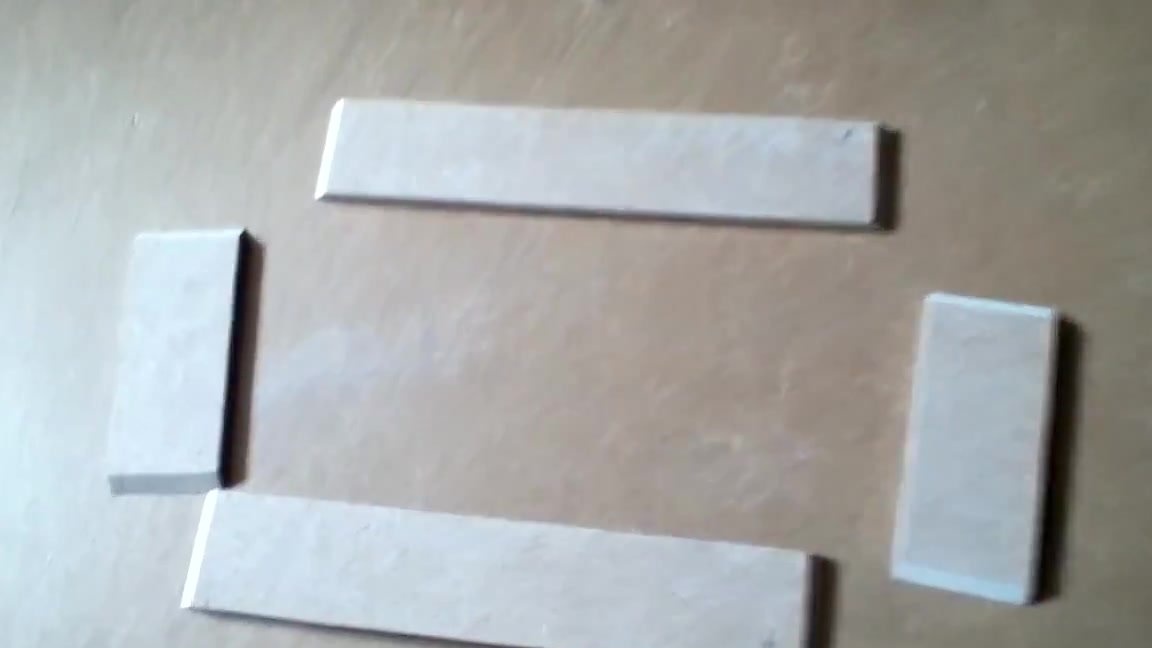
You need to start traditionally with the body. The main component of the case is the frame, which can be made of MDF panels with a thickness of 10 mm. For subsequent assembly of the frame, the corners of the panels are sawn at an angle of 45 degrees. The frame is glued with glue.

The front wall of the frame is cut from a fiberboard sheet, 3 mm thick.

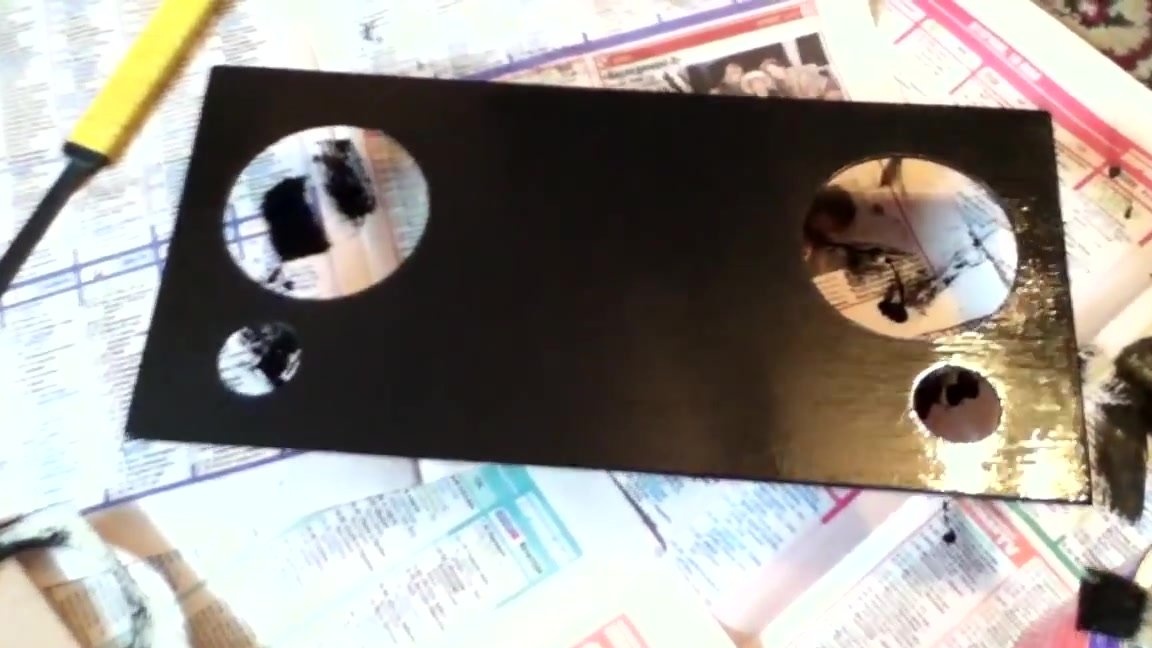
The next step is to cut holes for the speakers. 10 centimeters for mid bass and 3.5 centimeters for tweeters.
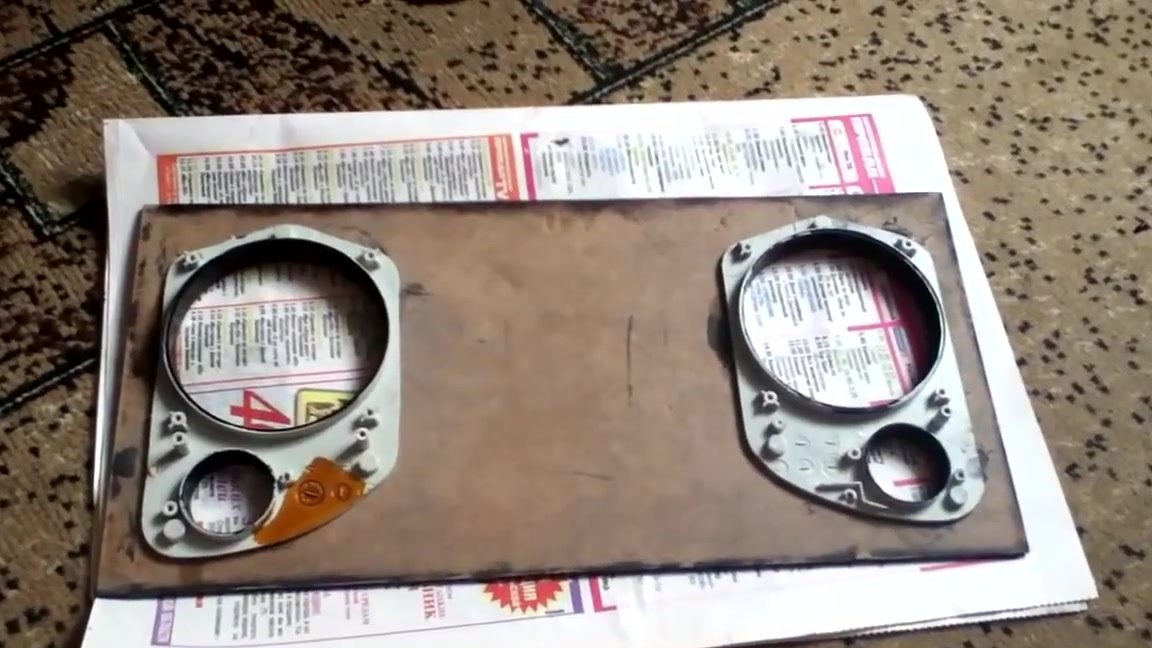
To install two control panels, two openings are cut out in the housing. To do this, it is not necessary to have a jigsaw; you can use the method of drilling holes along the perimeter.

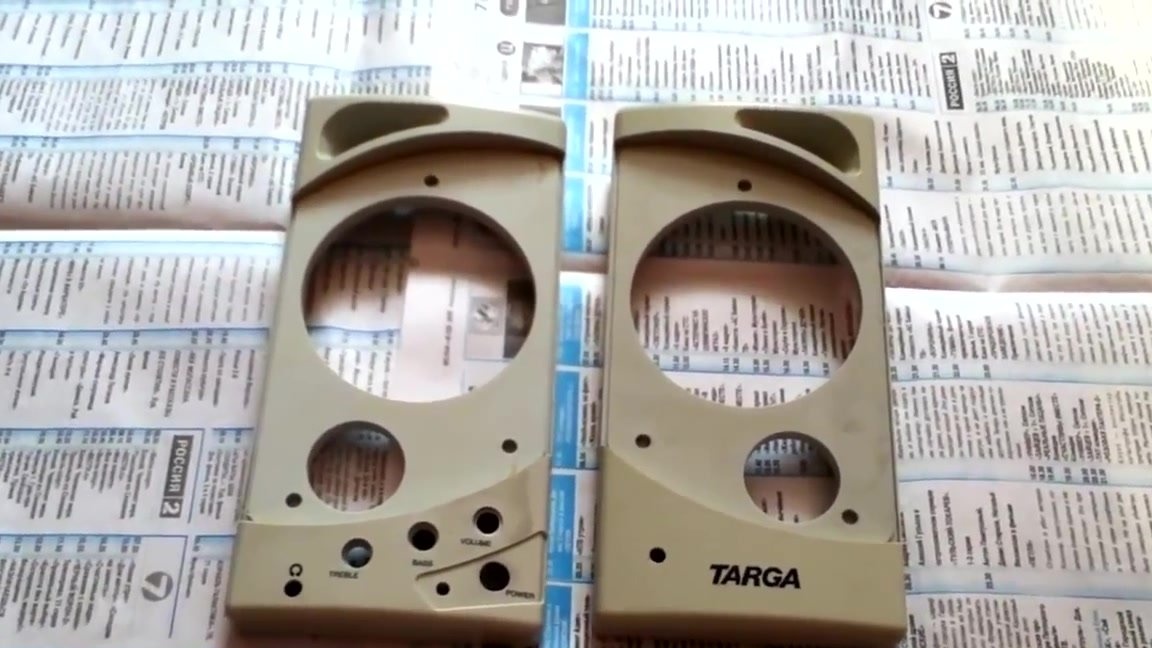
In order not to make through holes in the front panel, it is convenient to use special terminals for mounting speakers. These terminals can be taken in old computer speakers, where speakers were previously installed, which we will use for this project.
We paint the front wall with glossy black enamel and the visible edges of the terminals are covered with it. Then we combined the painted parts using glue.
The back wall is painted similarly, it will be removable with fastening on self-tapping screws. Please note that the two-layer wall and the inner layer of a smaller area forms a kind of valve, which allows to improve the tightness of the housing.
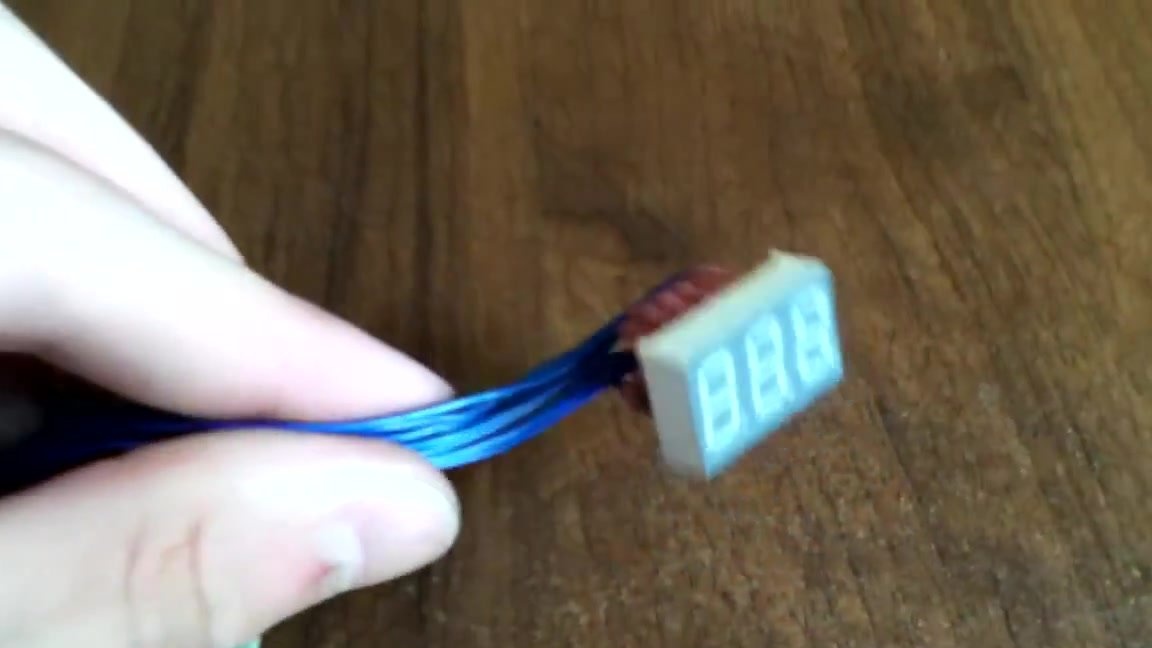
Now electronic part of the device: this is a display indicator, wires and a power supply.
The side panel is made of black plastic, the donor was a plug from the sidirom. The holes in this panel are drilled with a conventional drill, and then processed with a file.

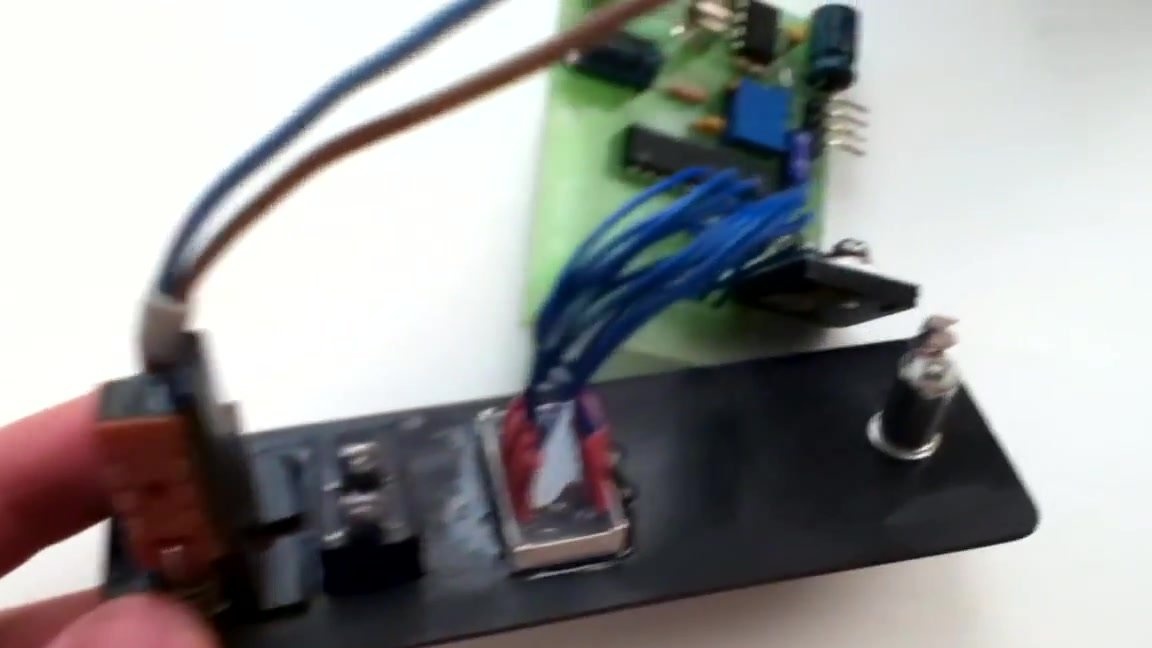
We need to insert a display, a switch, and fasteners and a round button on the sides of the drilled holes. The button does not have its own fasteners, so it simply sticks to the panel.
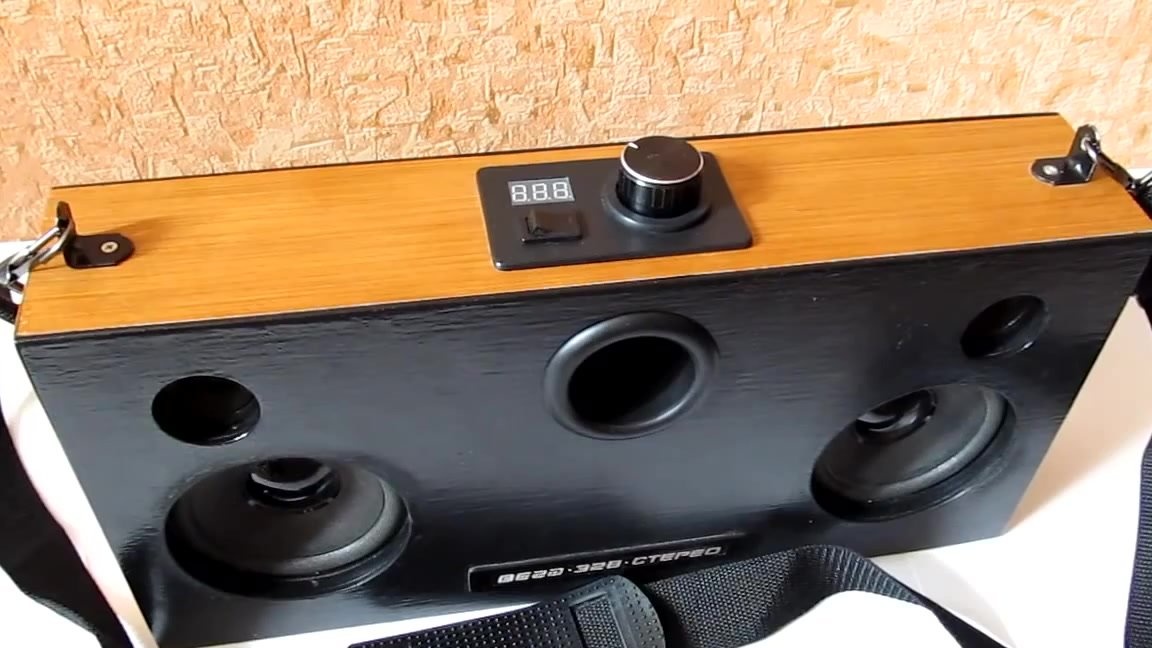
To control the battery level, we need a digital voltmeter. The display of the voltmeter in this case is carried out on the main upper panel.A rocker switch is responsible for powering the amplifier, and a round knob is mounted on the axis of a variable resistor, which allows you to change the volume of the system.
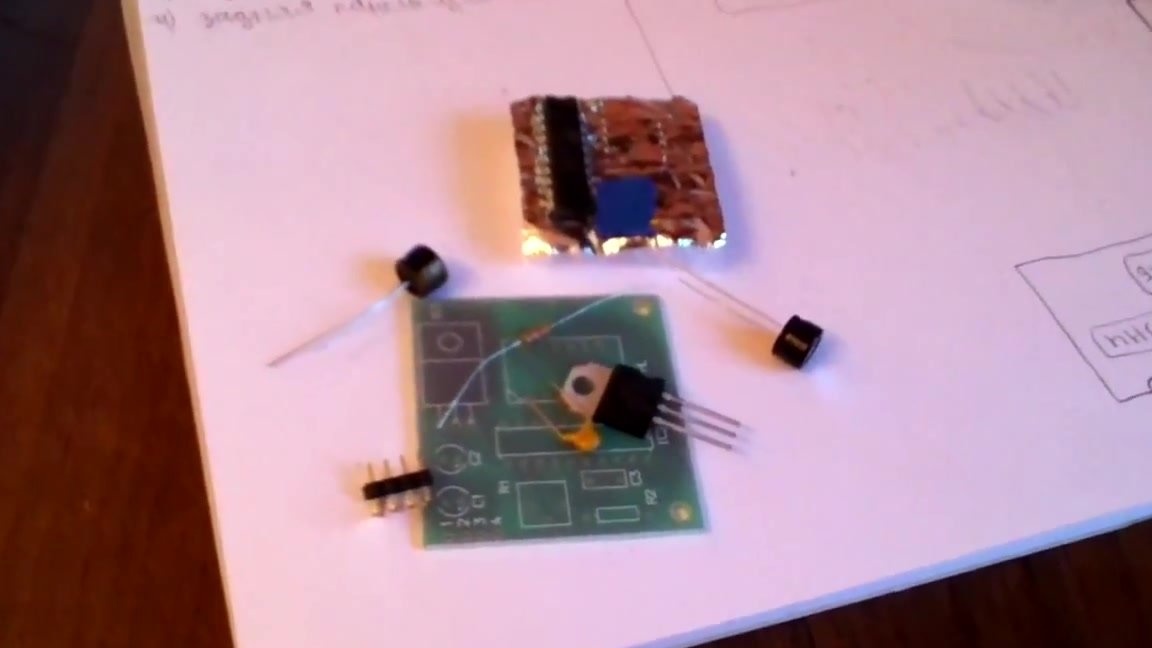
The amplifier itself is assembled on two microcircuits, each of which is turned on in the tail mode. The amplifier is fed through a stabilizer on two microcircuits. The power of the amplifier is 9 volts.


Now we connect all the parts. When all the side, front and rear panels are assembled, you can consider the installation in detail. It should be borne in mind that calculations of the body and acoustic design were not made.

Portable speakers can be attached with carabiners to the belt. Carabiners, in turn, are attached to special holes.
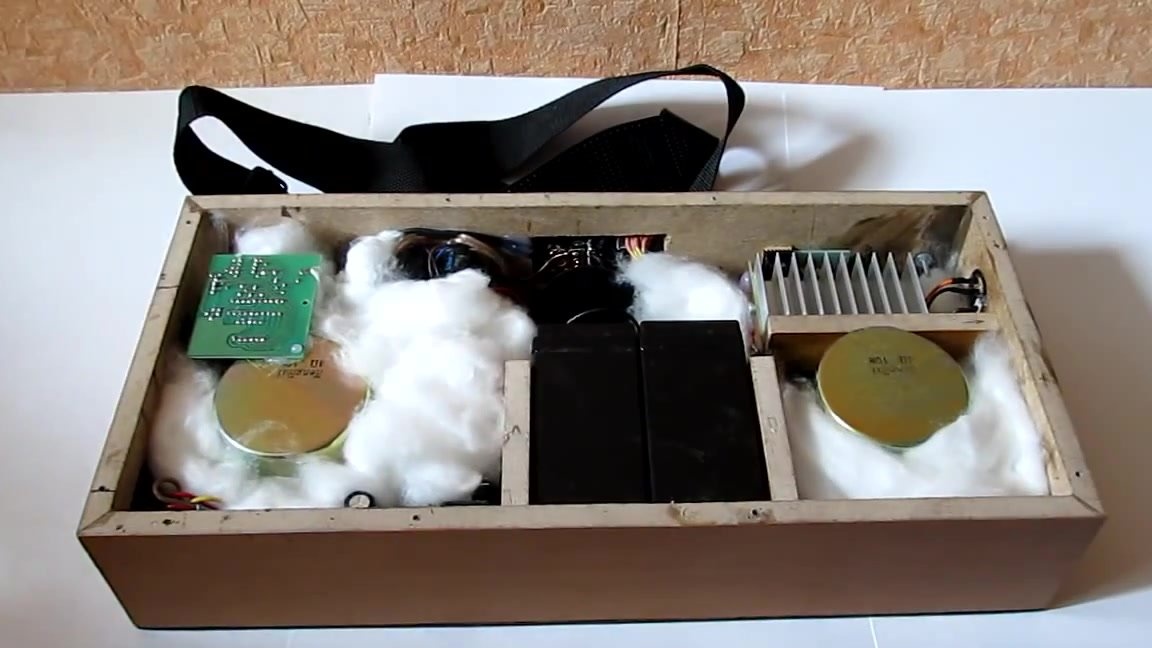
To look inside the case we need to unscrew 8 screws. When we open the lid, we see that the free space is filled with cotton. This is done in order to dampen the case and get rid of unpleasant signs.


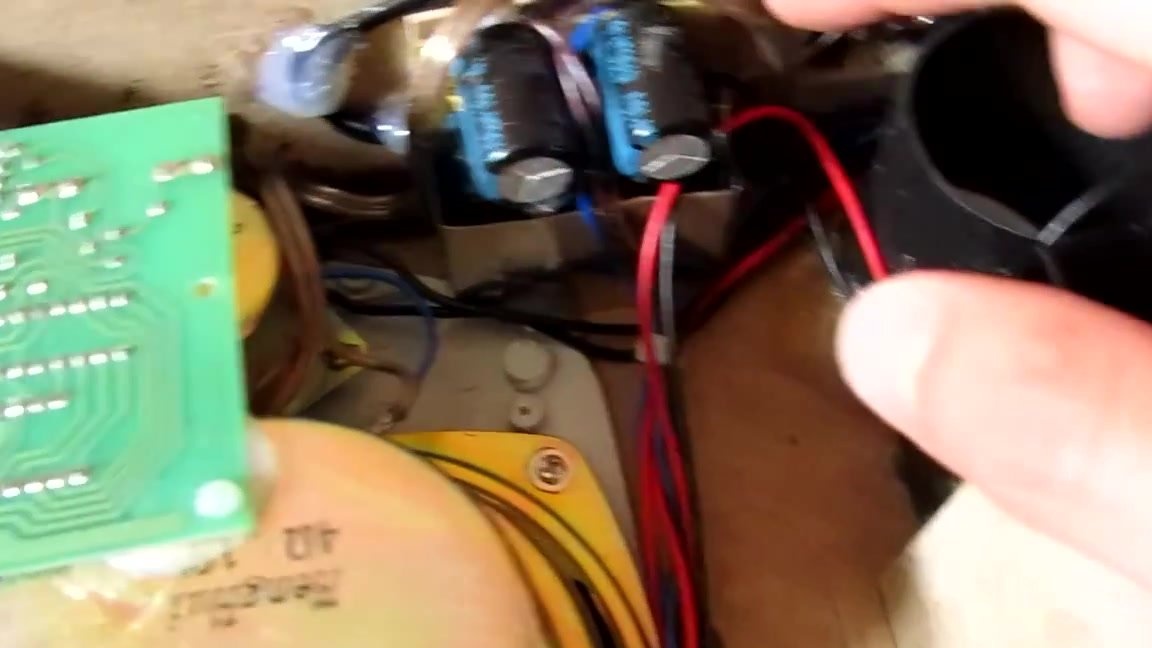
In the upper left corner is the charger board. An amplifier is attached to the top wall. The amplifier is powered by a stabilizer, which is located on the bottom wall, and to the left of it you can see the diode bridge and capacitor. Everything is powered by batteries.
This is precisely the functional portable acoustics.