So unusual but simple enough craft, like an underwater flashlight, it can come in handy in the most unexpected places, become a professional tool. If you need to consider something in the water during operation, then a regular flashlight will not help you in any way. This invention does not require much time to create and some large costs for materials.
In our video, we suggest you familiarize yourself with the phased creation of such a flashlight.
To create an underwater flashlight, we will need the following:
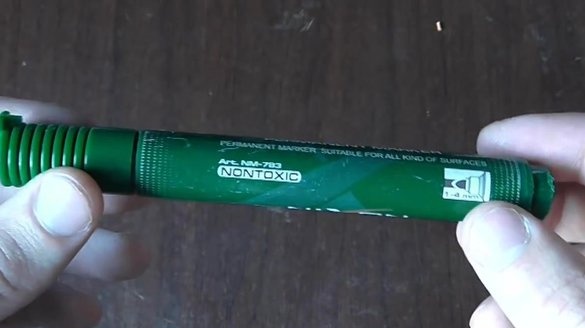
- old marker;
- double wire;
- 2 small batteries;
- push button switch;
- bright LED;
- medical glove;
- foil;
- soldering iron;
- tweezers;
- glue gun.
Having prepared everything you need, we get to work.
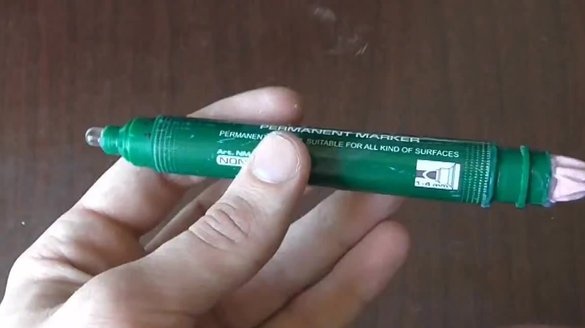
First of all, we need to remove all content from the marker. On both sides, remove both covers. We pull out the “rod” of the marker and the writing head with tweezers. We still have an empty tank.
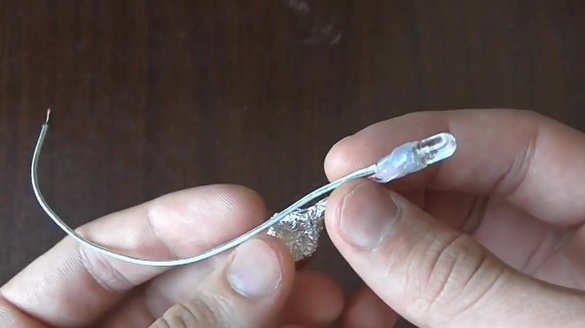
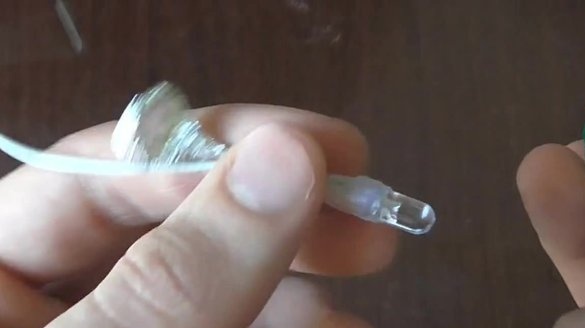
We solder an LED to one end of both wires (it is best to use white), and a switch to the second end of one of the wires.
Soldering spots are well sealed with a glue gun.
The remaining tip of the wire is carefully wrapped with foil. Moreover, this wire should be only one third of the entire length of the wire.
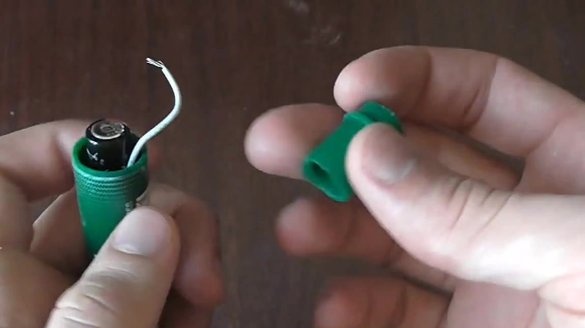
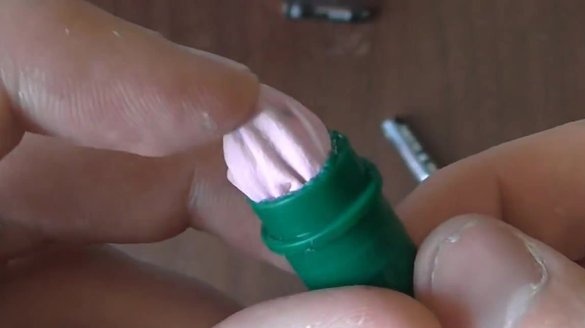
We insert the resulting design into the empty housing from the marker, carefully leading out the LED, which should be mounted in a narrow part of the marker housing.
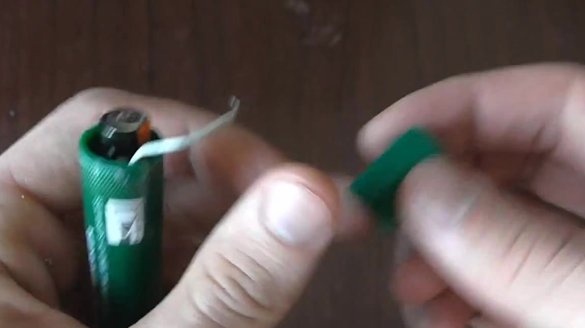
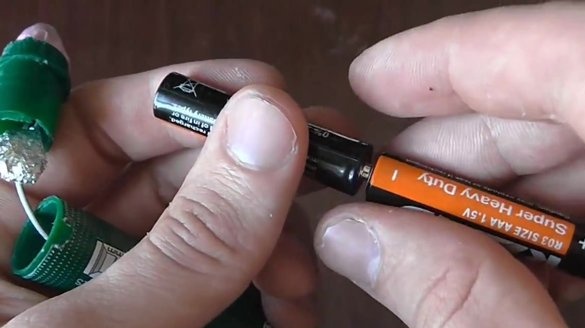
We try on two small batteries, inserting them into the case. We insert so that the wire wrapped in foil becomes a conductive contact. Take out.
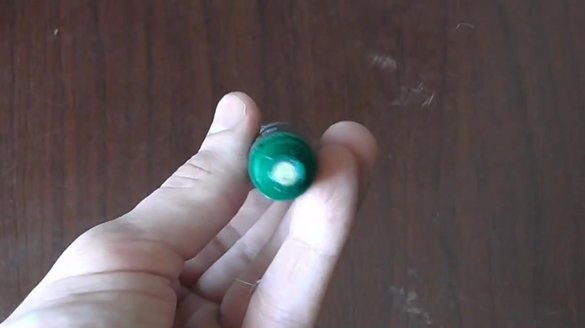
In the “back” cover of the marker we make a square hole into which the switch button will be inserted.
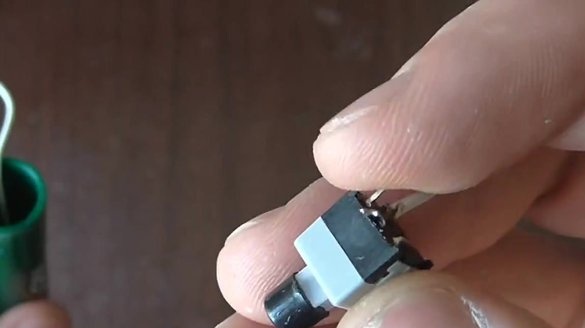
Now we need to seal the switch itself. To do this, cut off one finger from a previously prepared medical glove and put it on the switch itself.
One contact of the switch must be soldered to the wire that leads to the diode, and the second is wrapped in foil. To make the second contact more convenient to wrap with foil, we extend it with a small piece of wire.
After that, insert the switch into the hole from the marker cover. We fix it in it.
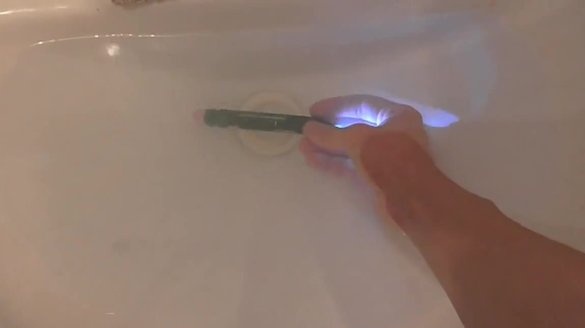
We insert the batteries, fixing them together with tape. Close the lid. We check the convenience of pressing the switch button. Our flashlight is ready.
You can start testing under water.

