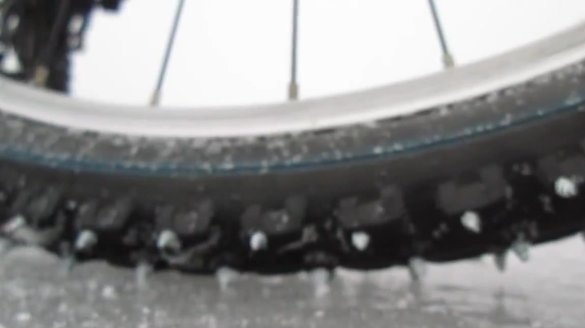
Fans of cycling are often forced to buy expensive winter tires to ride in the cold and frost. One studded tire will cost fabulous money, even if it is Chinese-made, not to mention branded manufacturers. It is much easier to make studded tires yourself will be much cheaper. However, it will take a lot of time to create such rubber. Although in words, everything is quite simple.
See this video for step-by-step instructions.
[media = http: //www.youtube.com/watch? v = oaMkiXIzUC0]
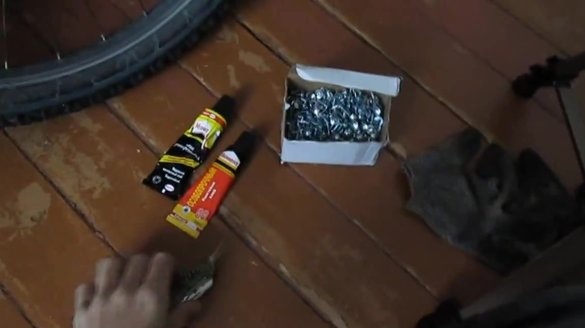
To work you need:
- old tire;
- self-tapping screws with a wide hat;
- awl;
- glue moment;
- gloves;
- screwdriver;
- scissors;
- camera.
Self-tapping screws need to be taken not very long, but always with wide hats. So the mount will be more reliable.
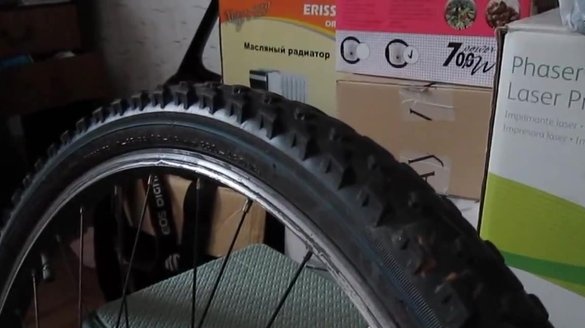
First of all, we need to remove and disassemble the tire from the wheel. Now we take an awl and puncture holes in those places where we will insert the spikes. Consider what punctures should be done in thickened areas of the tire. Because in the thinner ones, rubber can break up.
We puncture holes all over the wheel, the work is quite laborious and dreary.
After all the holes have been made, we proceed to further work.
Be sure to mark all the holes made on the inside with a chalk or pen, the main thing is that you see them well, to get into them.
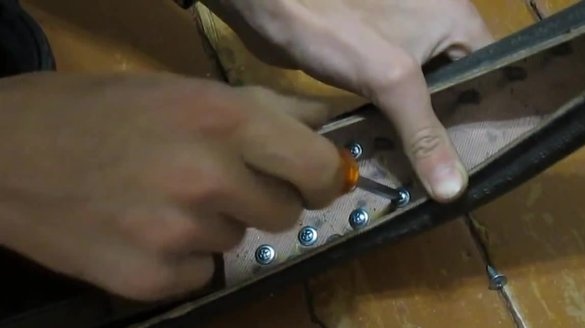
Now we take the glue and apply a drop to each hole from the inside. Then we take a self-tapping screw and screw it into the hole with a screwdriver or a screwdriver. Do not twist them too tightly.
There are about 350 spikes per wheel, but more can be done, and more can be done. Look at your discretion. The work is quite long and dreary, so be patient in advance by screwing the screws one by one. Do not forget to apply glue before screwing in the screw. This is important for its reliable fixation in place.
Do not miss too many points at once, 4-5 will be enough. Otherwise, the glue will dry out and the adhesion of the self-tapping head to the tire surface will not be good enough.
Tip: if your tire is dark inside, take a moment of transparent glue, this will allow you to see exactly where you made the hole and not make a mistake when screwing the screw.
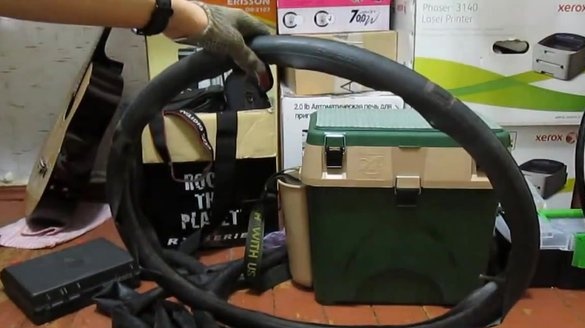
After all the screws are in place, we take the camera and cut it along, along the seam. This is necessary in order to put it under the camera, which will help to avoid friction on the spikes and its rubbing. With a cut camera, we wrap the inflated camera. Can also be glued for reliability. We put studded tires on top and tests can be carried out.
The disadvantage of such rubber is that the spikes catch a lot of debris on themselves.

