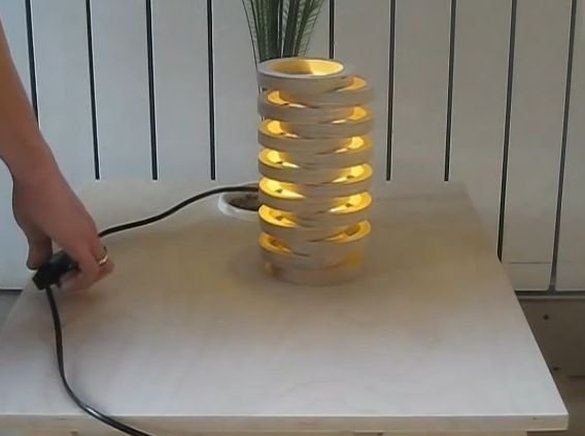
In this article I want to tell you how to make an original designer lamp in home conditions do it yourself...
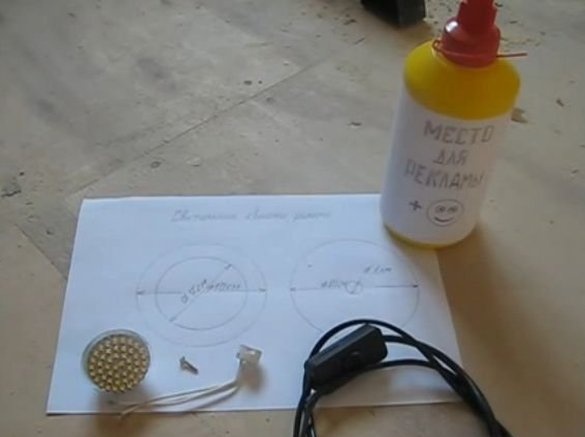
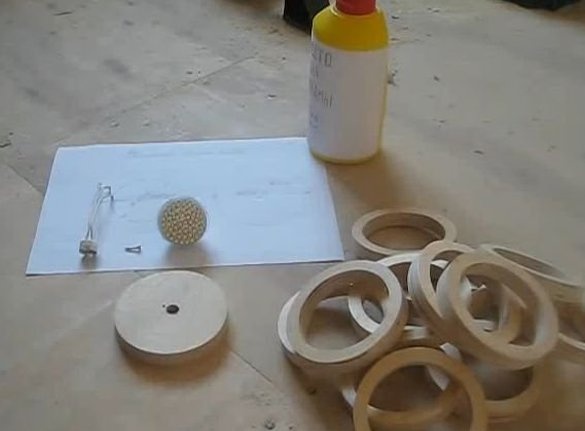
Our future lamp will be made of plywood 15 mm thick ... Details of the lamp will be made in the form of a circle: outer diameter - 10 cm, inner - 7 cm ... For the base of the lamp we will also make a circle of plywood with a diameter of 10 cm, in the center of which will drill a hole with a drill with a diameter of 10 mm ...
Also for the future lamp we will need such materials:
- LED lamp;
- bulb holder;
- self-tapping screw for attaching a cartridge;
- wire for the lamp, preferably with a switch;
- carpentry glue ...
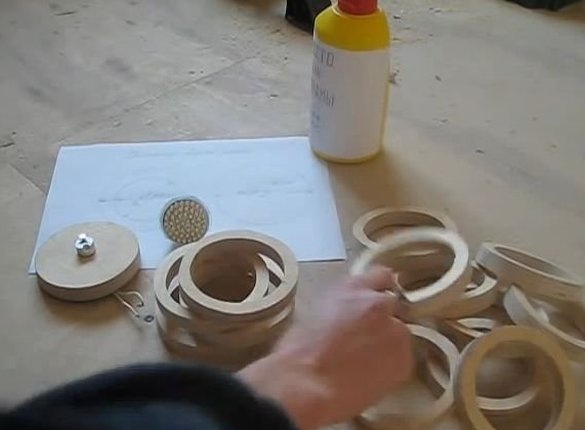
The rings that we cut out of plywood, we need 12 pieces + 1 base ...
So, I told the idea of the future workpiece - a lamp, and now let's see how to do it in practice ...
After you cut 12 rings and 1 base, making a hole in it, you need to start assembling our lamp ...
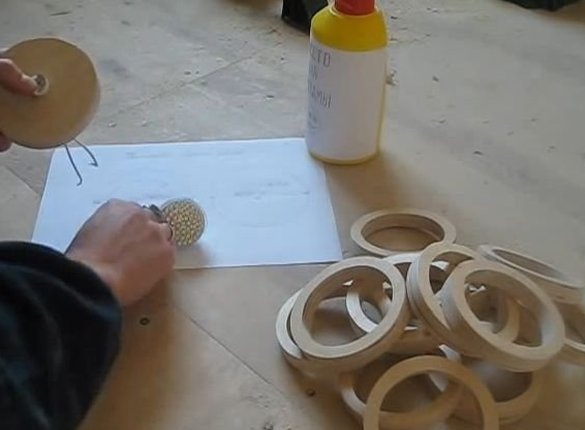
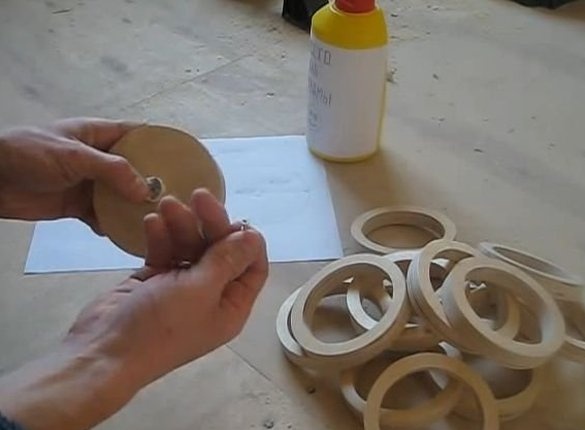
Through the hole in the base we insert wiring with a bulb holder ...
The bulb holder must be fixed with a self-tapping screw ...
We glue our cut blanks in this form:
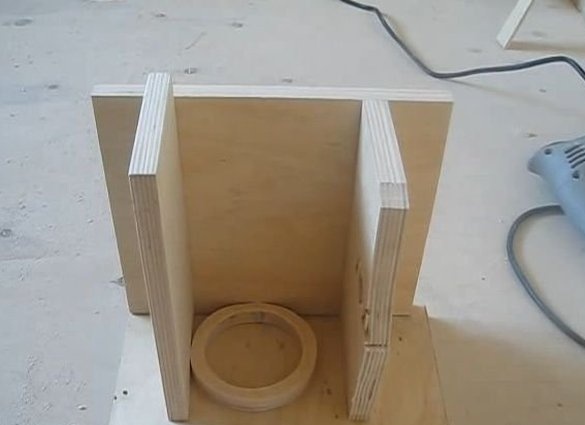
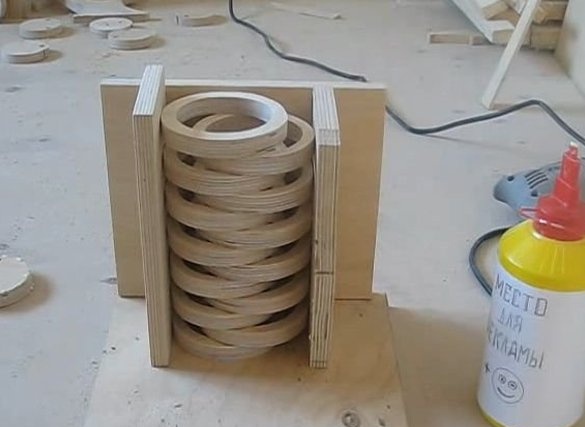
The problem is that no matter how you try, you will not be able to glue the rings absolutely evenly, so you will need to do this device in order to glue the workpieces evenly:
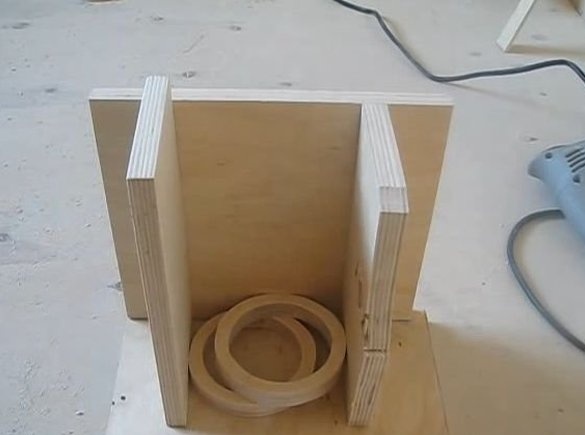
So, the first ring will rest on the back wall and the left wall of our structure, and the second ring will be the opposite - on the back wall and the right wall ...
So with the help of the design we glue the remaining parts ...
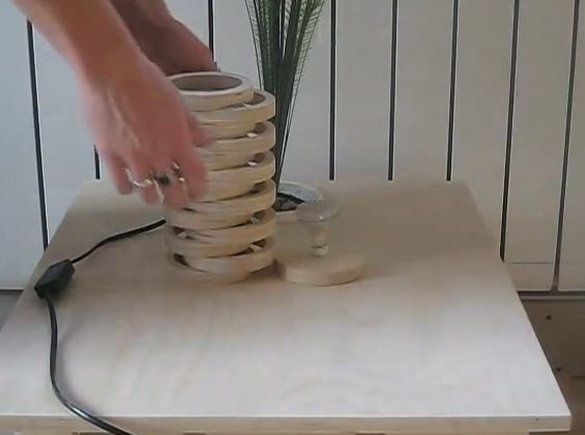
We need to wait until the parts of the lamp stick well together and assemble the lamp (on the main part with a cartridge and a bulb we put on our blank ... Here's what happened:
The upper part of the lamp can be very easily removed, for example, to replace a light bulb ...
So I don’t put much effort into it, we made an original designer lamp with our own hands at home ...
Good idea ... A great decorative lamp that fits even like a night lamp)

