
If you are a beginner and do not know how to make a marking planer yourself, then you have opened the necessary page.
Watch the video on making a leveling gage:
We will need:
- oak pruning;
- 2 laths made of walnut, a lath with a cross section of approximately 13 by 13 cm;
- several clamps;
- square;
- screwdriver;
- 40mm Forster drill;
- pen drill 16 mm;
- drill 6 mm;
- a drill of 2-3 mm for drilling a pilot hole;
- caliper - compass;
- milling cutter;
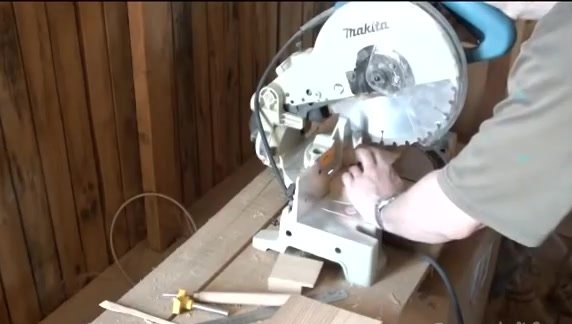
- Miter saw;
- template;
- surface gage;
- a pencil.
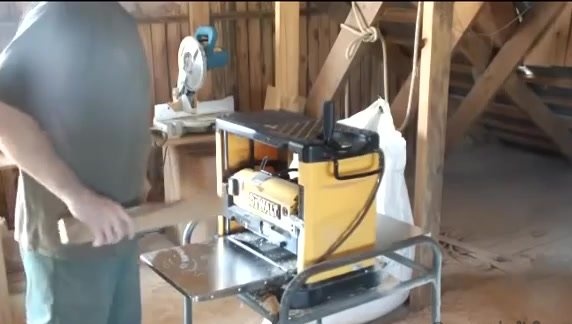
We take a bar 20 mm thick. First we plan the bar in thickness if it is larger than the 20 mm we need.
Now we plan the bar in thickness on one and the second side.
We bring the thickness of the bar to 20 mm and check everything with a compass.
Now we make a pad of plywood or thin boards.
To flatten a thin board through the thicknesser, place a thick board under it. Do not forget to fix the thick board so that it does not slip and does not give you legs.
We got a good lamella, and the most important thing in this is not to make a very large amount of removal. Otherwise, the board may turn into crumbs.
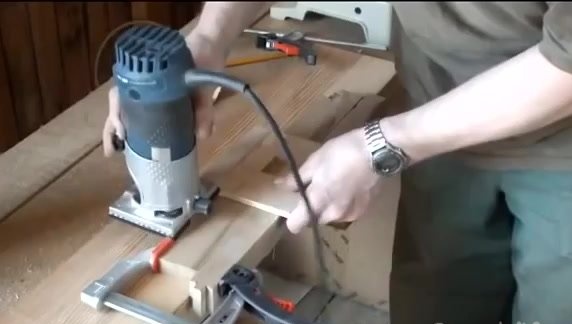
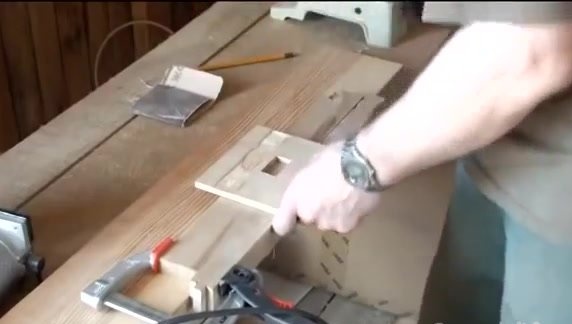
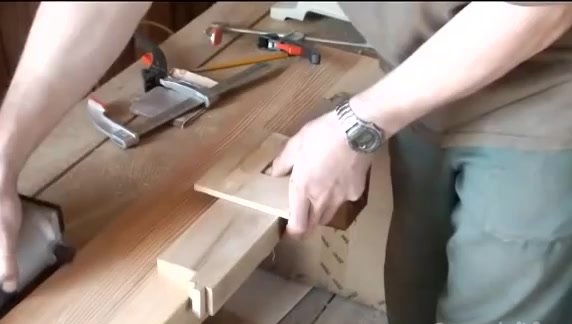
Now you need to do the groove milling. We take a 200 mm thick bar and place an emphasis on it with a template.
We fix the bar to the stop. It doesn’t matter where the first groove will be milled from.
We make a groove and markup. We should have a distance of 20 mm to the next groove.
Then we combine the base mark with the risks and fix it.
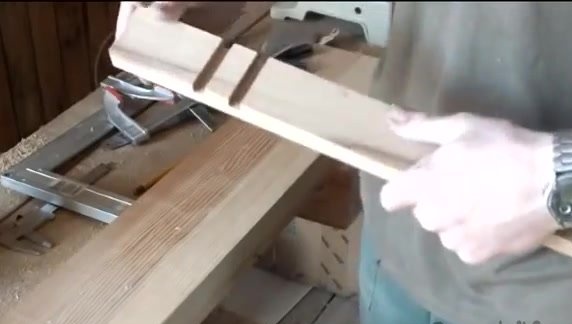
Now we make square planks.
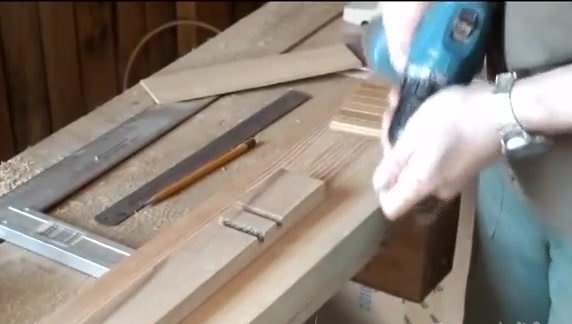
Next, we make markings at the central point of the middle sector, or in other words, in the center between two threaded parts.
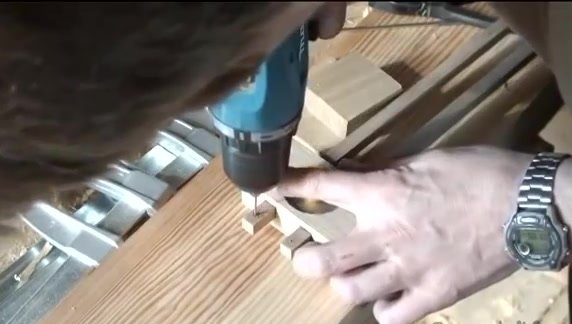
At a central point we are drilling a pilot hole. Drill through the hole.
Now we are drilling the same hole in the overlay.
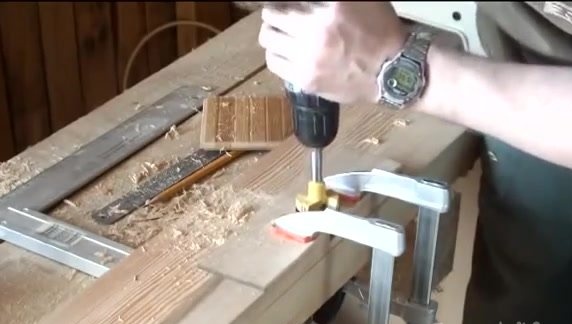
Next, we take the Farmer's drill and drill a round hole in the patch at the point that we previously made with a drill. It is necessary to drill not only a slip, but also a boss to a depth of 1 mm.
In order to make it easier for us to combine the parts, we drill a pilot hole on one side of the cover and drill the same hole on the other side.
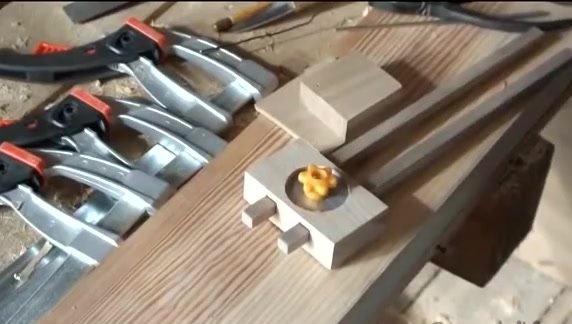
Now with a pen drill we make a hole in the boss where we previously made a small hole with a drill and clean it.
It remains to make drilling for the body of the bolt 6 mm.
Getting to gluing. We smear the boss with glue and put a patch on it. Press the pad to the boss and wait for the entire structure to dry.
Cut off the excess ends of the lining with a wood carving knife.
From the thread we measure 20 mm in each direction and saw off to size.
Insert square sticks into the drilled grooves.
In the center we fasten everything with bolts.
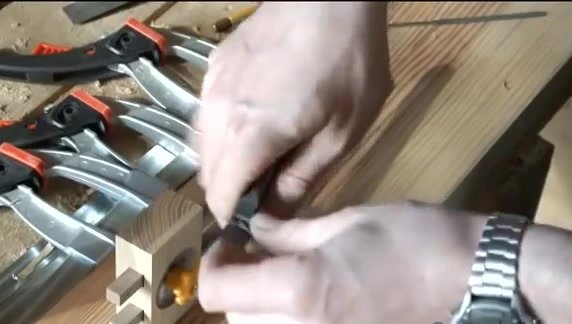
And the final touch will be: drill holes for the pins.
We select the pins a little shorter than the thickness of the bar.
We sharpen the pins and do the same manipulation with the second bar.