
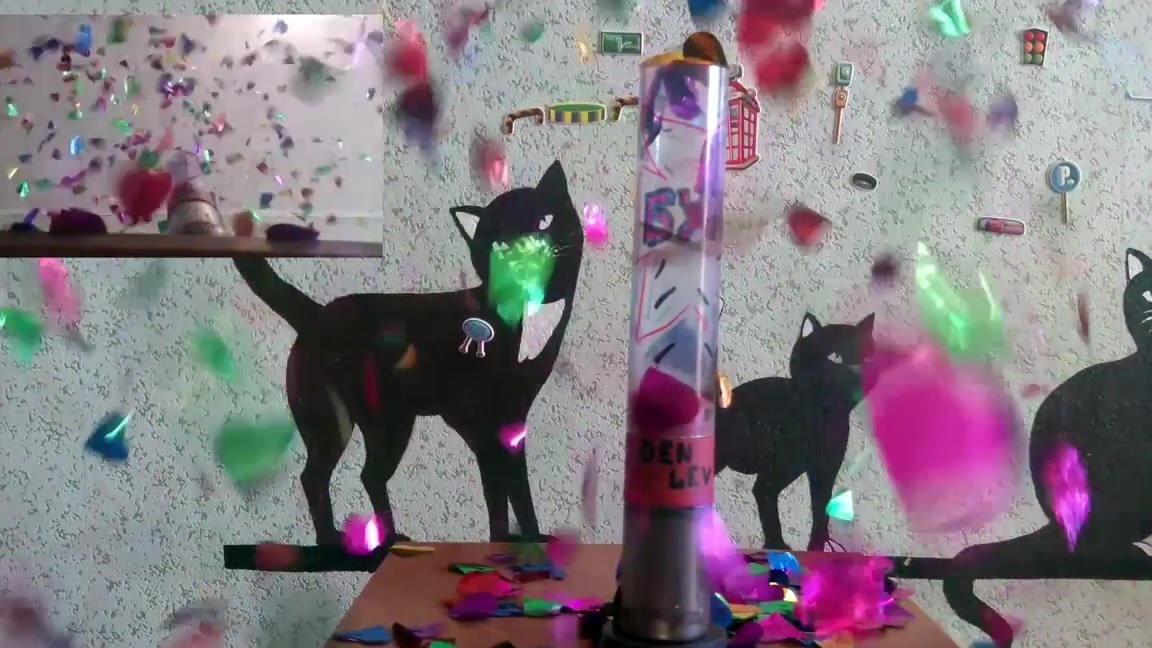
Winter is approaching, and with it is a wonderful New Year holiday. It's already time to think about buying holiday items - balloons, fireworks, garlands and crackers. It is about the latter that will be discussed in our material. More specifically, we will consider together with you a method for remaking a cracker from a disposable to a reusable one.
First of all, we suggest that you familiarize yourself with the author’s video, after watching which we will go on and modify the festive clapperboard.
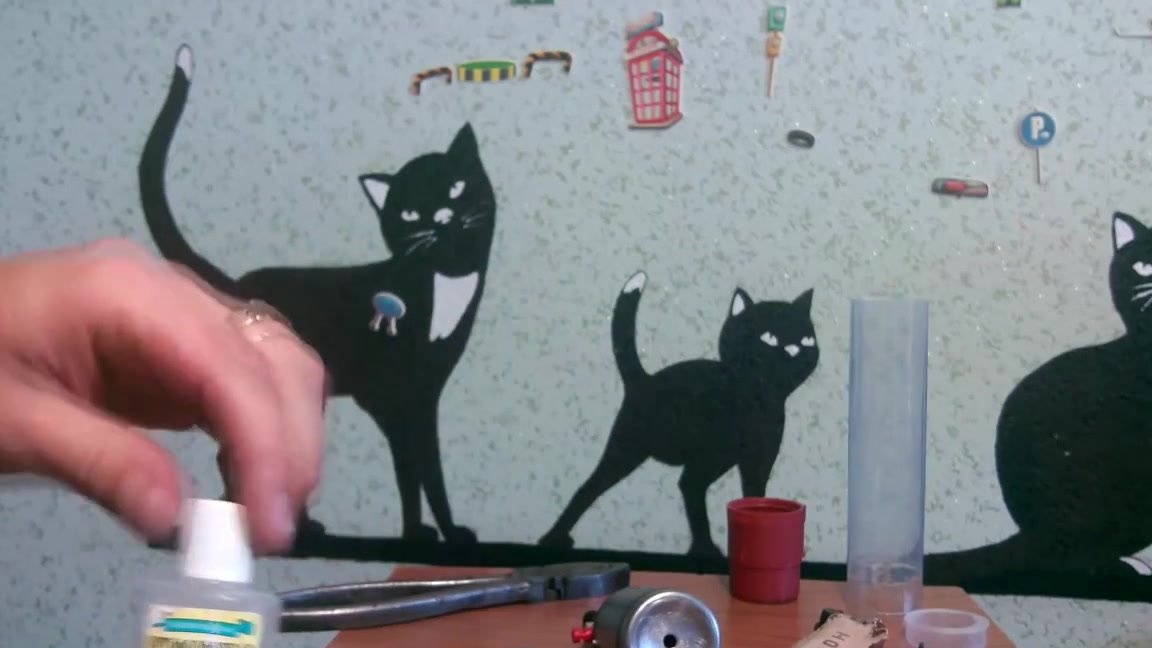
Before starting the modification, consider what we need:
- pneumatic cracker;
- stationery knife;
- drill;
- drill;
- tap;
- a die.
It is imperative to pay attention that the cracker that you wish to modify is precisely pneumatic, since other crackers have a significantly different design and cannot be remade. Let's get down to business.
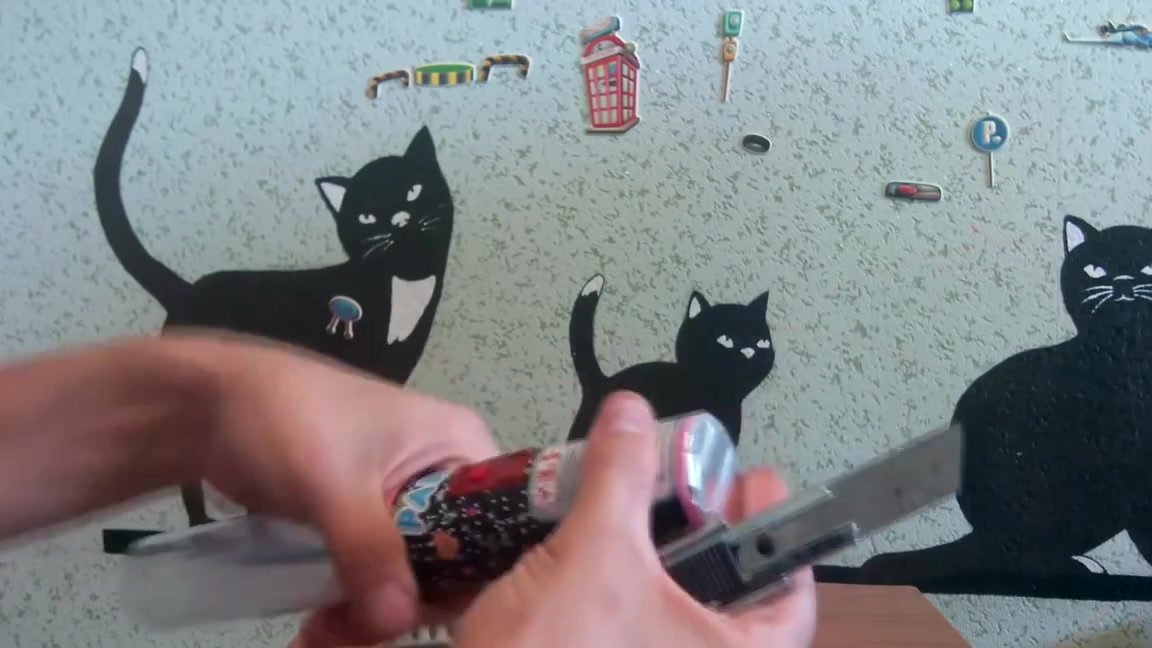
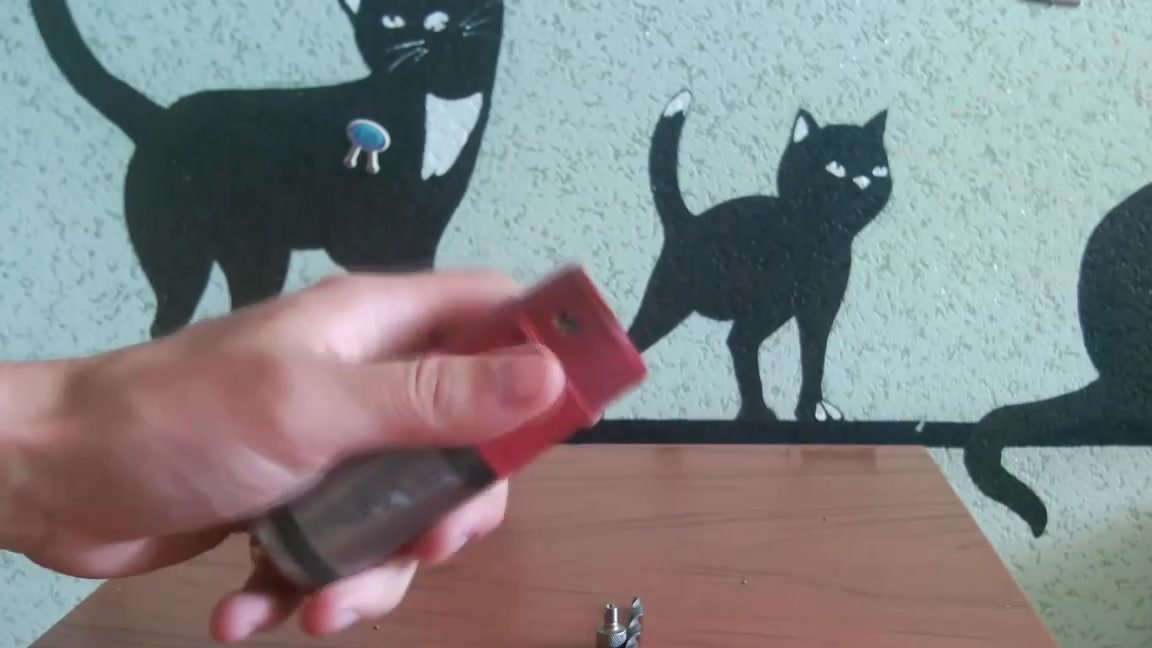
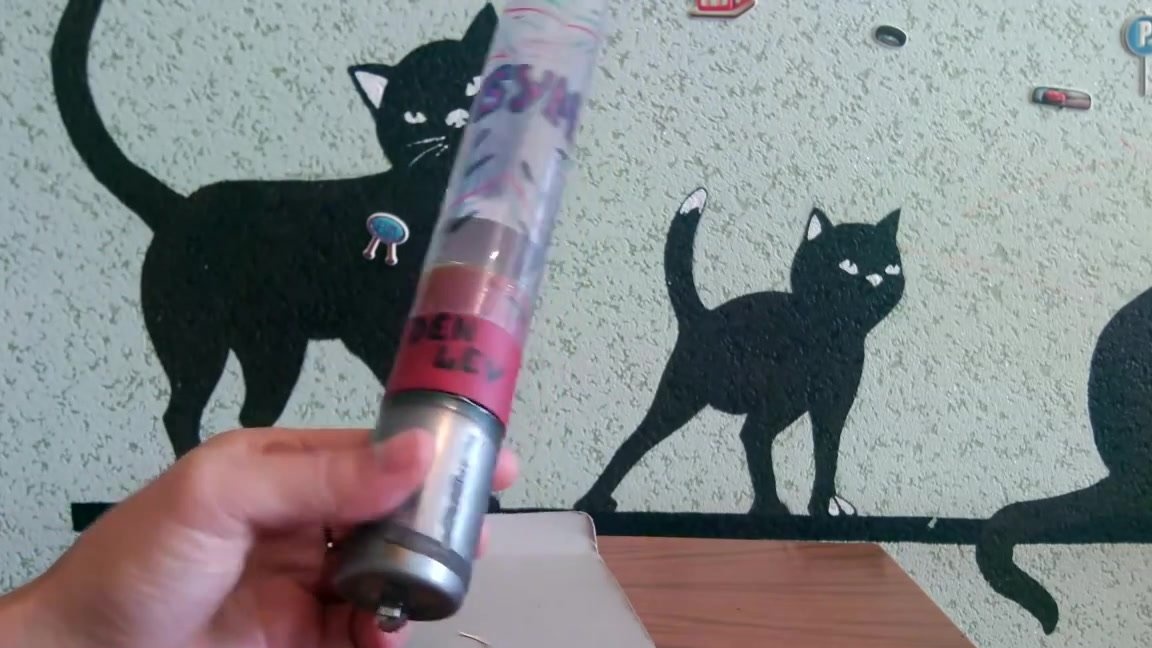
We need to take apart the cracker. To do this, take a clerical knife and remove the sticker with the name and instructions from it.
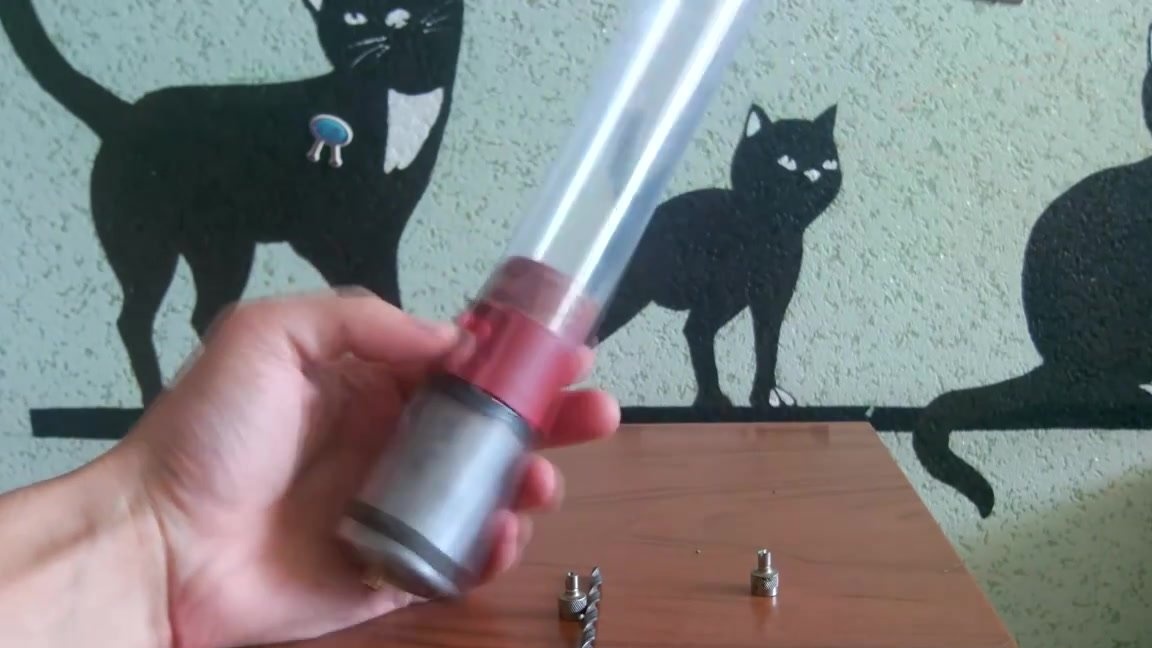
A flask into which confetti is poured is glued to the base of the cracker. The flask also needs to be removed.
Under the flask is the trigger of a cracker with a rubber stopper. We remove the cork.
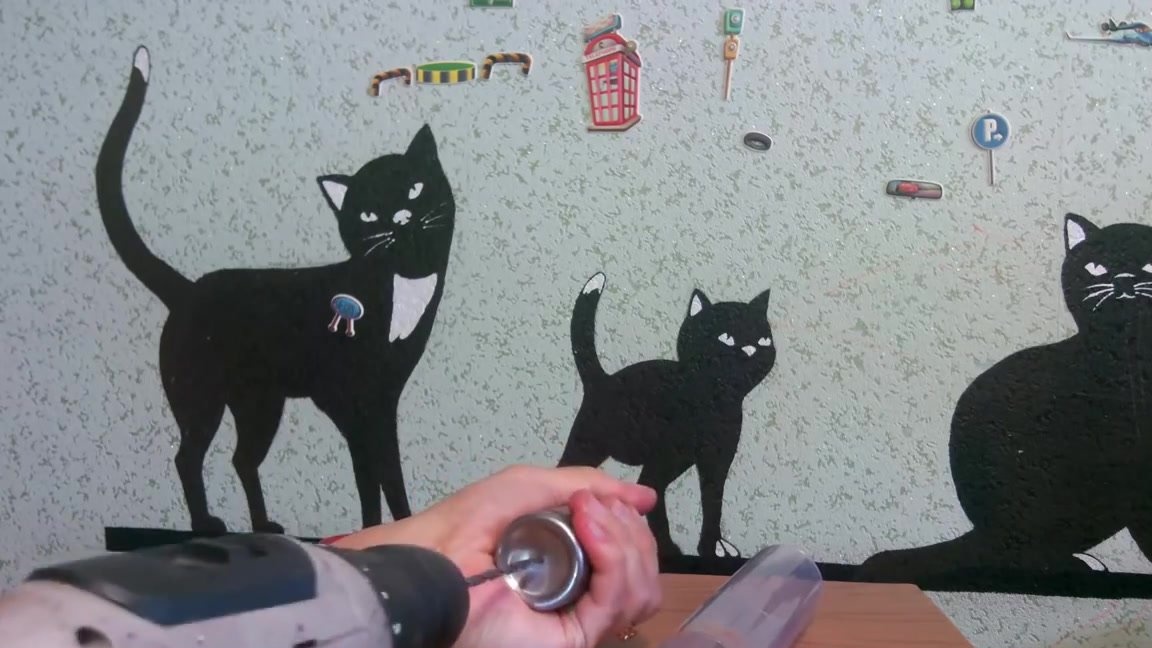
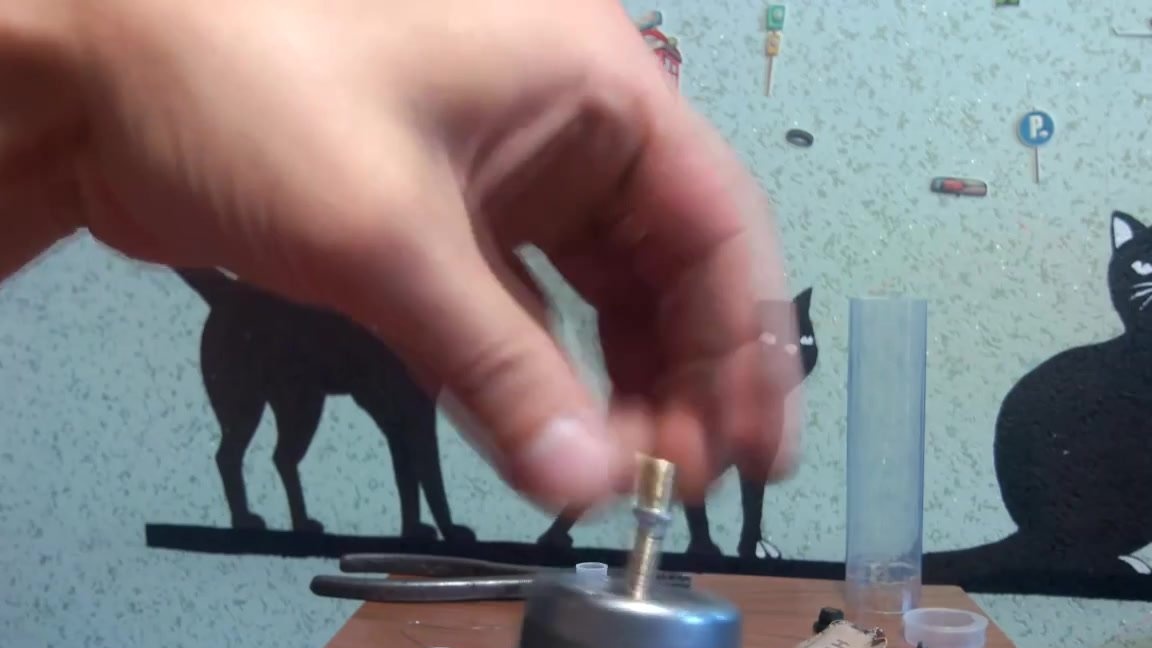
On the bottom of the base, which is a balloon, we need to drill a hole. It is important to do it leisurely so as not to damage the cylinder.
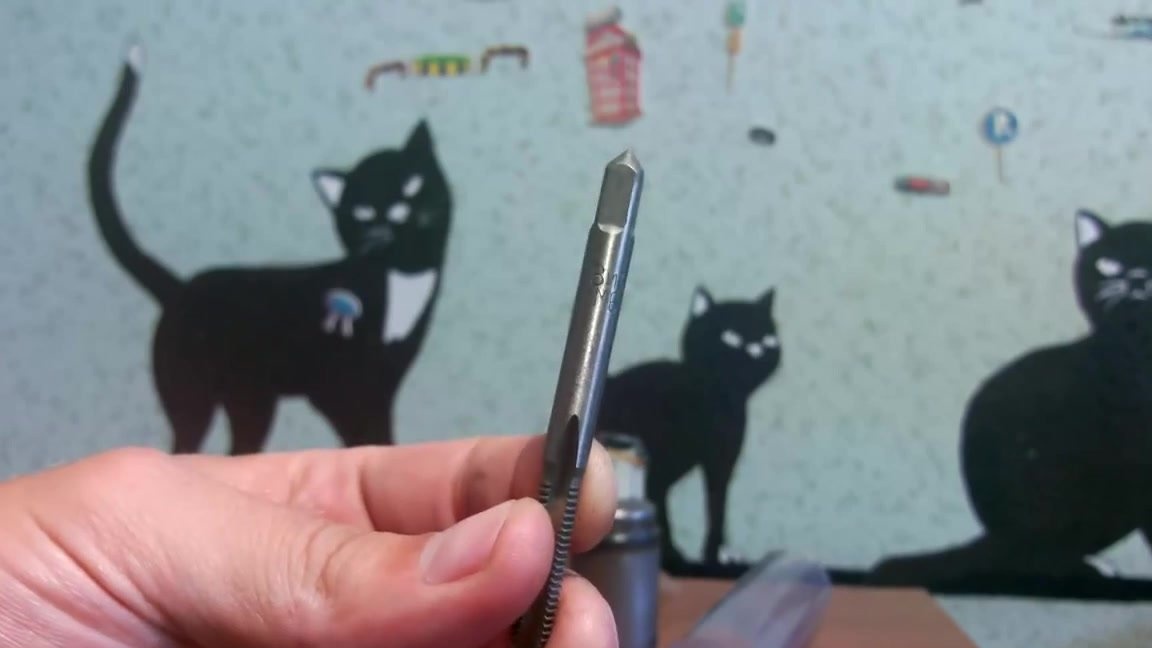
The next thing we take is the tap at 6, we put it on the drill, because at this stage we need to cut the internal thread in the hole made.
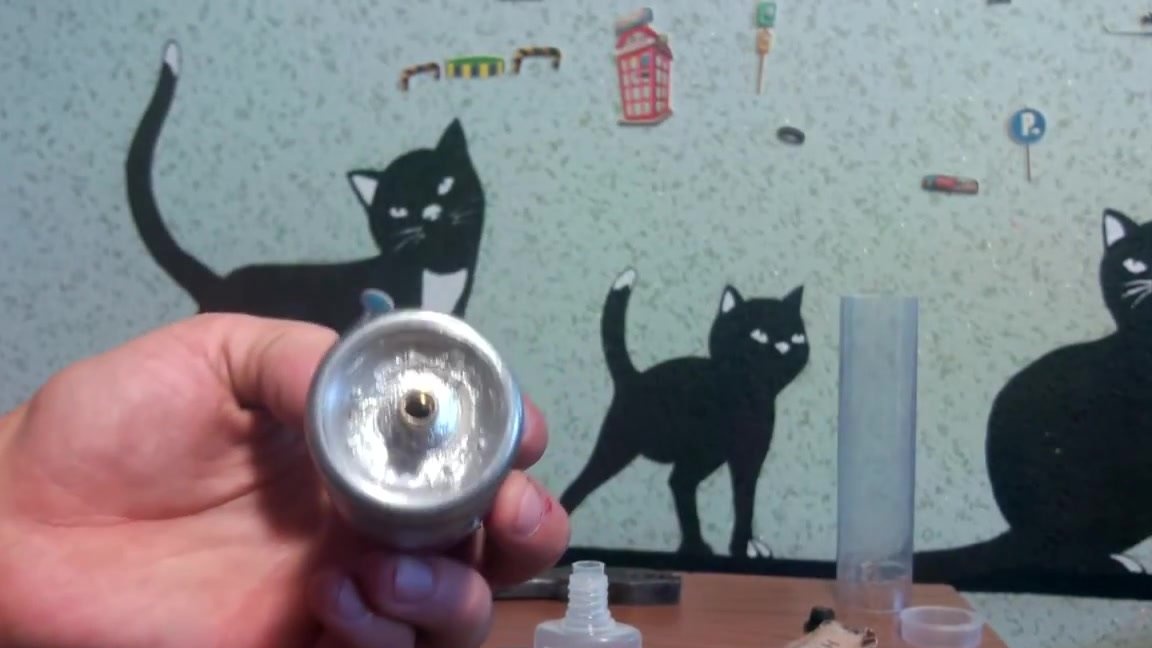
Now we need to install the nipple on our spray can. To do this, we screw it into the hole, previously stripping it to free the passage from the remaining pieces of metal remaining after threading.

Before installing the nipple, you also need to treat everything with phosphoric acid, which must be applied in liquid form around the hole, and then a thin piece of tin is soldered with a soldering iron to give the can more strength.
It is also necessary to seal the nipple after screwing it into the hole.
Now you need to assemble the trigger back. First of all, insert the rubber stopper into its place.

We begin to assemble the structure.
After installing the button, we put back the plastic part that covers the trigger mechanism and through the technical hole we close the mechanism itself back.
We continue to collect the cracker.
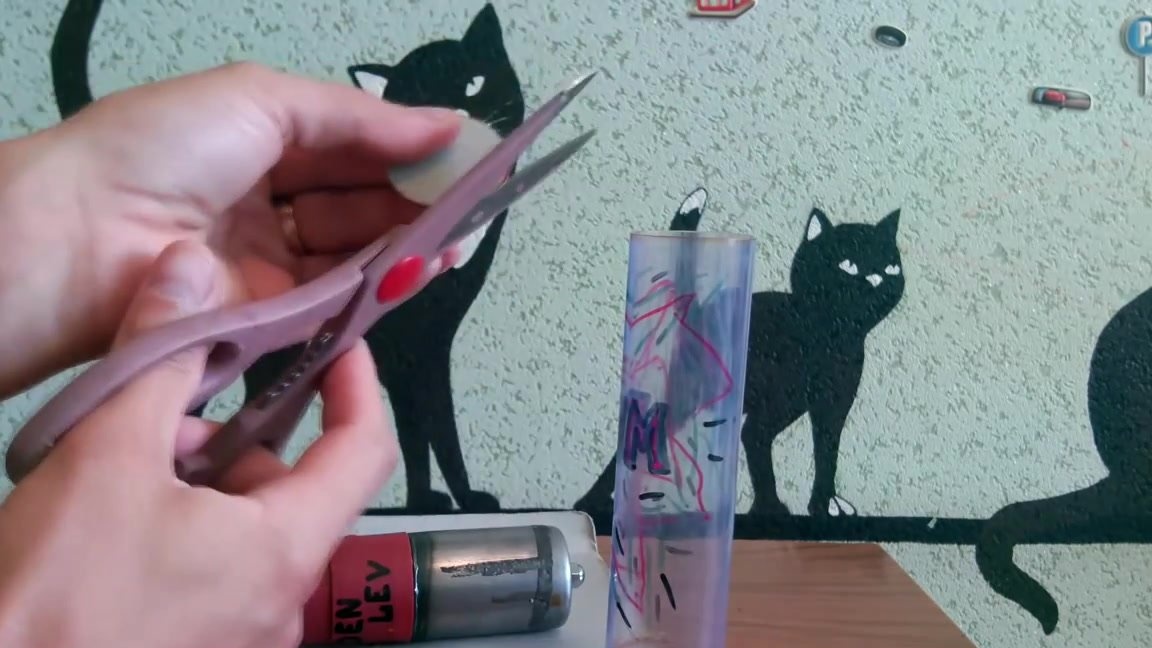
Cut out the piston. To do this, take a piece of cardboard and cut a circle along the diameter of the cracker tube.
It remains to pump compressed air into the spray can, fill the canfetti cracker and make the first test volley to make sure that it works correctly.