

Let's watch the video homemade "Conductivity tester":
[media = https: //www.youtube.com/watch? v = hE9d8OPkCn8]
There are situations when you need to check whether the appliance is working or not, and there is no way to check directly from the mains. In this case, small portable devices for checking conductivity come to the rescue, which you can either purchase or do it yourself. In this article I want to talk about how to make such a device that will help to easily determine if there is current and electricity in a device or not.
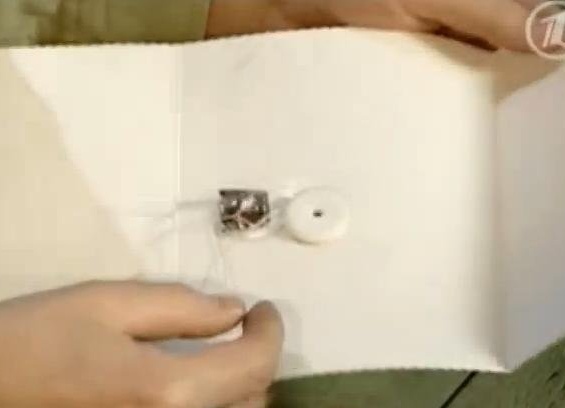
In the old days, musical cards were very popular, but after a while, they no longer enjoy such popularity as before.

And just such a card we will need. Rather, not the card itself, but its "insides" - that is, the mechanism (battery, resistor, PZO, contacts). Carefully remove this mechanism from the card and separate the contacts so that they do not touch each other.
After that, carefully solder the two wiring to the contacts as shown in the photo:
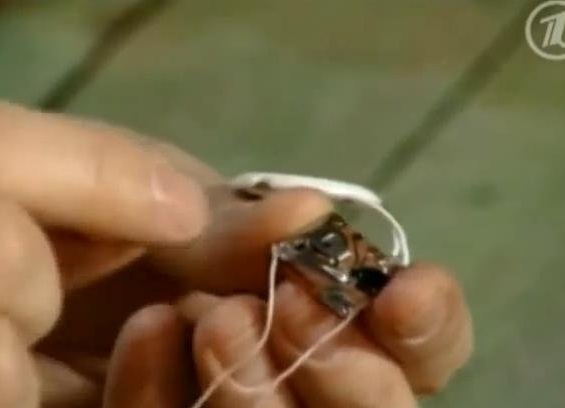
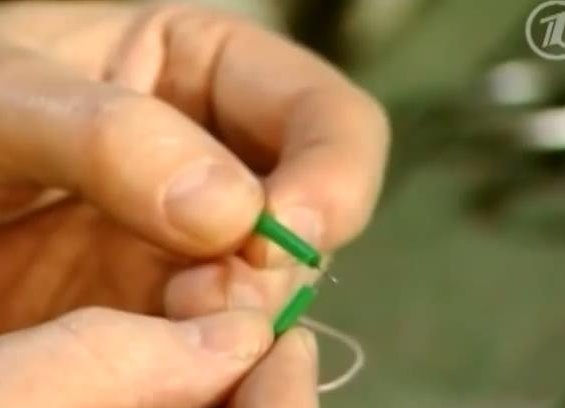
From the other end of the wires, carefully solder the two pins.
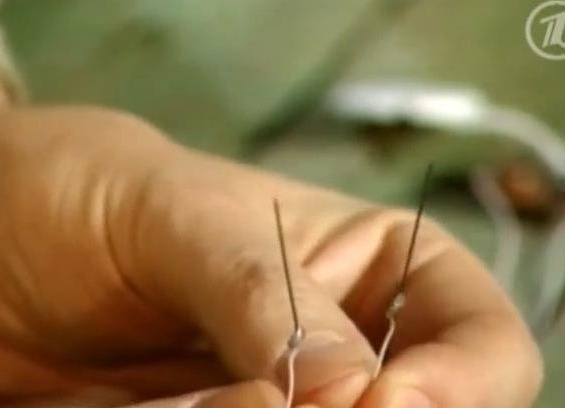
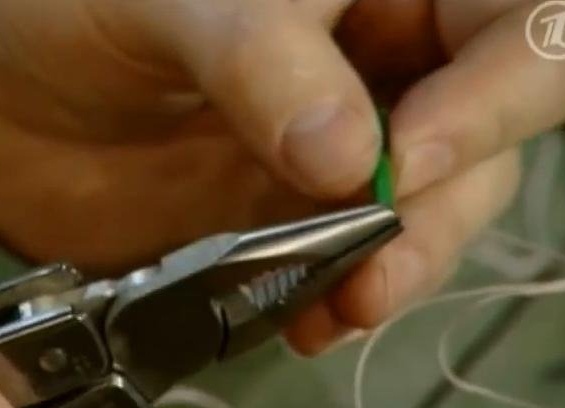
Now you need to make insulation on the pins. You can either wrap the pins with electrical tape or take the tubes from under the cocktails, cut them to the size of the pins and carefully put the tubes on them:
We check if the device works, for this we connect the pins and the contacts close - the music starts playing, as in a postcard!
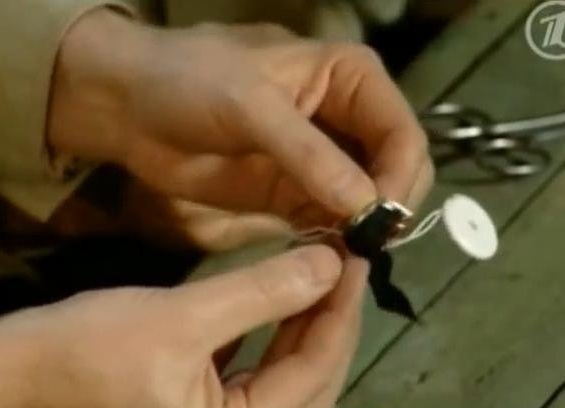
Next, you need to make a case for the mechanism, which will save it from damage during operation. To do this, wrap the battery and the rest of the "insides" with tape, as shown in the photo:
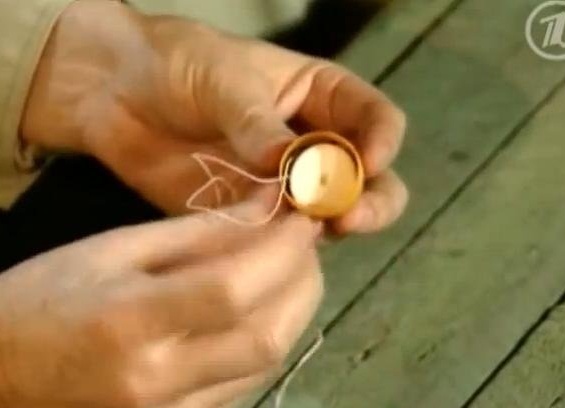
Next, we take an ordinary plastic egg from under the "Kinder Surprise" and put the "guts" of the device there:

After that, we make the top cover to protect the mechanism. To do this, take an ordinary cap from under the bottle, cut off the unnecessary part and make holes in the center of the cap for wiring.
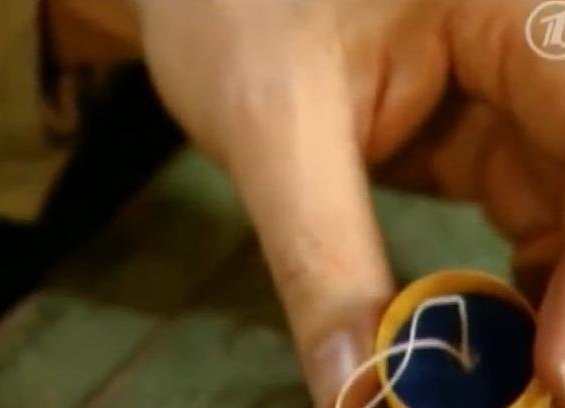
Next, put this lid in the egg, in which the mechanism is already located.
That's all! Our conductivity tester is ready! Now when you need to check whether the appliance is working, we simply attach pins to the contacts on the device and, if the device is working, you will hear music, and if the device is faulty, you will not hear anything!

After you have checked the operability of the device, you fold the entire mechanism with wires and pins into the Kinder egg and close it. So you can take this device on the road without fear for its integrity, since the case is quite sturdy, not sinking in water and not letting water inside.