

A new season of greenhouses and greenhouses has begun, every morning and evening it is necessary to open and close ventilation windows, window leaves or doors in time, in case of being late with the opening, the temperature will rise above 35 degrees, which will cause sterilization of pollen and death of the ovary, also not timely closing of the greenhouse will overcool the plants and the heat reserve for the night will be used up.
Depending on the weather, it is not always possible to accurately track the opening and closing times, and if you need to work, who will open and close. In all this, only automation can help us, we will consider one of the options for such a device.
Video of the mechanism.
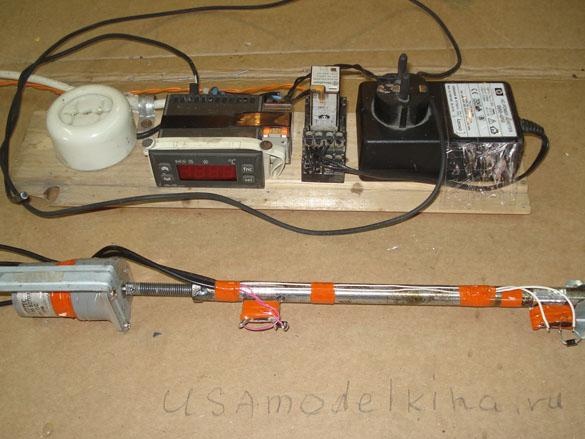
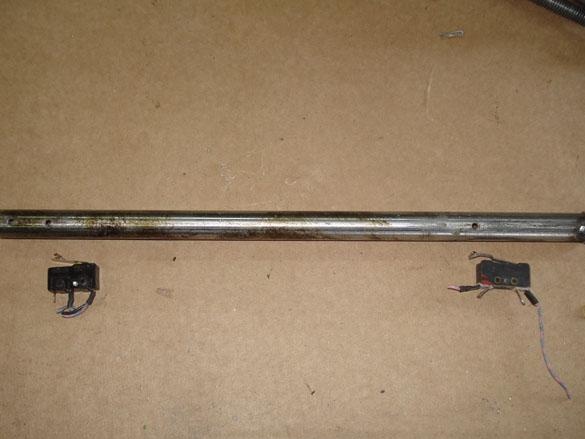
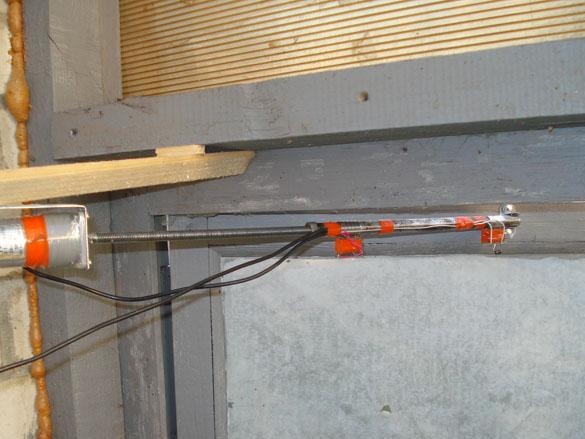
General view of the structure.
Point 1. For the manufacture of automation is necessary.
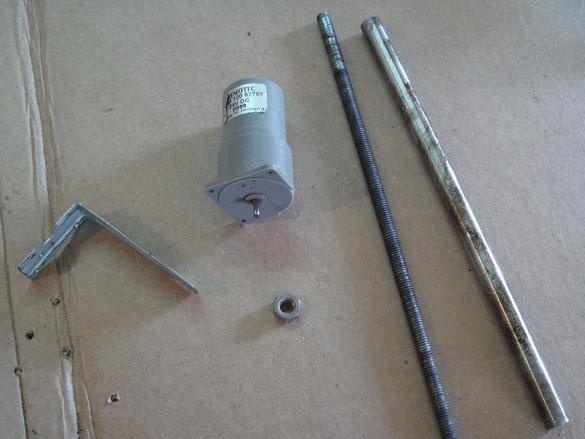
Materials:
• Temperature regulator of any type, with an adjustment range inclusive from +15 to +35 degrees Celsius.
• Low-voltage collector (motor from scales with a label).
• Stud with M8 thread 30 cm long with nut.
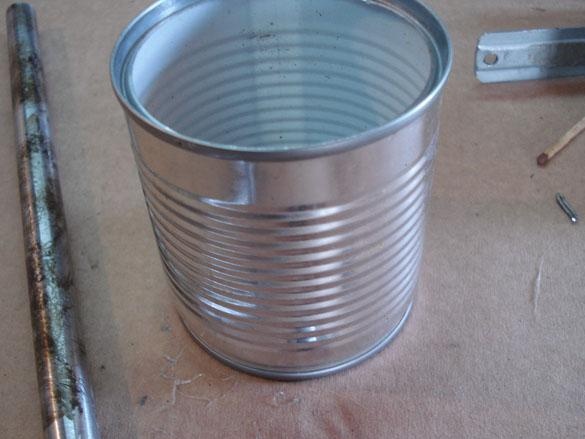
• Handset so that the hairpin can easily go inside, (from the back of old beds).
• Power supply for the motor (12-24 v.).
Instruments:
• .
• Drill and drill.
• Screwdriver, pliers, screws, tin 0.3-1 mm.
Item 2. Production of mechanics.
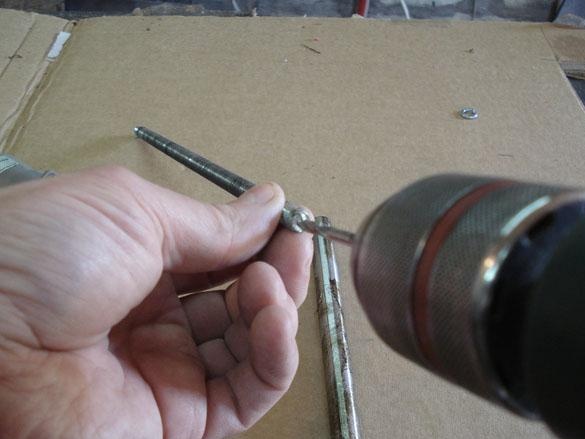
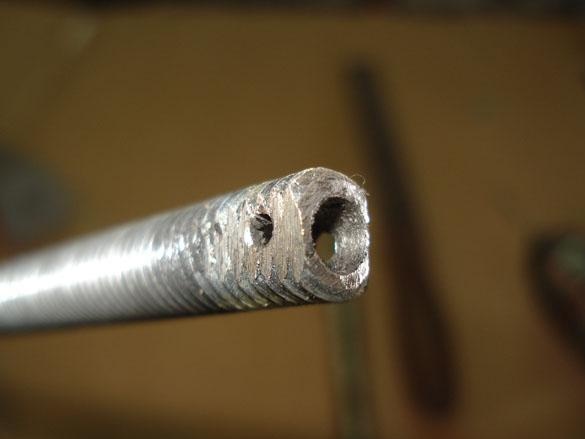
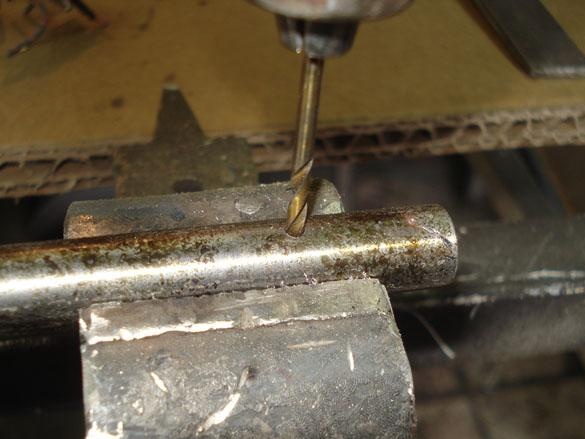
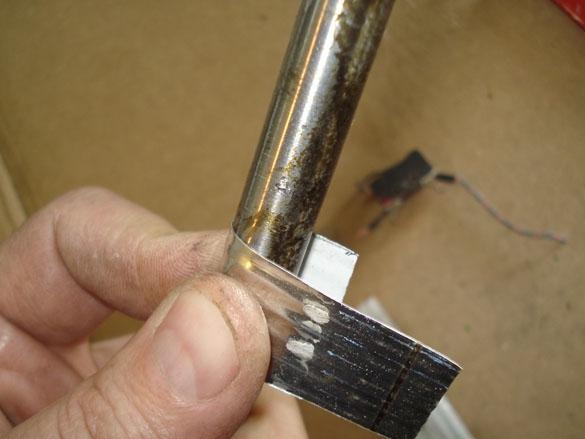
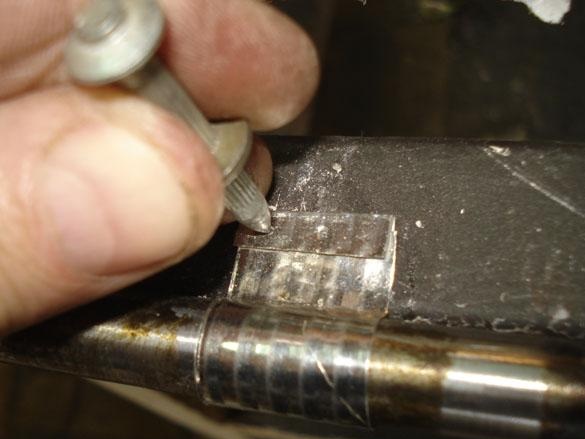
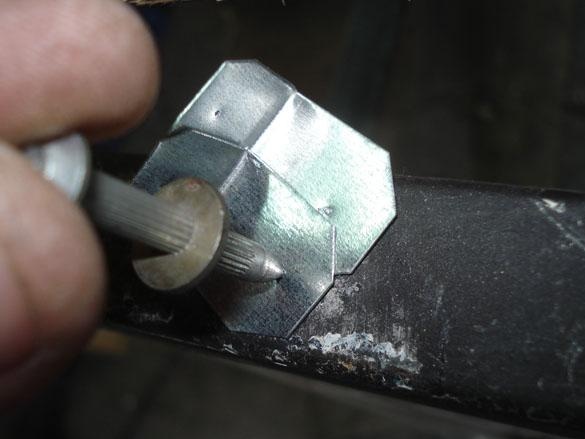
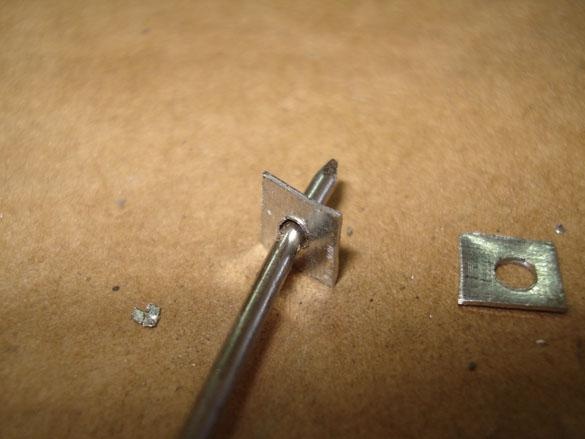
At the end of the pin we make a docking lock with the shaft of the gear motor. We measure the diameter of the shaft and select a bit more drill, drill a pin to a depth of the shaft length.
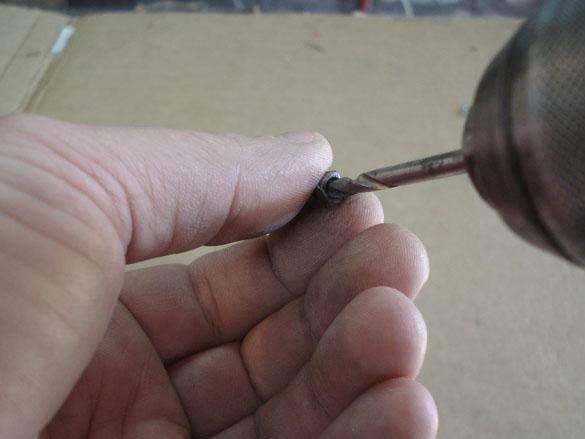
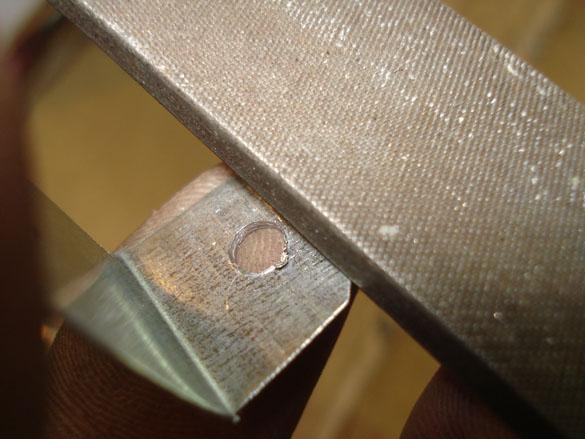
We grind the thread into a plane so that it is easier to drill a hole for the key.
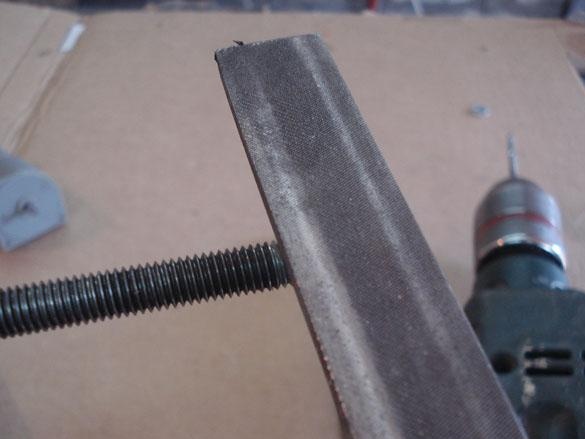
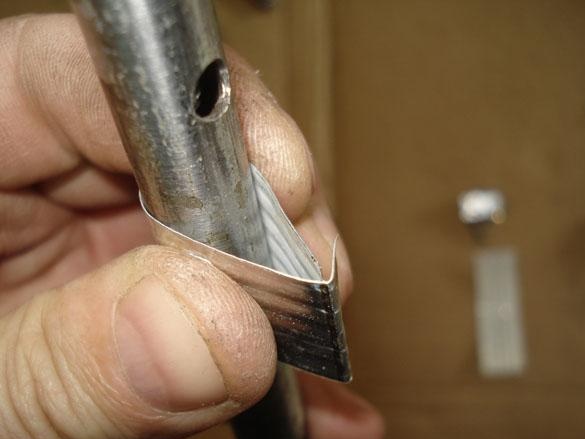
We drill a hole for the key D = 2 mm.
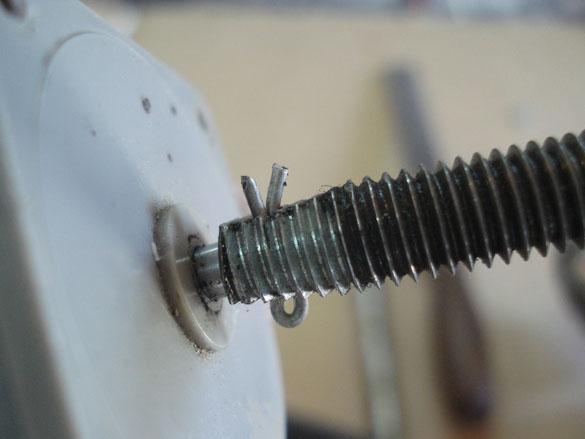
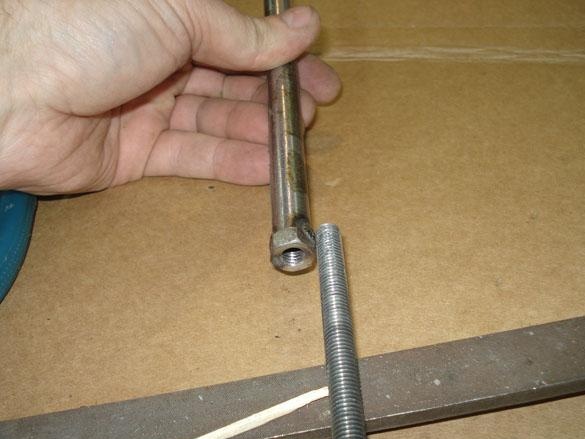
It should be like this.
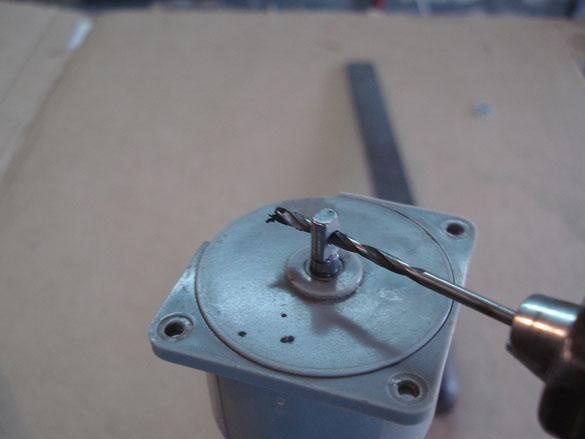
We also grind the shaft of the gear motor and drill a hole.
We put the pin on the shaft, combine the holes.

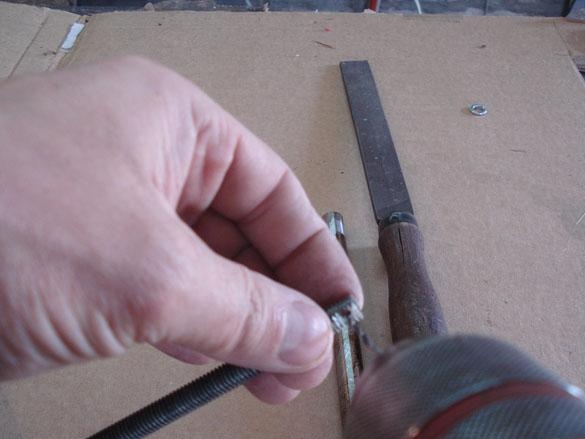
From steel wire 0.5-0.8 mm (preferably nichrome) we make a key.
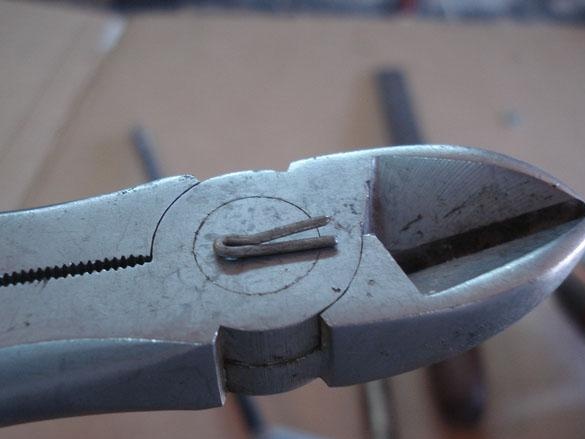
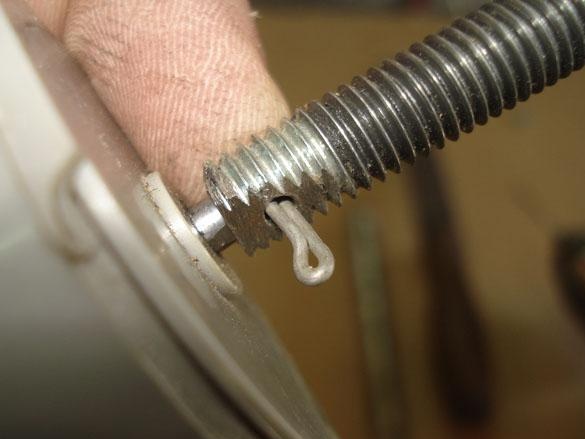
Set its hole and slightly straighten the ends with a knife.
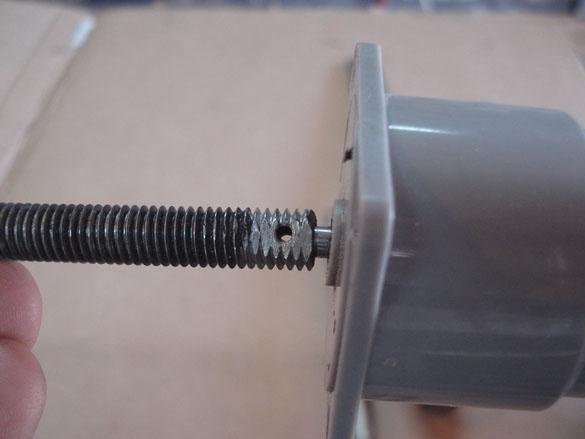
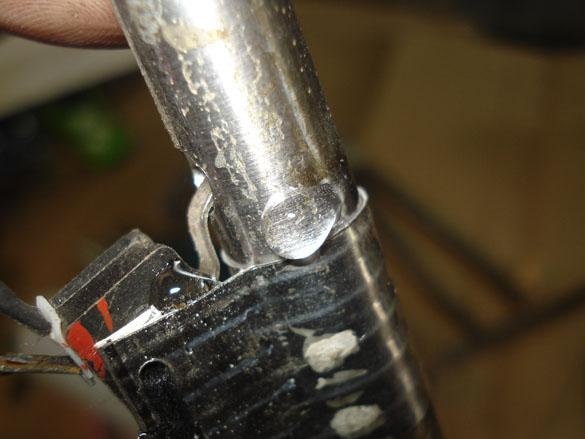
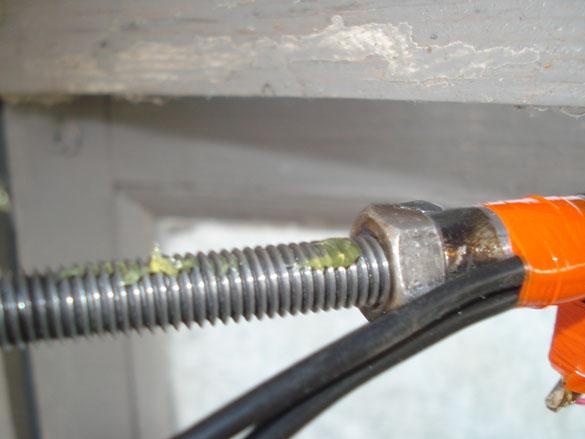
We screw the nut on the stud and put on the tube.
Drive the nut to the gear motor.

We center the end of the hairpin with three matches.
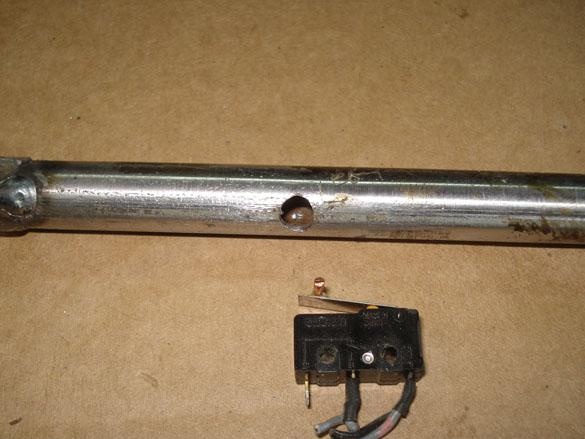
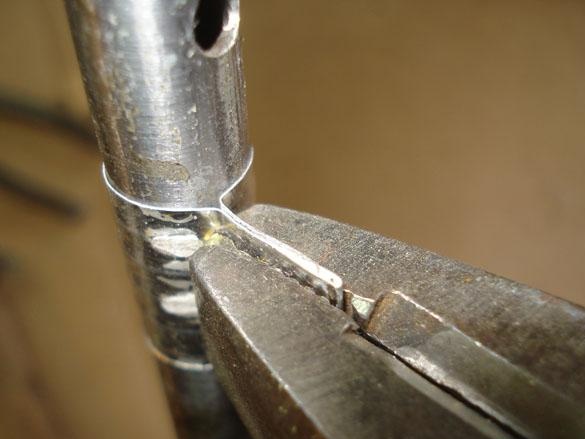
Two welding points weld the nut to the tube.
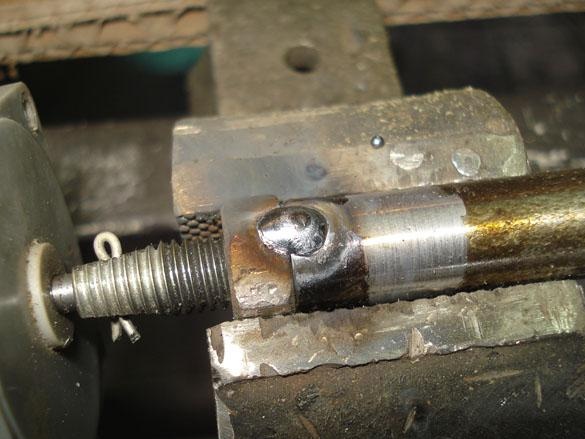
If drops of welding damage the thread, we clean it with a M8 tap.
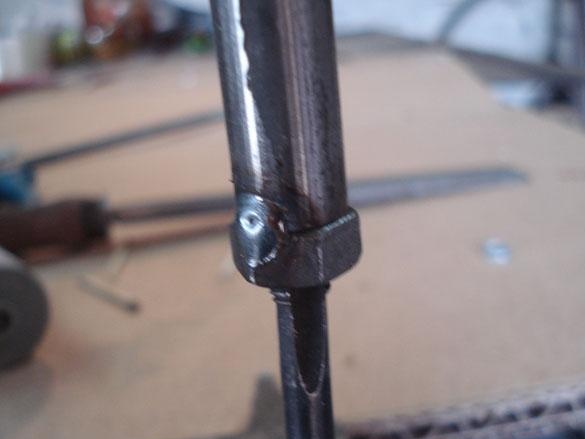
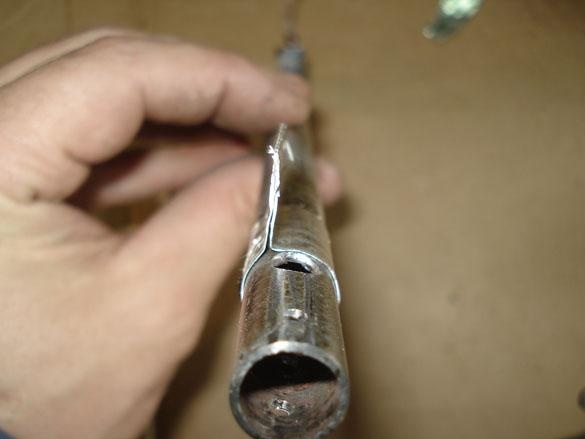
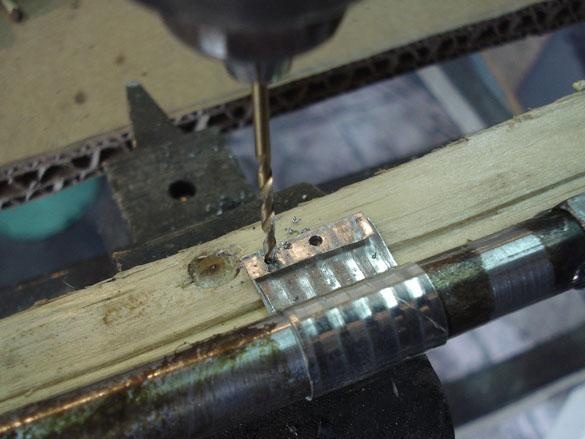
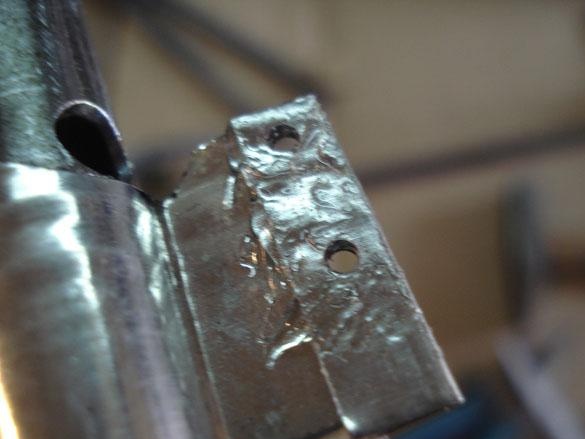
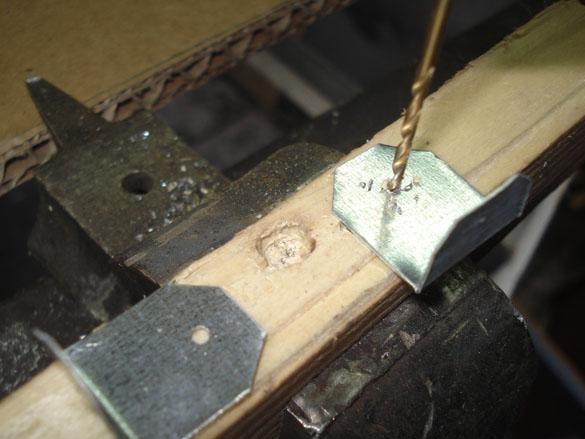
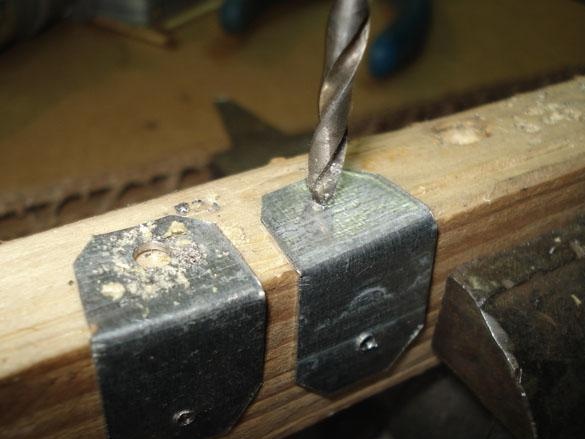
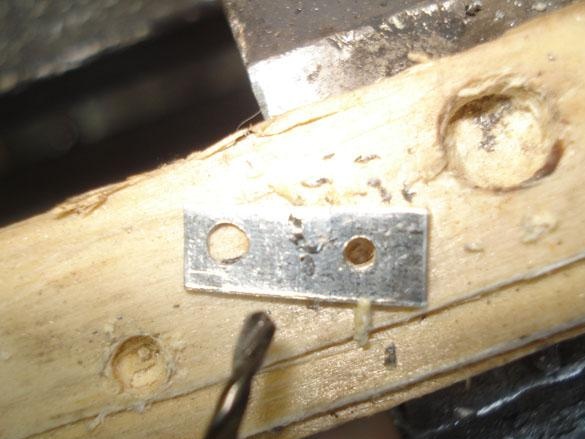
We drill a hole for attaching to the window, frame and two holes for micro switches.
For accuracy, first we drill with a thin drill, then with a thick drill.
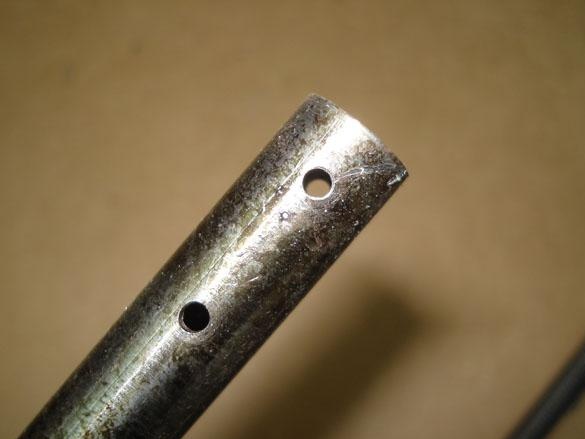
The holes for the switches are spaced at the desired stroke length of the mechanics.
We drill with a large diameter of 4.5 mm.
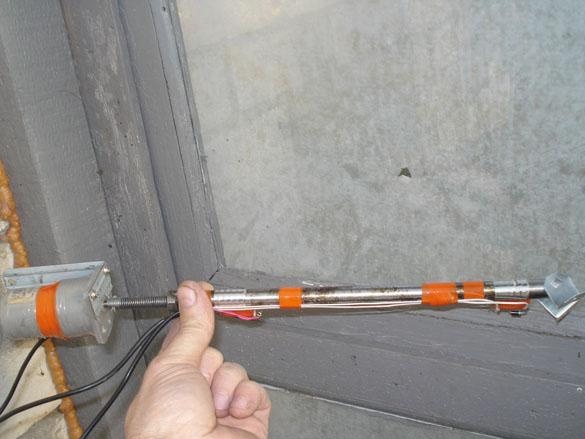
The threaded rod, rotating and moving inside the tube, will press the limit switches, thereby limiting the extreme positions of the stroke.
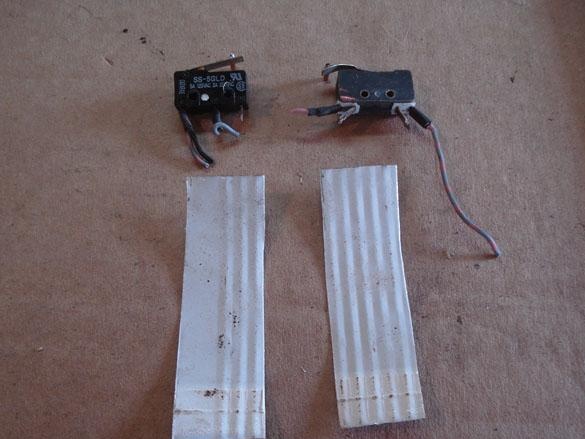
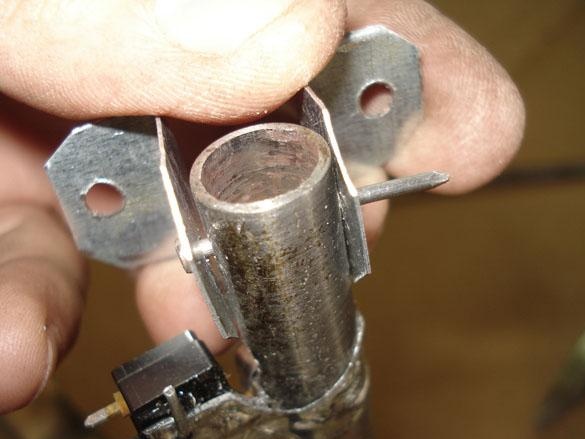
From a suitable tin, cut out two rectangles for attaching the switches to the tube.

The width of the workpieces is not less than the size of the micro-switch.

We bend around the tube.
We bend the castle.
And hold it with pliers.
The location and shape of the bend should turn out like this.
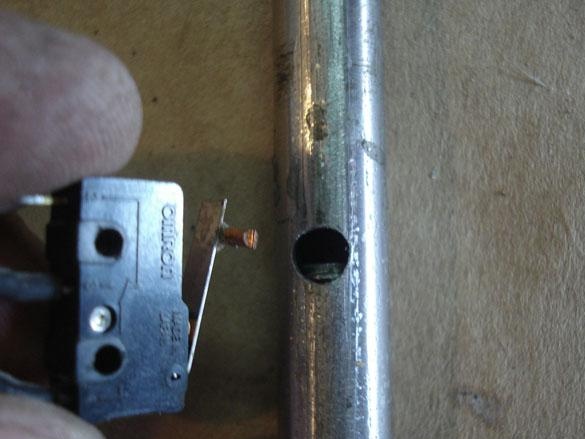
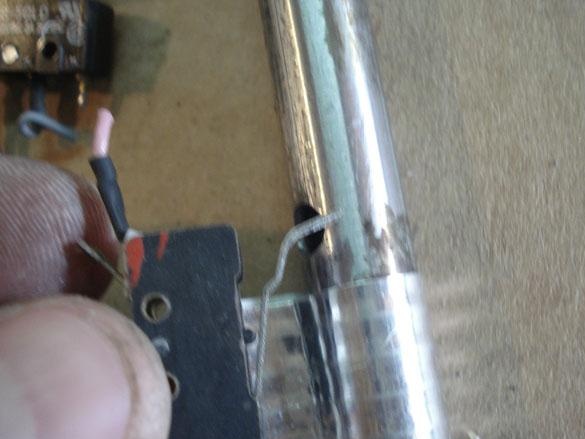
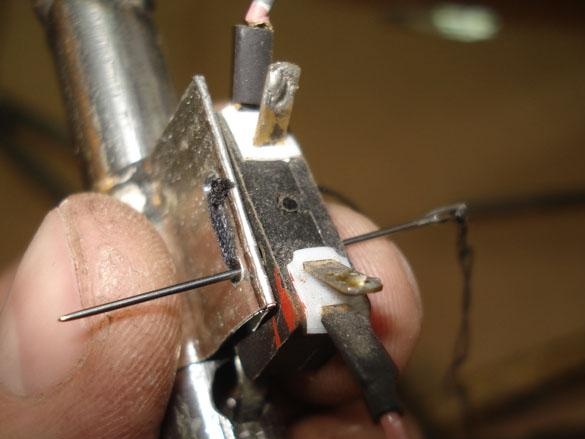
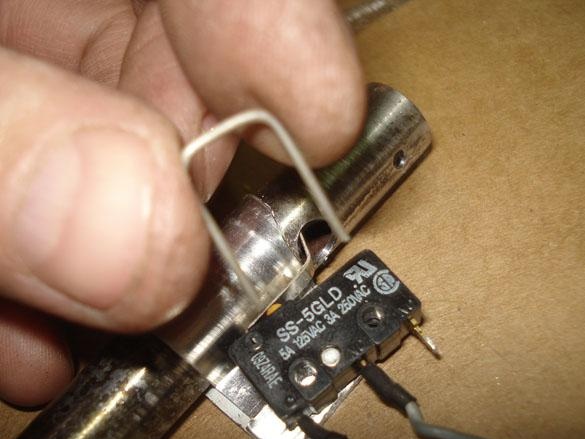
On the micro-switch, we bend the pressure plate as in the photo so that it enters the tube by 3-4 mm.
We try on the switch on the mount, outline the mounting holes.
Kernim.
We drill with a drill D = 2 mm.
It would be nice to pick up the bolts, but you can get by with simple threads, wire, glue.
Sew on.
The switches can be of different shapes, with a short lever, so if necessary, drain off the excess.
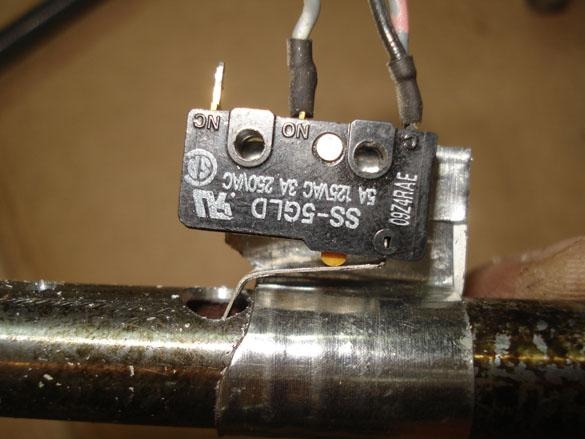
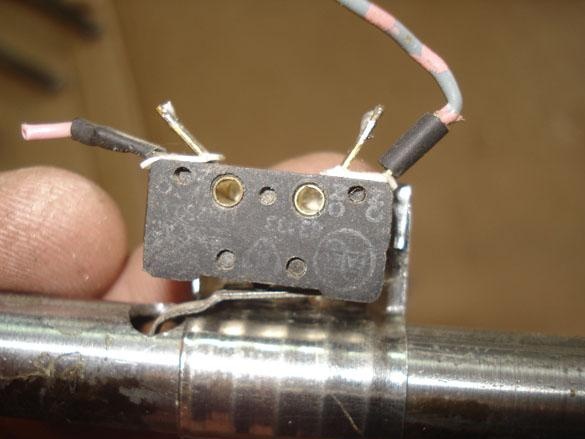
We make the second fastening, lubricate with glue, put the switch and fasten with a bracket of iron or nichrome wire.
We install fasteners in the places of the best operation of the switches and coat them with glue.
From tin (profile) we make two corners for fastening.


We tilt and drill.
For fastening under a rivet to a tube D = 2 mm., For self-tapping screws D = 4 mm.
After any drilling, grind the chips.
We make a rivet out of a nail.
And from tin, two dense sitting washers.
We make the hole as tight as possible so that it can rivet more easily.
Bite off the nail as much as possible.
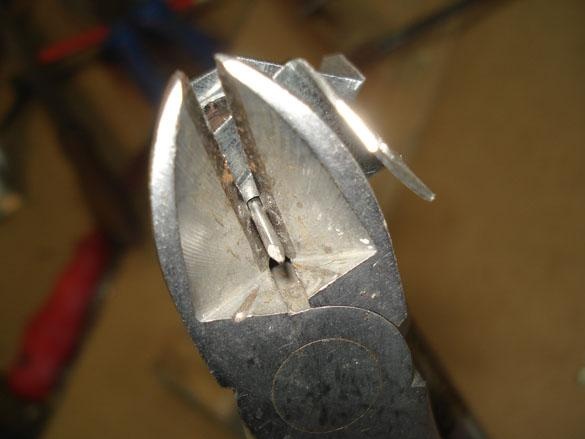
Rivet the nail, easily tapping in a circular motion.

The mechanics are ready.
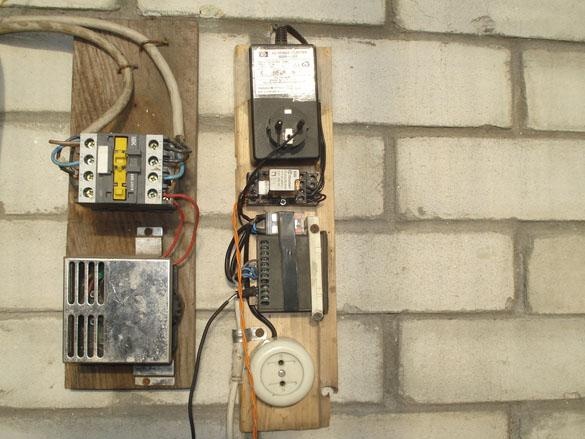
Point 3. The electrical part.
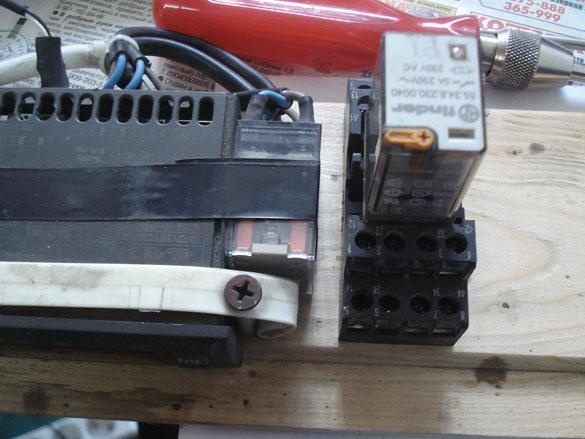
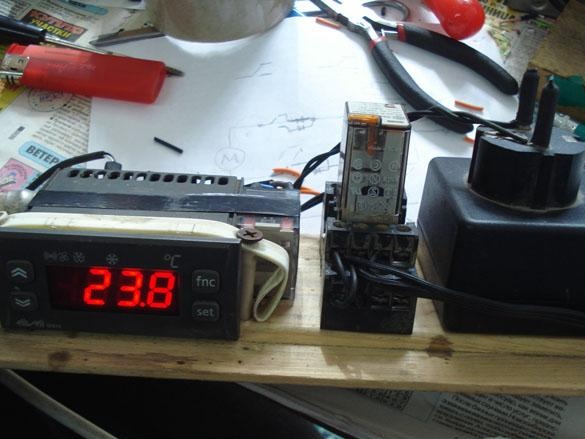
We take any thermostat with the required temperature range for us, for heating or cooling, no matter, I have a regulator from industrial refrigerators.
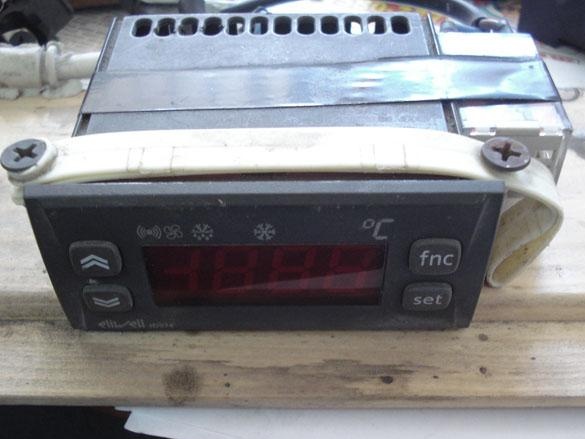
We fix it on a plank, install a relay for 220 V next to it. with two pairs of contacts. We connect the relay to the thermostat output.
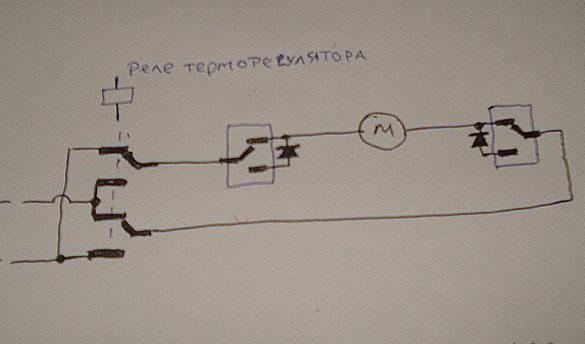
We assemble the strapping scheme as in Figure 1.
Fig. 1.
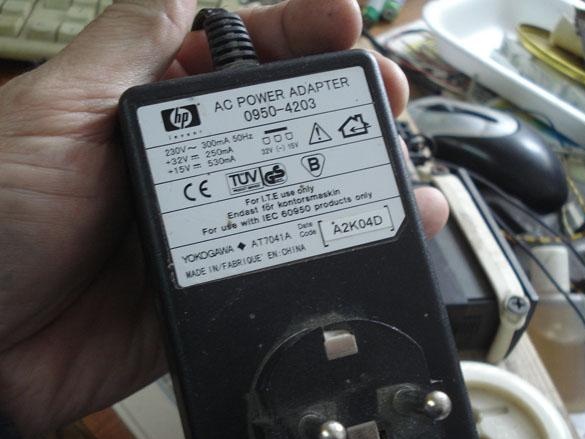
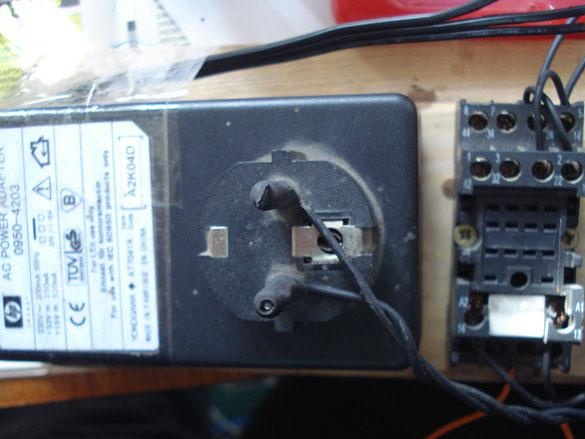
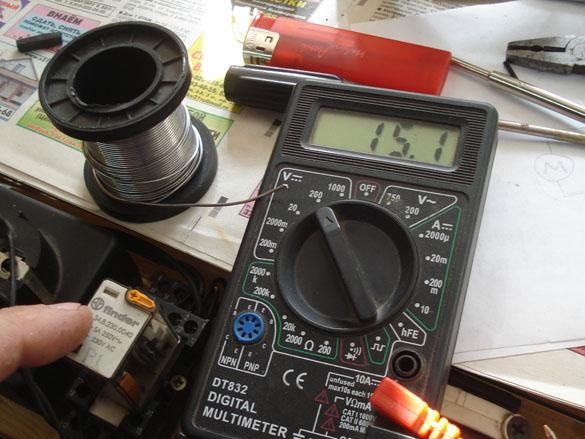
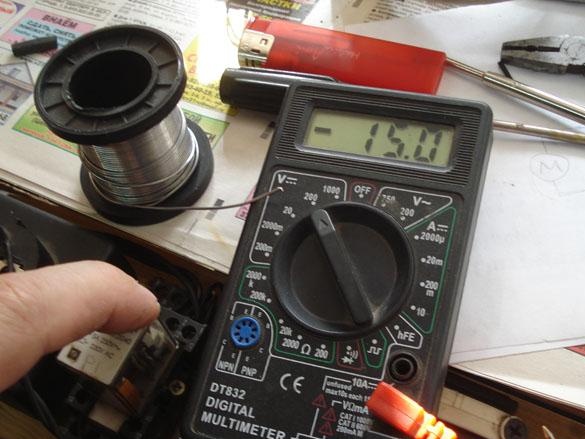
To power the motor, a voltage of + 12-24 V is required. Any power supply unit satisfying these parameters is suitable, I have a pulsed PSU from an inkjet printer +15 V.
We supply voltage from the power supply to the motor switching relay.
We check how the relay commutes the voltage of the motor to reverse.
Turn on the power and check the work of electricians.
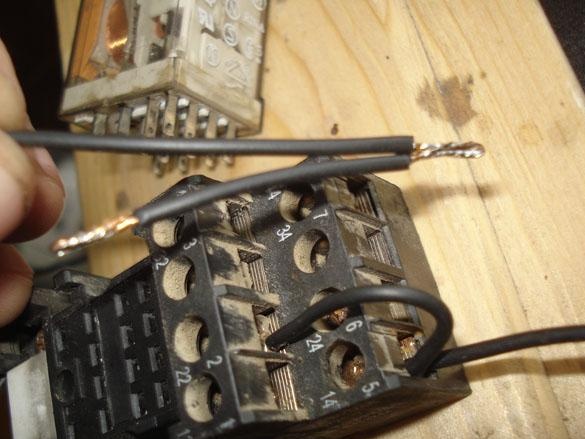
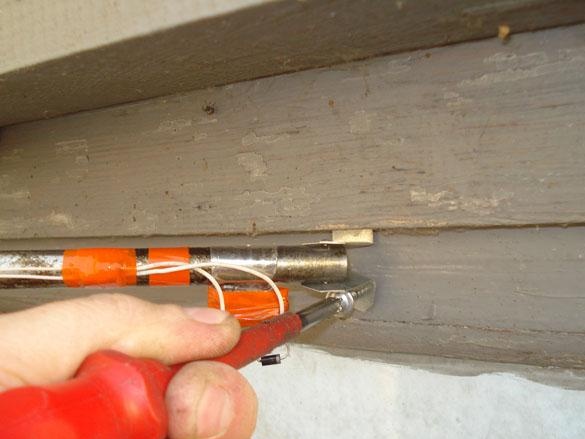
Solder the wires to the switches in accordance with Figure 1.
Let's make a bracket of fastening of the motor reducer from rigid tin.
All is ready.
Item 4. Mounting the mechanics on the window.
Fasten electronics on a wall inaccessible to water.
We try on the mechanics in place, determine the desired angle of opening and closing.
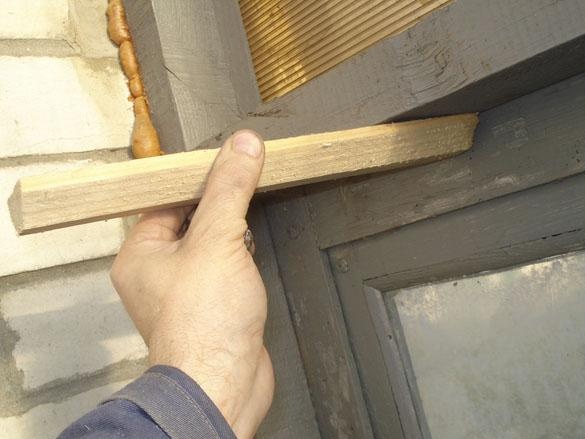
If there are no places for fastening, we will install additional fasteners.
Everything is screwed on the minimum length of the telescope and a closed window.
The thread is greased generously.
Check in action, set the temperature for closing, the mechanism works in the extreme closed position, the sensor heats up with the hand, the window opens, it works, check how everything works, adjust the necessary gaps.
All is ready.