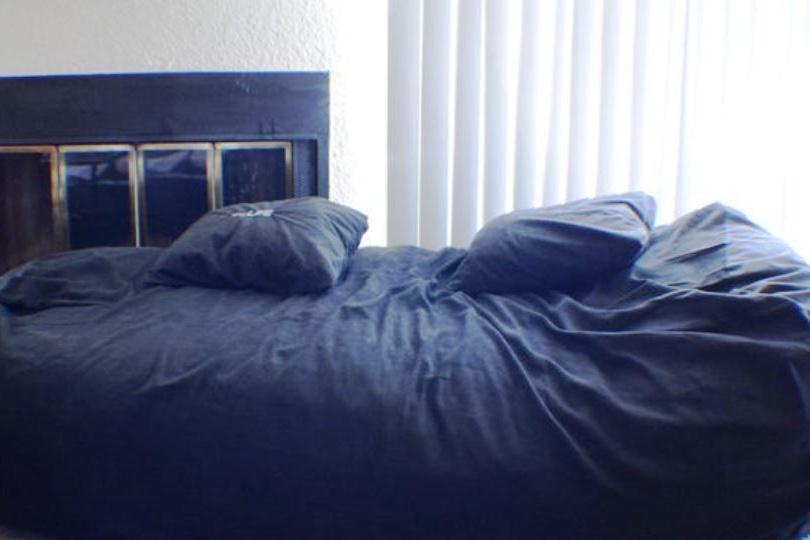
Your attention is invited to not quite ordinary model beds made do it yourself. Its shape will change and adapt to the outlines of your body, making the rest as comfortable as possible. You can finally forget about back pain and have a good rest.
Step # 1: Materials
• Internal fabric (choose practical, durable and inexpensive)
• The outer fabric (except for the above qualities, you should like it)
• A large amount of filler - its role can be performed by anything: old things, foam balls, plastic packaging
• Velcro (optional, but very convenient and functional)
• Threads
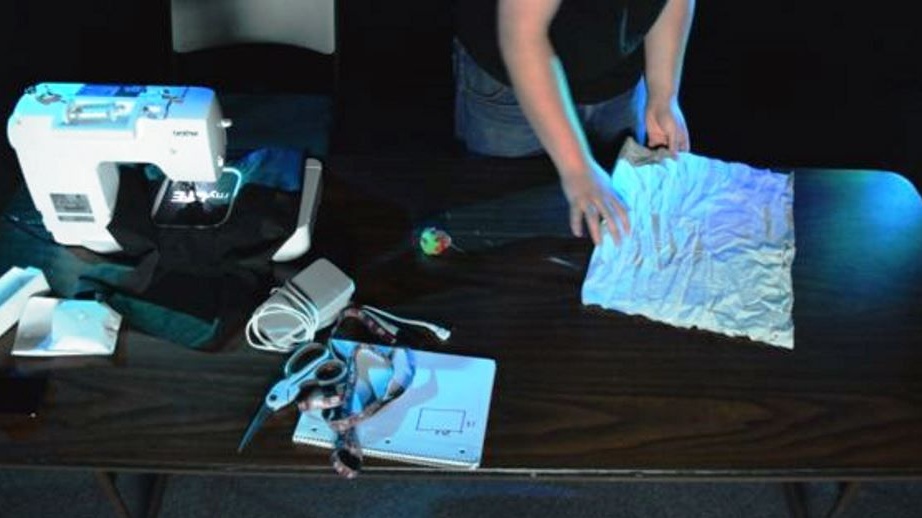
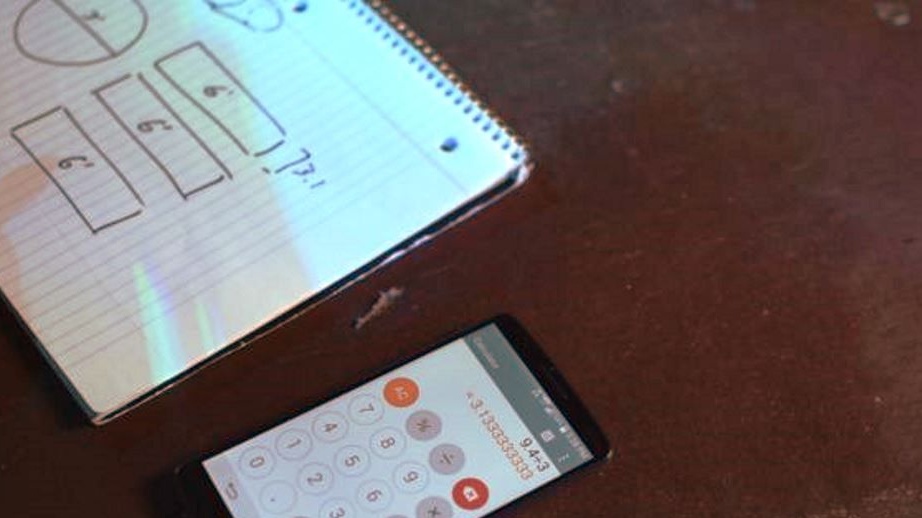
Step # 2: Measurements
The scope of work entirely depends on the final dimensions of furniture. Draw some diagrams on paper as shown in the photo. You will need 2 circles, each about a meter in diameter. The length of the bed will depend on your desire and the size of the room in which it will stand, as well as the width. When you go to bed, in the middle the bed will be distributed to the sides, becoming much wider than at the base.

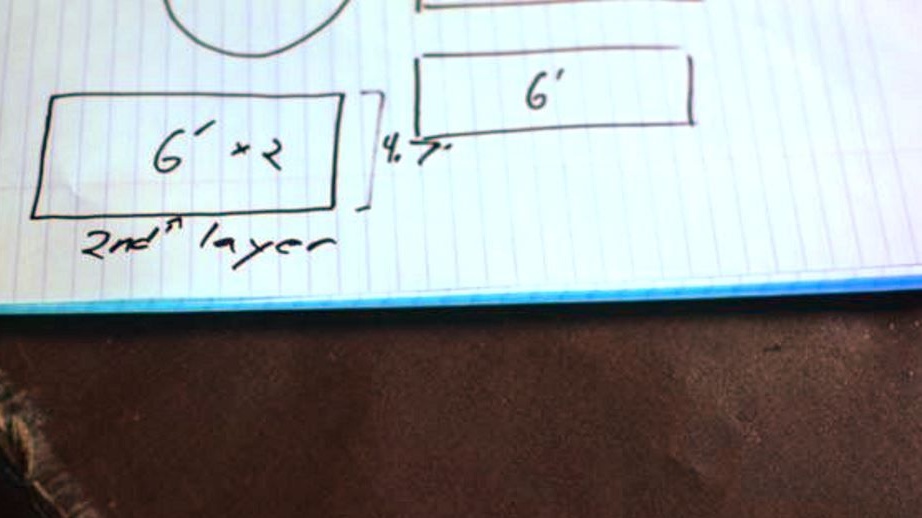
Step number 3: Transfer the drawing to the fabric
The inner frame, since it will be hidden from prying eyes, will be stitched from three rectangles. Exact calculations are not needed here, you simply bend and sew extra sections. In the event that the width of the fabric is not large enough, the cover can be sewn from four rectangles.
The outer cover, if the fabric allows it, can be sewn from two pieces, on the one hand, not stitching tightly, but by inserting Velcro. It will allow you to remove the top cover for cleaning or washing.
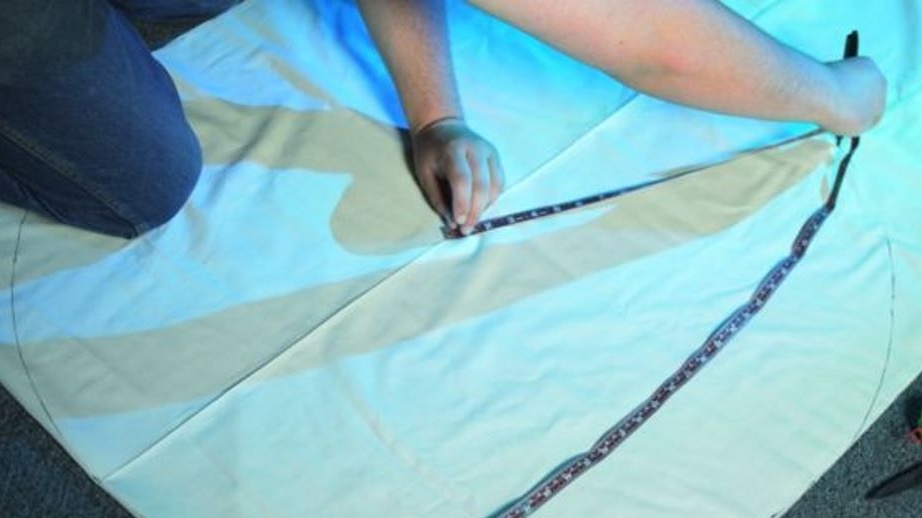
Step 4: Cut the fabric
Draw a circle on the fabric for the side. If you fold the fabric in two layers, then you can cut two identical circles at once. You also need to draw on the fabric and cut out the rectangles - as many as you need.

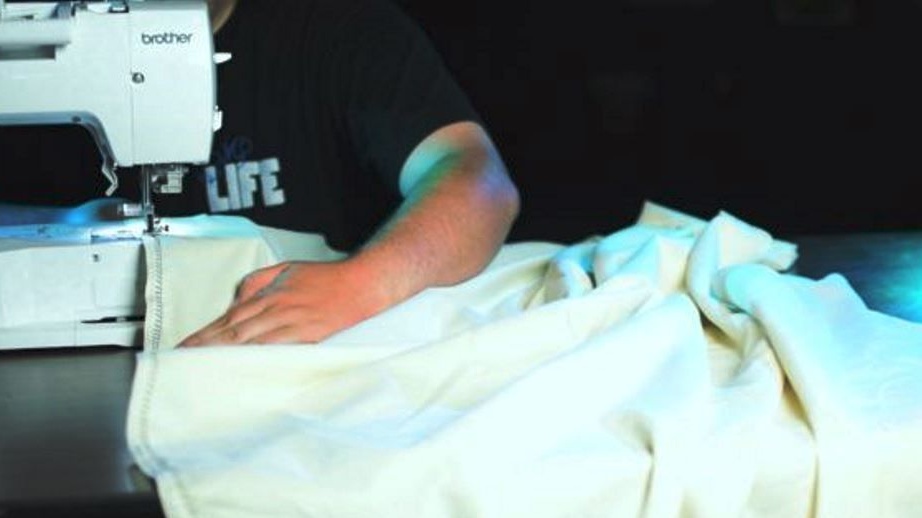
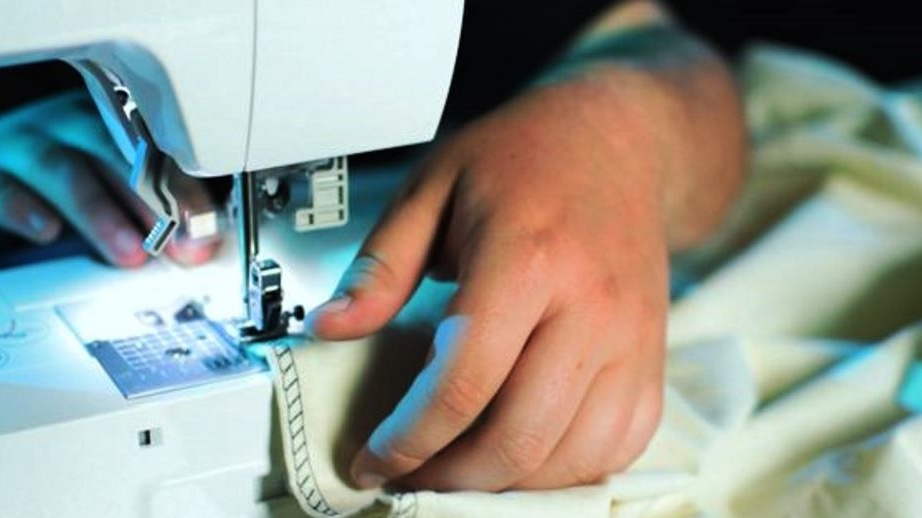
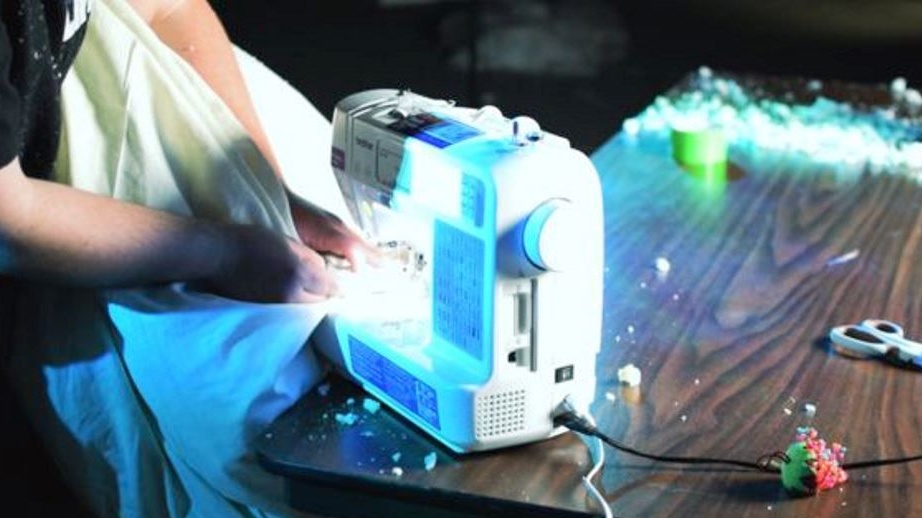
Step No. 5: Sew
Sew the rectangles along the long edges first. Thus, you get a long tube of fabric. It is better to make seams double, duplicating them at a distance of 0.5-1.0 cm from each other.You don’t want the bed to tear under your weight, providing you with a foam ball fountain?
Sew in the side circles, leaving a small incision on one side - filler will pour through it.

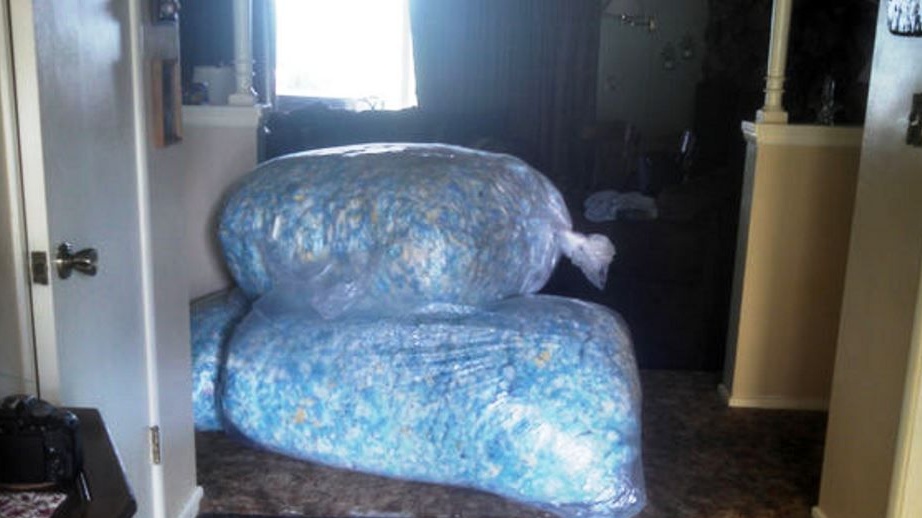
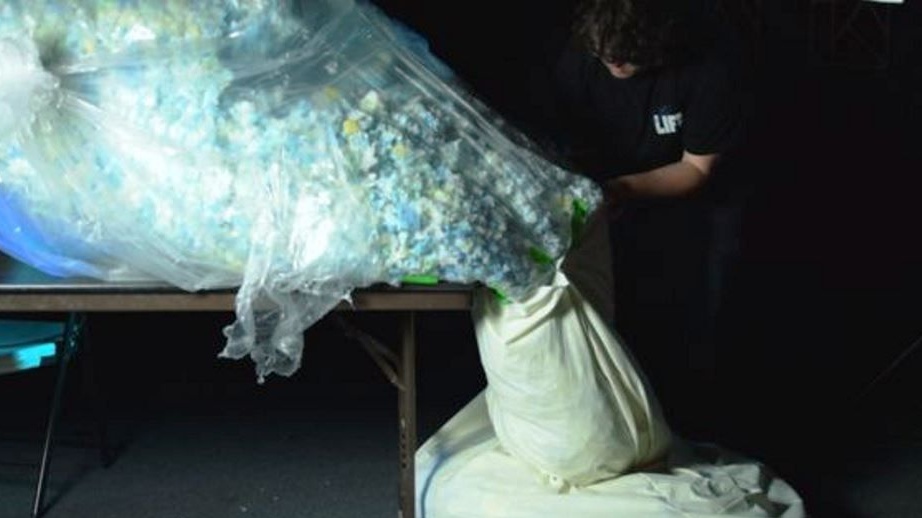
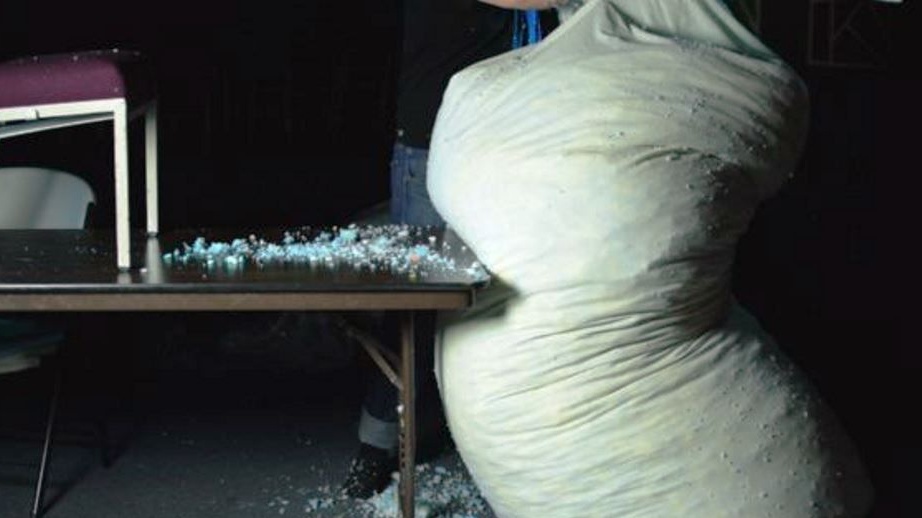
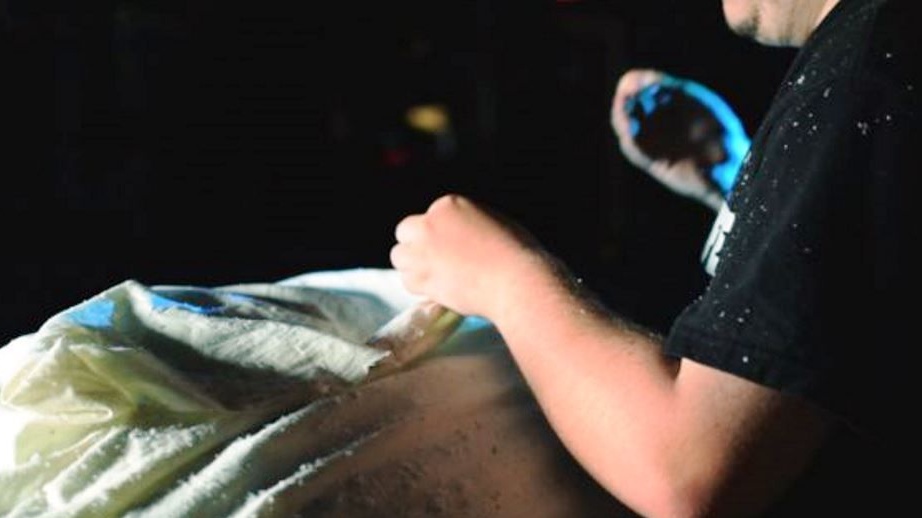
Step 6: Filler
When filling the bag with filler, shake it so that the process goes evenly. It is not necessary to stuff the fabric all the way, filled should have 80-90% of the total volume so that the bed can change shape.
To arrange as little mess as possible, fasten the bag with the filler at the neck of the fabric cover using tape.
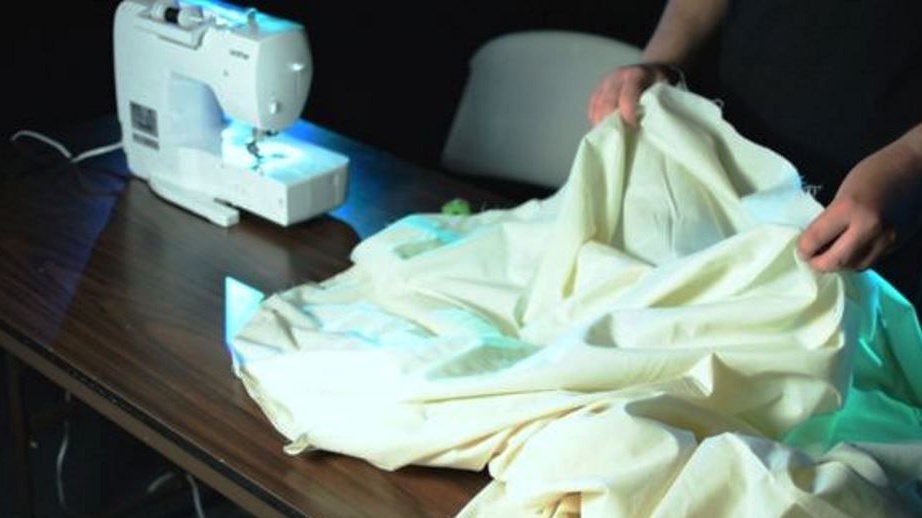
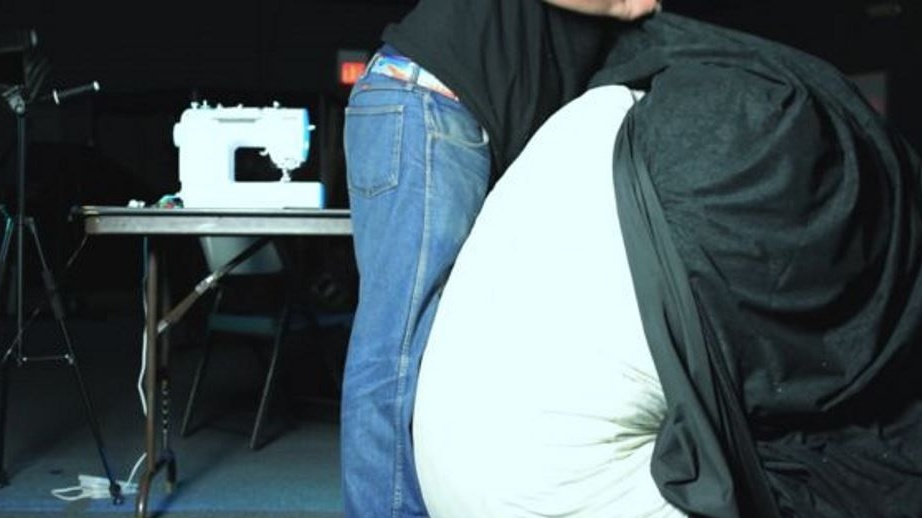
Step # 7: External Case
Place the inner filled case in the outer one, and stitch the remaining loose sides. Without certain skills on the sewing machine, this will not be easy. Try not to tighten the fabric, spreading evenly over the entire length.
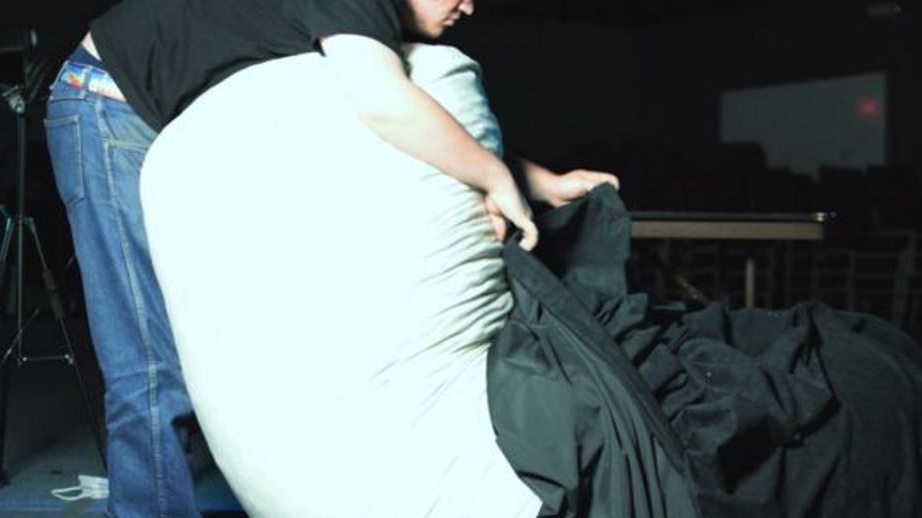
Step 8: Beauty and Practicality
After the work done, you need to put inside the "stuffing"


Pluses of an external cover:
- beautifully
- conveniently
- practical
Only one minus: it’s difficult to sew it so that it looks good and does not risk bursting from inept work.
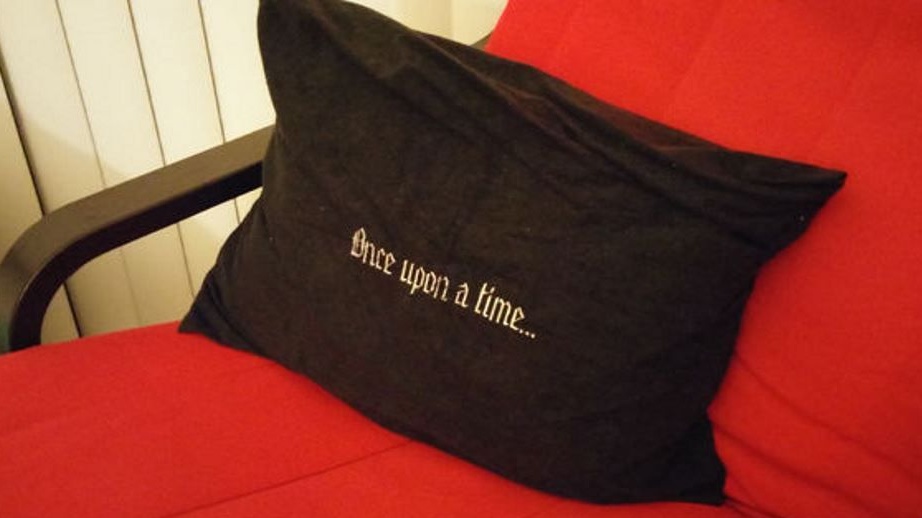
Step 9: Bonus
If you still have the fabric after the outer cover was sewn, then you can sew small comfortable pillows from it that will perfectly harmonize with the new bed.