Hello to all lovers of craftsmanship, I propose to consider a miniature circular saw. The author cuts a tree with it, as well as textolite, setting a diamond-coated disk. Everything works from, which can be powered with a voltage of 12-24V. The big advantage of the machine can be considered that there is a speed regulator. Housing homemade the author made plywood and in general the project is not complicated, so if the homemade product interested you, I suggest that you familiarize yourself with it in more detail!
Materials and tools used by the author:
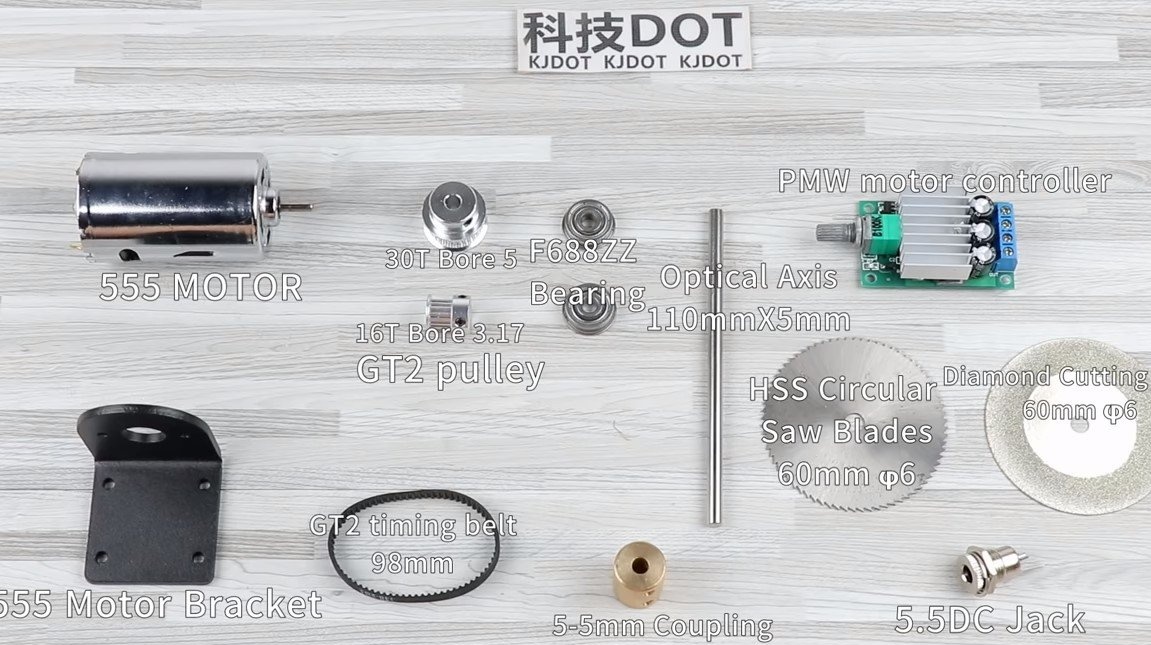
Material List:
- ;
- a dimmer for adjusting the speed;
- socket for connecting the power supply;
- axis and bearings;
- ;
- an arm for the motor 555;
- brass sleeve (5 mm);
- ;
- plywood;
- screws;
- paint.
Tool List:
- a hacksaw;
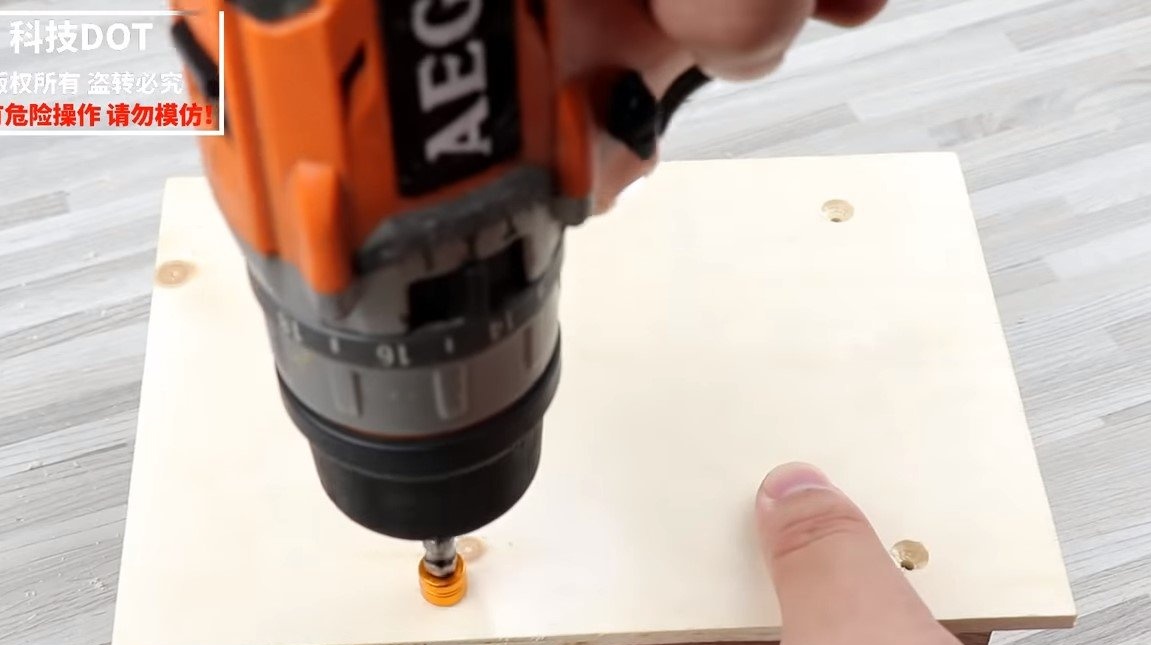
- drill;
- screwdriver;
- soldering iron;
- jigsaw;
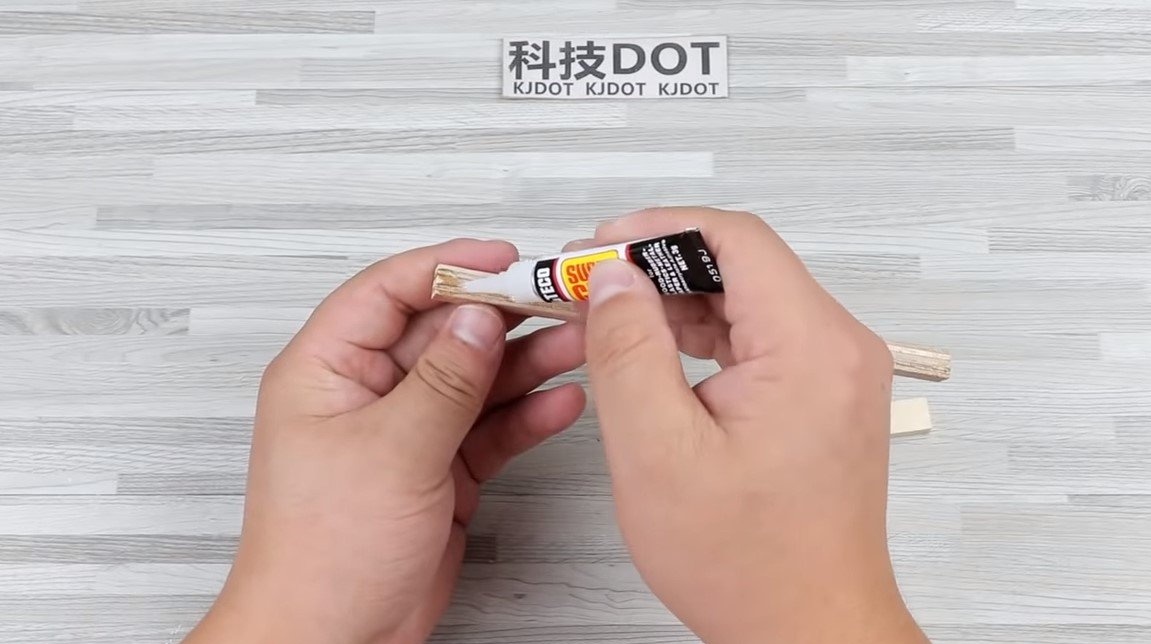
- Super glue;
- ruler;
- marker.
Homemade manufacturing process:
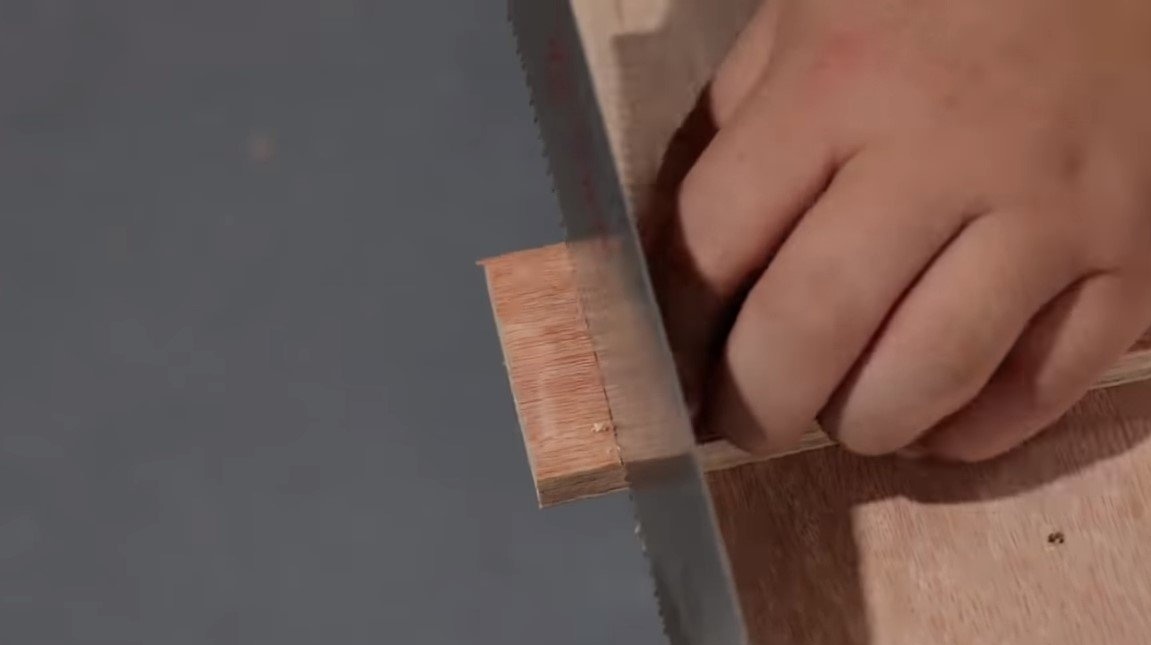
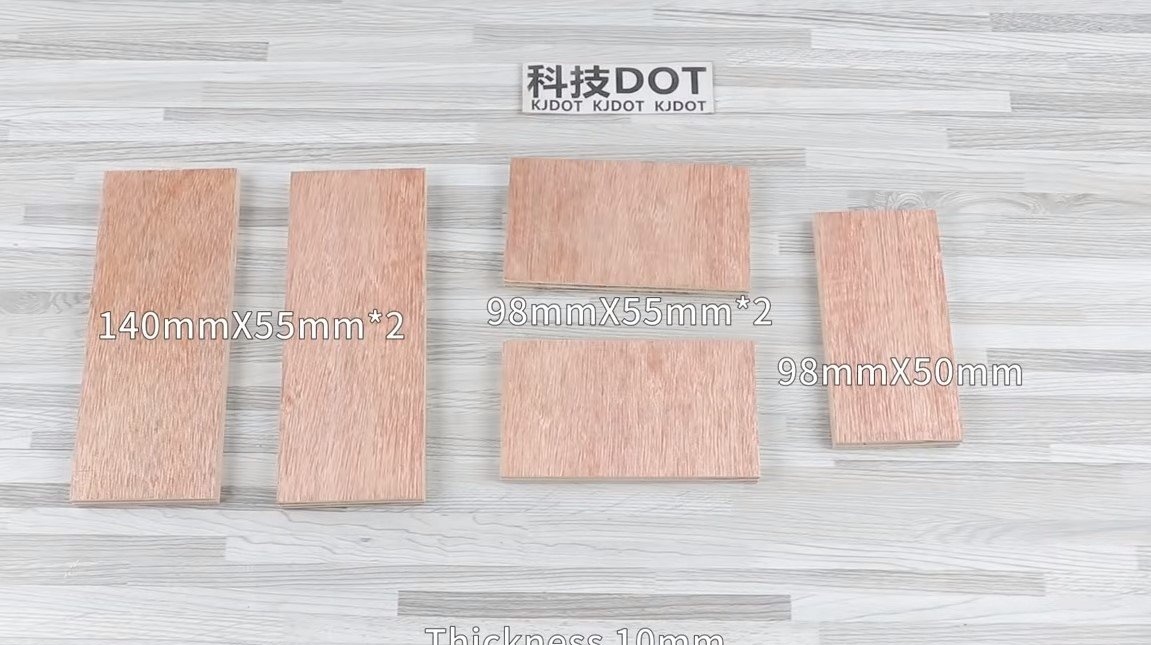
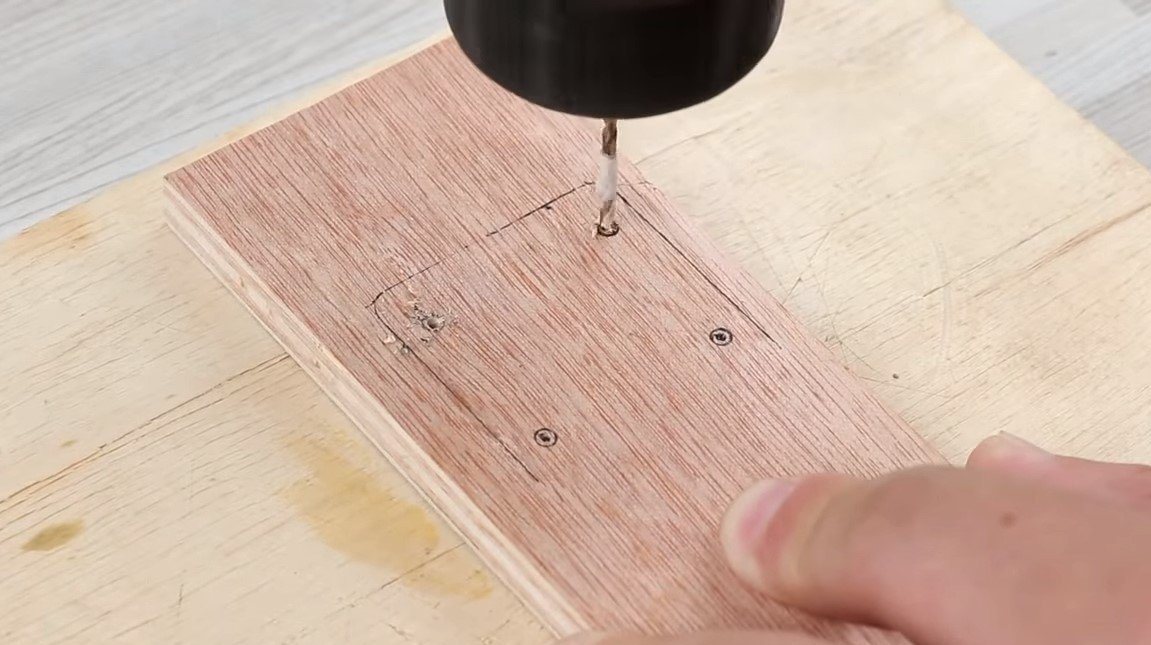
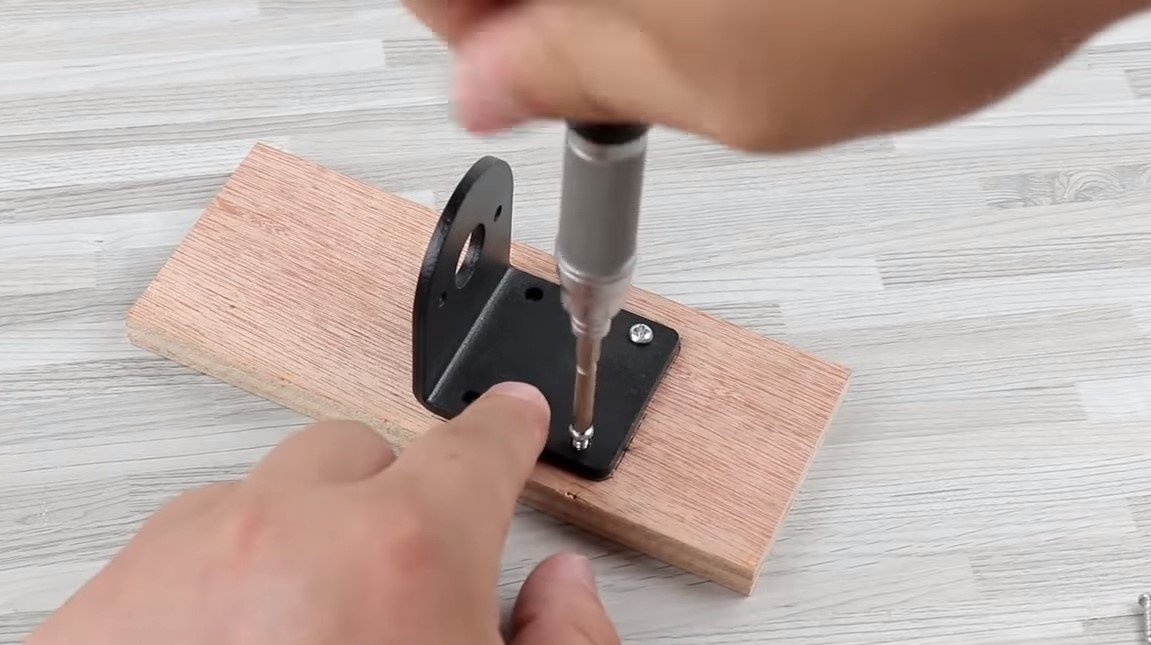
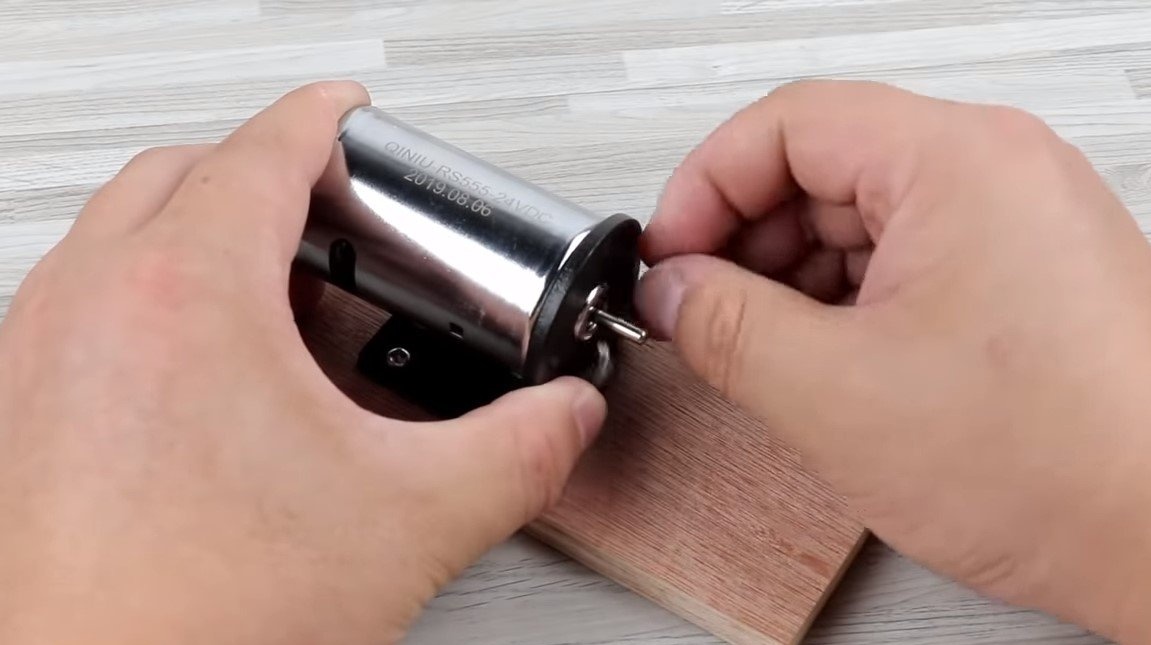
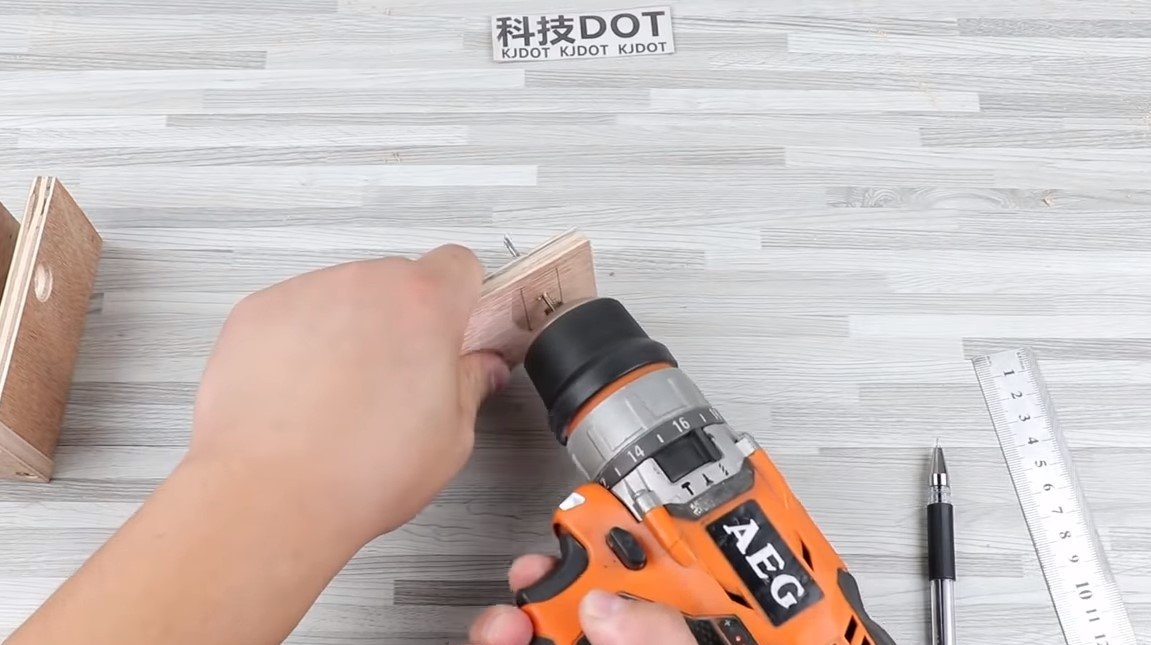
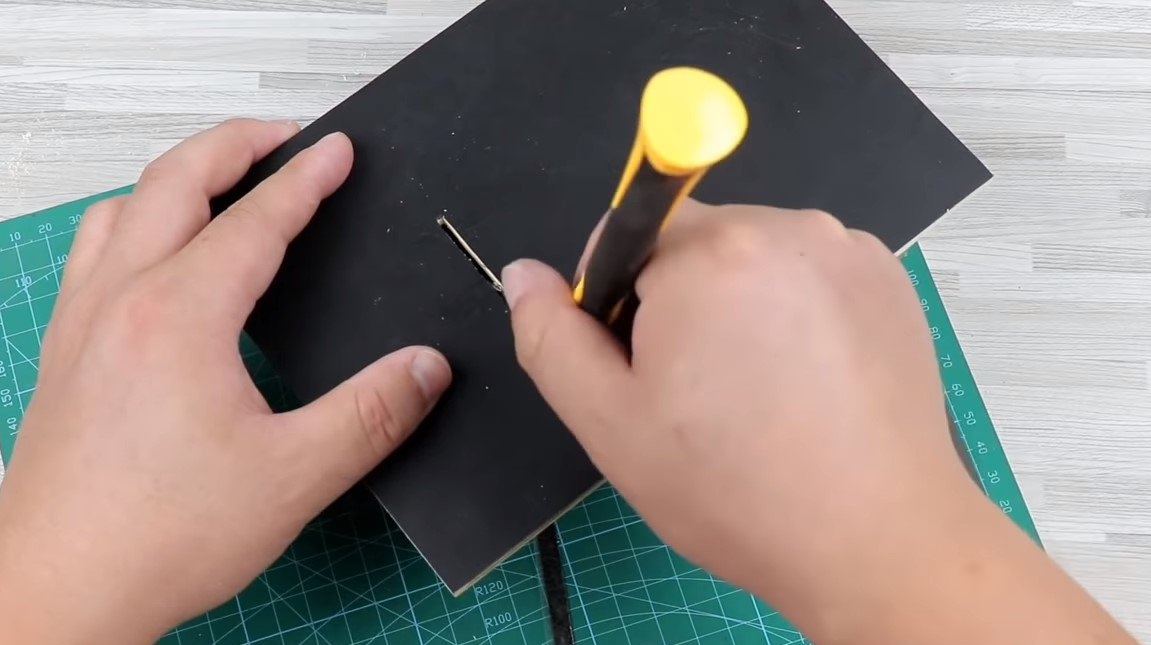
Step one. We cut the materials and install the motor
The author used plywood as a material for the bed. We simply mark everything and cut the details with a hacksaw or whoever has what, all sizes in the photo. We install a motor on one of the parts; to fix the engine, the author used ready-made purchased hardware.
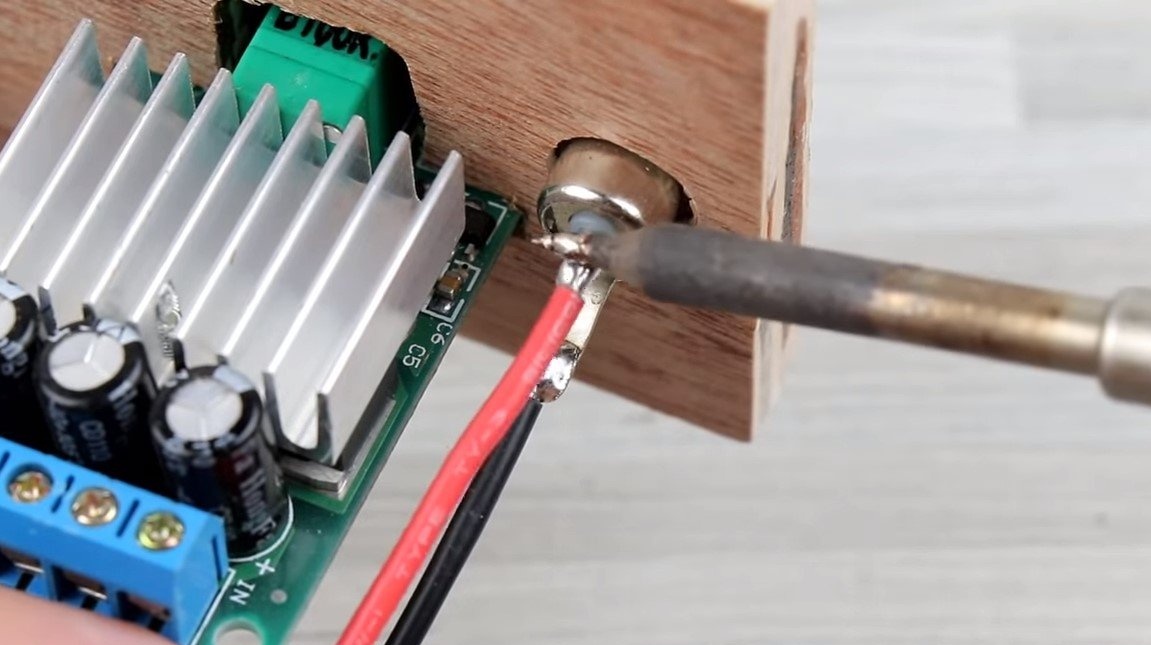
Step Two Electrician
In one of the walls of the case we install a dimmer, as well as a socket for connecting a power supply or battery. Solder the wires and connect the whole thing to the motor.


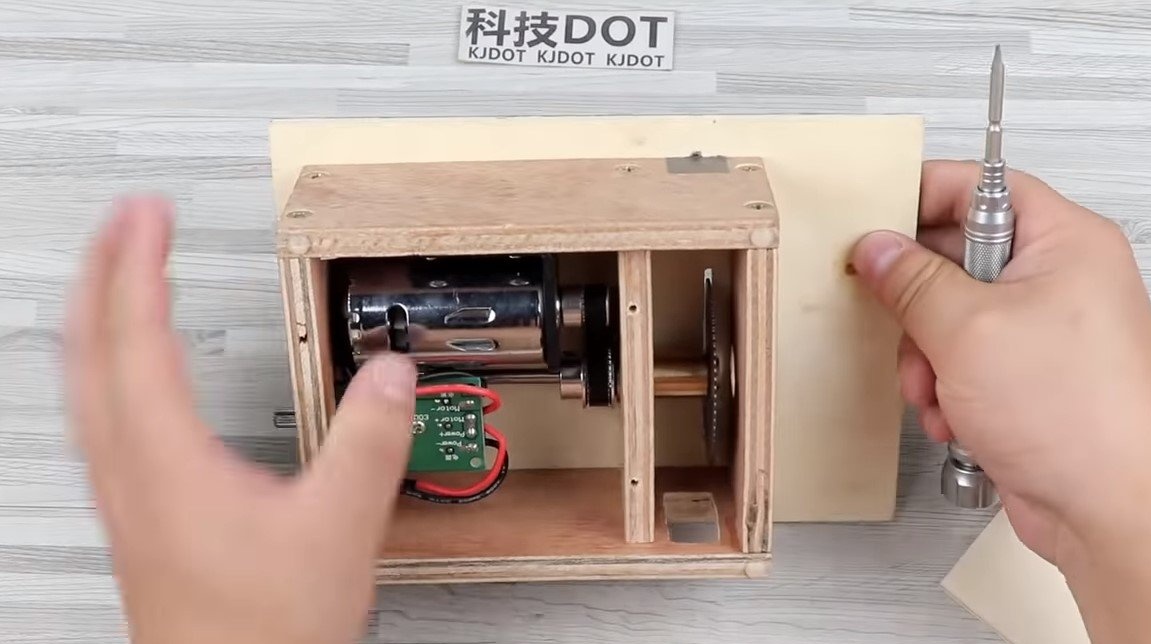
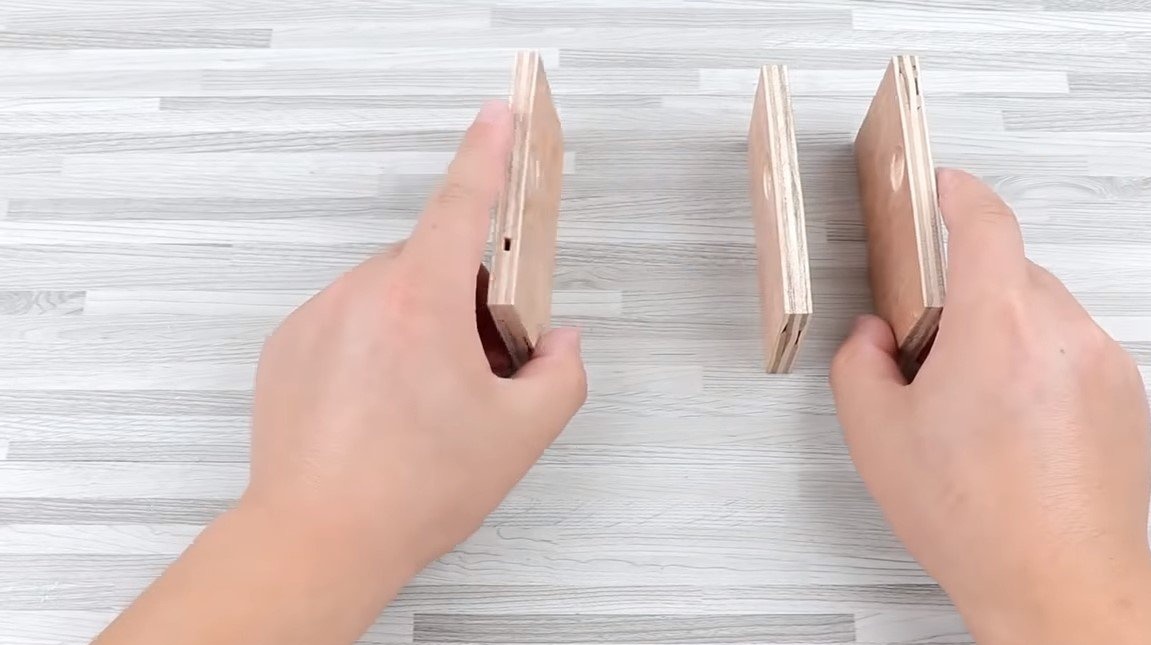
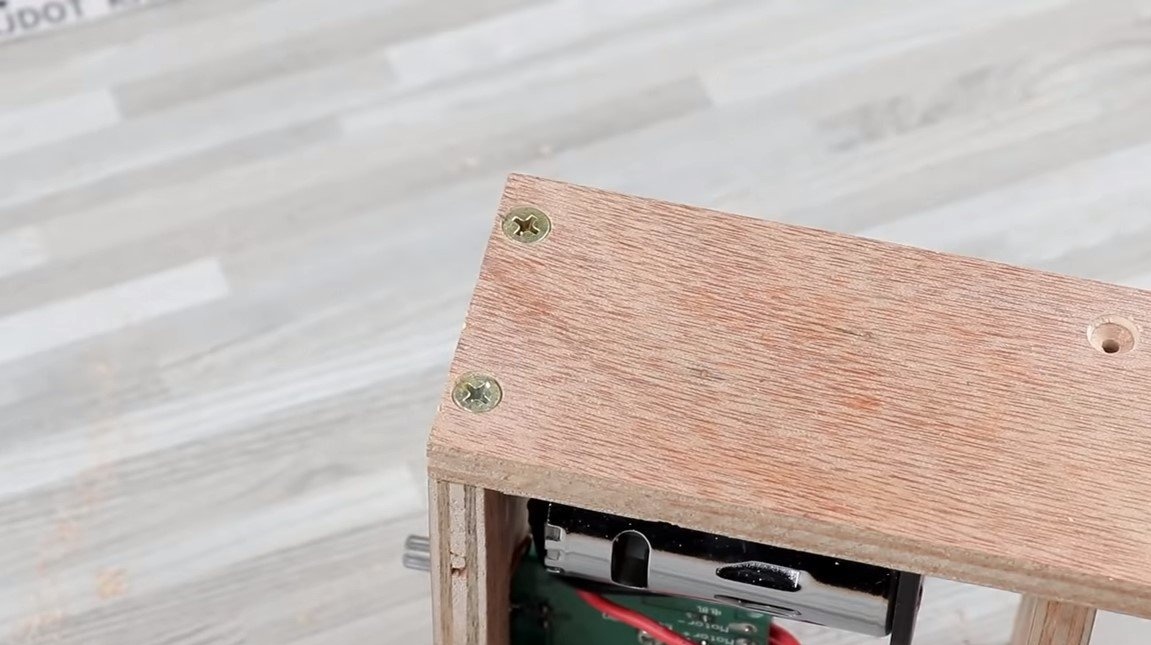
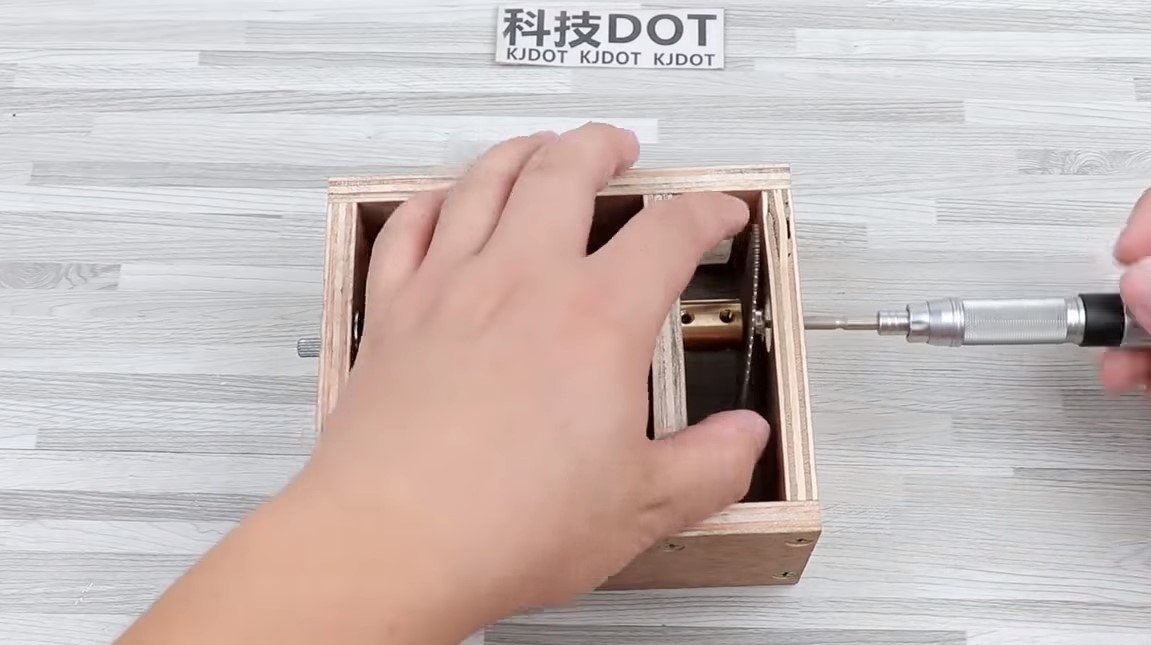
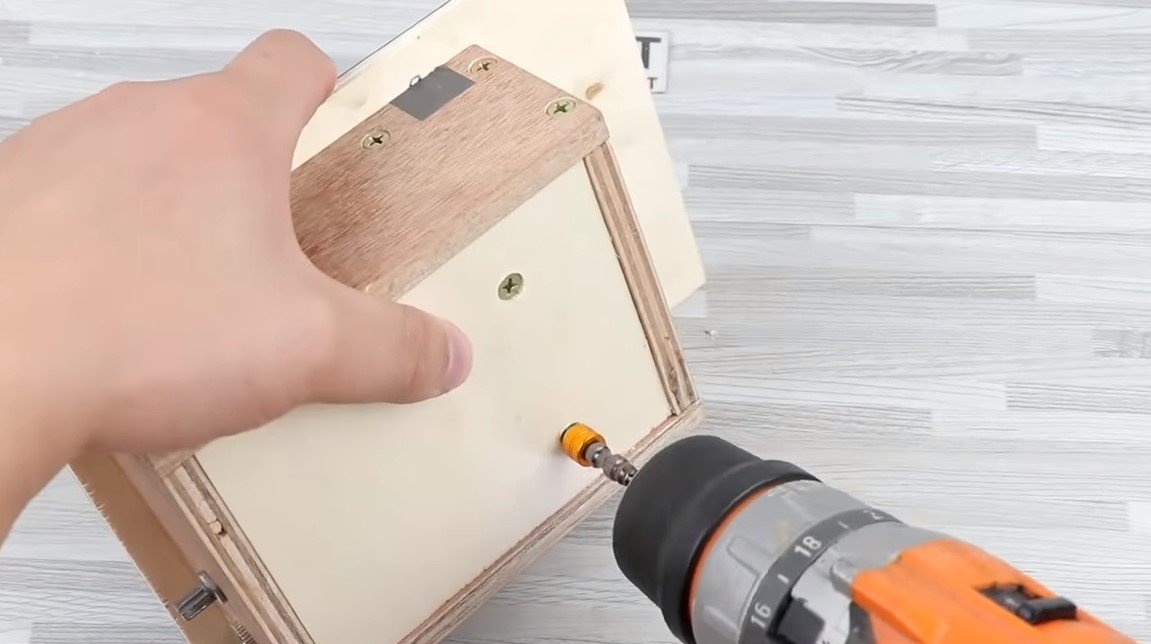
Step Three Body assembly
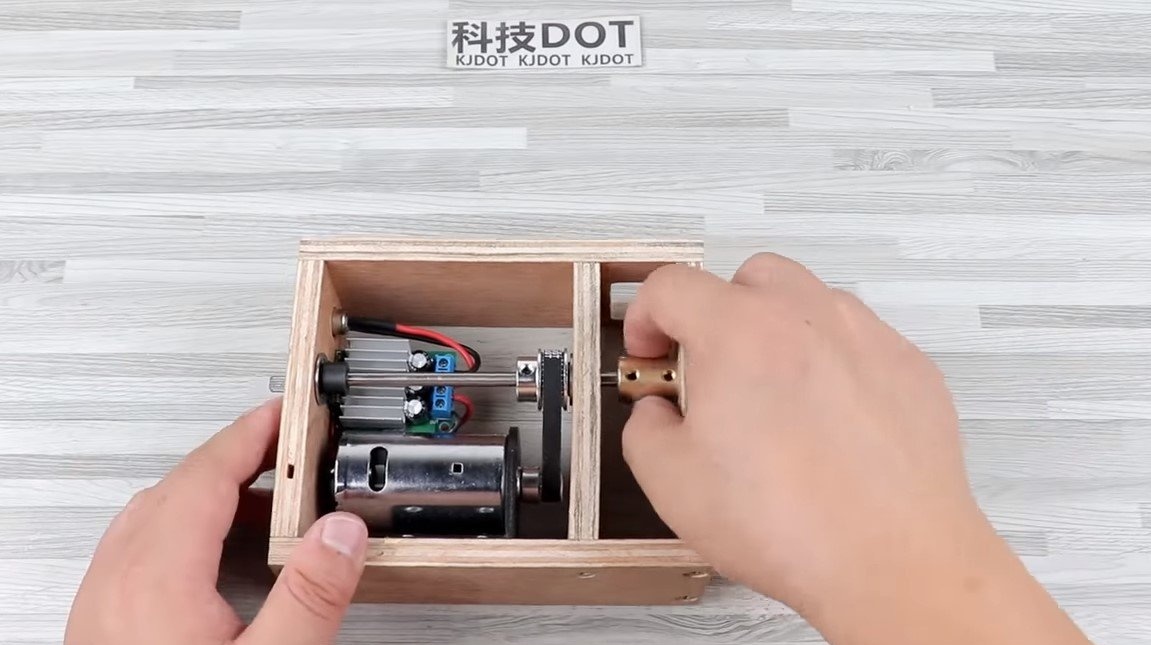
We assemble the case from the finished parts, which we already cut earlier from plywood. The drive to the main axis with the cutting disc is through a reduction belt drive, which will slightly increase the torque and lose speed, which are already large. The axis rotates on purchased bearings, and to prevent the axis from flying out, a special emphasis is placed on it.
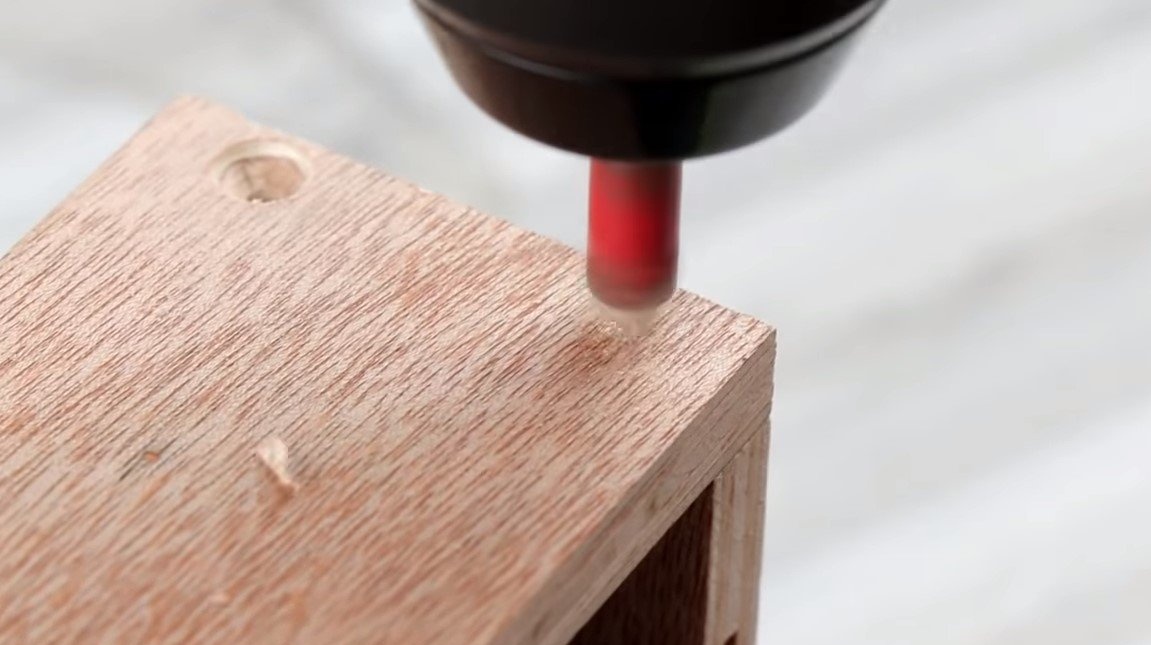
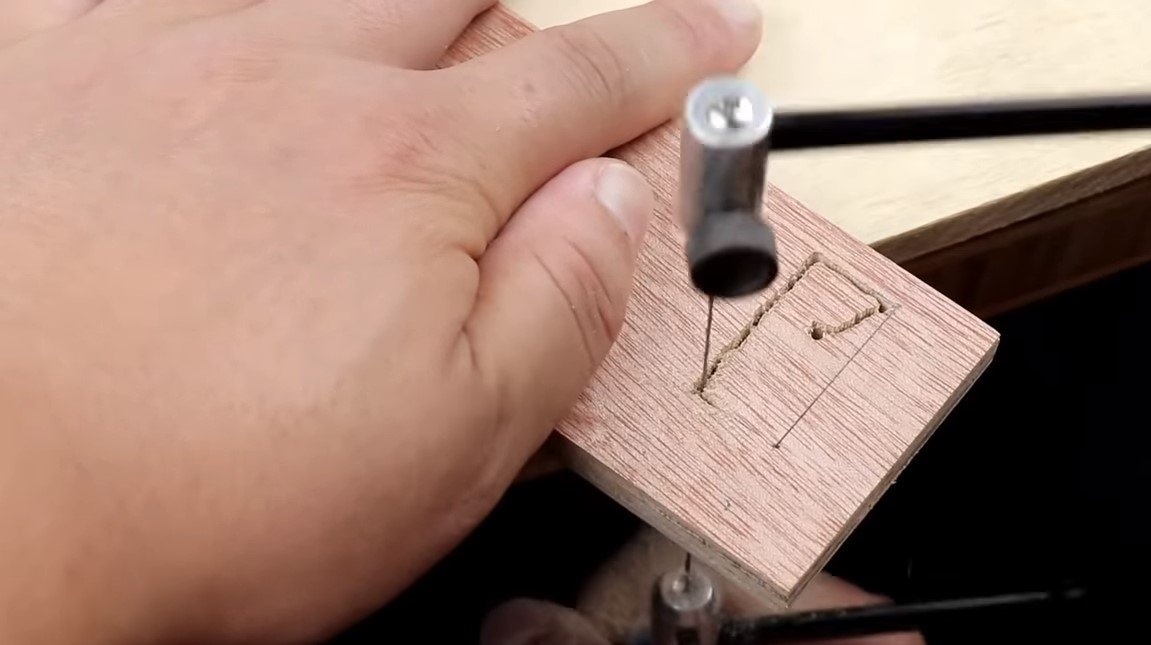
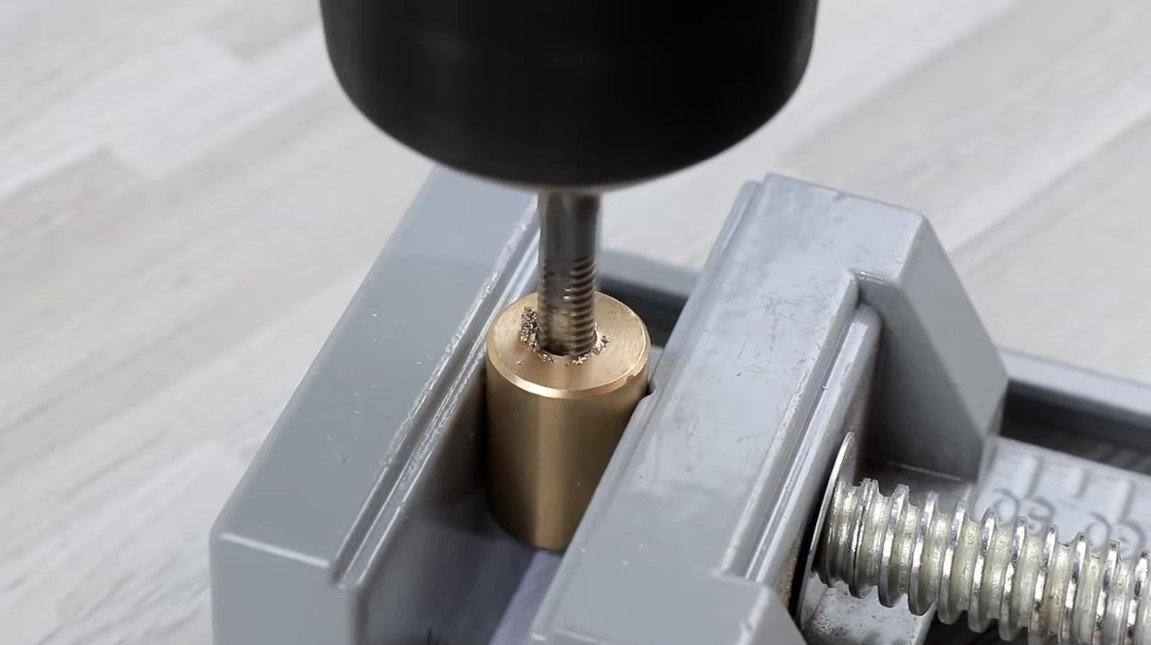
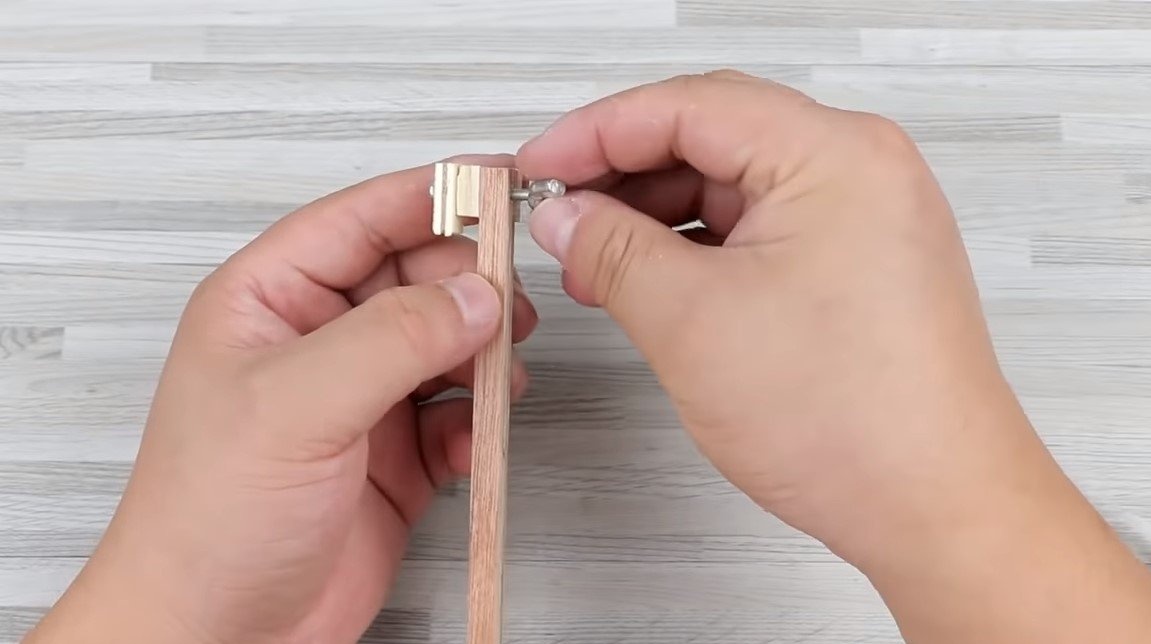
We put a brass coupling on the axis, in it the author drilled a hole and cut a thread under the screw. Well, then to the clutch, you can mount the disc with a screw and washer. The housing has a corresponding hole for a screwdriver.
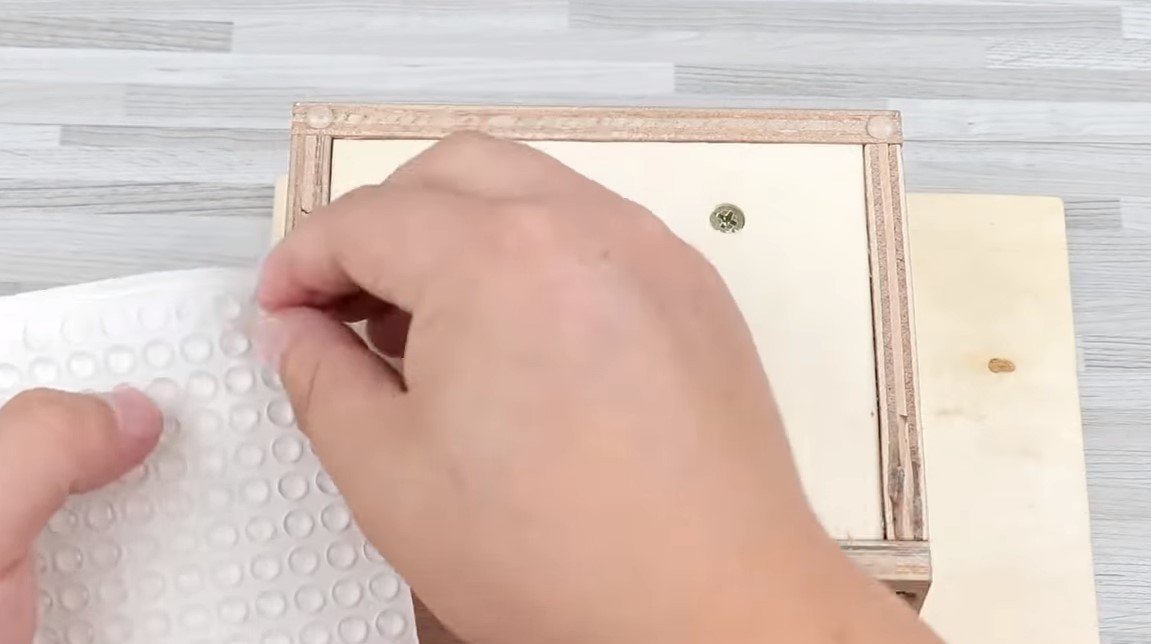
Step Four Final touches and tests
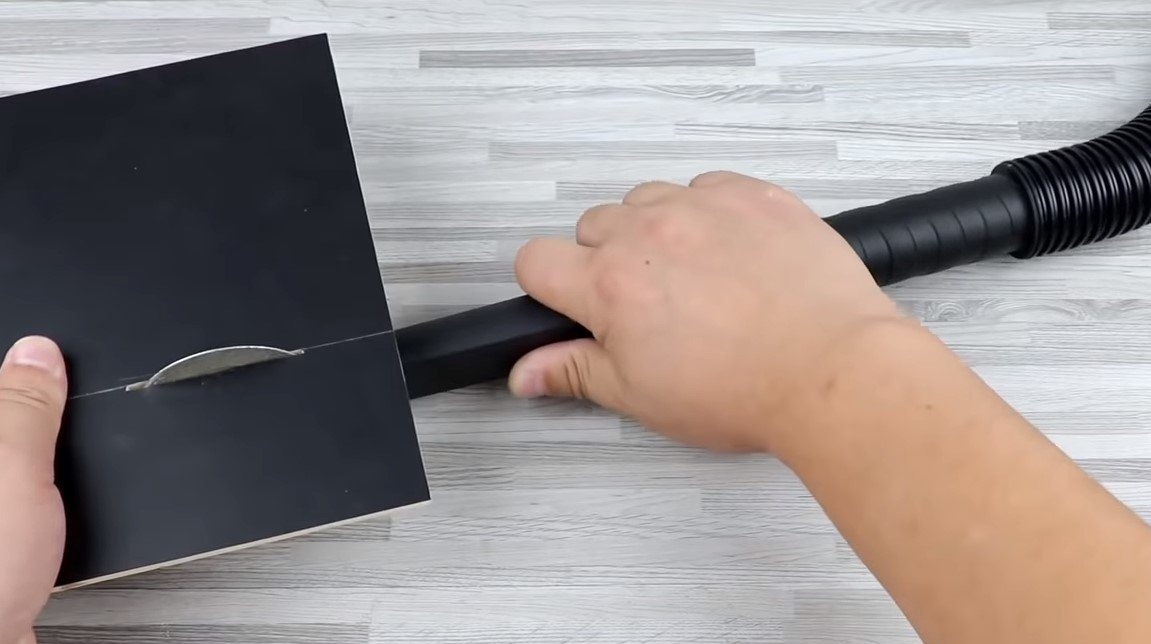
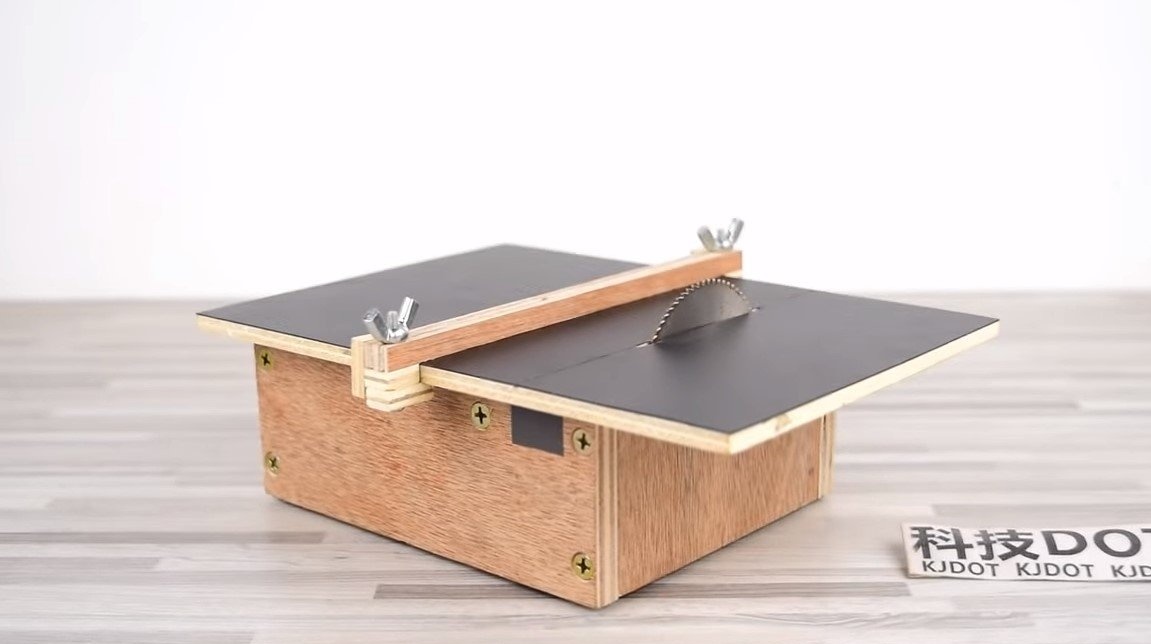
We glue the tabletop with adhesive film or other material so as not to paint anything. Fine galvanizing can also be used. Be sure to glue the silicone legs to the base, which will prevent the machine from sliding.
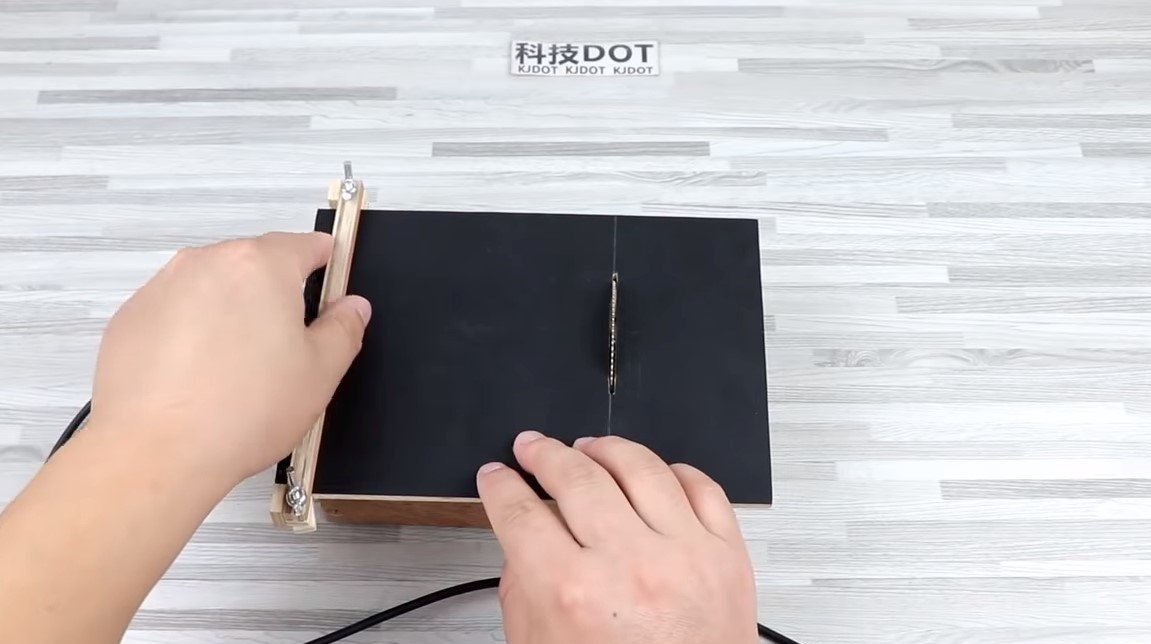
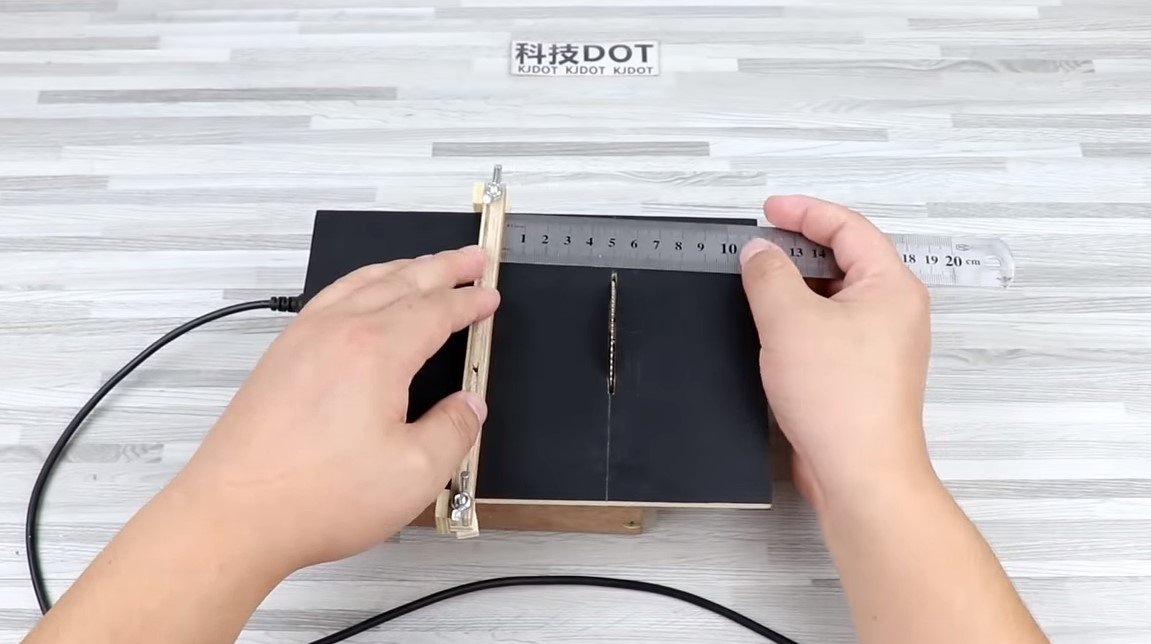
We make plywood and an adjustable emphasis for cutting.

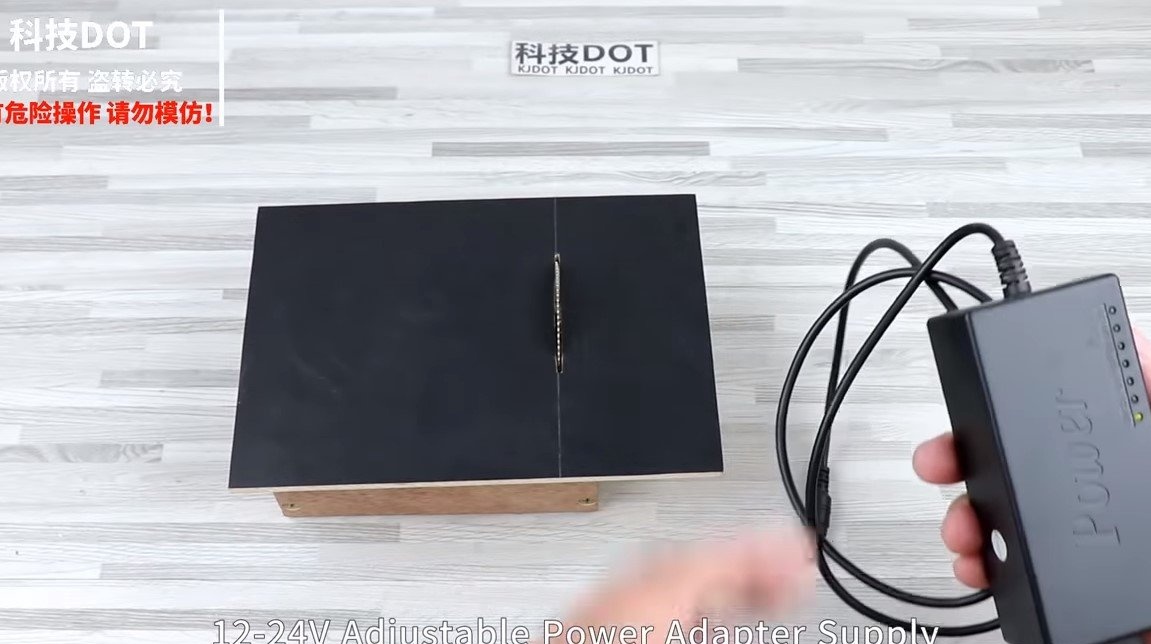
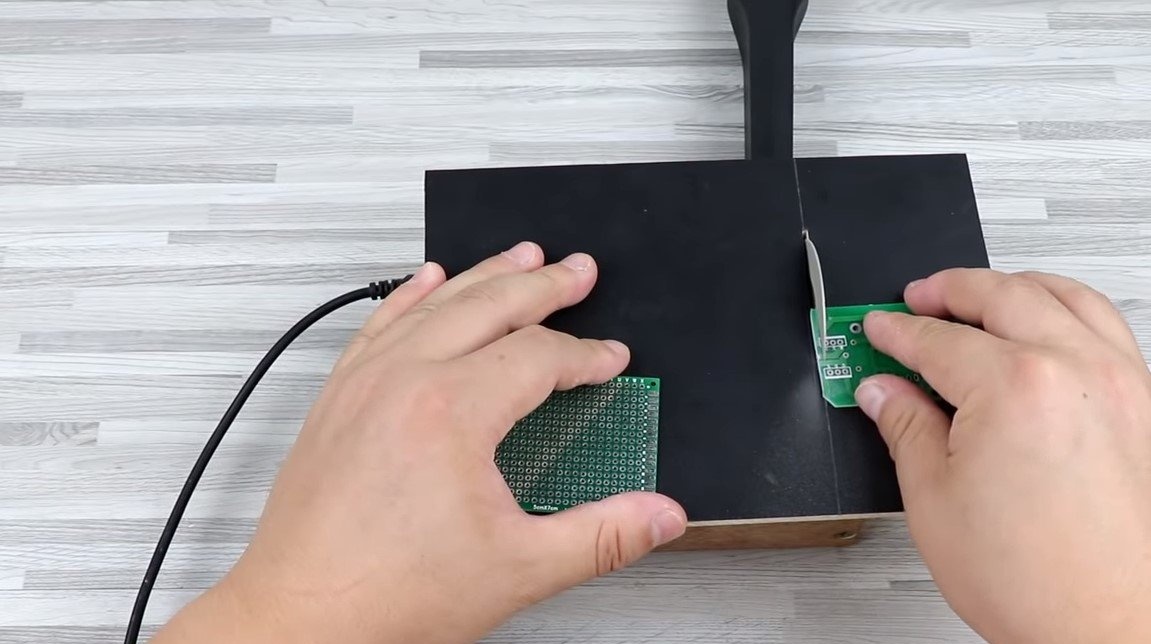
That's all, now the machine is ready, we connect a 12-24V power supply, power the motor at a risk voltage of more than 24V, it can burn, however, you can limit it by current or not give high revs with a dimmer. The machine works perfectly, wood cuts without problems. The author also puts diamond-coated wheels and cuts textolite.
The project is completed on this, I hope you liked the homemade work, and you found useful thoughts. Good luck and creative inspiration, if you decide to repeat this. Do not forget to share your ideas and homemade things with us!