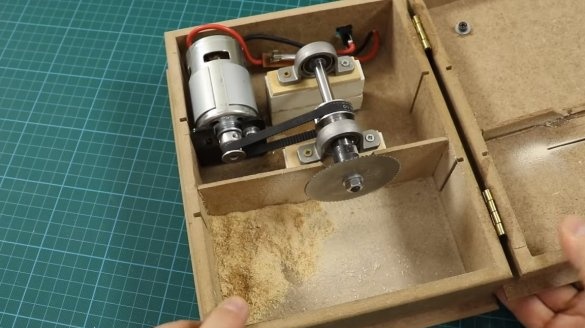
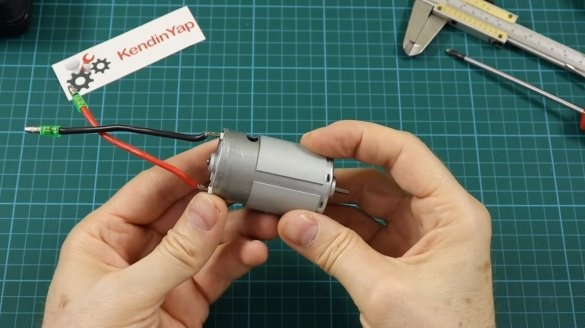
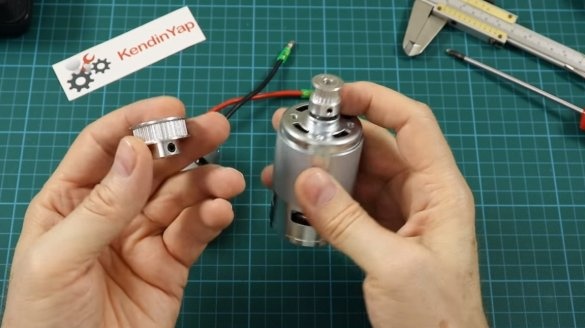
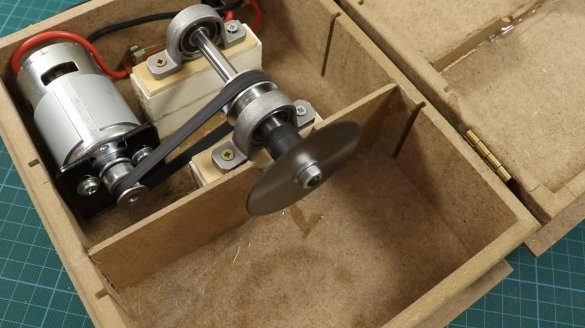
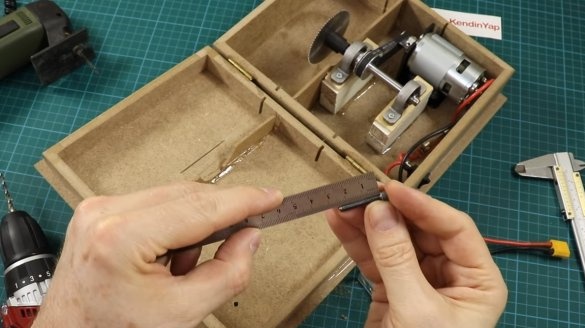
I welcome all fans to craft, today we will consider how to make a miniature circular saw. Homemade based on a 775 engine that works through a reduction belt drive. As a result of increased torque, the machine easily cuts fiberboard, thin plywood, boards and so on. If desired, you can put a disk for metal or a disk with diamond chips, which will allow you to cut textolite and thin sheet metal.
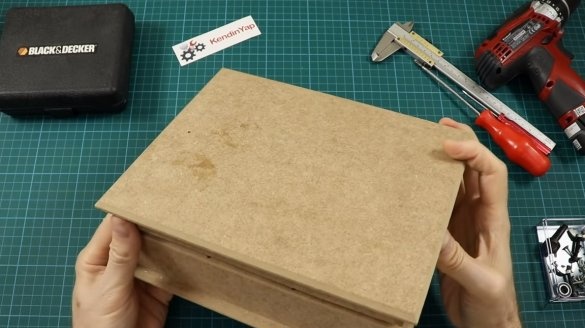
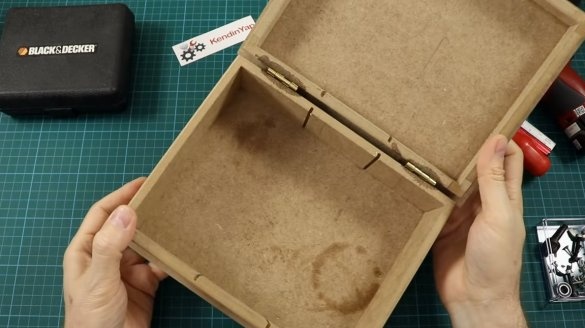
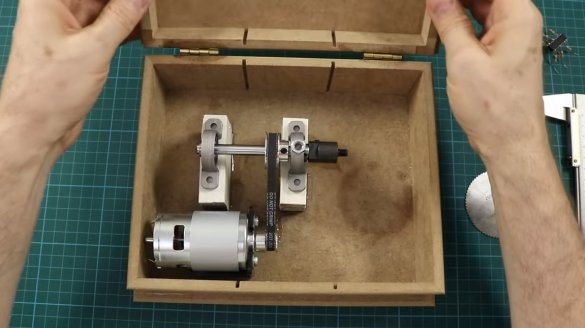
The author made the case from fiberboard, the construction is convenient in that the top cover of the “box” rises and we have access to all the nodes of the machine. In addition, shavings accumulate inside the housing in a separate compartment, which can be easily emptied and used for your needs. Of course, it would be nice to equip the machine with a speed regulator. If the project interests you, I propose to study it in more detail!
Materials and tools used by the author:
Material List:
- fiberboard;
- whetstones for a bed;
- door hinges;
- ;
- ;
- ;
- steel axis and bearings in housings;
- mounting bracket for the motor 775;
- switch;
- fuse of suitable rating;
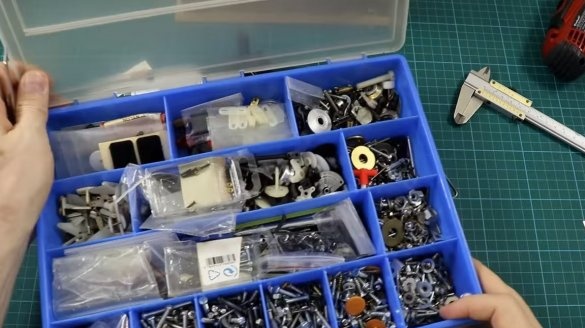
- screws and nuts "wing";
- flange for installing saw blades.
Tool List:
- electric jigsaw;
- screwdriver;
- glue gun;
- roulette;
- Super glue;
- epoxy adhesive.
Homemade manufacturing process:
Step one. Casket
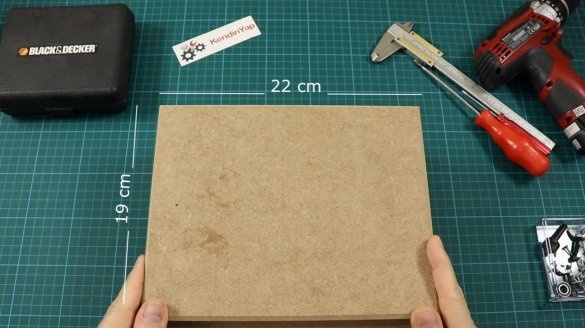
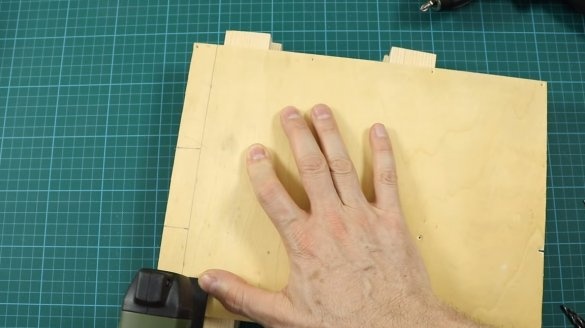
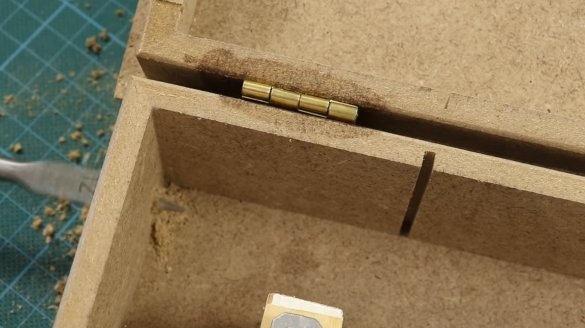
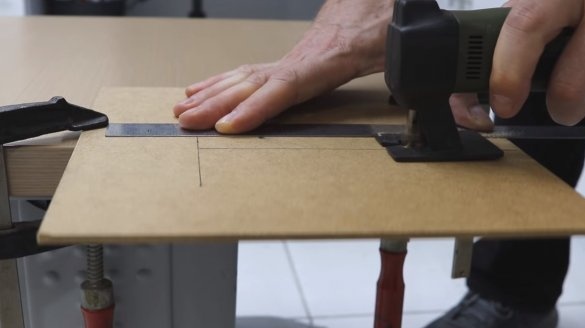
First of all, we make a box, that is, a box with a lid on the hinges. This will be the body of our car, inside the body will be placed all the nodes of the machine. If you wish, you can make the case larger and place the battery inside. The body can be simply glued, and fiberboard is suitable as a material, such material is well glued with superglue. If desired, everything can be assembled from plywood or even boards.
Step Two Setting the filling
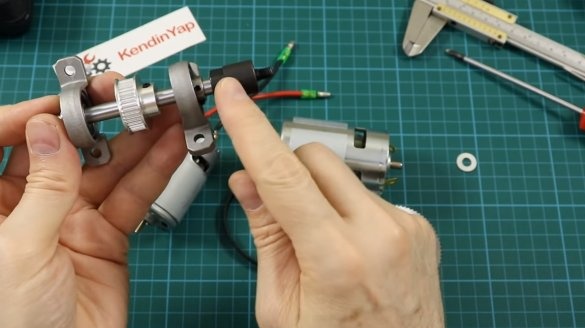
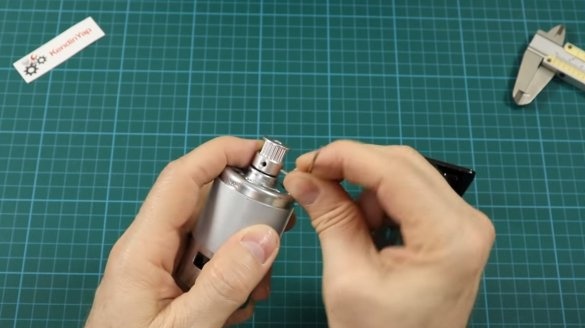
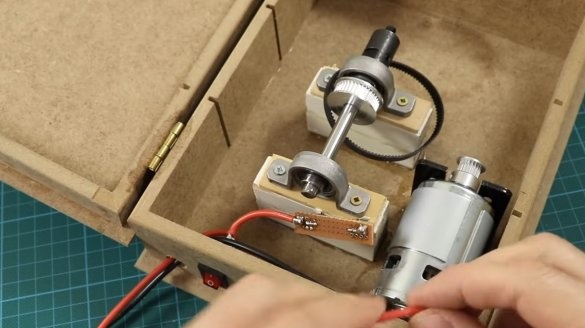
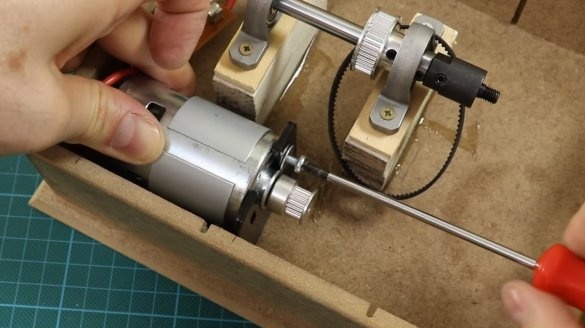
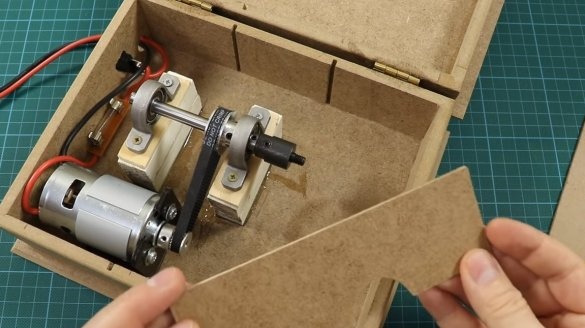
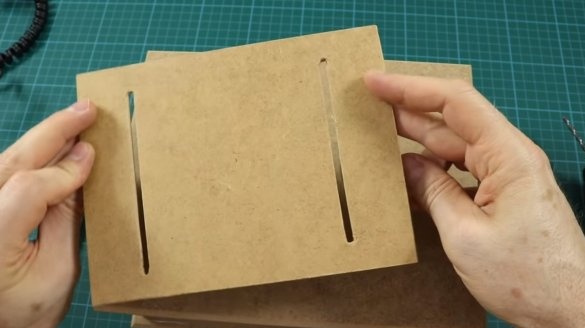
Inside the housing we place the filling, this is the engine, as well as the main axis. The author mounts the engine using a purchased bracket, the holes in it are made oval, which allows you to tighten the belt.
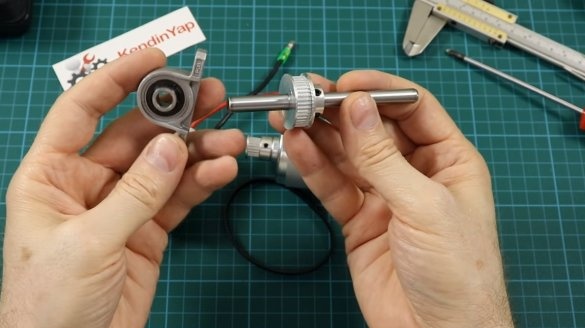
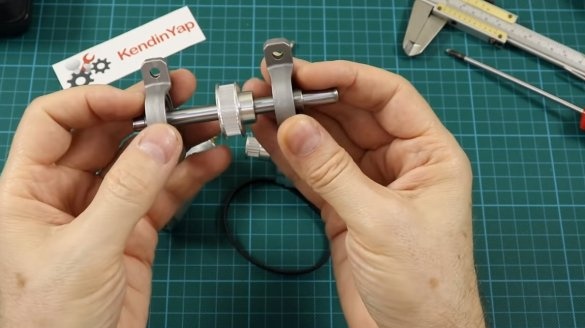
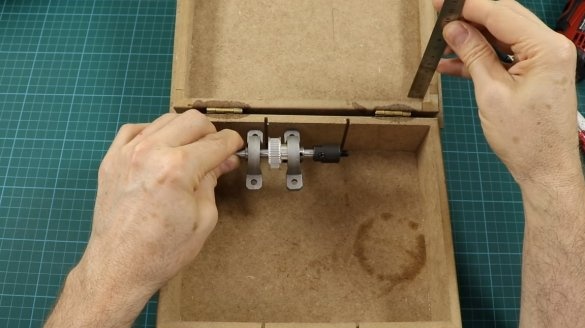
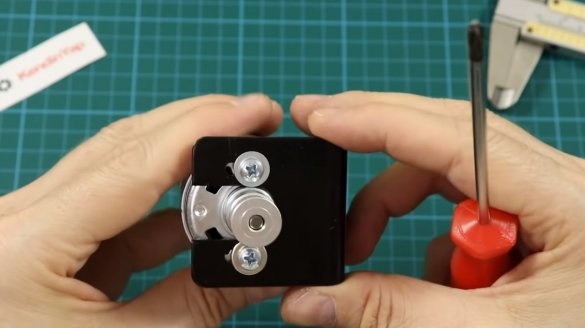
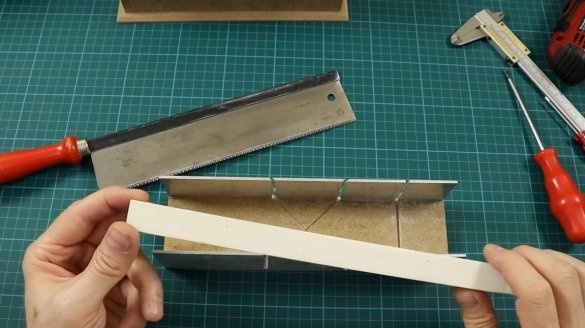
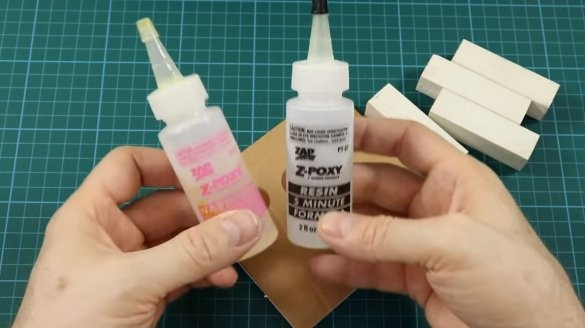
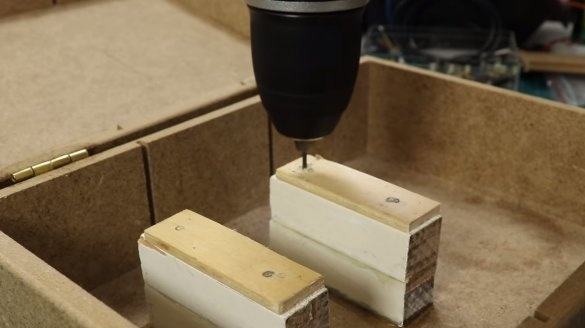
Next, we need to make bearings for bearings, you can use bars or pieces of boards. We cut out the details, grind it and glue it to the base with epoxy glue. Of course, to keep everything as reliable as possible, it would be nice to drive the screws on the other hand. We already mount the bearings on the supports and put the axis. At the end of the axis we put a flange, on which we will fasten the cutting discs with screws.
Step Three Wires
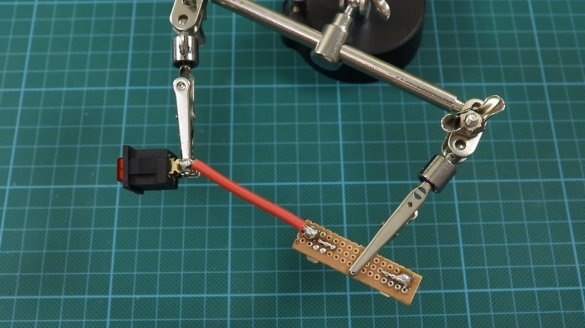
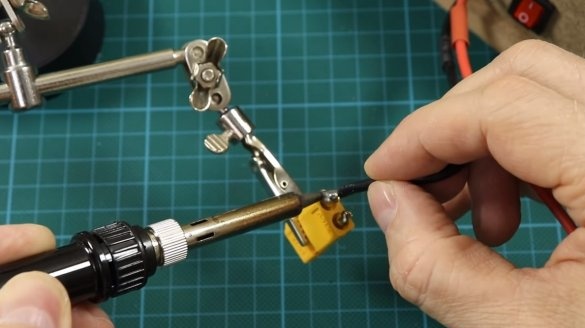
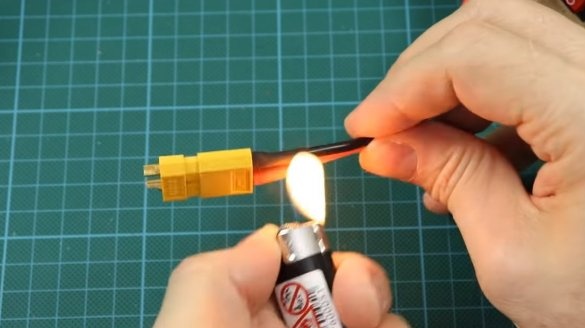
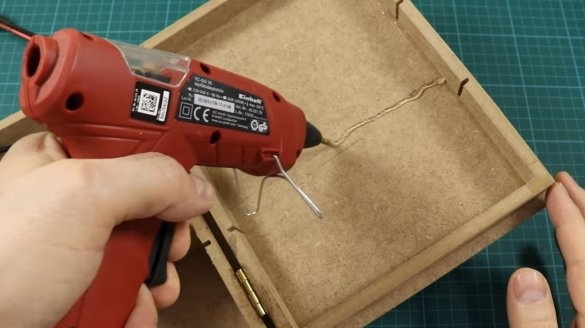
Solder the wires to the motor contacts, install the switch, as well as a fuse of a suitable rating. The fuse of the correct rating will blow out in the event of a motor jamming, which will save it from burnout. If desired, we put a socket for connecting the power supply or simply bring the wires out, fixing them well in the case with hot glue or a bracket.
Step Four Partitions and emphasis
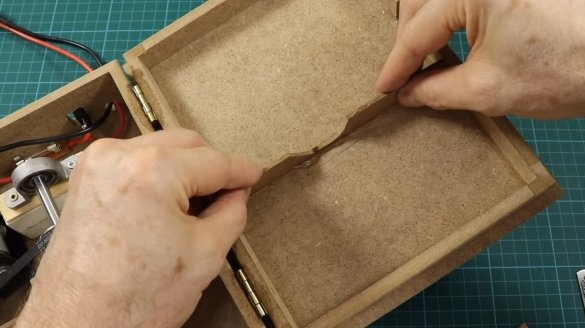
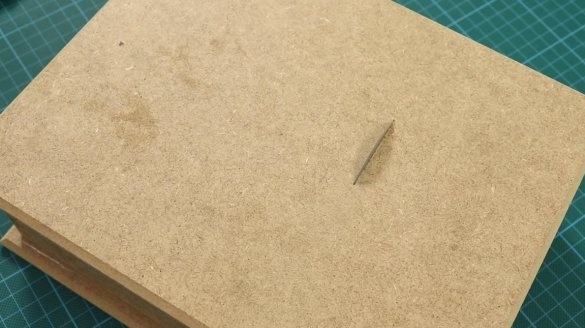
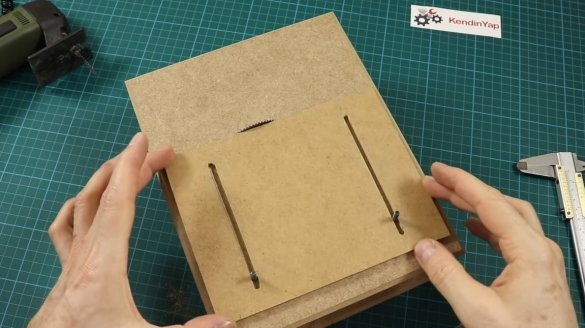
We install inside the body of the partition from the fiberboard, one is placed inside the case, and the other in the lid. Thanks to the partitions, dust will not enter the mechanical assembly.
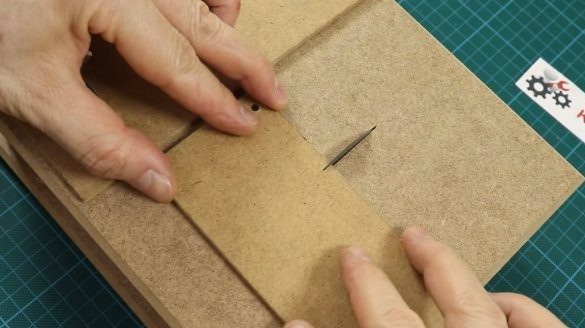
We also make an emphasis from the fiberboard sheet, it is fixed with screws and nuts. If desired, emphasis can be made, which will be adjusted in angle.
Step Five Test
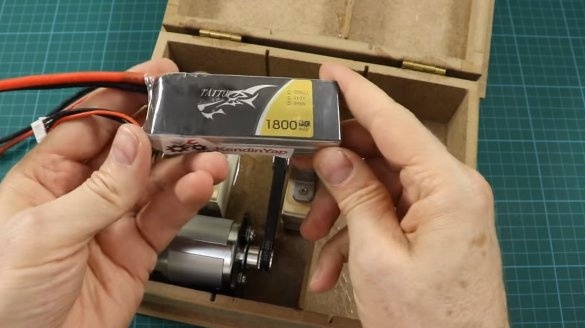
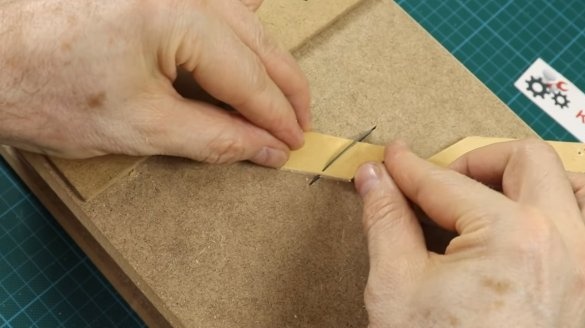
You can feed the machine from the battery, but the voltage should not be more than 24V. The 775 motor can even work from 7-9V, however, the speed and power will be low. As a demonstration, the author cuts boards and fiberboard, the machine easily copes with the task.
If you modify the tool a little, you can adjust the table for height, in the end you can adjust the depth of cut. The lifting mechanism can be easily assembled from a bolt and nuts.
As a refinement, it will not be superfluous to drill holes in the engine compartment for ventilation, but you can even put a fan from the PC. Of course, all this is necessary if you plan to squeeze out all the juices from the motor.
On this project can be considered successfully completed, I hope you liked the homemade work, and you found useful thoughts for yourself. Good luck and creative inspiration, if you decide to repeat this, do not forget to share your ideas and homemade things with us!

