
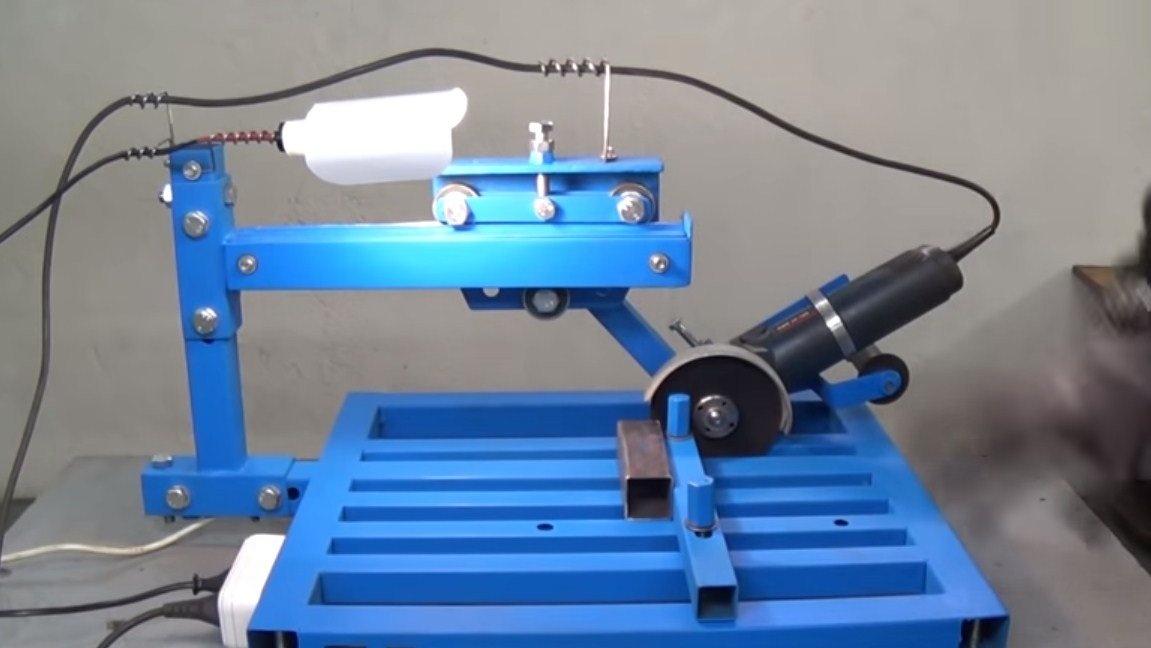
Hello to all fans who love to craft, in this instruction we will analyze how to make a rack for scrap metal with a broach from scrap metal. Of the purchased parts, the author here has only bearings, in general, the machine is made of profile pipes, a corner and sheet metal. All components are adjustable, so that the backlash is easily removed during wear, design homemade quite simple, the author did not use any intricate tools for manufacturing. If you need such a machine, I propose to study this project in more detail.
Materials and tools used by the author:
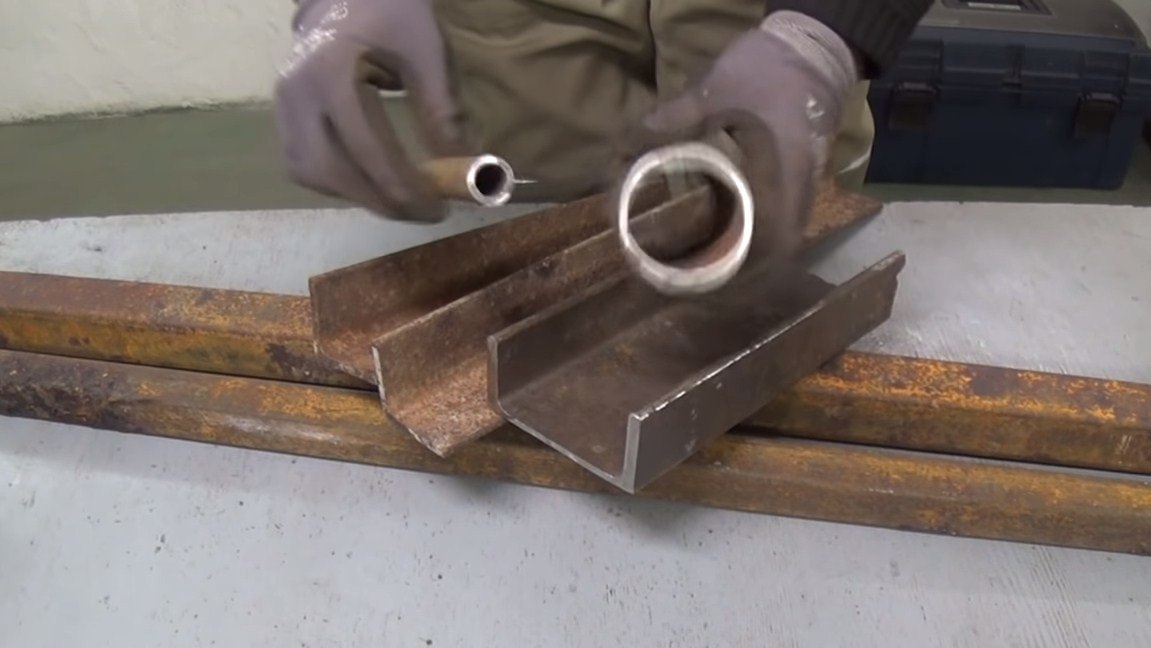
Material List:
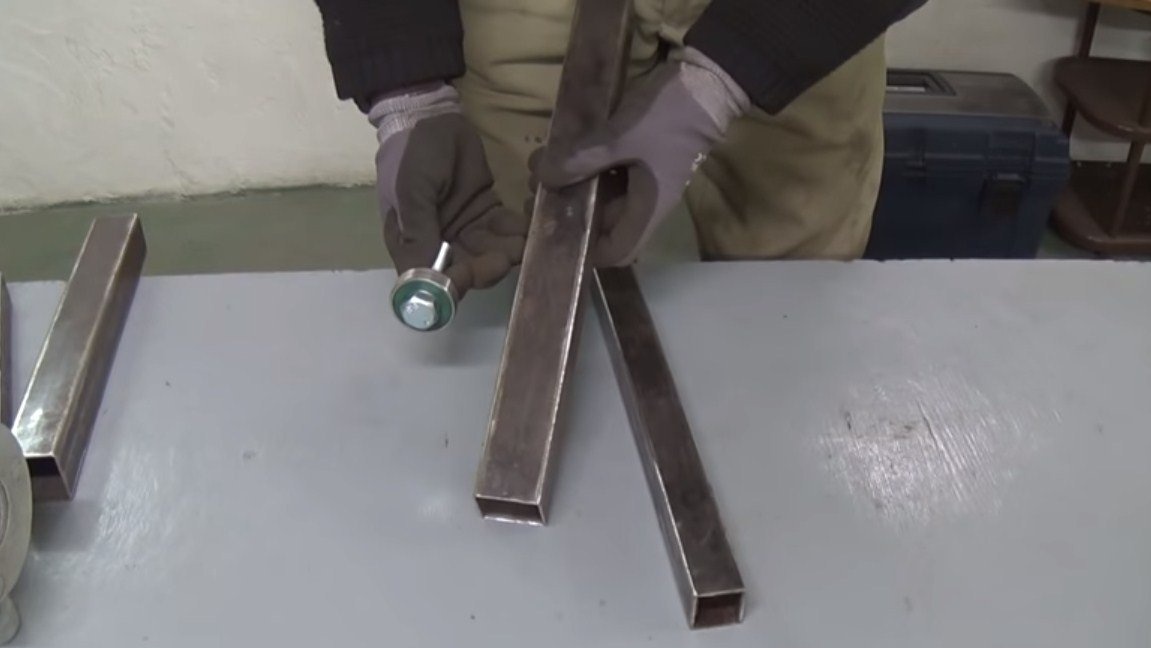
- profile pipes;
- a piece of channel;
- corners;
- Sheet steel;
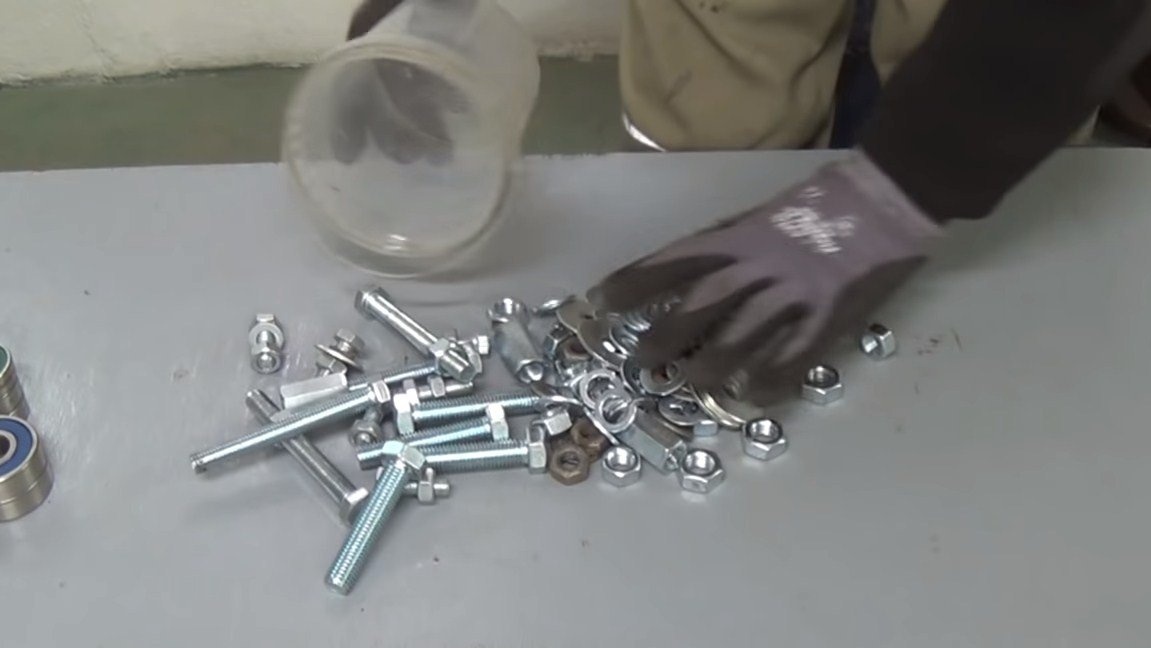
- bolts and nuts;
- bearings;
- socket;
- lamp;
- switches;
- paint.
Tool List:
- drill;
-
- welding machine;
- roulette;
- marker.
Homemade manufacturing process:
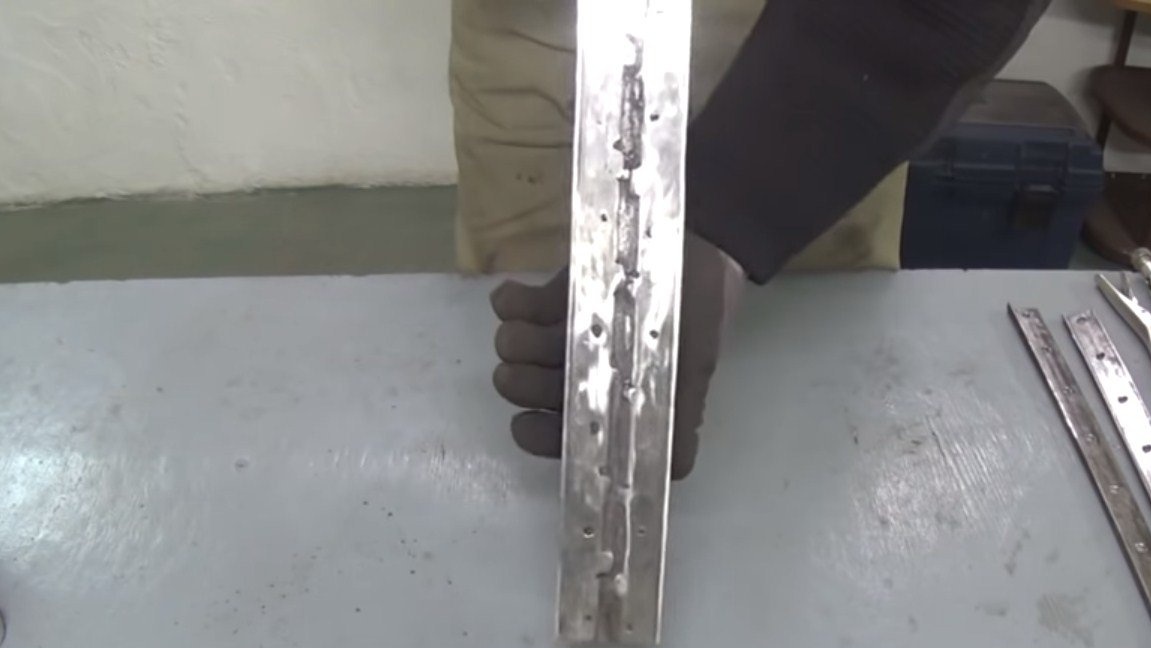
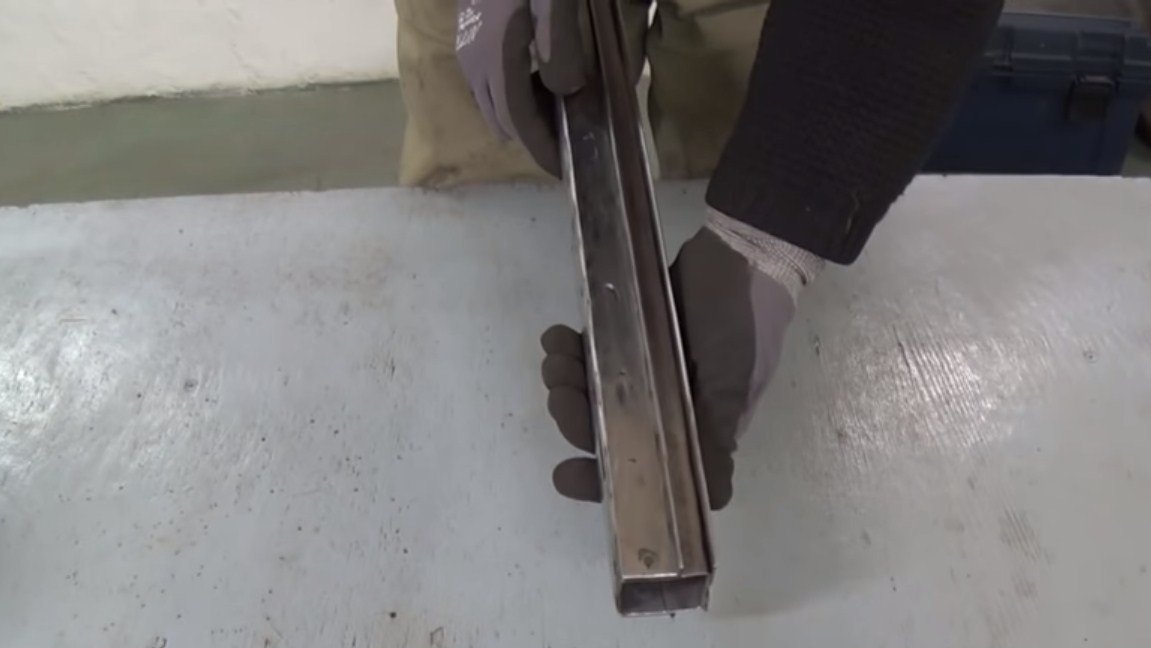
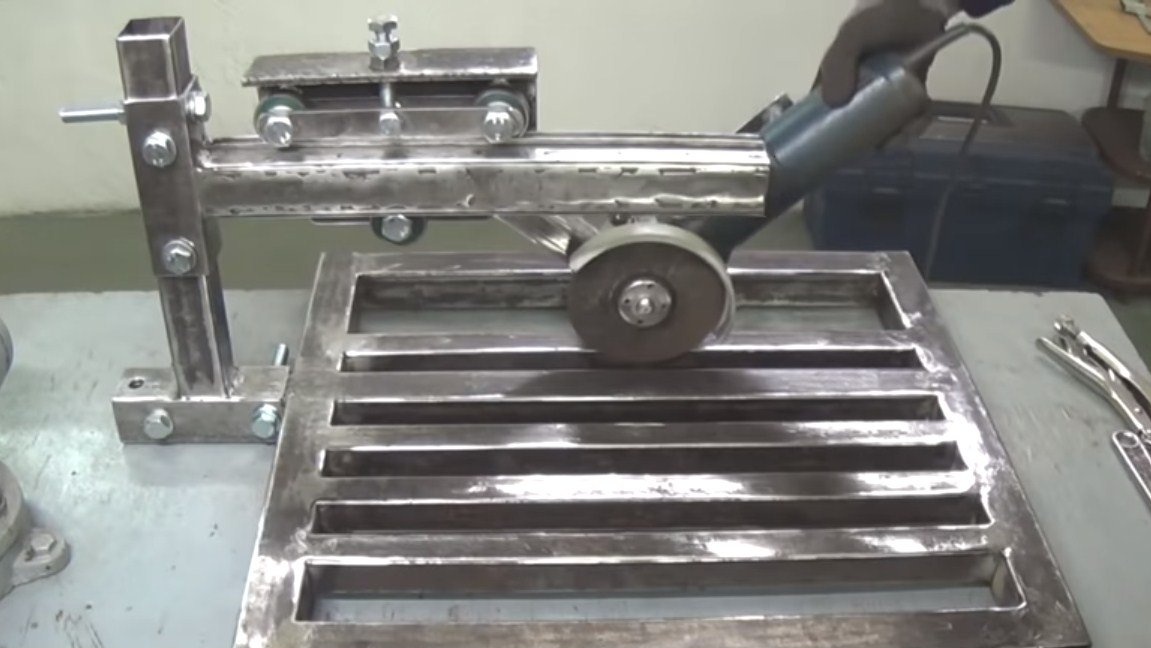
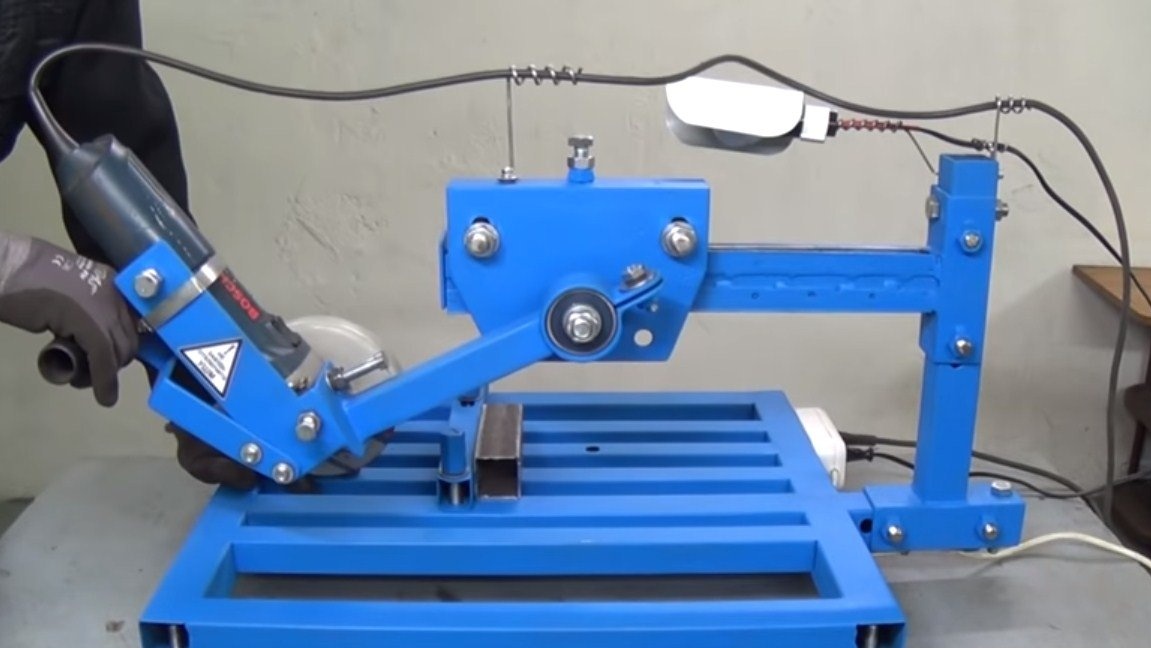
Step one. We make a guide
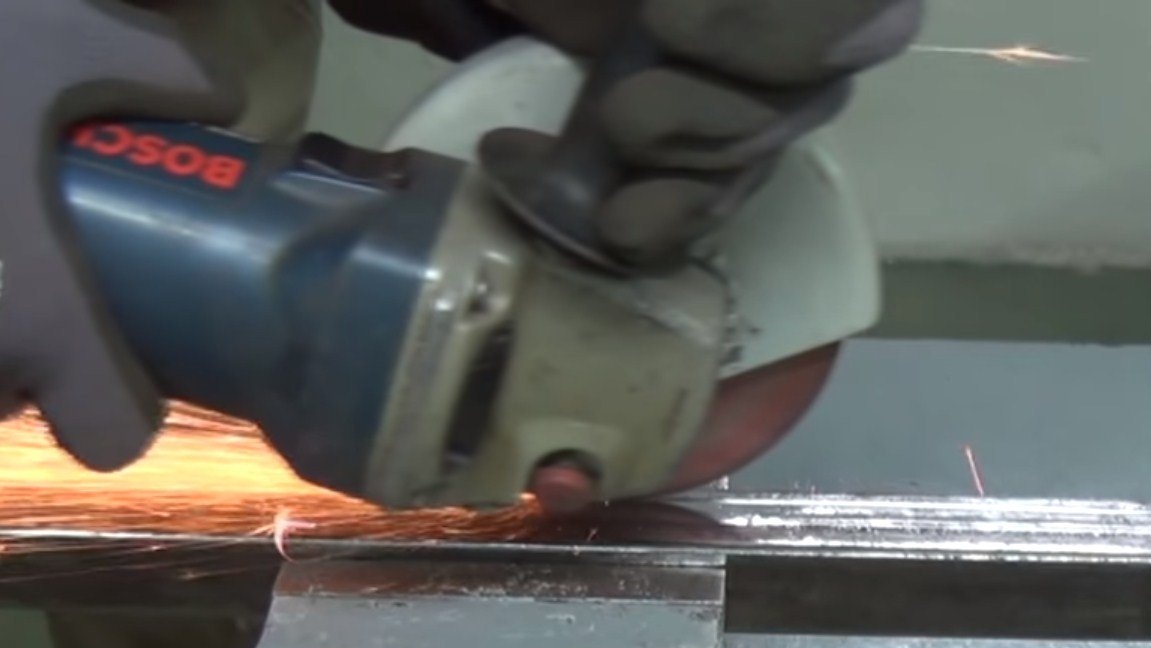
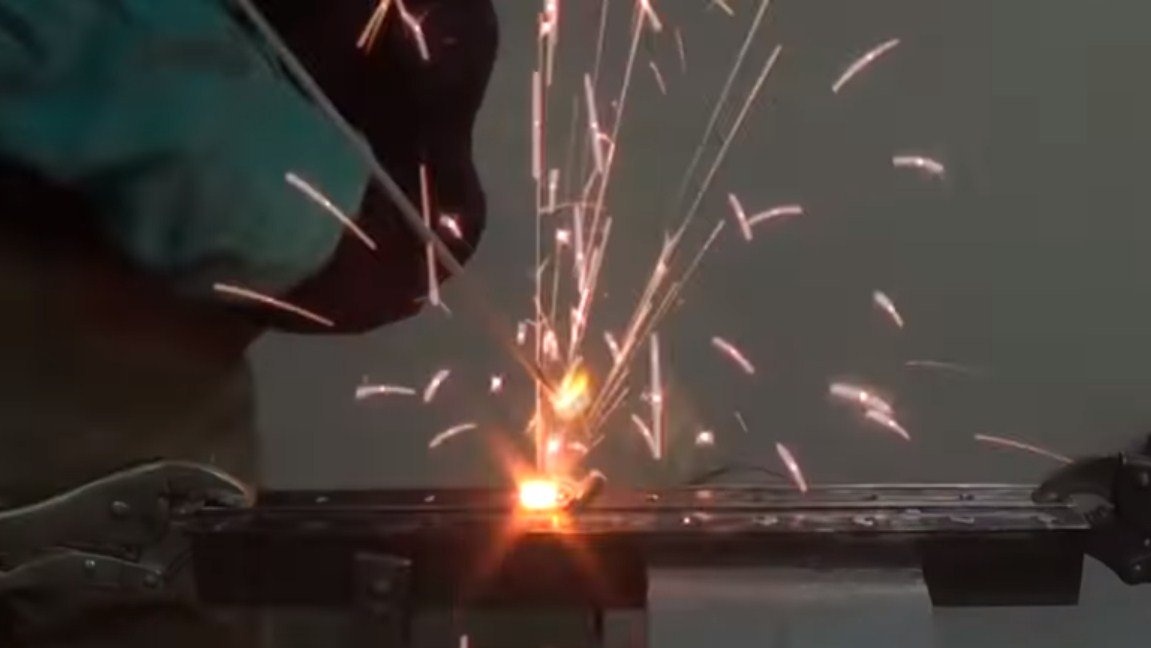
For the broach, we need to make a guide along which the block will ride with a fixed grinder. We make a guide from a profile pipe, it will be a kind of rail. So that the wheels, in the quality of which we have bearings, ride only in a straight line, we need to make stops for them. For the manufacture of stops, the author cut the profile pipe, and then welded the received parts to the “rail”. Of course, the clearance between the bearing and the stops should be minimal, so you should not rush here. The author cooked pointwise, through holes drilled in the stops. As a result, everything turned out quickly, simply and reliably.
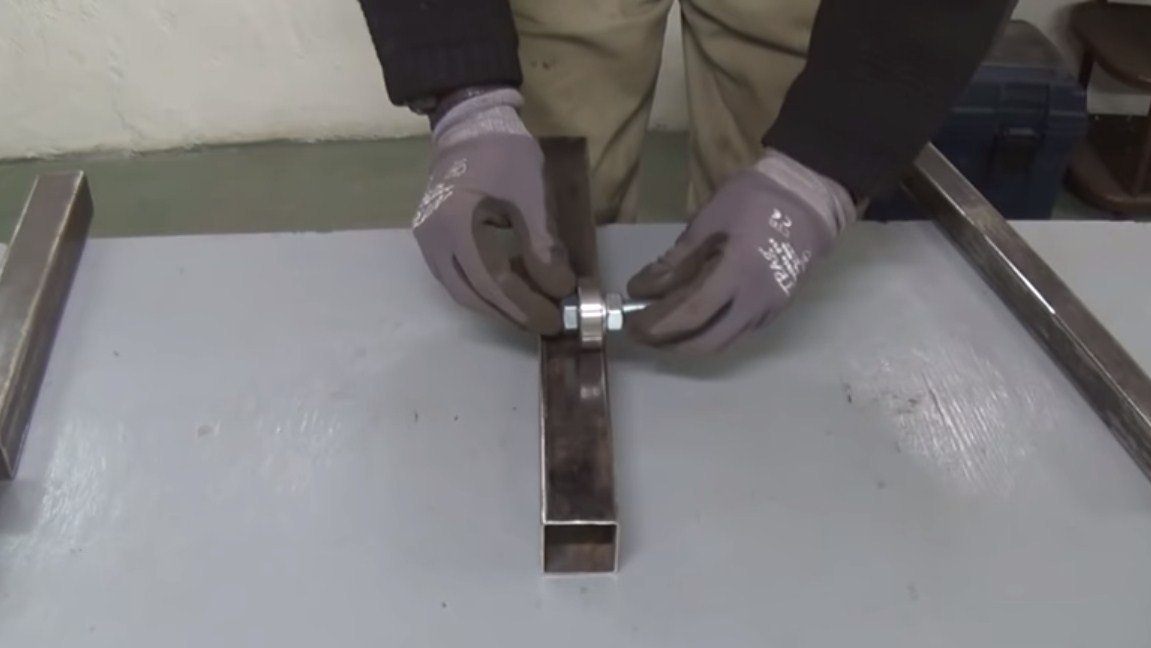
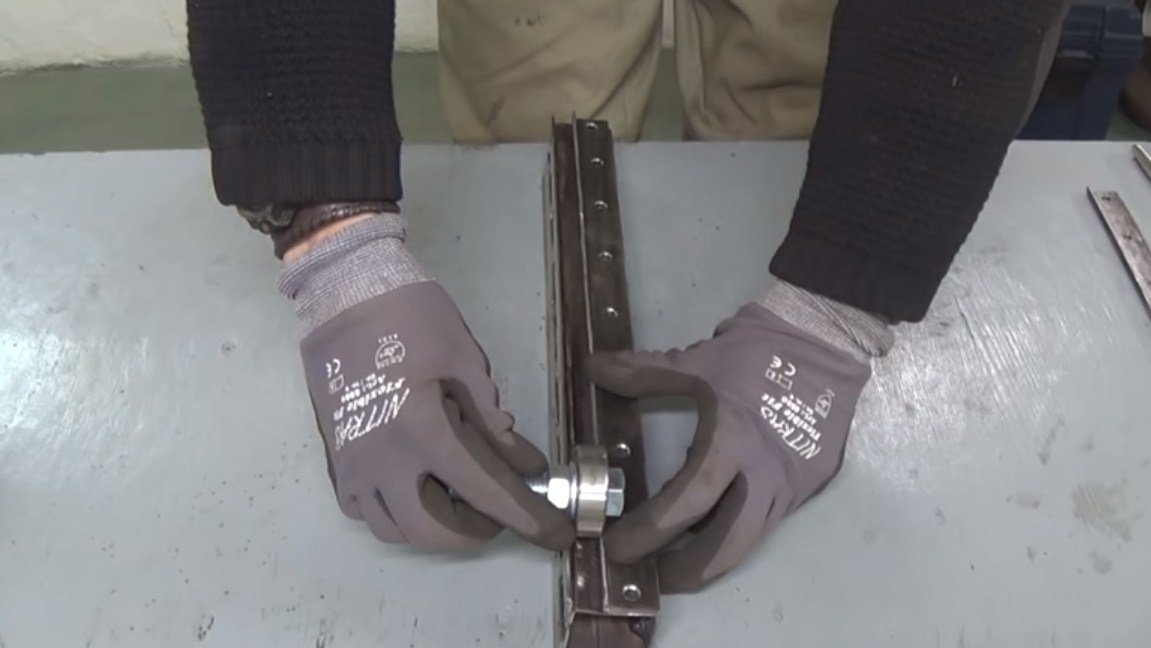
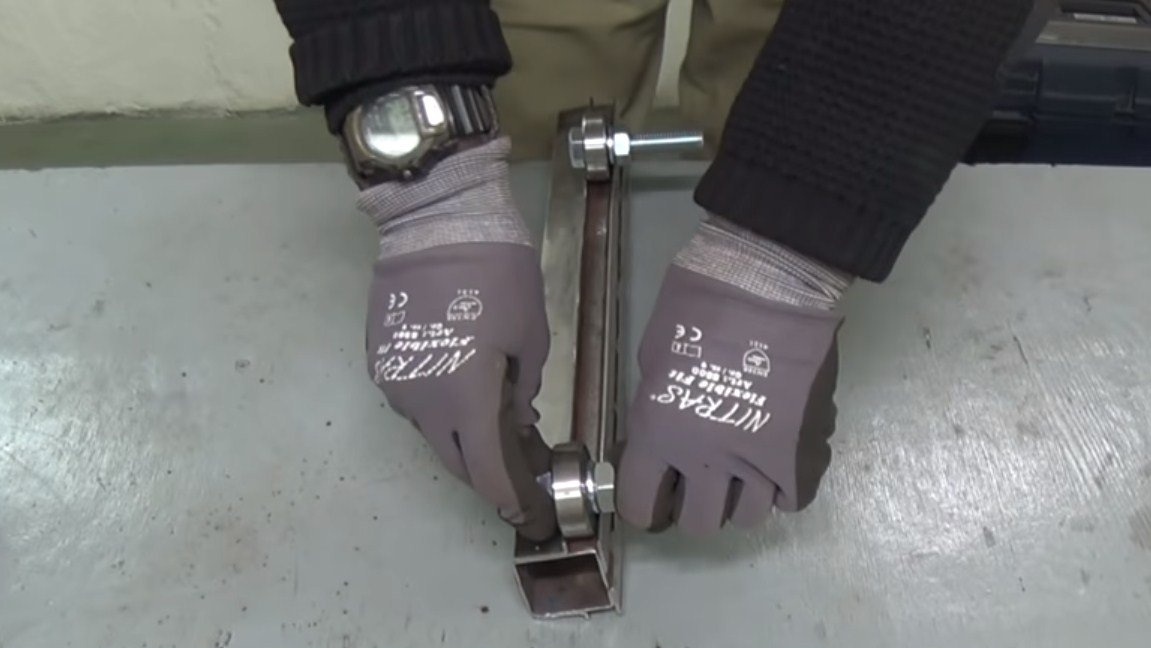
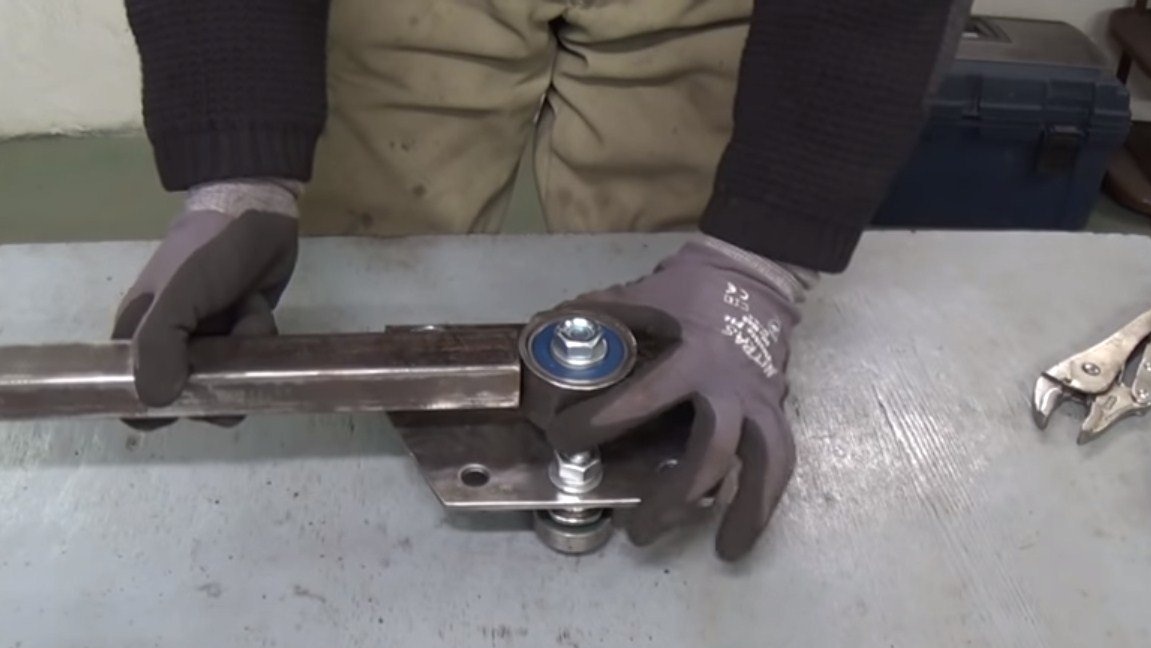
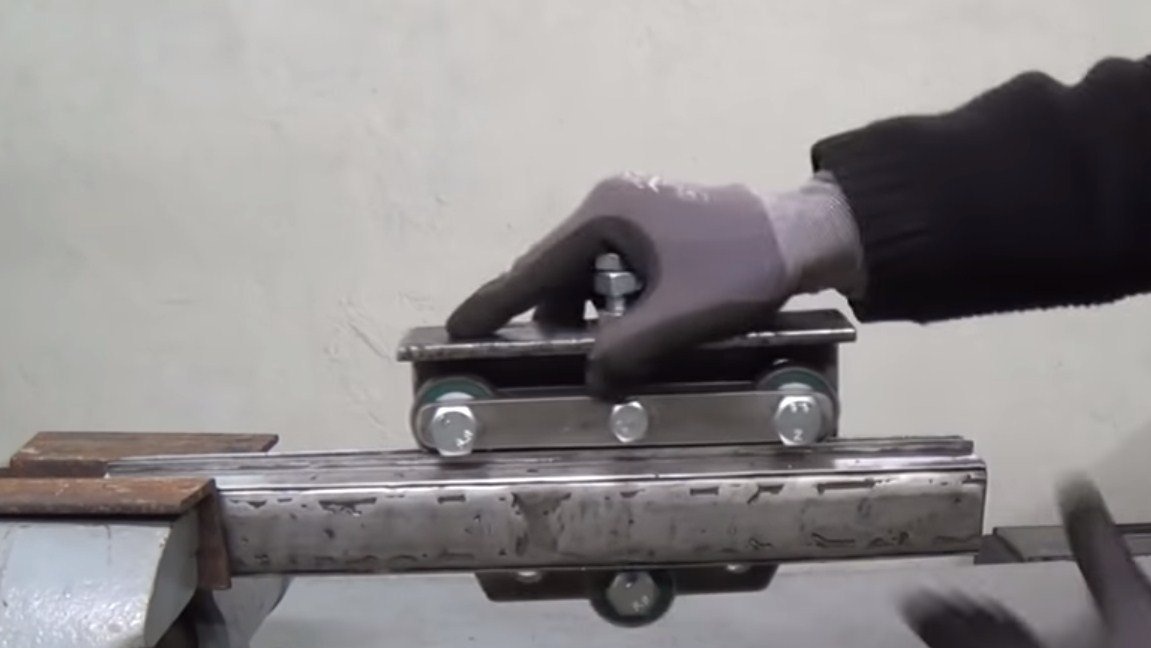
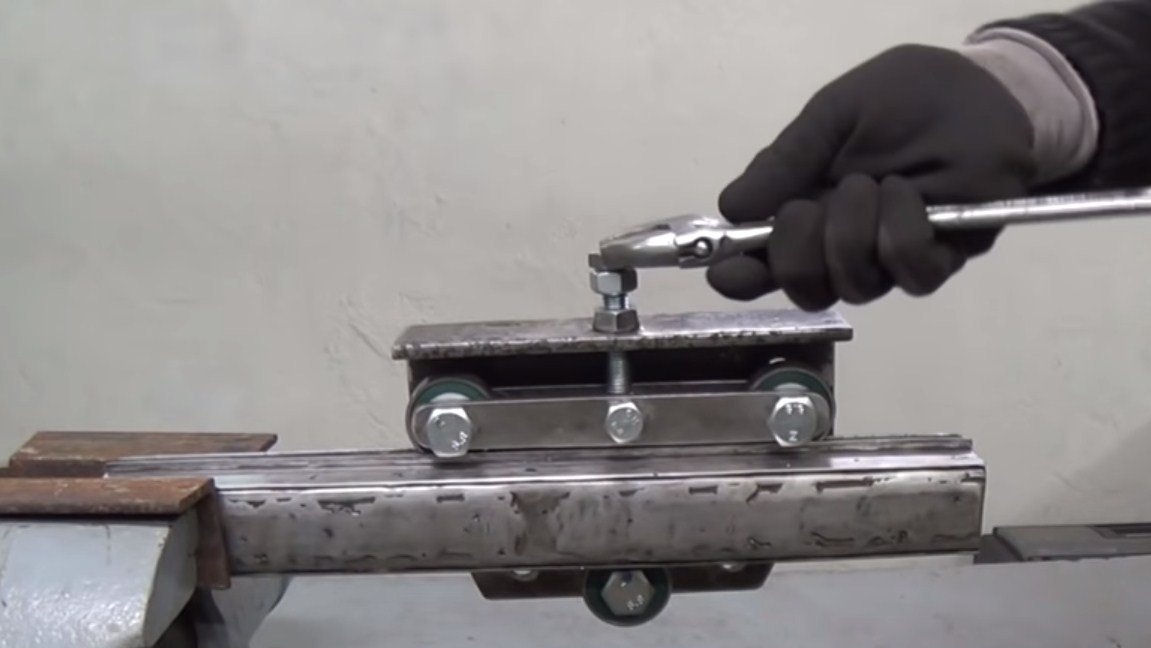
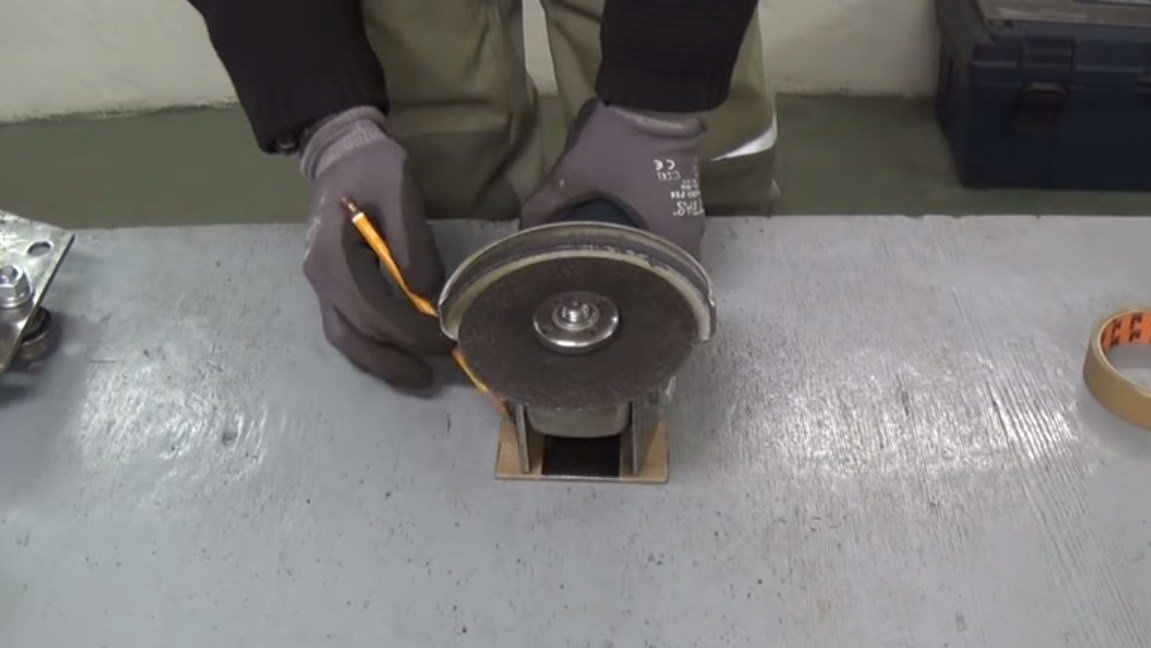
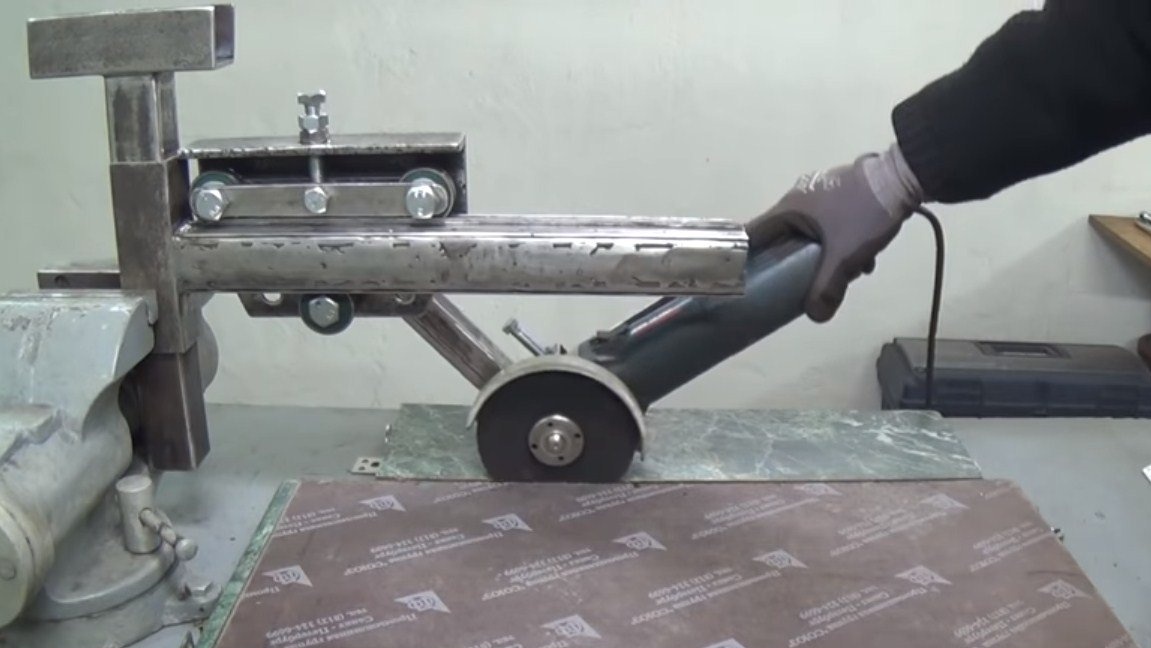
Step Two Driving block
A block will move along the rail, 3 wheels are fixed on it. The lower wheel is fixed statically, but the upper two are fixed on a special plate and they can lower and rise. These upper plates are pressed against the rail by a bolt from above, as a result, backlash is minimized in this way.
At first, the block will ride on the rail jerky, but after a while all the irregularities will level out by themselves, and the block will move easily. As for the side play, they aren’t present not because of the side stops, but because the bearings are pressed tightly against the rail, side stops are needed only for safety.
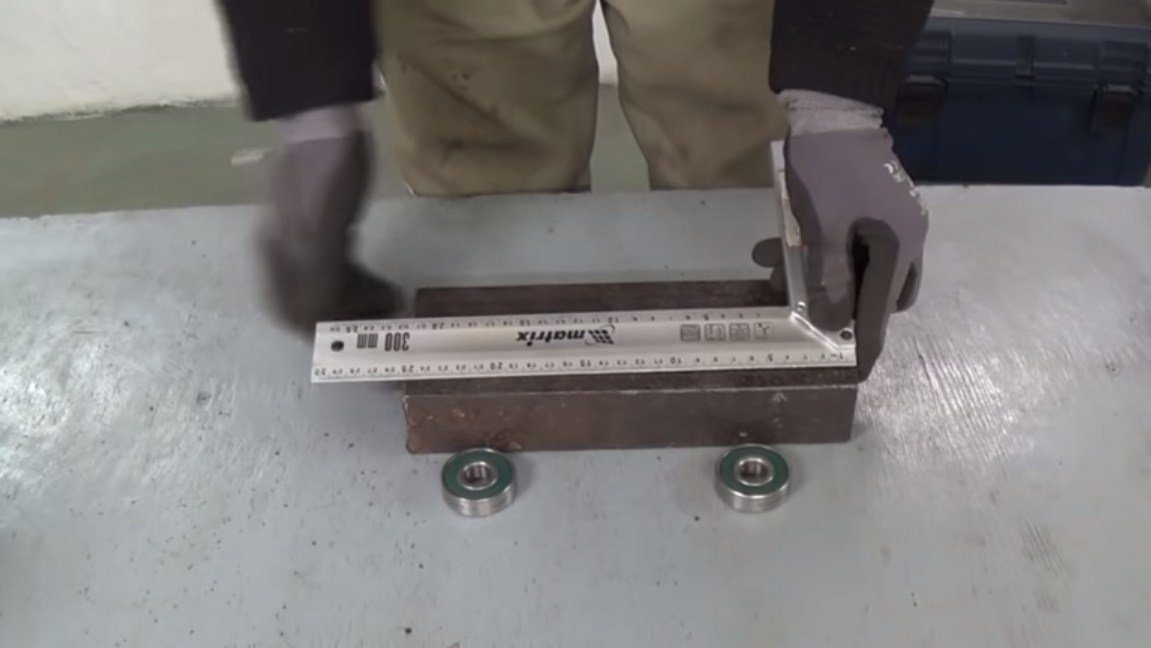
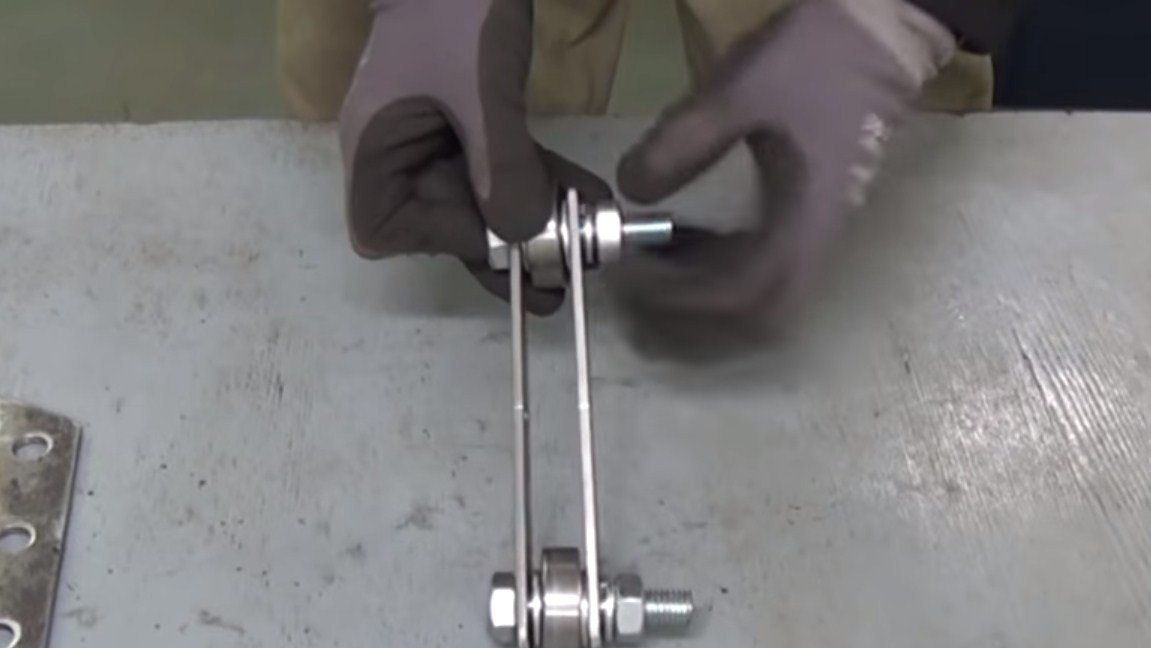
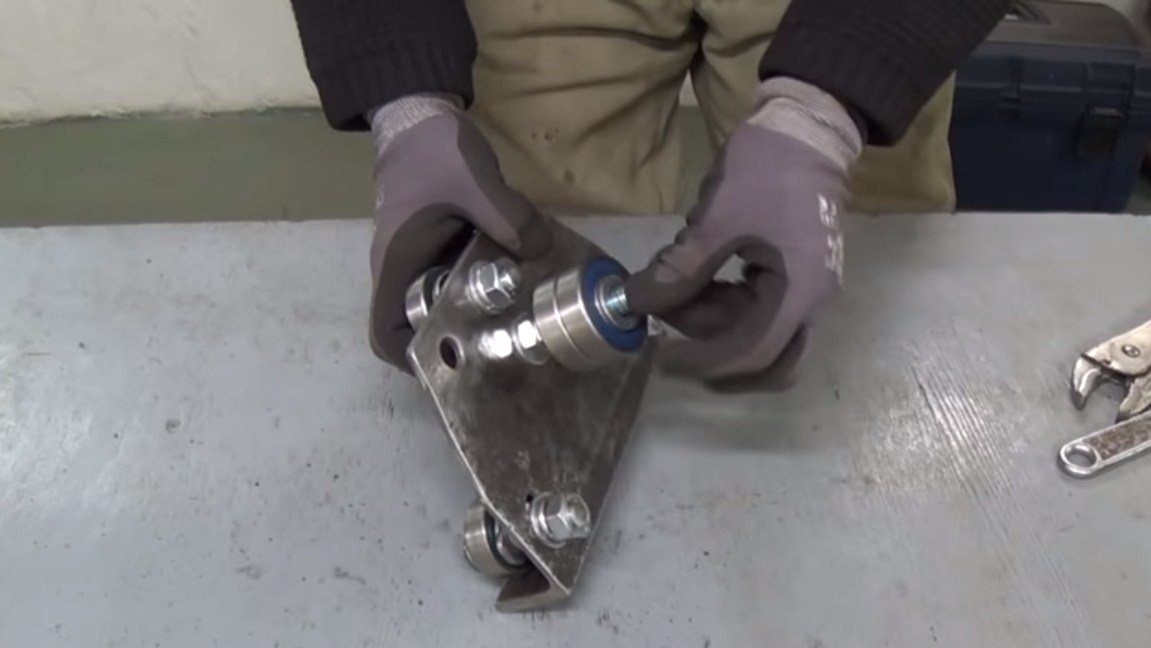
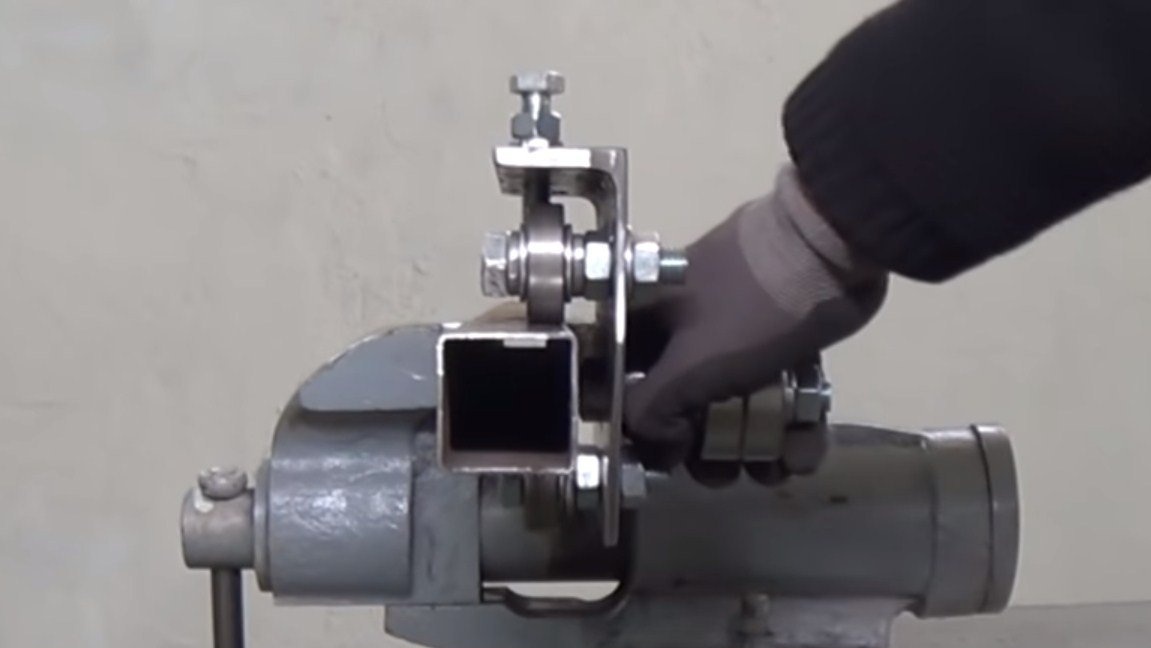
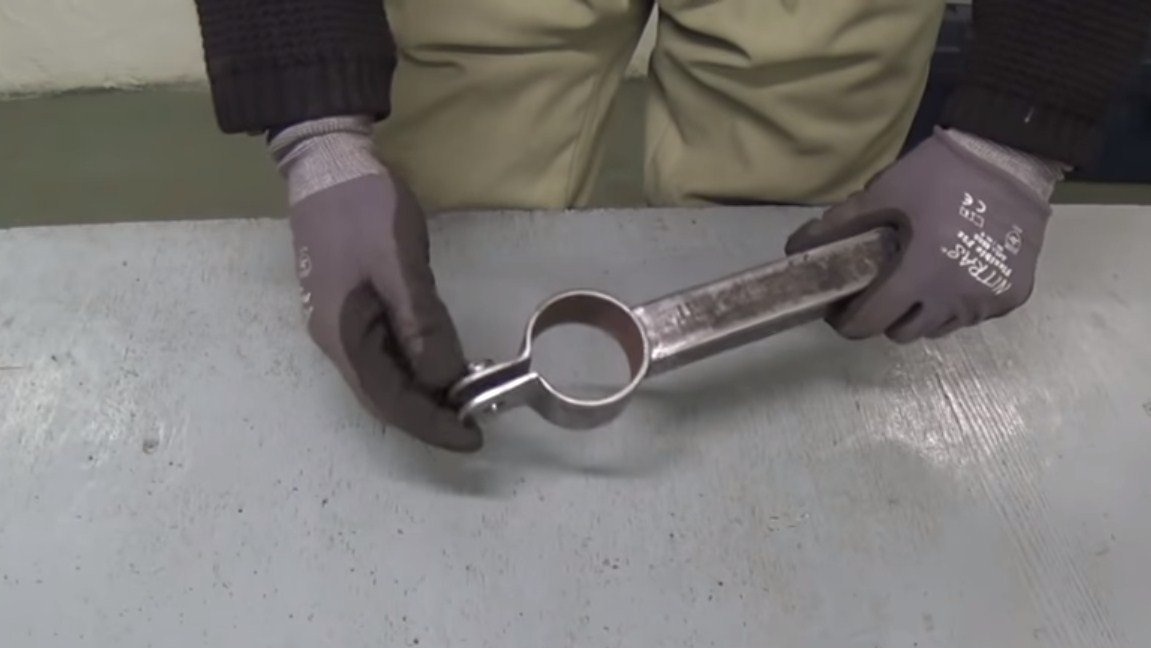
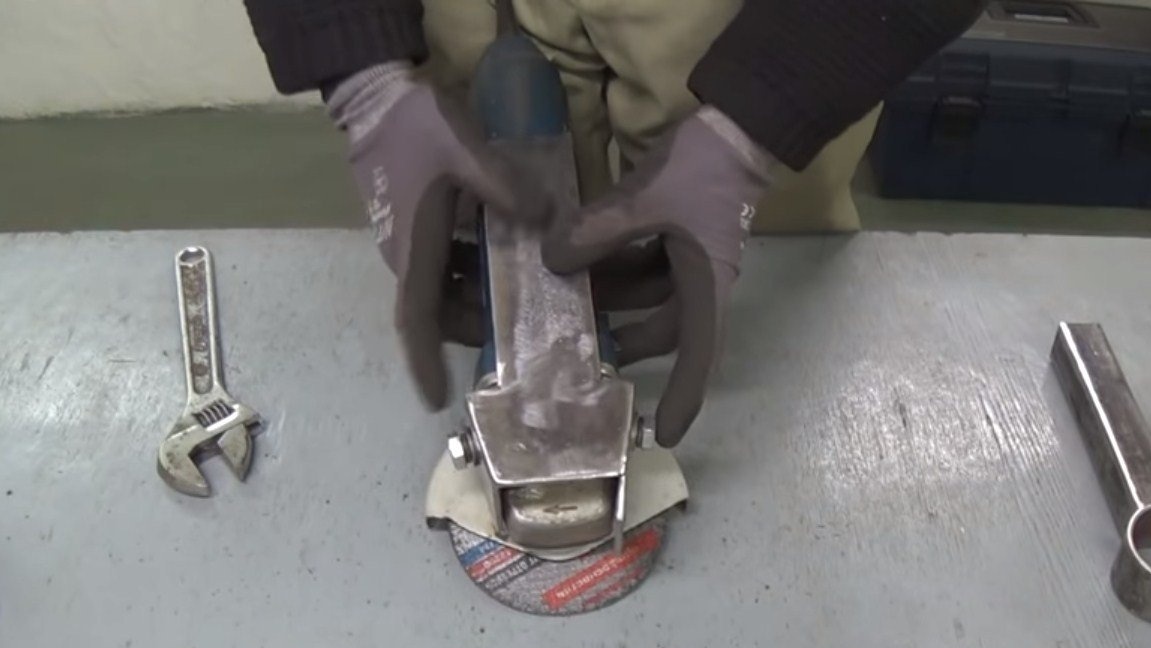
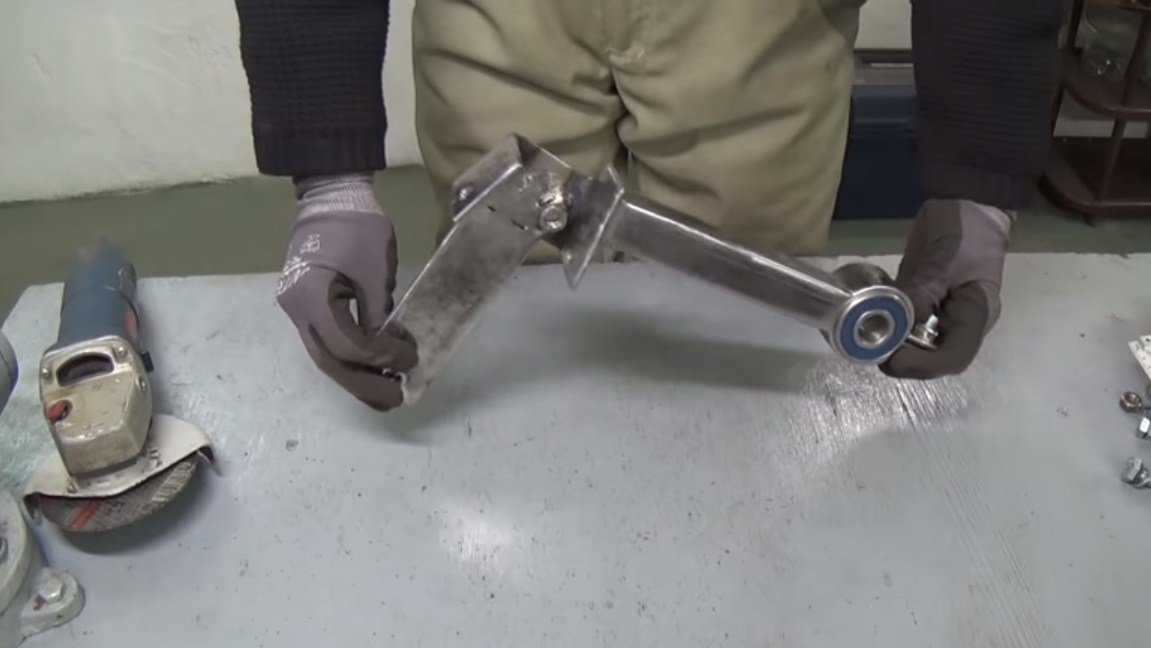
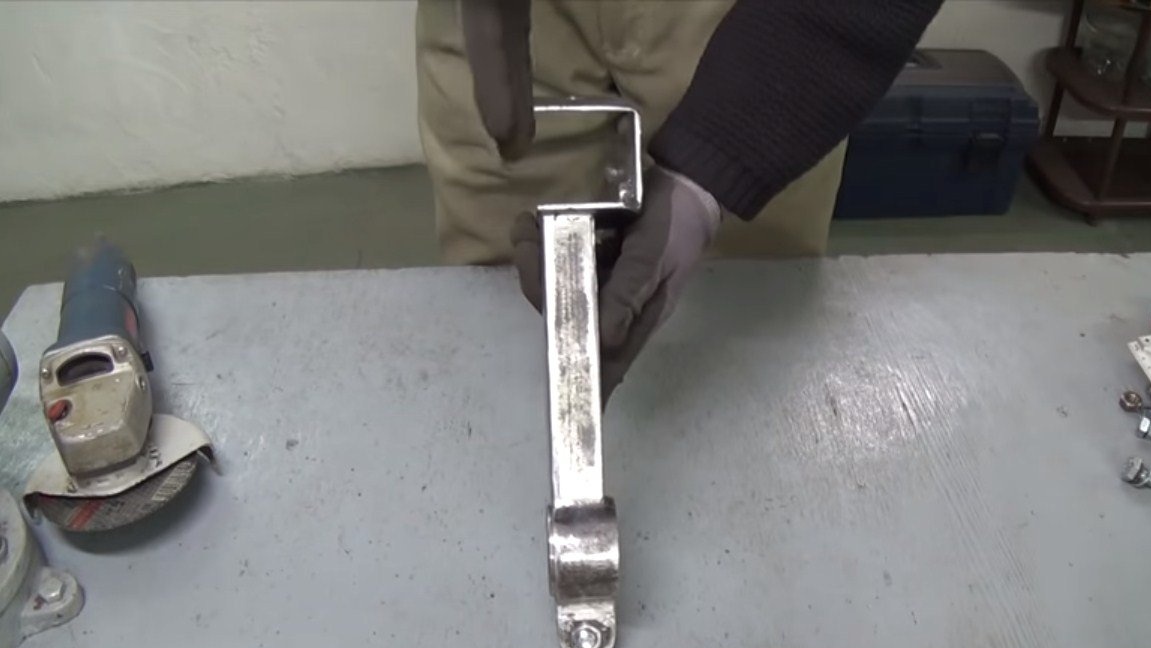
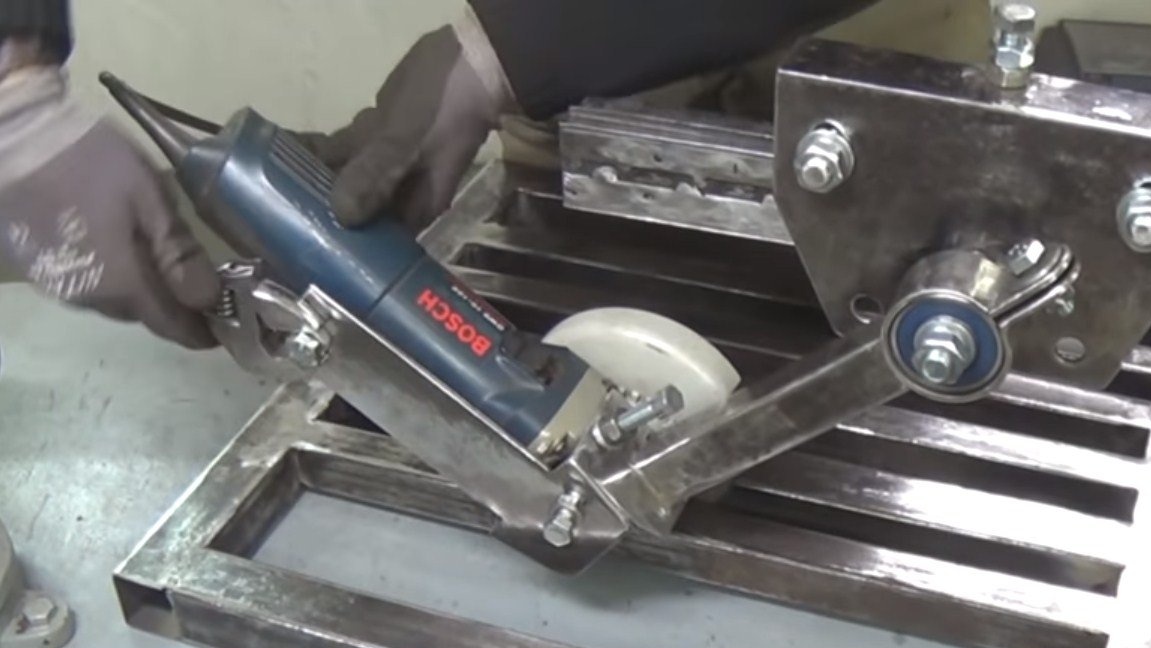
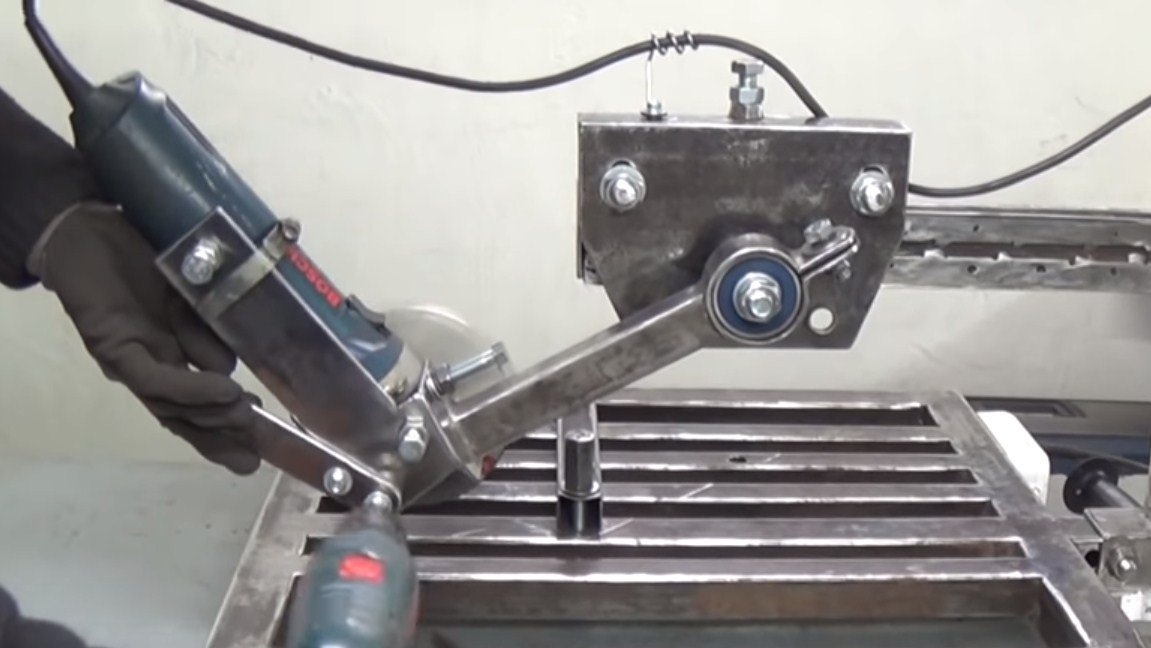
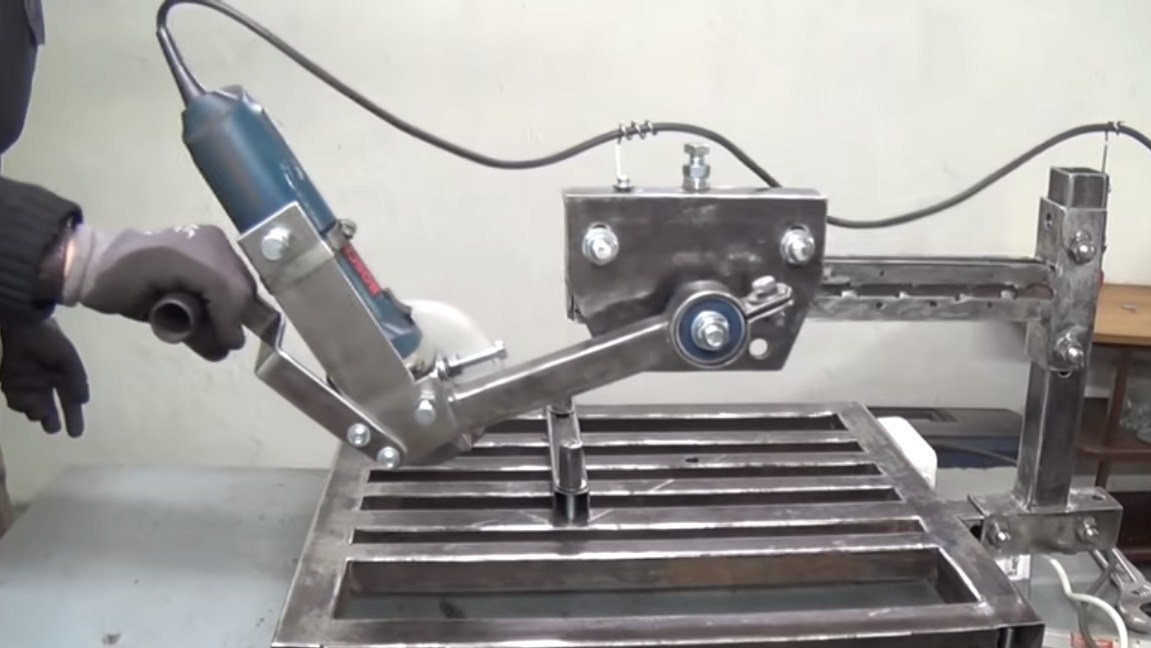
Step Three Lever and mount the grinder
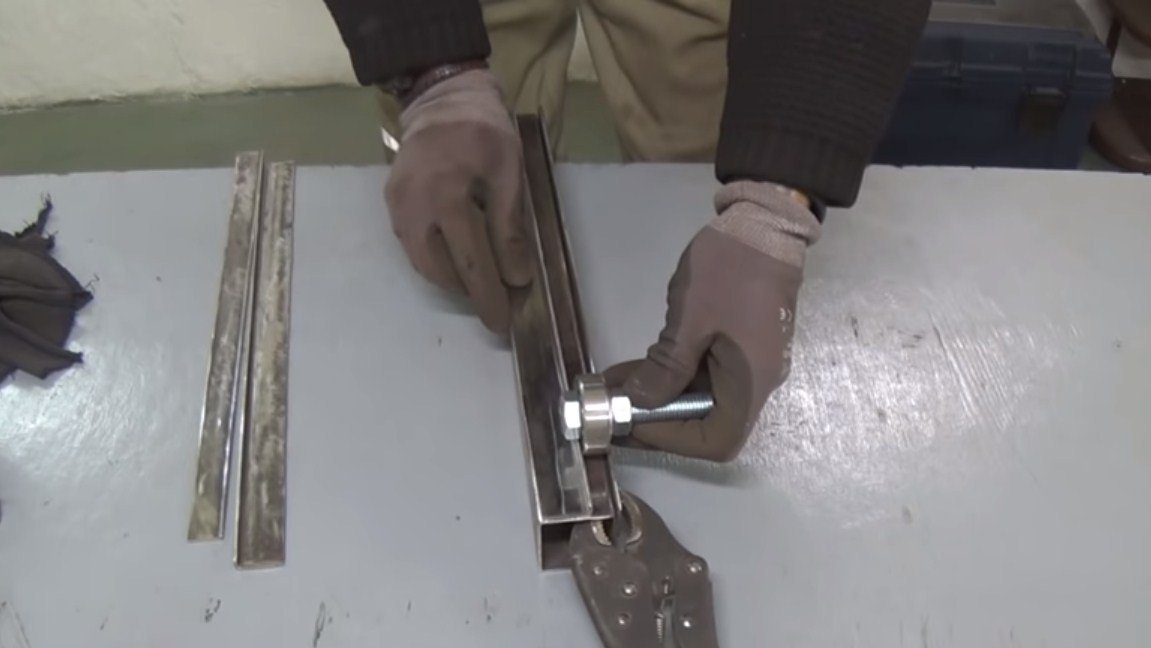
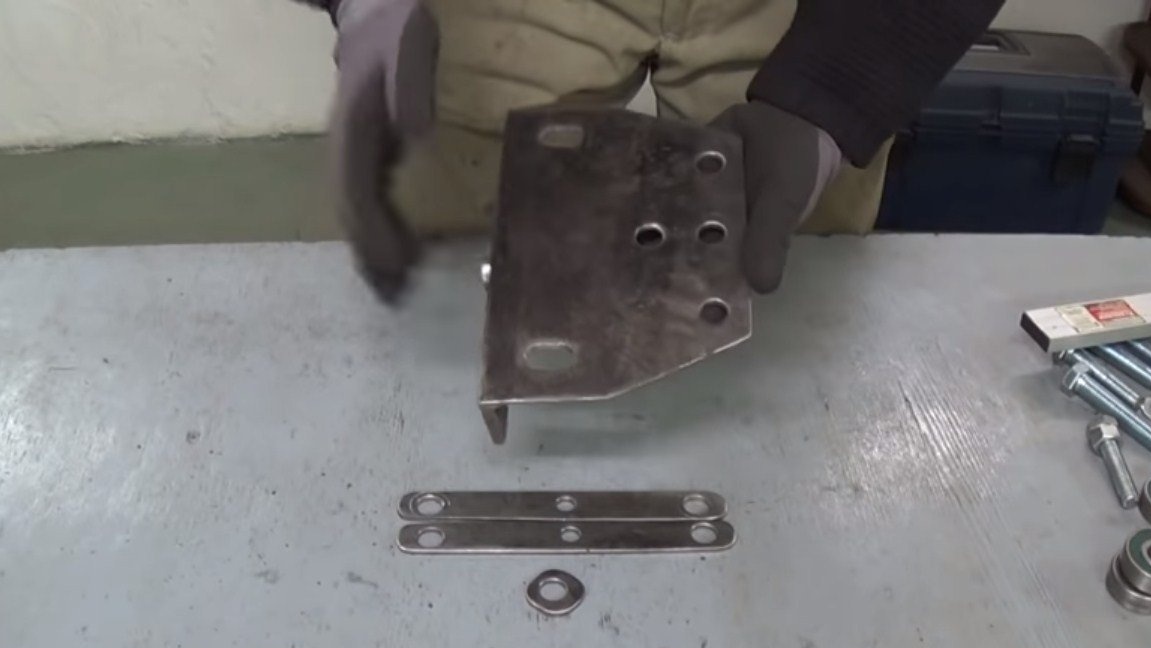
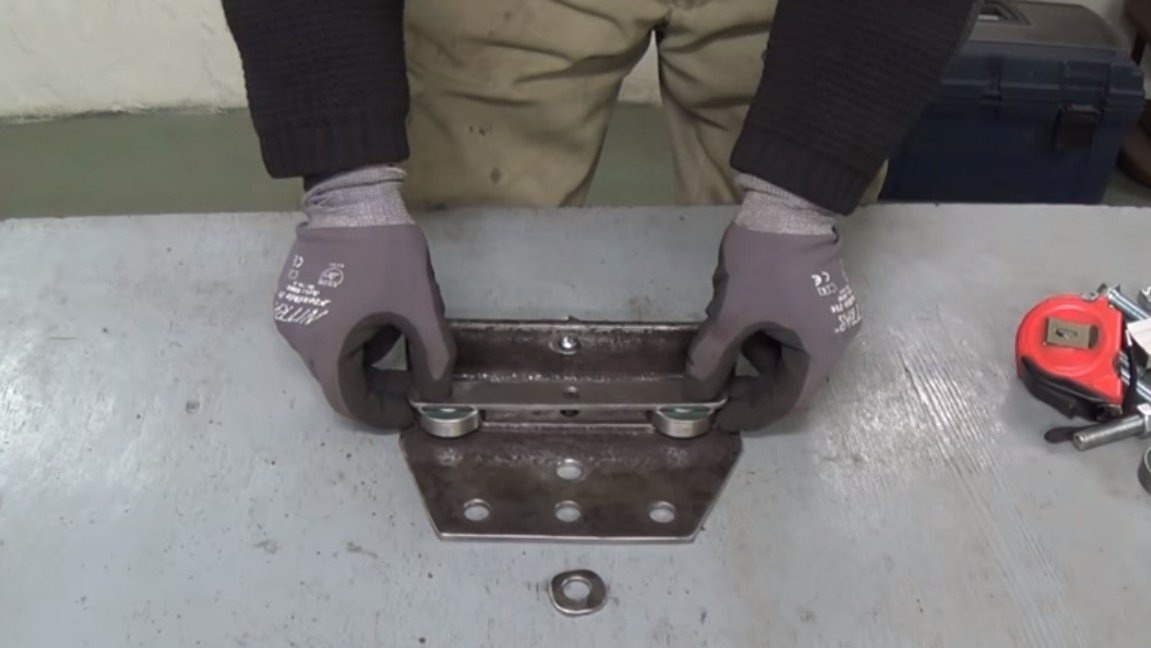
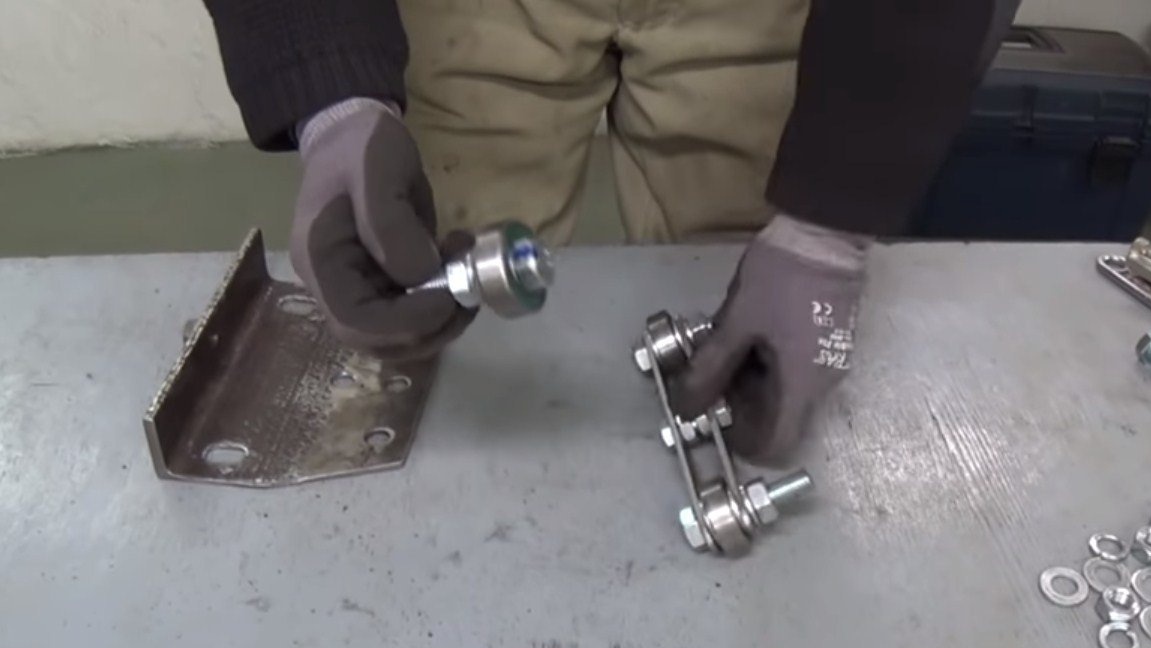
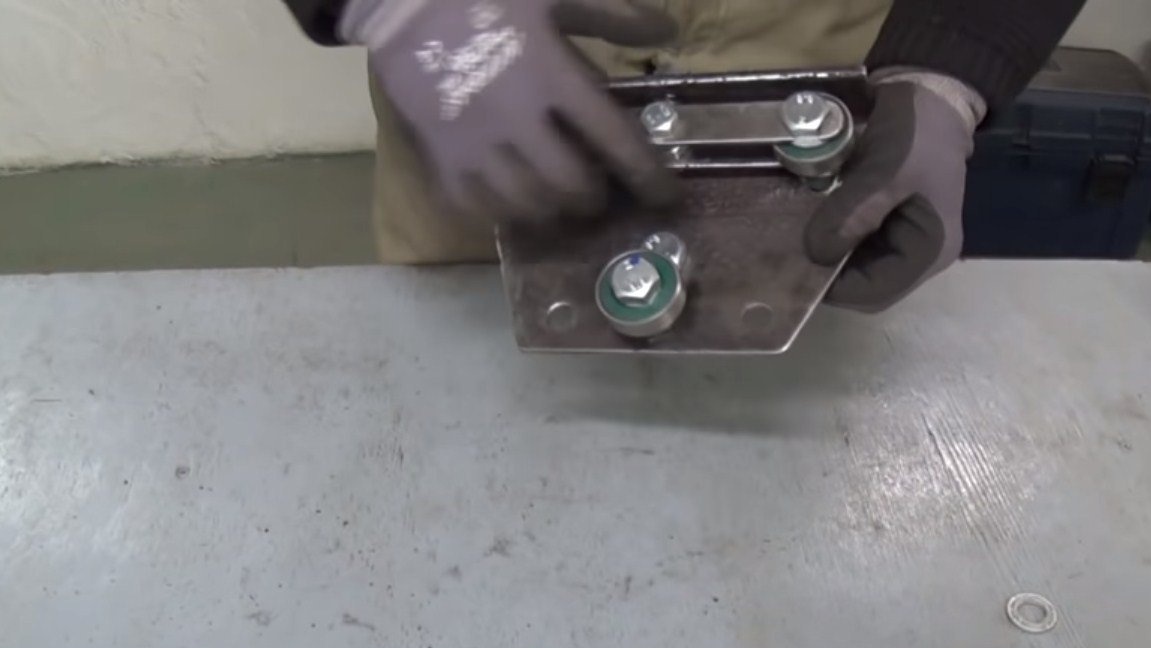
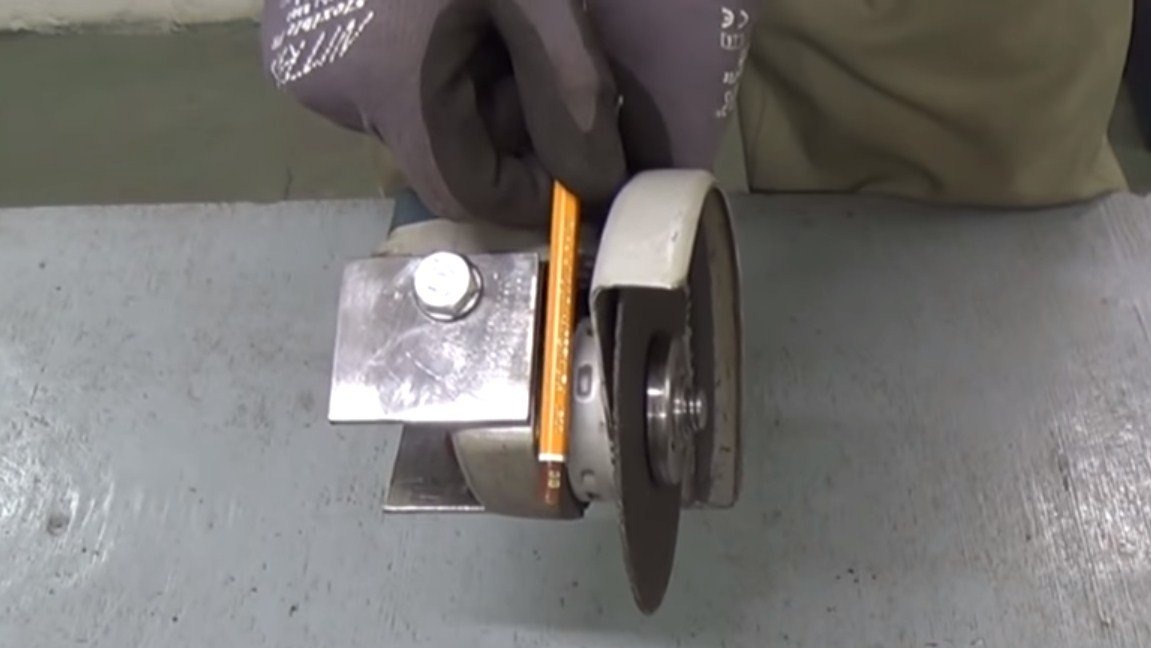
A lever is attached to the driving unit, to which the Bulgarian is attached. The hinge assembly is bearings. To fix the lever on the bearings, the author made a clamp from a round pipe, cutting it and welding de nuts, everything is pulled together with a bolt.
We weld the bracket to the lever, which is pre-assembled on the grinder. We will fix the grinder for those holes where the handle is wrapped. Also along the grinder passes an additional plate with an adjusting bolt.
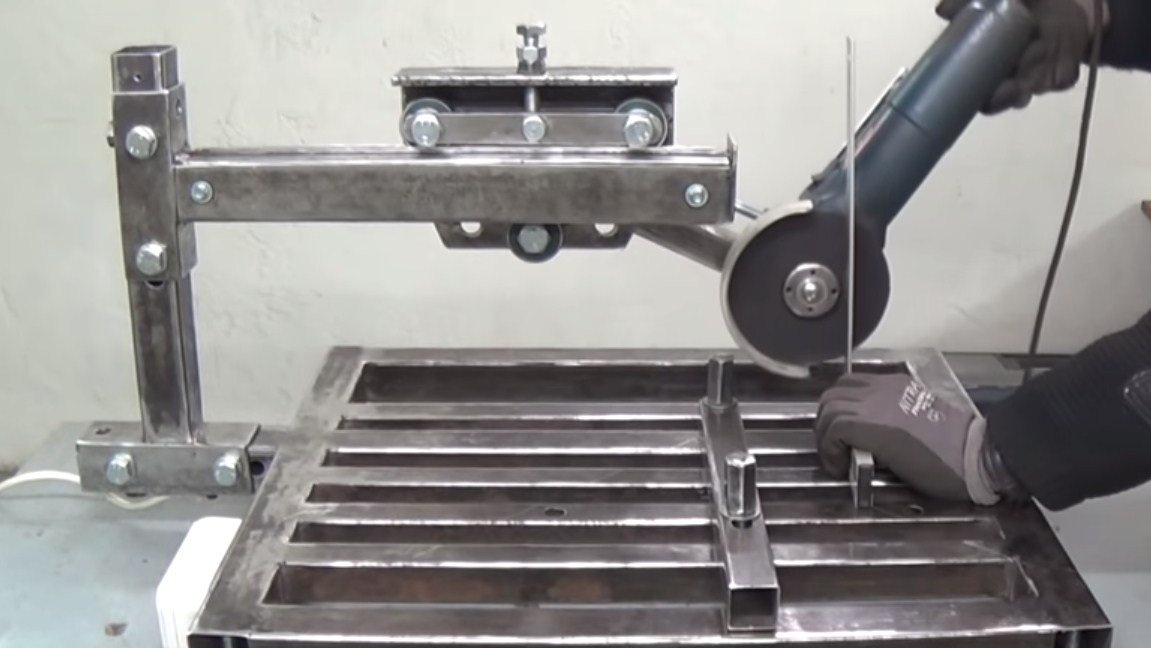
Step Four Stand and bed
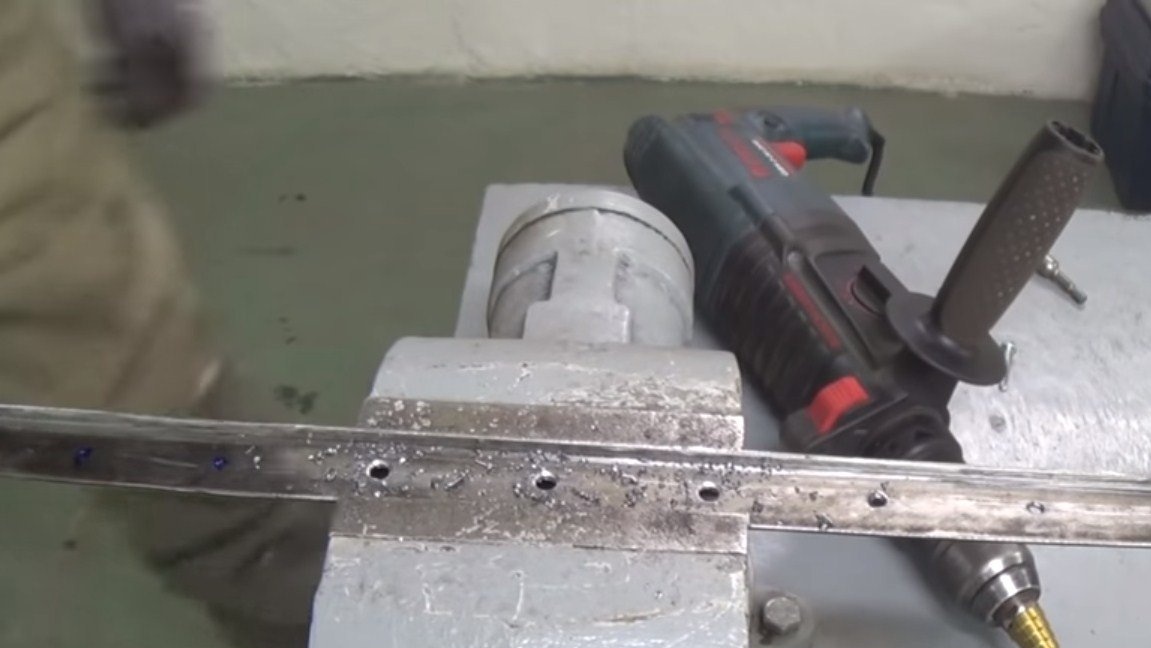
The corners are perpendicularly welded to the “rail”, with the help of them we will fix the rail on a vertical rack. A profile pipe is suitable as a rack. The author connected the parts with bolts and nuts.
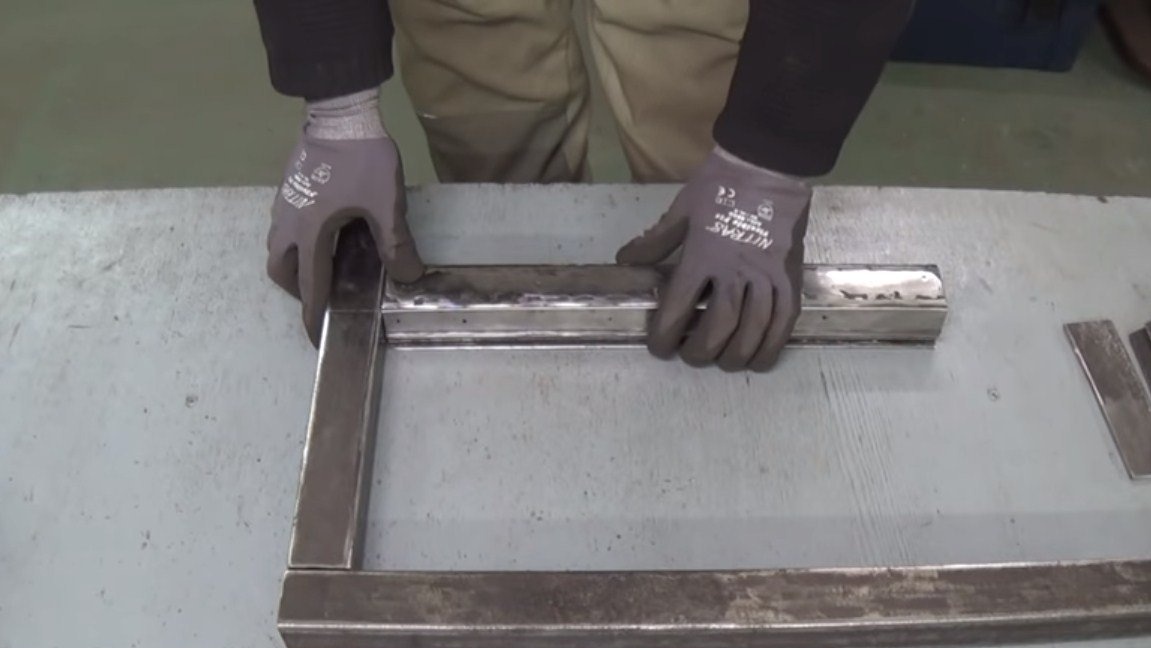
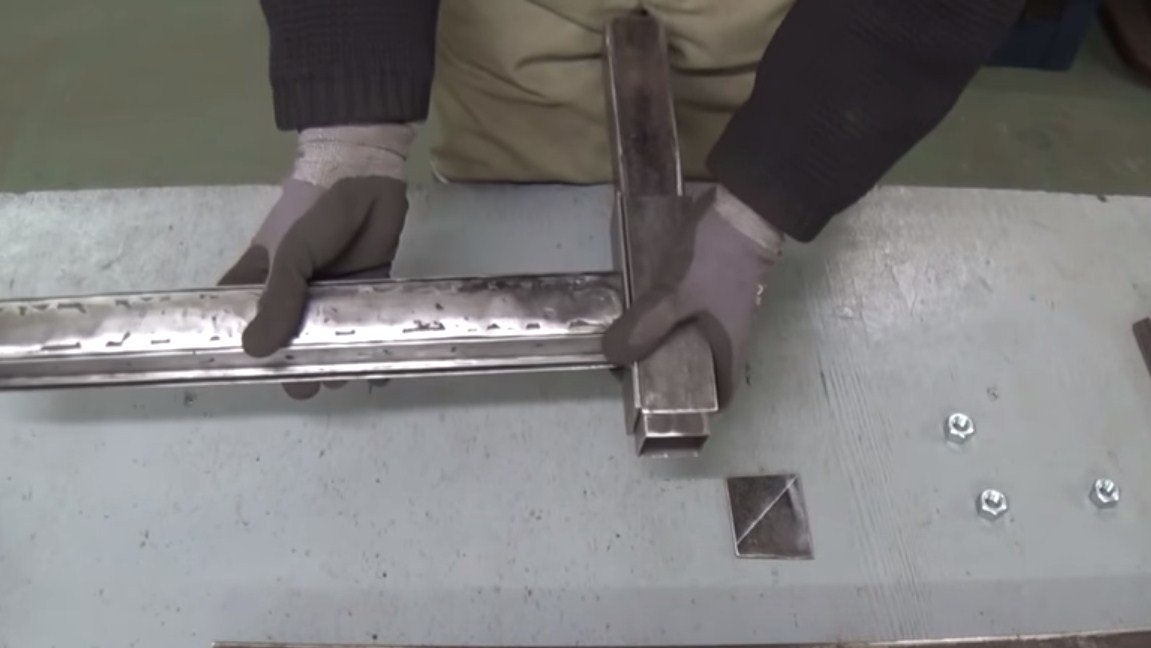
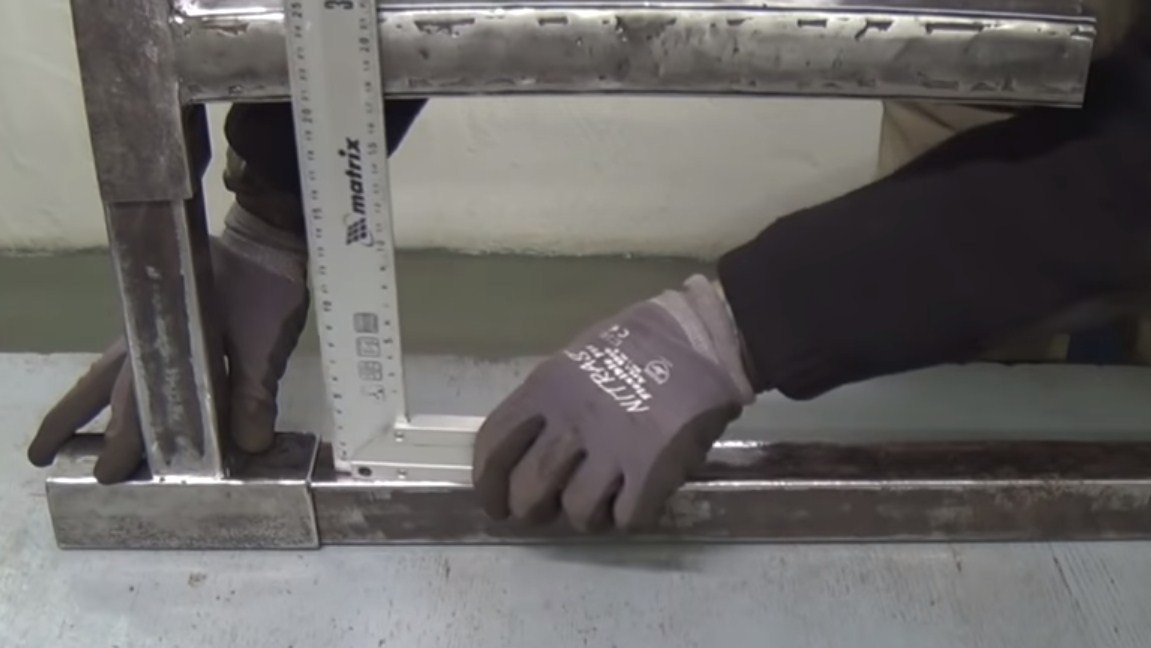
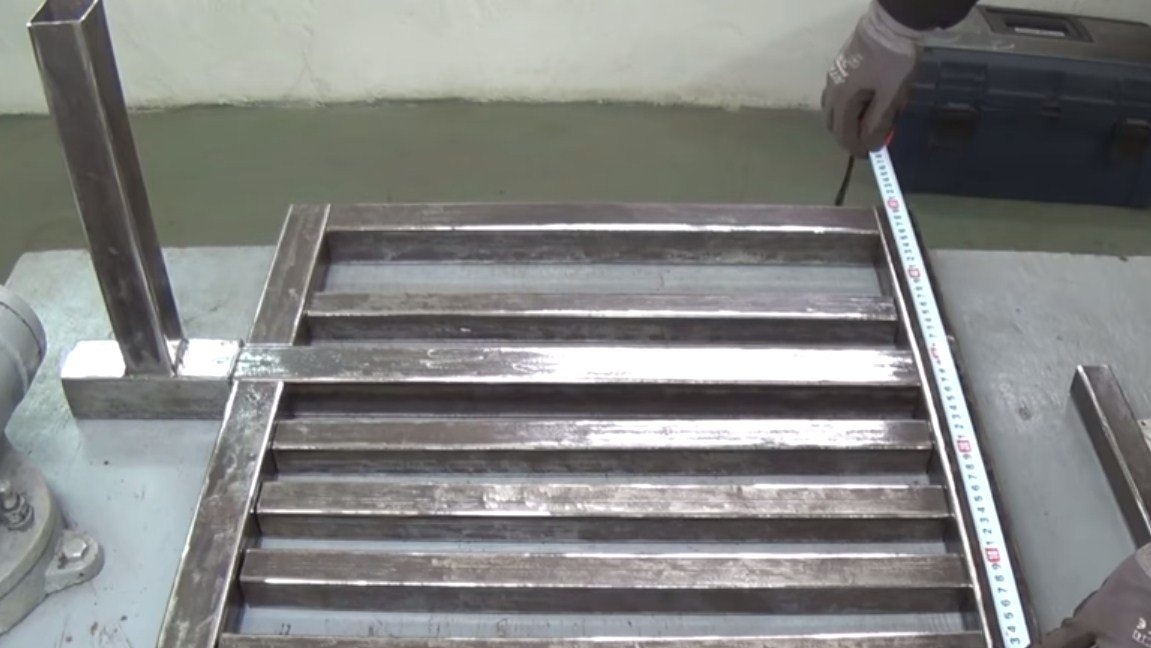
Then you can weld the bed, the author collects it from profile pipes. We determine the size, clean the welds, as a result, everything looks neat and beautiful. As for the stand, it is also screwed with bolts and nuts. As a result, we have almost the entire machine collapsible.
Step Five Stops, legs and cable
There should be stops on the bed, we make them from profile pipes. Of course, the stops should be removable and adjustable, so they need to be fastened with bolts and nuts.
We definitely make legs for the bed, the author adapted bolts with nuts for this.
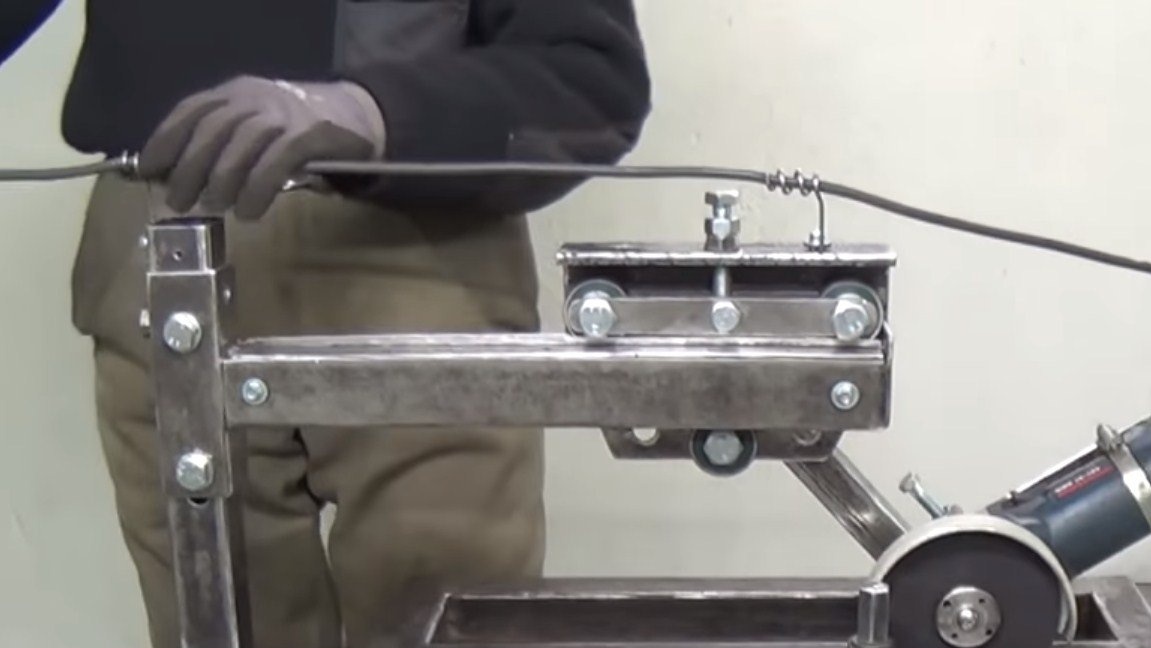
To prevent the cable from interfering with the work, the author made interesting holders in the form of springs for him. They are made of a welding electrode, and screwed to the frame with self-tapping screws.
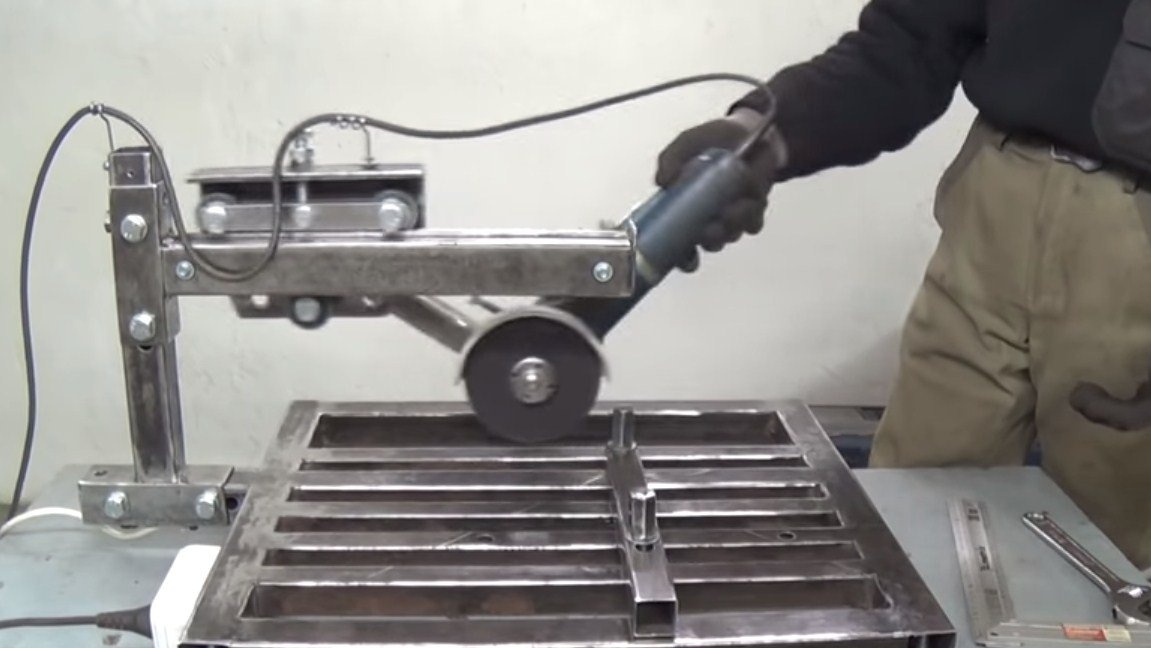
Step Six Finishing touches
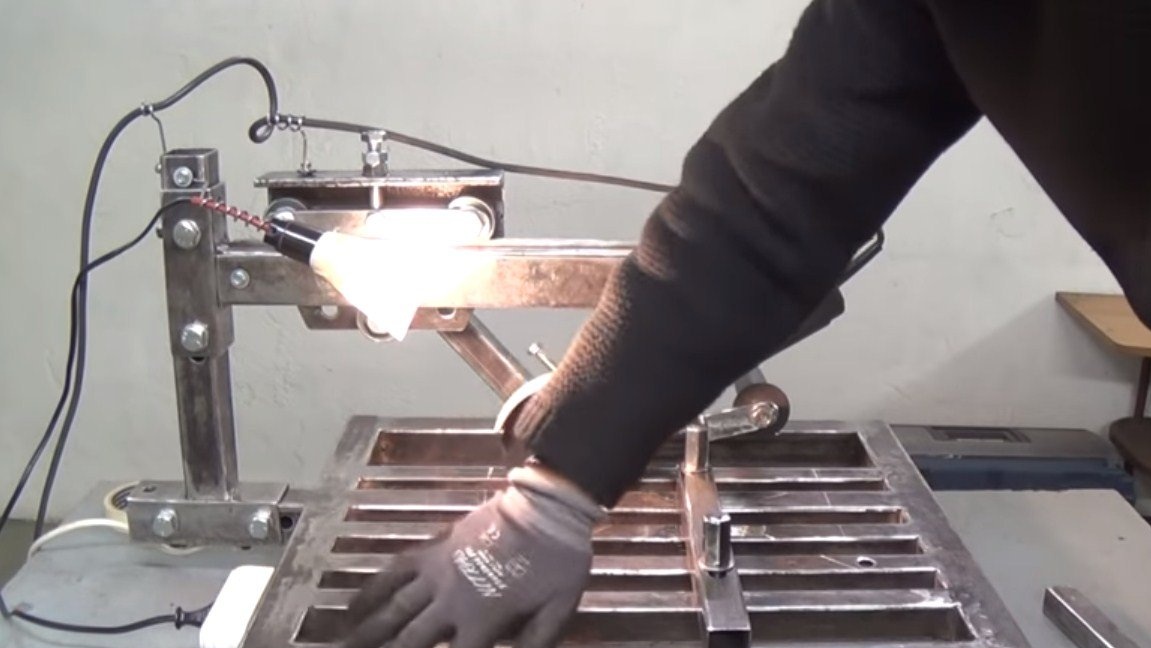
At the end, install the lamp so that the work area is clearly visible. And to work on the machine it was convenient, we install two switches in the frame, one will turn on the grinder and the other will control the light. The author also fixed a socket on the frame, this includes a lamp plug, as well as a plug from the grinder. It is useful to plug open pipes with plastic plugs.
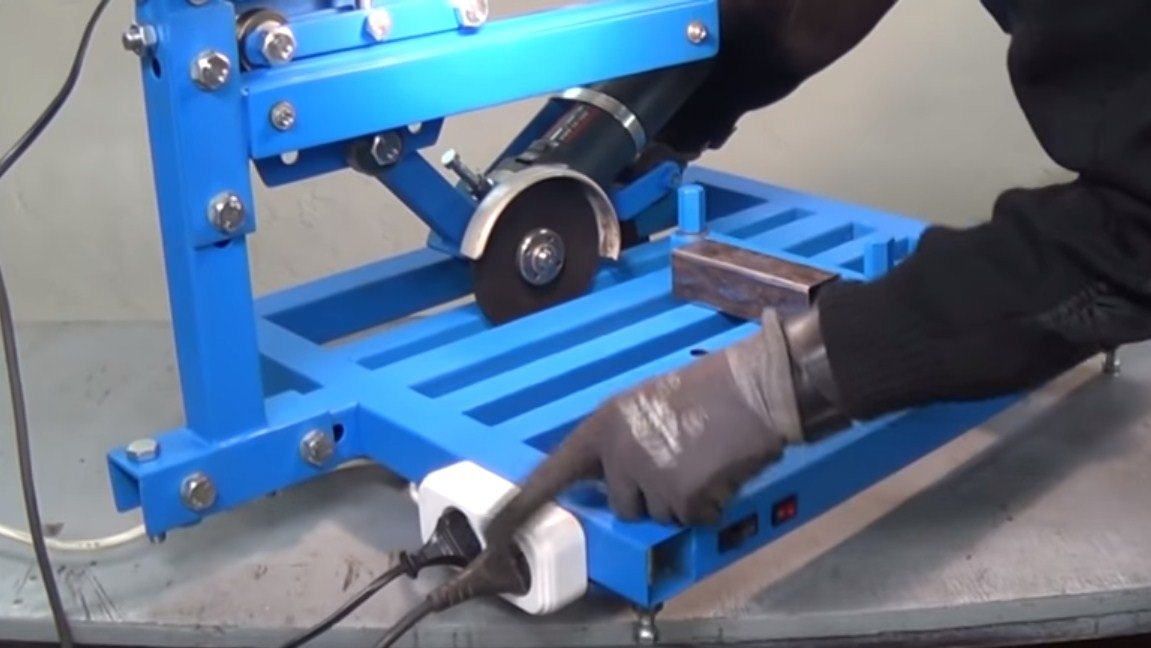
That's all, the machine is ready, now we just have to paint it. After painting, everything became visible in more detail, the machine looks great! I hope you enjoyed the project. Share your opinions on homemade products. Good luck and creative inspiration, if you decide to repeat this. Do not forget to share your ideas and homemade things with us!