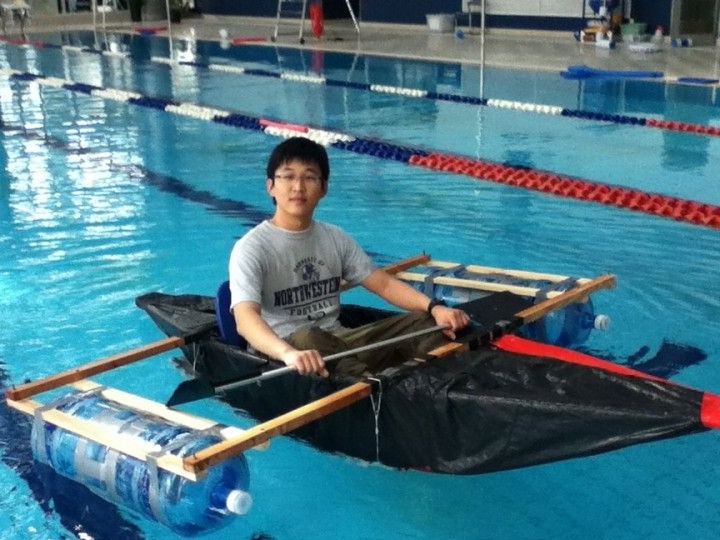
Summer is coming, and therefore the swimming season. It would be nice to craft a simple boat using plastic pipes. To create such a boat will take about one month, and a school pool is suitable for testing it.
Step 1. Required Materials
For a boat:
• plastic pipes (PVC) - 122.5 cm
• plastic pipes (PVC) - 401.3 cm
• wood board - 1 × 0.5 m
• plastic clips - 50 pcs.
• adhesive tape - 2 rolls
• foam block - 2 pcs.
• foam rubber - 30 × 30 cm - 2 pcs.
• nylon thread
• chair - 1 pc.
For supports (optional)
• wooden slats - 122 cm × 5 cm
• bottles (for water) - 4 pcs.
• Super glue
• screws (for drywall) - 8 pcs.
For oars
• aluminum pipe - 225 cm
• acrylic sheet - 40 × 40 cm
• bolts, nuts, washers - any sizes, 4 pcs.
Production Instruction:
Step 2. Boat frame
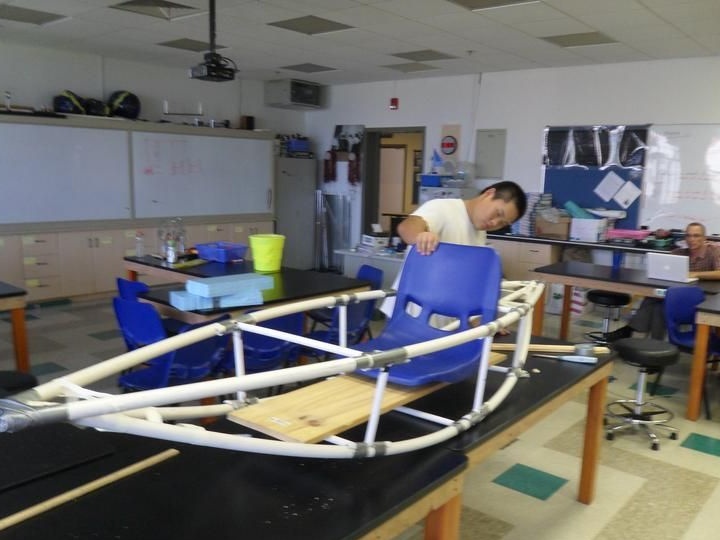
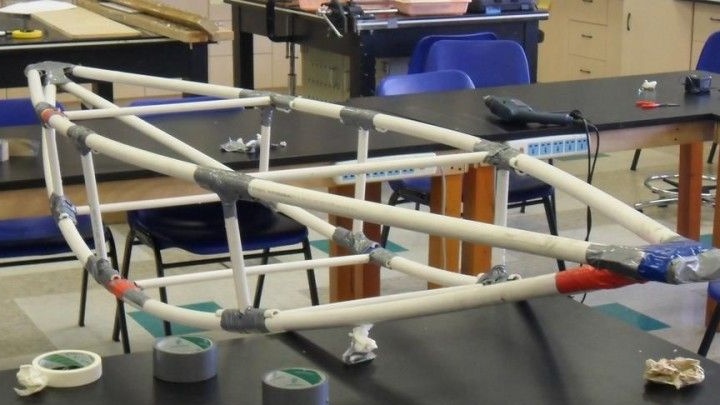
For the frame of the boat, it is necessary to cut the plastic pipes into 4 parts: (for the upper part) 2 × 2.5 m, (for the lower part) 2 × 2.7 m. These parts are the supporting frame of the boat. Each pipe must be cut at an angle of 45 degrees.

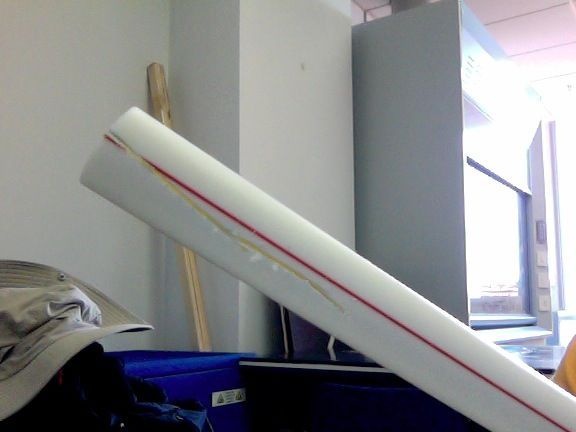
For the supporting part of the frame, you need to cut 1.3 cm of the plastic pipe into 2 × 70 cm, 2 × 60 cm, 4 × 35 cm, 2 × 40 cm. The photo shows how to cut the support pipes on each side to secure them.
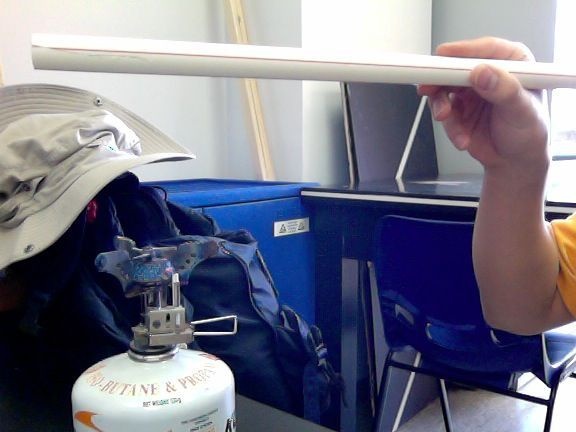
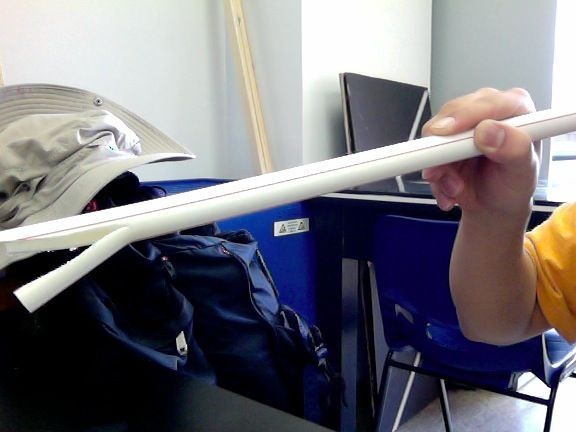
For the manufacture of the frame, it is necessary to connect the ends of two cut pipes of 2.5 m with adhesive tape. They are held together tightly “face to face” so that the boat does not break and does not drown. You can also use epoxy glue to better bond parts of the frame.
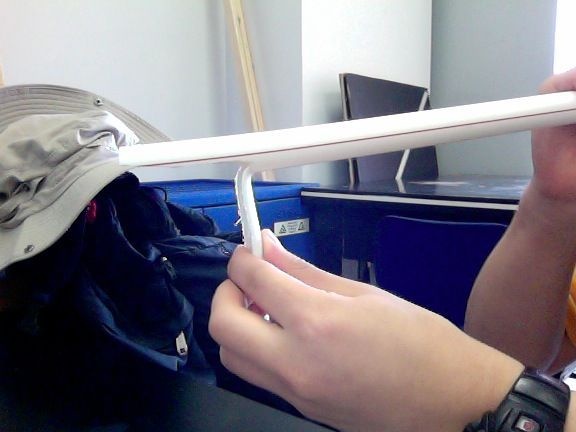
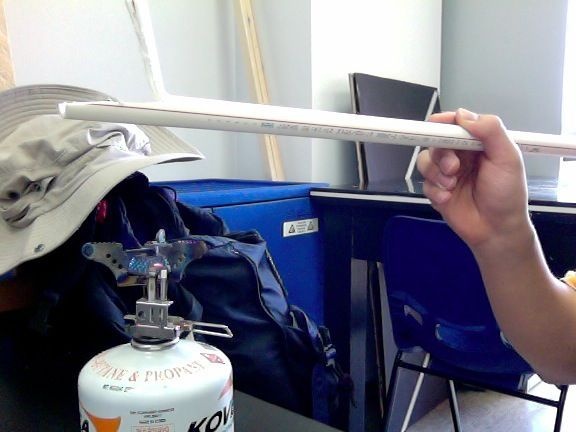
It is necessary to drill holes in the upper and lower parts of the frame, and then connect them with copper wire.
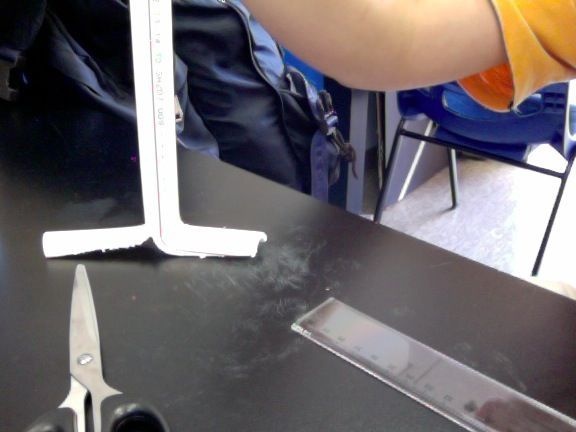
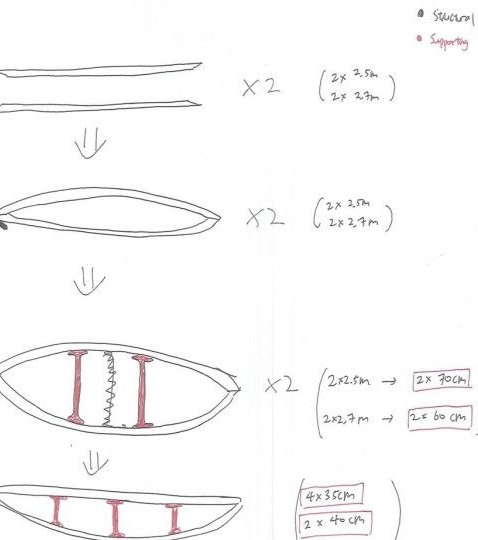
It is necessary to add support pipes of the frame.
Step 3. Fastening the chair and foam
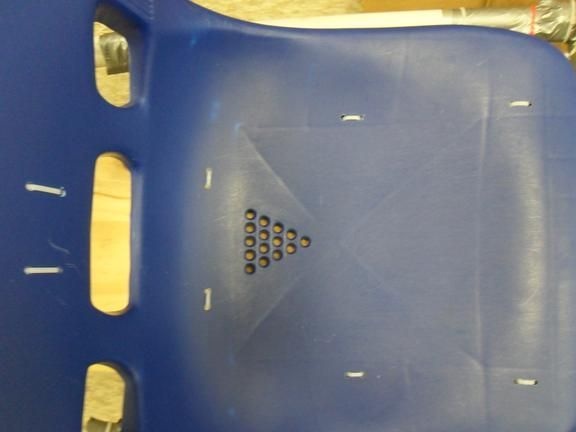
A wooden board must be secured to the bottom of the base frame using plastic ties. To do this, it is necessary to drill several holes in it. Also, several holes must be drilled through the chair and boards, and fix the chair on the frame, using ties.
Step 4. Covering the frame
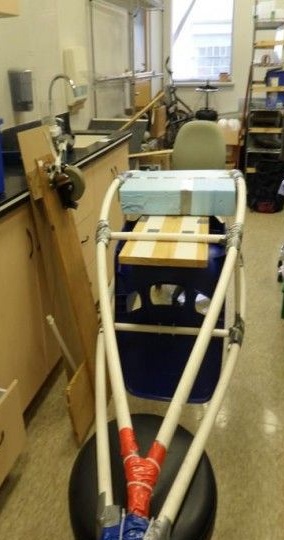
In order to cover the frame with a plastic tent, it is important to first make sure that it does not pass water. First, the kayak is turned over, and then covered with a tarpaulin diagonally, all the extra, outstanding parts are laid inside the boat.
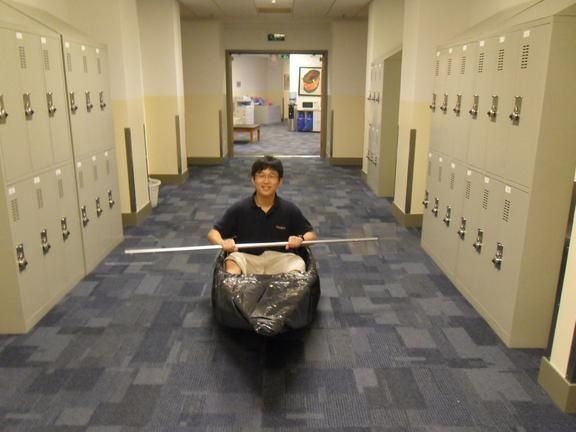
The tarpaulin is fixed with tapes on both sides and fastened with plastic clips to the frame. If the casing is with rings, then they can also be fixed to the frame; for this, holes must be made on the frame.
To avoid unnecessary resistance during swimming, it is important to straighten the folds of the skin as much as possible.
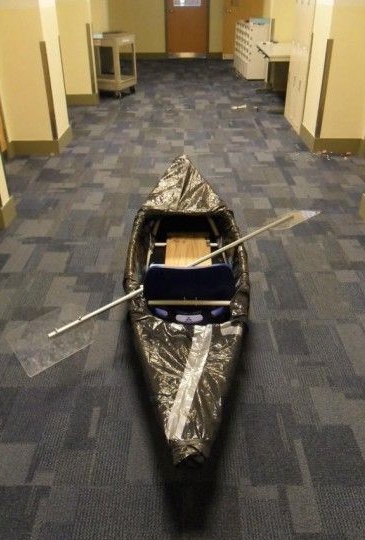
Foam is added to the bottom after fixing the skin, but carefully so as not to spoil it.
Step 5. Making the oar
To make the oar, you need 2 meters of aluminum pipe, in which 2 holes are drilled from both ends, at a distance of 10 cm from each other. Cut 2 pieces of acrylic measuring 20 × 40 cm and round the edges.
Acrylic is fixed with nuts, bolts and washers, having previously drilled the corresponding holes on the pipe and plate. It is necessary to carefully and accurately tighten the nuts on the plate, as acrylic may crack.
Step 6. Securing the remote buoys
If the boat is unstable on the water, you can attach 2 bottles to the outriggers on each side. You can limit yourself to one side, also effectively.
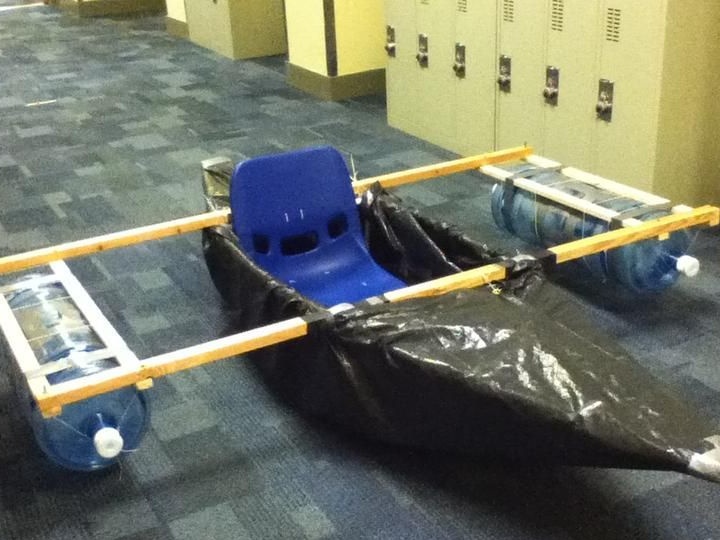
The boat holds well on the water, but it is difficult to row on it due to lack of space for rope, fishing line. Outriggers can serve as such an additional place for storage.
Step 7. First Test
To swim, you can use the pool.
As the test showed, the boat is very stable without outriggers, but it is very difficult to maintain balance at certain points.
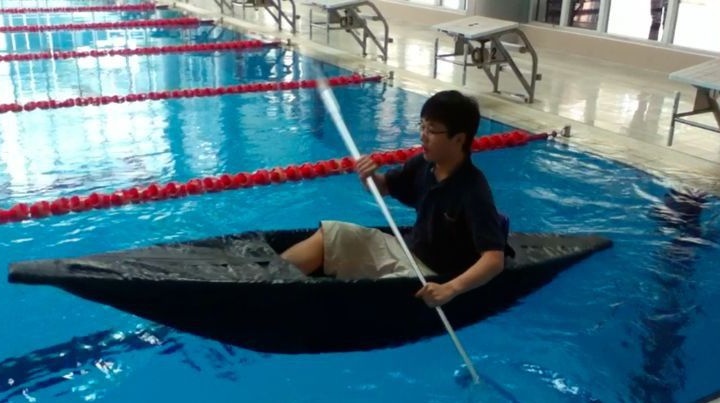
Outriggers provide better stability. To shift the center of gravity, you can move the chair further from the bow of the boat, so the kayak will not lean so much.
Thanks for attention.
It's time to go!
