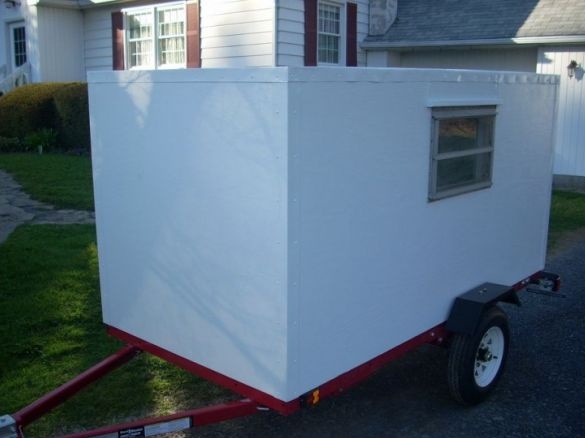
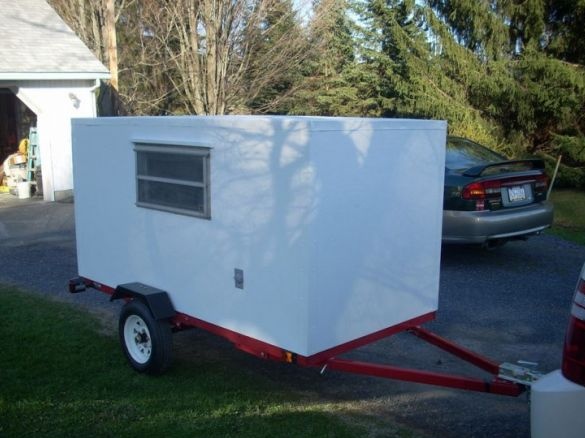
For lovers of tents, life in the mountains, away from civilization, and those who spend all their free time hiking or make various crafts for camping, welcome!
On the one hand, it is good to be alone with nature, but with age, there is a desire to have a comfortable place to sleep.
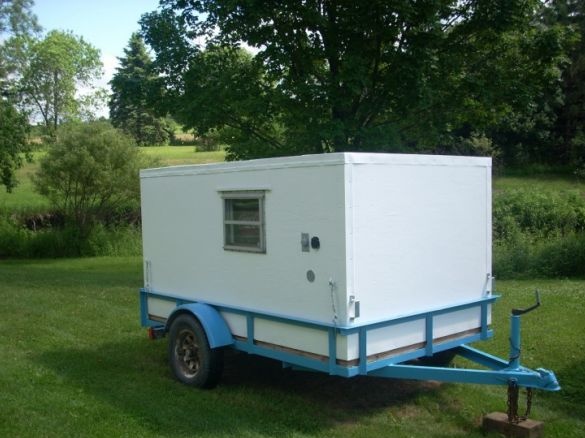
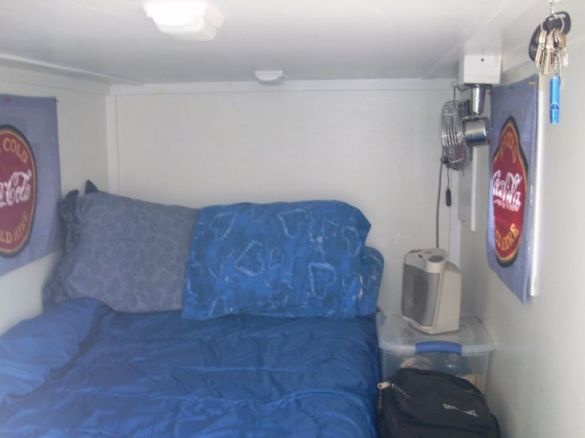
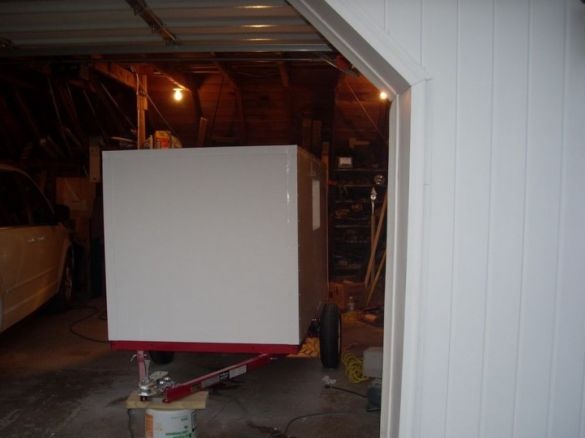
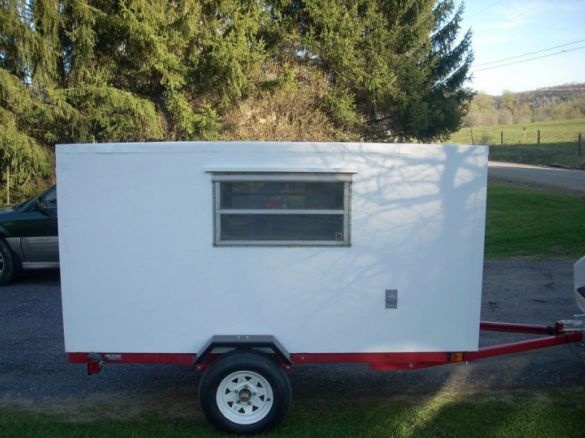
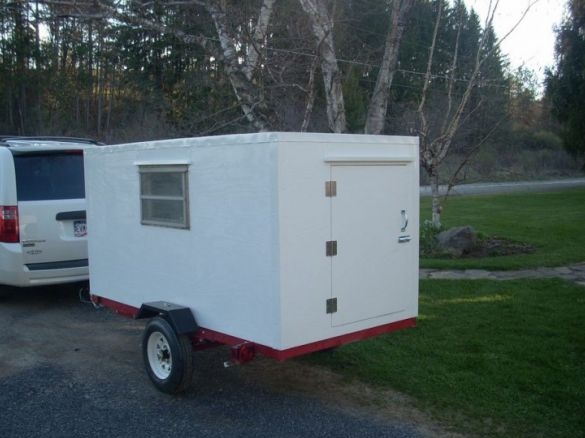
A small trailer for tourist crafts can be very useful, in addition, it is possible to equip a place for sleeping with a mattress in it.
Start with a sketch. The trailer should not be greater than the vehicle in height and width.
Step 1. Base frame
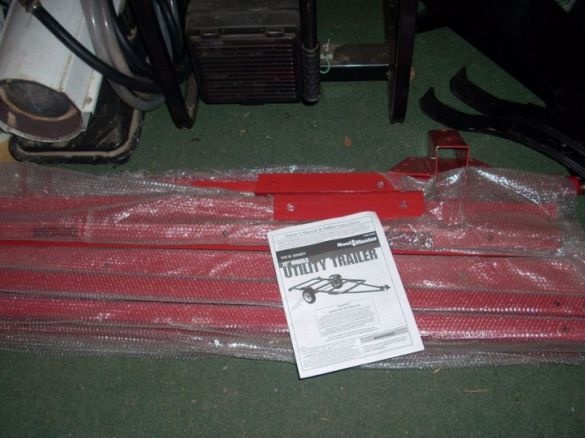
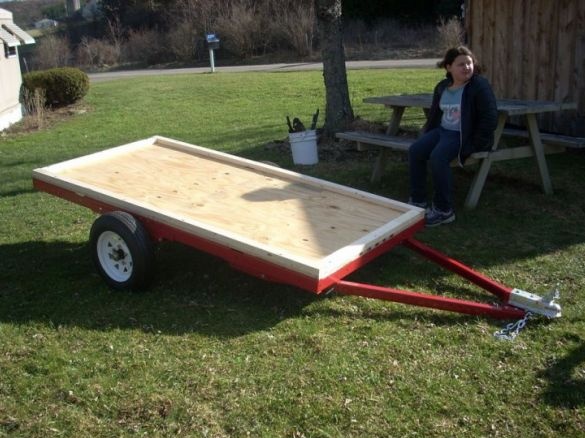
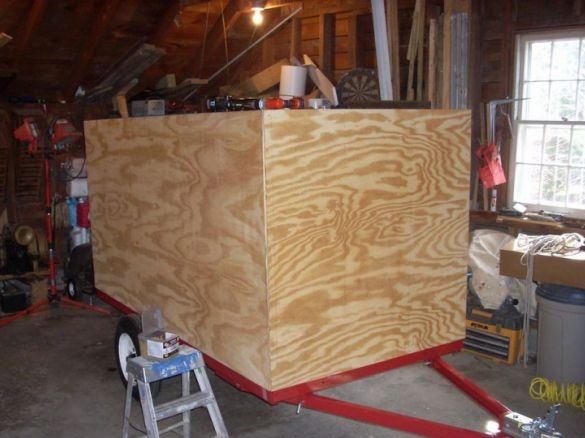
To build the trailer, use the frame of the cargo trailer 1.2 m * 2.4 m
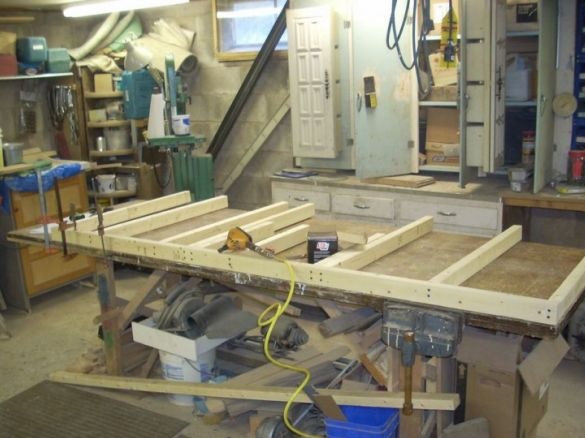
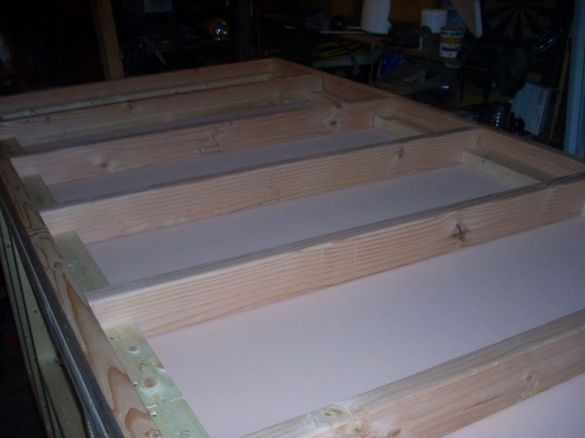
Lay 1.9 cm plywood on the surface of the frame to ensure its strength. Next, install a bar on the outer edge of the floor and drill holes in all the details (bars, plywood, frame) to fix them together with bolts. Such actions will allow you to place the walls on the frame and the trailer will turn out to be strong.
Step 2. Required Materials
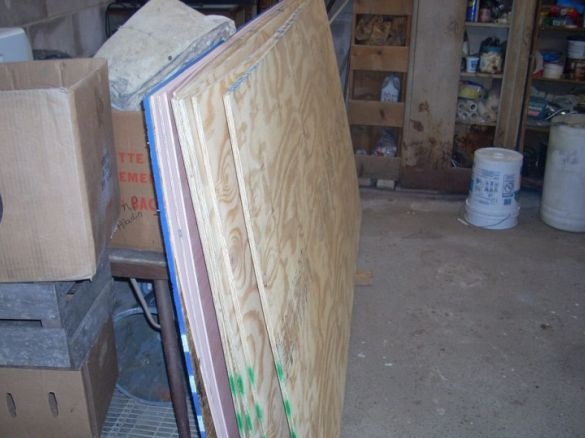
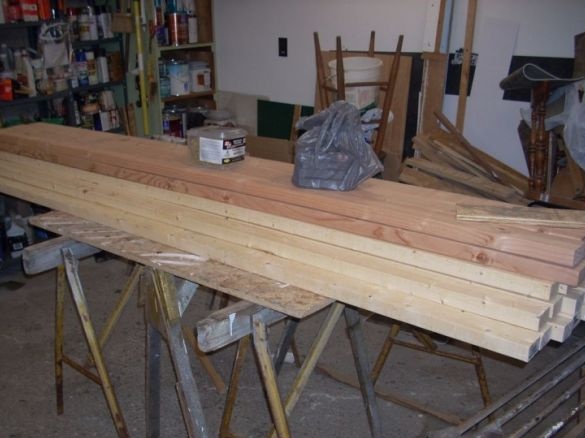
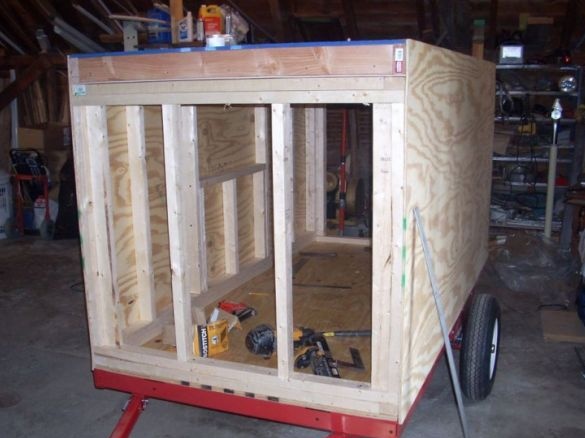
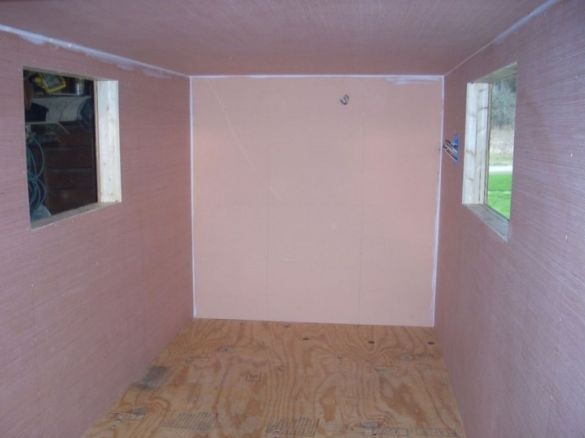
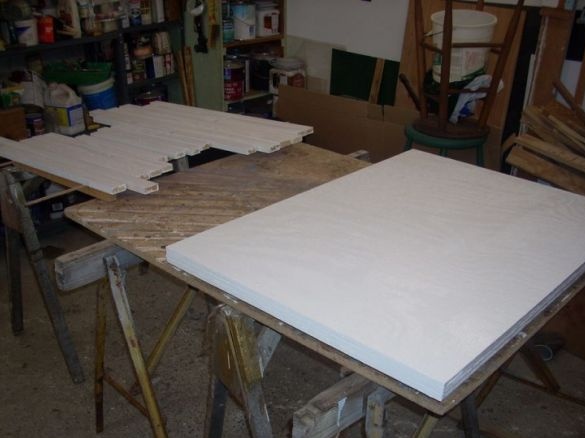
Country trailer of timber, sheathed with 1.25 cm plywood on the outside and 0.3 cm fiberboard with the inside.
Roof from rafters, which are also sheathed with plywood and fiberboard
Step 3. Build the walls
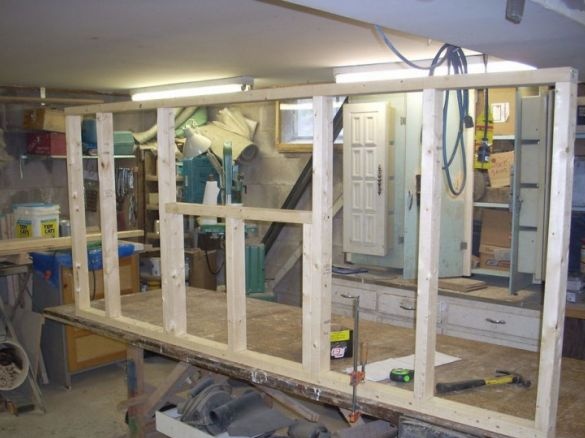
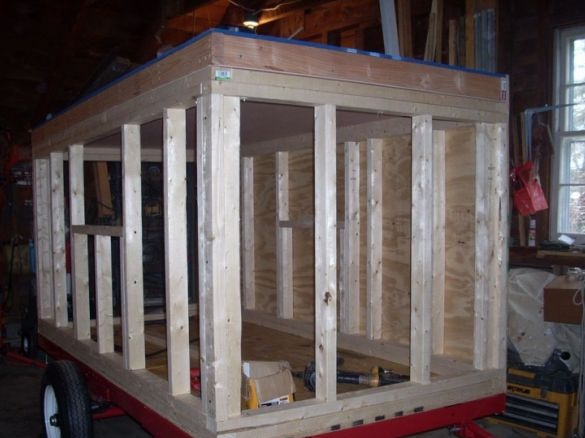
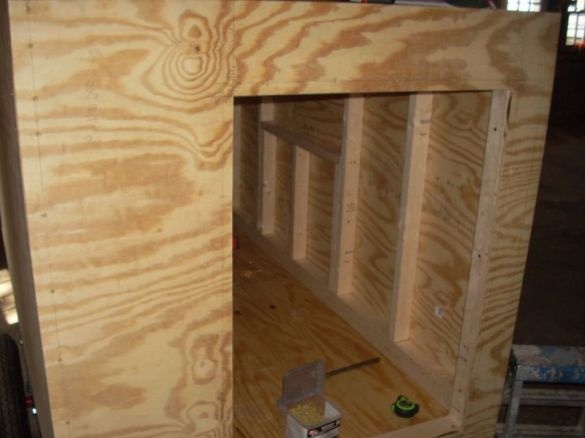
When making walls, pay attention to windows and doors
Step 4: installing the walls
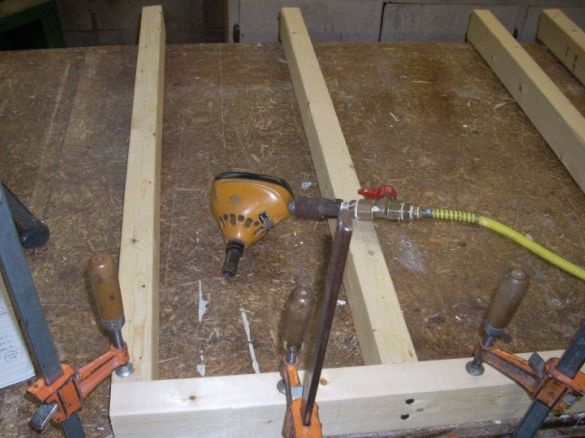
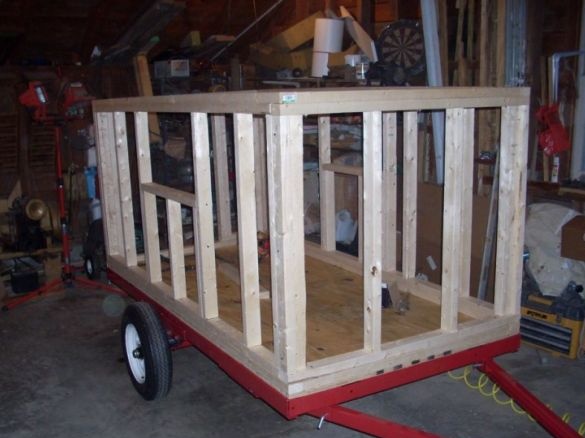
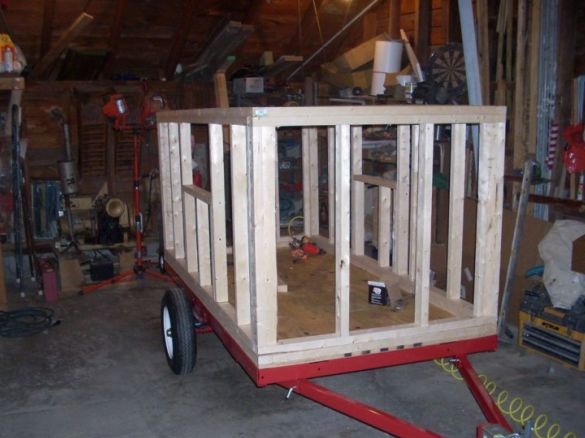
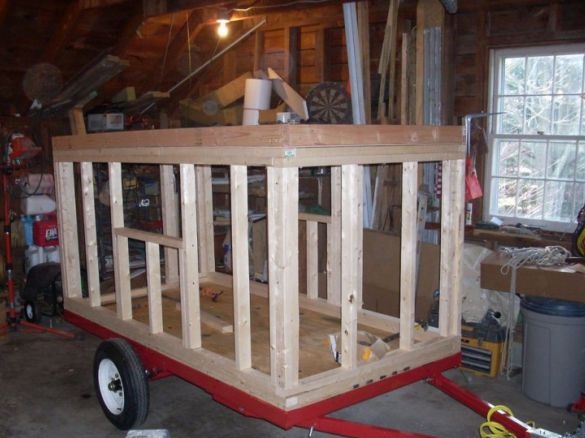
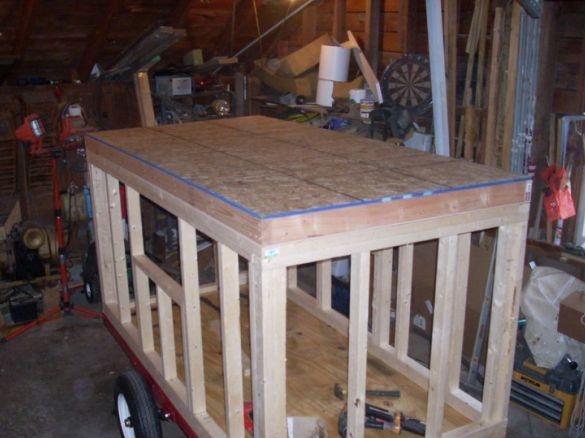
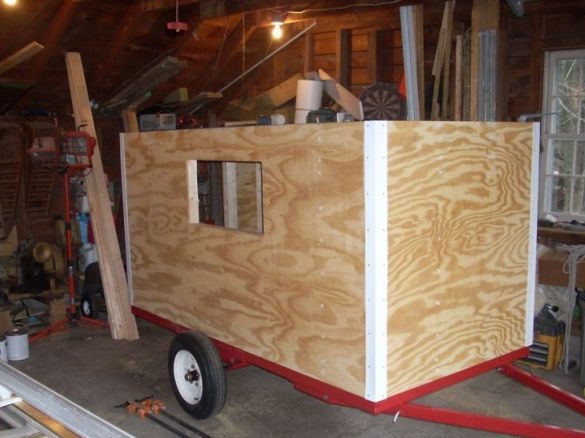
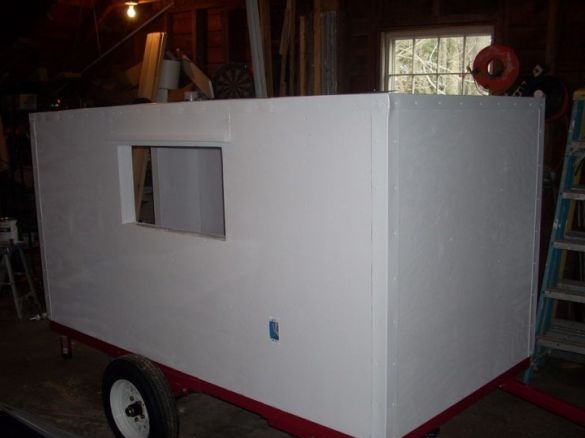
Nail the frame of the walls to the bars, bolted to the frame. Connect the rafter system with the outer cladding and then the windows will be durable. Look at the photo - the top plate connects the walls around.
Step 5. Securing the roof
Before installing the roof, lay out the pieces of fiberboard on top of the walls.
Nail the rafter blocks to the walls homemadeand top with plywood.
Step 6. External cladding
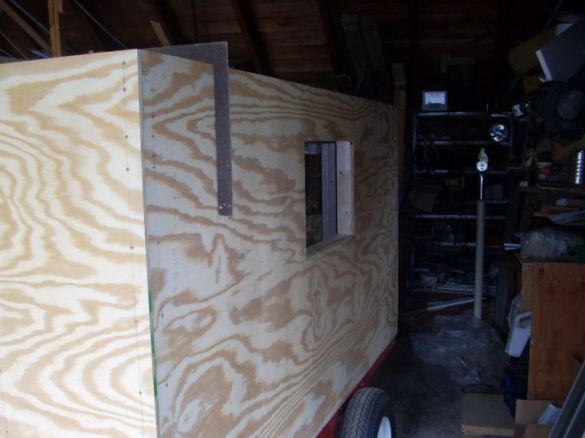
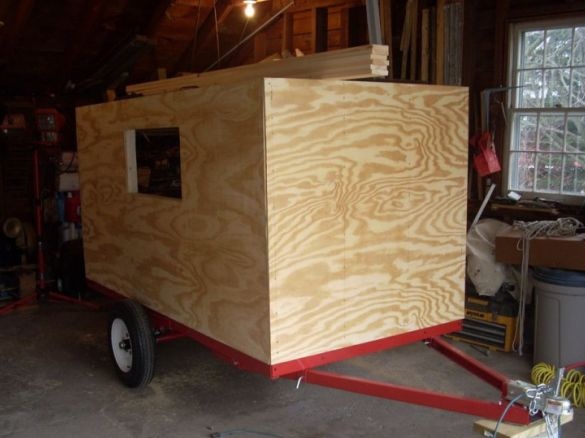
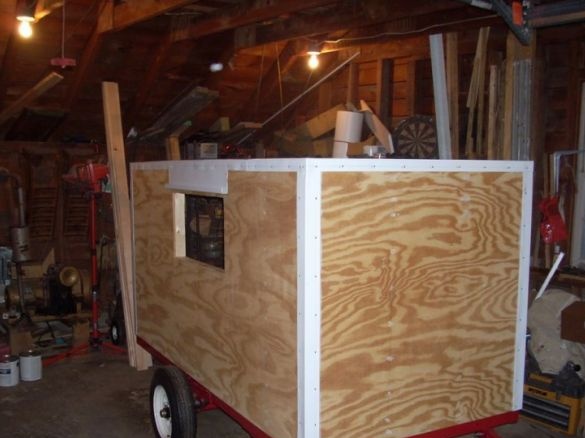
Install the outer cladding, and secure the walls with 3.8 cm screws.
Cut windows and doors, use electric tools.
Step 7. Installing aluminum parts
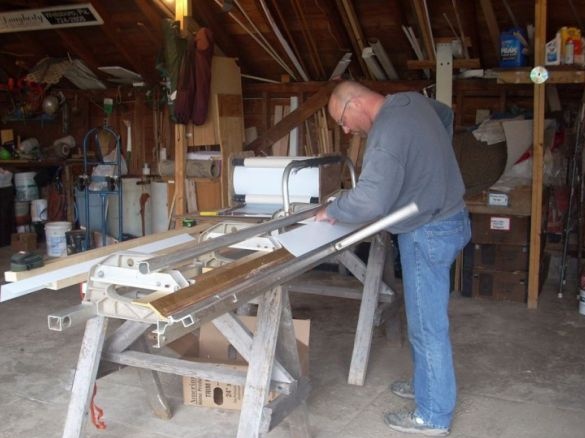
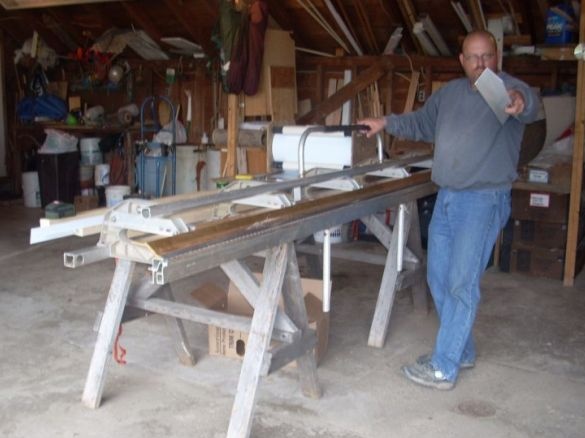
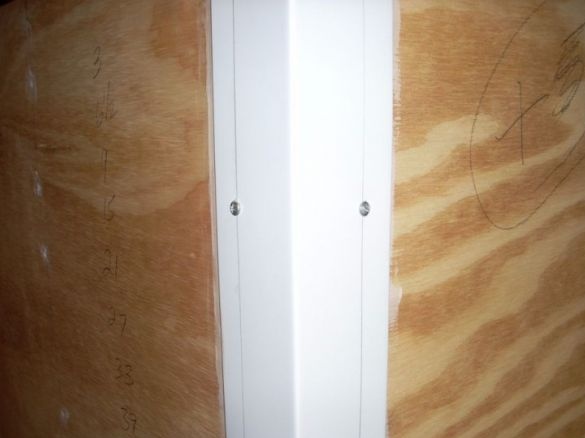
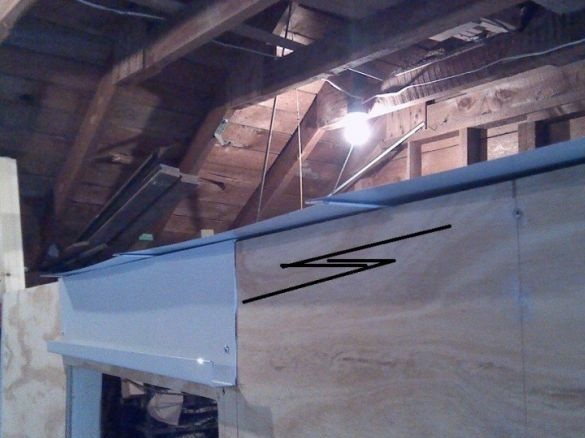
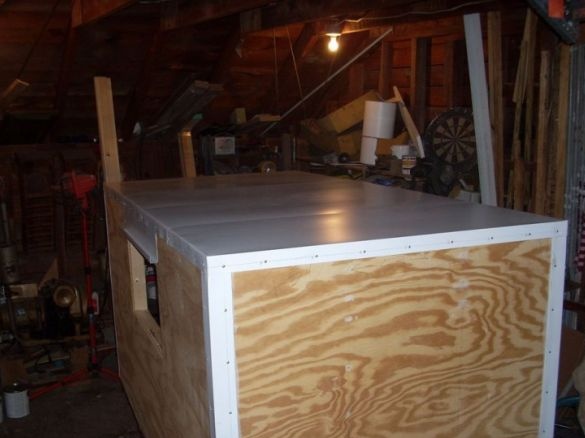
To protect the bare edges of plywood, install aluminum corner pieces. Add gutters to windows and doors. Close the roof with aluminum and your homemade waterproof.
Step 8. Interior design
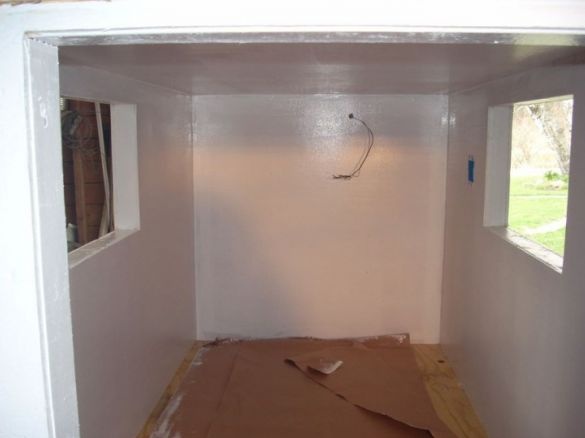
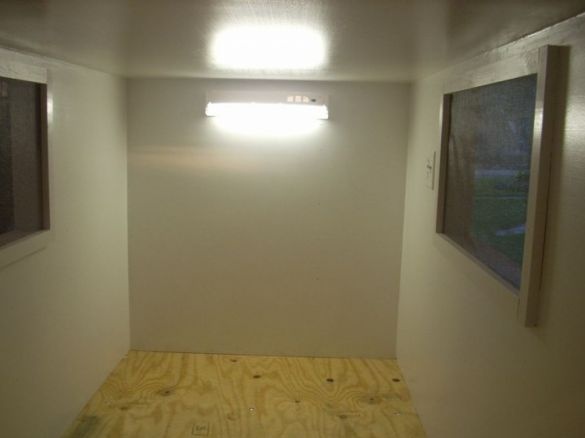
For outlets and lighting, lay the wiring and sew the sheets of fiberboard.
Step 9. Work with the door and windows
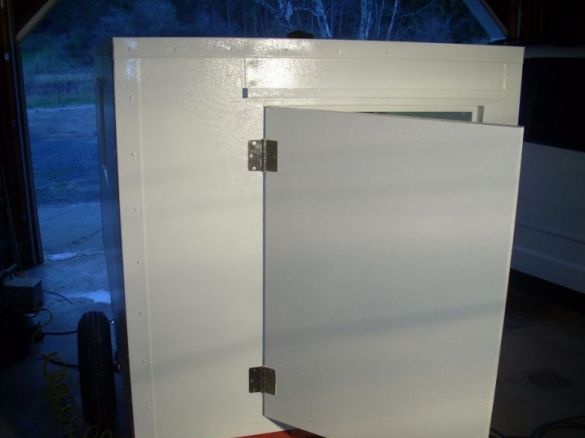
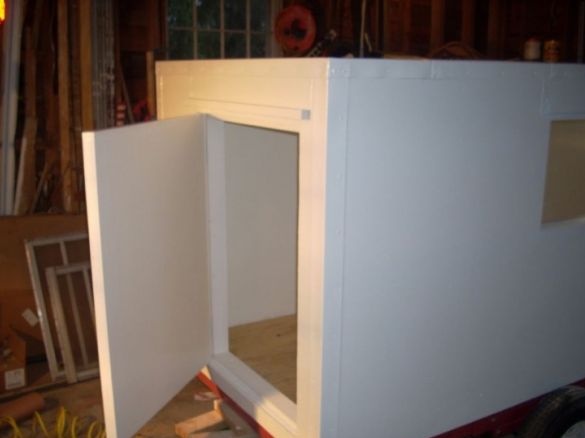
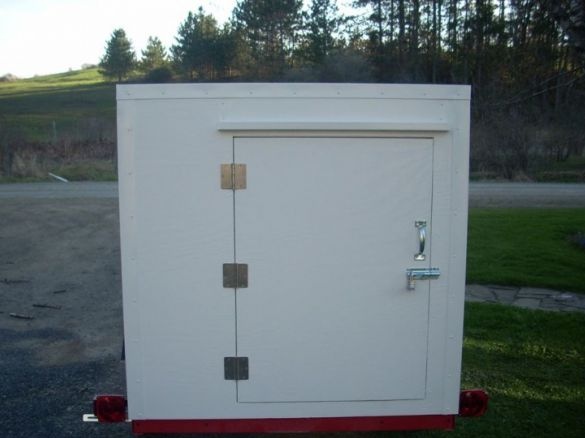
Make the door
Cut the inner trim for windows and doors.
Step 10: painting the frame
Coat the outer and inner sides with a primer.
Use semi gloss facade paint. Coat all the holes and cover with a coat of paint on top.
The wooden parts of the homemade product will be well protected with a primer layer and 2 layers of paint.
Step 11 Lighting and Sockets
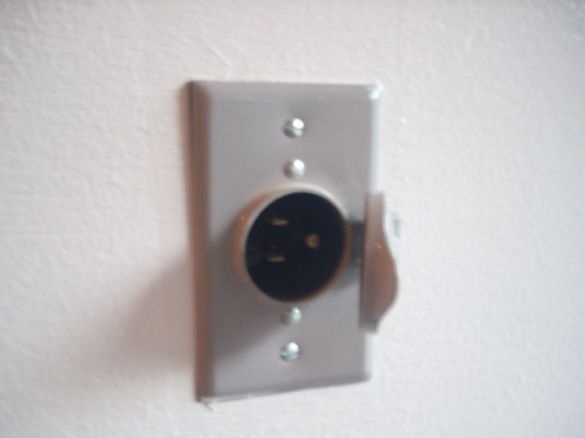
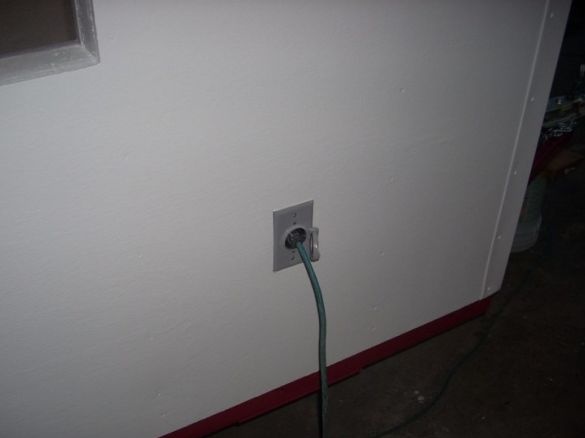
It was the turn to complete work with electricity. On the input socket, install 110 volts 15 amperes
Step 12. Completion
Set screens and windows
Do not forget about the interior decoration of windows and doors
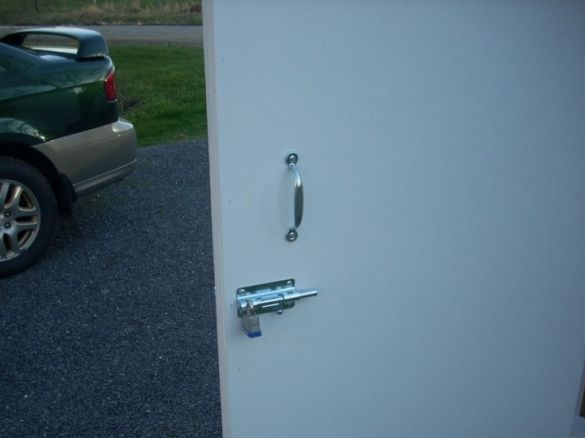
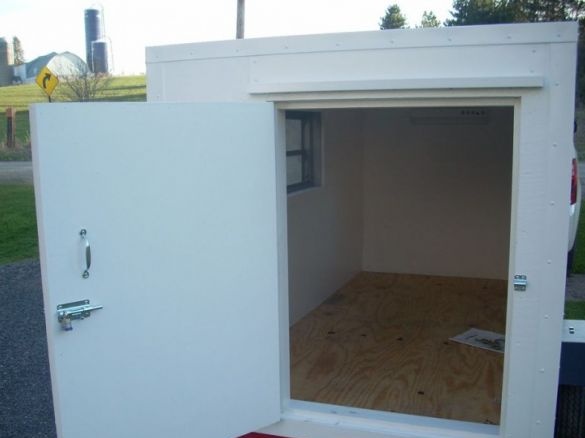
Install the door
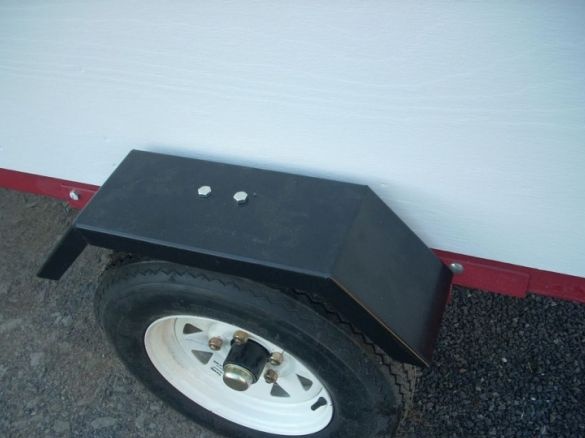
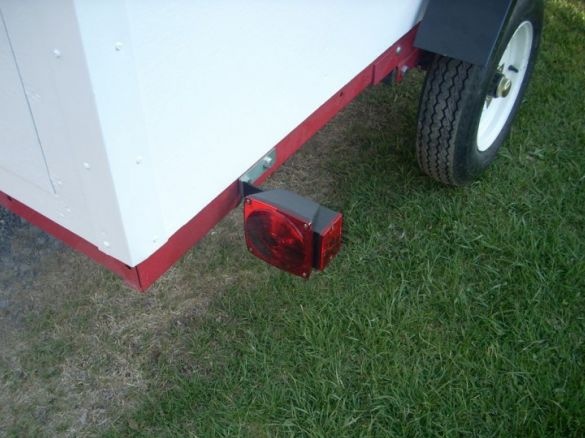
Now you can spend time on the wings and headlights, and apply the third last coat of paint.
Step 13 Final
Thank you for participating!

