
This article discusses the manufacture of a metal feeder feeder.
At the beginning, collect determine your place of work, collect material, tools, accessories.
Material Required:
- Two steel billets 60x80mm, 10 mm thick;
- Two pieces of wire 6 mm in diameter and 20 mm long;
- Auxiliary workpiece, 30x80mm, 5 mm thick;
- Metal mesh in a square from 4 to 6 mm.
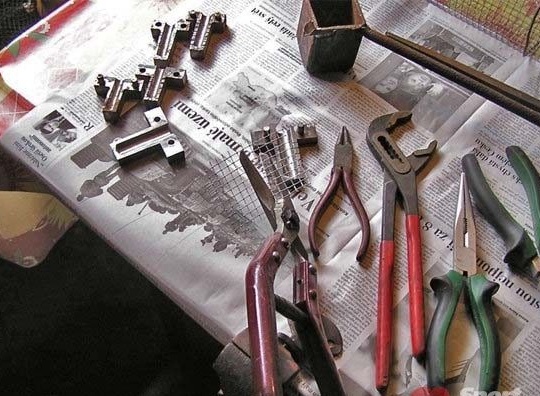
Tools required:
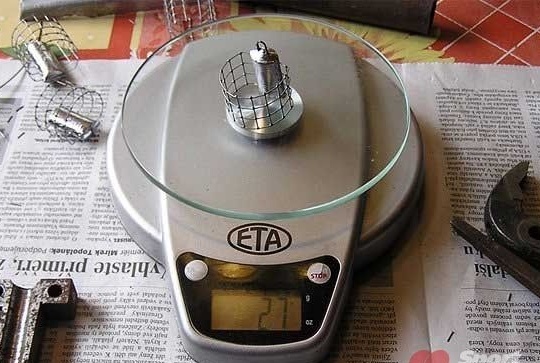
Drill hacksaw for metal; ticks; hammer; anvil; scriber; vernier caliper; punch; pencil and ruler; drills 6 mm and 16 mm; metal vessel for melting tin or lead; Libra.
Beginning of work.
Choose the material for the metal feeder feeder, or rather a steel bus, 60mm by 80mm and 10mm thick and an auxiliary 30mm by 80mm, 5mm thick. You must make sure that the metal is soft. Otherwise, it is necessary to remove the hardening.
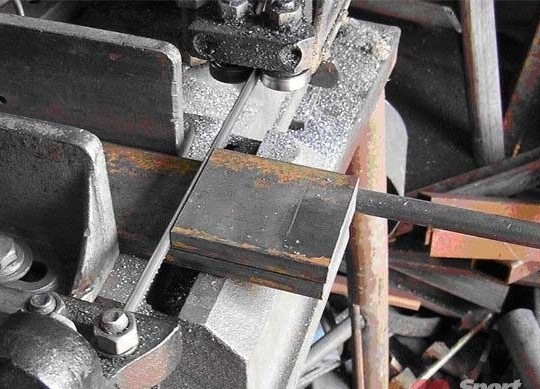
Cut two blanks 60mm by 80mm and one 30mm by 80mm.
You must fold the prepared blanks so that the two main ones are outside, and the auxiliary in the middle and in the middle, aligned along a length of 80mm.
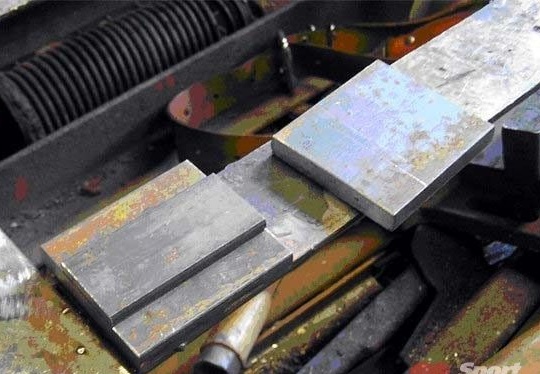
You need an auxiliary blank in order to get an ellipse casting. This form is suitable in any conditions and gives stability on the ground and the necessary strength of the feeder itself.
The resulting “sandwich” must be reliably combined and secured, if possible, by welding at the ends.
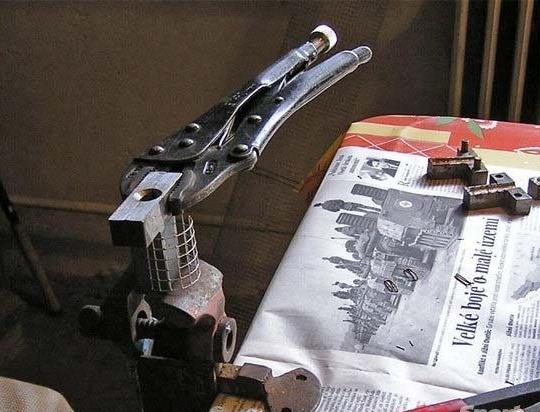
Vise your assembly with the short side up.
From angles at a distance of 10 mm from above and from the side, mark out the holes for the future stoppers of the two halves of the molds. Kerne drill through holes with a 6mm drill.
You can tighten the forms on the stoppers or M6 bolts. Cut the thread on one side. When selecting the locking pins, cut 2 pieces of 6 mm wire 20 mm long.
Sand one side of the pins a little 10 mm in length so that they enter the holes without any play. And untreated, 10 millimeters, hammer under one in parts.
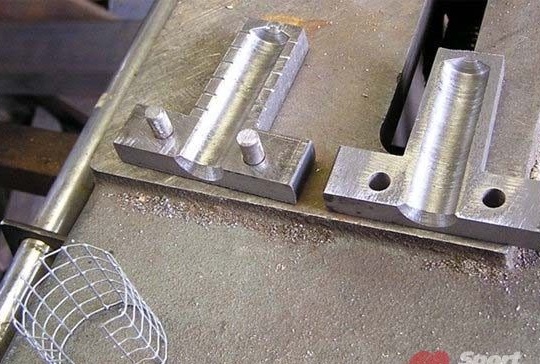
Mark and pivot the midpoint of your “sandwich”, then clamp it in a vice.
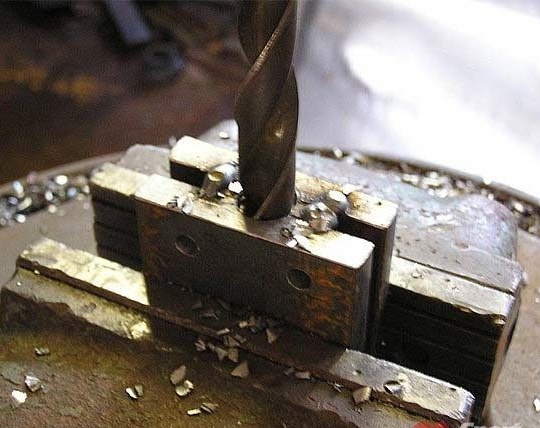
Center the drilling machine so that the hole is perpendicular to the top surface. Mark the immersion depth on the drill so that 3-5 mm remain before the drill leaves. Go through a 6 mm drill, and then again with a 16 mm drill.
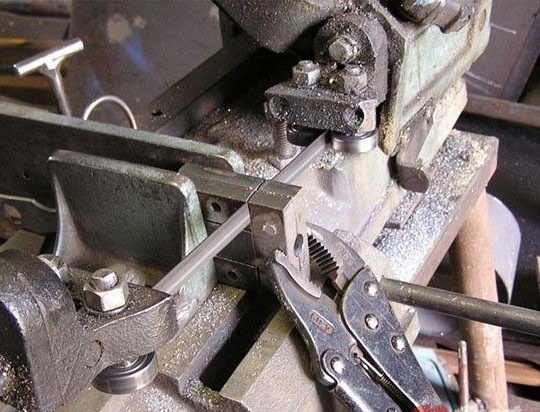
Unclench the details. Remove plate 30 by 5 mm. Combine the resulting two halves and again clamp in a vice. Cut off the excess material with a hacksaw, marking 16-17mm from the edge.
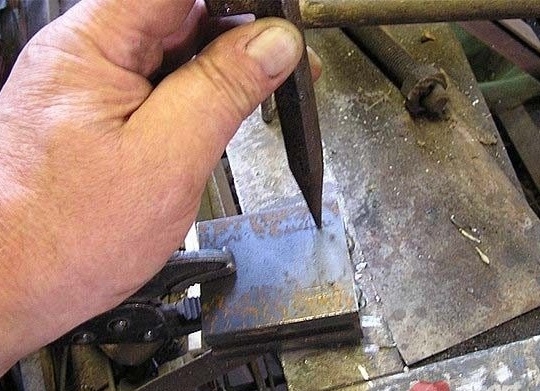
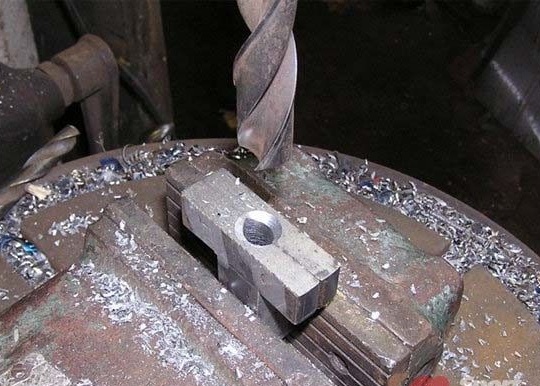
Leave the shoulders on top also 16mm. (see photo)
Then, for ease of casting, make a sweat and expand the neck with a 16mm drill.
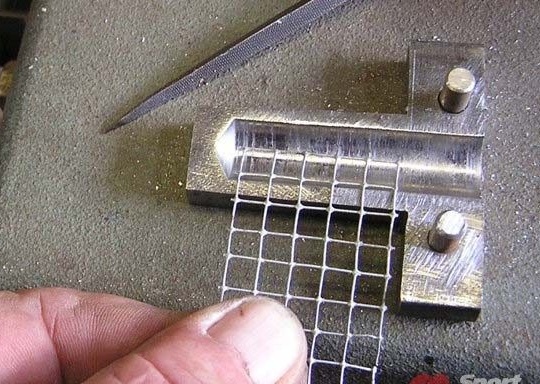
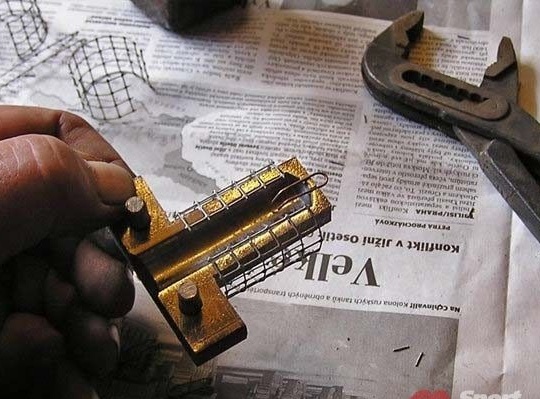
Take the mesh and cut a strip of approximately 50mm by 80mm in it.
Attach a 50 mm edge to the side of one of the halves and mark the sweat points for the net. On both sides of the form, you need to symmetrically make cuts to the depth and along the mesh profile.
From the wire, make an eye for the feeder feeder, with which it will be attached. Saw two sweating for him. Get a snug fit in two pieces. It remains to grind sharp corners and grind roughness for ease of use.
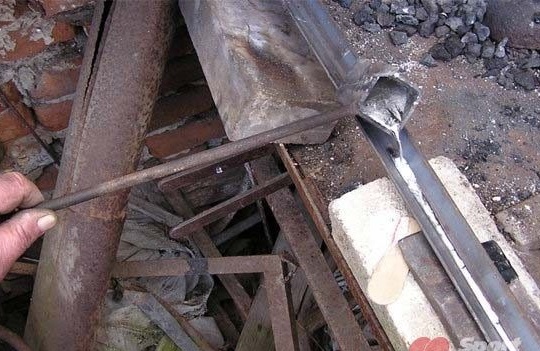
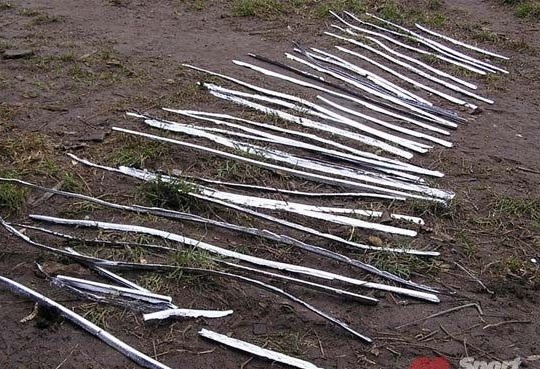
In thick-walled dishes, melt the lead. Remove scale and debris. After that, use a metal corner to cast the lead strip.
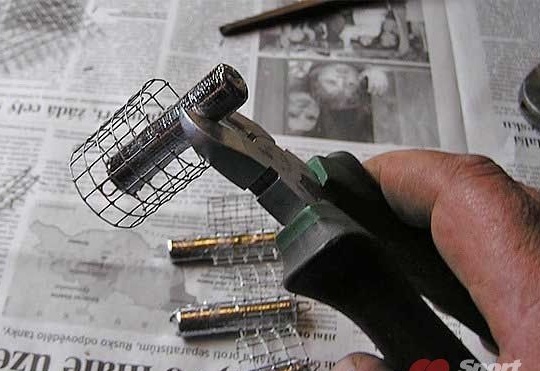
Cut the mesh blanks.
Bend the mesh

Pour liquid tin or lead into a mold and bite off excess
With such a feeder, you will always have a good catch.
Thanks for attention!