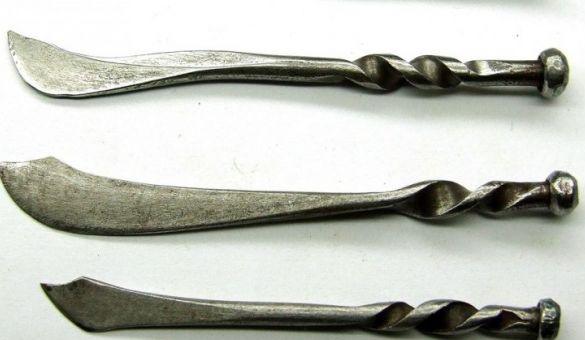
This master class in manufacturing unique things of its kind - sabers from a nail. Suddenly? Then everything is in order.
Before proceeding to manufacture, the nails must be hardened in a cold way; for this, the nail must first be annealed (heated and allowed to cool in fresh air).
Well, let's go! Step-by-step instructions will help with this.
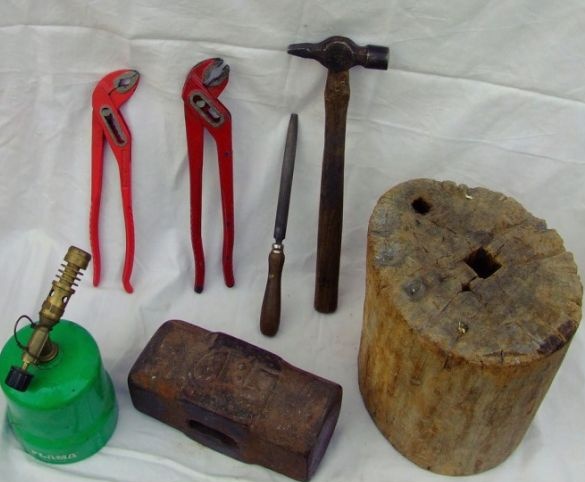
Stage number 1. Materials required
• Hammer;
• Steel for anvil;
• Wooden surface;
• Burner / open flame;
• Pliers 2 pcs.;
• File;
• The nail itself.
Stage number 2. Blade sharpening
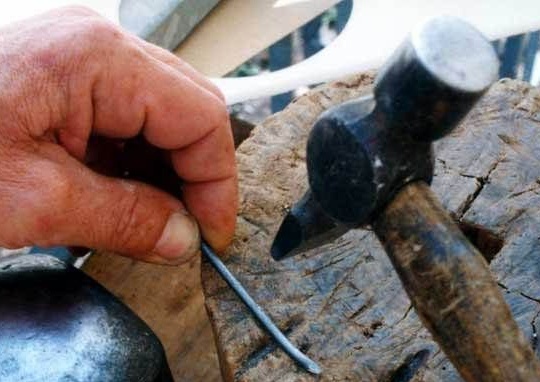
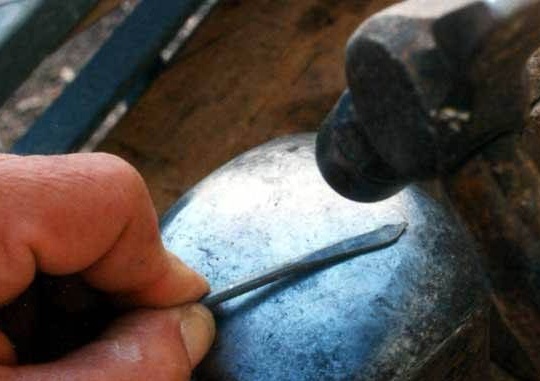
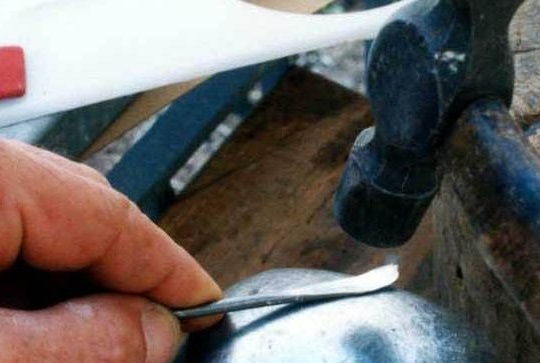
The blade itself should have a smooth transition in thickness: voluminous at the back (cutting edge) and thin on the cutting surface.
Stage number 3: start forging
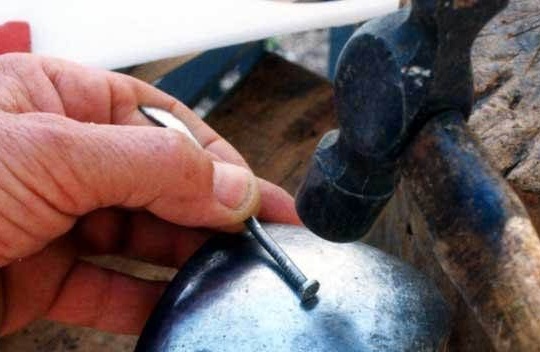
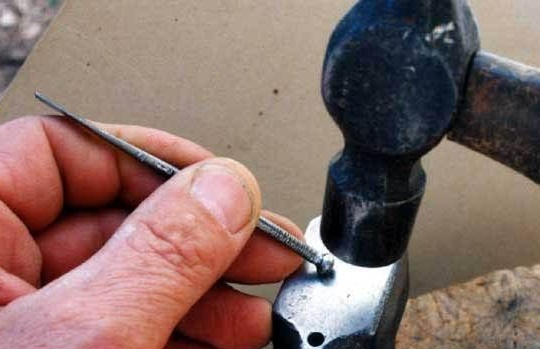
As shown in the photo, we form a blade with a hammer and round off the nail head with pliers, giving the desired shape.
Stage number 4: twist the base
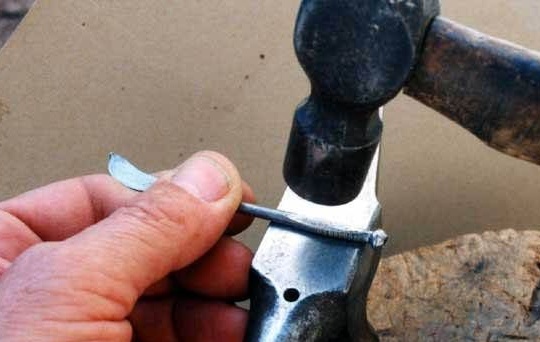
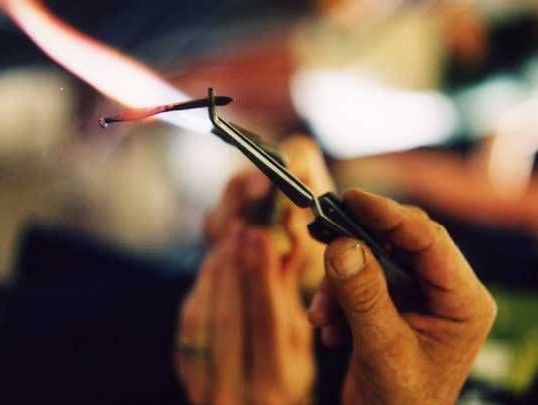
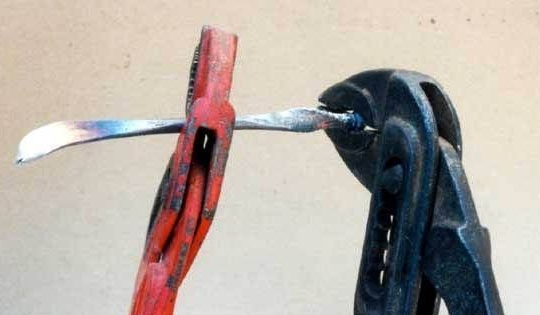
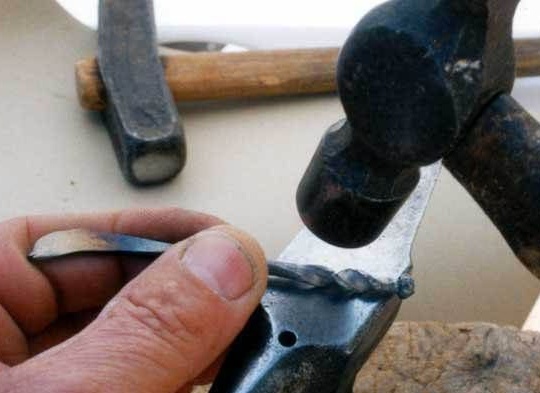
With the help of a hammer and a torch, we do the following: Knead a nail - heat up - using two pliers, twist the base into a spiral. So we get the handle of the future saber.
Stage 5: Finishing Up
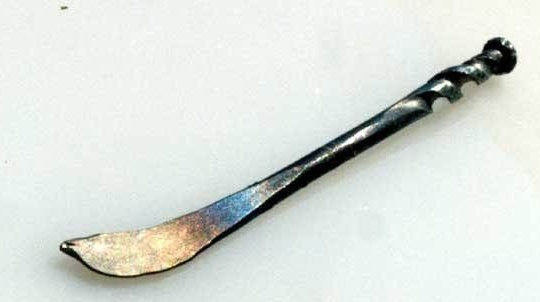
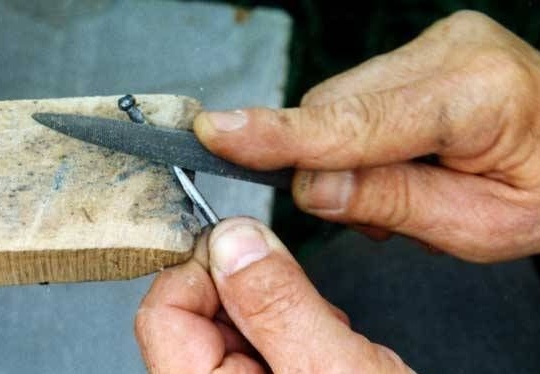
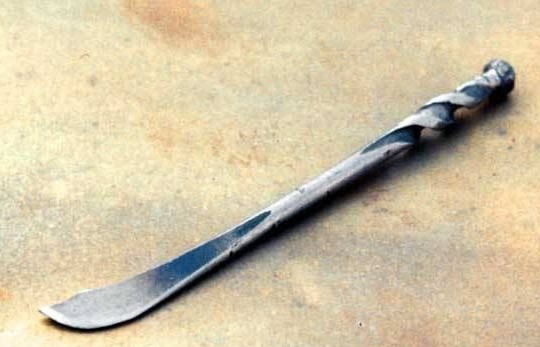
Having run to the file, we begin the process of grinding the saber. Then, we grind the blade with sandpaper, and all the unique little things in your pocket!

