Do you look longingly at your old dusty balcony, long turned into a warehouse of unnecessary things? Everything is easily fixable! A little effort, imagination and low costs will turn this "warehouse" into a paradise for relaxation. So, we begin repair!
Before starting repair work, thoroughly clean the balcony from unnecessary things; throw away all the rubbish and trash. Next, check the strength of all partitions and coatings; in the event of their decrepitude, without regret, get rid of them; clean all voids and holes in the walls and ceiling, and then seal them with any sealant, such as silicone.
After preparing the balcony for construction work, you should decide on the building material used in the future when repairing the balcony. The choice is great: ceramic tiles, lining, paint, wallpaper, various panels or just decorative plaster. In addition, you should choose a good heat-insulating material, since the balcony is always the outside of the house, which means it is heavily blown by the wind and is not protected from rain. We offer you the following choice: for insulation use mineral wool as an affordable and well-proven material; for walls and ceilings, choose plastic panels or lining.
Another important point: before starting repair work on the balcony, make sure the integrity and quality of its glazing; in case the balcony is not glazed, be sure to glaze it. Why is this so important? It should be understood that if there are no glasses on the balcony, or if they are unsuitable, it is impossible to insulate the balcony really effectively, which means there is no point in repairing it.
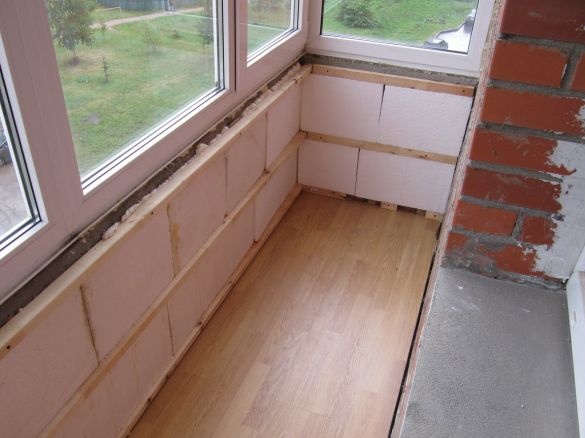
Repair should begin with floor insulation. For this purpose, we need polystyrene foam boards that are distinguished by excellent thermal insulation and the ability to withstand significant loads. An interesting fact: this material is able to withstand so much stress that it is even used when laying roads.Lay these plates on a clean floor of the balcony and fix them with special glue, reinforcing them with plastic dowels for reliability.
After the installation of expanded polystyrene plates, the floors should be poured with a self-leveling mixture and faced with tiles, laminate or linoleum.
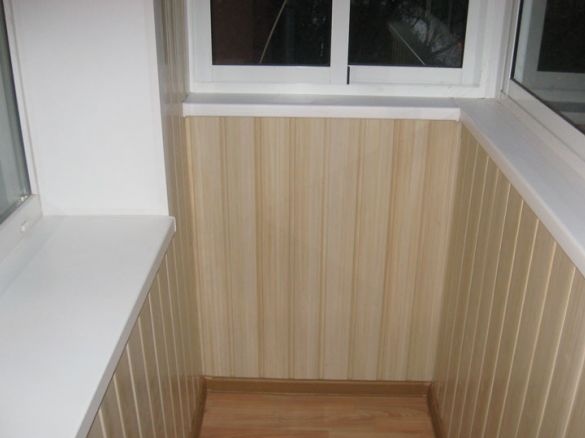
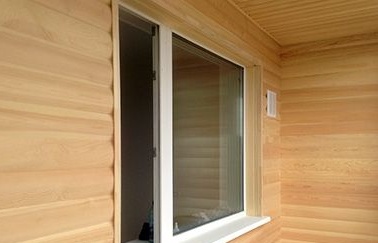
The next step is wall decoration. An ideal option for this is a lining, which has long captivated many homeowners and builders with its practicality, durability, wear resistance and natural beauty. Lining is made of coniferous and deciduous trees, the most popular type is pine lining.
Lining installation is carried out on a metal profile frame; installation of lining with the help of wooden slats is also allowed. When installing the frame, do not forget to use the "level" to avoid problems such as distortions and bumps.
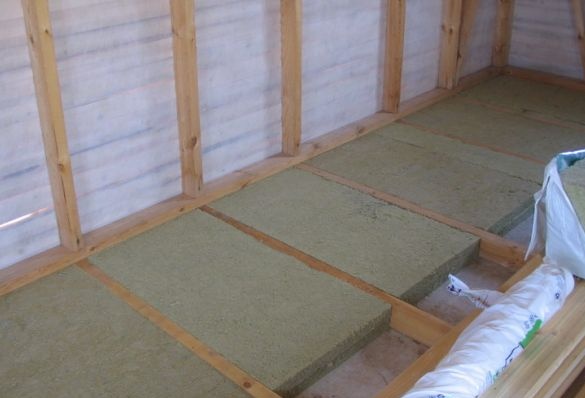
After installing the frame, proceed with hydro and thermal insulation. To do this, prepare insulating materials: ruberoid and mineral wool; then install these materials by attaching them to the walls and frame using wooden battens and nails.
After completing the insulation of the walls, you can proceed with the installation of the lining. Be careful when installing the lining, as any careless action can ruin its appearance and quality of finish. Installation is as follows: special nails are driven into the edge of the lining around the perimeter; after the installation of the lining, the joints of the walls, floor and ceiling are closed with skirting boards.
We are almost at the finish line and all that remains for us is insulation and ceiling decoration. The ceiling of the balcony is a concrete slab that connects you to your neighbors from above. Please note that if the neighbors have insulated their floor from above, then you do not need to insulate the ceiling. If you still decide to take up its insulation or if the floor of your neighbors is insulated, pay attention to the continuation of this article.
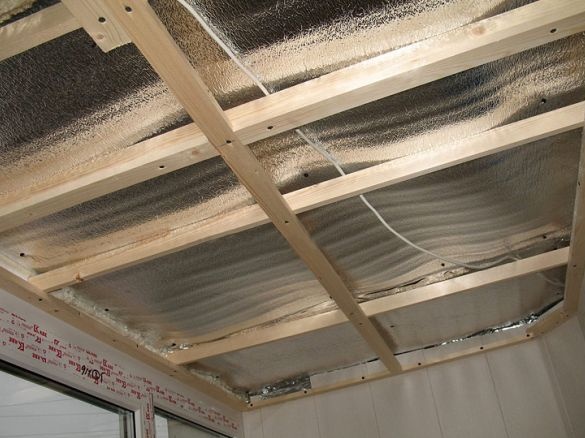
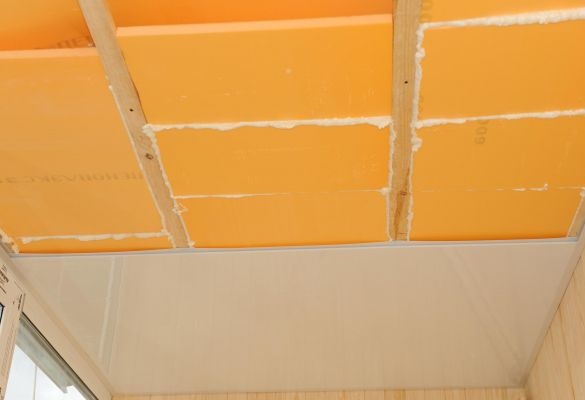
The easiest and most reliable way to insulate the ceiling is to fill the ceiling with boards with a width of about 10 centimeters, edge down. Mineral wool is laid between the boards as a reliable and proven insulation, waterproofing with roofing material is carried out.
All this is fixed with wooden slats, installed across the boards and forming a kind of frame. Further, on this frame, the lining is fixed by the above method; the joints of the ceiling and walls are closed with ceiling skirting boards.
Now it should be placed on the balcony furniture and voila, the small and comfortable room is ready!

