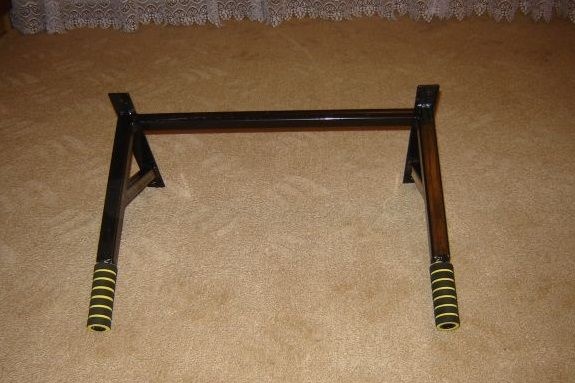
Sport has firmly entered our lives, and today more and more people pay close attention to daily training with weights, jogging, healthy eating and diets. And if you do not need anything other than desire to comply with diet and jogging, weights are not so simple with weight training. Of course, you can replace a full-fledged workout in the gym with a couple of push-up approaches at home, you can completely abandon the workouts, but ... It is much easier to find a reasonable compromise to an expensive gym, a gym that takes a lot of time to and fro. We offer you an excellent way out - to create and install bars for push-ups right at home.
Bars ... Familiar to any man since childhood, sports equipment. The bars are truly an indispensable simulator that allows you to strengthen and tighten the torso muscles, arms, shoulders, pectoral muscles and abs muscles.
How to build this miracle simulator? It’s worth starting with determining its location in the future. It is important that the bars are attached to the main wall, able to withstand the load on the bars equal to the weight of your body. Failure to comply with this condition is fraught in the future with the destruction of the wall on which you install the bars.
Next, prepare the materials necessary for the construction: metal pipes (two pieces, each about one meter long), metal corners of different lengths and with a “shelf” width of about five centimeters, a welding machine, a drill and anchor bolts. A little trick: not everyone is the happy owner of their own welding machine. But this is not a reason to give up, because you can borrow such a device in almost any car repair shop or repair station located near your home.
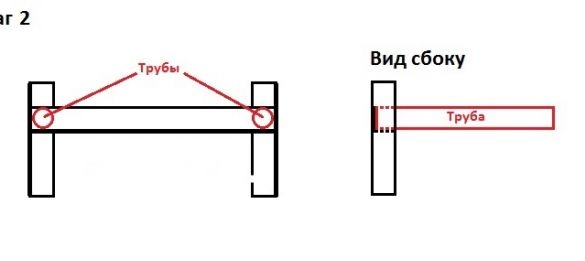
Having prepared all the materials, you can begin to weld them. Take two corners, each about thirty centimeters long, and weld a larger corner down to them with a “shelf”, about forty to fifty centimeters wide, so that you get a figure in the form of the letter “H”.The upper ends of the short corners should protrude five centimeters above the corner; after that there will be holes for attaching the bars to the wall.
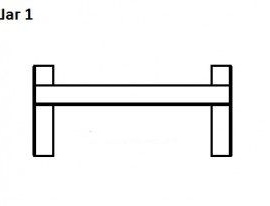
Further, on the “shelf” of the corner, we weld metal pipes prepared earlier from different sides.
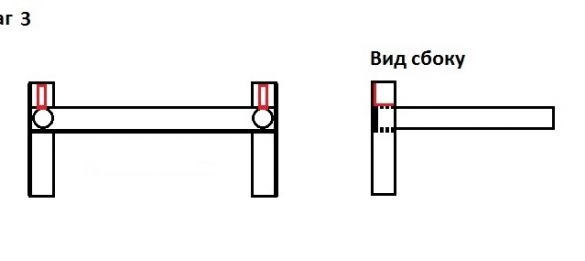
For a more reliable fastening, we weld small corners fixing the pipes above the pipes above the pipes.
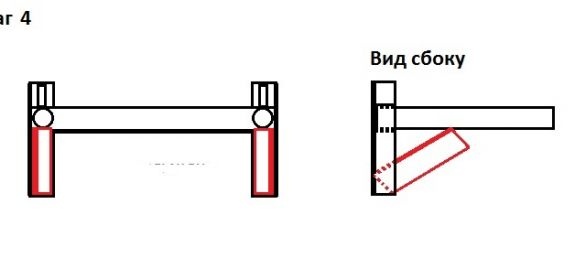
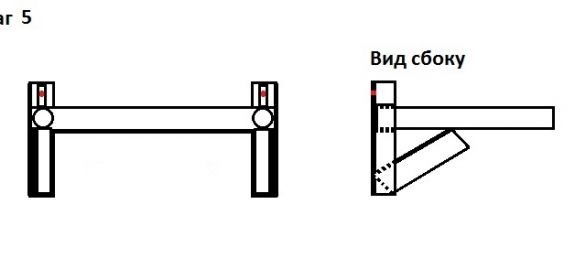
Next, go back to the side corners. From the lower end of each of these corners we weld small corners to the pipes; After performing these steps, the corners with the pipes should be in the shape of a triangle.
Remember the top ends of the corners we left at the beginning? We return to them and drill a hole in each.
Now it's the turn of the wall. We drill it so that the holes in the bars coincide in location with the holes in the wall; in addition, the diameter of the drill, which you will use when drilling holes in the wall and bars, should be the same.
Now we should paint our bars. What for? This will not only improve their appearance, but also save you, and first of all your hands, from traces of oxidizing metal. You can paint with any paint at your fingertips, for example, enamel. After the painted bars have dried, you can proceed to the next step.
Now we can fix our bars on the wall with anchor bolts, installing them in previously drilled holes and fixing them firmly there.
In principle, our bars are ready and you can start training, however, there is one more trick that will bring more comfort to your training on the bars and allow you to give all your best for training at 100!
Yes, this trick is nothing but a winding of the arms of the bars with tape or foam rubber. It is such a winding that will not only make your workouts more comfortable, but also save your hands from corns.

Now you are ready for training, and the figure of Apollo is only a matter of time! Go to the victories!

