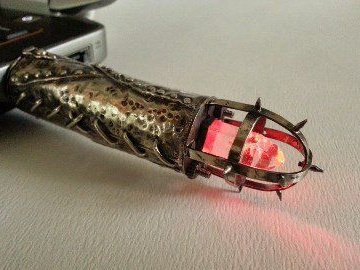
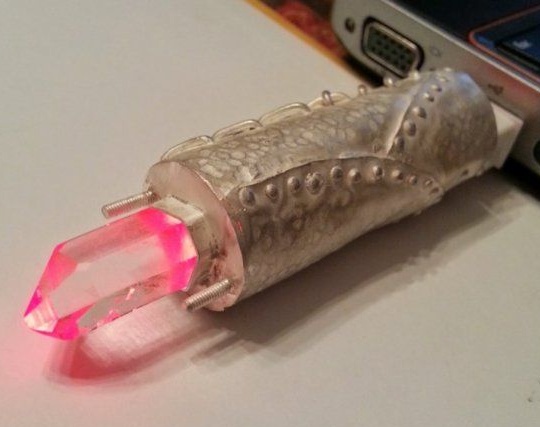
The original design solution, the conversion of a conventional plastic flash drive case into a metal one in a medieval style. The product has a slightly larger size than conventional flash drives, but it looks really unique, and the flickering red crystal at the end adds a magical effect. The decorative case is made of stainless steel, which perfectly protects electronic part of the flash drive from mechanical damage. Such a product can be made to yourself or as a gift to people who are fan of this topic, action movies or gamers.
The author suggests using a card reader as an electronic part of the device. You failure it can be easily replaced with a new one. The project used a card reader with a memory capacity of 64 gigabytes.
In size, the case itself turned out to be 10 centimeters long and 2 centimeters in diameter.
Manufacture
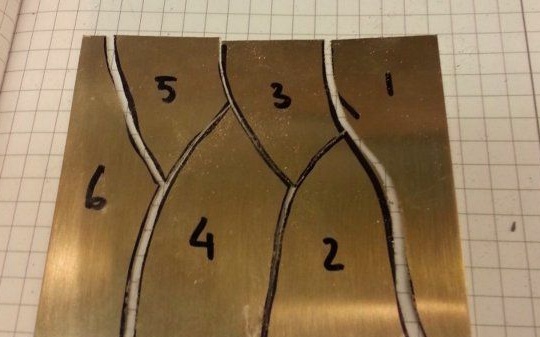
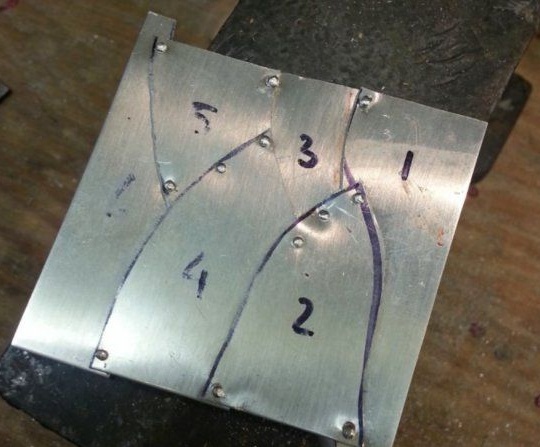
Step 1. Markup
To get started, you need a thin sheet of stainless steel. On it, with a margin at the edges, the contours of metal plates are drawn, from which the main part of the body will rivet.
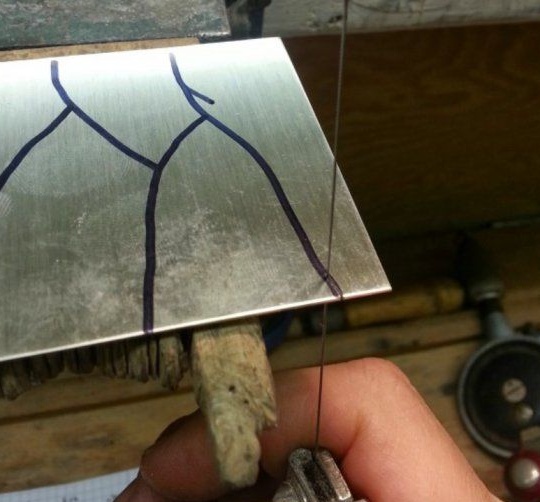
Step 2. Cut the plates
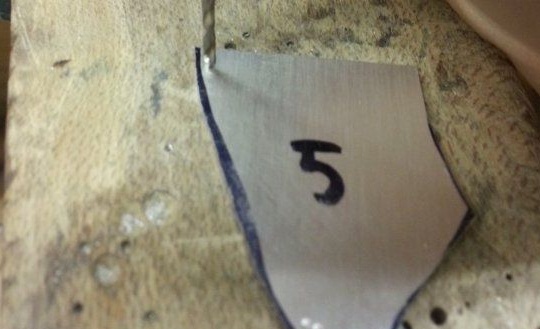
In order to accurately cut out marked plates, you can use a hand file with a thin blade. (If you cut with scissors for metal, the plates will bend and they will have to be aligned). Subsequently, the cut plates will overlap each other and will be joined with rivets.
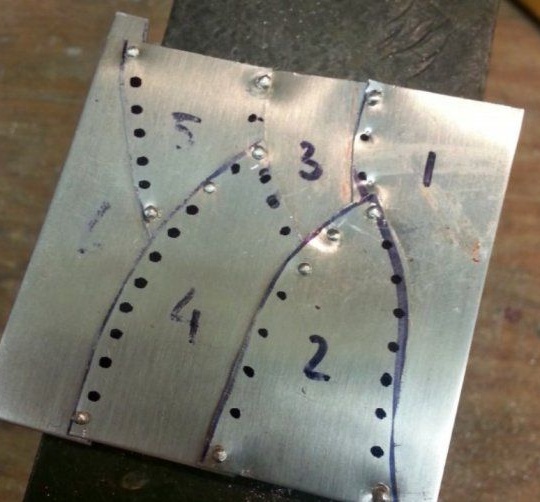
Rivet holes are drilled at the corners of each plate.
In the beginning, we fasten all the pieces together in the corners. For this, stainless steel rivets are used.
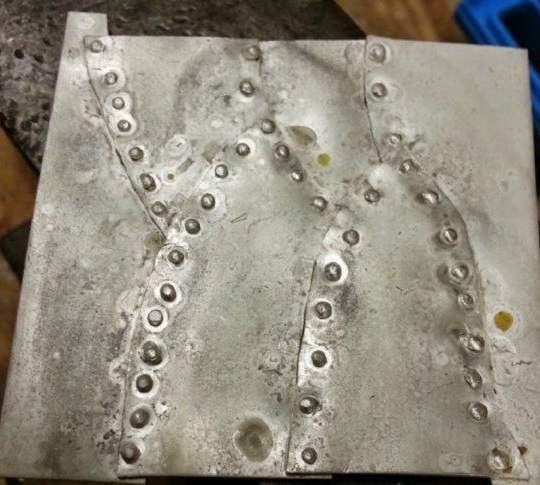
After the plates are fixed with rivets in the corners, we mark and rivet all the joints completely, with a distance between the rivets of about three millimeters. Now the same stainless steel sheet has a much more interesting surface structure.
To strengthen the strength (before bending), the rivets are soldered with refractory tin.
Step 3. Bend the body
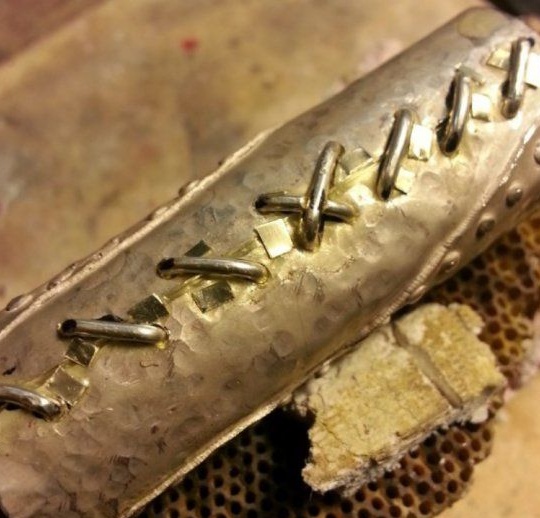
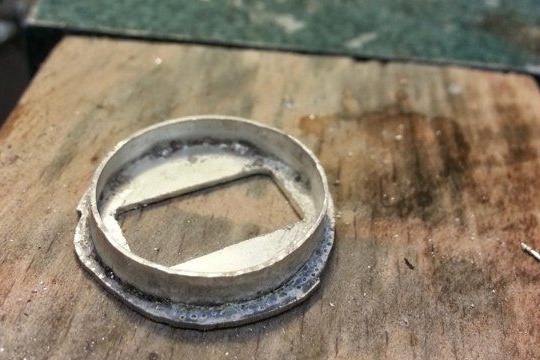
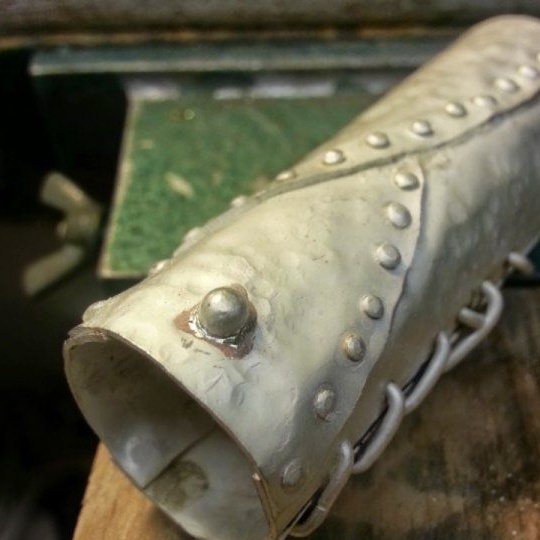
In order for the workpiece to take the form of a cylinder, you need a smooth metal rod of suitable diameter and a hammer (it is better to use a soft hammer made of copper or aluminum). The workpiece bends around the rod and is beaten with a hammer to give a surface relief.
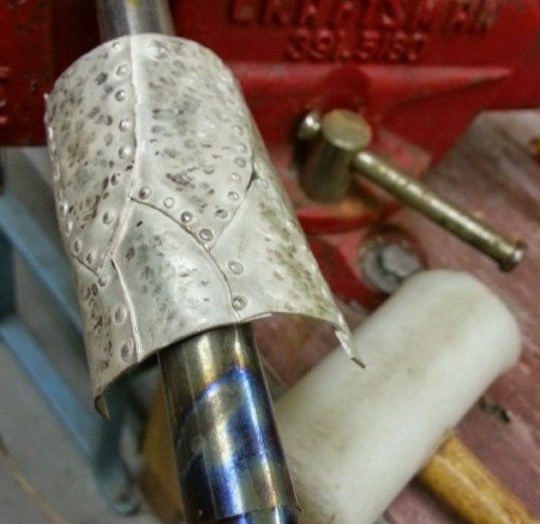
Holes are drilled around the edges and a stainless wire is threaded through the bottom. Seams will give the connection a more brutal look.
Step 4. Crystal
And the same material as the case, a nest is made for planting a crystal.
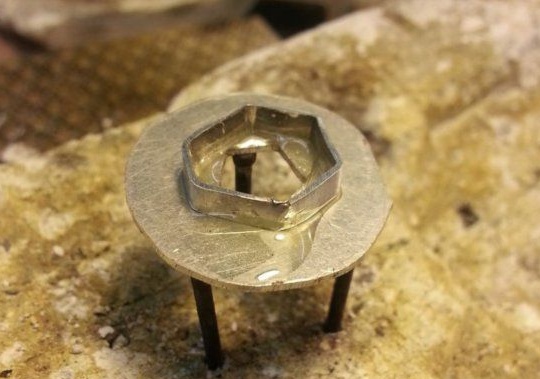
Two parts are soldered with each other.

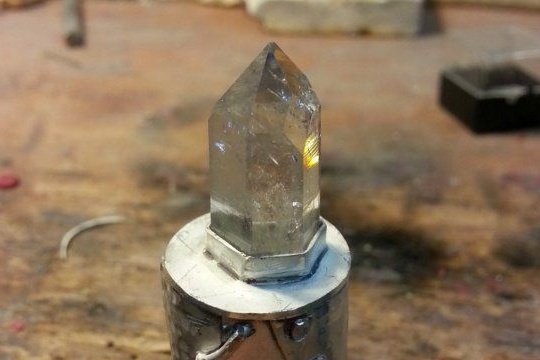
The crystal can be made of thick plexiglass by turning it on a grinding machine and polishing it for transparency. You can find ready made of plastic.
Step 5. Crystal backlight
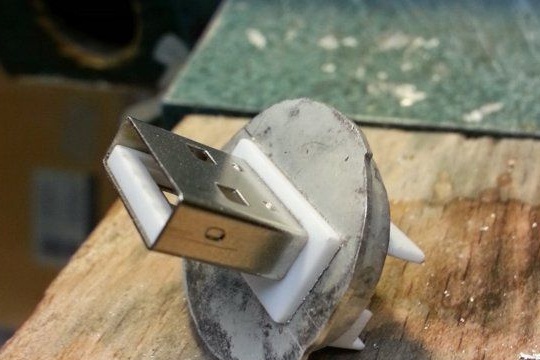
Each card reader has a light indicator. To dissolve it, you need a soldering iron with a very thin sting. We solder the old diode and solder the new one, soldering two wires to it.
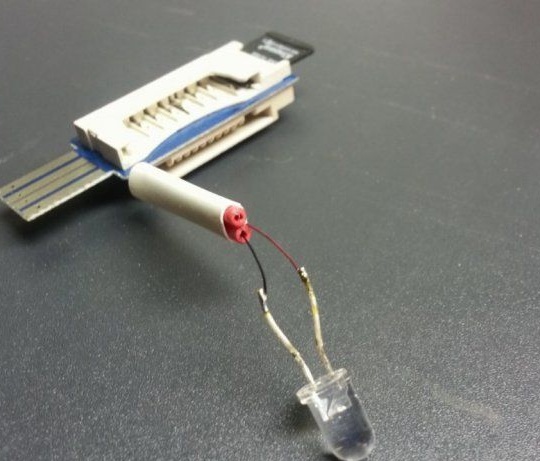
To check how the diode will light, you can temporarily assemble the device and plug it into a USB connector.
Step 6. Crystal Protection
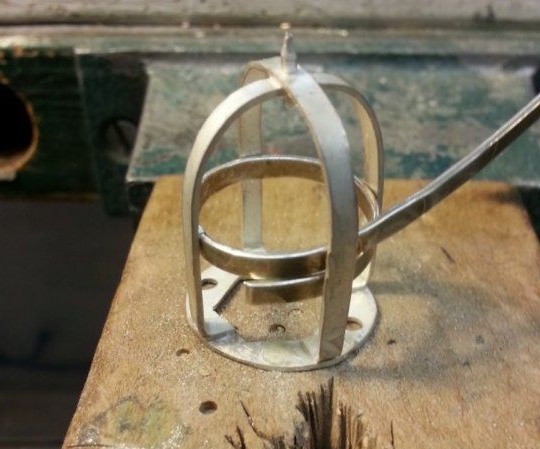
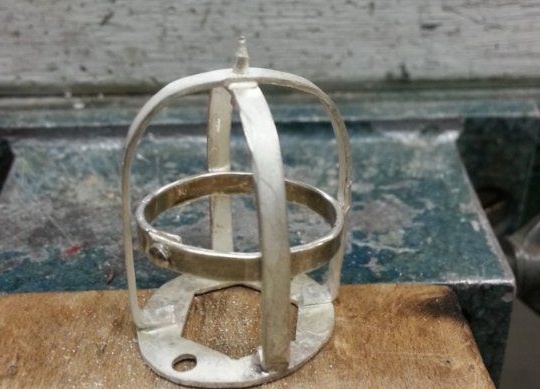
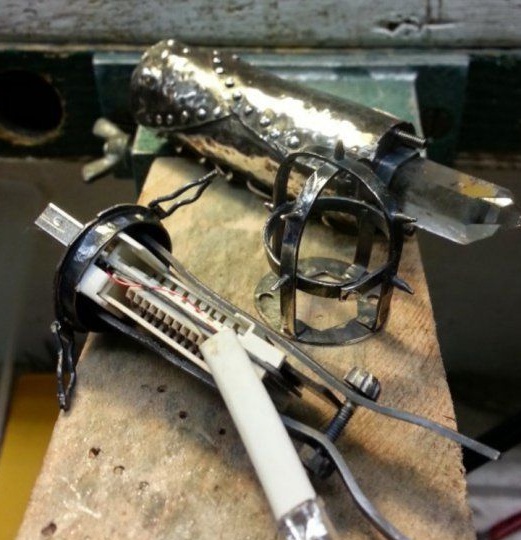
The next decorative element will be a protective cage around the crystal.
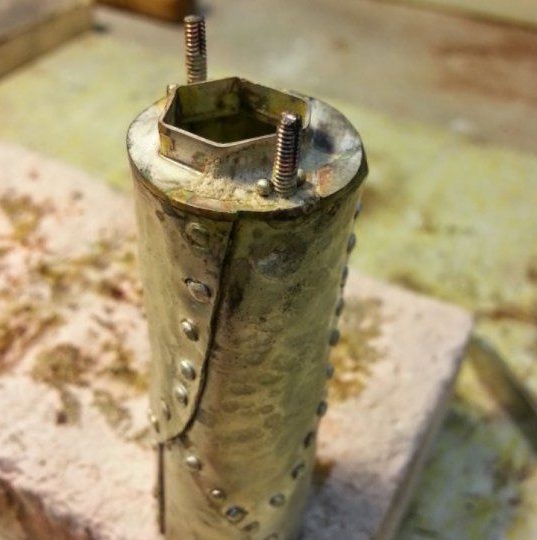
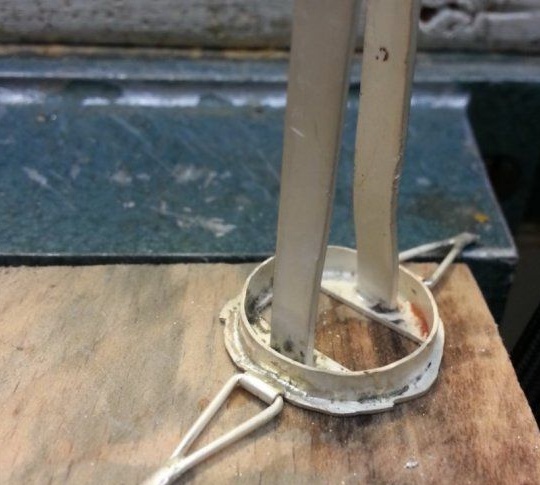
Two bolts will be used for its fastening, for this they are soldered to the body with the thread up.
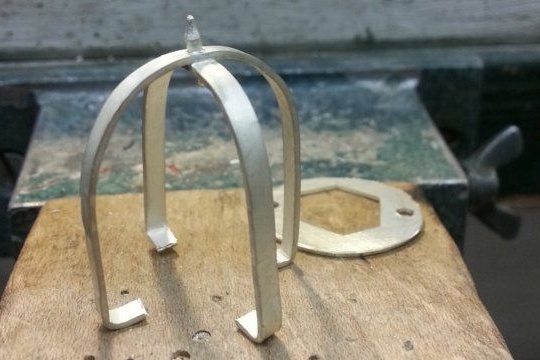
The cage is cut from the remaining stainless steel plates, in the center of the rod they are joined with a rivet, in other places they are soldered. Two holes for bolts are drilled at the base.
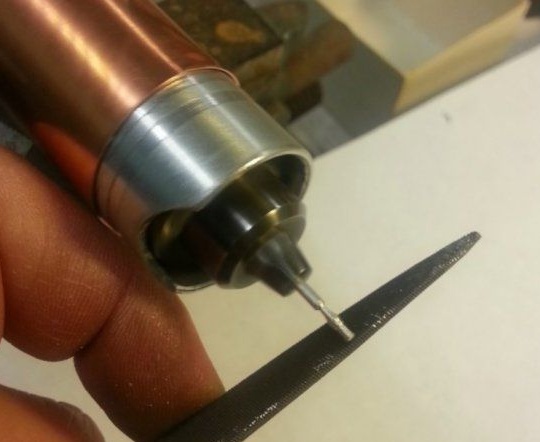
Step 7. Spikes
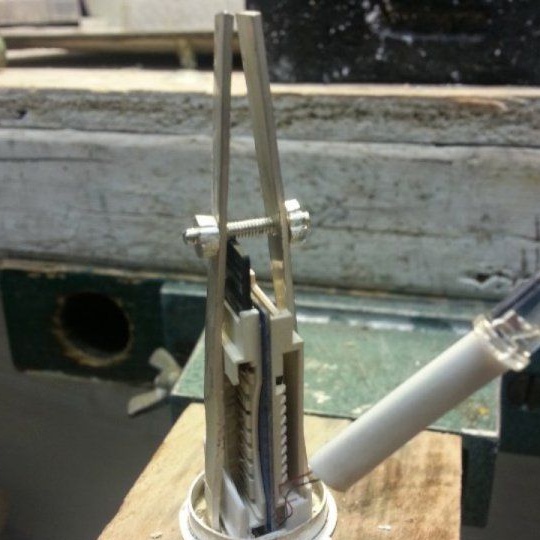
For the manufacture of spikes, the author used a lathe. Usually not everyone has it, instead of it you can use a conventional electric drill, carefully locking it in a vice.
The basis of the spikes (wire) is clamped in the cartridge. Next, the files are given the desired shape at the spikes revolutions.
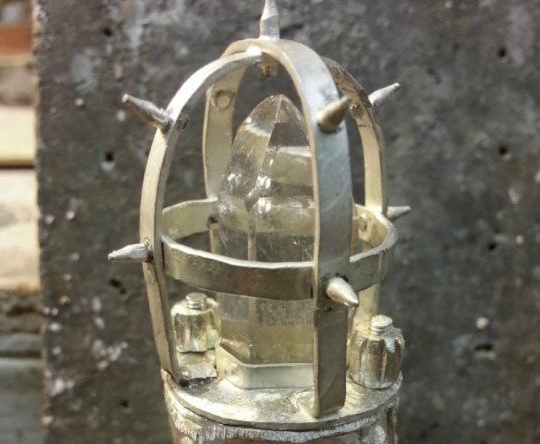
Finished spikes are soldered to the cage.
The cell is installed in its place.
Step 8. Connection
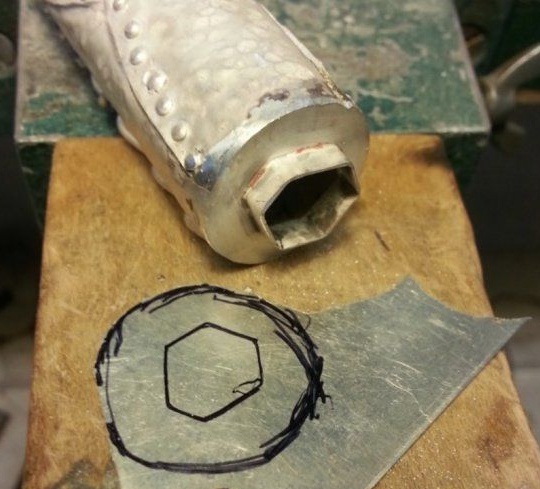
Next, the bottom of the flash drive is made.
Two of these plates fix the card reader to the bottom of the case.
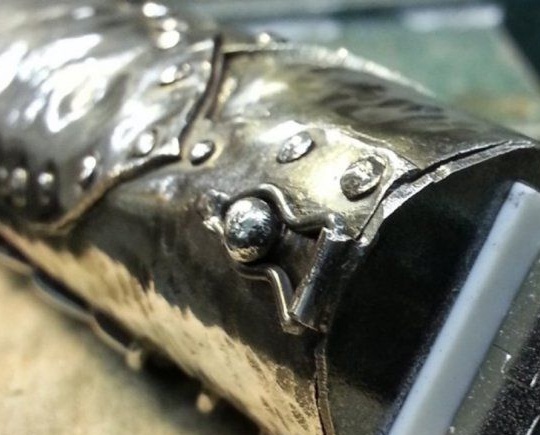
Two hemispheres are soldered to the body at the base, in the lower part of the body there are counterparts - latches.
Step 9. Polishing
The only thing left is small: polish all the metal parts of the case on a felt circle. This will give the body a sparkle and accentuate texture and rivets.
It remains to insert the USB flash drive into the computer)