
Good day the inhabitants of our site. Almost every one of us has a USB flash drive, but sometimes you want something original, it is in this article that I will tell you how to change the standard appearance of a USB flash drive to the original one in the form of a shuriken, which will please the eye.
The author of the homemade product brought his idea to life by making an original flash drive with the look of a ninja shuriken from an ordinary flash drive. To make such a product requires a little effort.
For this flash drive transformation we need tools:
* Ruler
*Scalpel
*Glue
*Styrofoam
* Glue gun
*Paint
*Aluminium foil
* Ballpoint pen and needle
*Flash drive.
After all the parts in place, you can begin to work.
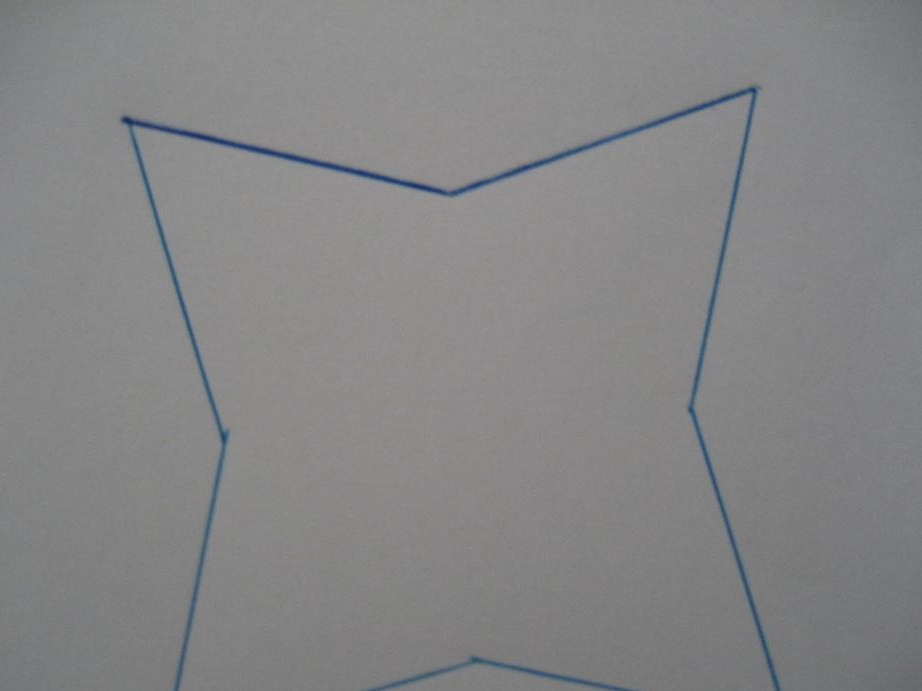
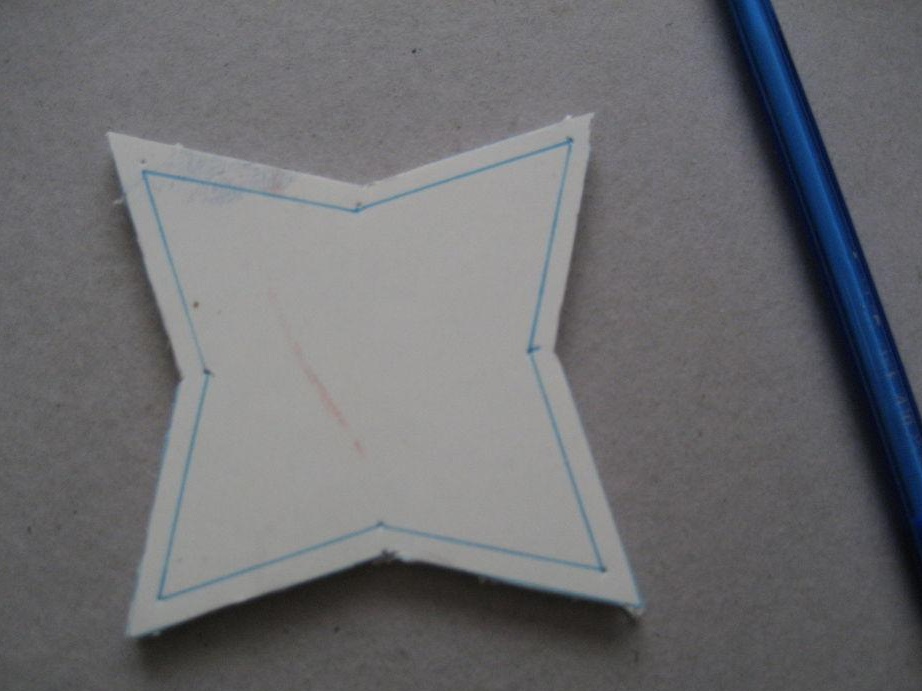
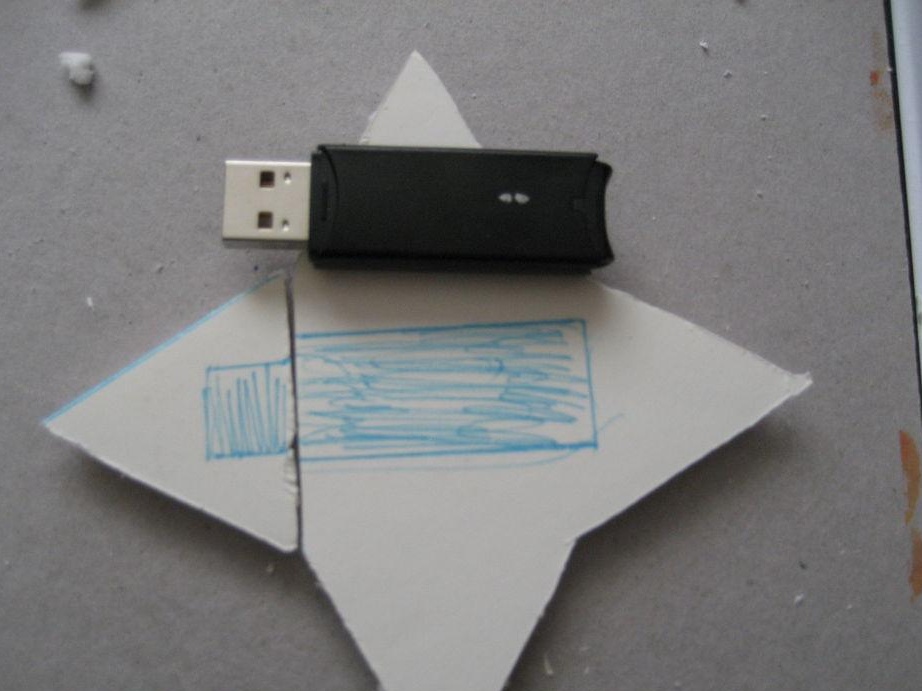
In the beginning, we need an accurate drawing of a shuriken, we draw a four-sided star on a piece of paper, the image of which can be found on the Internet, this will be our sketch.
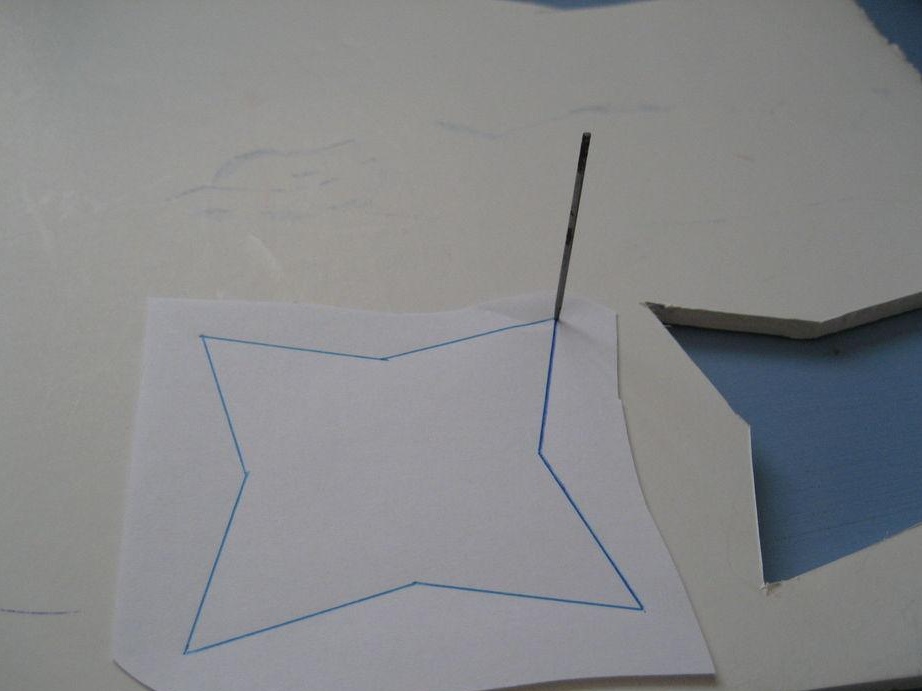
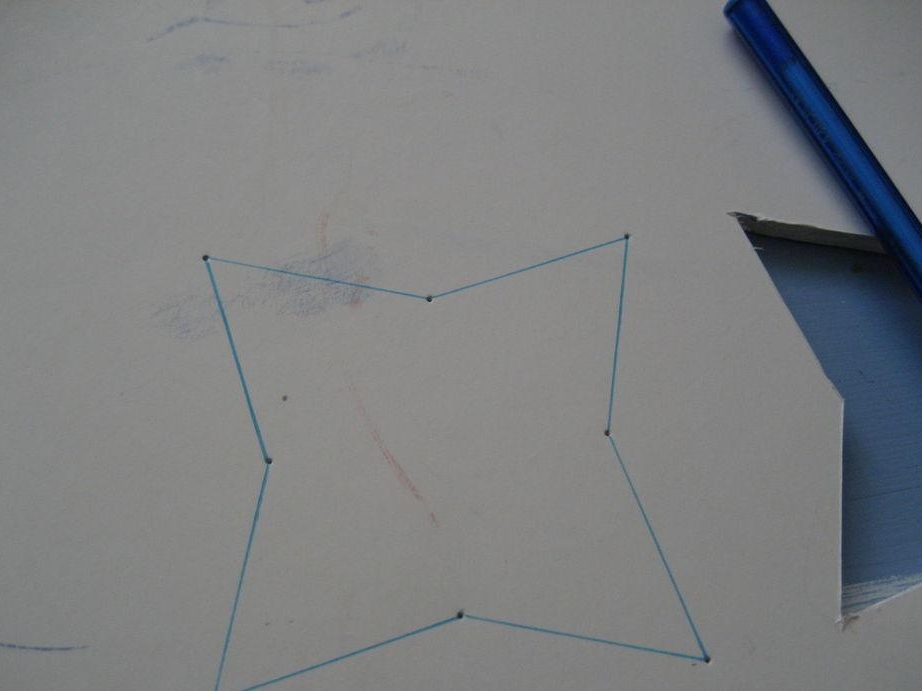
After the sketch is ready, you can begin to transfer the drawing, it must be transferred to the foam,
we do this with the help of needles, making holes on the four edges of the foam so that the sketch is held even and does not move out.

The next step is to cut according to the sketch using a knife or scalpel, cut the shuriken along the previously outlined lines.
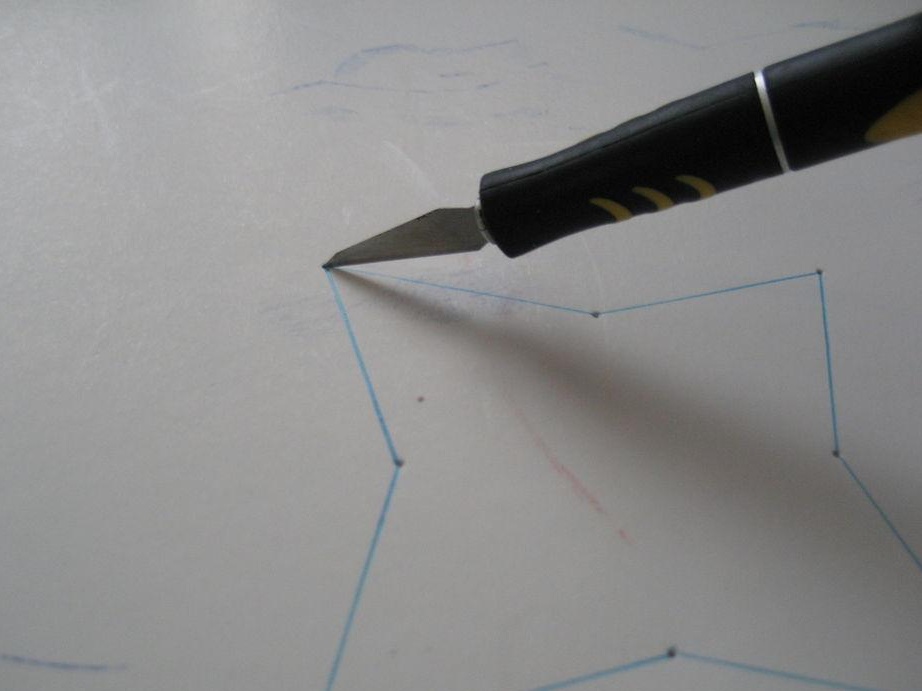
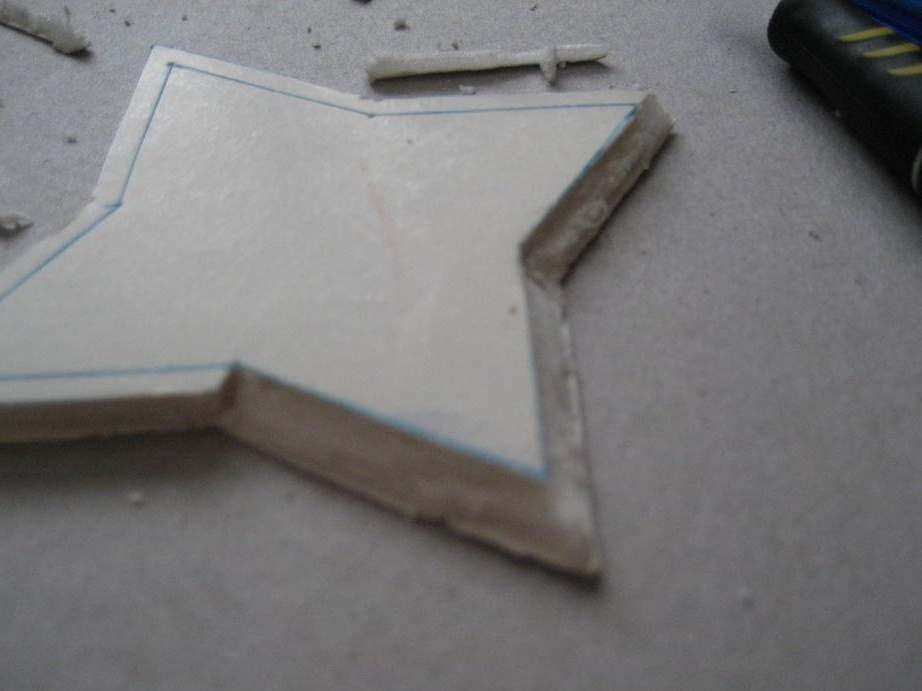
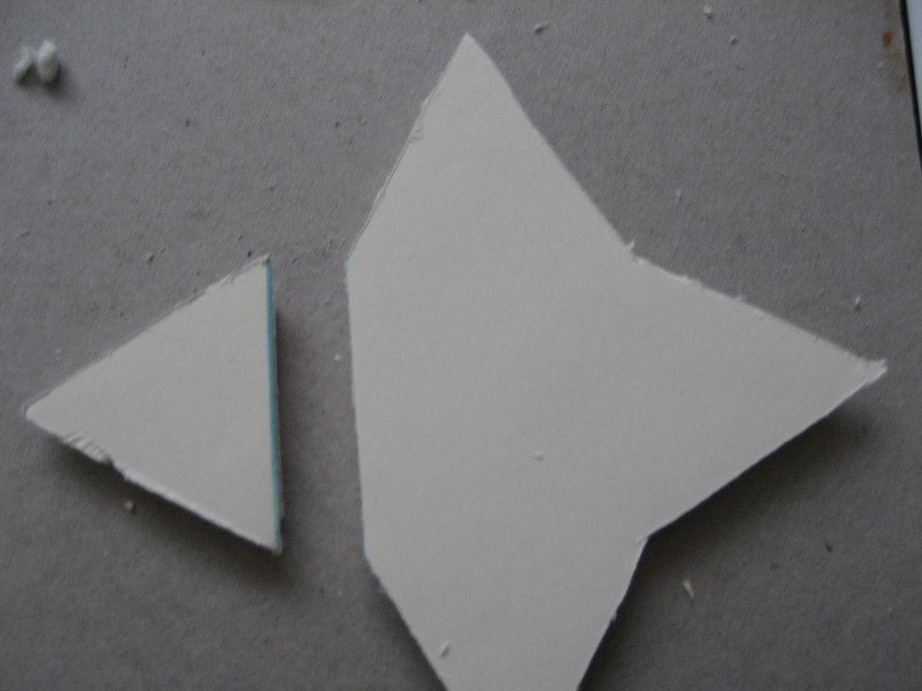
It is necessary to cut carefully and slowly, since the foam is very soft and tends to collapse, or rather crumble, to fully display the asterisk in volume, we need these two parts, the second is cut out like the first. When using a knife or scalpel, be careful to observe safety rules. Our future flash drive should be as much as possible similar to a real shuriken, for this, with the help of a knife, make the edges sharp, inside our workpiece we retreat 5 mm from the edges of each side, and then with a scalpel cut our asterisk to the intended lines at an angle of 45 degrees, so it will become sharp and will already look like a real shuriken, of course you won’t be able to protect yourself from villains.
It is necessary to cut carefully, since the scalpel is very sharp. We do the same actions with the second half.Like all ordinary flash drives, there is a cover that prevents debris from entering the usb, which means that our flash drive also has a place to be. Cut off part of the sprocket, as shown in the photo, do it under the ruler.
Cut similarly from the second part of the sprocket. It remains to make a sweat for the flash drive with a knife, for this we attach the flash drive to the future shuriken, outline its dimensions with a ballpoint pen and cut the foam on both sides.
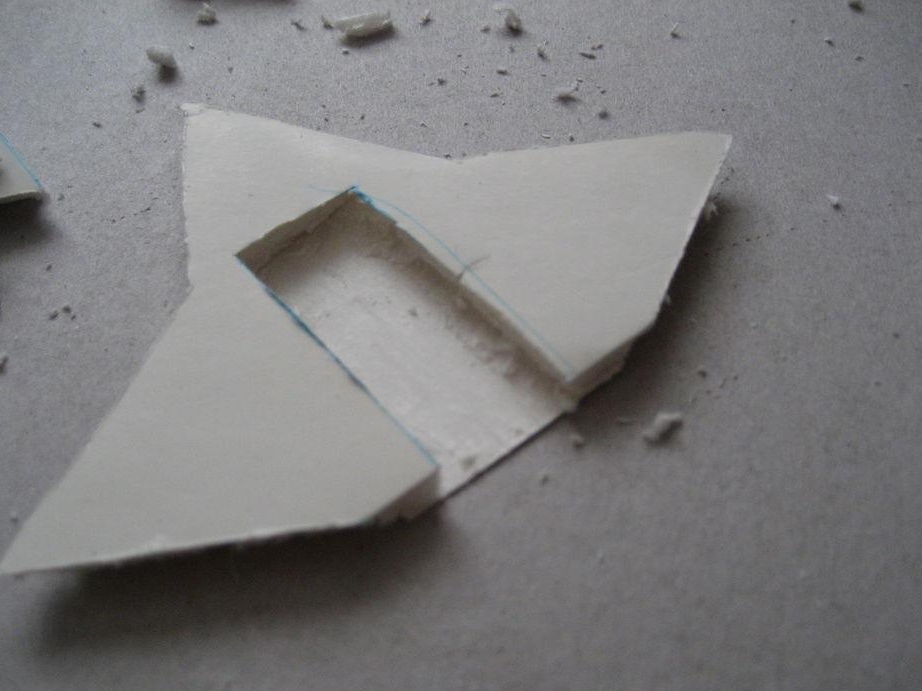
After that, we also take measurements for the lid and cut out a place under the usb, attaching it to a small part, which will be the lid. Then fill two large parts of the sprocket with the flash drive inserted inside with glue using a heat gun. We give the glue time to cool and check, as planned, everything sits well in its grooves.


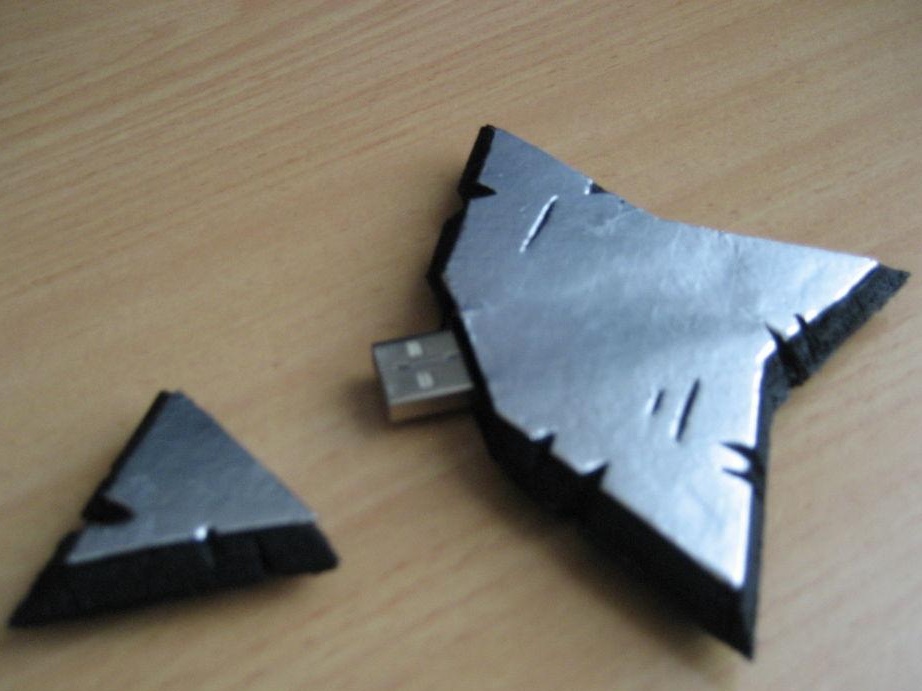
At the end, we betray the appearance of iron using foil and cut it with a knife from the edges, and paint the edges of our transformed flash drive with black acrylic paint, after drying, the shuriken flash drive is ready, now you can surprise your friends with it and become more original with it.
All successful homemade products and original alterations of flash drives.