When welding pipes in garage conditions, it is not always easy to achieve their alignment, especially if the volume of work is large enough. In this article, the author proposes to consider the design of clamps for pipes, which can significantly facilitate the process of welding. These clamps are suitable for working with both round and shaped pipes of different diameters. With its help, it is quite easy to fix the pipes coaxially and at any angle.
Necessary materials:
- Corner 40x40, length 200 mm;
- Strip 30x3, length 200 mm;
- Corner 70x70, length 30 mm;
- Two M12 bolts, length 70mm, four nuts to them;
- M10 bolt, length 20 mm. A nut and two washers to it;
(these materials are necessary to create one clamp)
Tools required:
- Welding machine;
- A drill with drills, with a diameter of 10 and 12 mm;
- Cutting machine or grinder;
- Workbench.
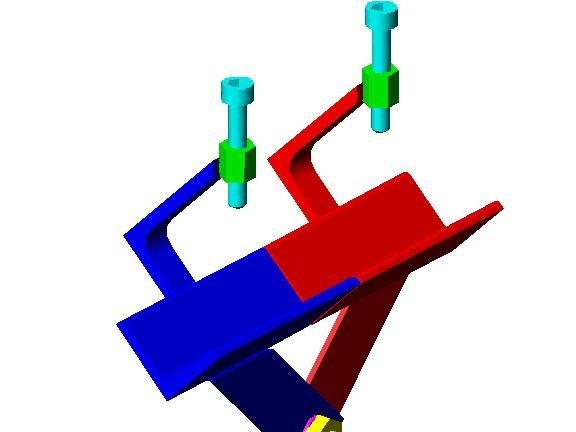
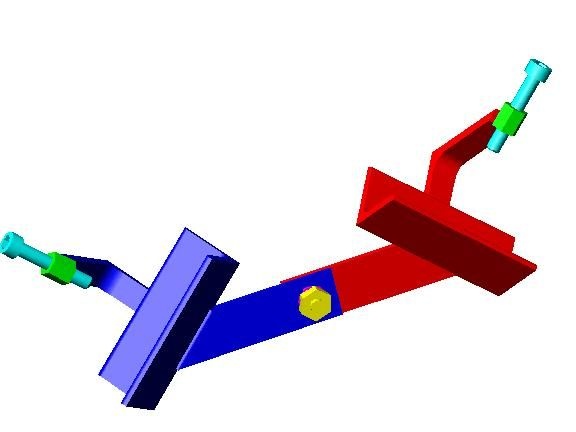
Here is what it looks like device in 3d projection:

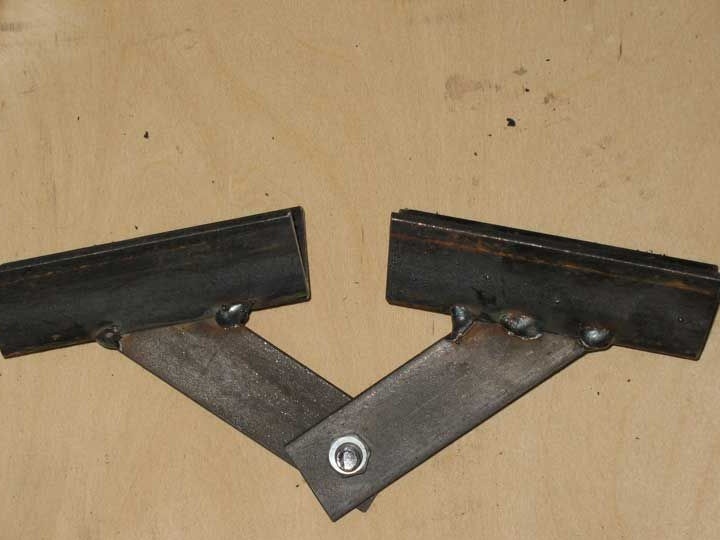
To begin with, two identical pieces of 100 mm length are cut out of a 30x3 metal strip. Then, at a distance of 20 mm from one edge of the plate, a hole with a diameter of 10 mm is drilled in the center. The same operation is done with the second piece of the plate. After that, the plates smooth together and are pulled together through bolt holes. Then the bonded plates are clamped into a cutting machine and the corners of the plates, about 45 degrees, are cut from the other edge, as in the photo:
(The author produced 4 clamps at the same time, so there are 8 plates in the photo.)
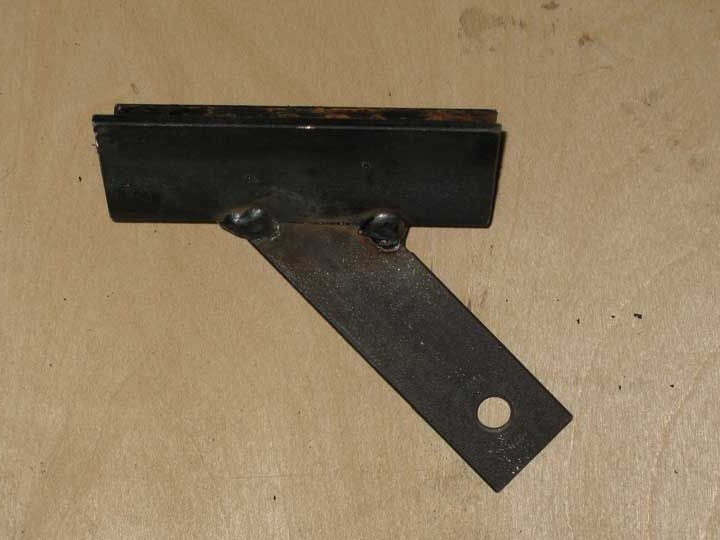
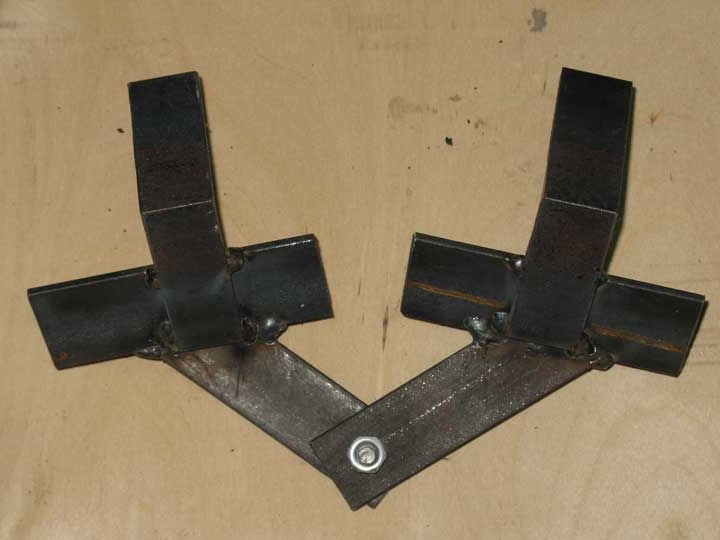
Next, two pieces of 100 mm are cut from a corner of 40x40. Then they are exposed on the same plane one after another, are clamped on each side. Then, plates are clipped to them with points, as shown in the photo:
As can be seen in the photo, the plates are additionally fixed and exposed to the plane on which the corners lie at an angle of 90 degrees.
Full penetration is not recommended, so that the details are not "led". It is enough to grab the joints along the edges:
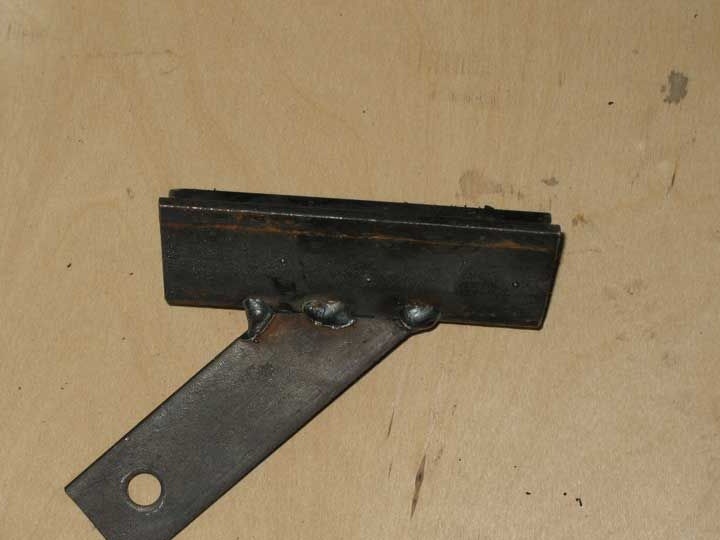
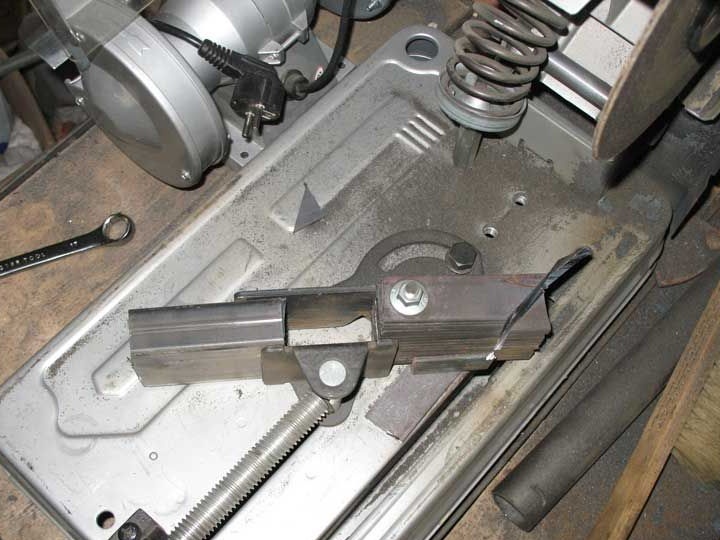
Then from the corner 70x70 two pieces are cut, each 15 mm long, and welded to the middle of the corner, as can be seen in the photo:
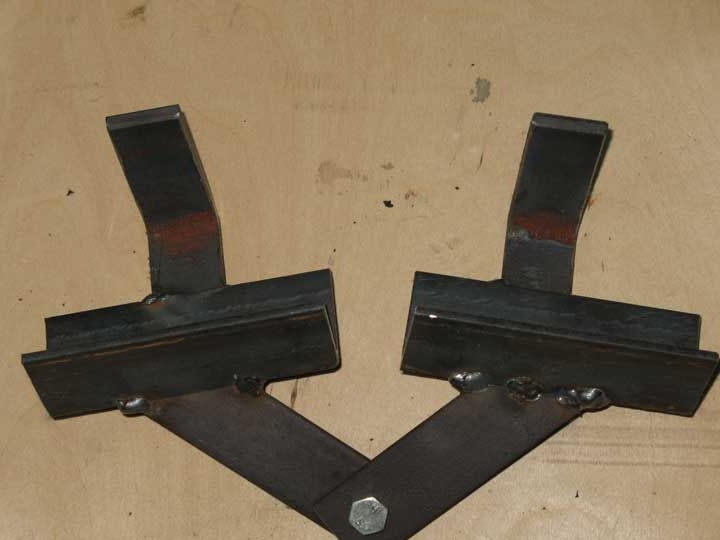
After that, in the corners, it is necessary to drill holes for the M12 bolt and weld the M12 nut on each side of the hole.This will allow you to evenly direct the bolt, distribute the load on the thread and remove the play. Provar is easier to do by inserting a bolt into the hole and tightening it with nuts. Thus, you can be sure that the bolt coincides in turns with both nuts.
Here's what should come out:
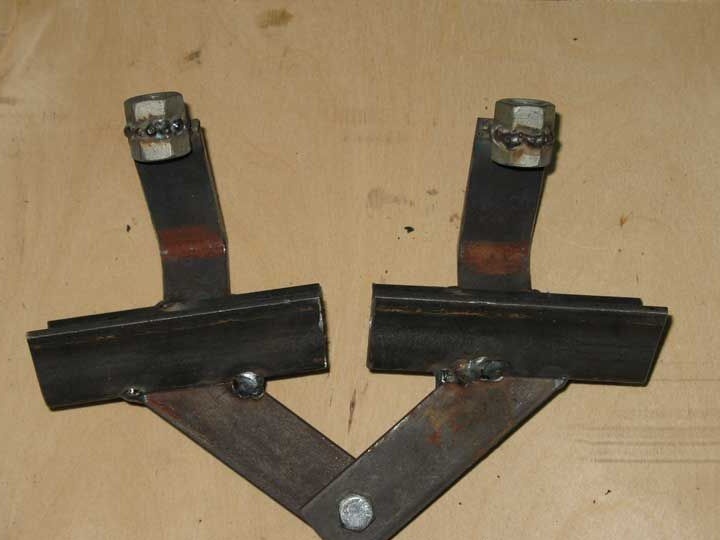
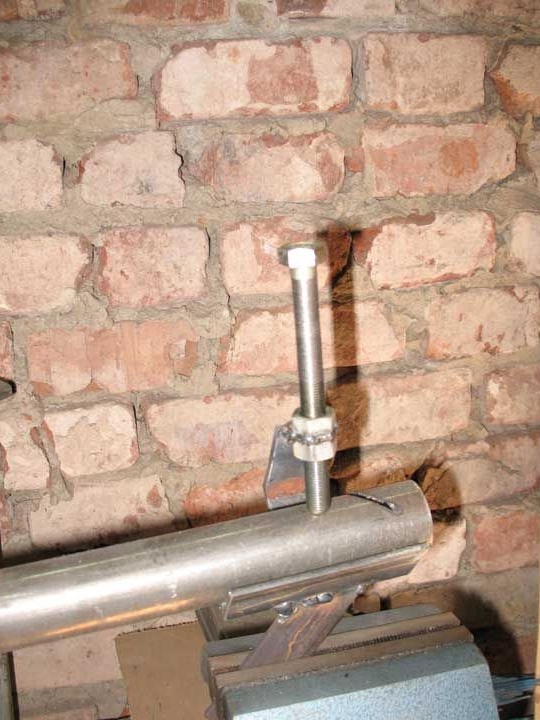
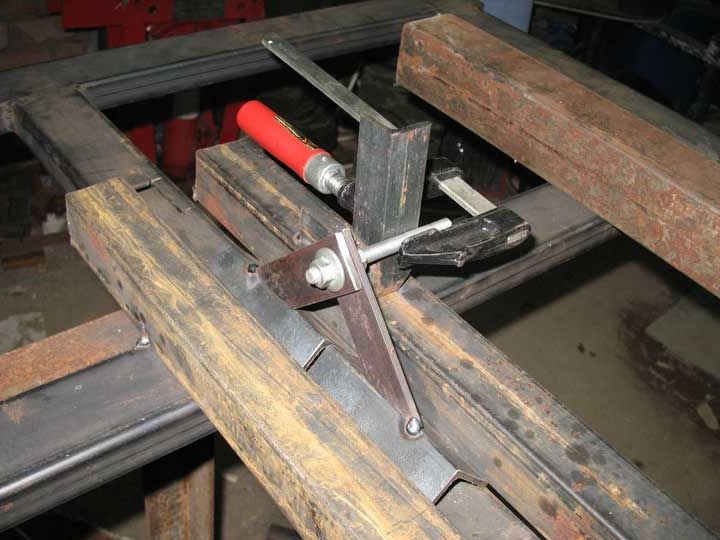
The device is ready to use: