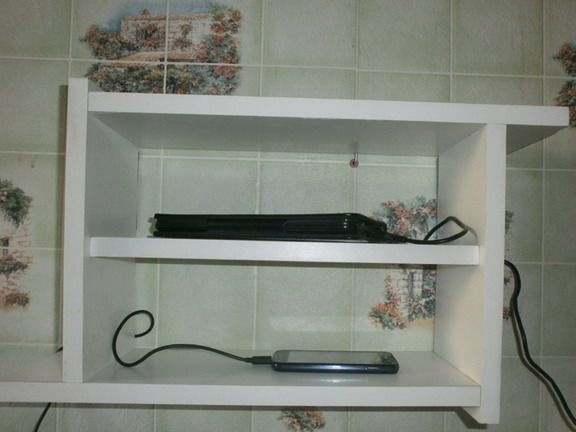
Being at home with my parents, I was always surprised at the mess in the chargers for mobile phones, tablets, players and other things that they use every day. Well, it’s impossible to at least find something, but if it succeeds, it took a lot of time to unravel this whole ball and straighten the wire. A familiar picture, isn't it? And frankly, the picture that I have at home is not much different.
No, it can’t go on like this anymore, I decided, and set about making a small shelf. Cuttings from chipboard cutting went to it, which in the workshops for sawing them are simply thrown away. Accordingly, the dimensions of the shelf, as well as the color, are also any. Strictly according to your wishes. The only one limitation: the vertical parts of the shelf should be necessarily narrower, since they should not be adjacent to the wall on which it will hang.
So, in addition to the trees themselves, we need:
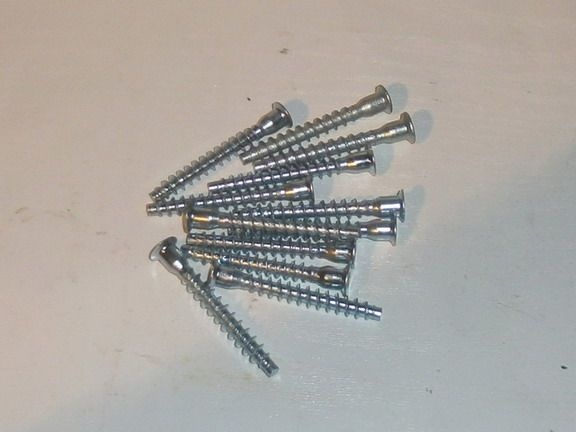
• 12 confirmations (or Eurobolts),
• two narrow canopies, a paper edge (I took seven meters, with a margin), round stickers on the heads of confirmations (they can also be cut into cuts of the corresponding diameter from the remains of the edge),
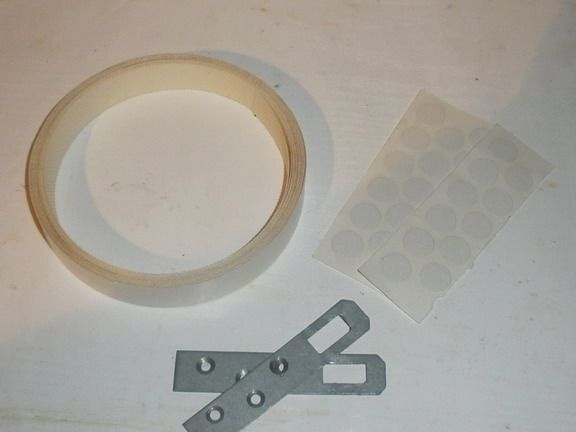
• and six self-tapping screws with heads “in the pot”.
And in order to make our shelf for gadgets, you will need:
• cordless drill / driver,
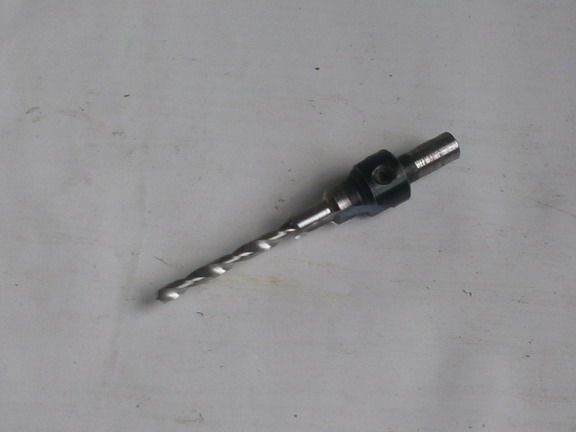
• confirmation drill,
• cross and hexagonal bits, as well as a magnetic extension cord for quick change,

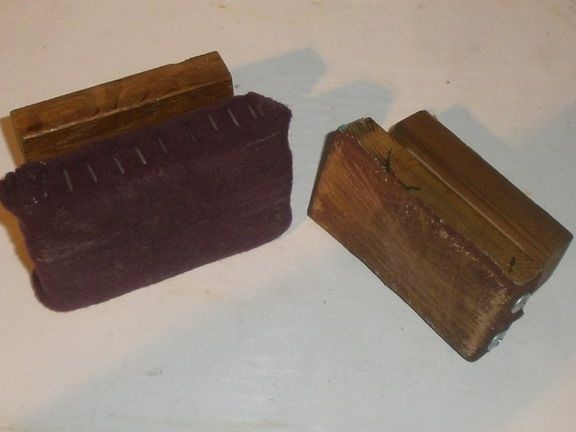
• a felt block and a block with sandpaper (you can do with a simple soft cloth and a piece of fine sandpaper),
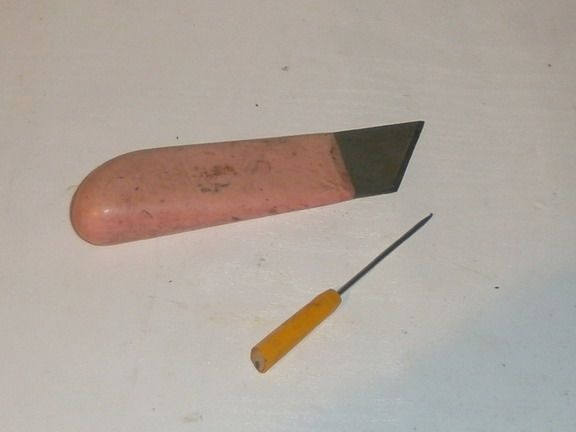
• furniture non-sharp knife and awl,
• tape measure, ruler, pencil,
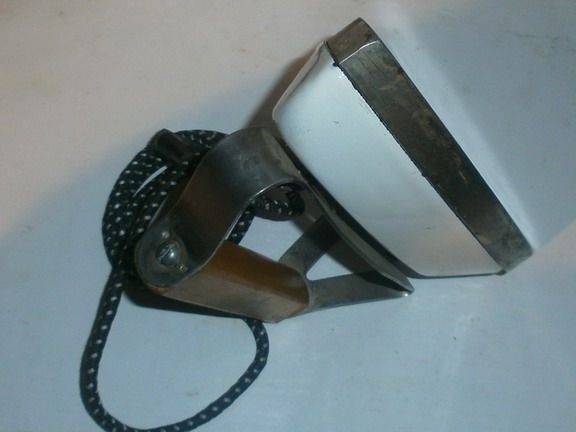
• and “His Majesty”, a heavy iron. Of course, you can take the one that you use regularly to iron clothes (all the same, this will not affect it in any way), but the keyword “heavy” means really a lot in gluing the edges.
That's all, so let's get started.
At first, my most unloved procedure: pasting parts with hem. As for me - a tedious (no, not because of weight, just monotonous) occupation. But you can’t get away from it, so we glue it with a hot iron, press it and level the edge with a felt bar,
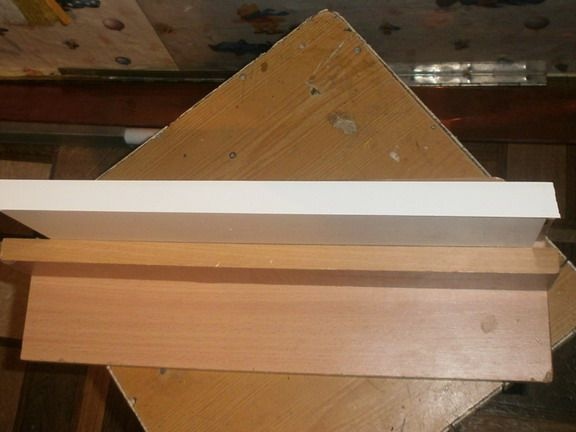
and then we cut off the surplus.If necessary, we grind the ends with another, abrasive block, although if everything is cut well, then you will not have to do this. And so - all the details.
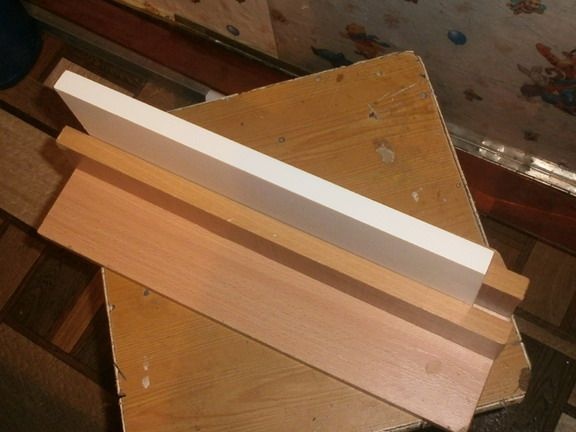
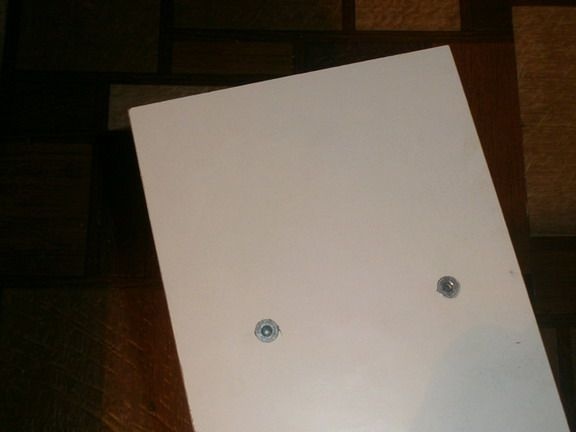
Two confirmations on each side, and voila,
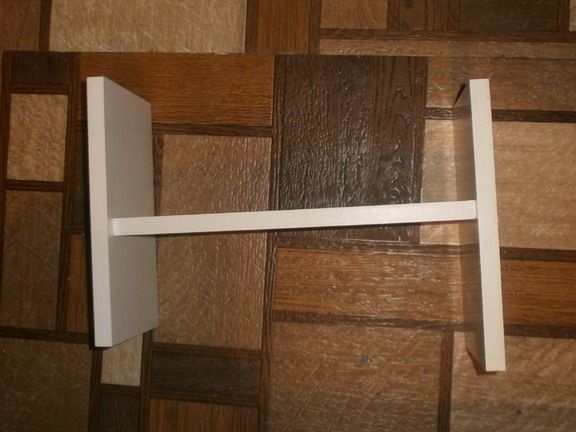
the central part in the shape of the letter "H" is ready.
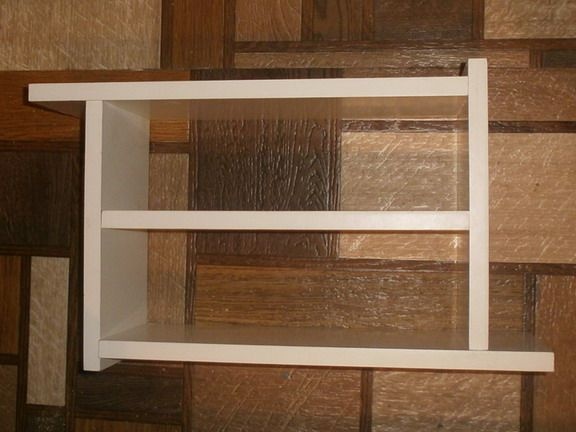
We fasten the lid and the base of the shelf on both sides. All 12 confirmations have been used up.
Now we screw two canopies,
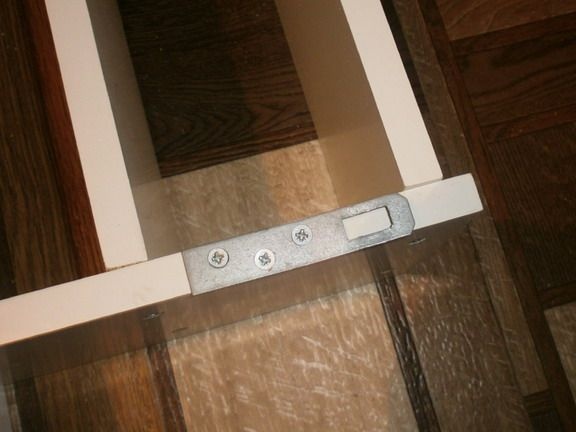
we glue the heads of confirmations with decorative circles and erase all the marking lines. Moreover, an ordinary school eraser is best suited for this.
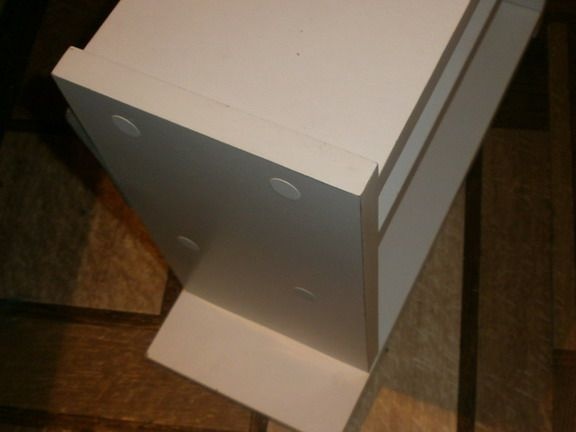
We hang a shelf (two more screws + two plastic dowels in the wall), and the gadget pad is not just ready, but also hangs in its place.
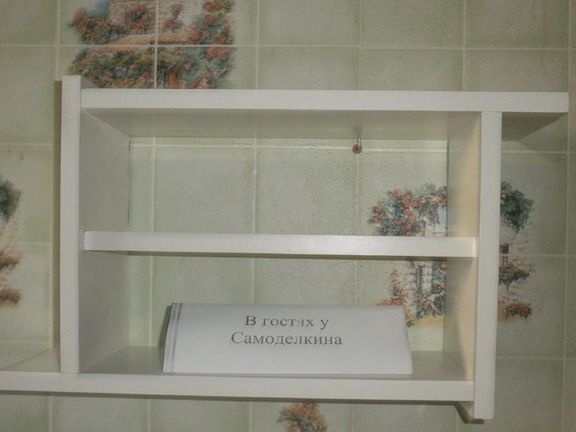
And now for the fun part. Remember, at the very beginning of the article I wrote that the uprights should be a bit narrower. So, wires will pass behind them, protecting your phone or tablet from falling, if you still touch the charger. For the same reason, the shelf does not have a back wall, and the charger itself is not fixed tightly, but simply pressed by the weight of the shelf itself for gadgets.

And you know, this simple and completely uncomplicated design, has served very well for several weeks. Having saved not only the mass of problems, but already twice prevented the fall (read - expensive repairs) so compact in our everyday life, compact electronic gadget.

