
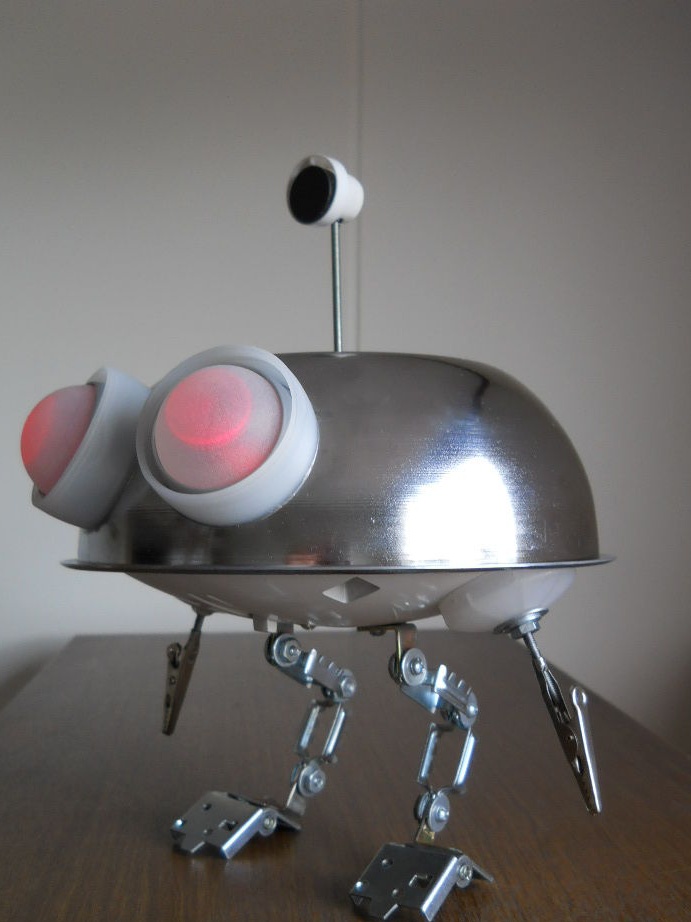
If you have used metal parts, you can make the original robot yourself, very similar to the alien from the fantasy film "Batteries are not attached."
The first stage: Options and tools.
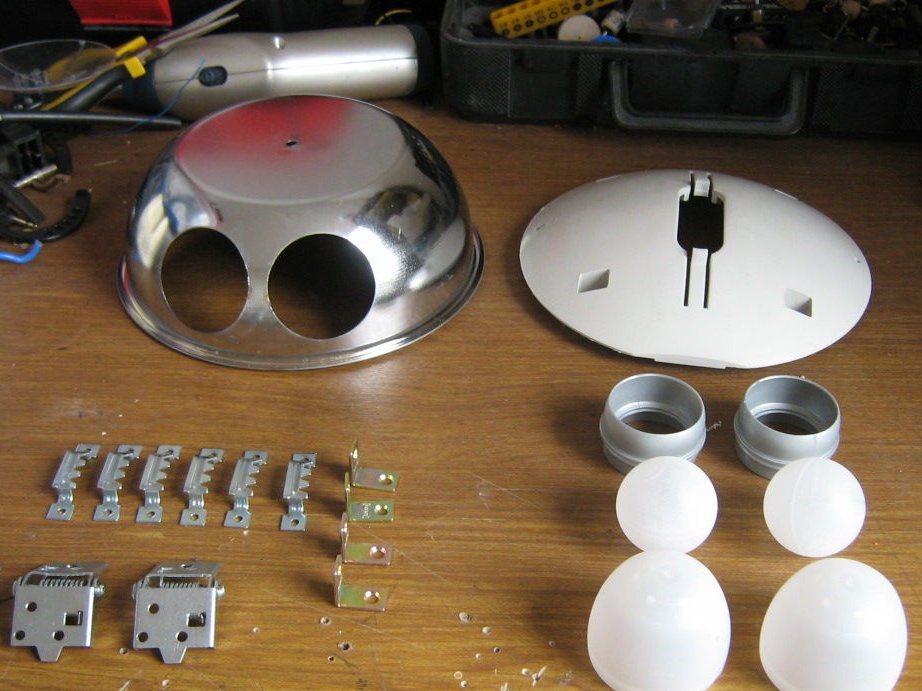
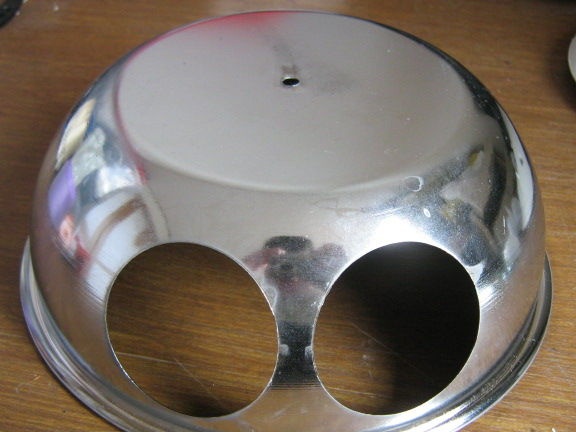
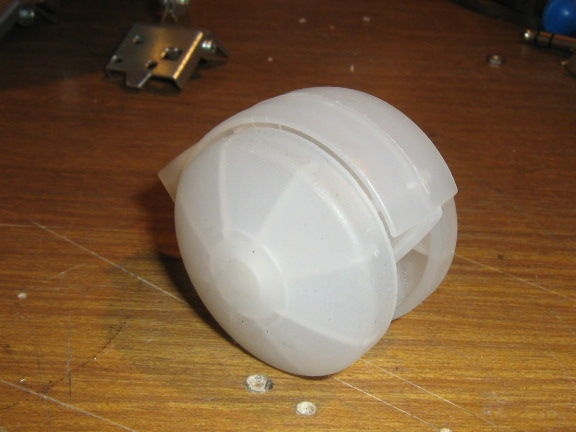
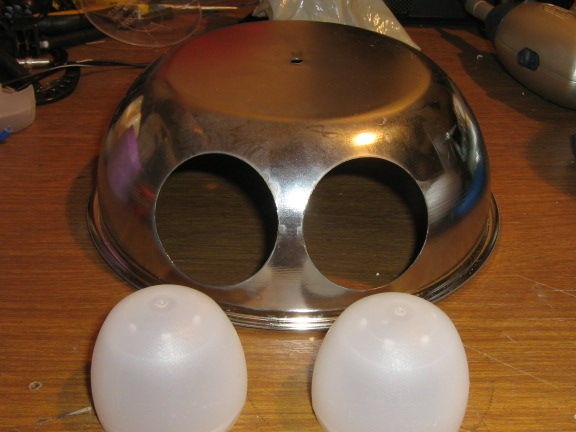
1.Semicircular metal or plastic case with eye holes. Suitable from a pot or lamp.
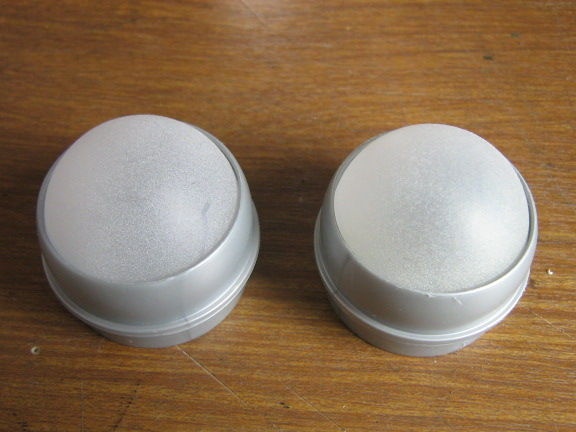
2. A bottle of deodorant -2 pcs.
3. Stand from the lamp or monitor.
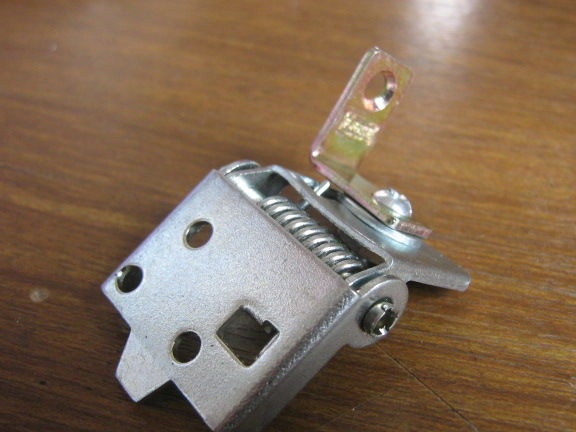
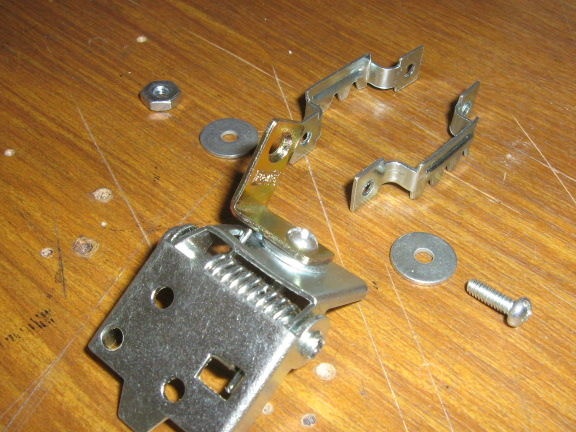
4. Metal corners (2 pcs.), Holders from the picture frame (4 pcs.), Hinges (2 pcs.)
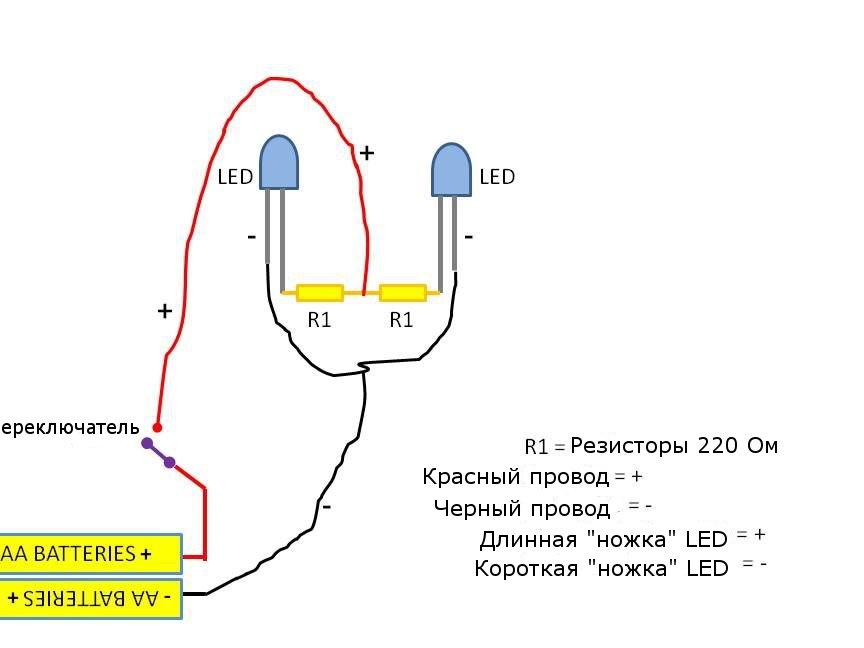
5. Large LEDs (2 pcs.), Resistance 220 Ohm (2 pcs.)
6. The switch.
7. The magnet.
8. Plastic reel with discs.
9. AA batteries (2 pcs.) And a box for them.
10. Spray from a deodorant or spray can.
11. Wires.
12. Soldering iron and solder.
13. Fasteners - nuts, screws.
13. A set of screwdrivers.
14. Tweezers, scalpel.
15. Dremel.
16. Nippers.
If necessary, it is allowed to replace the missing elements with similar ones.
When working, be careful to observe safety precautions when handling hot and sharp parts and tools.


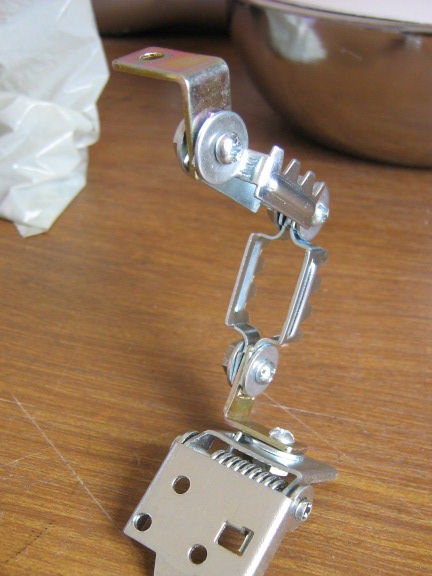
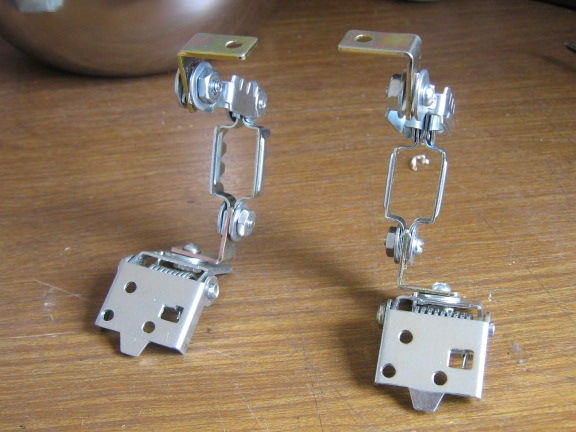
Second stage: legs of the robot.
According to the photo, we collect the legs for the robot using hinges, corners and metal pieces.
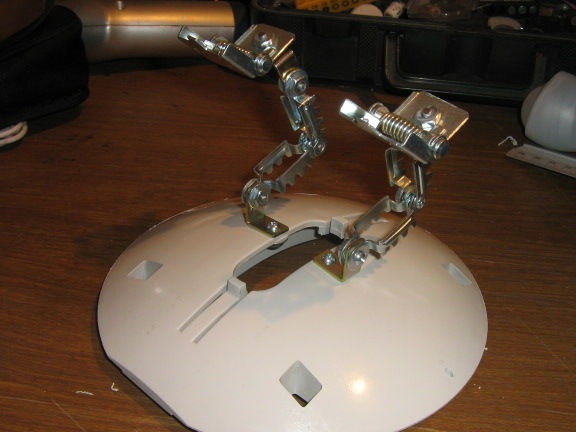


Third stage: Lower axis.
Fix the legs to the stand from the monitor.
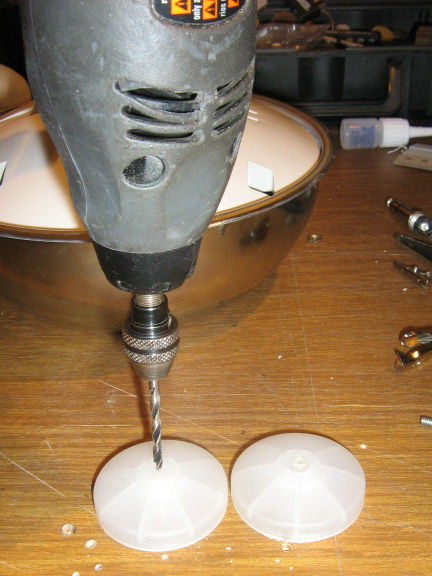
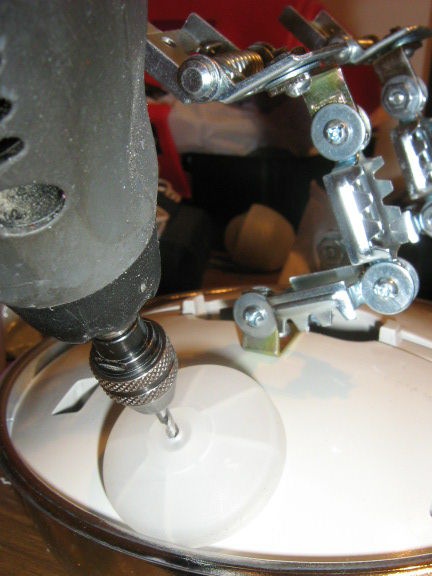
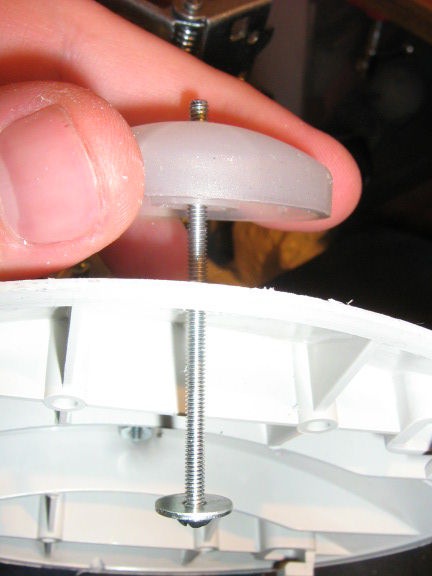
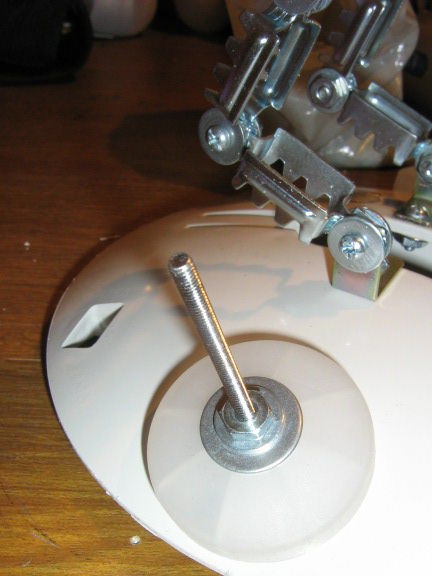
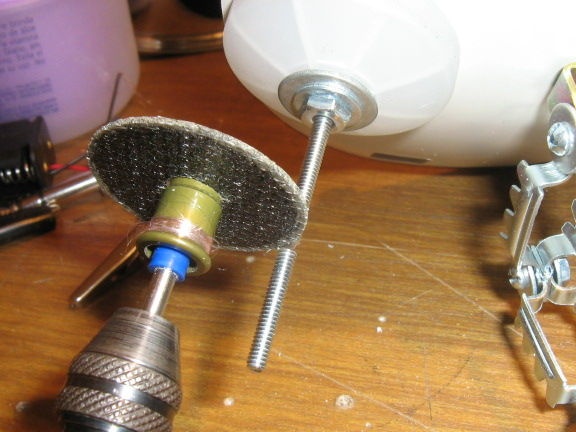
Drill holes in plastic discs. These will be the shoulders of the robot.
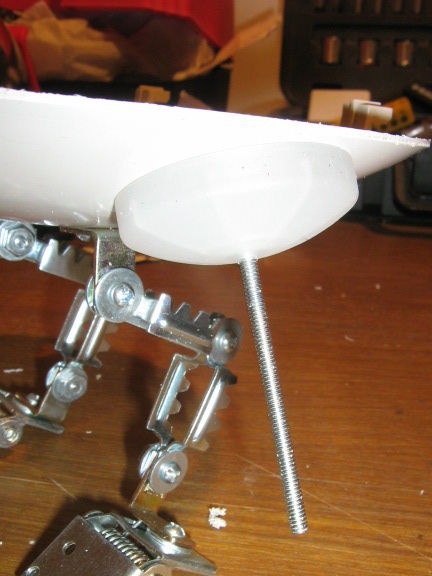
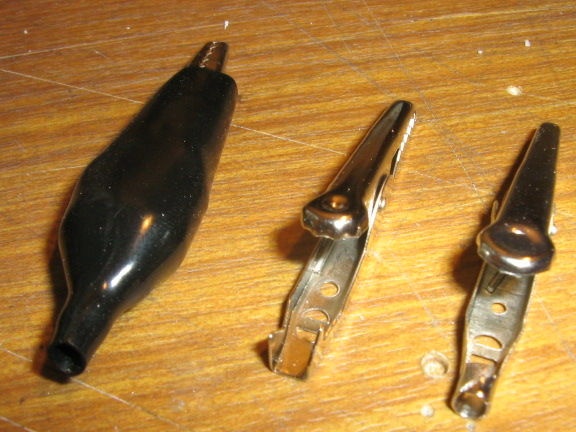
Insert a bolt into the hole and attach the clamp — these will be hands. Glue the connection.
Fourth stage: Electronics.
We assemble the electrical circuit according to the attached figure.


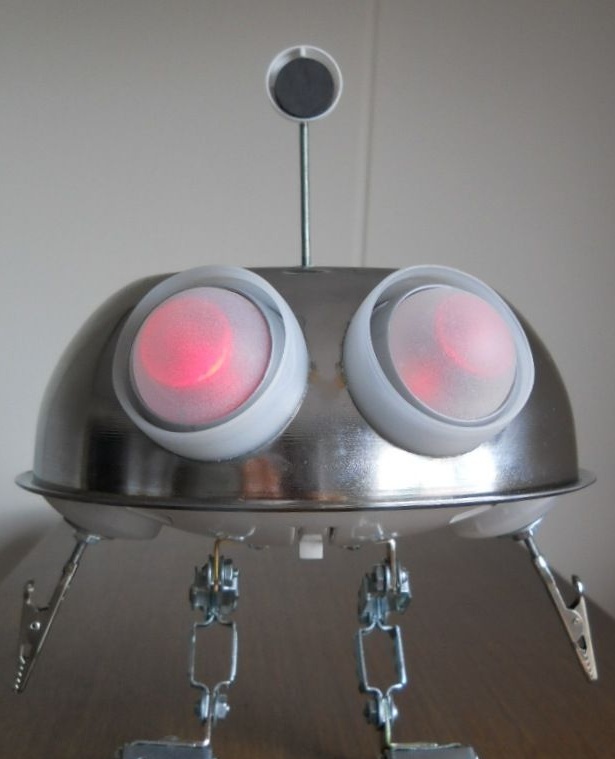
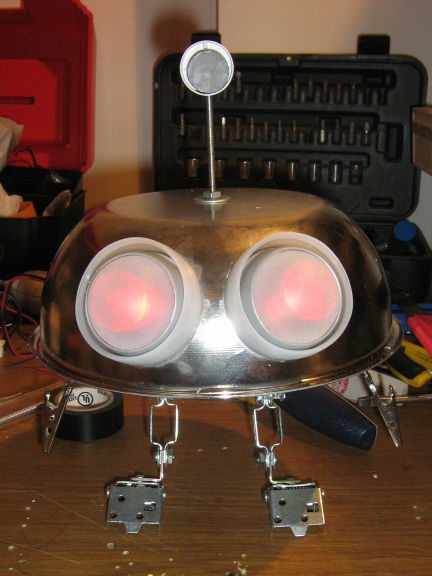
Fifth stage: Eyes.
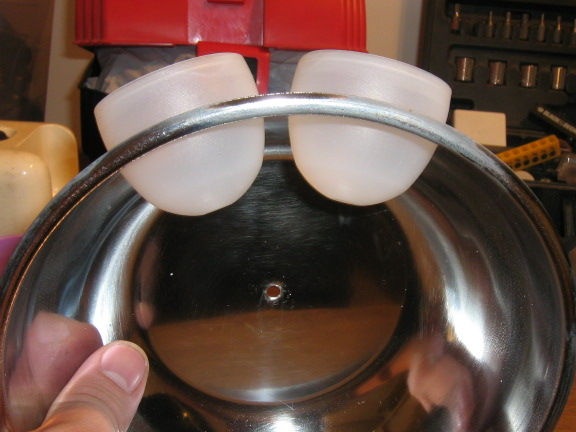
Make holes in the deodorant caps that will be eyes. Then insert them into the holes of the pan and fix with glue.
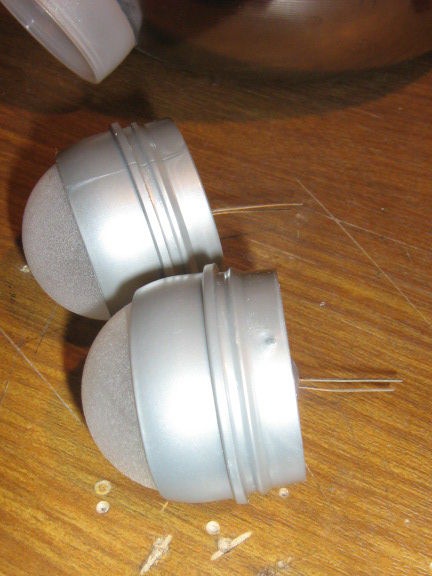
Insert balls from deodorants, with mounted LEDs.
We solder the resistors to the wires, according to the scheme (see the fourth stage)
As an antenna, insert a long bolt on top.
Sixth stage: Completion.
We insert batteries and a switch into the bottom of the robot.
We attach the injector to the antenna, insert a magnet into it. We coat with glue.
We assemble the robot by connecting the upper and lower parts.