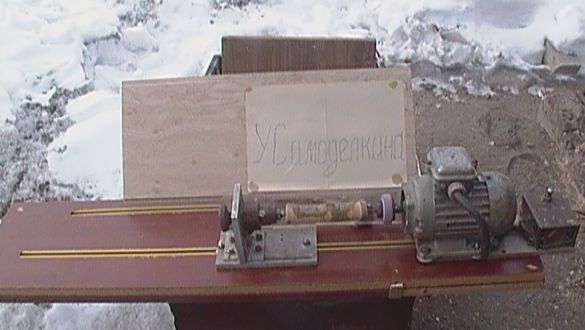
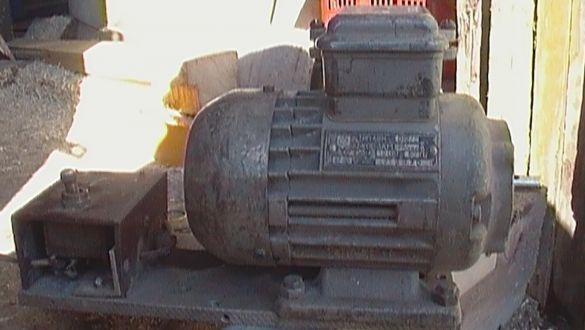
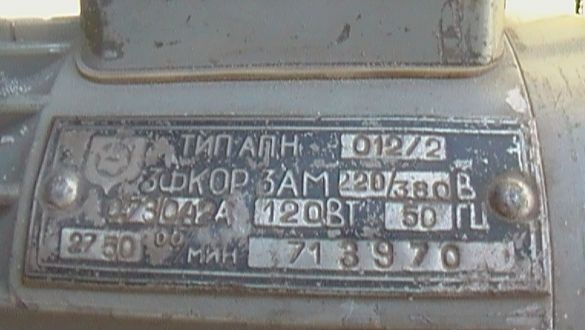
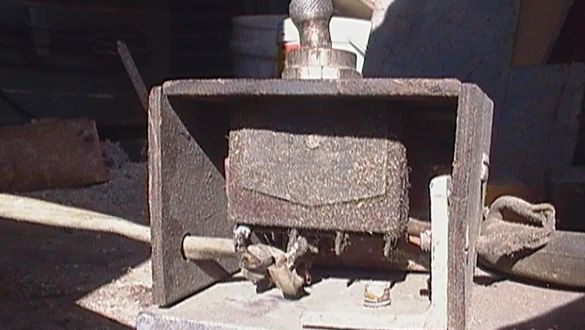
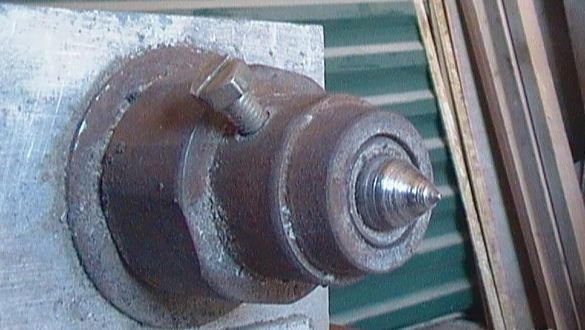
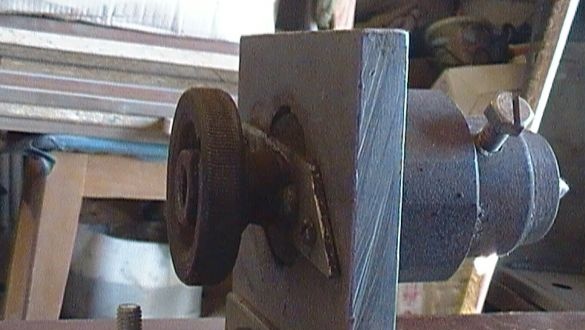
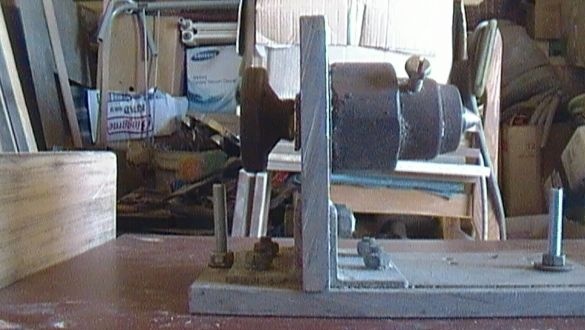
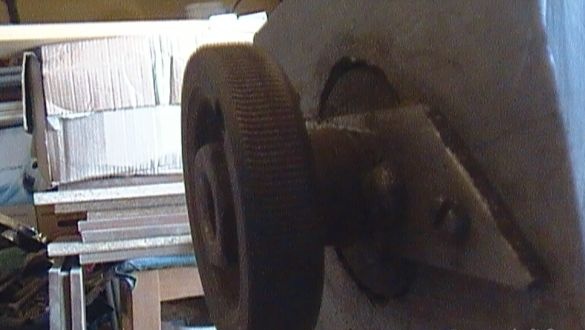
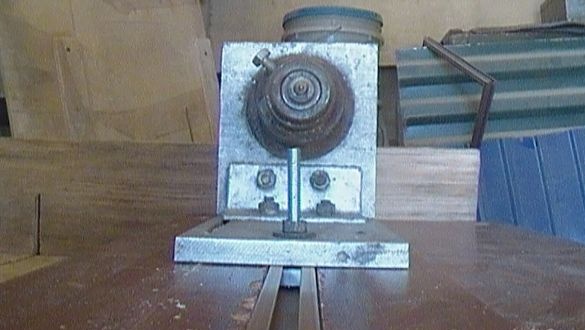
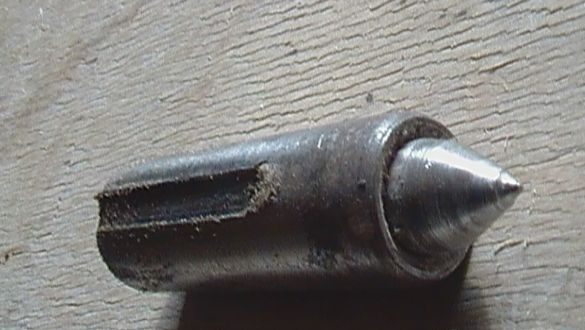
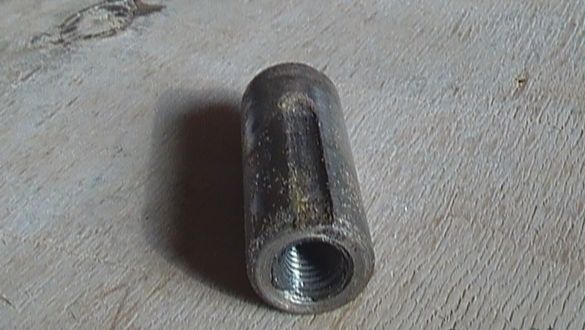
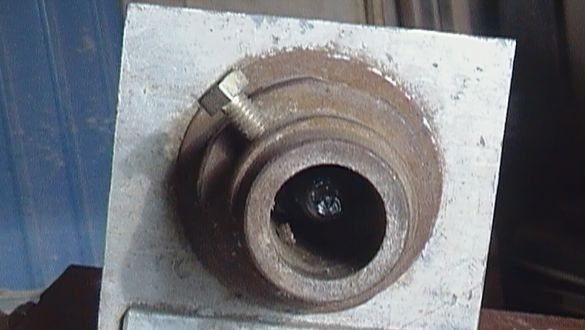
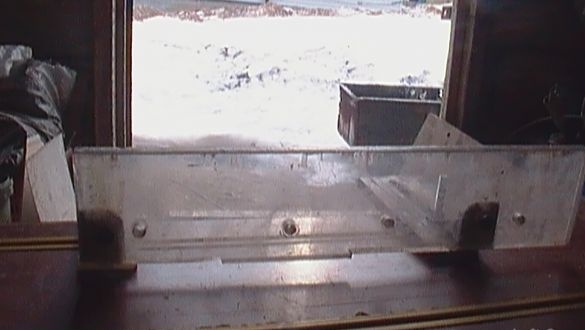
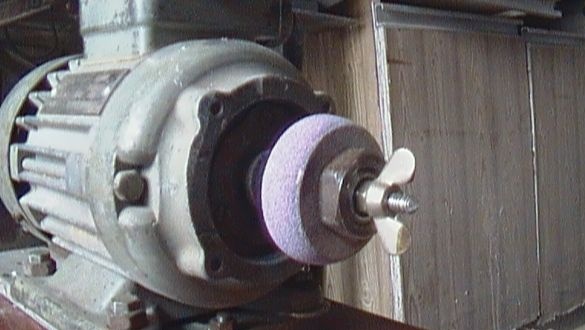
If necessary, I decided to reconstruct my wood lathe. Briefly tell the device of your machine. The headstock is made in the form of a 3-phase electric motor with a power of 120 watts, the windings of which are connected by a star through capacitors, with a total capacity of 1 mF. The switch is rated for 220V, 6A. At the beginning of the operation process, he used it as a sharpening machine for sharpening tools: a chisel, chisel, knife and other things. For the basis, the right rotation of the rotor is taken, with the engine located on the base, to the left of the employee. The tailstock with a rotating center was ordered by the turner back in the "shaggy" year.
Chipboard from the dressing table from the times of the USSR was taken as the basis. Saws are made on a circular saw.
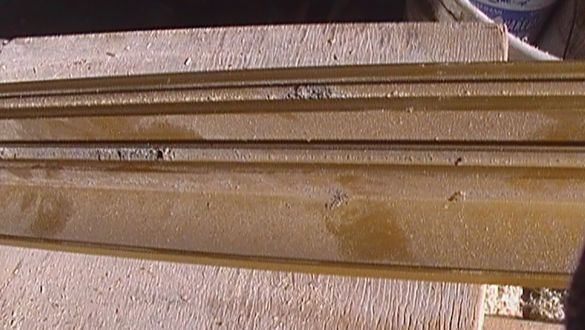
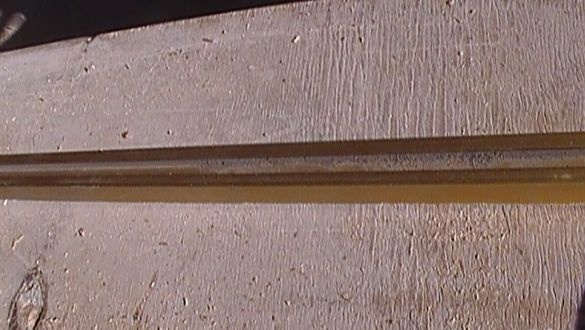
The insert-guide is cut from an aluminum cornice.
And so: from the tools we need:
hand saw or jigsaw;
hand or electric drill;
tool-grinding machine or "grinder";
calipers;
screwdriver;
open end wrench 8x10;
drills (different).
hacksaw for metal;
chisel.
From the material you will need:
particleboard or plywood canvas;
self-tapping screws;
bolts and nuts with M6 thread;
wing nut M6;
cornice (old, for scrap);
plexiglass;
metal corner;
mount metaphorical tubes 4 pcs.;
piece of argalite or plywood.
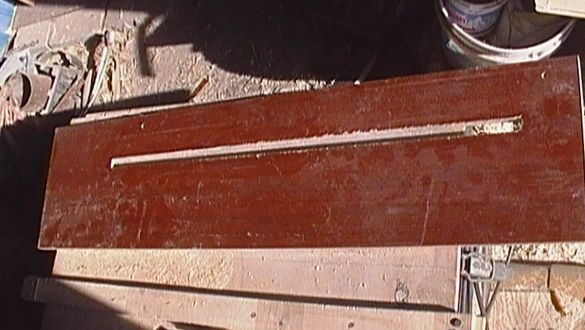
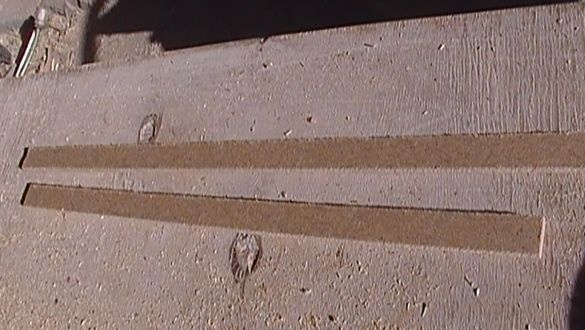
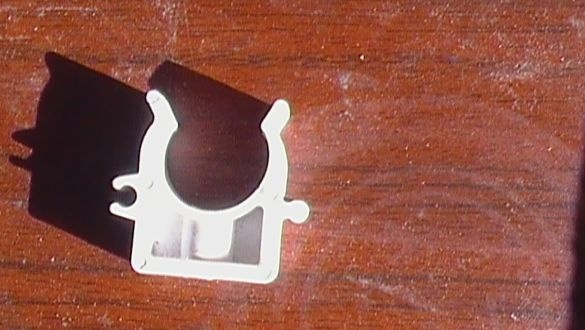
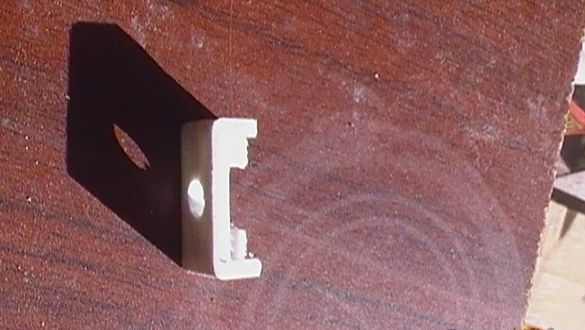
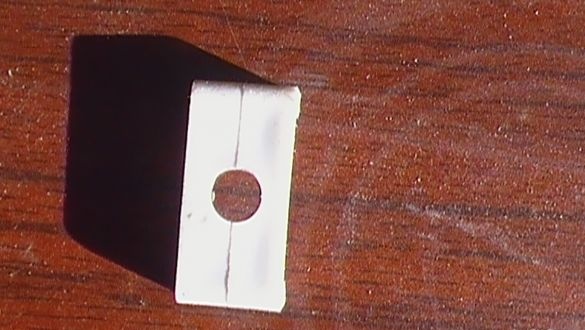
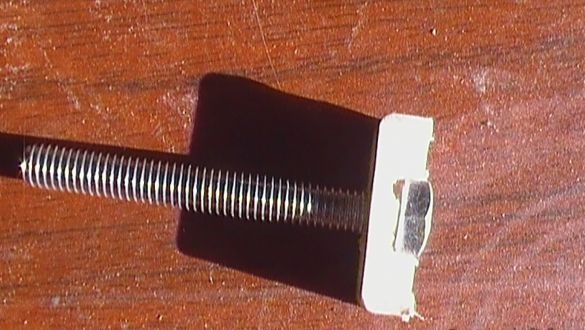
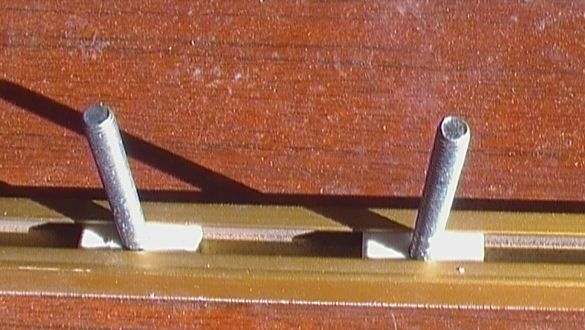
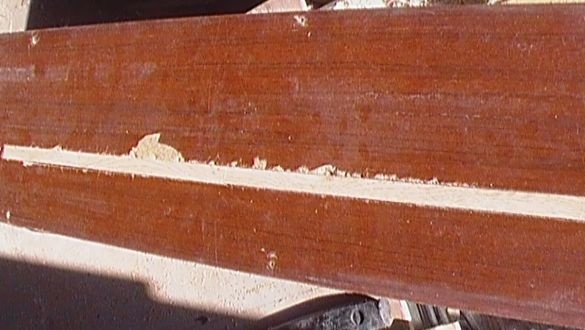
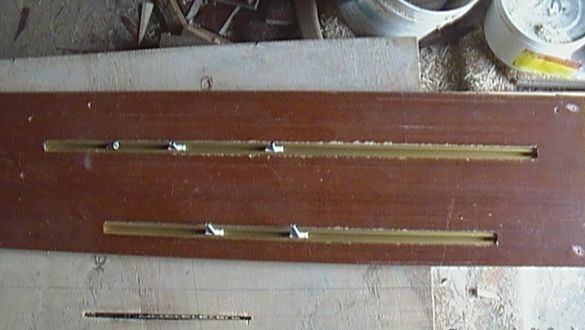
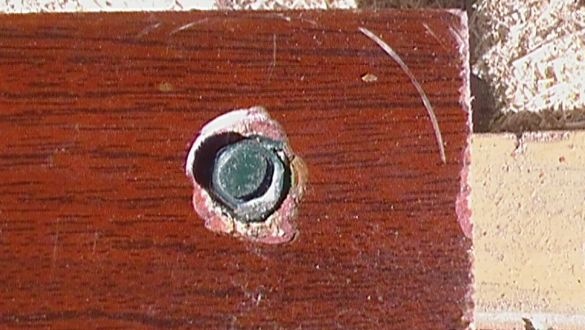
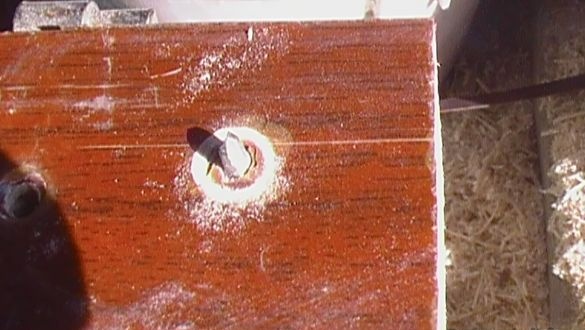
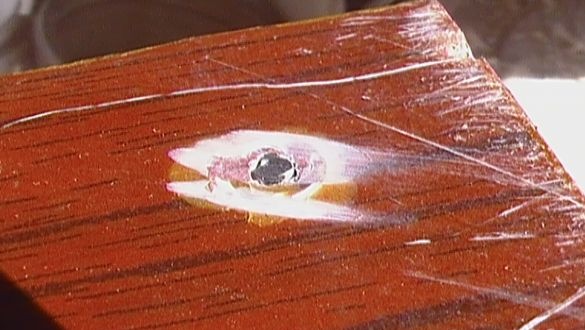
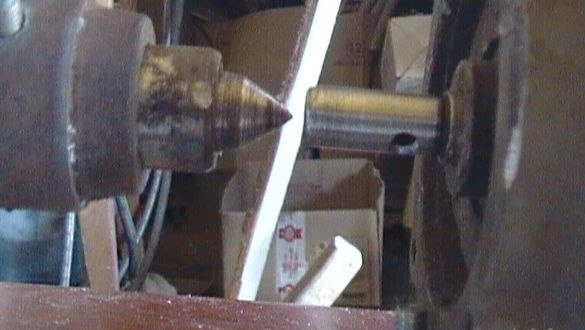
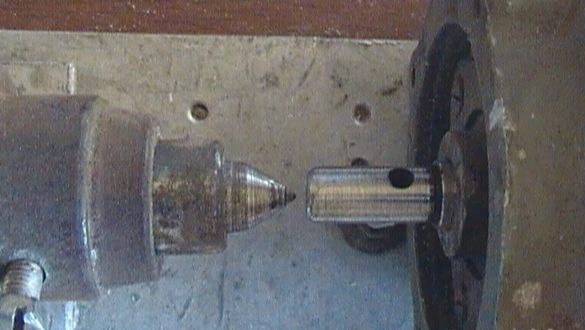
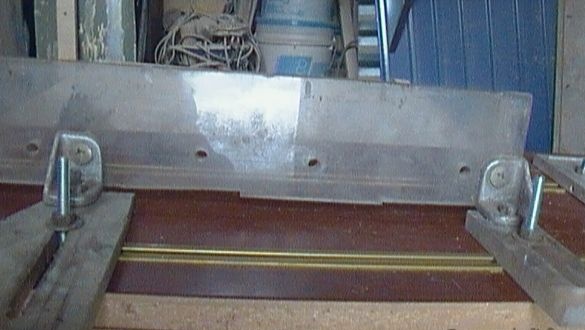
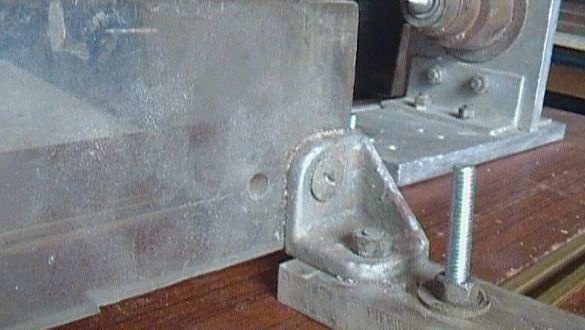
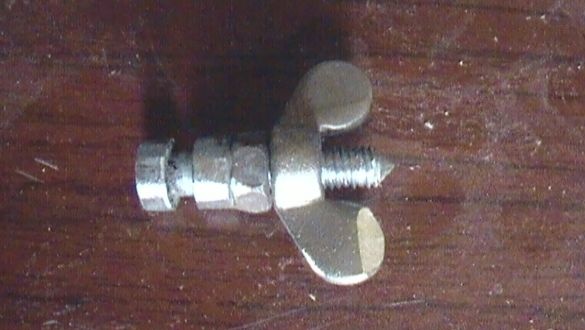
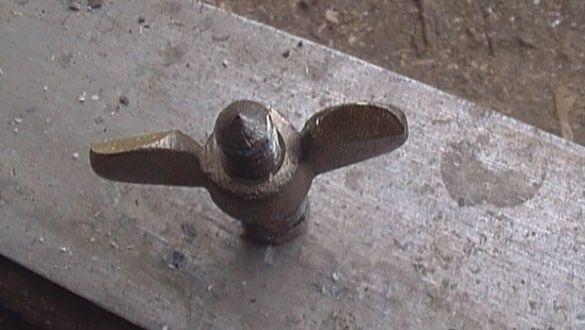
So, let's begin! We cut off the “guides” of the “guides” of the desired length from the cornice. In the board, we make 2 cuts on the circular, one for the engine, the other for the thrust rail along the width of the guide. The edges of the guides are cut at an angle by a circular saw and inserted into the cuts from below. Guides should go into tight cuts. We remove the excess thickness of the board with the help of inserts We put them under the guides and try on the spot. In order that the bolts would not turn in the guides, from the metapol mount Cut the bottom to the desired thickness. We make cuts and remove the middle part with a chisel. We drill a central hole up to 6 mm. It turns out such a detail. We insert a bolt into it The finished product is installed in the guide. After the guide insert into the cut boards.Set the inserts Put on the second board of the same size. We drill holes in the corners of the boards for self-tapping screws and, twisting, we tighten the boards together. The protruding part of the screws is removed using a turbine. Next, at one end we fasten the base of the electric motor coaxially with the guide. On the other side we install the tailstock. Having installed the electric motor on the base, we combine the center and fix the engine. On the second guide we install a stop bar. I have it made of plexiglass 10 mm thick. The slots in the rail mounts were first drilled with a 6.5 drill and sawed with a hacksaw for metal. They are connected to the rail using the corners. I will separately tell you how the center was made to the engine. He screwed 2 nuts onto the M6 bolt, tightened it with a wrench and, holding it in the electric drill chuck, machined it with emery to the desired size. He ground the wing nut on one side. Sharpening from the back. For larger workpieces, a thicker bolt can be used. The machine is ready. Having installed the workpiece in the machine, you can start processing.
Good luck to everyone in inventions and work.


