
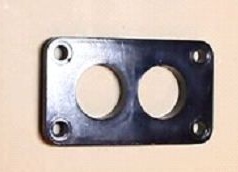
The manufacturing process of such a device is quite simple and not costly. As a basis for homemade textolite spacer under the carburetor is used. Additional air is taken to create a swirl through a separate channel through a makeshift filter.
Materials and tools for making a swirl:
- textolite spacer under the carburetor (can be bought at the car shop);
- gasket under the carburetor;
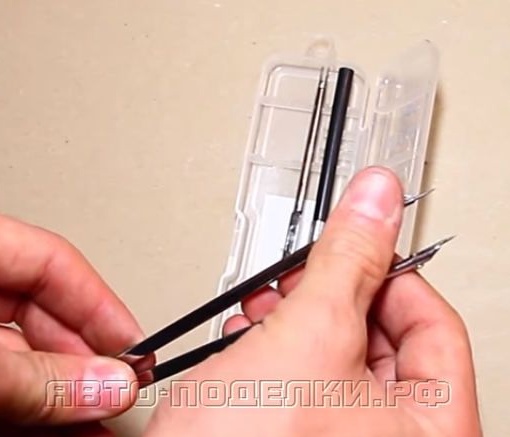
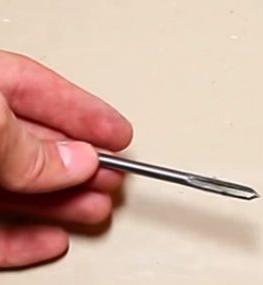
- compass (with two needles at the end);
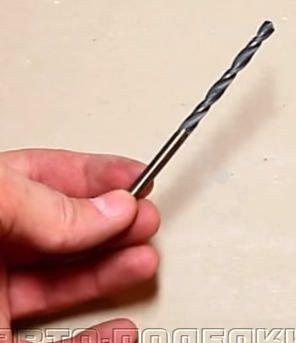
- drill and drill (one drill at 0.5-0.8 mm and one at 5 mm);
- 6 mm tap and holder to it;
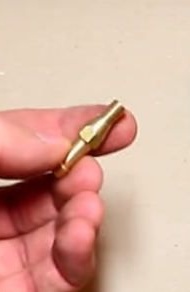
- the union with a carving on 6 mm;
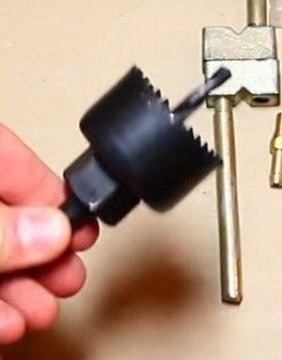
- 44 mm core drill (you can buy one, not a kit);
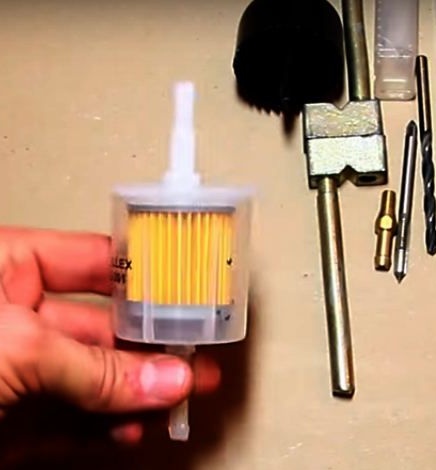
- ordinary gasoline filter;
- a piece of hose and two clamps to connect the fitting to the filter;
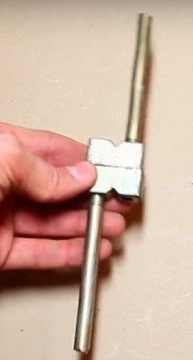
- a template for working with a mill (was ordered from a turner);
- sealant;
- a screwdriver.
Swirler manufacturing process:
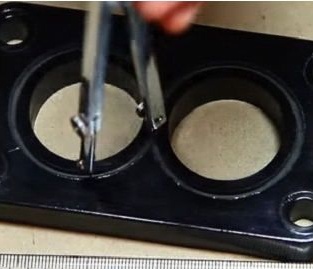
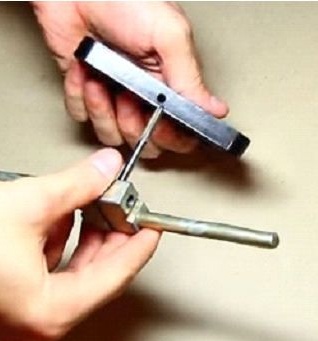
Step one. We make two grooves in the textolite
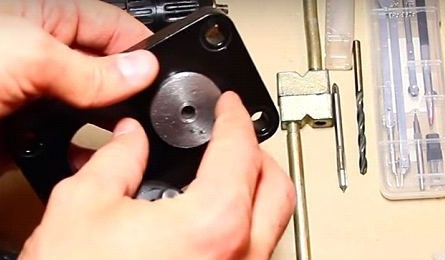
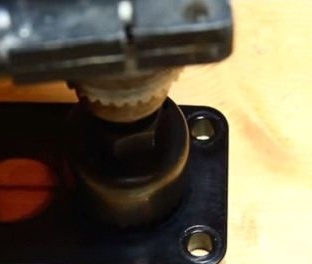
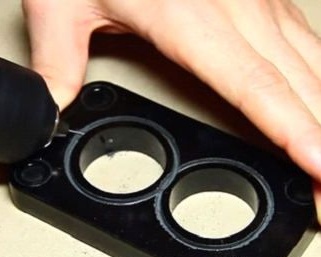
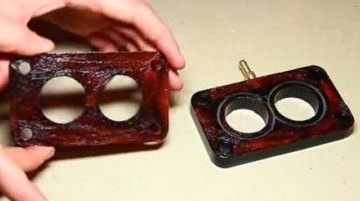
A textolite spacer under the carburetor is used as the basis for homemade work, all the necessary channels are made in it so that the air can form a vortex. First of all, you need to take the cutter and use a drill to grind two grooves in the spacer, as indicated in the photo. The grooves must be clearly centered in order to achieve such accuracy, the author uses a special template.
If there is no such template, the spacer can be installed on a piece of the board, and then clearly drill a hole in the center. Then the drill bit will be inserted into this hole, and it will stand clearly in the center. The depth of the grooves can be arbitrary, but you do not need to make them too deep, a couple of millimeters is enough for this. It is important at the same time that the cartridge does not have a runout, otherwise quality grooves will not work.
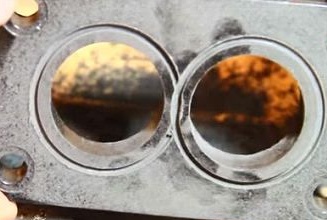
Step Two Drill holes
Holes are needed in order to let air into the pipe; it is these air flows that will form a turbulence. The holes are drilled at a certain angle, there will be 6 of them in total and they are at an equal distance from each other. To properly drill holes, you must first carefully mark and mark. In order to correctly calculate the diameter of the holes and their number, the author gave a special formula.
Specifically, in this case, based on the diameter of the cutter, the holes are located at a distance of 21.5 mm from each other.

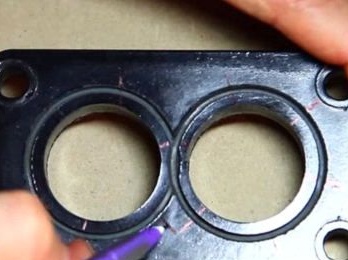
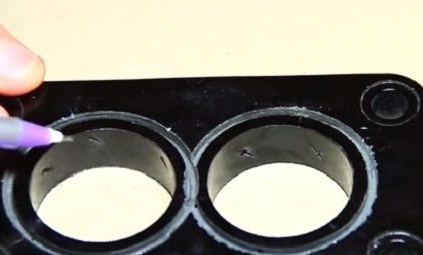
To make the holes convenient to drill, they must first be screwed. It is also important to note that all holes must be drilled at the same angle and in one direction, only in this case a uniform turbulence will form.
If the groove is too deep, drilling holes can be quite problematic. In this regard, the grooves must first be made shallow, drill holes, and only then deepen the grooves to the desired value.
Textolite is quite fragile, so do not rush and put pressure on the drill.
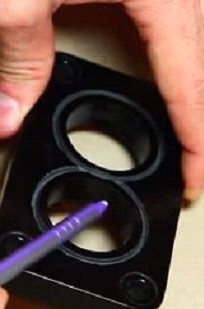
Step Three Drill a hole for air supply
Air is supplied to the grooves from the outside, for these purposes it is necessary to drill two holes with a 5 mm drill. One hole is drilled on the side of the spacer, and the second on top, so the grooves are connected to the main air channel. After that, a thread must be cut in the hole, a tap is used for this. Next, the fitting is screwed in, first it needs to be lubricated with sealant.
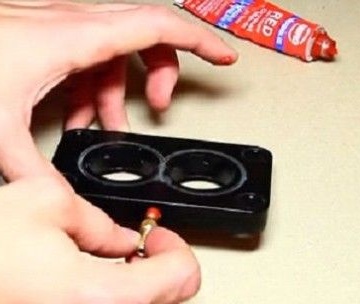
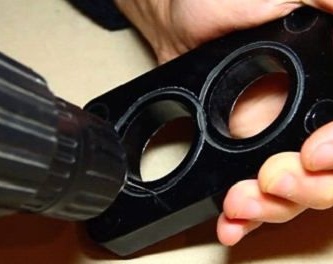
Step Four Assembling the design
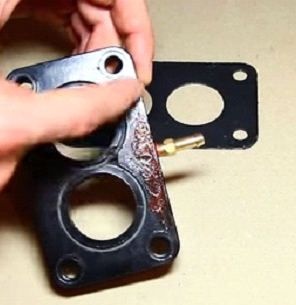
Now on the top of the spacer you need to install the gasket, it is glued to the sealant. Here you must be careful and use a very thin layer of sealant. If he gets into the grooves, he will clog them, and the system will not work. For high-quality assembly, silicone sealant needs to lubricate the gasket and textolite.
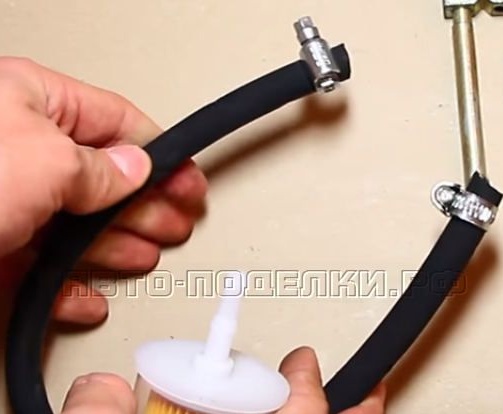
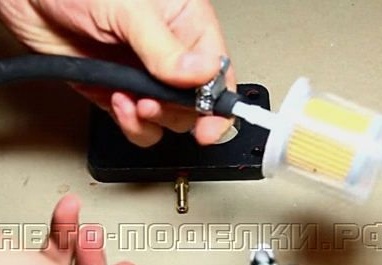
After the sealant has dried, the device can be installed on car. To do this, the carburetor is removed and instead of the usual gasket, the manufactured spacer is installed. Since the system will take air from the environment, the system will definitely need an air filter. For these purposes, the author uses a conventional filter for cleaning gasoline. However, for reliability, you can also put a hose on the other end of the filter and insert it into the main carburetor air filter.
For reliability of fastening of hoses clamps are used.
That's all, the homemade product is ready. Now it remains only to try it in practice. Naturally, before the race you will have to adjust the carburetor, as the combustible mixture is likely to become too lean.