

If you like unusual exclusive things, and want to realize exactly such ideas in repair, then wall decoration with a bas-relief is just for you.
When decorating the walls with a bas-relief, the main tools are special stencils and decorative plaster. With their help, you can create a bright three-dimensional ornament, which will highlight a specific section of the wall and make the design of the room unusual and memorable.
Stencils can be purchased at almost any hardware store, but the price of them inspires you to make stencils do it yourself. In addition, you get the opportunity of unlimited flight of imagination and unique design that you will have.
Materials and tools:
• cardboard or plastic
• knife
• strep tape
• decorative plaster
• foam roller
• putty knife
• primer
• paint
• brush
Detailed manufacturing description
Step 1. Pattern selection
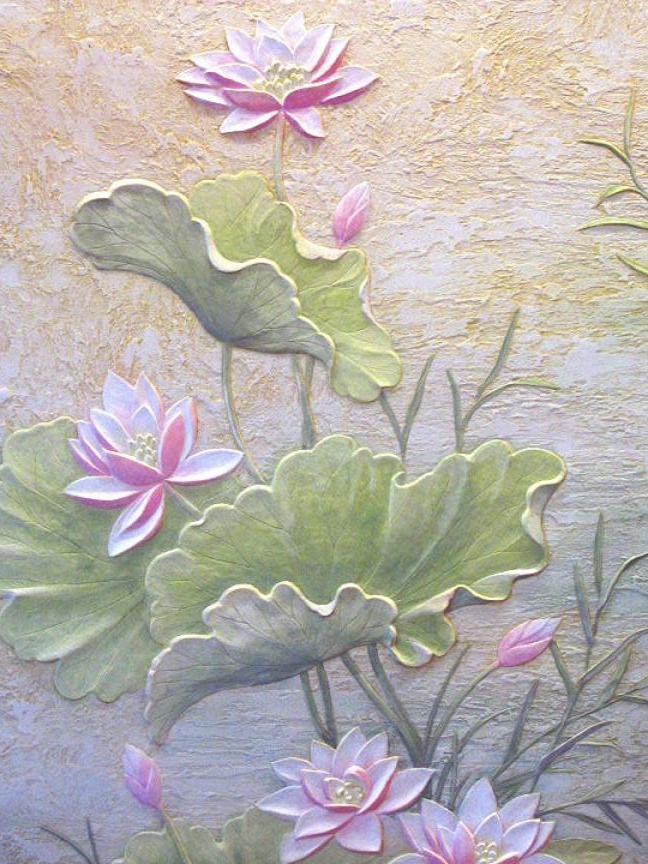
When choosing a picture of a future bas-relief, it is necessary to take into account the style of your room. If it is hi-tech, then abstract images will be appropriate. In the room with Japanese motifs - lotus flowers, sakura. The main thing is that the bas-relief reflects the general motives around.
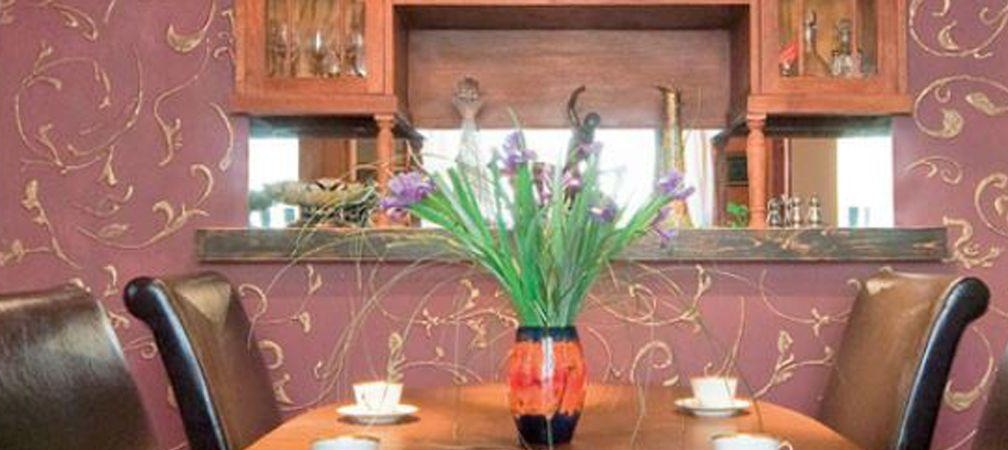
If you decide to use some classic ornament, then it will be appropriate to repeat this pattern on objects of furniture, or textile elements in the room. For example, on curtains.
Step 2 Cooking stencils
You will need thick cardboard or plastic. Please note that cardboard stencils are easier to make, but they get wet over time, so it’s better to make several of them in advance.
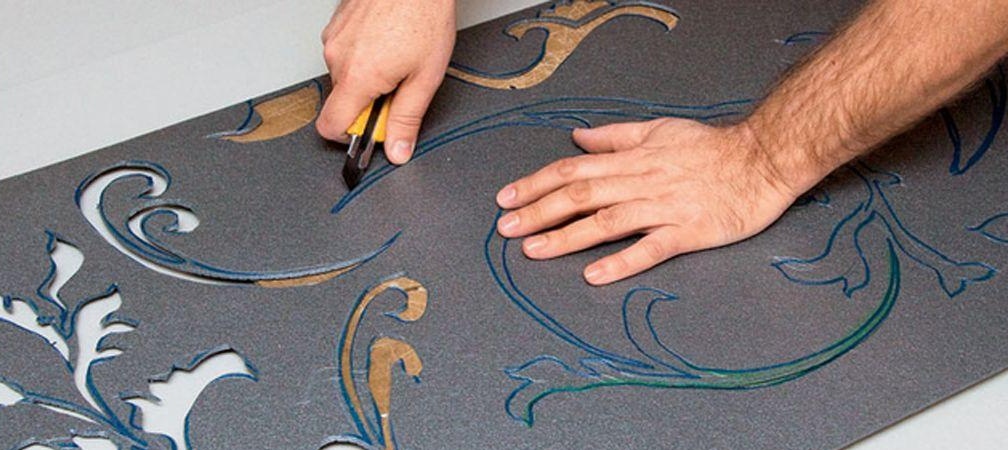
When working with plastic, the main thing is to ensure that the edges of the cut out pattern are smooth and without chipping.
The optimal size of the stencil is 50x100 cm. We draw the selected drawing with a pencil on a sheet and cut it out with the help of a clerical knife.
Step 3 Start finishing
We fasten the stencils to the wall with the help of ribbon strips. You can also use special glue that does not leave marks on the surface.
Before starting work, make a trial bas-relief on a piece of chipboard. This will allow you, as they say, to fill your hand, and understand the essence of the work.
Step 4 Wall preparation
We apply a primer to the place of the future bas-relief with a brush. We are waiting for complete drying. In principle, you can skip this step.
Step 5 Finish
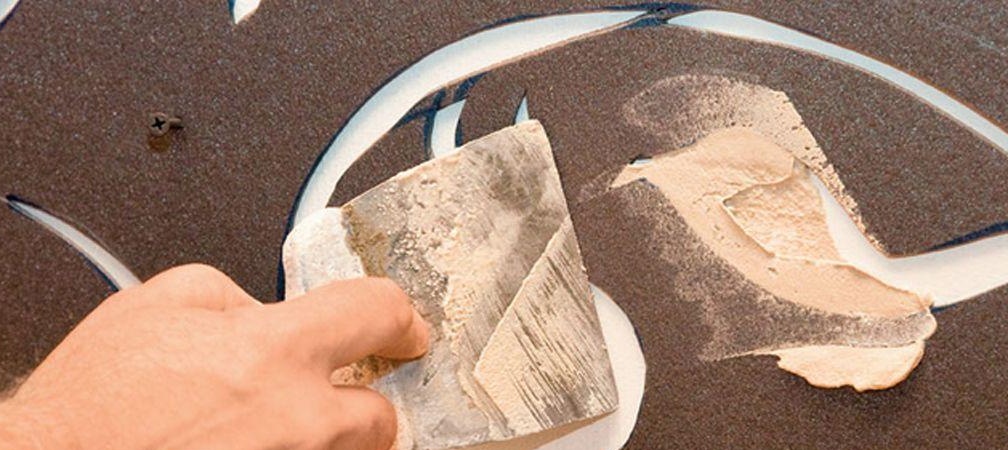
Using a spatula, apply decorative plaster to the stencil. To achieve a more voluminous effect, after drying, you can apply several more layers of plaster.
Step 6 Patterning
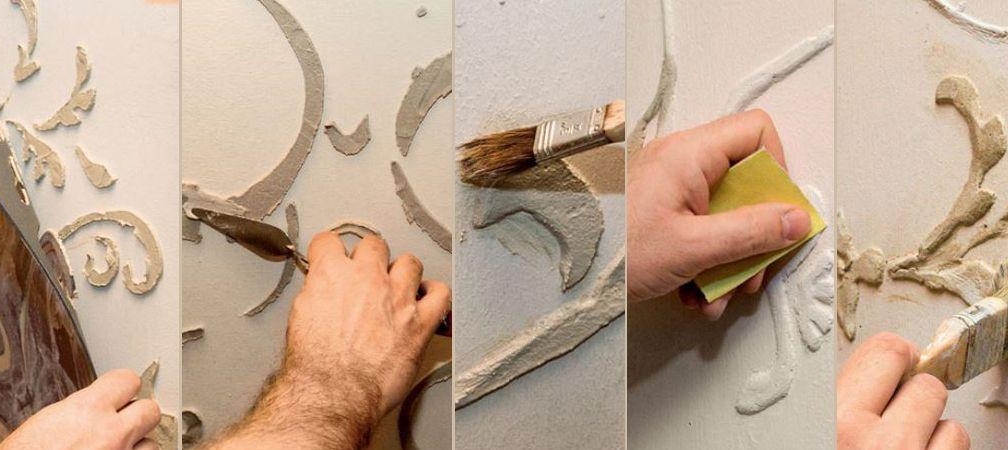
Using a small spatula, we create the texture of the pattern. Do not wait for the plaster to dry completely. Once the mixture has set, gently remove the stencil. If small cracks have formed along the contour of the ornament - after complete drying, remove them with fine emery paper. For strength, we fix the ornament with varnish.
The work is finished, but you can go further and color our bas-relief.
Step 7 Dimming
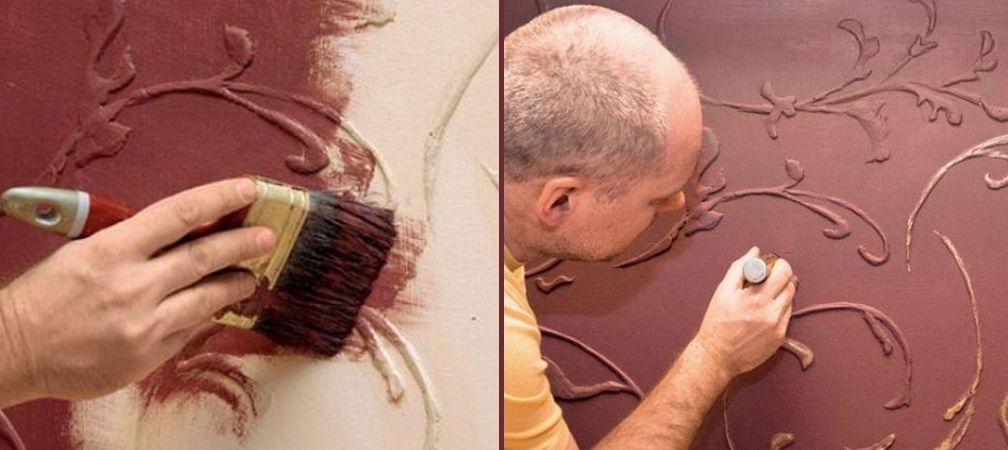
Using a brush, paint the bas-relief with acrylic paint. drying can be accented with gold paint, or pearlescent shades.
Do not be afraid to experiment. Use various bas-reliefs and unusual color schemes, and you will make your interior bright and unforgettable.