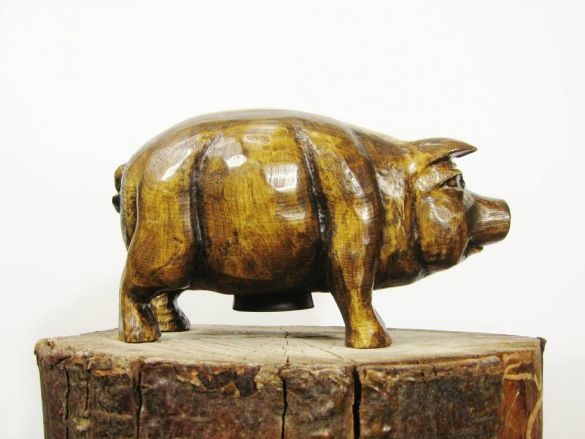
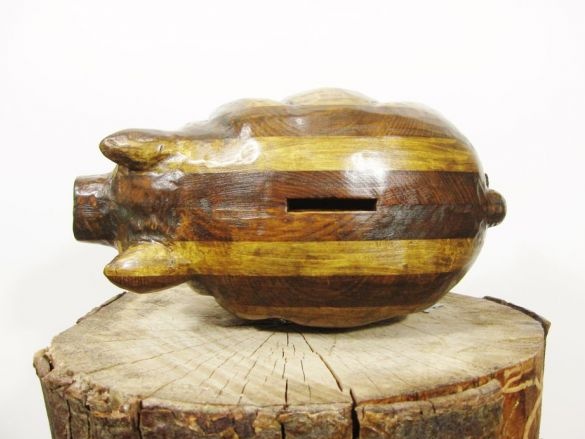
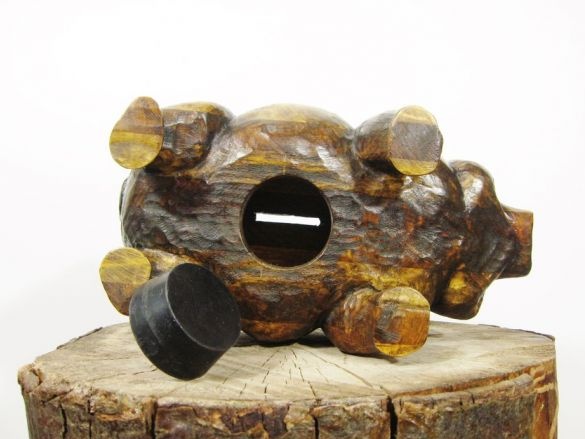
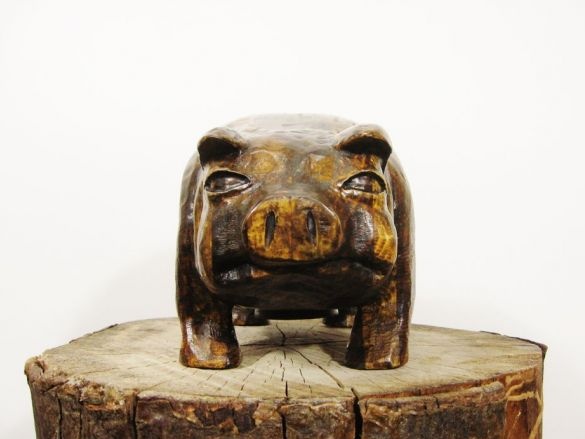
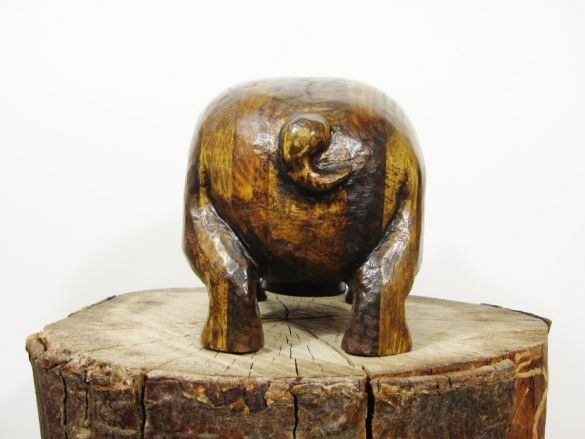
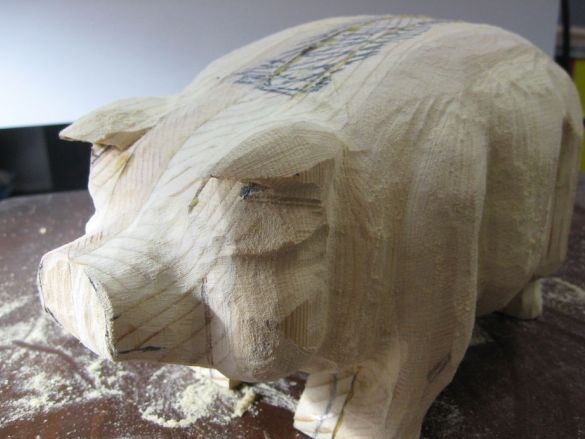
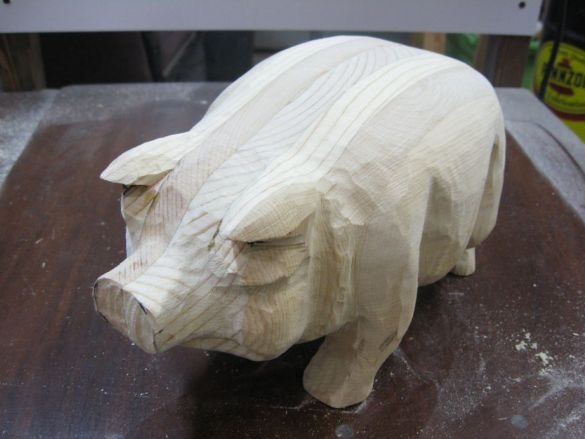
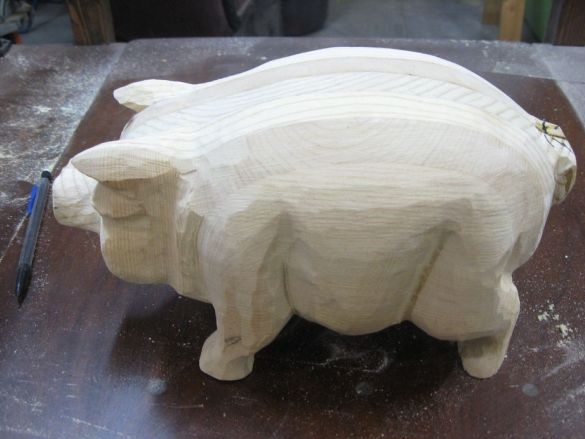
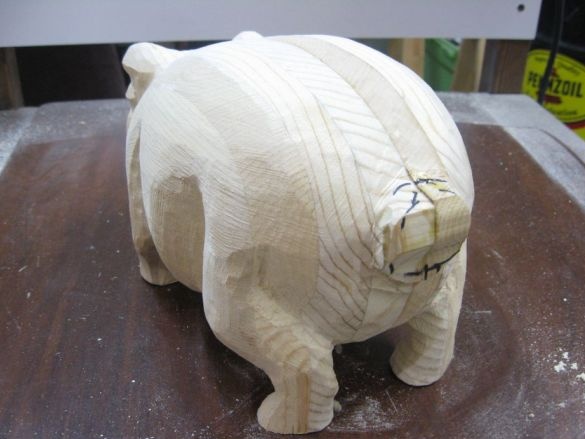
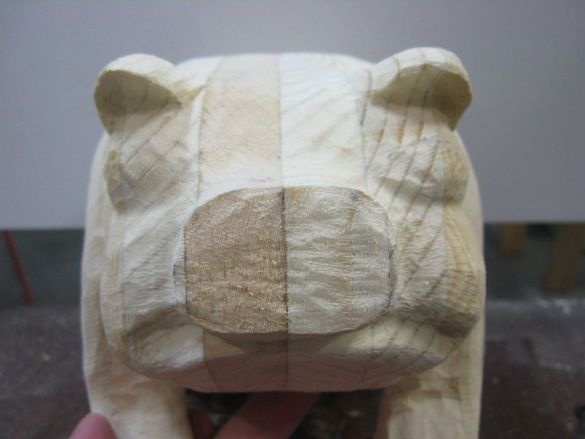
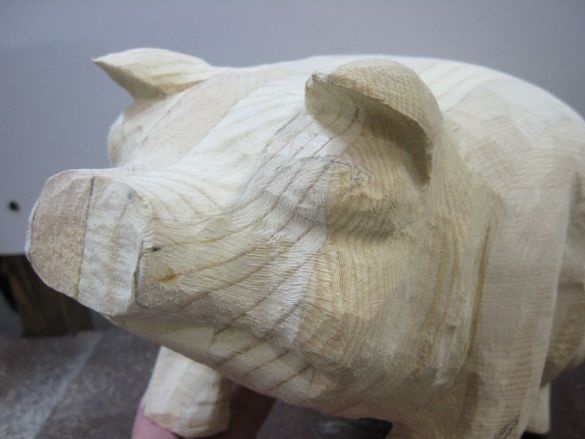
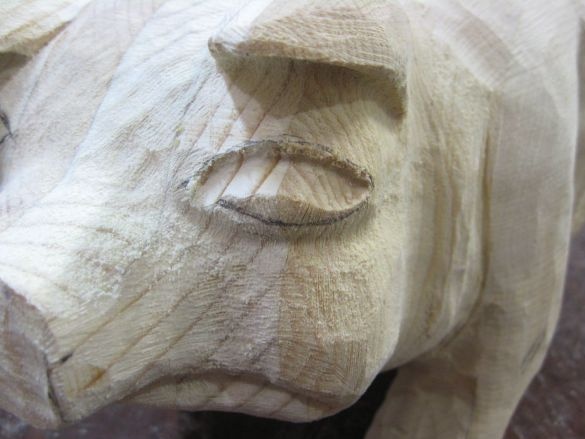
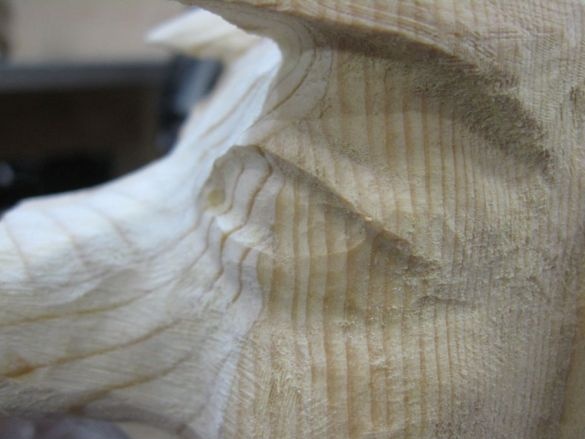
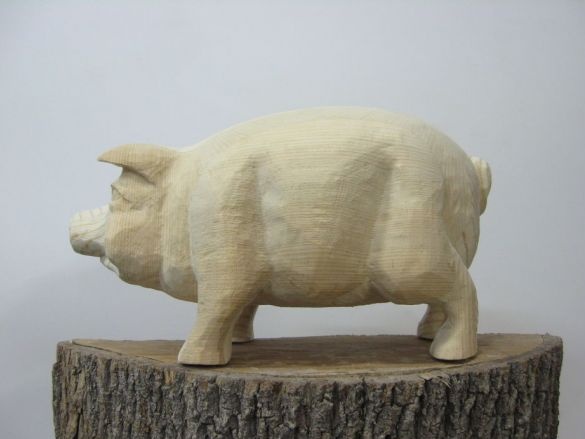
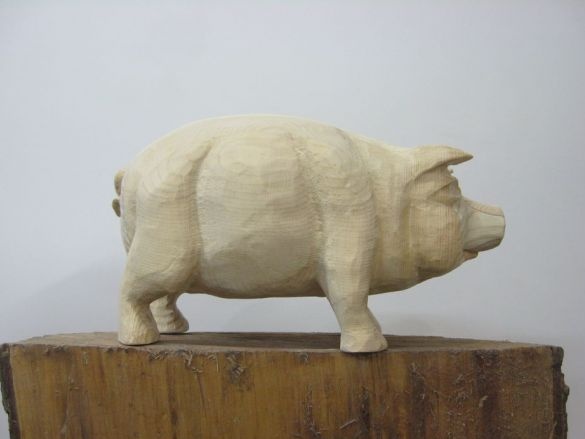
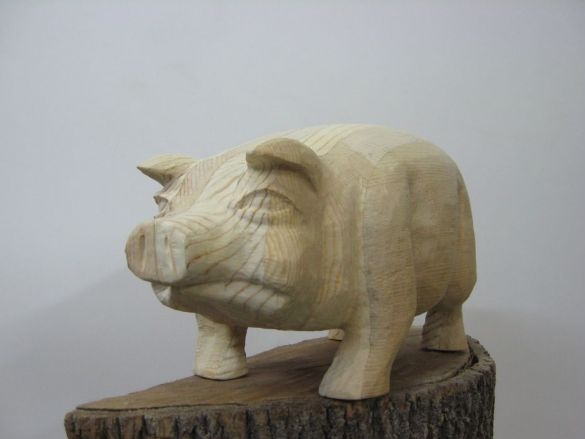
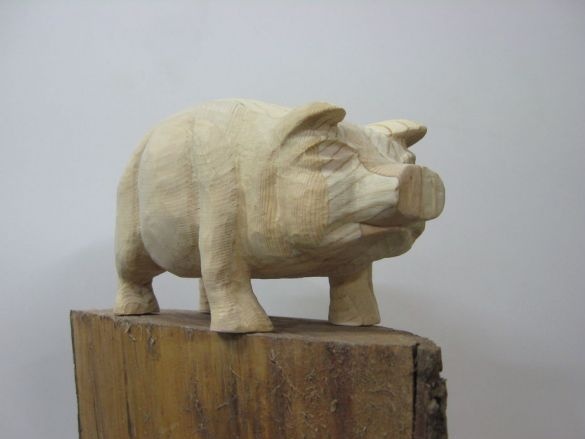
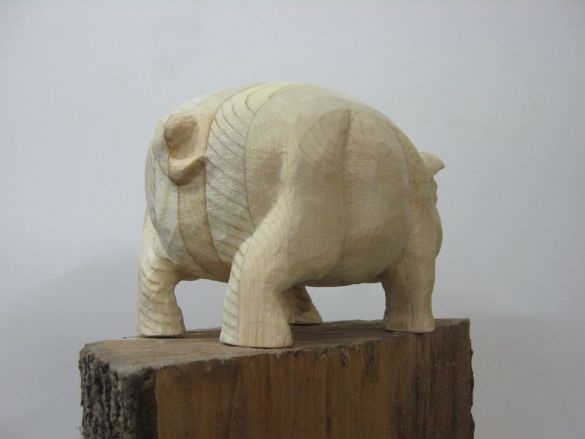
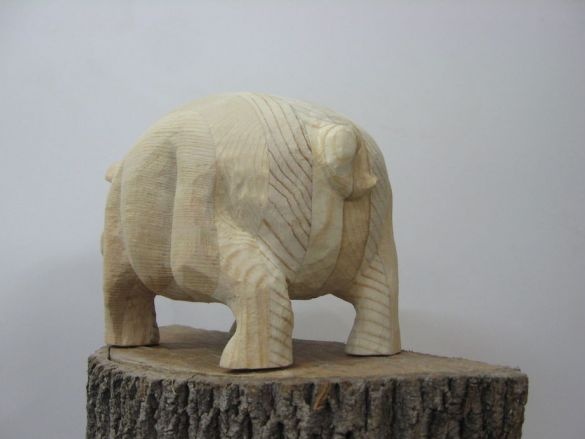
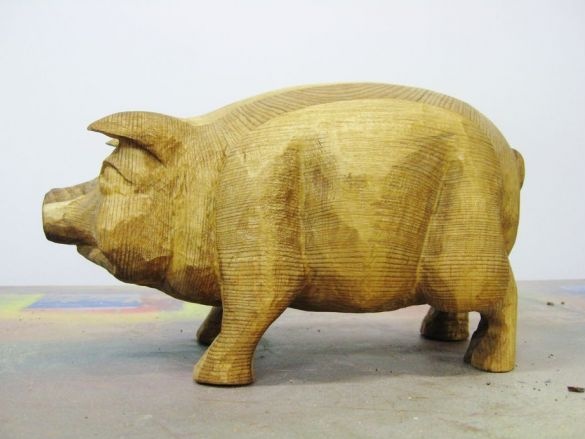
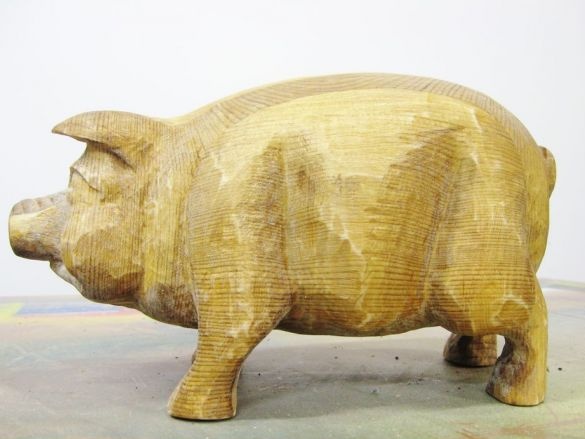
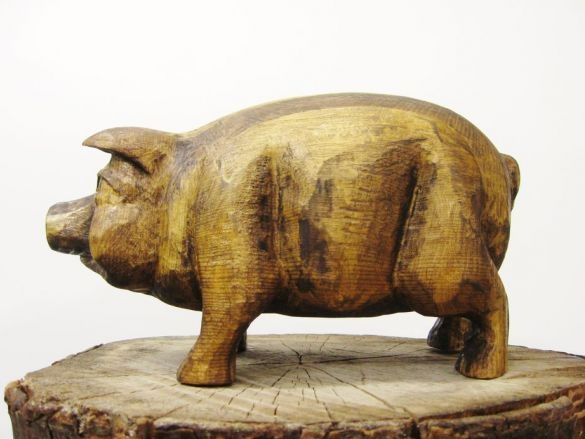
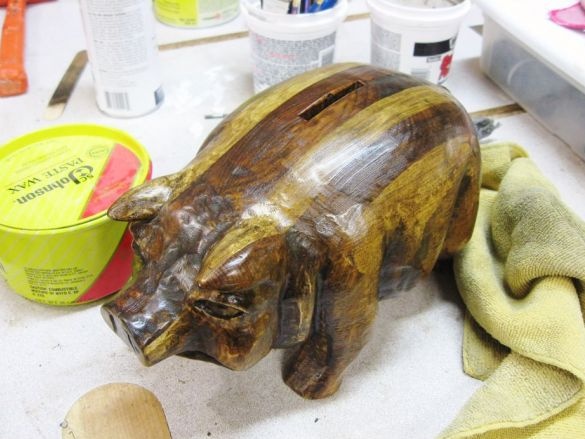
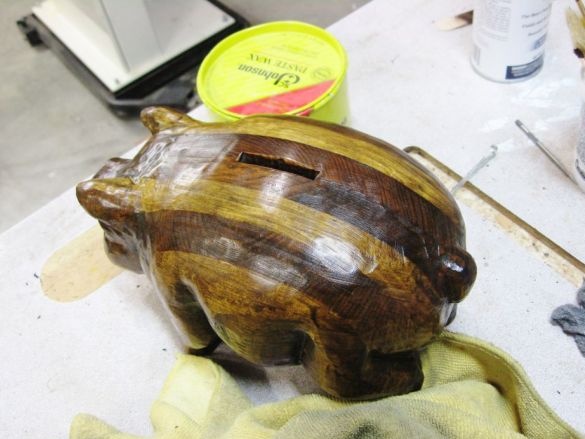
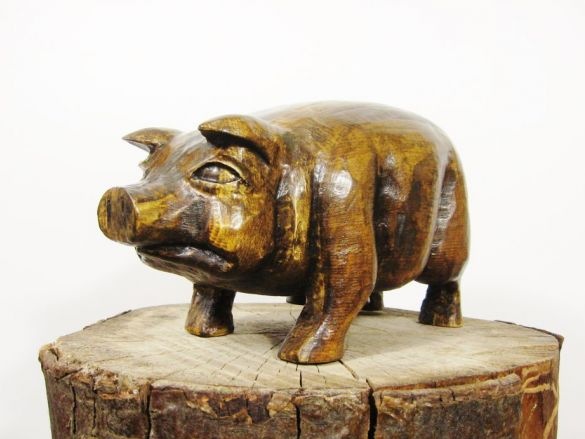
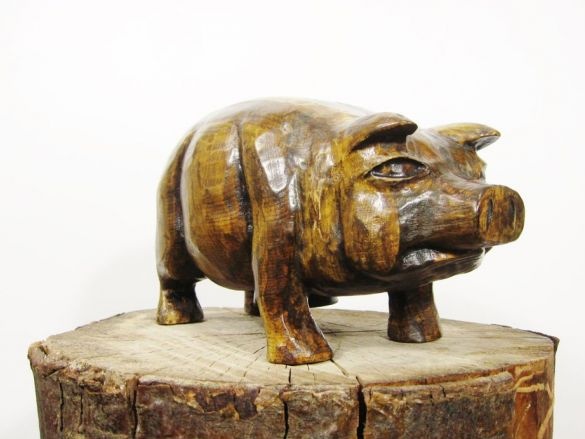
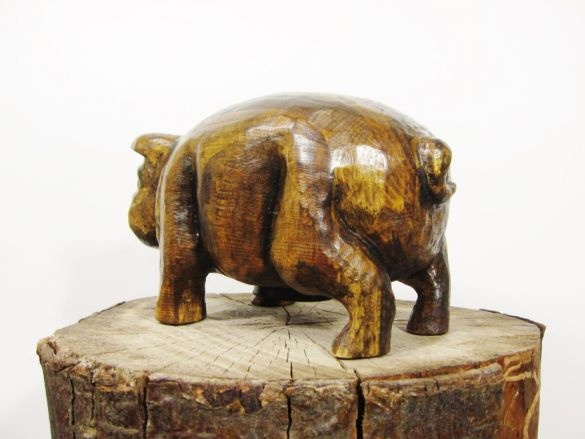
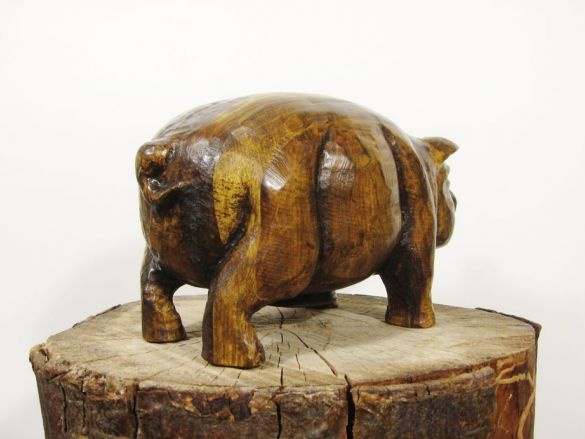
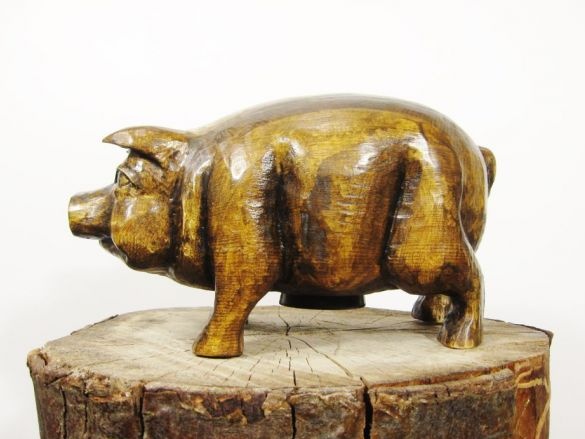
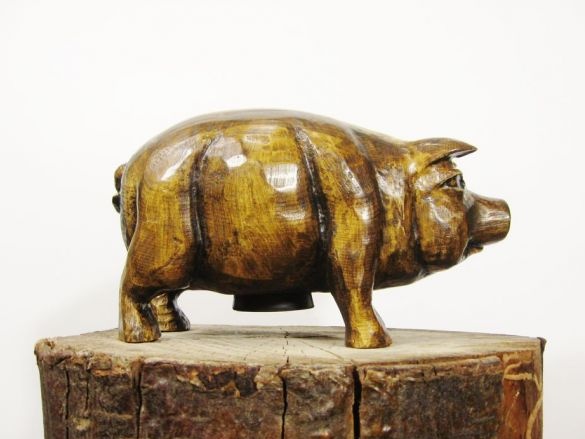
This is the master piggy bank. This is a piggy bank, the first experience of a beginner woodcarver. And, judging by the photo, he did not turn out badly. For the manufacture of piggy banks, the master used the following
Tools and materials:
-A computer;
-A printer;
-Plywood;
-Pencil;
-Bandsaw machine;
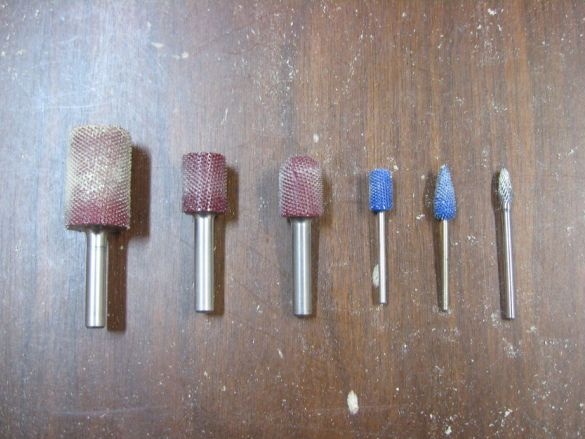
-Engraver;
Cutters;
- Clamps;
- Joiner's glue;
-Drill;
- Electric jigsaw;
-Rubber stopper;
-Oil;
-Shellac;
-Sandpaper;
-Acrylic paint;
-Varnish;
-Metal sponge;
-Wax;
Step One: Template
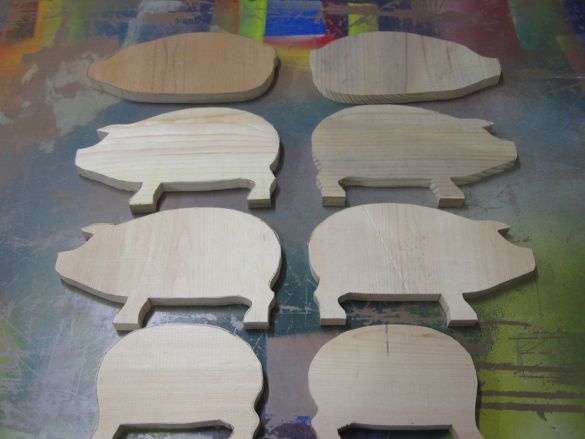
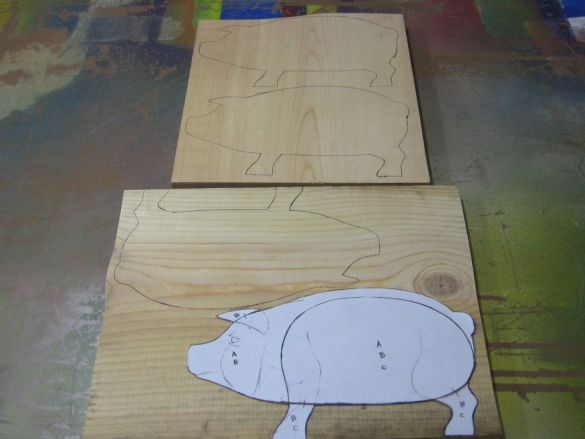
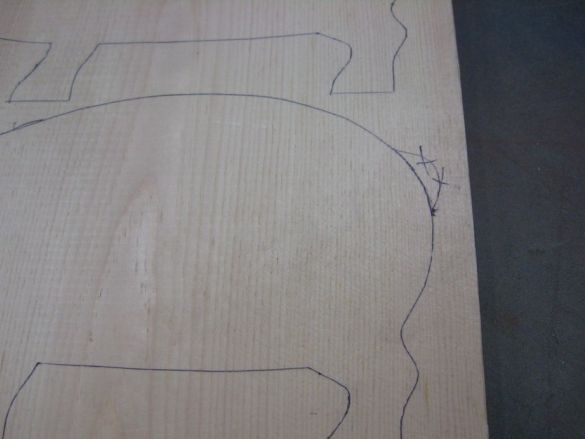
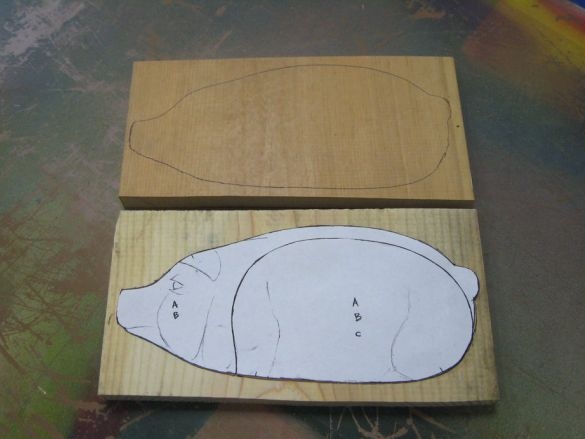
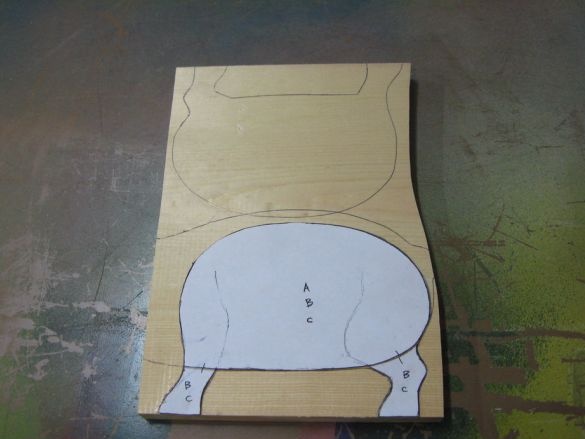
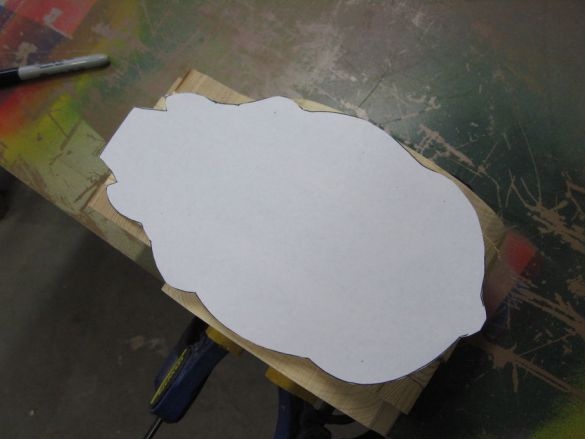
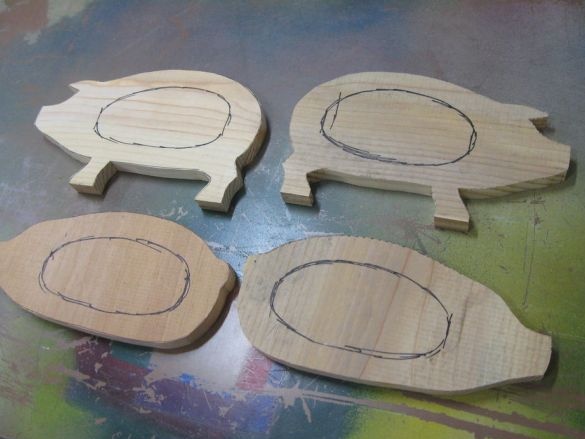
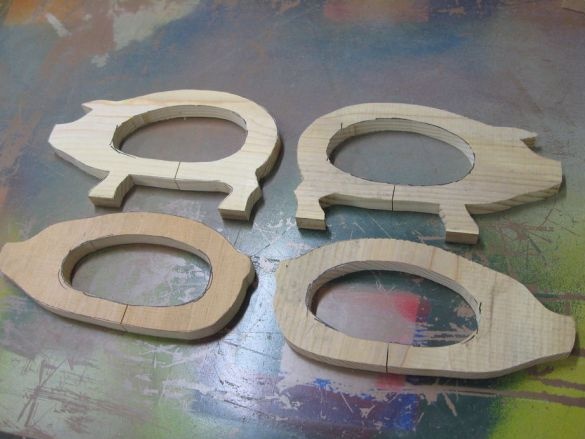
Prints a template on the printer. Cuts out. Draws a contour on a plywood sheet. Cuts with a band saw. In total, eight parts should turn out: two side, four with ears and two with a tail.
For those who want to repeat the manufacture of a piggy bank below the template.
piggybankpattern.pdf
Step Two: Preparing Parts
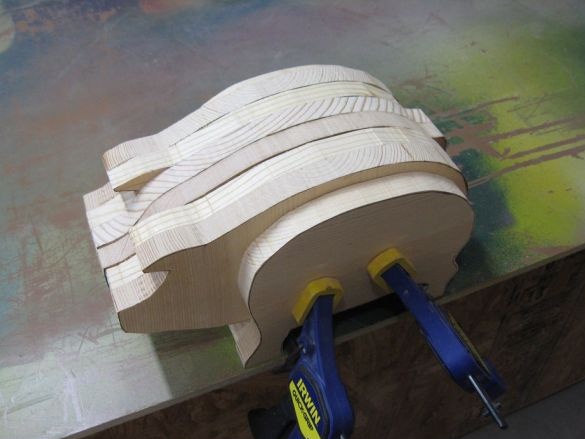
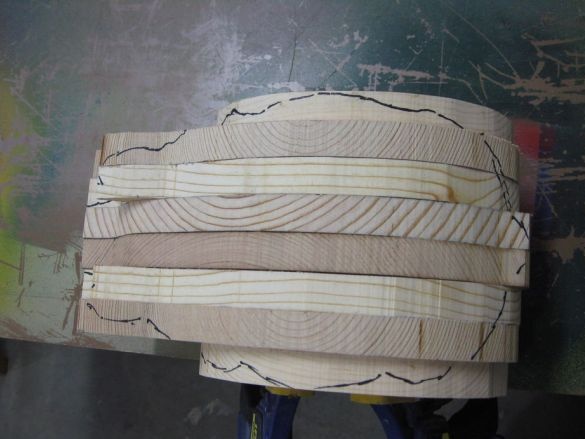
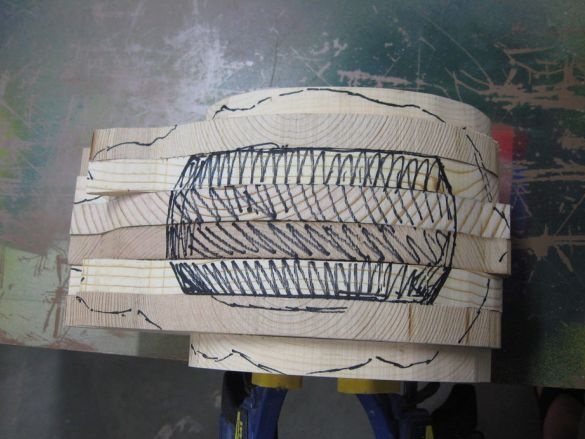
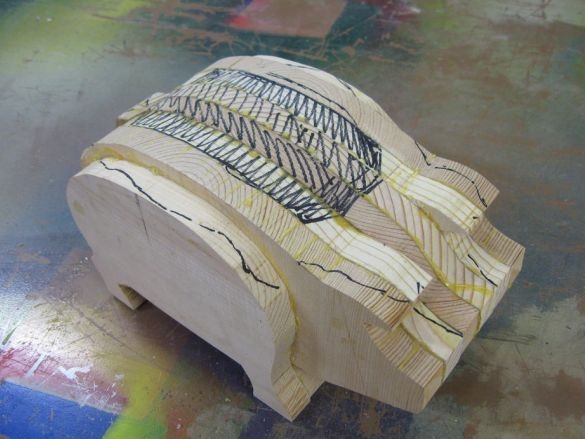
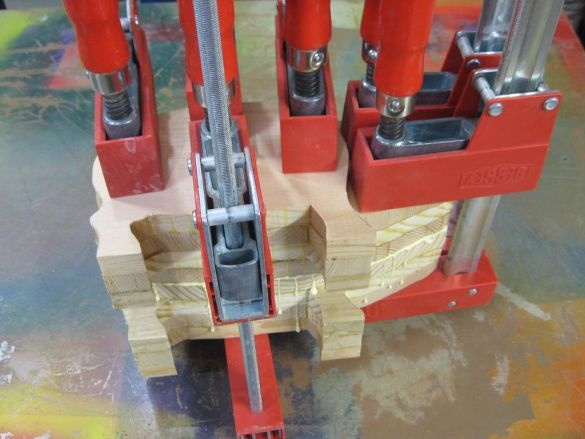
Folds parts together and clamps with clamps. Draws places for processing. Then it removes the clamps and draws the internal cavity.
Cuts an internal cavity.
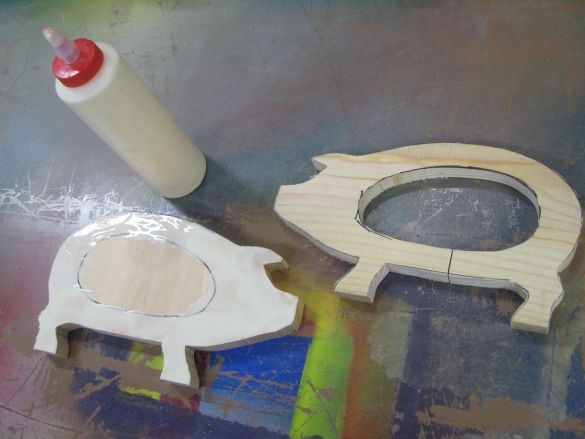
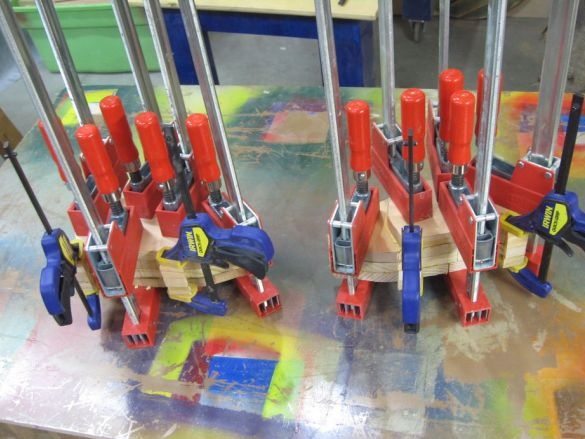
Step Three: Gluing Parts
Applies glue and glues parts.
Step Four: Shape Processing
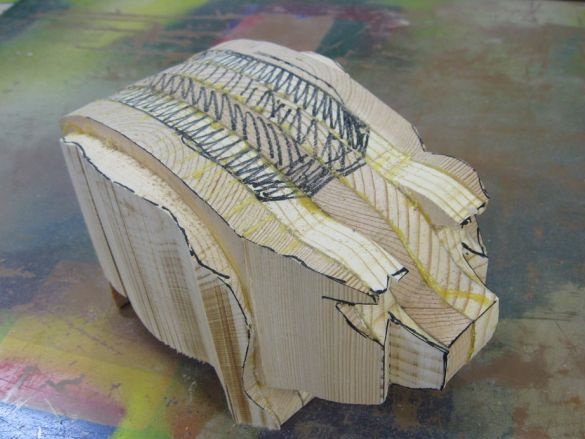
A band saw cuts off excess material.
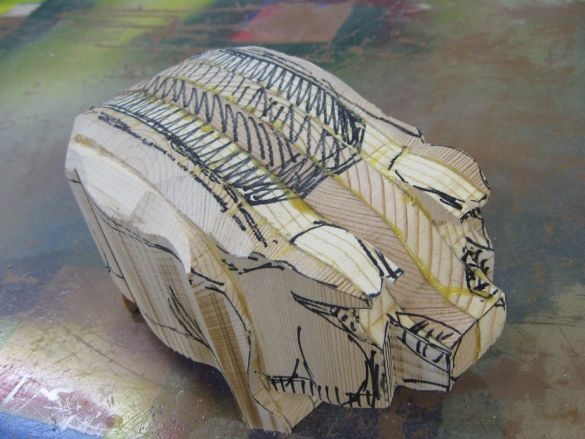
Starts engraving.
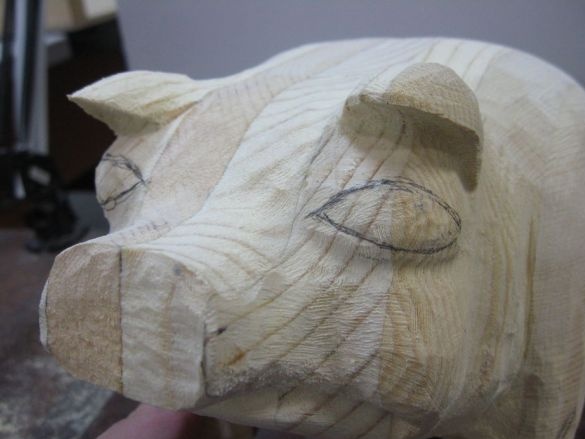
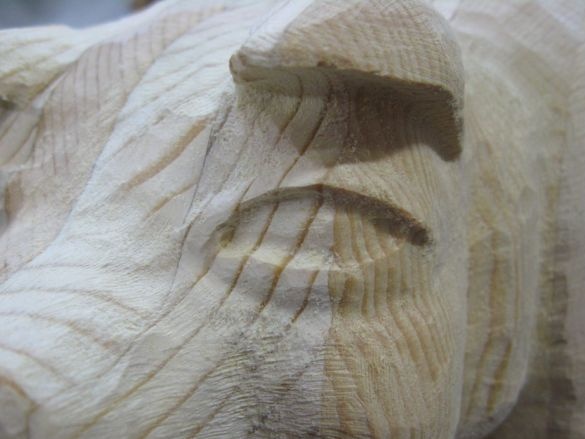
Cuts eyes, ears, tail.
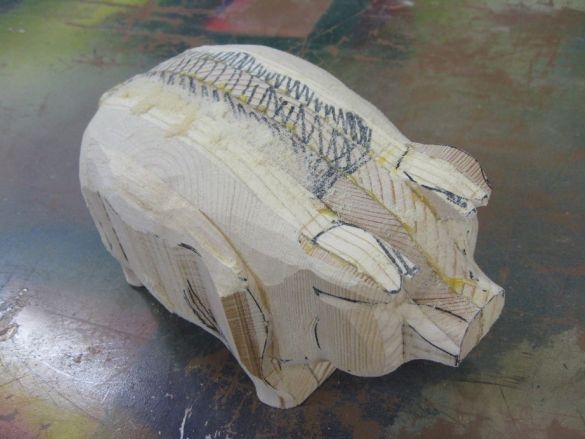
The processed figure.
Step Five: Holes
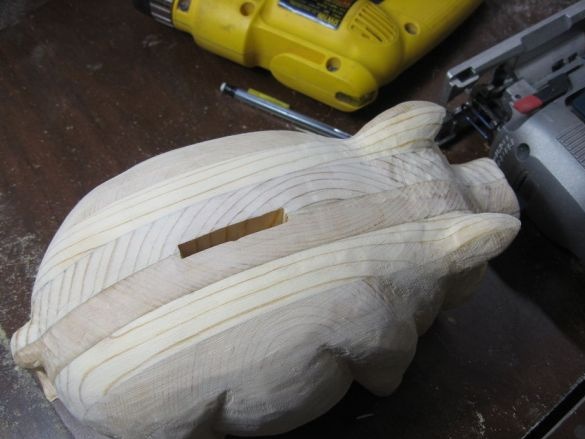
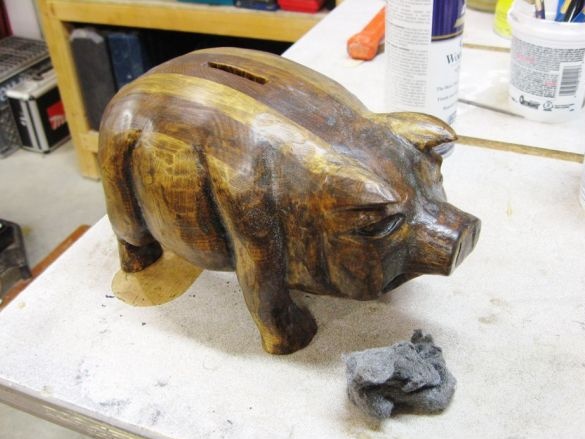
On the back of the pig carves a slot for coins.
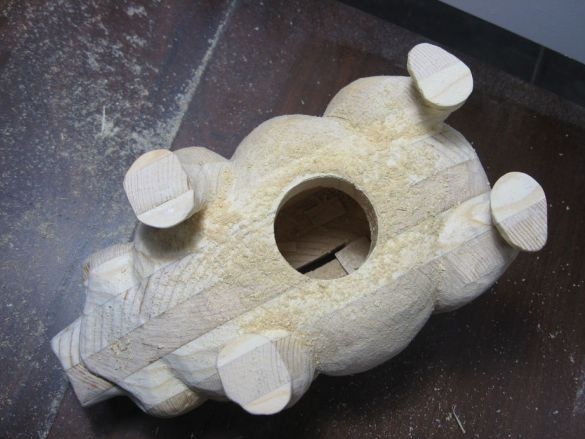
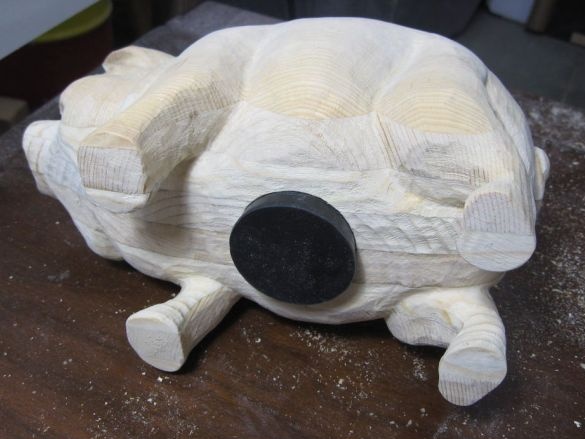
It also makes a hole on the belly. The hole will be closed with a rubber stopper.
Step Six: Cover
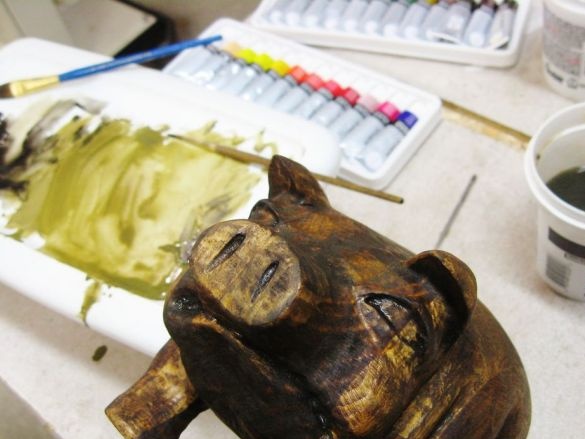
Now the final finish. Applies oil, then shellac. After shellac, it is lightly sanded with sandpaper, then it applies a darker oil.
Acrylic paint highlights dark and light colors.
Spray varnish in several layers. Between the layers, lightly wiped with a metal sponge. After applying the last coat of varnish, it waxes the figure.
Here is such a pig-piggy bank.

