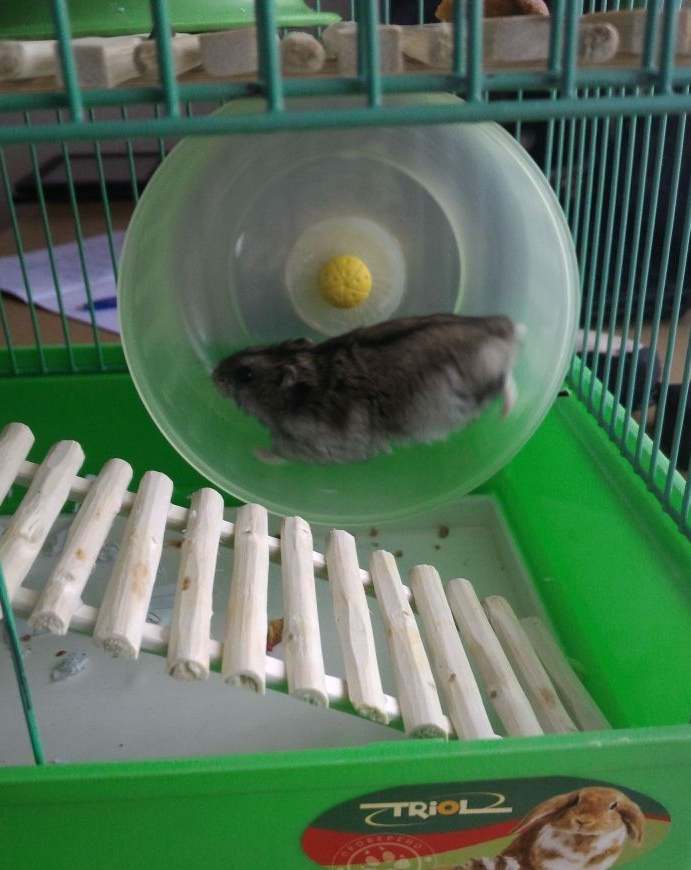
Everyone who holds hamsters knows that they love to run in a wheel. But cheap Chinese plastic, from which pet accessories are made, quickly erases and axial beats appear, as a result of which the animal becomes difficult to scroll the wheel and he, contrary to his mobile disposition, stops running in it. The result - you have to go to the store and spend money on a new wheel.
It is proposed to upgrade the standard wheel by installing it on a ball bearing.
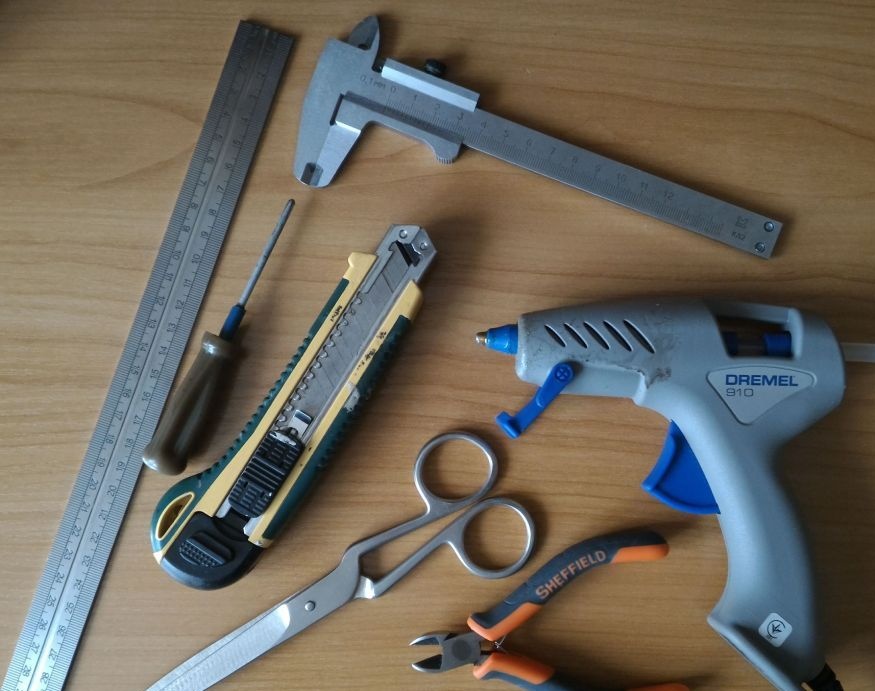
For work, we need tools:
- ruler;
- screwdriver;
- nippers;
- breadboard knife;
- vernier caliper;
- thermo-gun;
- scissors.
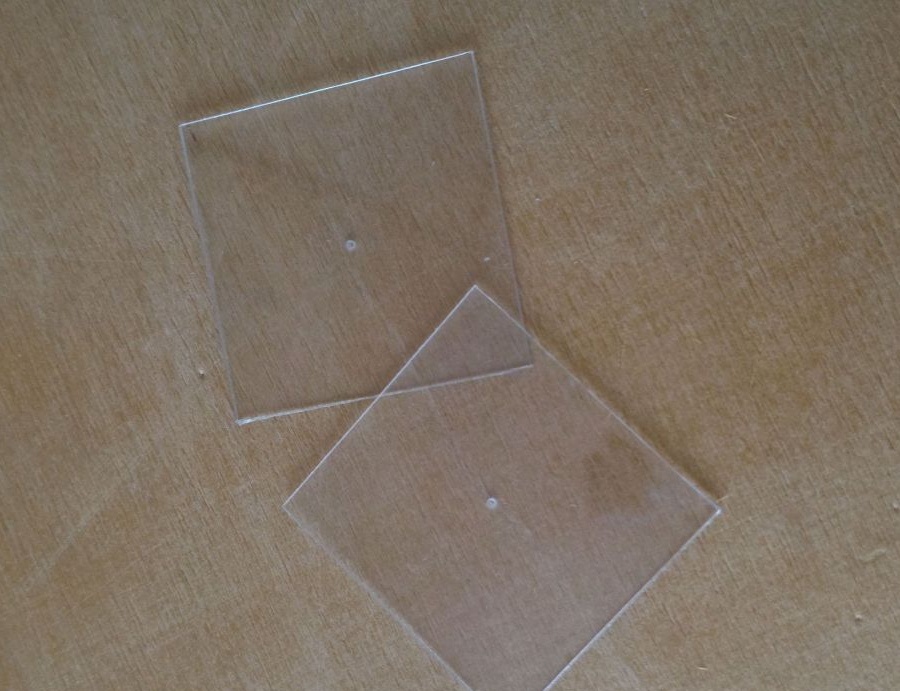
Next, you need a small piece of sheet plastic, a thickness of 1.5 - 2 mm. I didn’t have it at hand, so I had to improvise. Soft plastic from the packaging is an excellent replacement if glued in several layers.
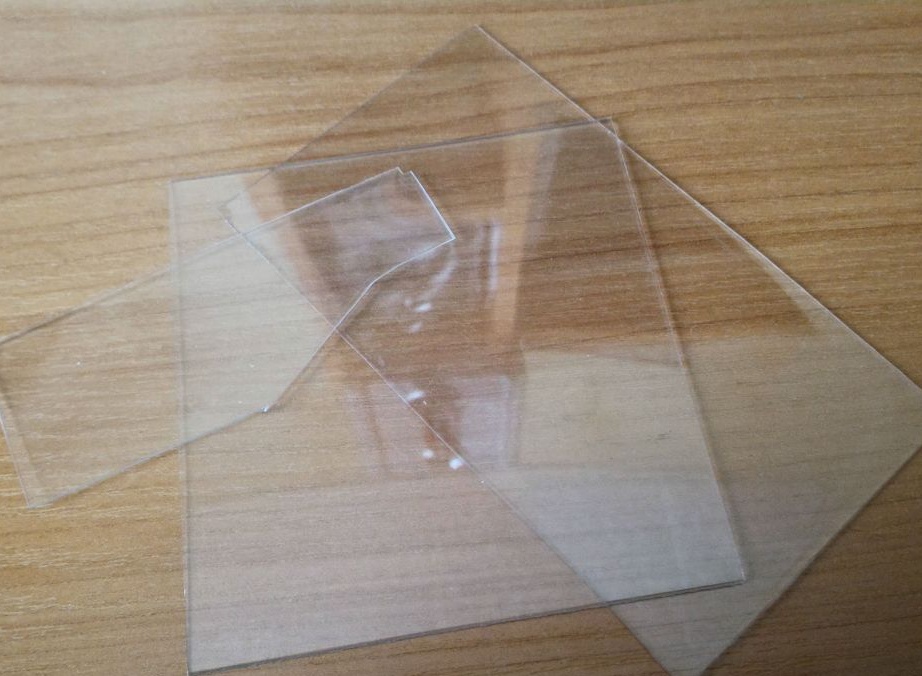
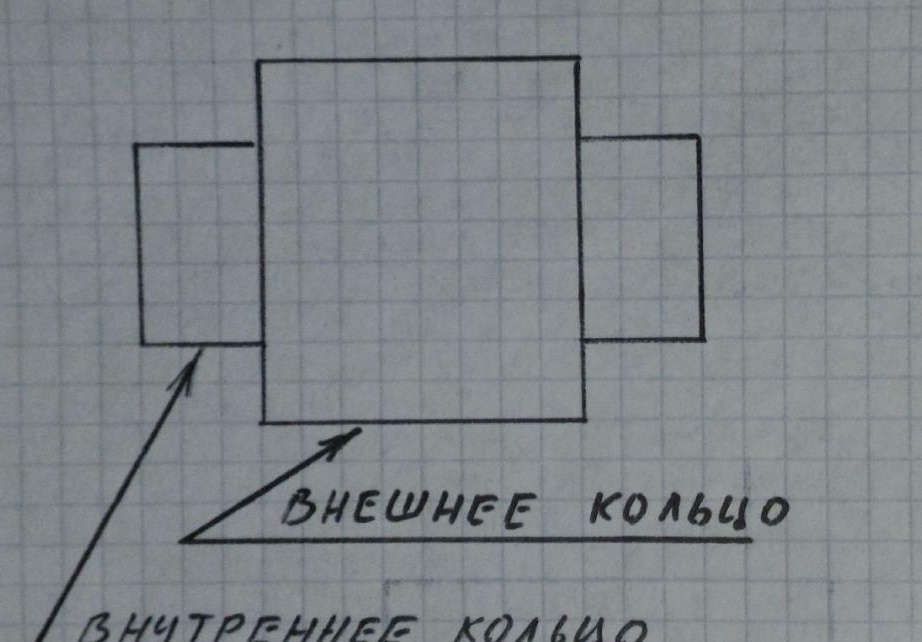
Cut the required number of squares (I used three), mark the center.
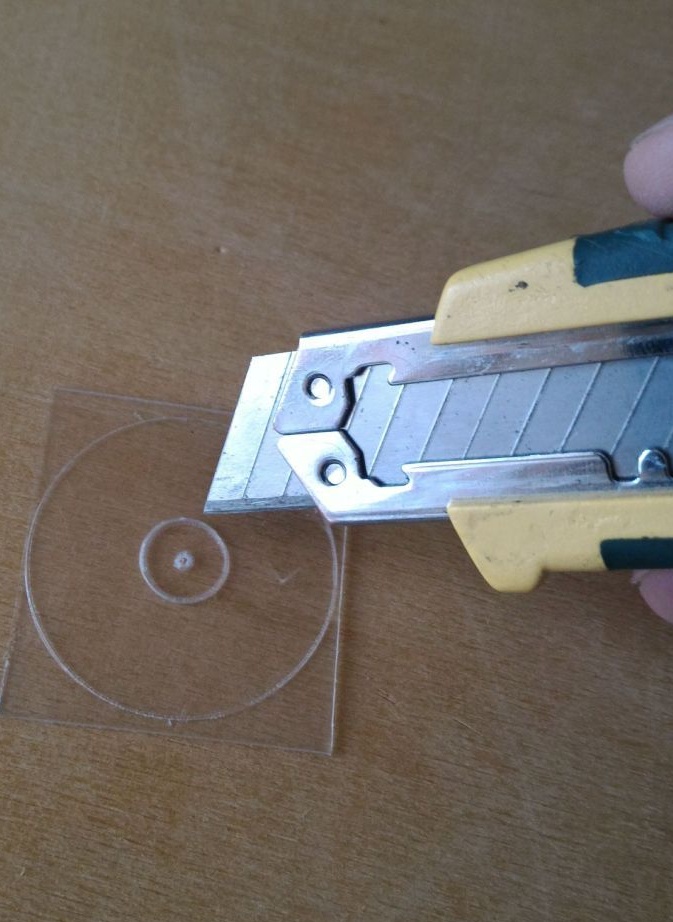
Using a minimum of tools, using a caliper, we scratch a circle, according to the size of the outer diameter of the ball bearing.
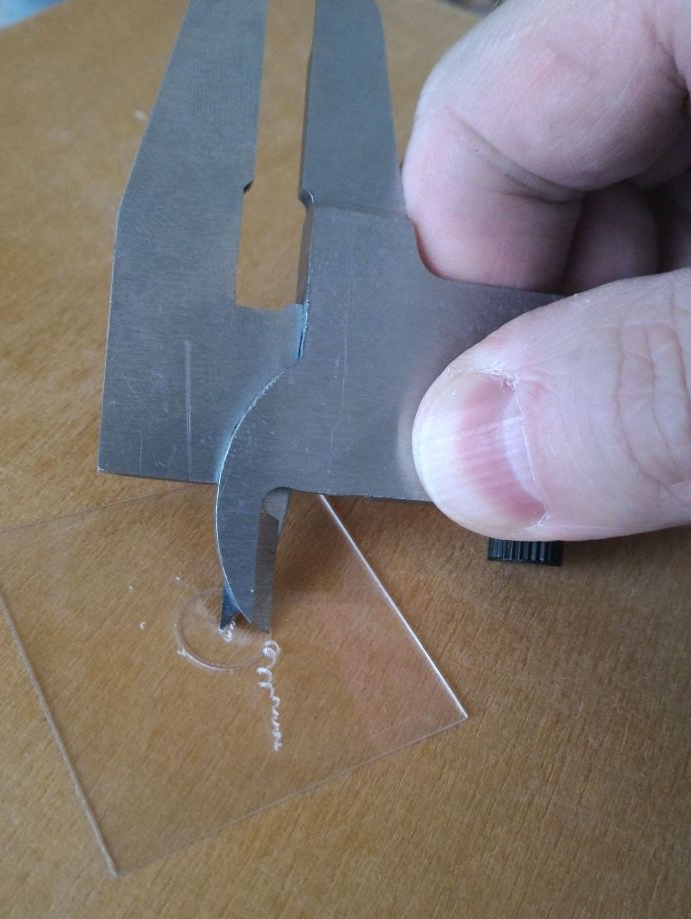
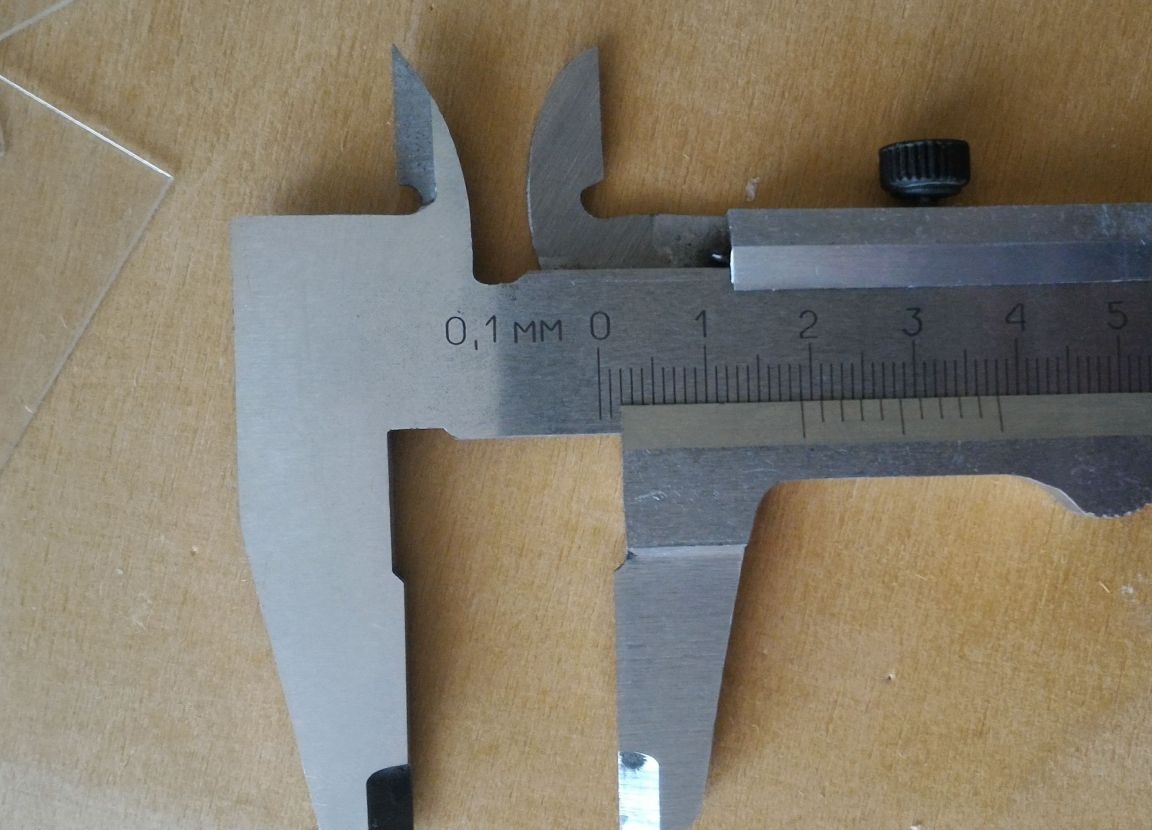
Again we are preparing a vernier caliper for marking (in the specific case it turned out 19 mm.)
And in the above-described way, we will scratch a new circle on plastic. The result is as follows.
The operation of marking circles, also, can be done using a compass with two needles or use a suitable screen ruler.
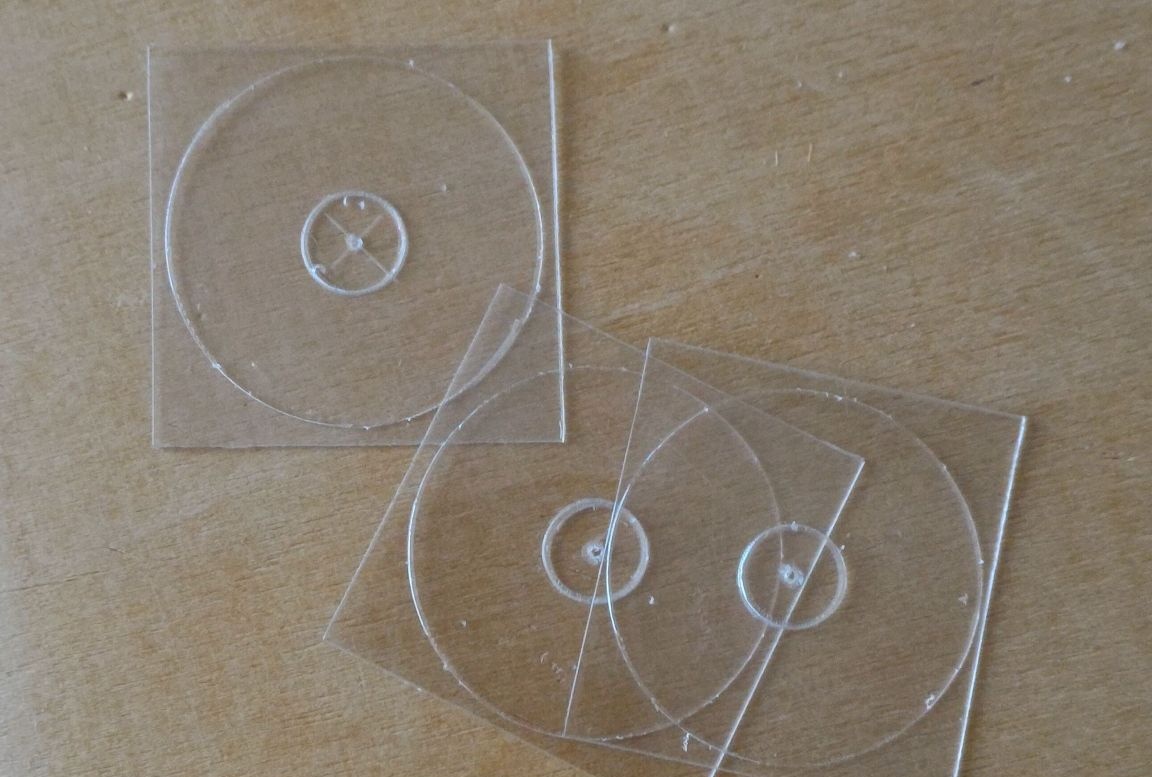
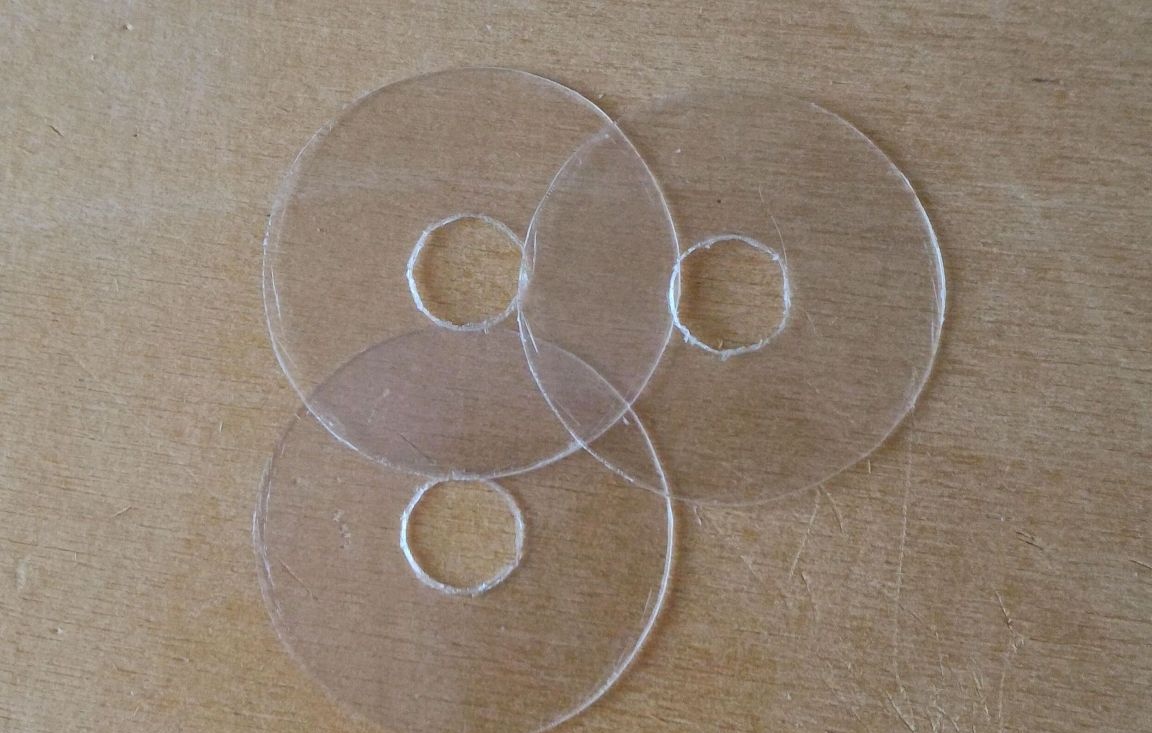
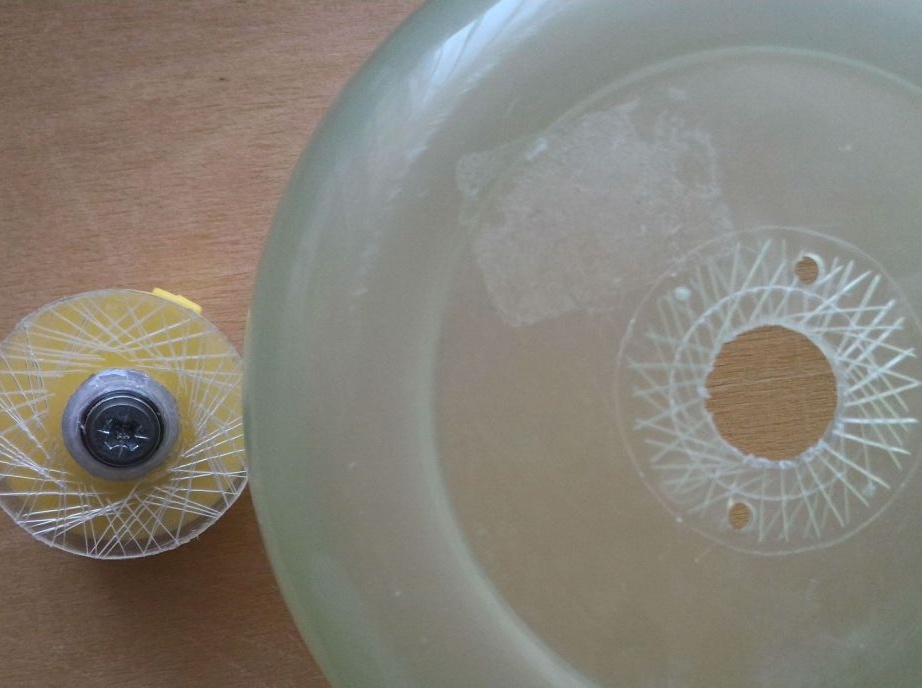
With a dummy knife and scissors, we cut out the marked blanks.
It turned out like this.
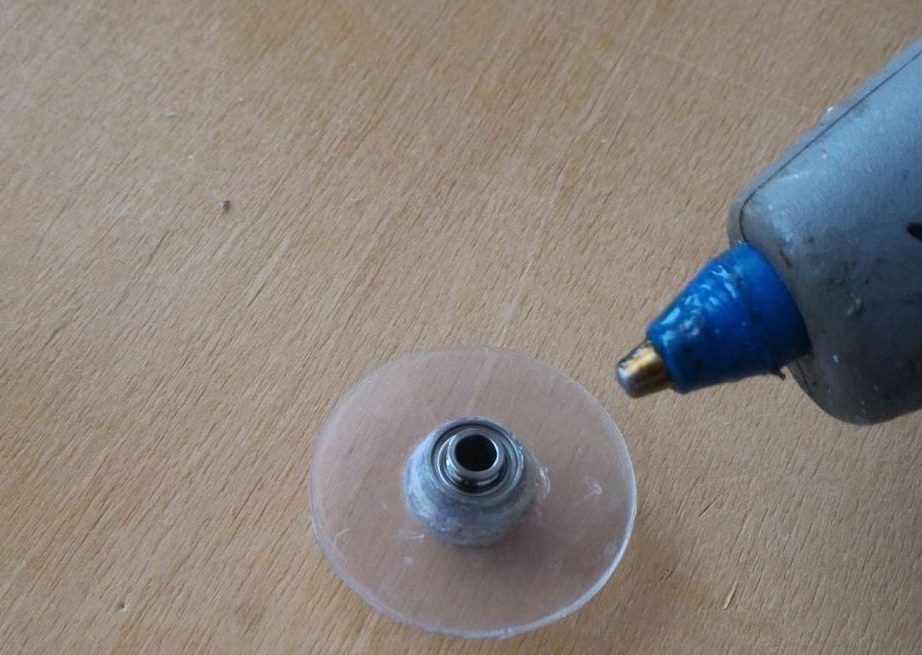
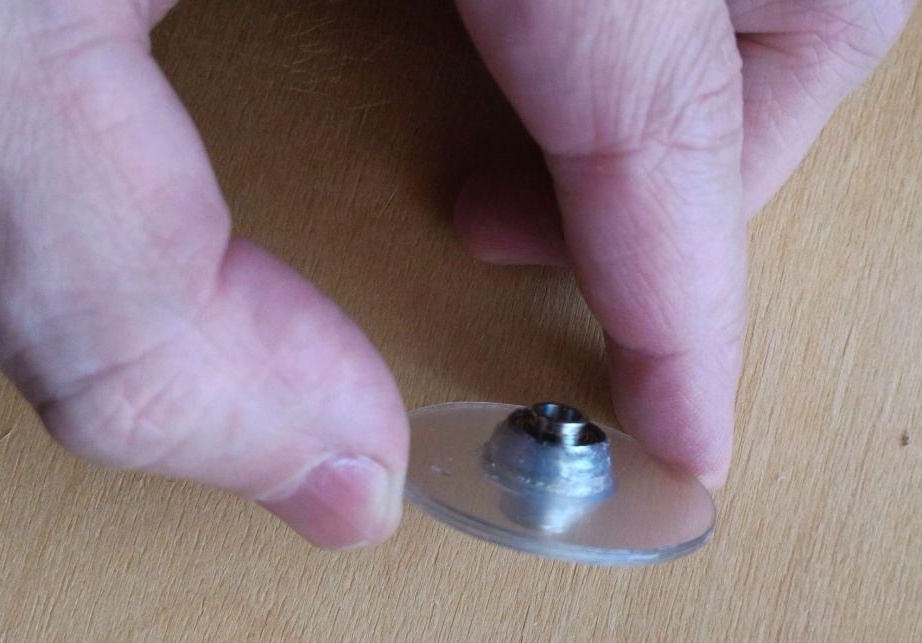
We put the received parts on the bearing (the bearing is taken from the hard drive from the computer - the bracket of the magnetic head unit was mounted on it, the diagram of such a bearing is shown in the photo) and fixed with thermal glue.
Then you will need: a wheel holder, a screw and a washer.
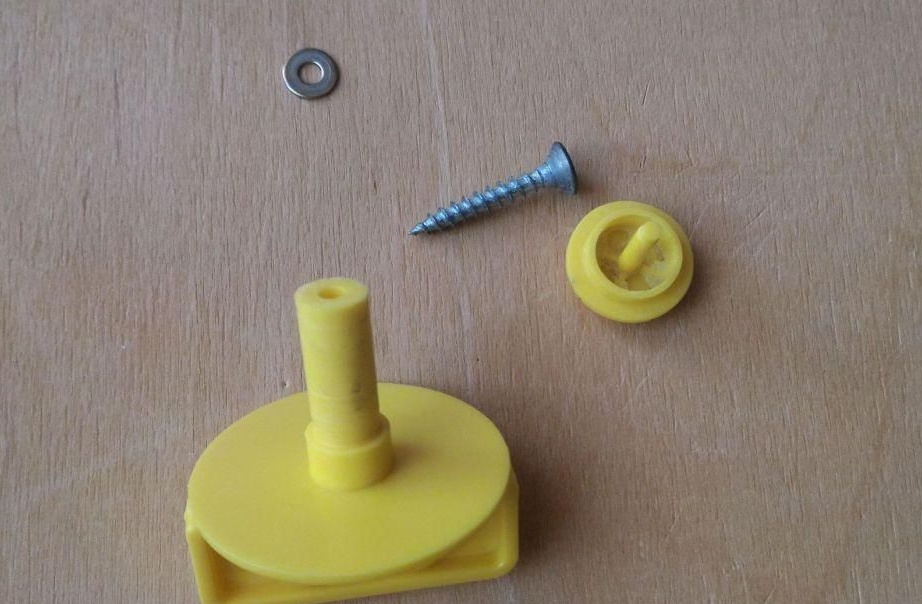
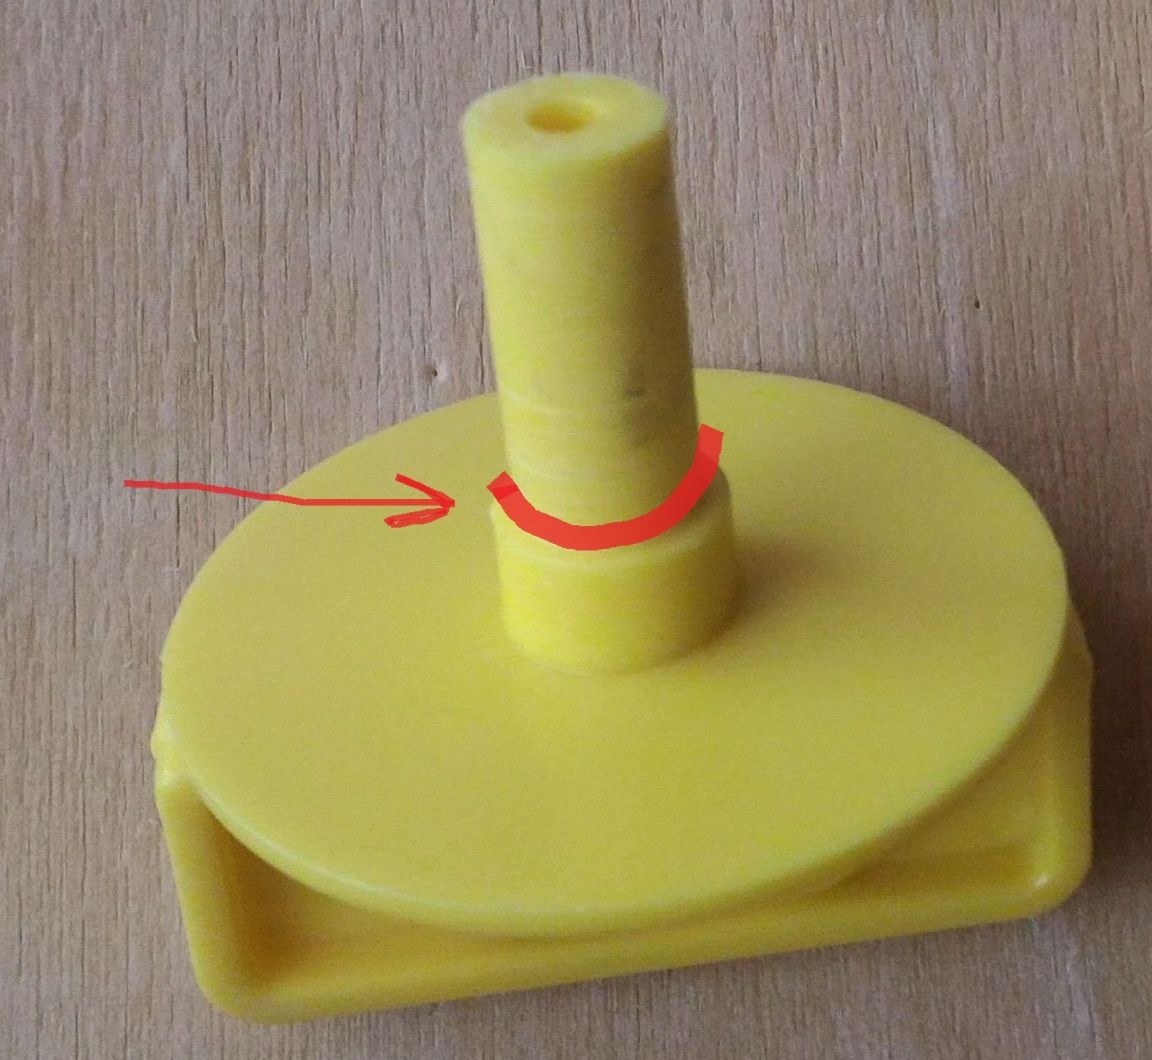
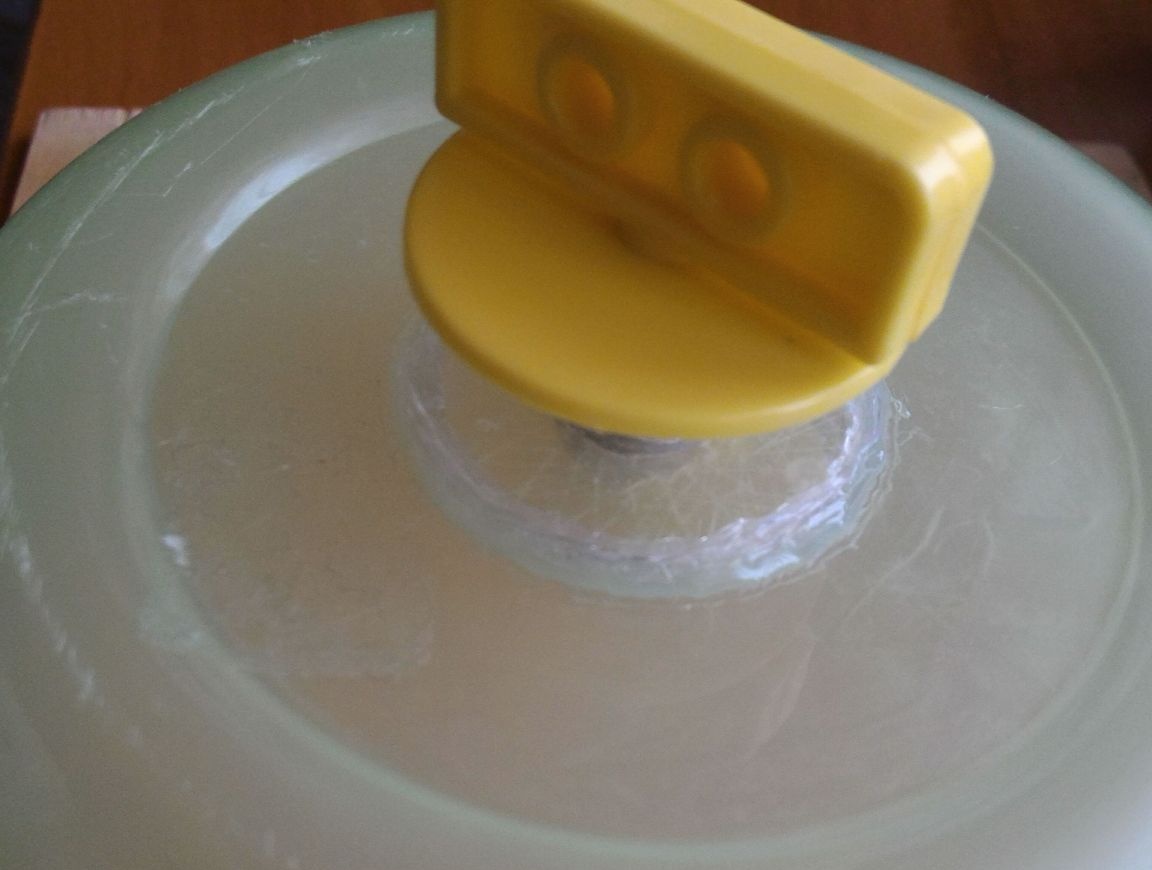
Cut off part of the shaft as shown in the photo.
We put a bearing, a washer on the screw and screw the screw into the wheel holder.
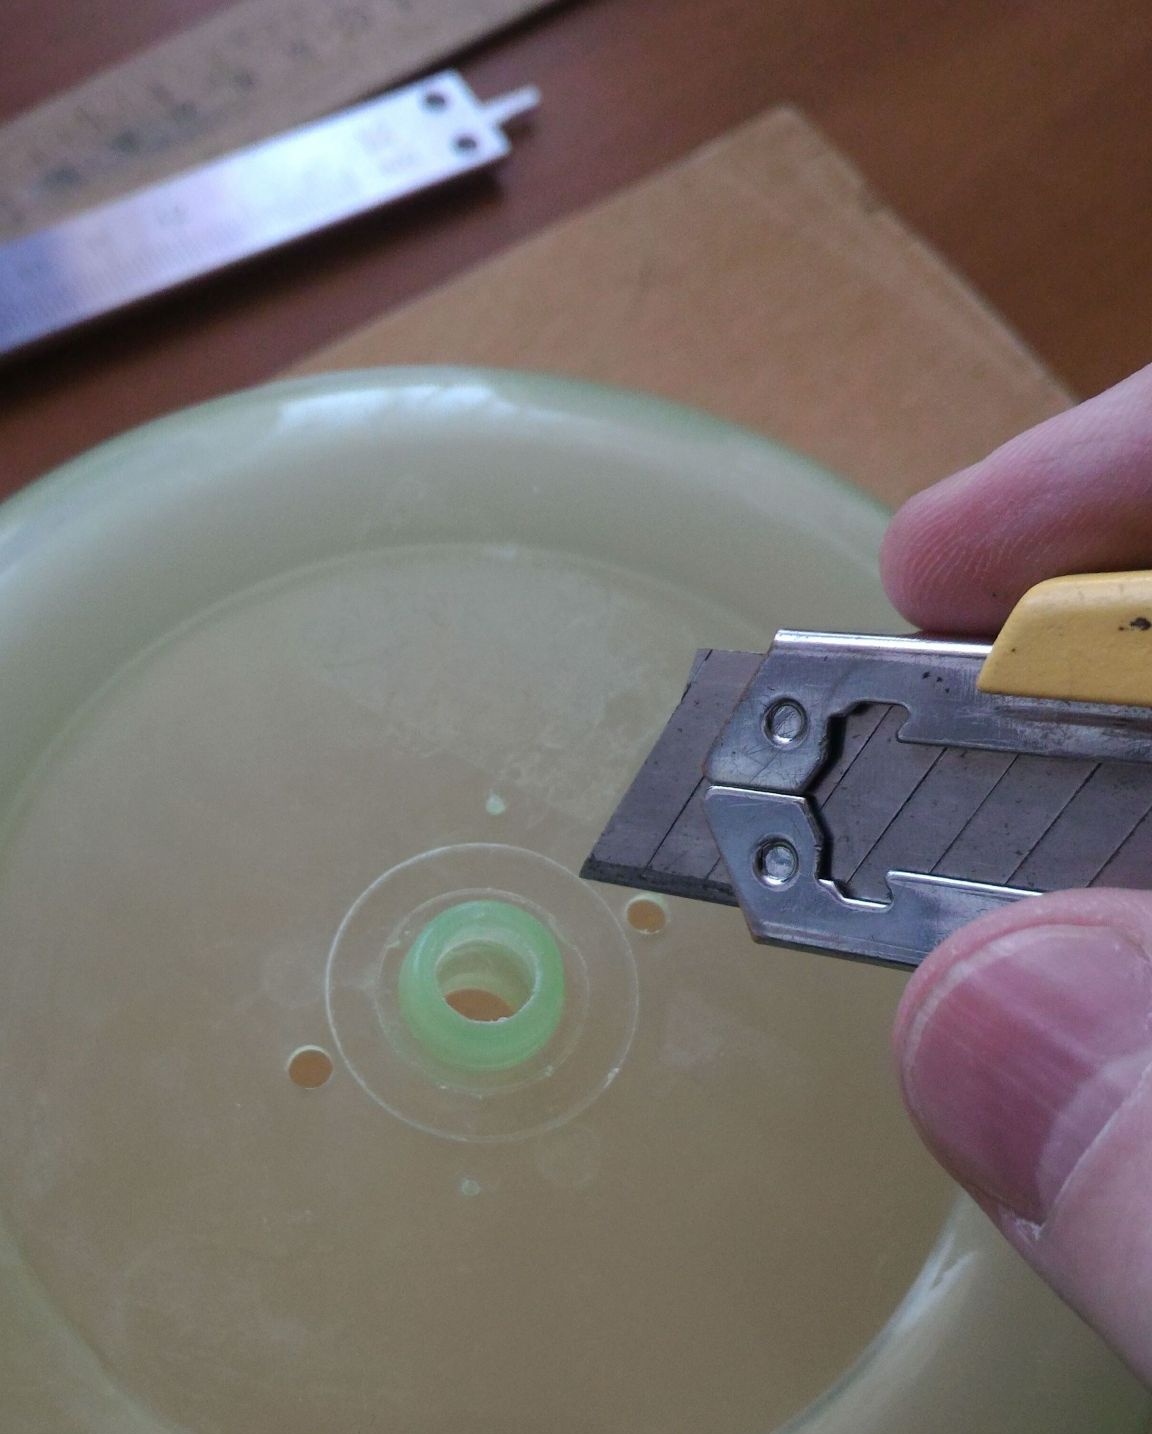
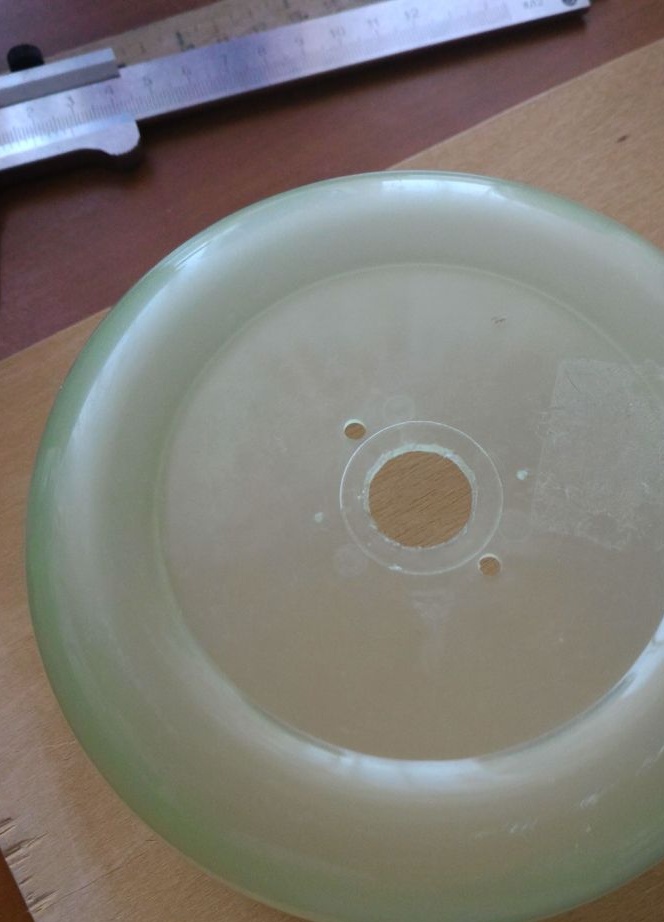
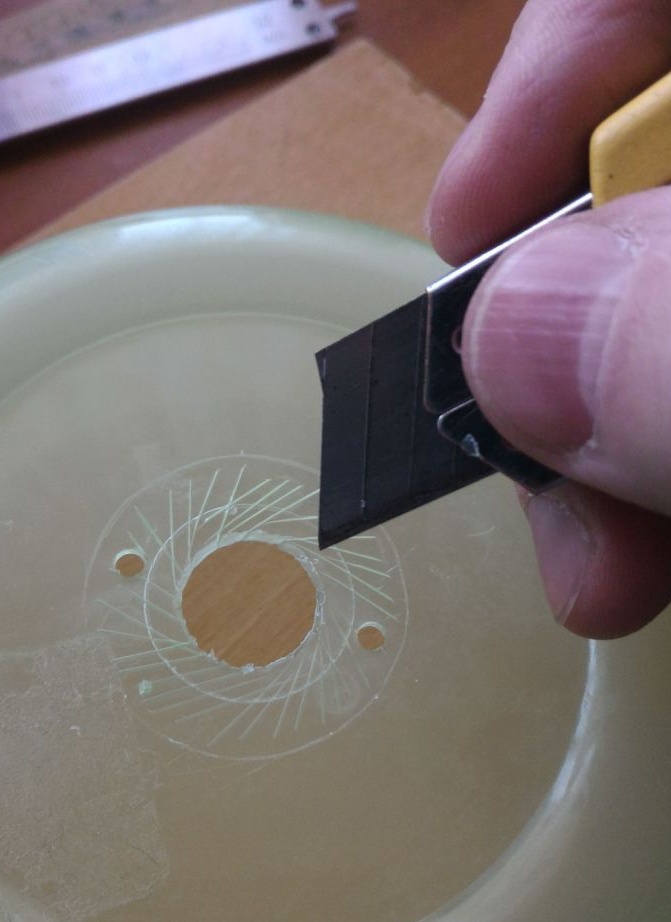
On the wheel with a vernier caliper, mark a circle.
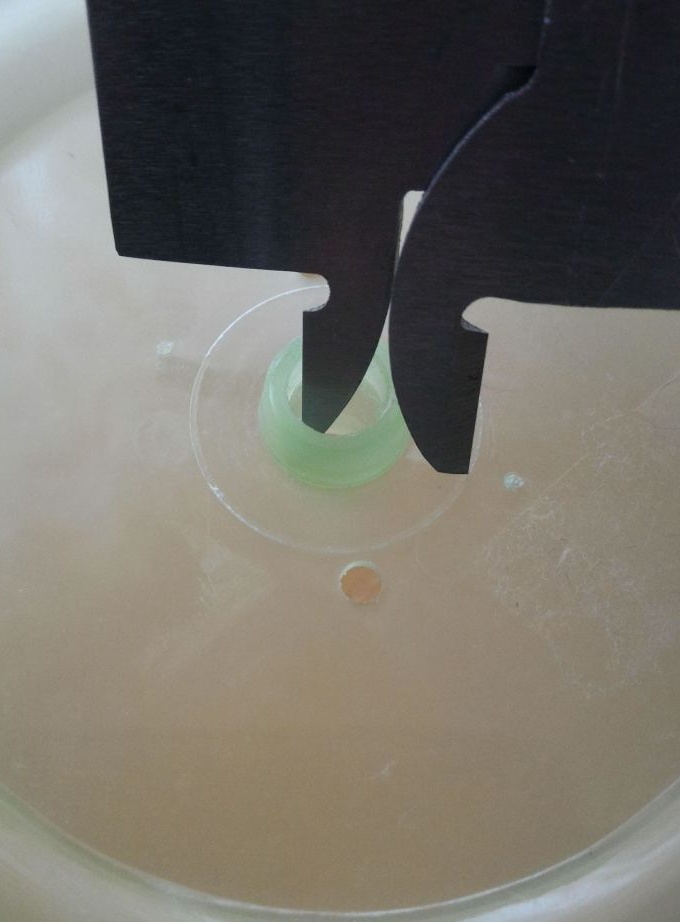
With a dummy knife, cut out the middle of the wheel.
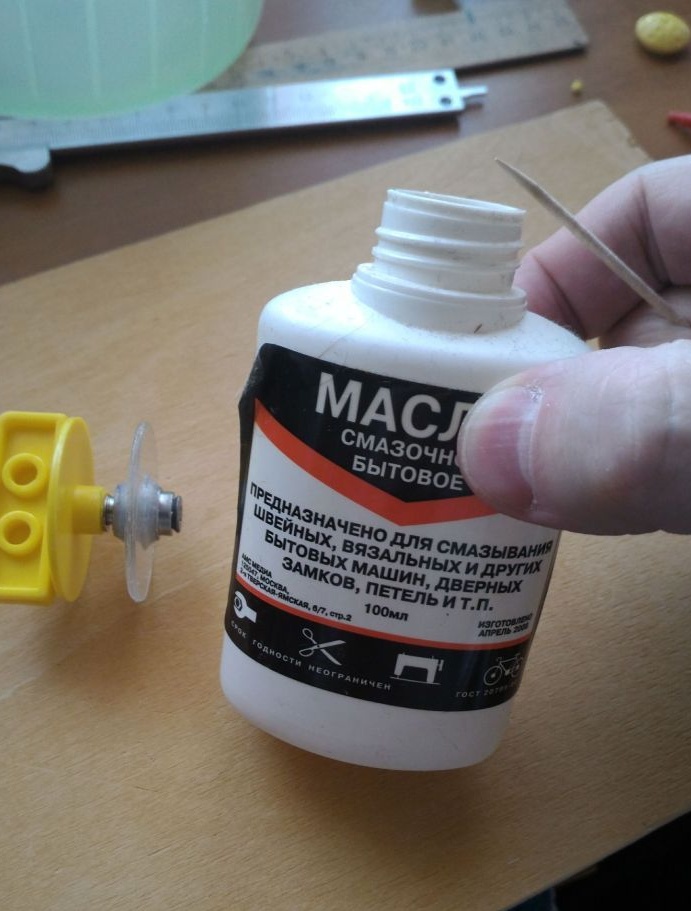
Before further assembly, lubricate the bearing with household oil.
Scratch the parts to be glued with a knife, for better fixing of thermo-glue.
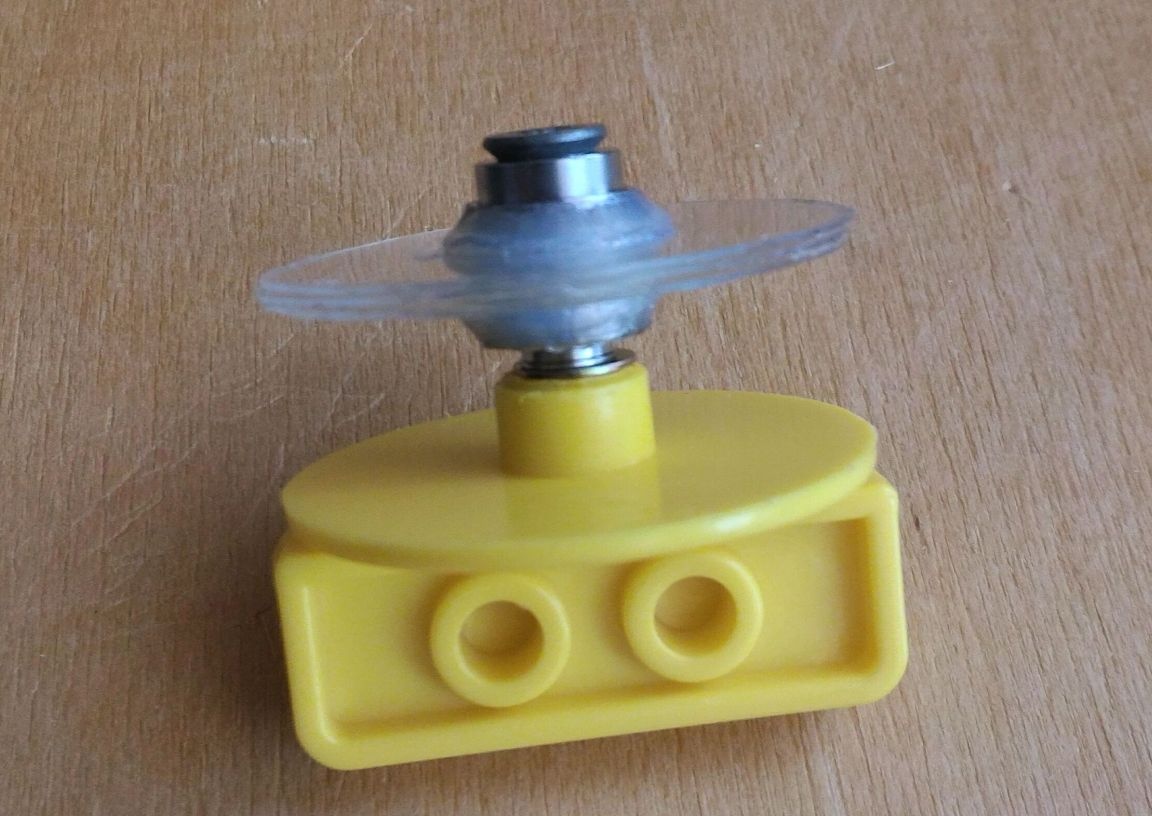
Glue the wheel to the upgraded holder.
We attach a decorative cap to the screw head.
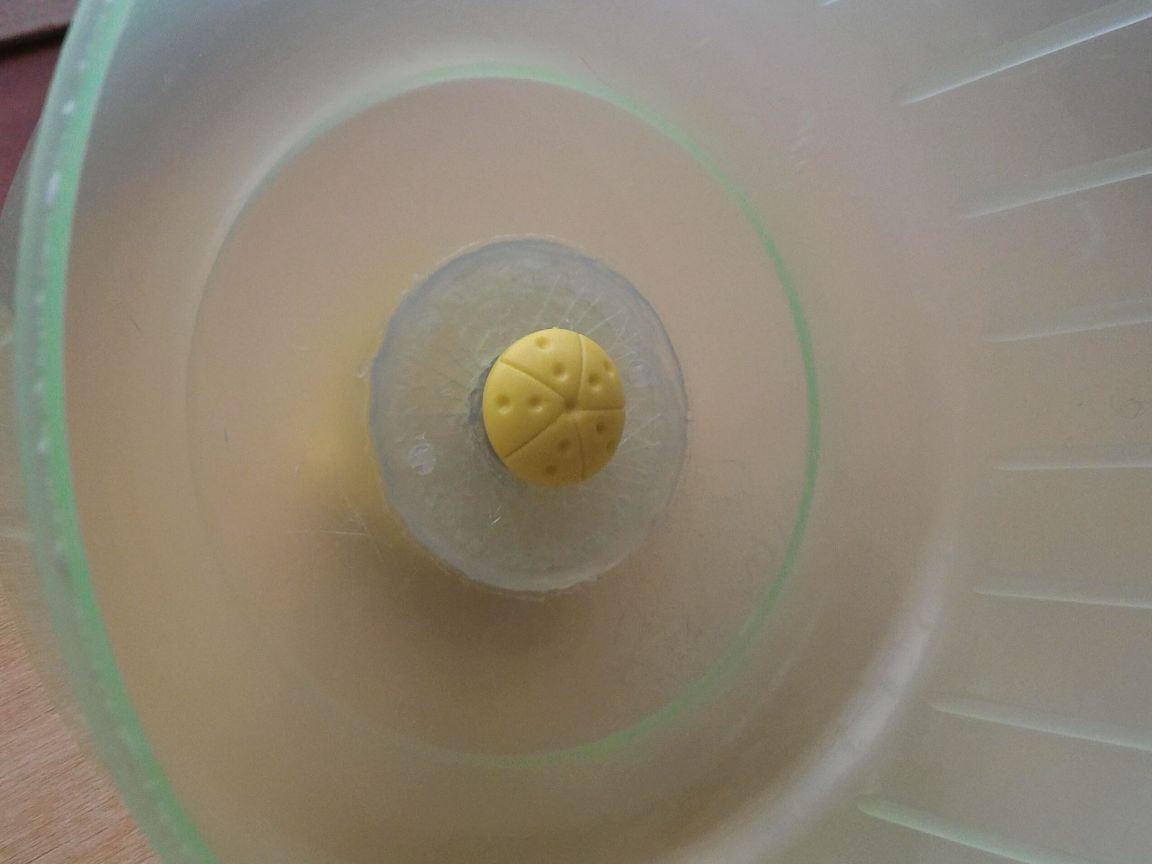
And the result was not long in coming, the pet is happy, quick and cheerful!