Sooner or later, everyone will strive to change something in their home, in a word, to transform it. For this, it is not always necessary to start a major overhaul, with the redevelopment of the walls, a change in the whole appearance of the premises. Heavy, dusty, and dirty repairs can easily be replaced with any finishing material.
Fortunately in our time it is enough. Most of all people are prone to drywall. Convenient to handle, from which you can easily make almost any design. With the help of this material, you can make a multi-level ceiling, build columns, put partitions-walls out of it, or build an entrance in the form of an arch in the doorway and so on. In this article, I will describe the process of manufacturing a drywall arch do it yourself.
Before starting work, it is necessary to calculate the required amount of material. After that, already outline the drawing of the future arch and transfer it to drywall.
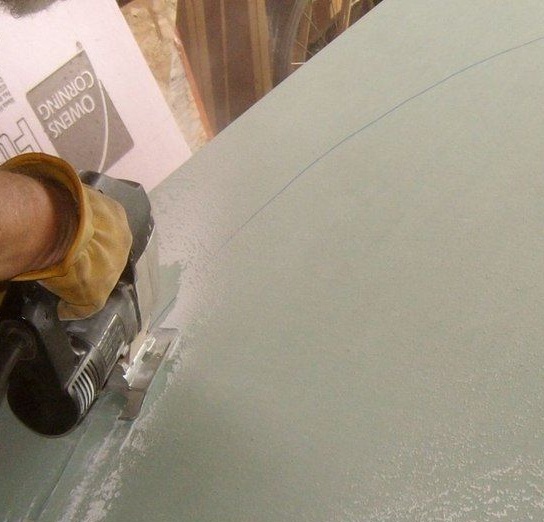
The author of this master class, before taking up the arch sinking, attached a wooden block to the ceiling along the entire length and width of the future arch. Further, on a drywall sheet, draws a semicircle of the size that the arch should be. After that, it starts cutting out. For this, an electric jigsaw is used. The author will need two pieces of such blanks - for both sides of the arch.
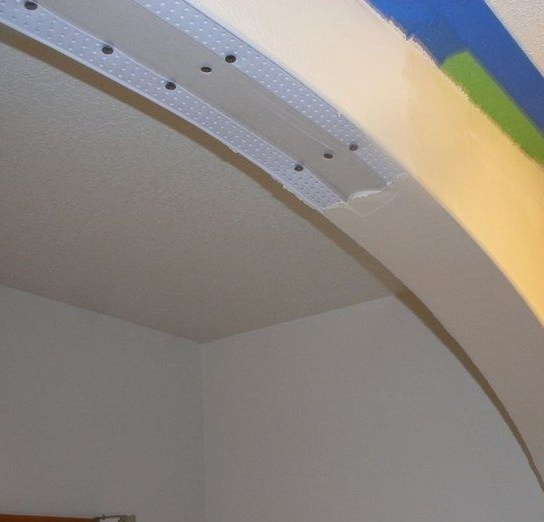
After the parts are ready, you need to fix them in the place where the arch is planned. The author fastens them to the bars, which he secured on the ceiling and part of the wall. Drywall is mounted with self-tapping screws. Further, after installing these two semicircles, in the end semicircular part of the arch, in the opening between the parts, the author inserted wooden blocks for spacers and to give strength to the product. They are also fastened with self-tapping screws.
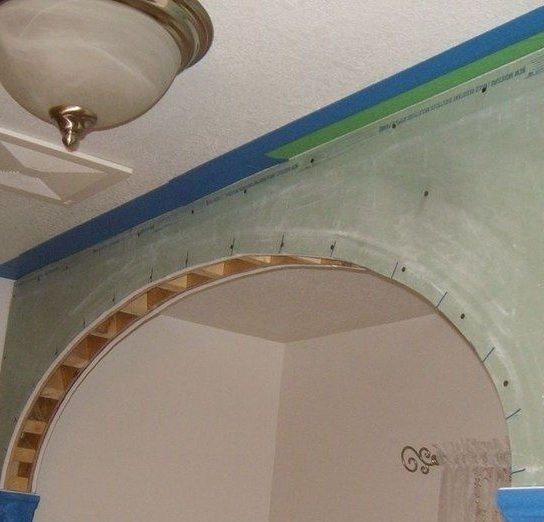
The next step cuts a strip of drywall in width equal to the gap in the arch. This strip is attached with transverse bars starting from the edge of the arch.

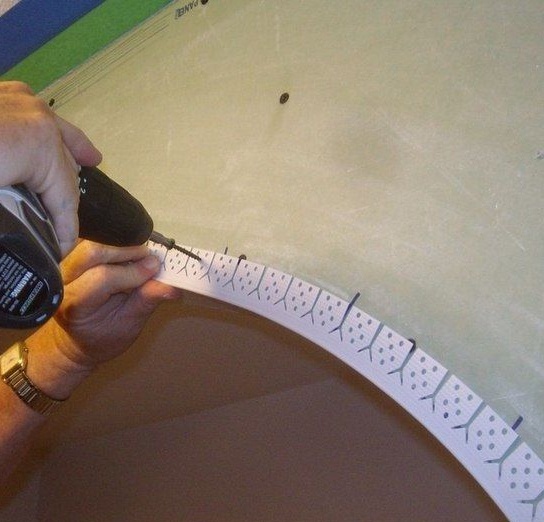
Further along the edges of the arch, an arched corner is installed on both sides and fixed on the arch.
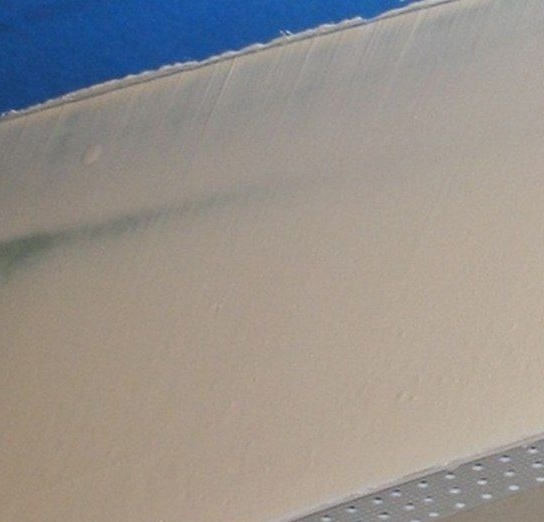
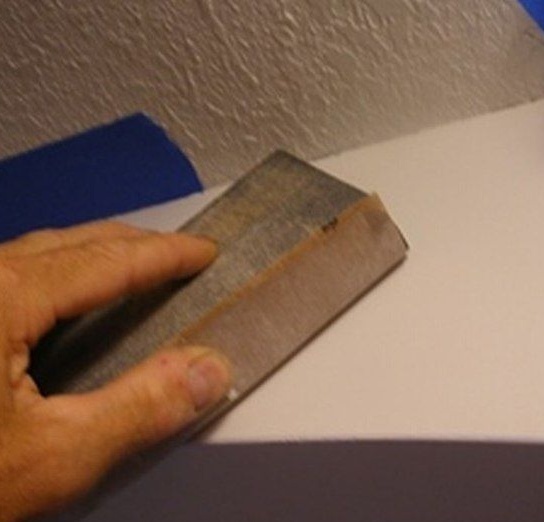
After the actions taken, begins to putty the end of the arch.After drying, it is necessary to walk with an emery cloth to eliminate unevenness on the surface.
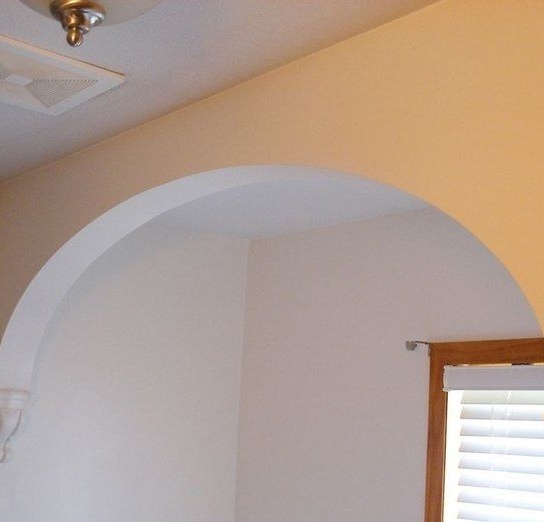
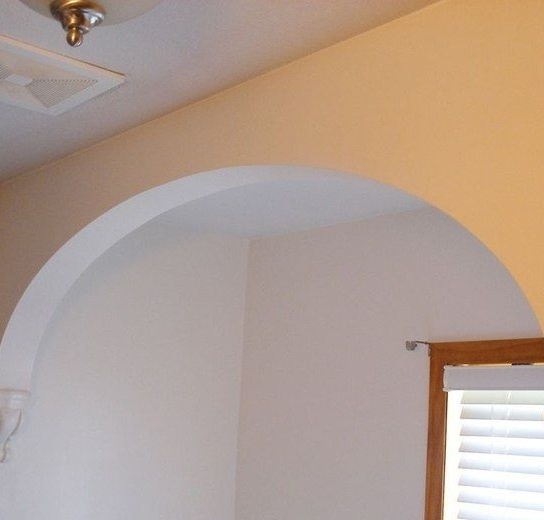
Later, the arch is primed, decorative elements are installed at its ends and the entire structure is painted. As a result, without spending a lot of effort, time and money, the author independently made a fairly simple and neat arch!