
Similar projects of aircraft models these days are beginning to be actively considered on Chinese sites. Today we will look at how you can assemble such a model aircraft do it yourself, guided by the achievements of our brothers from China. One lover of these homemade managed to translate the article from Chinese and share with us.
The basis are drawings of paper models, executed in a cartoon style. These drawings are quite simple, they can easily be converted to a format so that homemade products can be made from ceiling tiles. The key task here is to change the scale of the model under a range of about 1 m.
The models presented in the drawings have a flight weight of 230 grams, and their wingspan is 62 cm.
Download paper model drawingsexecuted in cartoon style, you can. In total, 26 drawings are collected in the archive, from which you can choose any one to your taste.
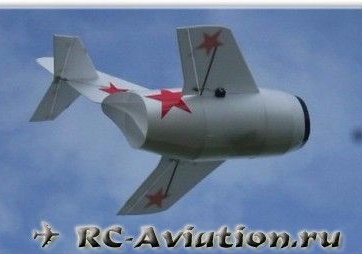
This cartoon was taken as an idea for constructing such aircraft models:
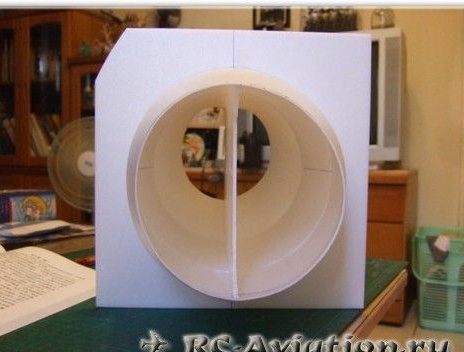
According to the author, assembling a model of such an aircraft is quite laborious, but the technology can be simplified. Below we will consider an example of creating a simpler model, in which the engine is located inside the fuselage, as a result, it turns into one large turbine.
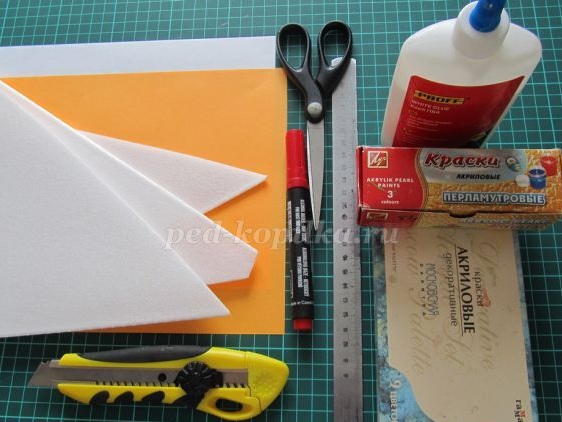
Materials and tools for homemade:
- ceiling tiles;
- glue for the ceiling (Titanium or the like);
- stationery knife and scissors;
- drawing accessories;
- carbon fiber bar;
- engine 28 grams;
- regulator on 15A;
- three servos;
- ruler or plastic (to create engine mounts);
- Bowden (wire in the tube);
- 8x6 propellers (were trimmed to 7 inches);
- electronics for management;
- scotch tape.
The process of manufacturing an aircraft model:
Step one. Fuselage making
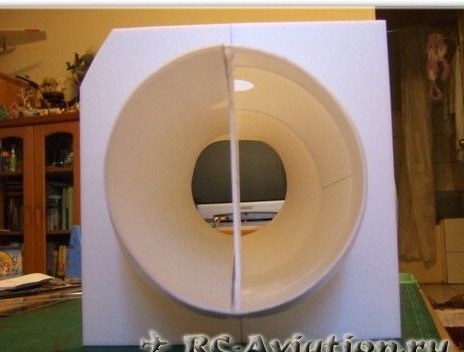
Homemade is quite simple, everything can be assembled in one evening. The main task and problem here is to create a perfectly symmetrical round fuselage. Here you will need internal inserts and external templates. The main fuselage can be glued using a template such as a 3-5 liter can or a 3-4 liter beer bottle.As for the diameter, here you already need to look at the size of the model.
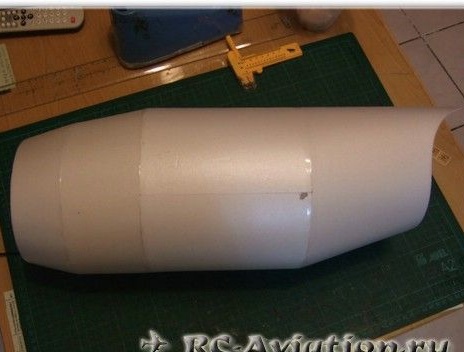
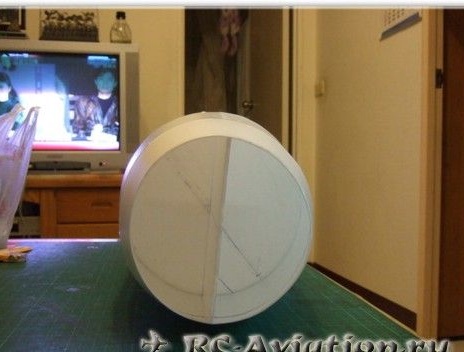
To give shape to the ceiling, you can before that roll a rolling pin, a pipe (wrap paper to soften) or a bottle. You can also fix the shape using a hot air gun.
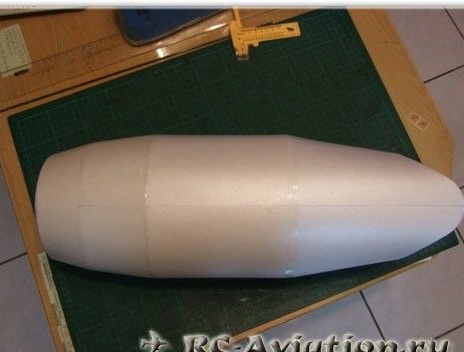
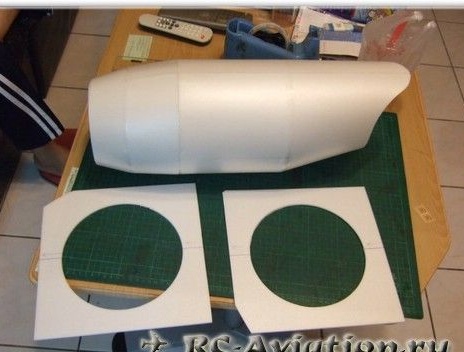
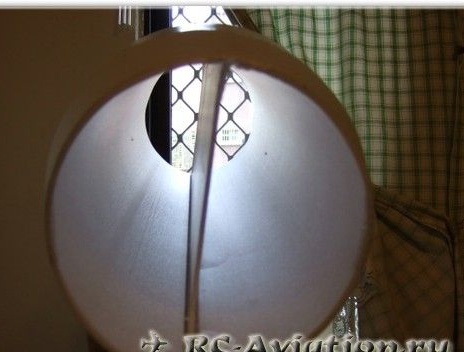
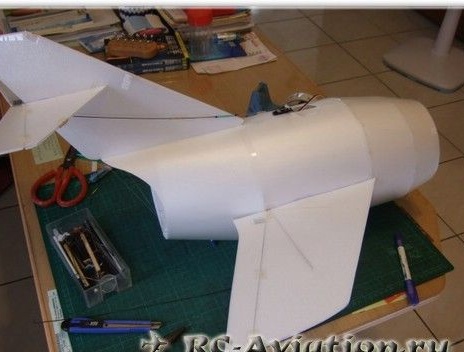
What will turn out in the end can be seen in the photo. The author was worried that the fuselage was not perfectly round in shape. Nevertheless, even with this, the model flew perfectly.
Step Two Model wing
For the manufacture of the wing will need ceiling tiles. If the wingspan is a lock of one meter, it is recommended to use two soya ceilings. If the wingspan is up to 60 cm, then one layer of the ceiling is enough.
In the middle you can see a glued-in tube of white color, it will be needed in order to pass a carbon rod through it.
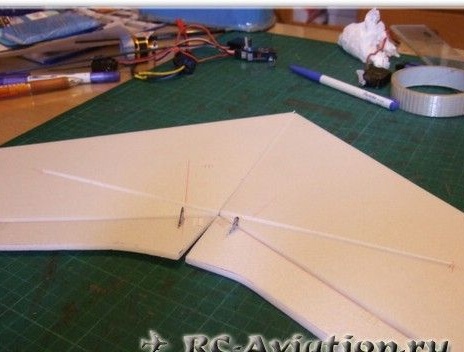
As for the ailerons, they are hung on tape. How to make and install boars, you can find out. To assemble the model, UhuPor glue was used, but this is not so important.
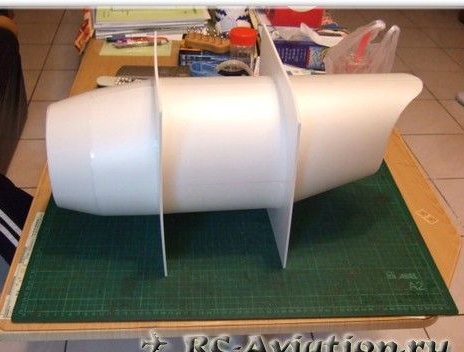
Mounted wing in the fuselage slot.
Step Three Further assembly process
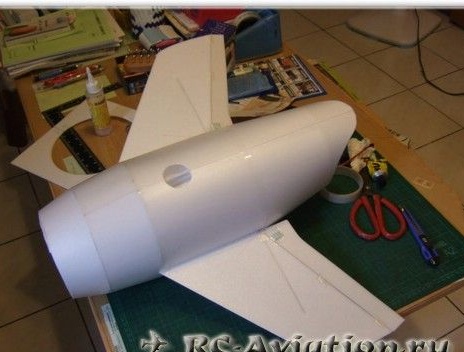
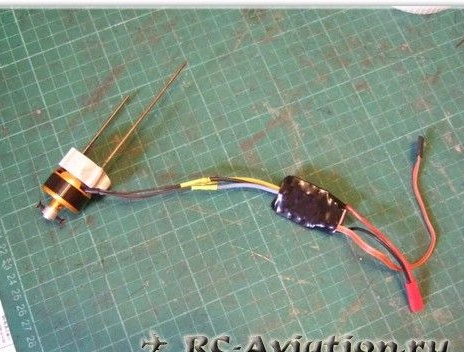
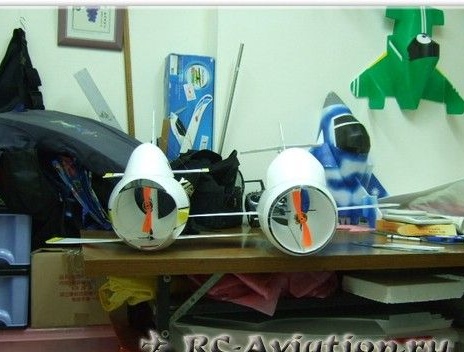
Now you can install the engine, servos and electronics for control. The author used the engine for 28 grams, but in general it is best to choose motors with revolutions of the order of 1400-1600 per volt.
The motor mount was taken from the commutator engine, but you can do it yourself, for such a thing you will need plastic or a ruler. Everything is attached with adhesive tape, this is enough to hold the motor. And if necessary, it can easily be rearranged to another model.

The RV servo is installed where the cab will be. The elevator is connected through a Bowden - this is a wire in the body in the form of a tube.
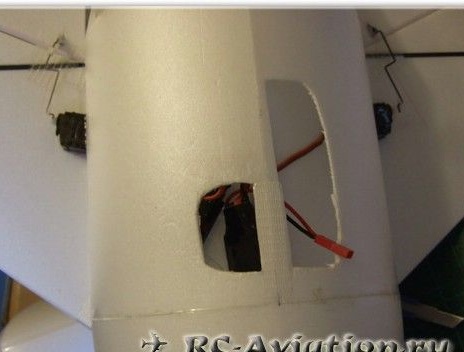
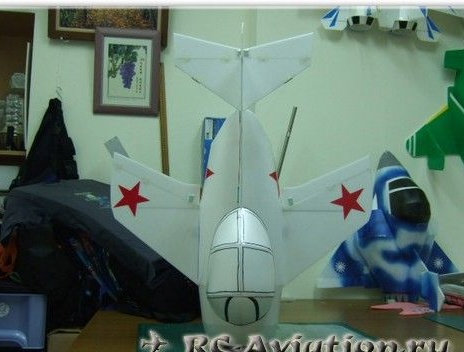
According to the translator, the cutout for the battery was made very sloppy.

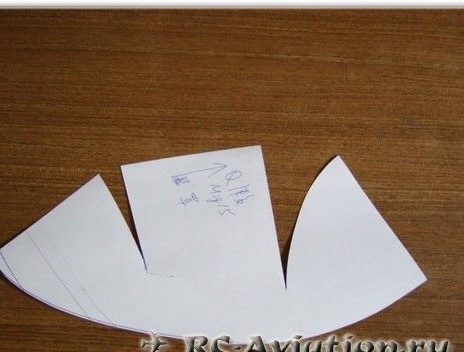
How the template for the cabin and the cabin looks, you can see in the photo.
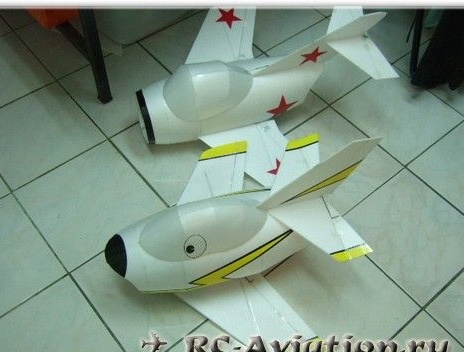
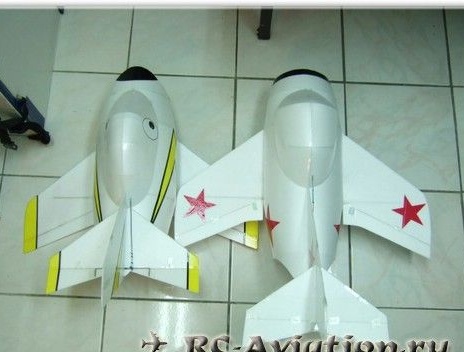
For this example, you can make a variety of aircraft models, the most important thing is to "cut off" their nose so that there is a good flow of air. That's all, the model is ready, the author has several. Now you know how to assemble such a homemade product. It remains to move on to testing this miracle of technology.