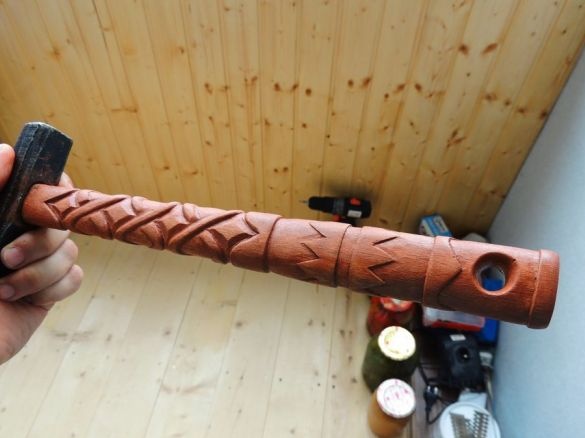
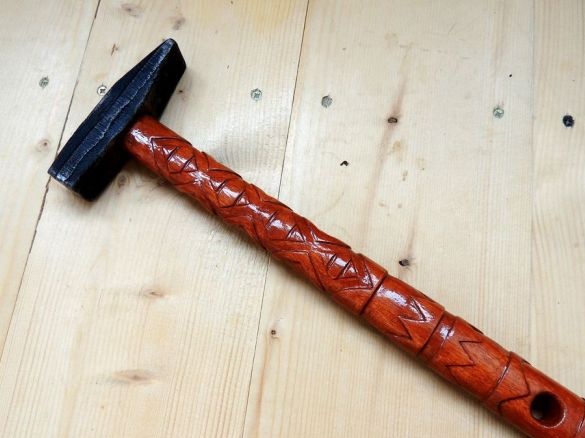
Hello to all lovers homemade, sometimes it happens that the usual kind of tools gets bored pretty quickly and is not original in any way, since it does not stand out from the others, which, as usual, looks dull and does not cause any delight. That is why the idea was made to create a carved handle of a hammer, and how I made it I will describe in this article. Before proceeding to the process of manufacturing a carved pen, you need to decide on the choice of a tool, namely, in this case, a hammer, since it is very popular at the workplace of each master.
To make a carved pen do it yourself, we will need:
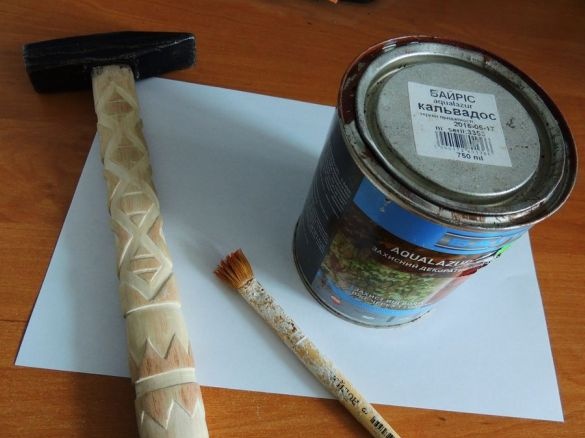
* The hammer itself with a wooden handle, normal, standard, in this case 600 grams.
* Woodcarvers.
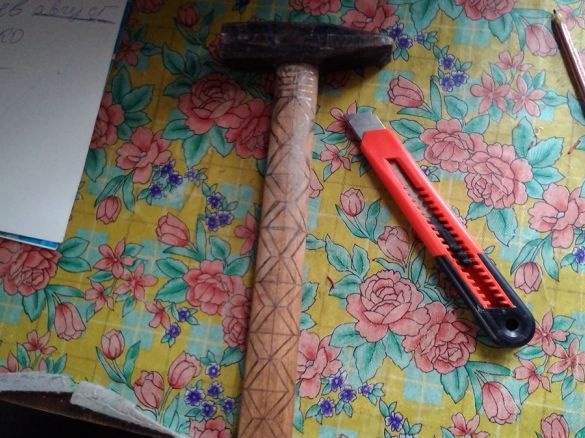
* Stationery knife.
* Drill with grinding tips.
* Varnish for wooden products.
* Pencil.
After making sure that all the details are there, you can begin the creative process.
Step one.
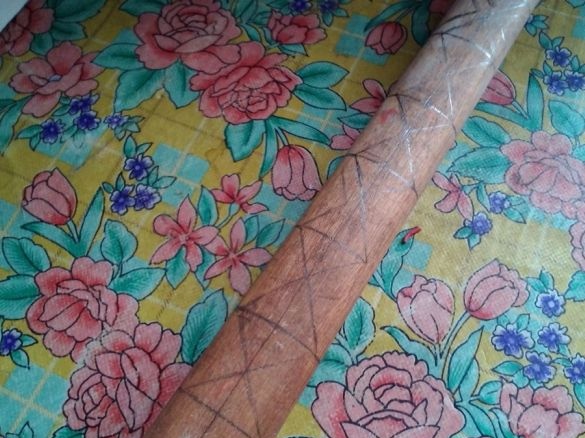
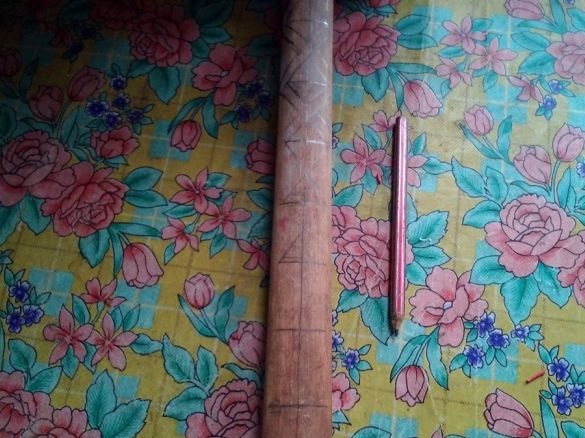
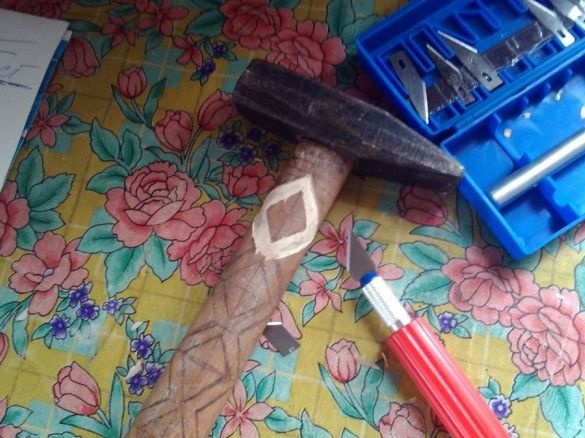
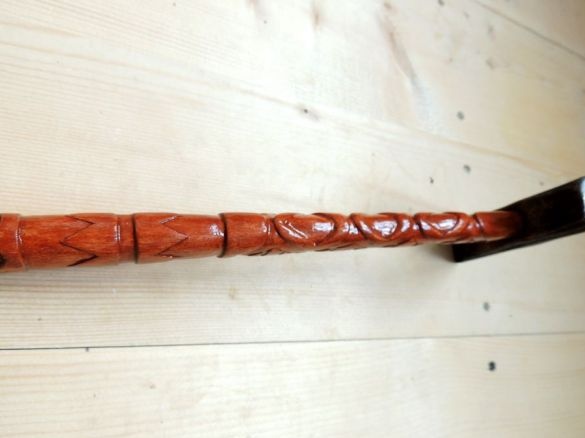
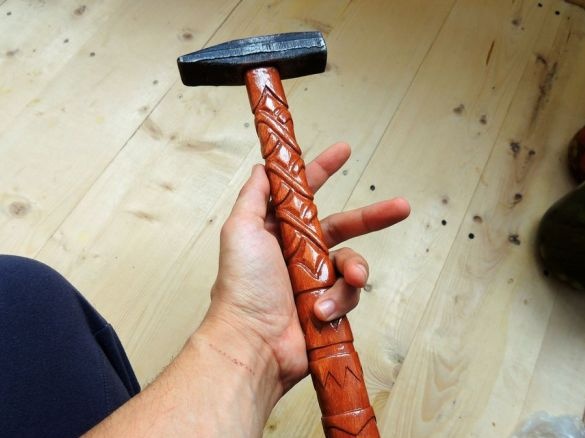
Armed with a pencil, draw the pattern that you want to see on your handle, in this case it is a rhomboid pattern that looks quite original and tasteful.
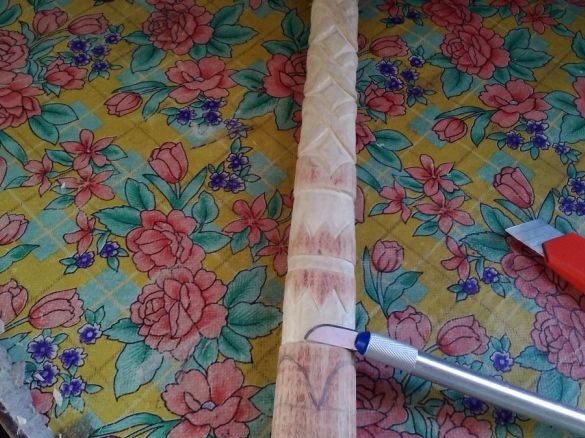
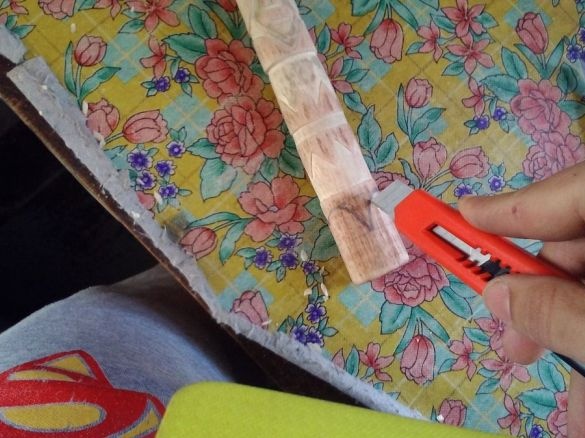
After all the markings are ready, you can start cutting out the template, the so-called removal of the first layer, we do this with the help of a stationery knife, precisely cutting along the lines a part of the tree. When working with sharp tools, be careful and do not forget about safety measures, for this it is better to protect your hands with gloves. In the process of cutting patterns for more accurate processing of the ends, it is better to cut them with more force so as not to leave burrs.
Step Two
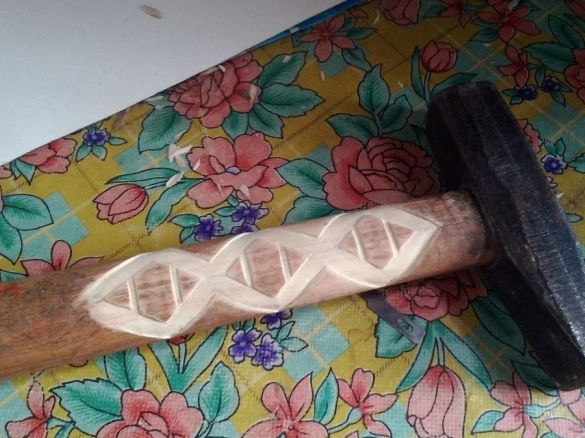
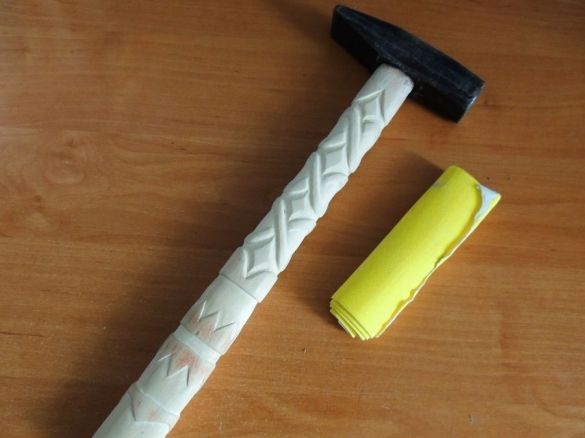
Next, we use cutters designed for carving in wood, with the help of them you will get a deeper place for patterns, which will give them more distinctness and will look more effective than a shallow groove. Chinese-made cutters cannot boast of high reliability and resistance to loads, therefore, during the cutting process, their blades repeatedly broke, therefore, be on the alert, and also work with them carefully, since during processing there is a risk of driving the blade into your hand, which is not a pleasant outcome of events. After the final work, the cutters turned out to be something similar to rhombuses.
Step Three
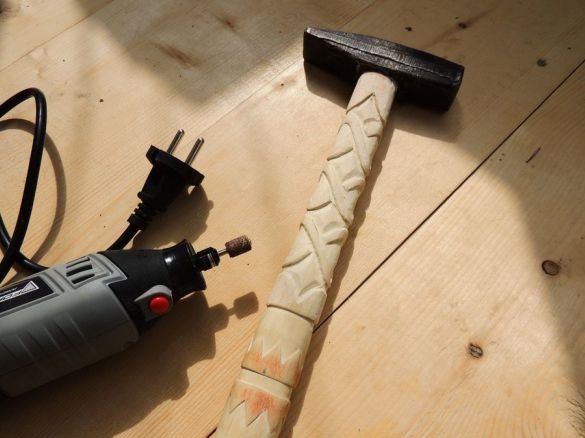
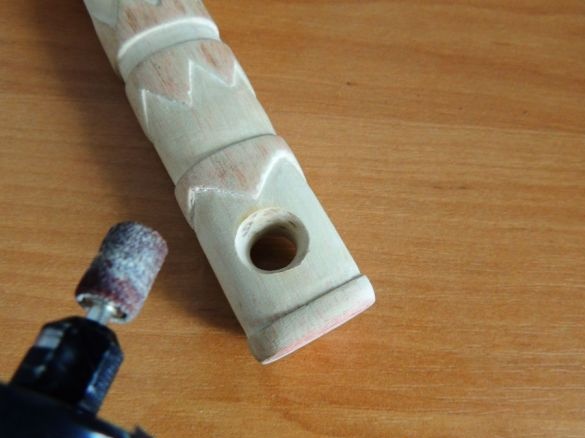
Refinement of the patterns is carried out with the help of a drill and a nozzle for grinding, after this processing the handle took a more beautiful aesthetic appearance, as well as smooth corners.
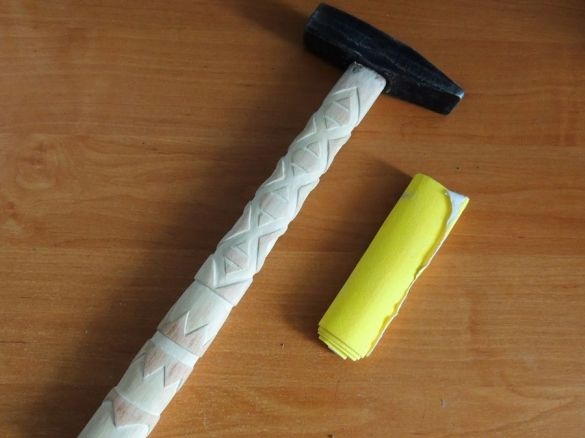
When the work with the drill is completed, we make the surface smooth with sandpaper, which must be cleaned on all sides of the handle.
Step Four
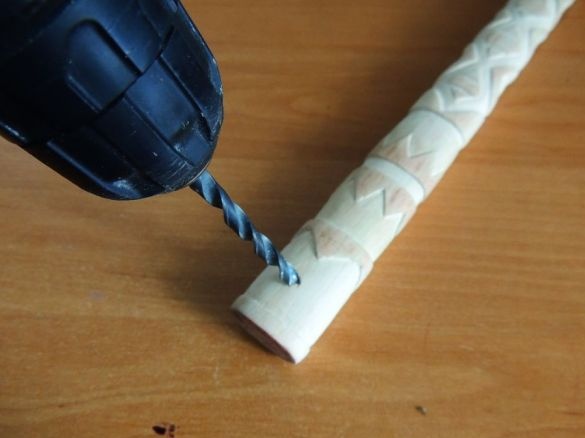
For greater convenience, a decision was made to make a hole in the handle to place the hammer on a shelf or by hanging it on a clove next to other tools. We do this with a drill installed in a screwdriver, after that we grind this hole and increase it with a drill.
Step Five
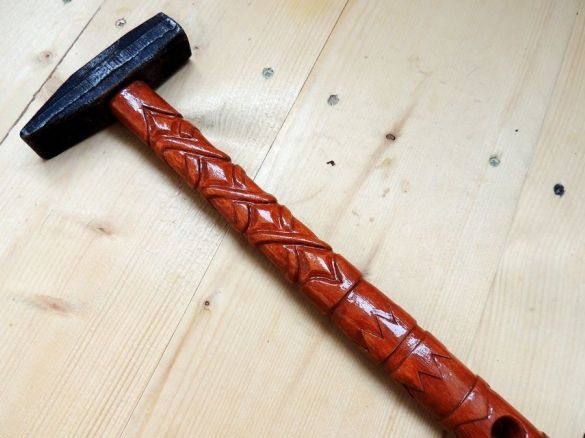
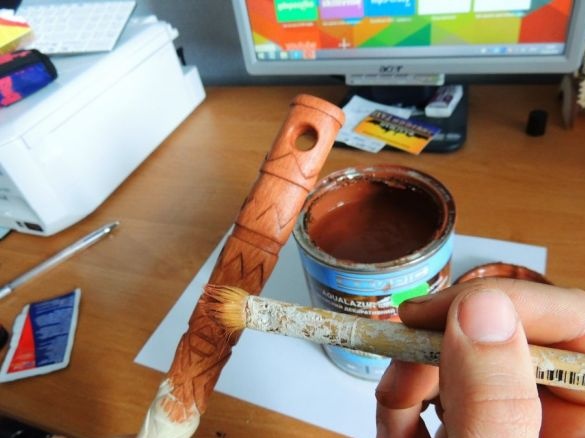
The final step is to coat the surface of our carved hammer with a preliminary decorative layer, then varnish in several layers.
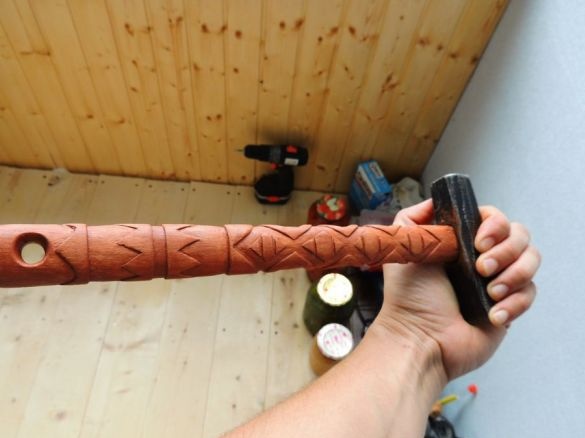
The result is an original hammer with a beautiful carved handle that sets the instrument apart from others.
Thanks to all.

