
Hello to all lovers homemade, usually when planing wooden blocks or narrow boards, it is often necessary to remove small chamfers from the edges of the workpiece, in order to reduce the sharpness of the corners, as well as to make them more beautiful. To do this under normal conditions, you have to keep the workpiece with a plane at angles of about 45 degrees, which is not very convenient, especially when you work with an electric plane, which is several times heavier than a manual one. You can solve this problem using your special fixtures, which will be in the form of a longitudinal angle, where a block will be laid, which will be processed in the future, and its edge will be located just above, which is convenient for processing.
This arrangement of the workpiece in a home-made fixture will also help for planing faceted and round bars, as well as wooden handles, which are inconvenient to work on a flat surface. The author of the home-made thought about the manufacture of such a device, since it appeared necessary when when he planed blanks for the handles of shovels, because with such a device the work completed faster, and it’s much more convenient to work.
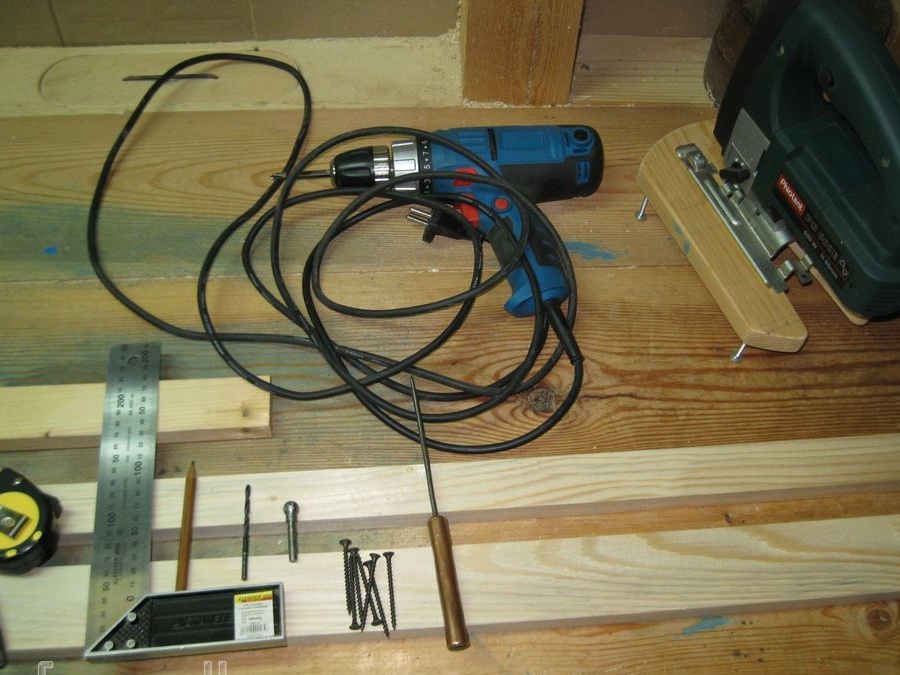
In order to make this device, it is necessary:
• Two wooden planks 2 cm thick, 4 cm wide, and 6 cm, and 2 m long.
• Wooden plank 2 cm thick, 5 cm wide, and 50 cm long.
• Wood screws 4x50 mm.
• Drawing and measuring tools (pencil, tape measure and square).
• Awl.
• Electric jigsaw with a file for a figured cut.
• Electric drill / screwdriver.
• Drill for metal with a diameter of 4 mm.
• Spherical wood milling cutter.
• Cross (figured) bit PH2, for screwdriving.
• Sandpaper.
When all materials, as well as tools are available, then you can proceed to the most interesting, this assembly process.
Step one.
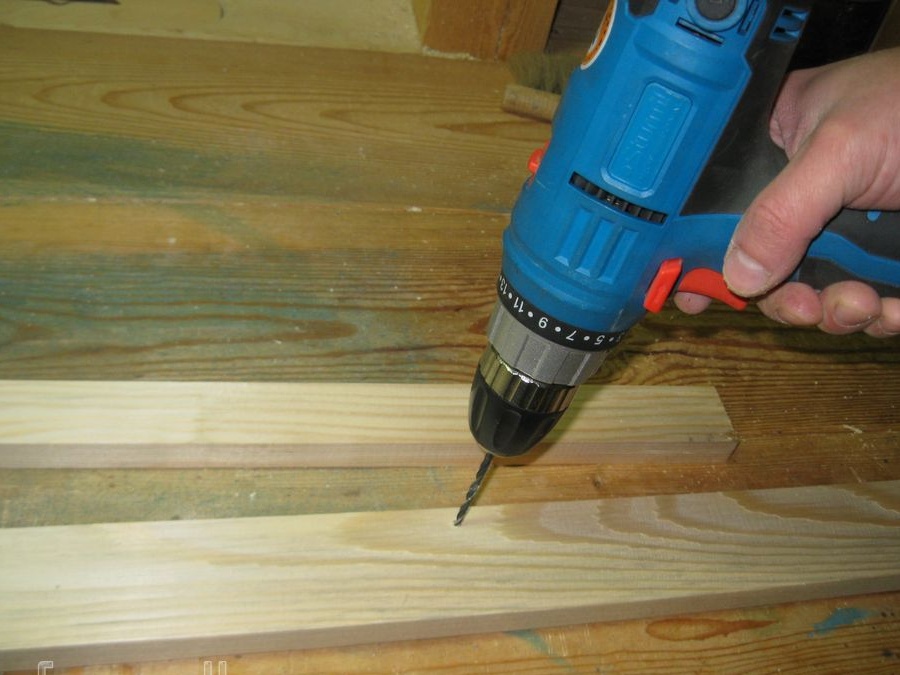
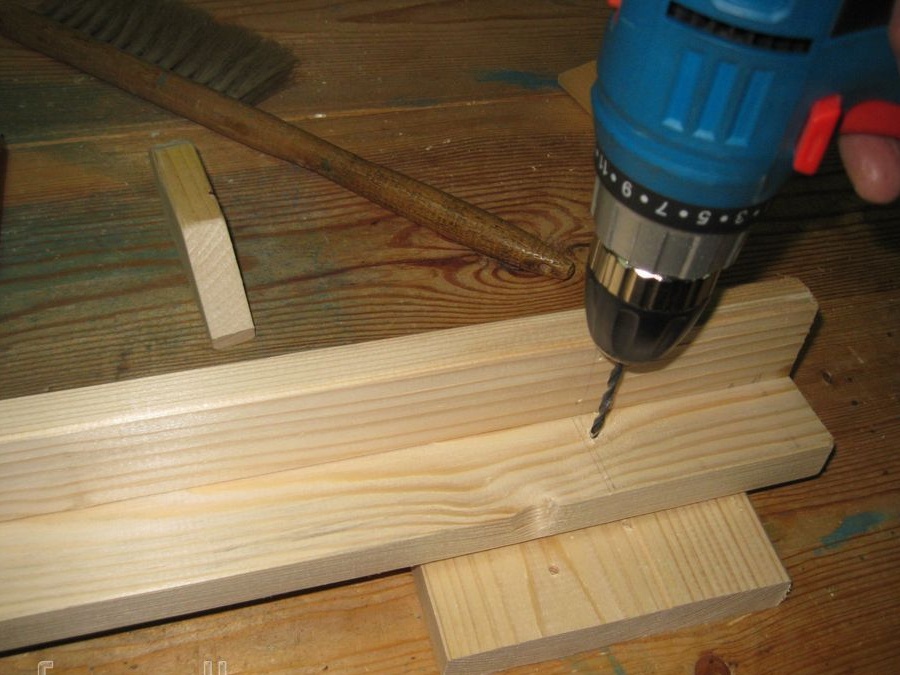
First of all, you need to decide on the sizes, you can use the sizes that are given here, but if your workpiece is large, then just increase the size of the milestones of the components to the required.Using a pencil, mark the bar 6 cm wide, then with a screwdriver and drill, drill holes along its entire length, on one side of 5 or 6 holes for screws, as a rule, the more, the better, and more reliable.
Step Two
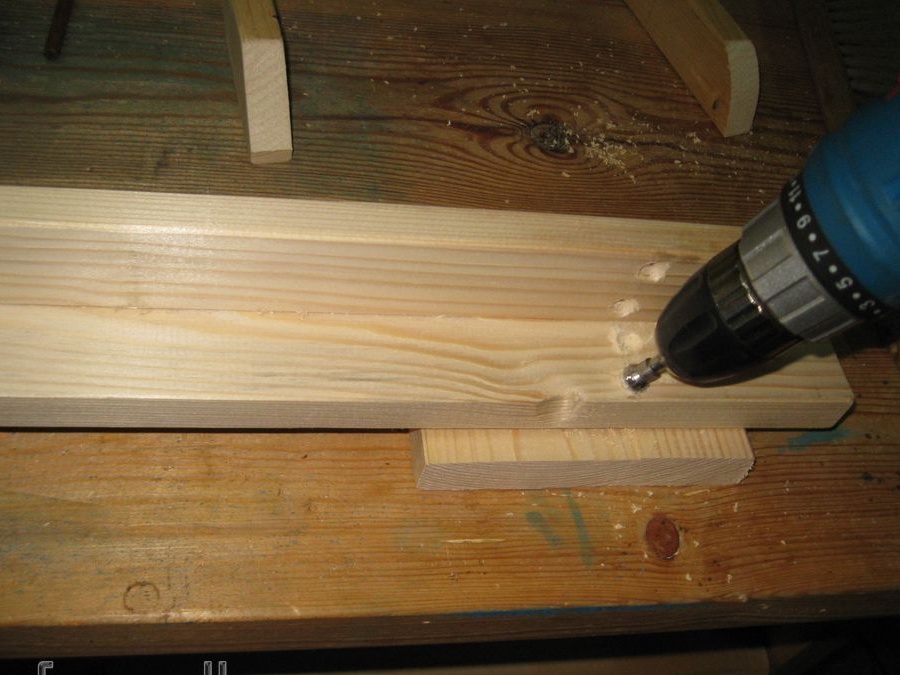
By placing the bar on the opposite side using the countersink installed in the chuck of a screwdriver, increase the size under the heads of the screws, using a spherical milling cutter on a tree.

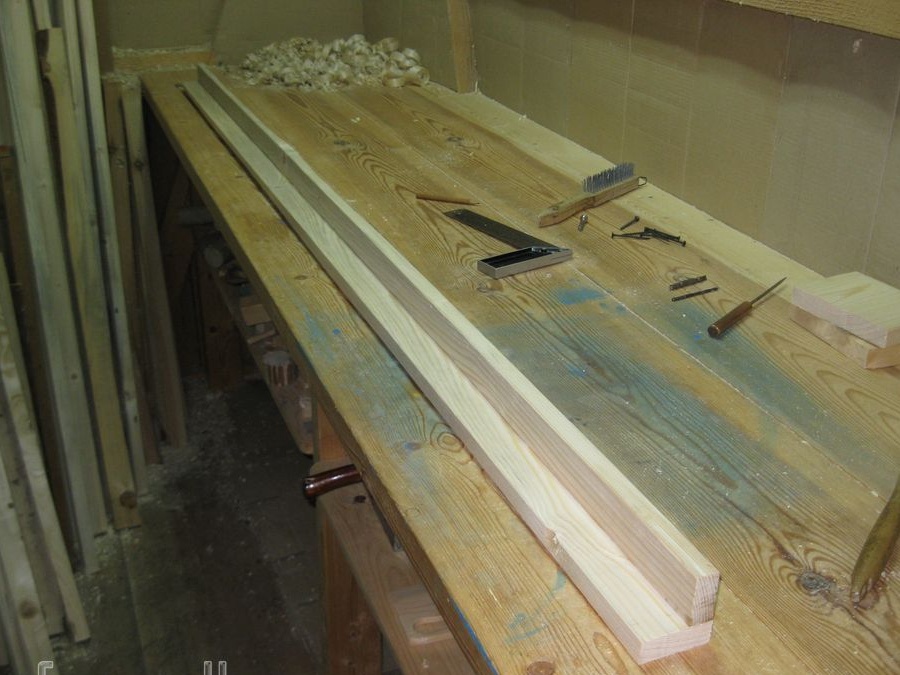
After the holes for the hats have been increased, we insert screws into these holes and screw our strip to the end of the other strip 4 cm wide.
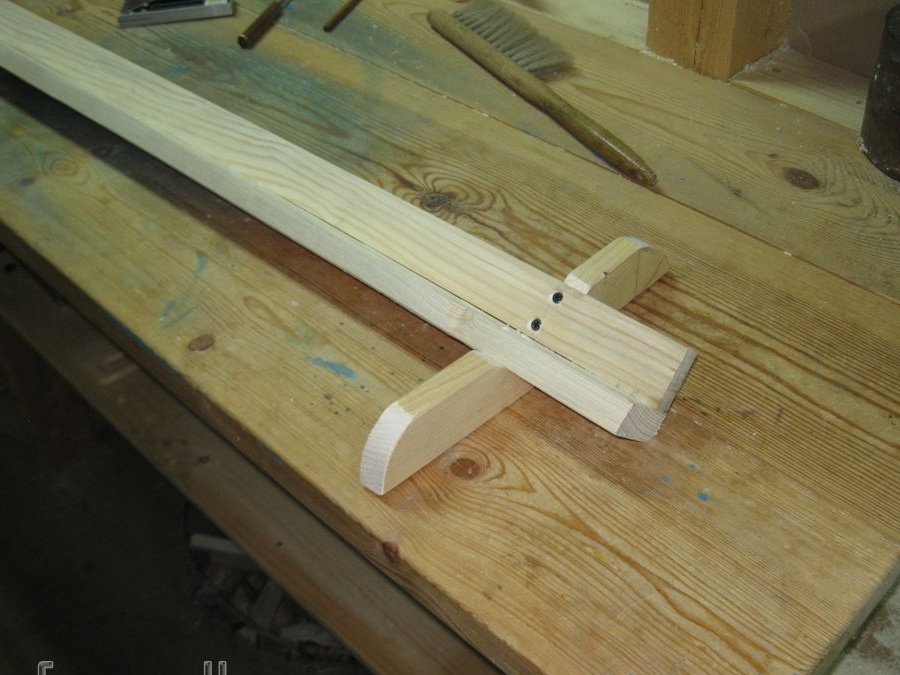
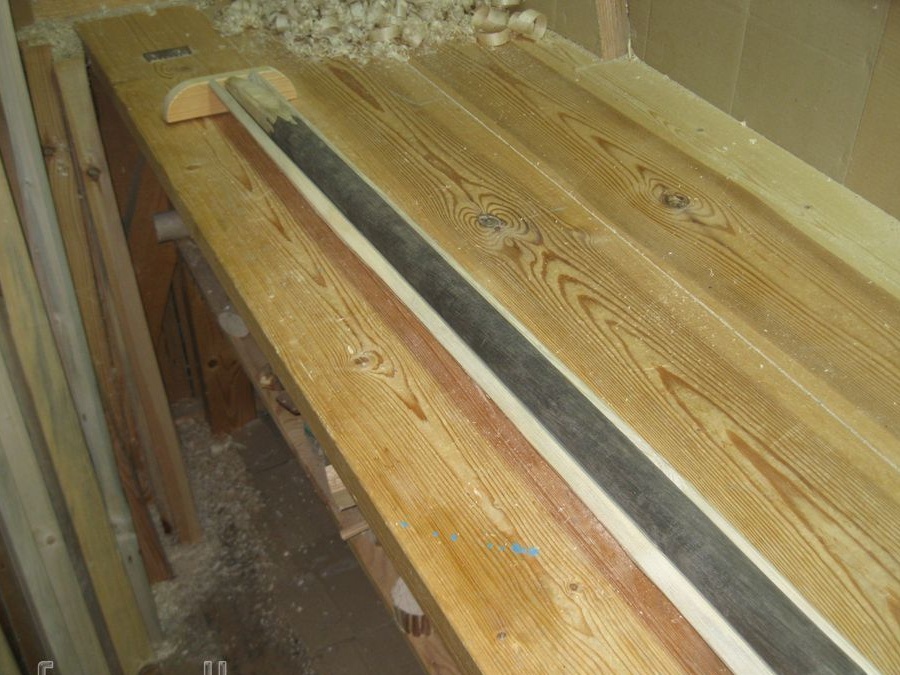
What should turn out at this stage can be seen in the photo, this is the so-called wooden corner, its length is 2 m, so that there is a margin in length used in processing workpieces, thereby increasing the range of applications, since you do not have to combine dimensions, then small, then large devices, and it’s easier and more practical to make one, but more authentic.
Step Three
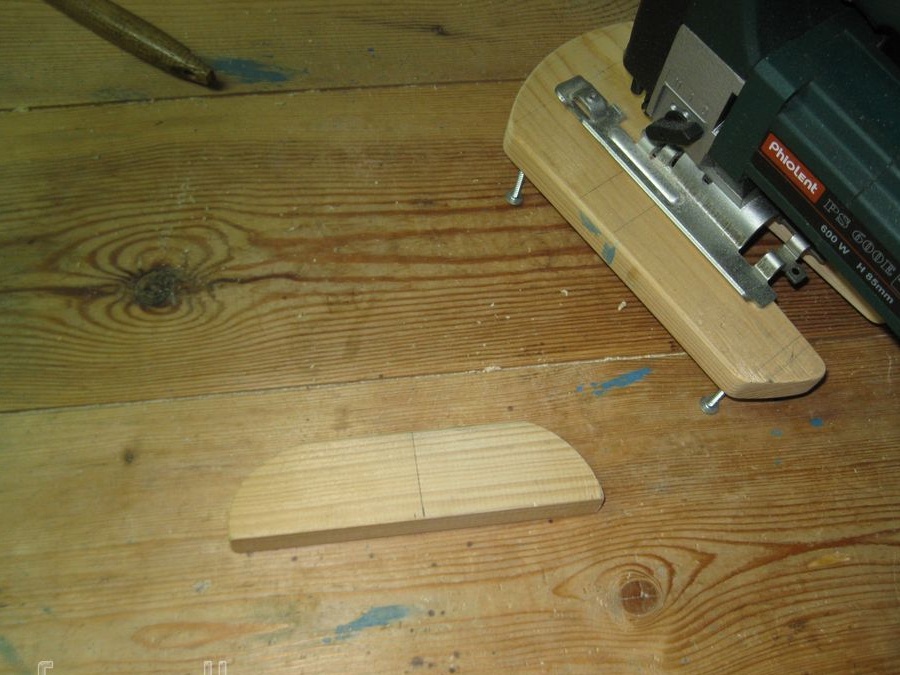
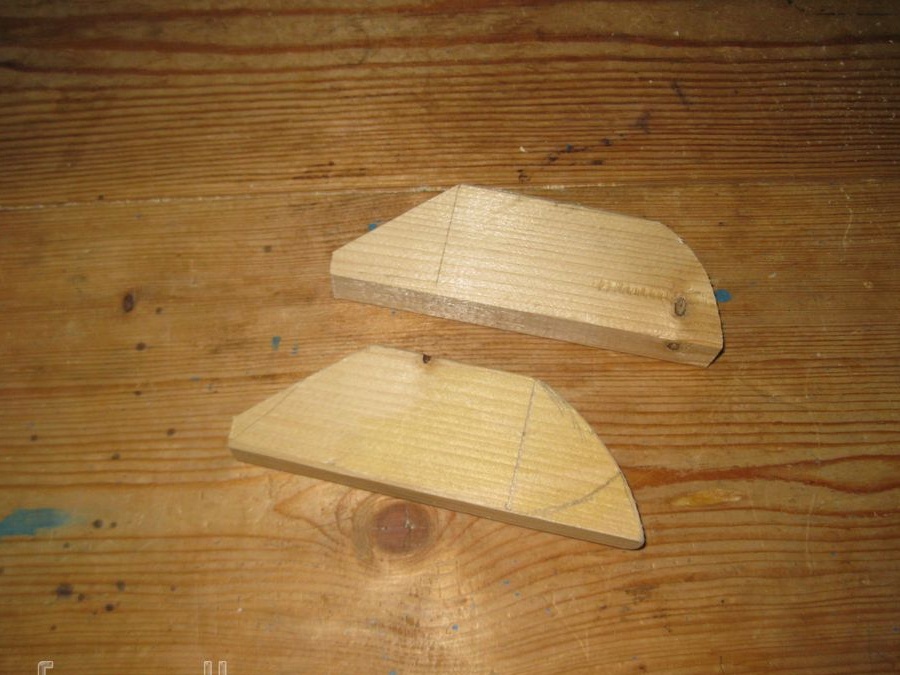
Using an electric jigsaw, we cut a workpiece from a smaller board, which will be the supporting part, with which the device will be held on a flat surface, this process requires sufficient accuracy and accuracy, for better accuracy use a special angular stand on the jigsaw to help create smooth cuts. When working with a jigsaw, be extremely careful and do not forget to wear safety glasses and gloves, protecting yourself from accidental contact with sawdust and wood dust, as well as protecting against slipping out of the hands of the tool.
Step Four
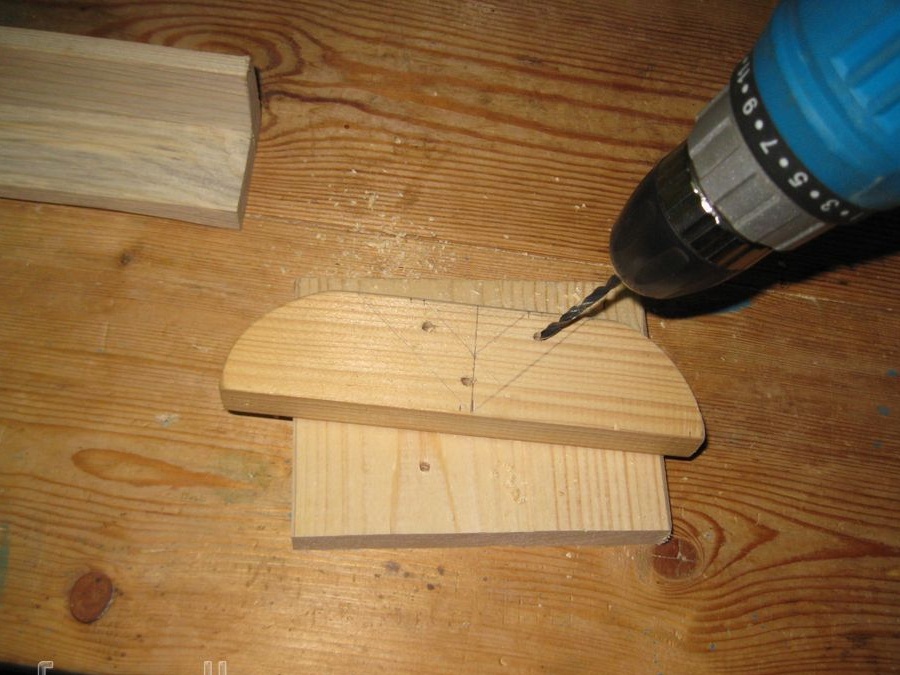
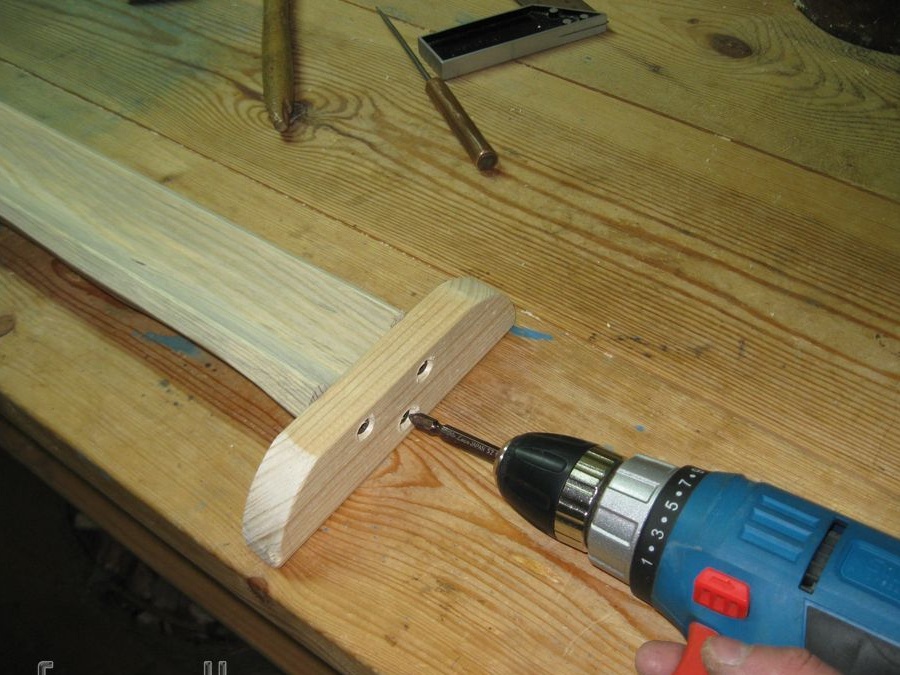
The previous workpiece, the role of which is to hold our corner part, needs to be drawn, the lines should correspond to an angle of 45 degrees, as on the main part, for the best match, attach the future support and circle with a pencil. To fix, you need to drill holes for the screws, in this case there will be three, which is quite enough, we select the drill according to the diameter of the screws so that the thread passes without difficulty.
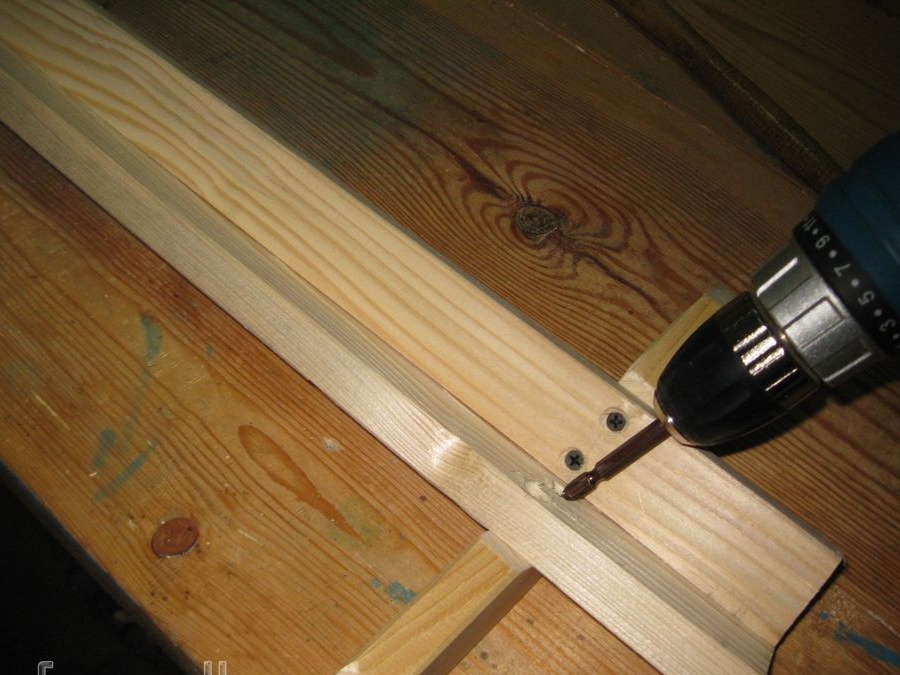
Step Five
After that, we screw the screws with a screwdriver, that is, we screw this workpiece to the end of our corner device, try not to overdo it with the twisting force, so as not to damage the support and not form a crack in it.
The rest of the bar will also benefit, from it we make the same workpieces using an electric jigsaw, you will need these two pieces.
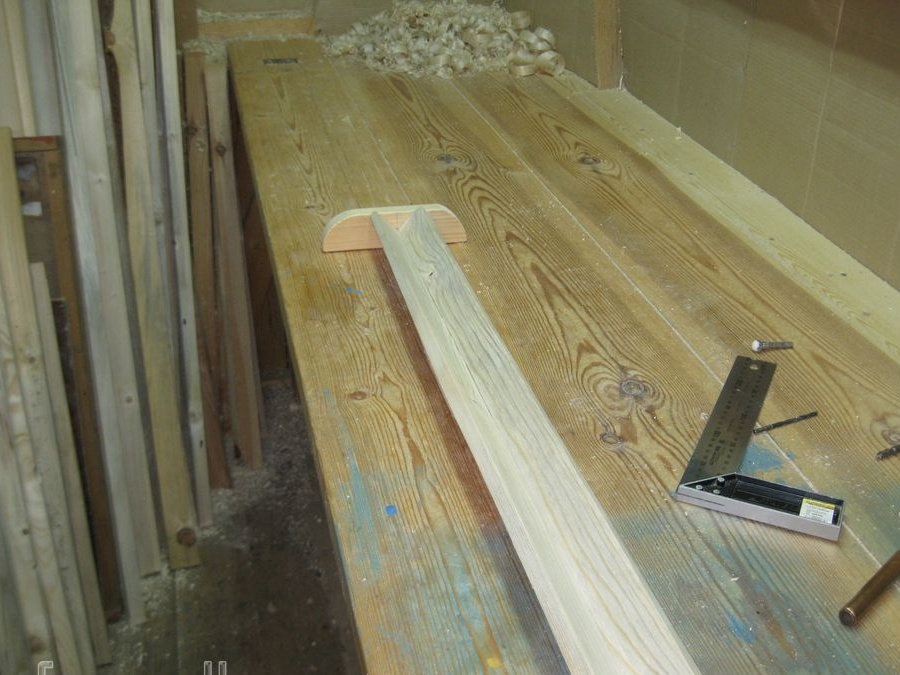
We supplement the corner with two more supports, which will make it much more stable, and it will also acquire a large workload, which is also important during processing. We fasten them in the same way as the first support.
Step Six
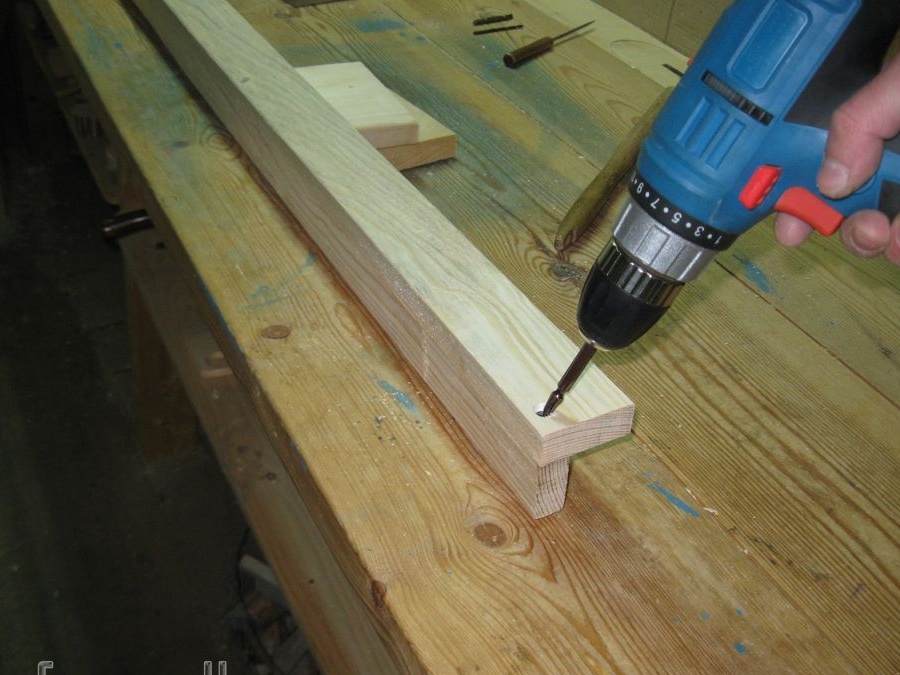
The back of the device must be drilled on each side, while using a screwdriver with a drill, the diameter of which is equal to the thickness of the screw, for strength, we make two holes on each side to prevent turning.
The place of the holes, as in previous stages, must be treated with a spherical milling cutter on a tree in order to drown the screw heads and thereby exclude accidental engagement.
Seventh step.
Armed with a screwdriver and a bit-head for screwdriving screws, we turn the screws into the workpieces.
Next, we move on to more accurate processing, for this we will use sandpaper, as we usually start with larger, gradually reduce the grain size as we approach the finish of grinding.
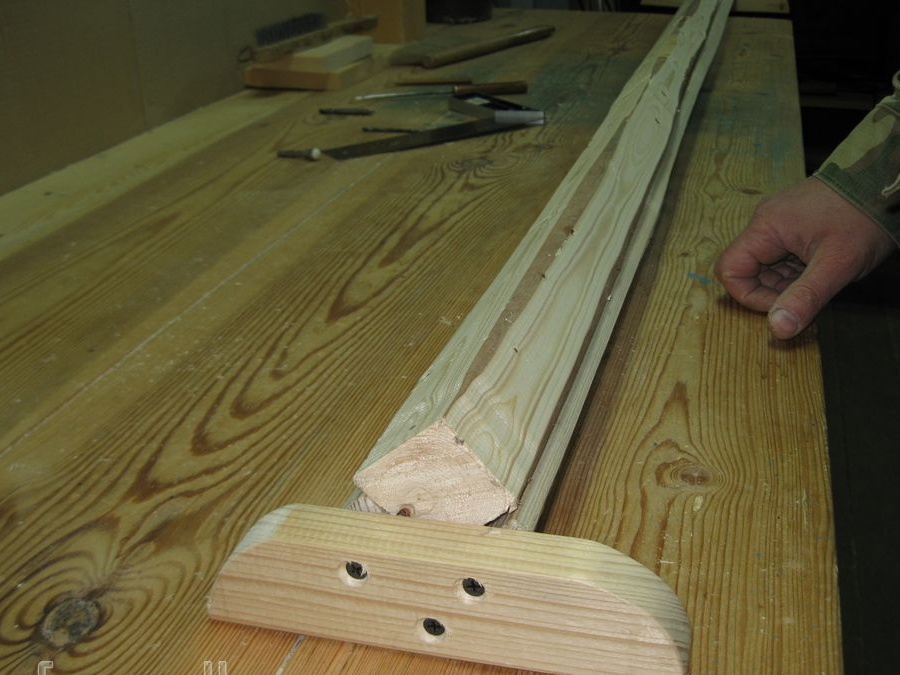
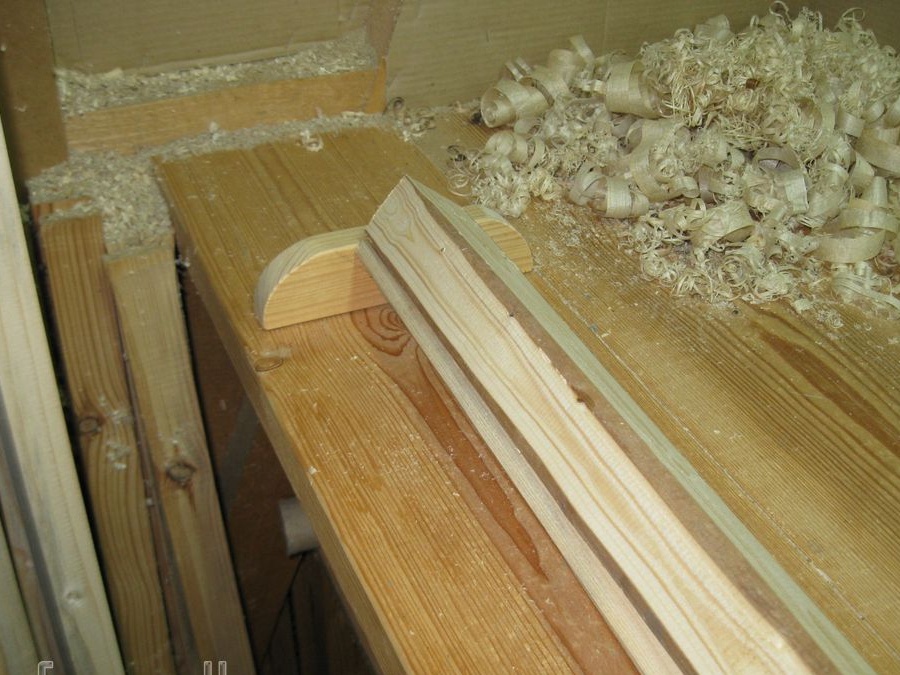
On this, our home-made device is ready, now we will consider it from all sides for a full assessment.
It looks like its back.
And so the front end.
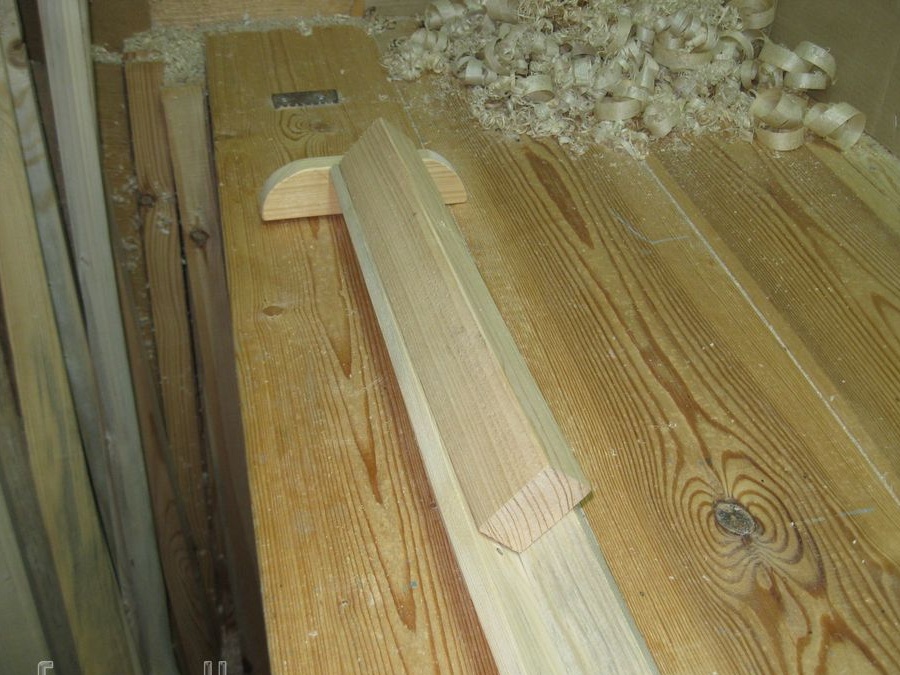
After you make such a device, you will have the opportunity to process the bars without any difficulties and inconveniences, whether it be a wooden handle or a workpiece with square faces.

Tool with workpiece for processing.
It is also possible to process a block not square, but rectangular in cross section, and it will be quite easy to chamfer from such bars without suffering from the slopes of this workpiece.
As for round round billets, we can say that their processing will now be very convenient in this device. Moreover, the possibilities will not be limited only to planing, but also the possibility of processing by drilling and sawing.
Thank you all and good luck with your reps.