
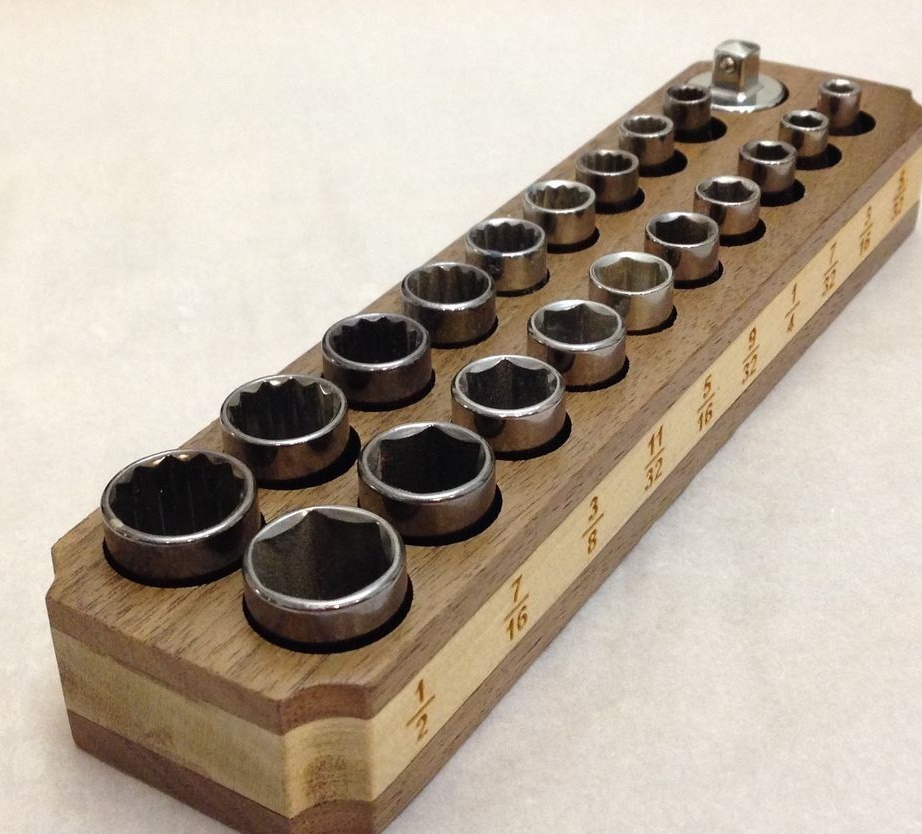
welcome all the inhabitants of our sites, in this article I will tell how the author made a useful adapt in the form of a holder for key heads. Since the storage of tools, namely small parts, for example, heads for keys or bolts, is difficult, therefore this idea was implemented. Professionals purchase the tools separately and store them in a special case, but this is an extra cost. So, why not make a home-made magnetic holder for key heads, which can be a good replacement for the most non-budget option of storage. And another plus is that each head individually will be kept in its rightful place and during transportation you can not be afraid to lose them.
To make this useful homemade product, you need materials:
* Program for designing a vector image (Corel Draw).
* Laser cutter.
* Board thickness 130 mm, 5 x 20 cm (poplar).
* A board with a thickness of 64 mm, 5 x 40 cm (walnut).
* Magnetic strip 40 cm long.
* Epoxy resin.
*Sandpaper.
*Acrylic lacquer.
Step one. Creating a project in Corel Draw
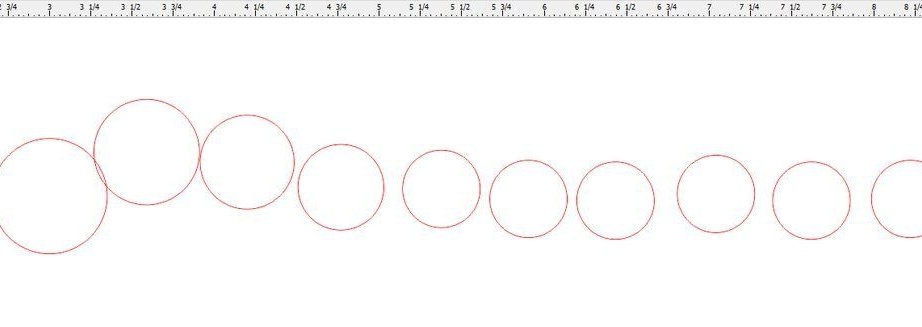
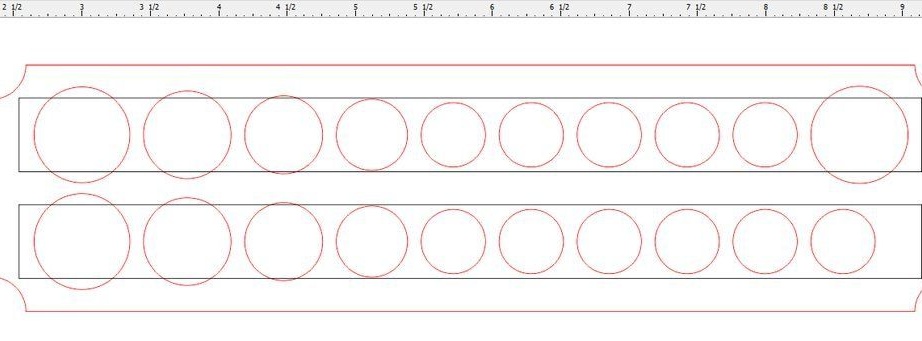
First you need to create a sample by which this holder blank will be cut with a laser. To do this, you must have at least some initial skills in the construction of vector images.
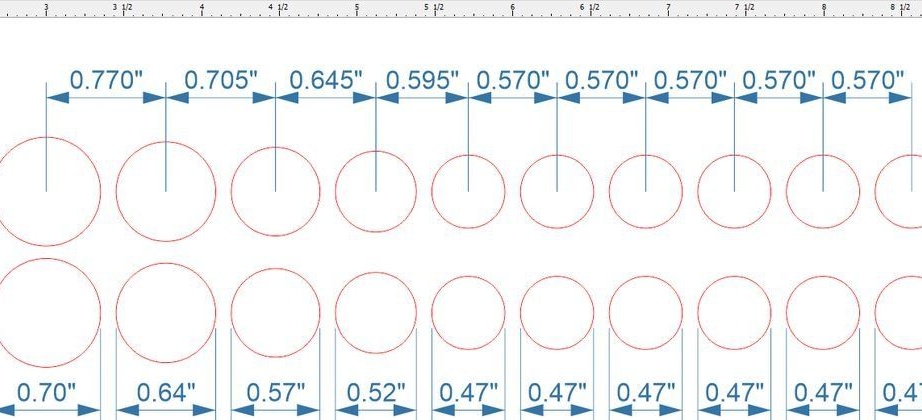
First do the required number of circles. They will become holes in the process into which the key heads will be inserted. Do circles with an allowance of +0.05 cm for free travel so that during use you can easily insert your heads into the finished cells.
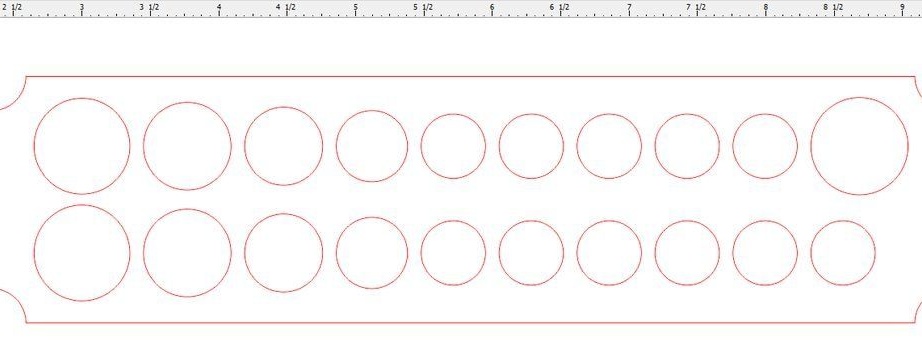
Arrange the circles evenly, observing a gap of a few allowance millimeters between them. When all the circles are ready, then around them outline the outline of the rectangle, which will be the basis. Angles can be different, as usual, so curly, as in our project.
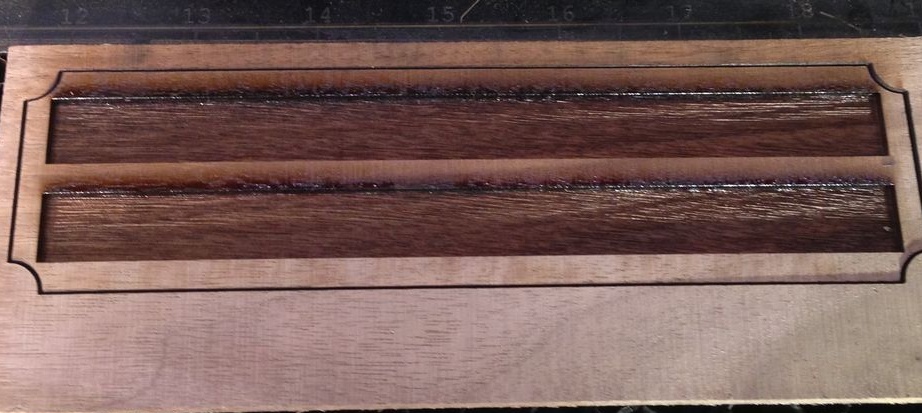
Step Two Foundation development
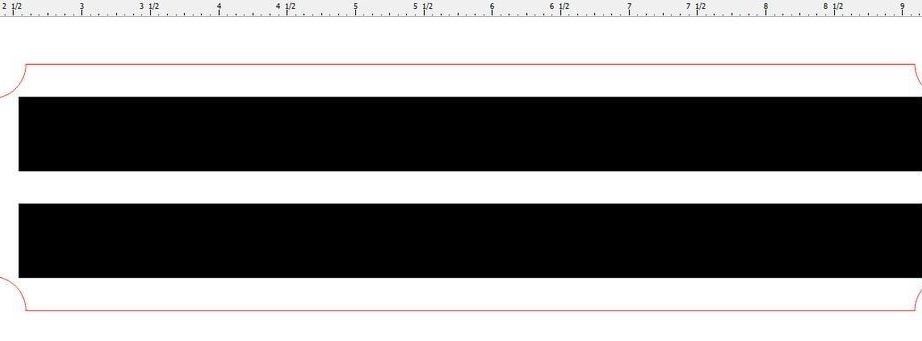
After the cover, you need to develop a framework. The shape will be the same - rectangular with curly corners, like the passage after milling.In place of circles, black dividing strips must be applied. The width of the strip should correspond to the diameter of the largest circle. The lines on the base layout must be drawn in black so that the laser does not cut them out but engraves them.
Step Three Creating the main body
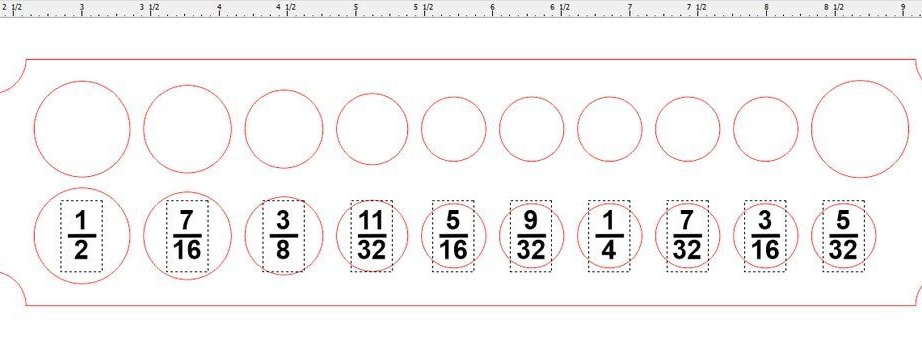
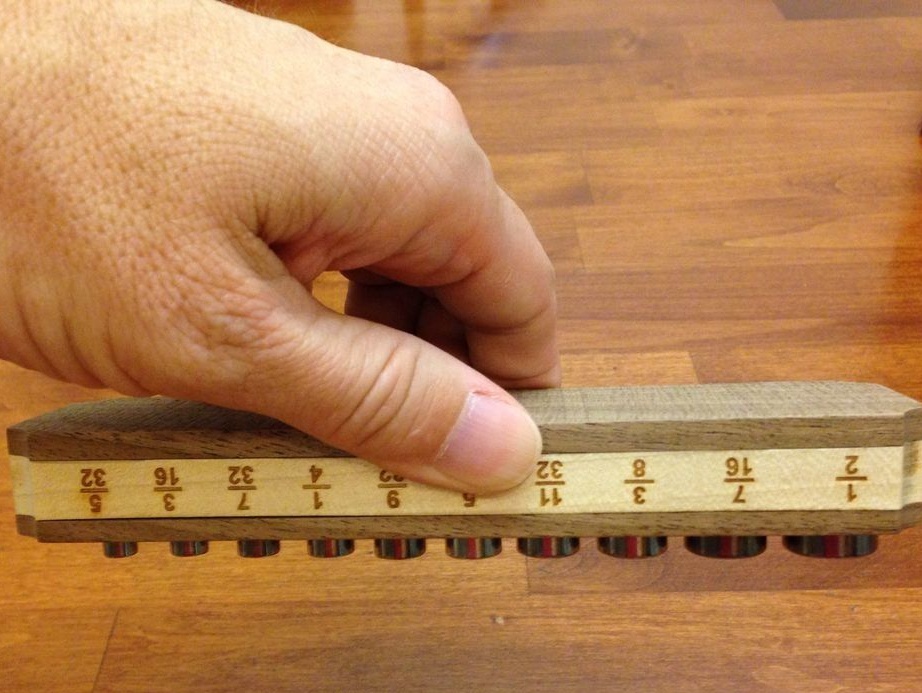
The layout for the main part of the holder, in fact, is also ready (similar to the first step). But on the side, it will look especially different. For better utility and information content on the end of the holder we apply the sizes of the heads. We do it in any convenient place, the main thing is that the sizes correspond.

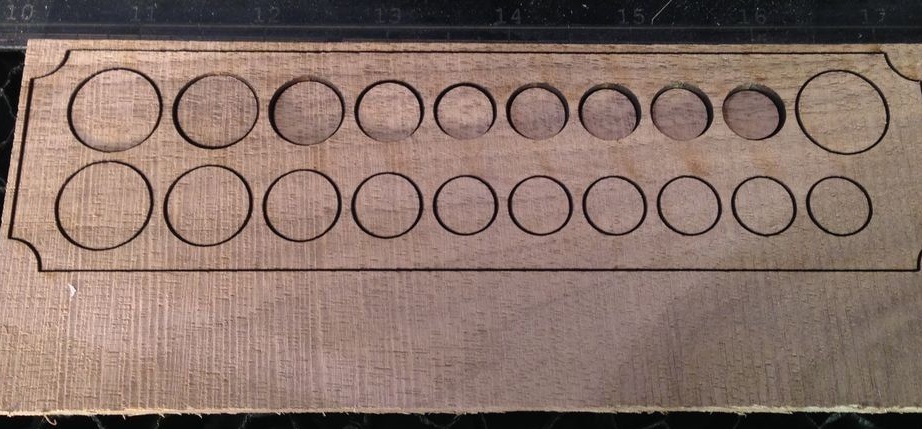
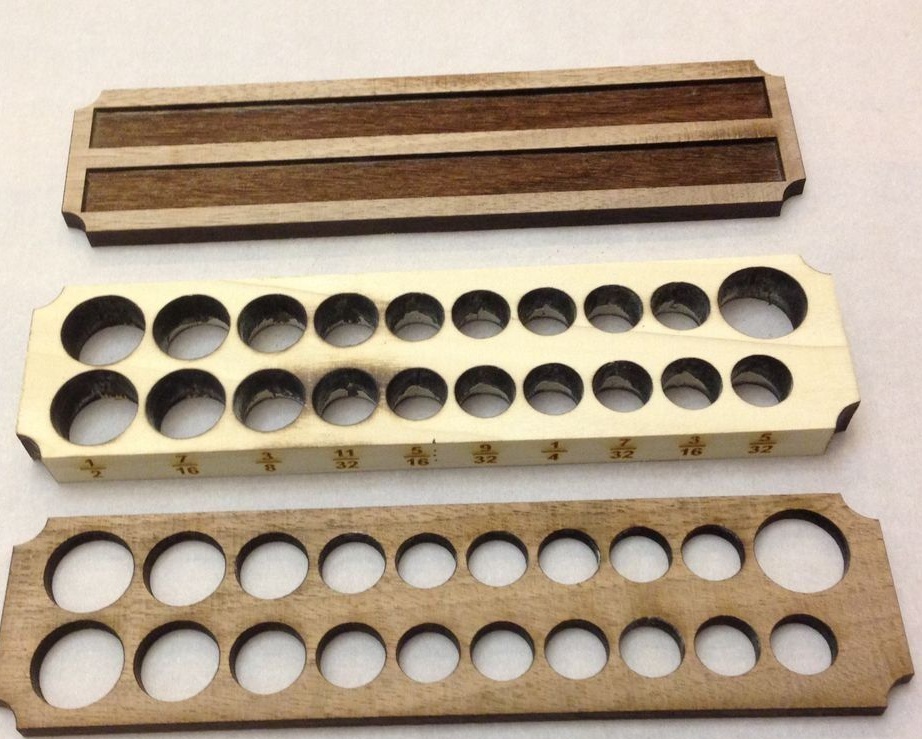
Step Four Cutting out
In this step, according to the prepared models, the holder blanks are cut, of which we have three.
The process is very lengthy and requires patience.

Step Five Grinding
All finished parts must be sanded with sandpaper. To do this, use it to rub all the bumps and flaws.
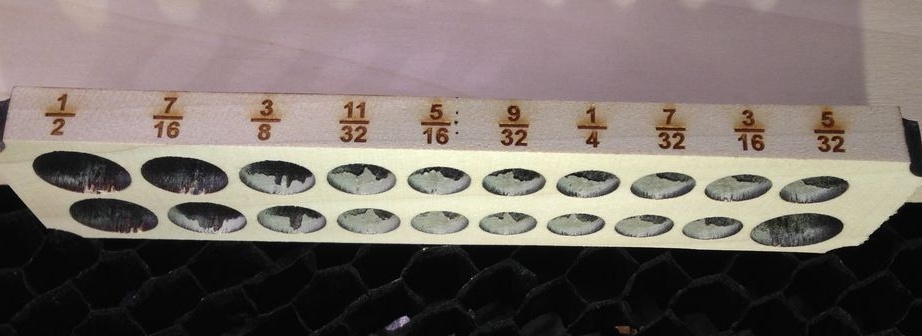
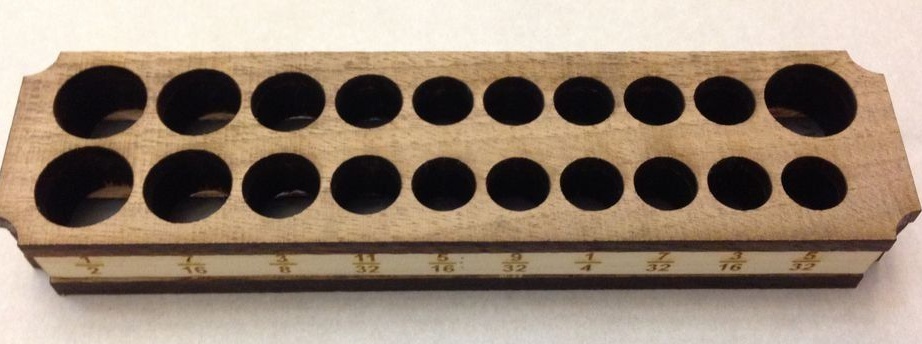
Step Six Side engraving
We take the widest blank from poplar and apply an engraving with numbers on it.
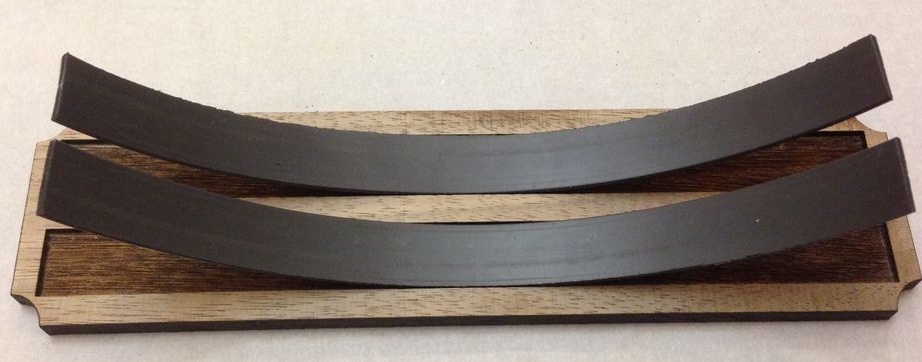
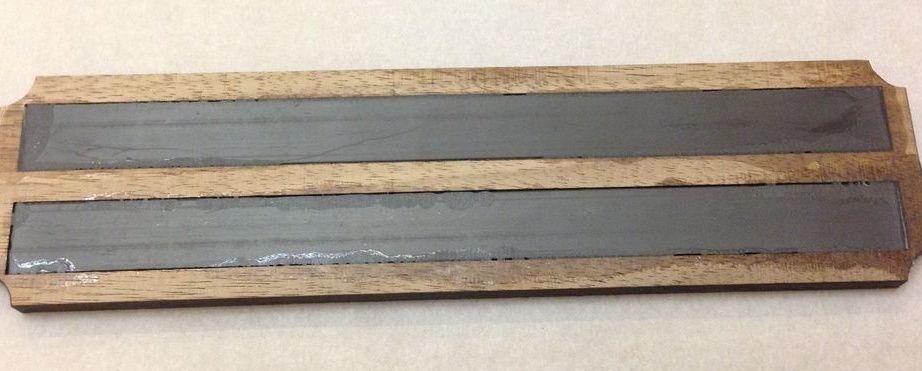
Step Seven: Adhesive Magnetic Strips
We cut the tape magnet into strips and glue it into the base of the holder. Magnets of this kind have an adhesive base, but for reliability of fastening it is better to go with an epoxy resin. After everything is covered with glue for a better strength, press them with a press for 5 to 10 minutes. Be careful when gluing.
Step Eight. Bonding all parts of the holder
Using epoxy resin, we coat all parts of the workpiece and glue them, after which we clamp with a press for a couple of tens of minutes.

After the resin has dried, sand the surface of the holder with sandpaper to finish it. Rub with polyurethane, sand for the last time and cover with a clear varnish.
On this homemade magnetic holder is ready, good luck to everyone.