

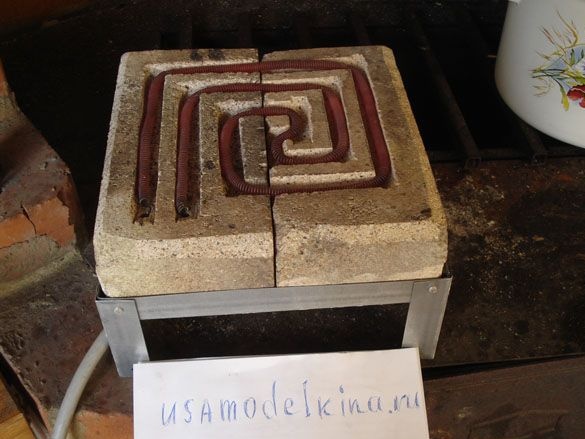
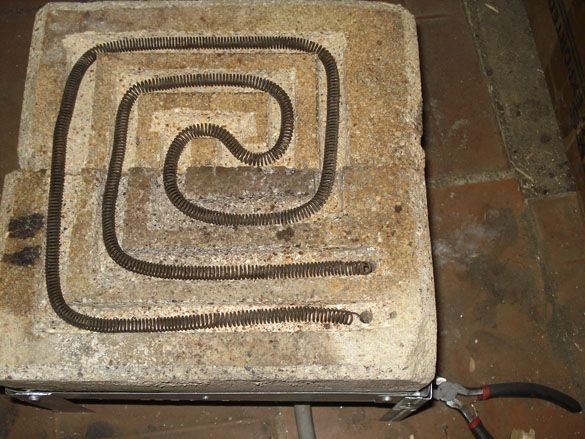
Here is such a powerful electric stove, which was used for cooking and not only, most of the population of Soviet people in the twentieth century, you can make yourself in about one hour.
Although this is a relic of the old, but who knows, maybe someone else will come in handy. Due to the open spiral of high power and minimal clearance to the heated surface, heating and boiling takes place in a fairly short time, and this already is a kind of energy saving.
Item 1. Required materials and tools.
Materials:
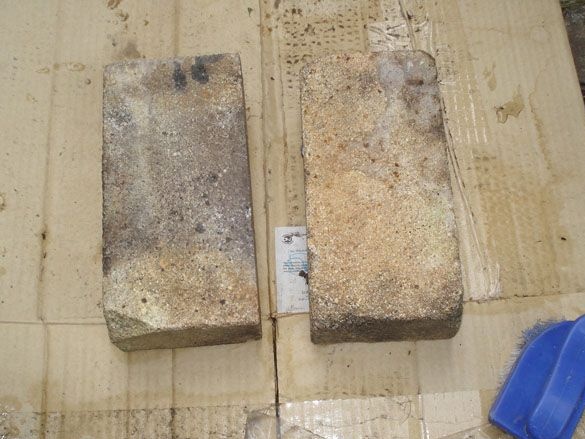
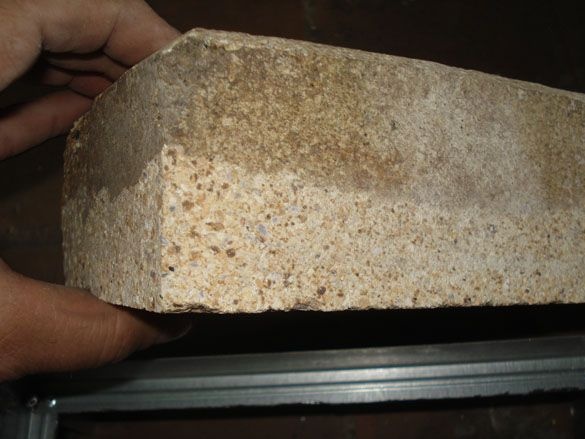
• Two fireclay bricks.
• Metal galvanized profile P - shaped.
• Filament spiral or nichrome wire D = 0.5-1 mm.
• Small grinder, diamond blade and metal disc.
• Homemade little chisel, hammer.
• Drill, won with a drill D = 3-5 mm., Drill for metal D = 3.3 mm.
• Riveter with rivets.
• Wire with plug.
• Diode for 20-50A 400v. (optionally).
Point 2. The spiral of glow.
For a heating element, we need a ready-made filament spiral of nichrome wire, it can be bought at the market, hardware stores, 1000 small things, or if you have a nichrome wire, make it yourself (REFERENCE - Spiral Winder) The finished spiral should be 1.5-2.5 kW.
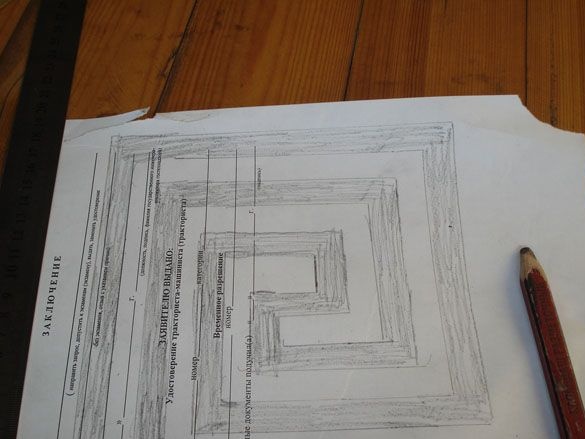
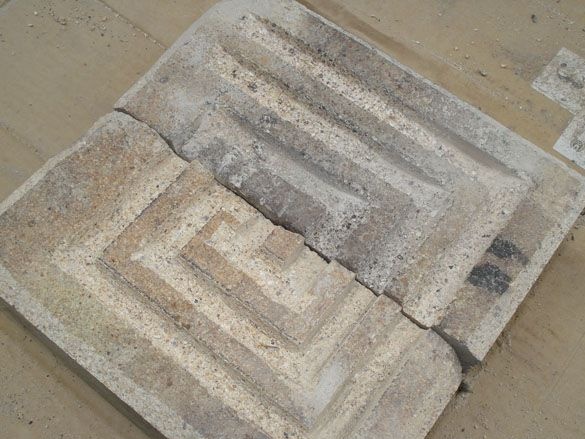
Point 3 . Labyrinth drawing.
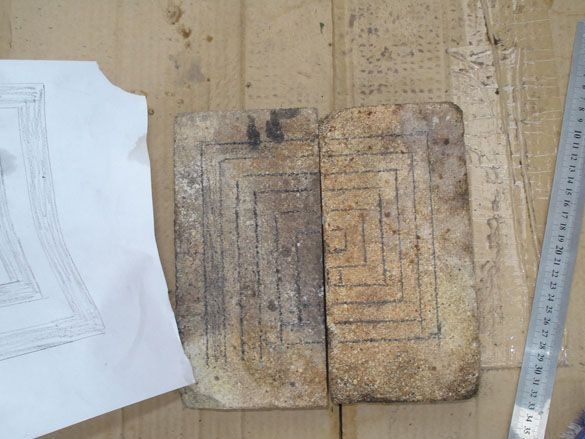
The incandescent spiral must be evenly placed on a site of two bricks, for this first draw a drawing of the labyrinth on paper and paint over the part where the spiral itself will lie.
Then two fireclay bricks are taken, if they are not new and dirty, they need to be cleaned, washed with a brush.
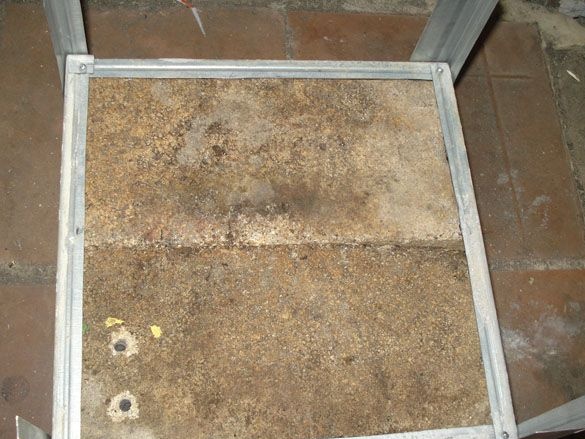
 [/ center
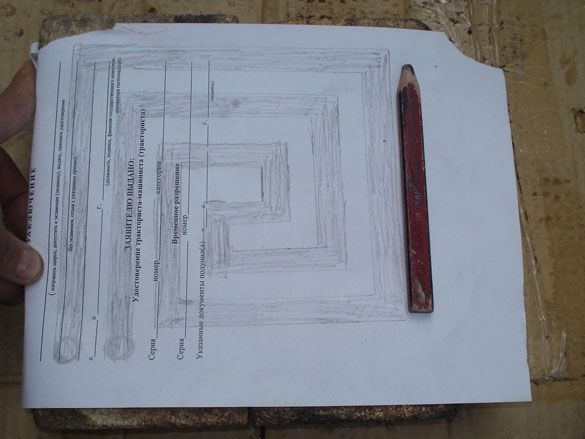
We place two bricks on a flat surface, put a paper sample of the tracks on top, press with your hand and bending the edges of the sheet, alternating all the corners of the maze on the bricks. We remove the paper and completely draw the maze with a pencil like on paper.
[center]
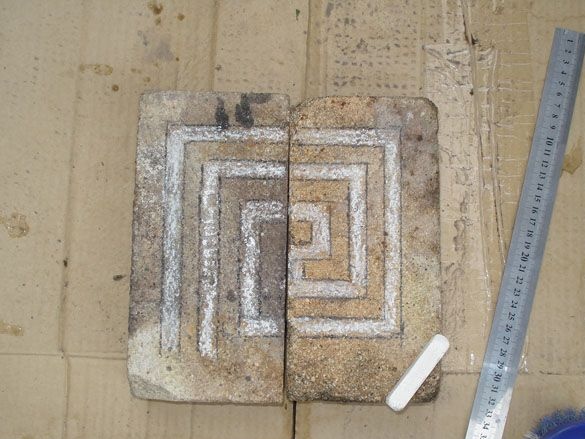
In order not to get confused while working with a grinder and not cut through the wrong cut, we additionally paint over the labyrinth with chalk, now it is visible very well.
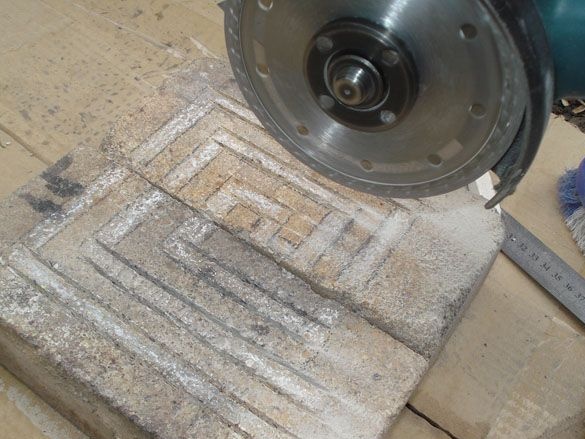
Item 4. Brick processing.
We put on goggles or a mask, take a grinder with a diamond disk and make cuts along the lines 1 cm deep. We try not to go beyond the aisles of crossing the angular lines.
After a complete passage of the contour of the labyrinth tracks, we begin sampling the core of the tracks, moving the disk from the cut to the cut, gradually deepening and expanding the grooves to the bottom of 1 cm.
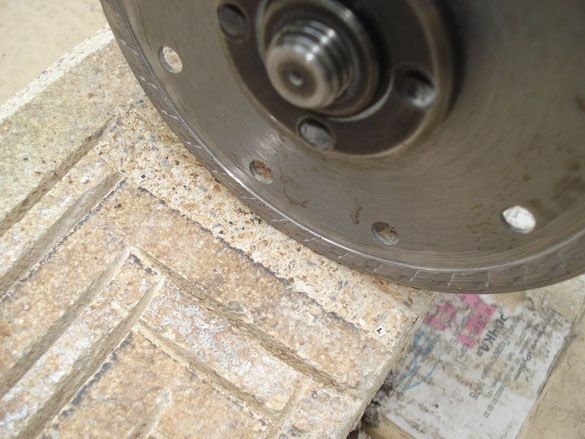
In 15-20 minutes the whole labyrinth will be ready, with the side of the disk we will remove the chamfer along the edge of the bricks.
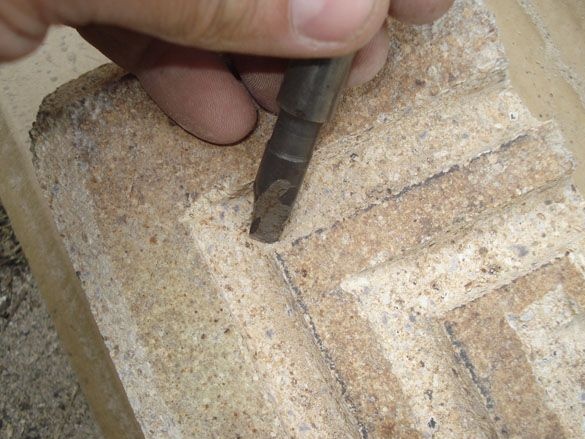
Now you need to remove the core of the corner sections where the grinder did not reach. To do this, you need a thin home-made chisel, made for example from a drill fragment D = 10 mm.
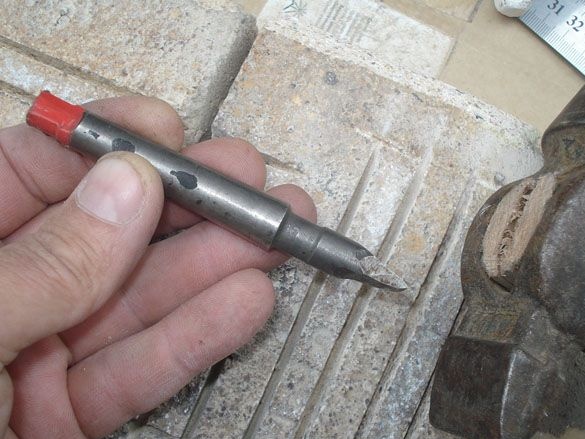
Not by strong blows with a hammer on the chisel, small chips, we gradually paint the brick, the main thing is not to overdo it and not to crack the brick. All this is not difficult, the material is quite easy to process and takes no more than 10-15 minutes.
Now you can try on a spiral in place to see all the remaining jambs, if necessary, modify the tracks.
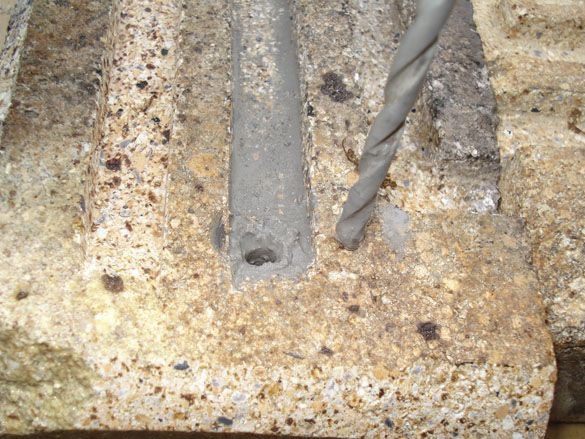
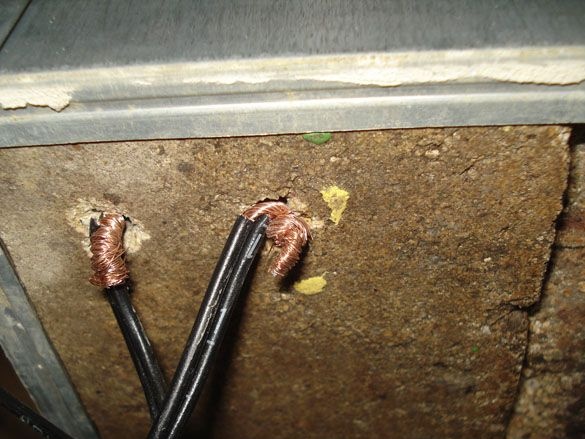
To output the ends of the spiral, drill two holes. Pobedit drill at low speeds (without vibration), with abundant watering with water and very frequent removal of the drill to wet the entire channel with water, drill through holes.
After drilling the holes, wash the bricks well with a stream of water and leave them to dry.
Item 5. Base stand.
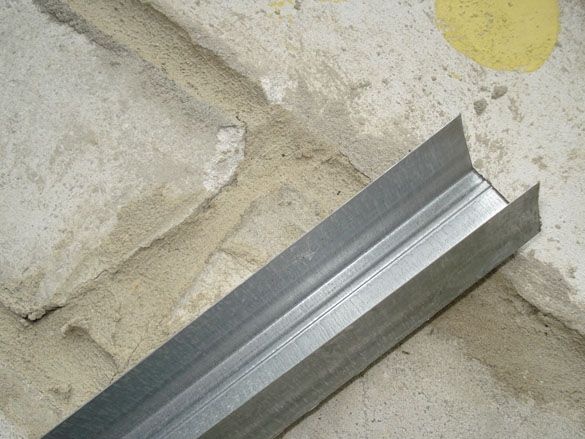
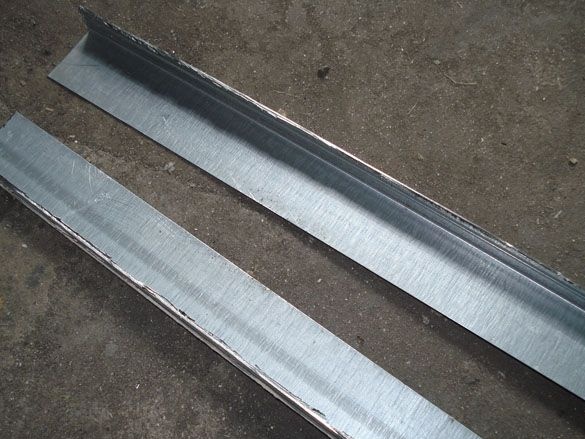
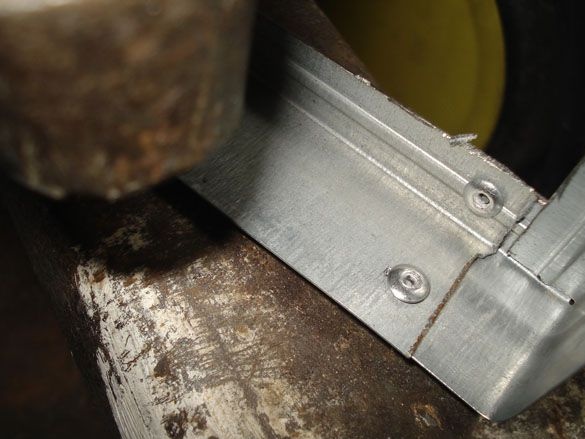
To make the base stand we use a metal profile, one meter will be enough, dissolve it along the entire length along to get two identical corners.
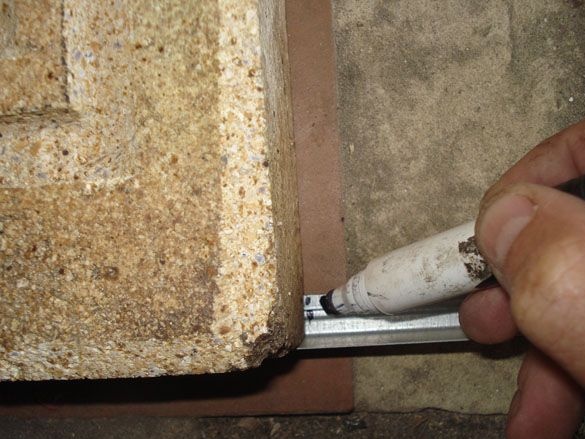
We measure the width of the brick structure, add 5 mm each. on each side, and transfer these sizes to a piece of corner.
We make cuts along the marks and bend all four sides 90 degrees.
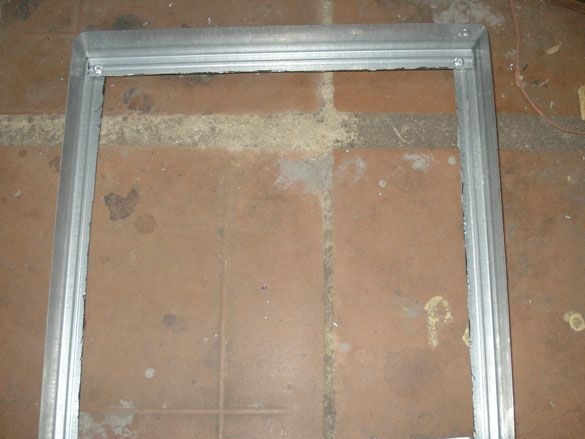
You should get a square into which both bricks are easily inserted.
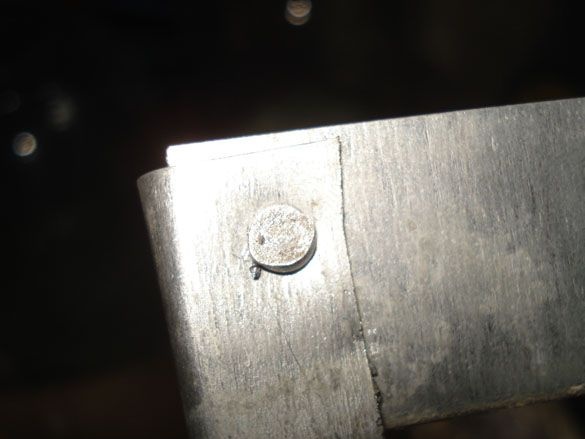
To fasten corners and give rigidity, we use rivets. We drill in the corners with a drill D = 3.3 mm. holes and fasten with a rivet.
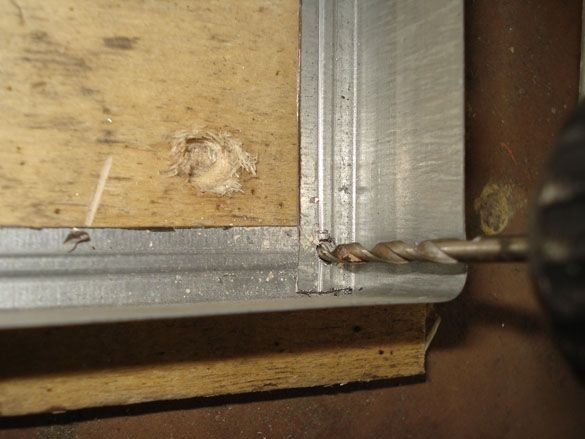
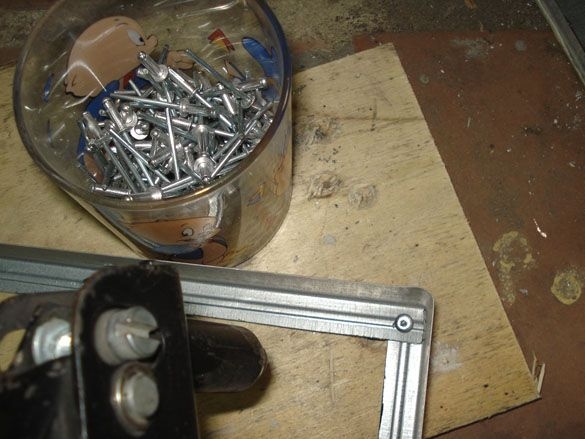
It is advisable to use a minimum length of rivets, or with the help of a hammer and anvil we additionally flatten them.
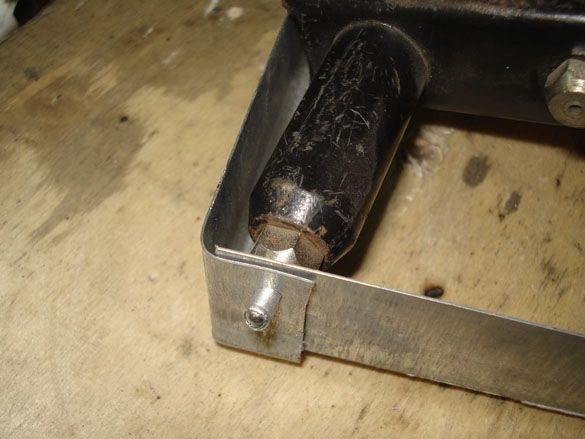
It remains to attach the legs, mark four 10 cm segments on the remaining corner, immediately drill one hole for the rivets and cut them off.

We put the legs in place and drill holes for the rivets in the frame.
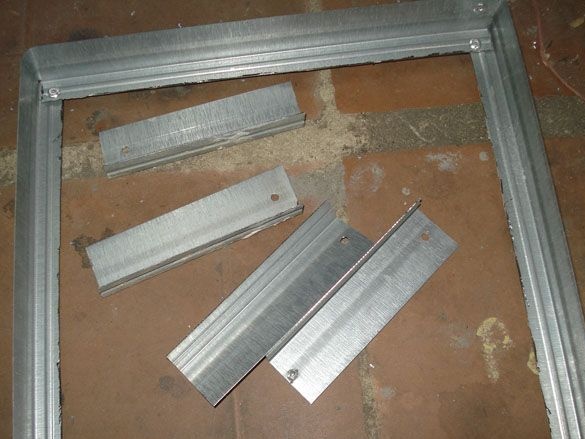


We rivet all four legs on one rivet.
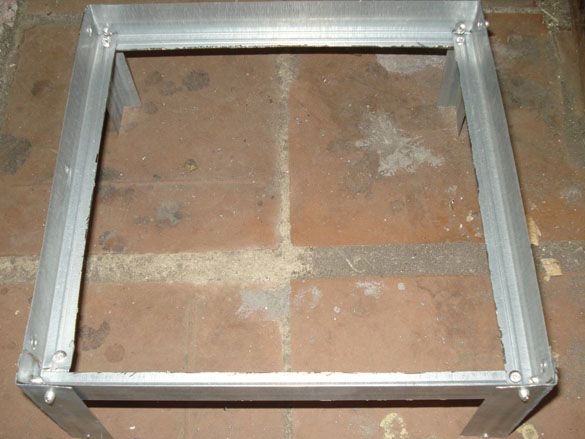
We put the platform on our feet already and straightening exactly each leg, we drill through the second hole for the rivet, we install the second rivets. Additionally, we flatten the rivets with a hammer, now everything is firmly and evenly on its feet.
You can lay the bricks inside, if the rivets still interfere a little, grind the sidewalls of the bricks with a grinder on a small wedge down and set them in place.
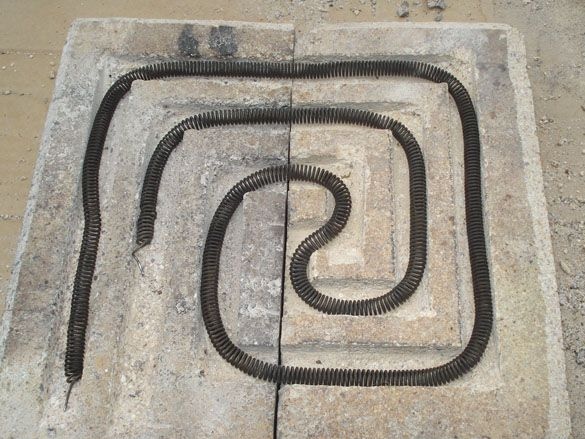
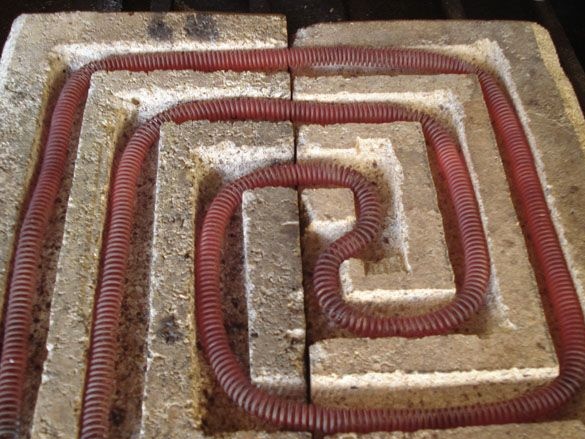
Point 6. Installation of a spiral.
The ends of the spiral are 10 cm. Straighten and poke into the holes.

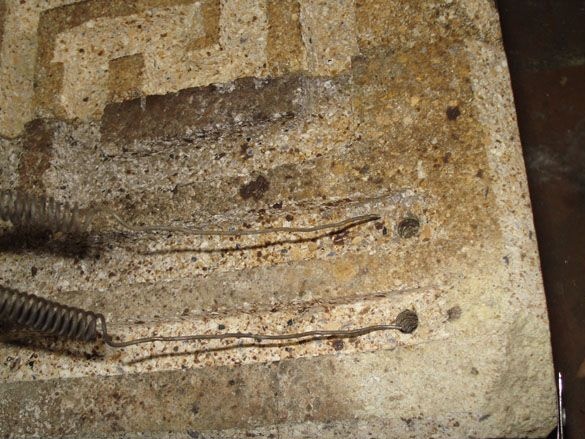
From the bottom we connect a wire with a plug with a cross section of at least 2.5 mm2.
Evenly stretching the spiral and distributing it in the maze, you should get a slight stretch of the spiral.
Clause 7. Inclusion and test.
We connect the plate to the outlet, the wiring and the circuit breaker must be intact and rated for a power of at least 3 kW.
After complete warming up, we look at the strength of the glow of the spirals, it should not be very bright, but in the region of dark orange-red.
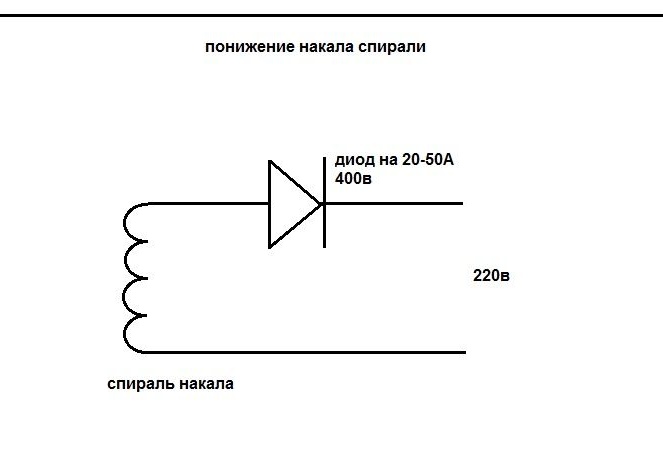
If the glow is bright orange-yellow, then it is necessary to reduce the current, this can be done with a single diode at 20-50A, which will cut off one voltage period, which is enough for us.
The scheme of lowering the glow.
I did not have a suitable diode, so I put two parallel 10A each, which gave 20A.
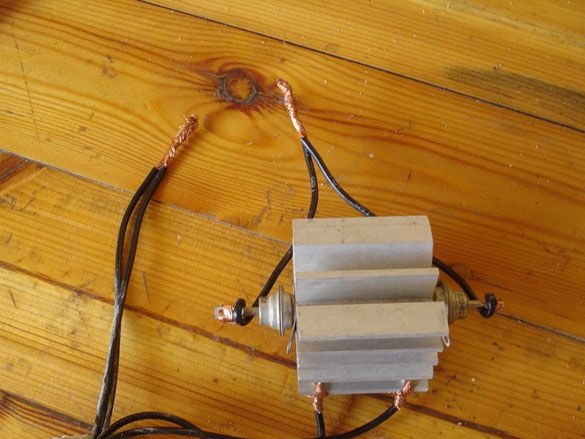
In principle, a radiator is not needed, the heating of diodes is only 10 g. more environment. The circuit must be hidden inside an insulated casing with ventilation holes.
Now when I’m too lazy to light a fire in the grill in the arbor, I use such a tile and quickly cook a snack!
