The workshop is a place not only for work, but also for a well-deserved rest. After all, how nice it is sometimes to reward yourself for the work done with a glass of wine or an intricate cocktail.
To do this, it is useful to have your own minibar, where the ritual acquires the appropriate festive appearance and gathers a warm, male company of friends and acquaintances in your workshop.
As a rule, the creation of a bar counter requires special skills in working with valuable species of wood, as well as with specific bar fittings. Not surprisingly, the whole process takes a lot of time and entails exorbitant costs.
We set ourselves the task of simplifying it as much as possible, while minimizing all costs. As a result, we decided on an idea that would take half a day to implement - to make a mini-bar from pallets that had long been waiting for their fate and were ready for reincarnation. In the end, we used only those materials that were at hand and did not spend a dime.
The minibar turned out to be a workshop where we planned to install it - purely male fun in the country style - not otherwise.
The only item of expenditure that someone still has to make is a protective coating for the tree. We basically did not spend money and used decorative oil, because the remnants of it successfully fell into hand. If you are less fortunate and still haven’t found anything suitable, buy the material based on your own preferences. However, we would advise you to opt for transparent and translucent coatings, such as natural linseed oil, linseed oil, oil stain (decorative oil) or protective and decorative coatings, such as new-generation water-alkyd toners. All of them emphasize and preserve the natural texture of wood.
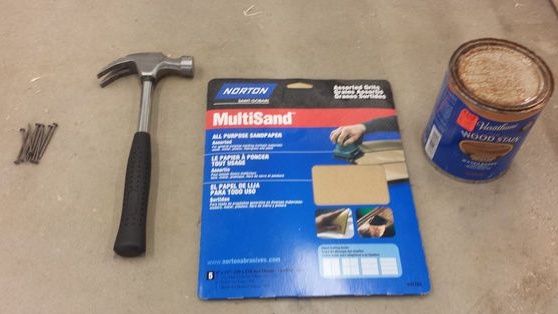
So, it's time to get started, and today you will need the following materials and tools:
1. Materials:
- three whole building pallets;
- wood screws;
- bolts and nuts - three pieces each;
- nails;
- decorative protective coating for wood.
2. Tools:
- a grinding machine or sandpaper (large and small);
- screwdriver;
- electric drill;
- hammer;
- construction tape measure;
- wrench;
- a paint brush, rags.
Step 1: preparing the pallets
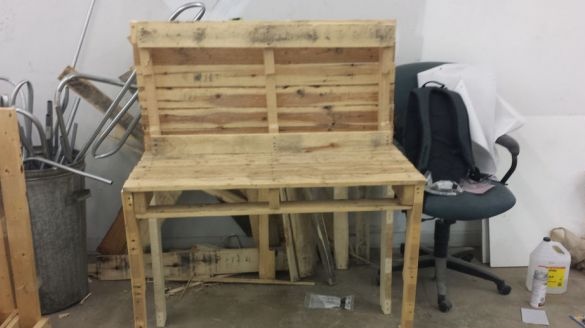
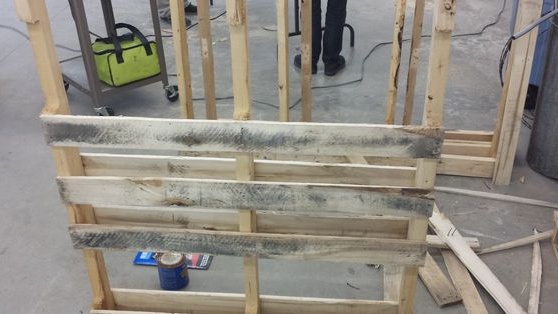
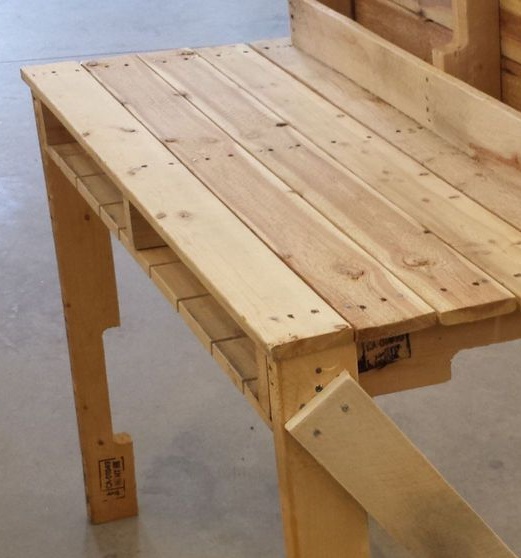
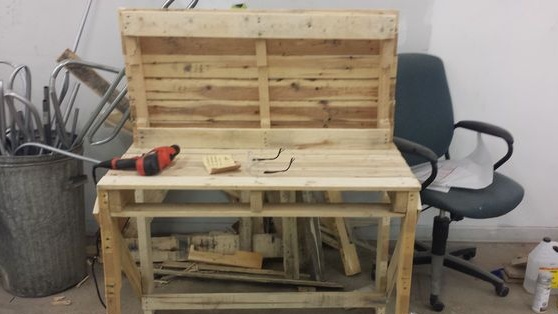
Today you don’t even have to completely disassemble the pallets. Your task is to make the back wall and countertop of the bar, sewn up continuous from one of the sides as shown in the photo below.
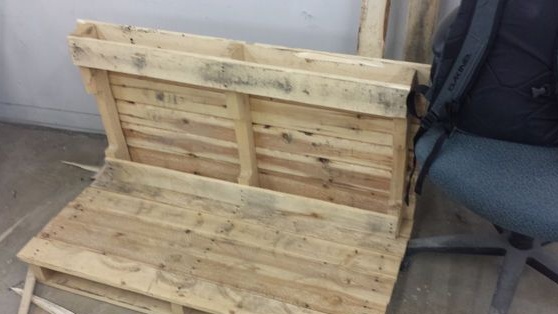
Grind workpieces manually with a grinder or sandpaper. First, walk through the tree with a large emery cloth to level the surface. Then proceed with sanding with fine-grained sandpaper until the wood becomes smooth and pleasant to the touch.
Join the two parts together using self-tapping screws. You can use decorative overlays for self-tapping hats if such a need arises.
To prevent the boards from cracking and cracking during the screwing process, pre-drill the holes for fastening with a diameter slightly less than the diameter of the screws you use.
Step 2: making the base of the minibar
Now it was the turn of the last pallet. Carefully disassemble it into separate boards. Remember that very often in the process of manufacturing pallets use screw nails, which can be difficult to remove in the usual way. Masters who are faced with disassembling pallets every day use an electric reciprocating saw for this. You can take a hacksaw for metal or still try to disassemble the pallet as usual, but act as carefully as possible.
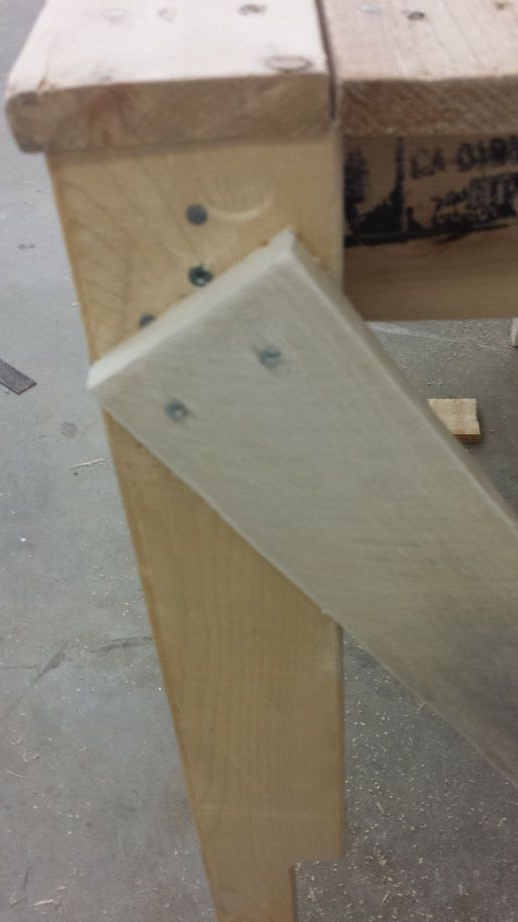
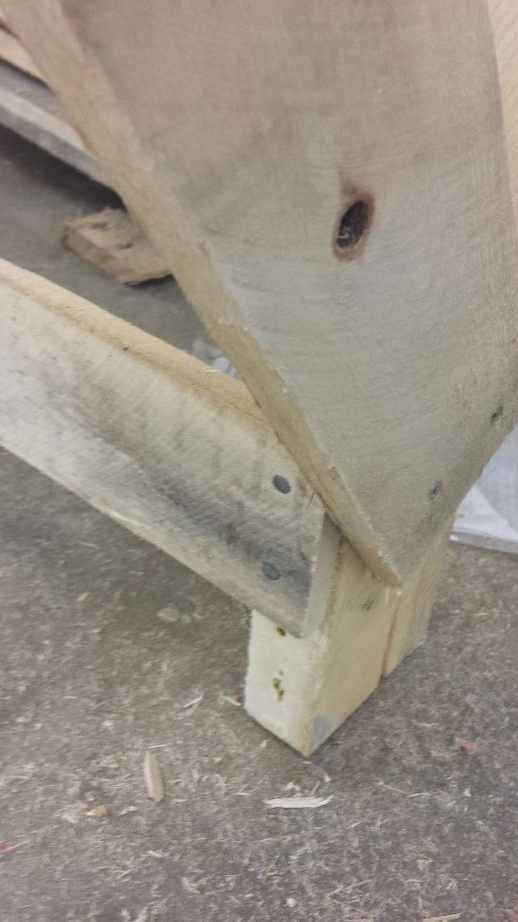
Measure and saw off parts for legs and braces. You can mark along the oblique line so that the braces go flush, but we did not bother with this.
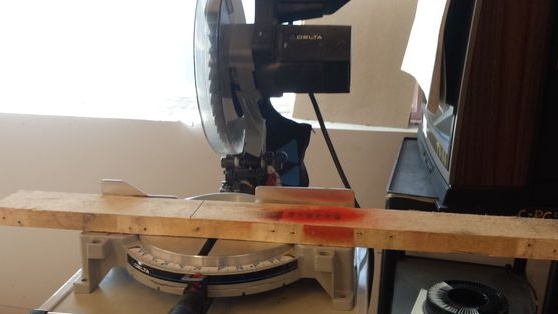
Grind all parts in the same manner as described in step # 1 before proceeding with assembly of the base.
Attach the legs to the countertop with self-tapping screws and install the braces.
Step 3: manufacturing panels for storing bottles, glasses and other equipment
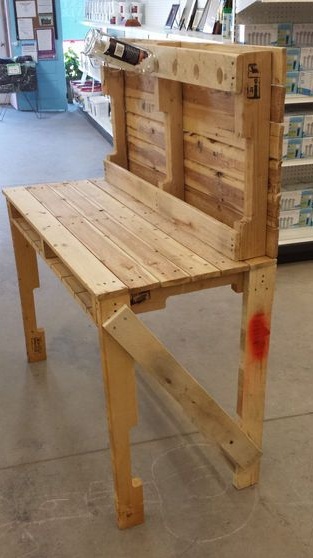
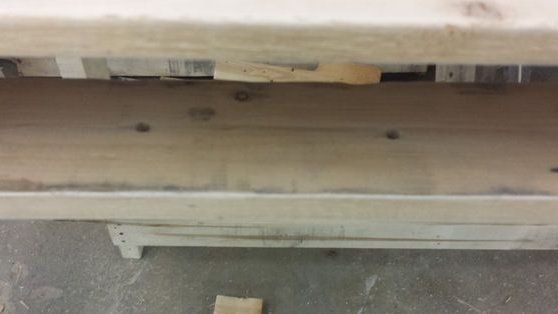
The panel for glasses in our case will be located below, in front of the countertops. To do this, mark and cut the slots with holes in the depths into which the stem of the glass could freely pass.
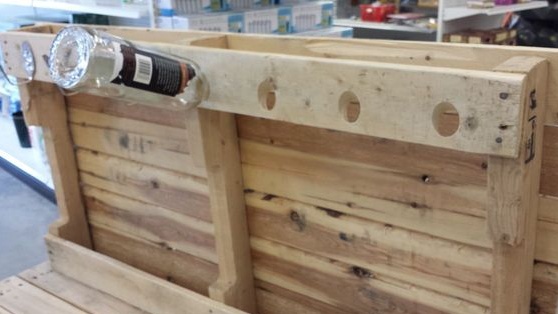
To store the bottles, drill several holes with a diameter of 32-35 mm at an angle of 45 degrees in the upper part of the back wall. Use for this a drill and a special nozzle for working with wood.
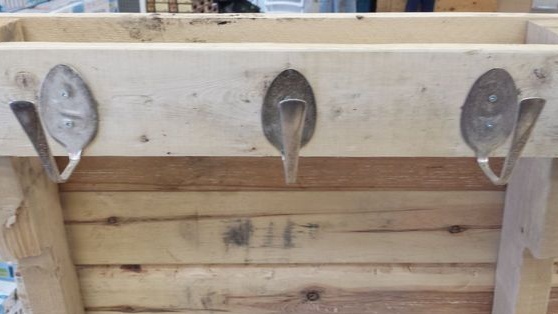
On the left we arranged three decorative hooks made of silver spoons. To do this, make the spoons flat with a hammer. Bend them to the desired shape, drill holes for the fasteners and screw them onto the top panel of the minibar.
Step 4: Finishing
If you feel the need, once again walk with fine-grained sandpaper on the surface of the minibar. Sew side edges and cut lines.
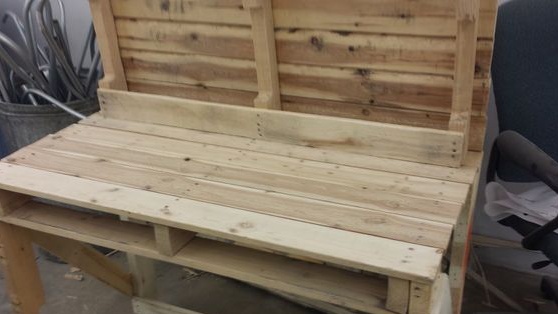
Prepare the workplace for painting, removing all unnecessary, getting rid of debris, chips and dust. Do not forget to lay the flooring with film or paper, so as not to stain the floor.
Apply decorative oil along the wood fibers, carefully rubbing it with a piece of rag until completely absorbed. Note that after each subsequent layer of oil, the tone becomes more pronounced and bright. Therefore, if for some reason you were not satisfied with the result of painting after applying the first coating layer, repeat the operation a second time. Theoretically, depending on the tree species and its condition, oil can be applied several times, as long as the tree absorbs it.
Wait for the coating to dry completely.
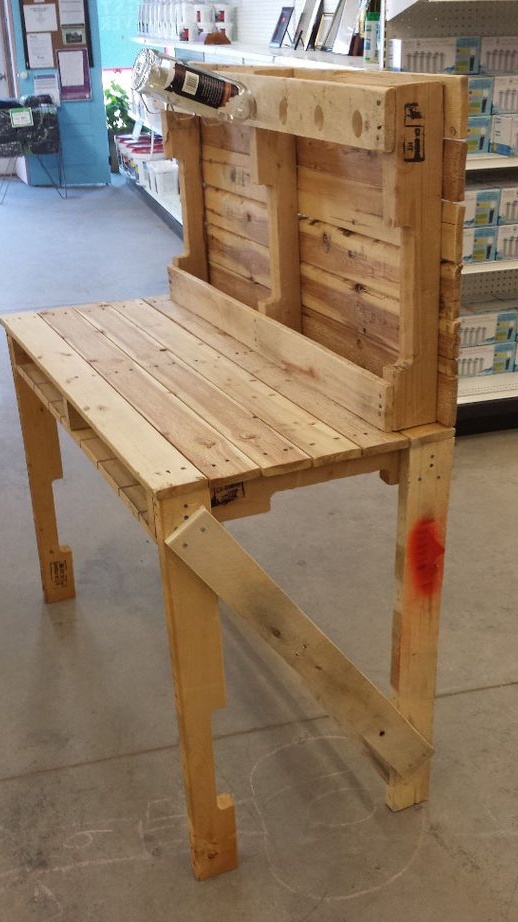
The minibar is ready! You can install it in your workshop or the garage and invite your friends so that they can appreciate the results of your efforts.

