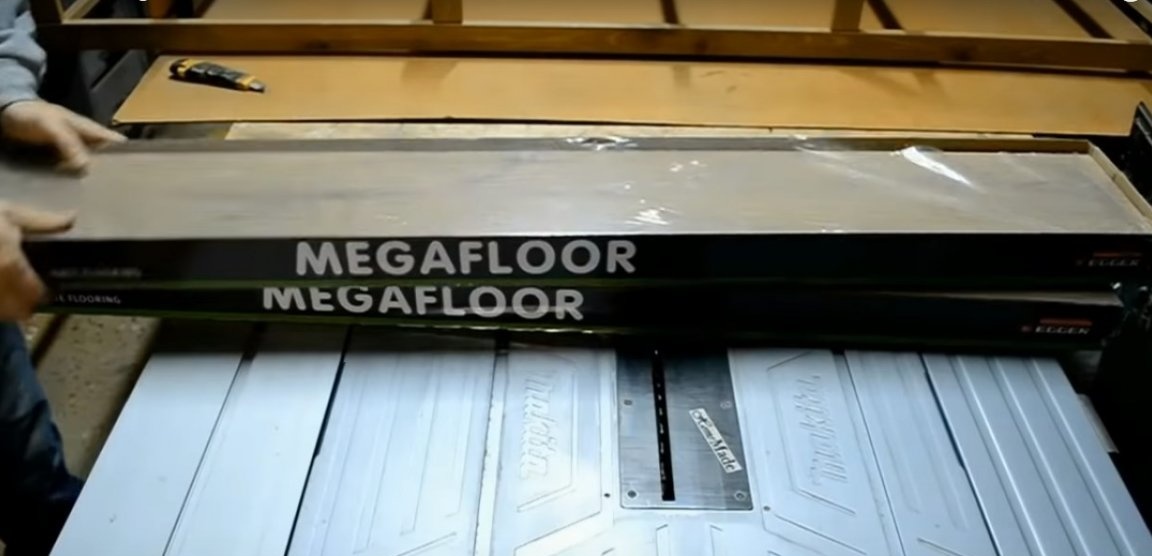
A chest of drawers made of natural wood or plywood is unlikely to surprise anyone. Now, if in the world there existed a material as strong as plywood and as affordable as MDF ... There is such material, and this is a laminate.
As a rule, the texture of the laminate repeats natural wood textures, and therefore is ideal for furniture and wood imitation. It is extremely durable and resistant to mechanical damage. Such furniture can not be used on the street, but at home it will last for decades.
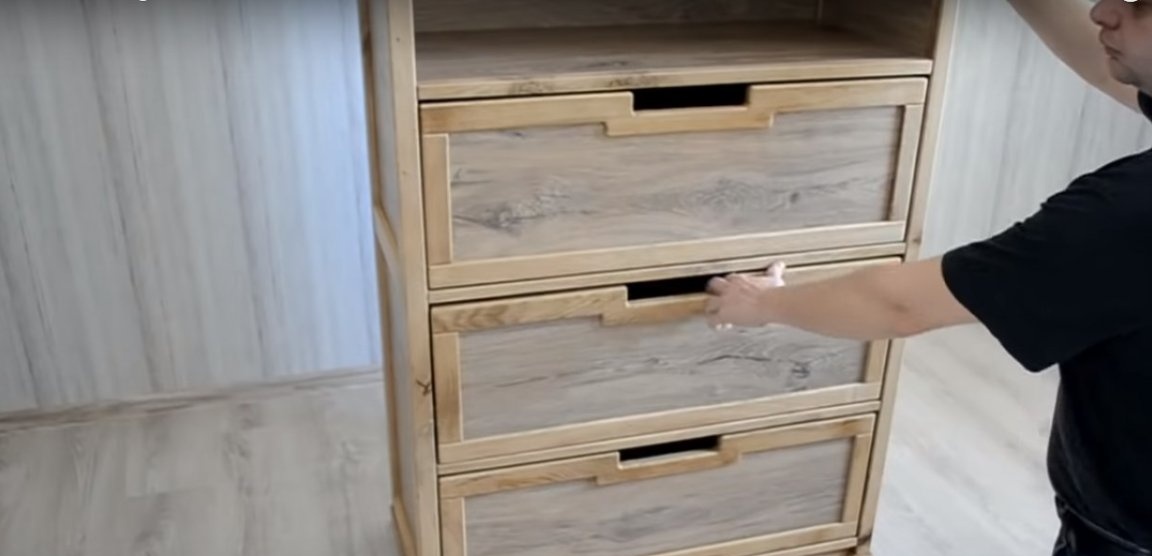
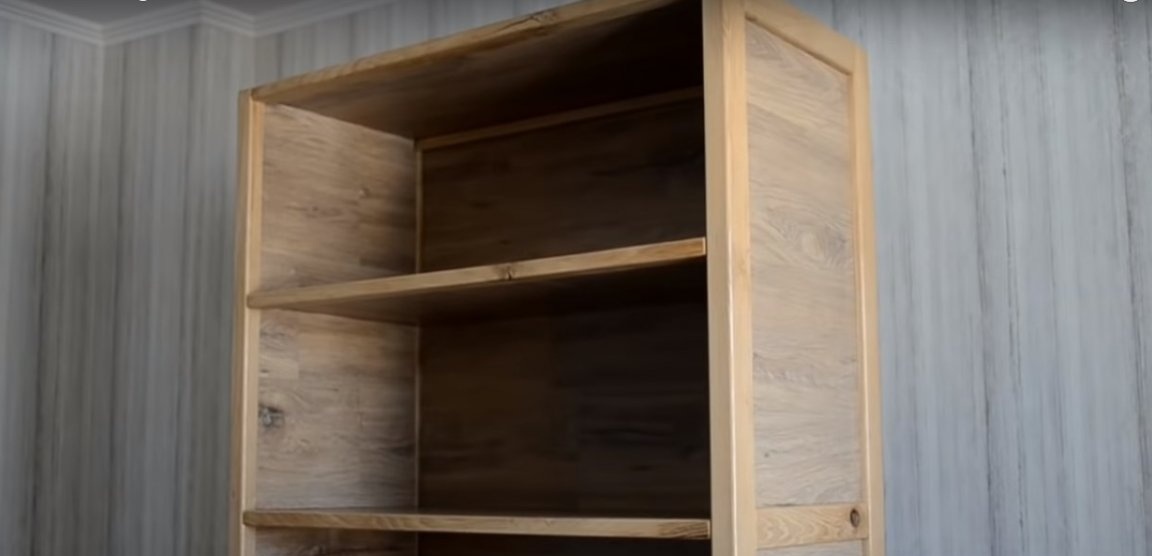
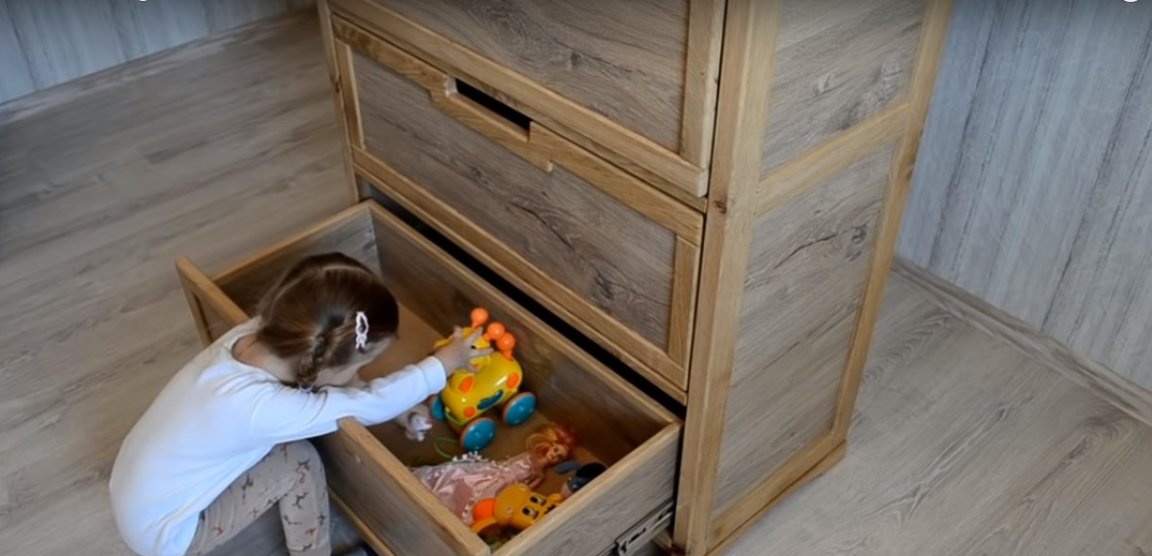
The author made a chest of drawers with 3 drawers and three open shelves on top. The walls of the chest of drawers consist of a laminate in 1-2 layers, and its frame is made of oak timber. This project is for advanced furniture makers, as you will need skills to use difficult groove joints. They, and not only that, the author kindly share with us in his master class.
In order to make a dresser cabinet from a laminate, you will need:
Materials:
- laminate;
- dry oak board with a thickness of 40-60 mm for the manufacture of bars, planks and curly elements of the frame;
- acrylic furniture varnish - matte or semi-gloss;
- furniture glue;
- wood screws, screws;
- epoxy for strengthening knots;
- metal fittings for drawers.
Instruments:
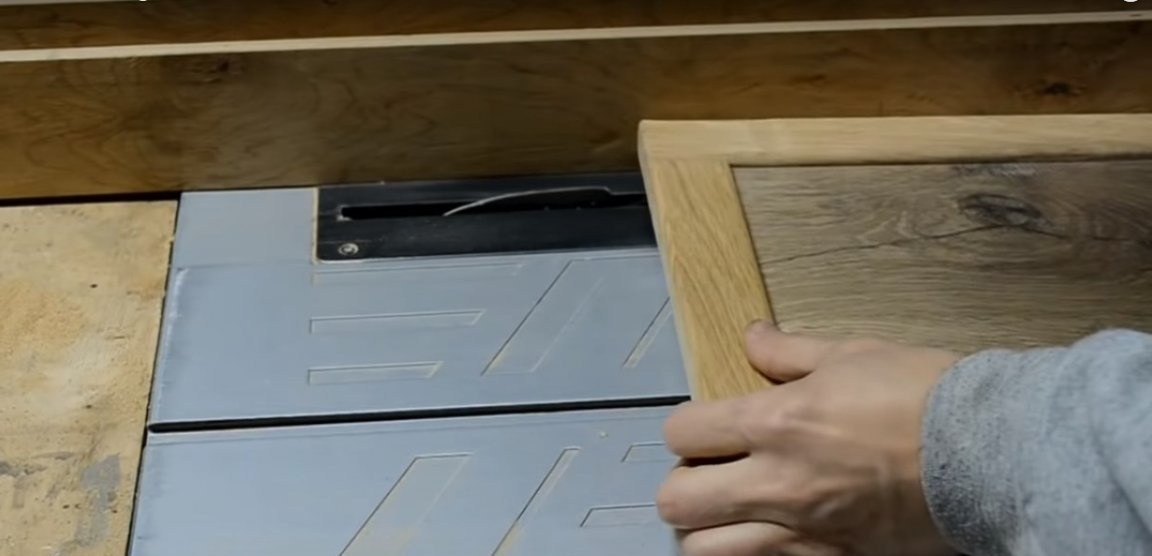
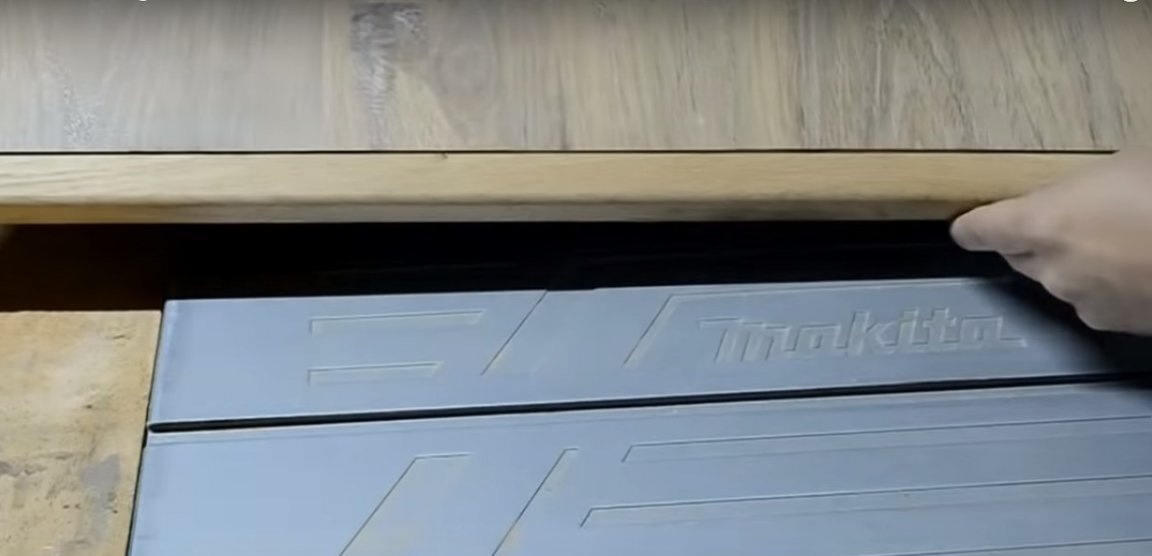
- circular machine;
- manual circular or jigsaw;
- Miter saw;
- drill;
- screwdriver;
- Thicknessing machine;
- a band saw or a jigsaw machine for cutting curly elements of the frame;
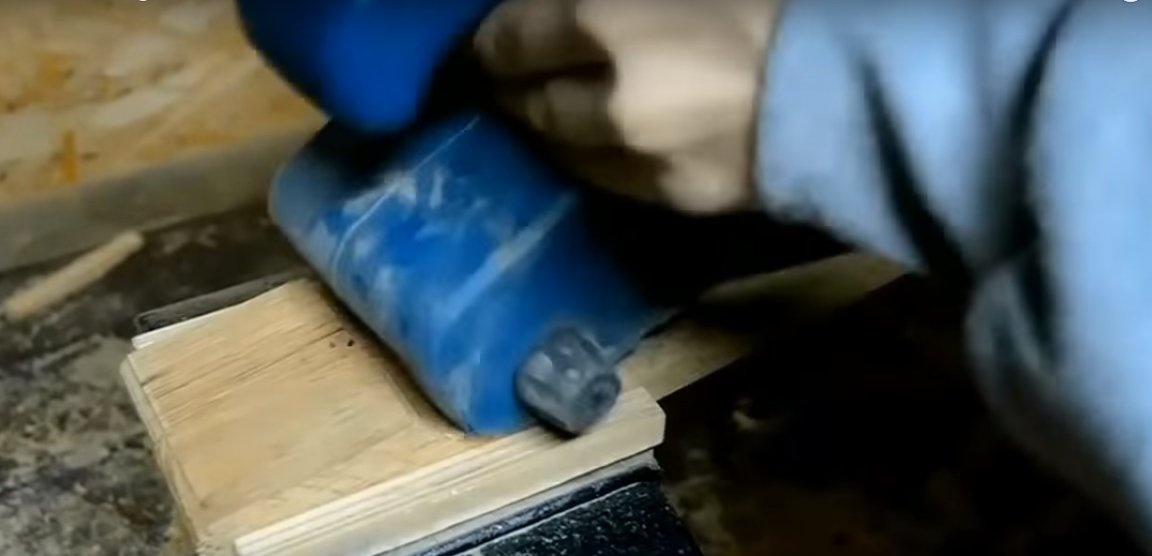
- belt sander;
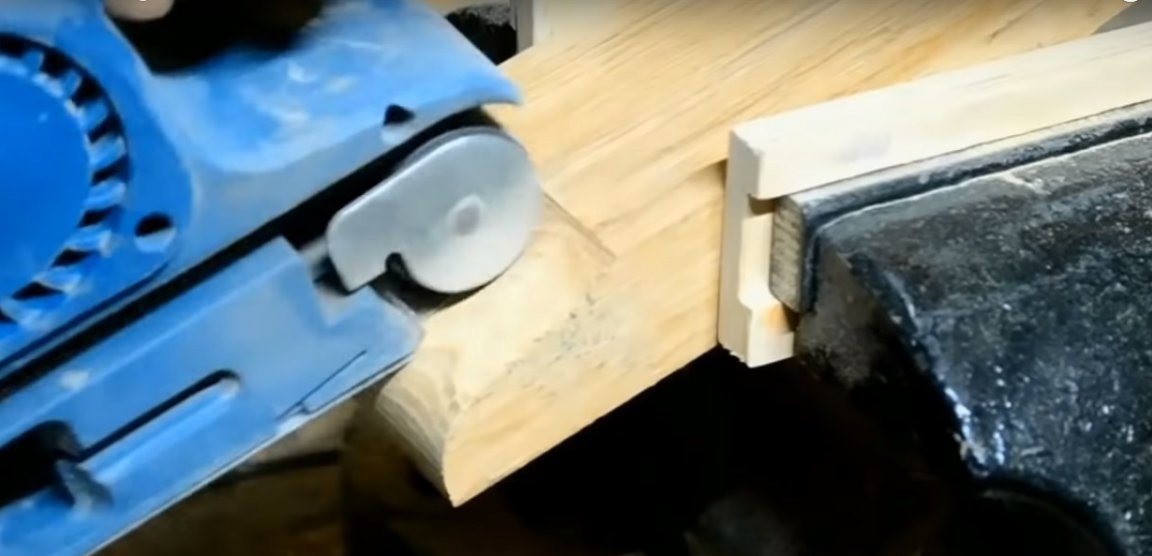
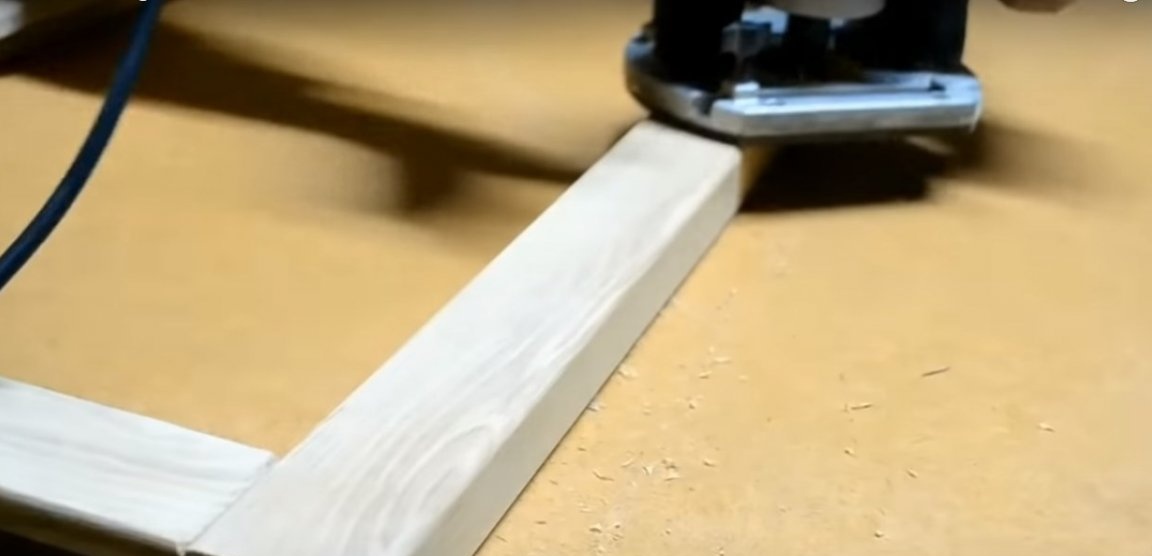
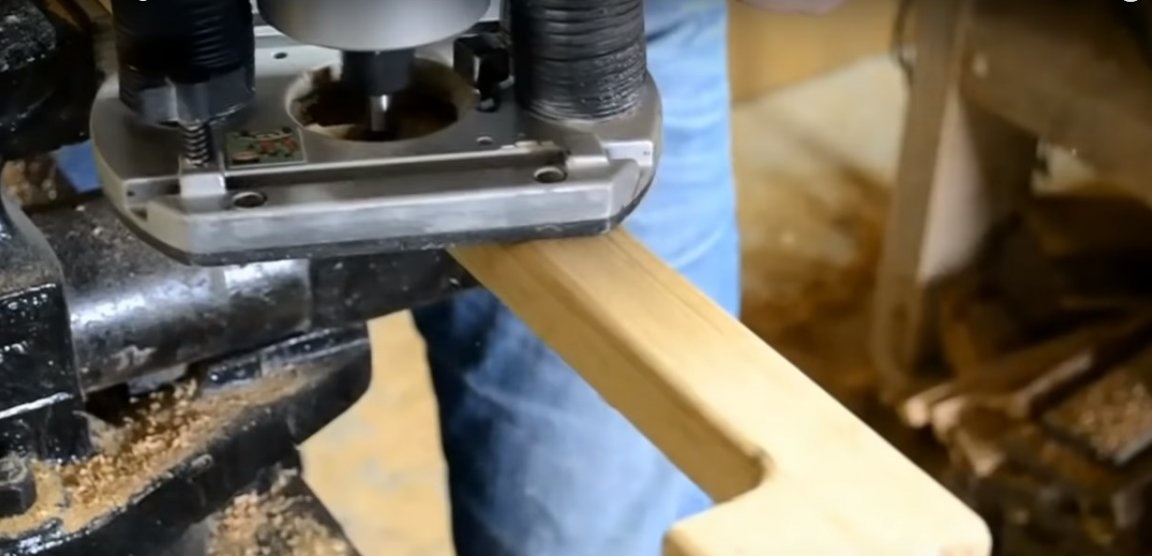
- manual milling cutter and edge milling cutters;
- clamps;
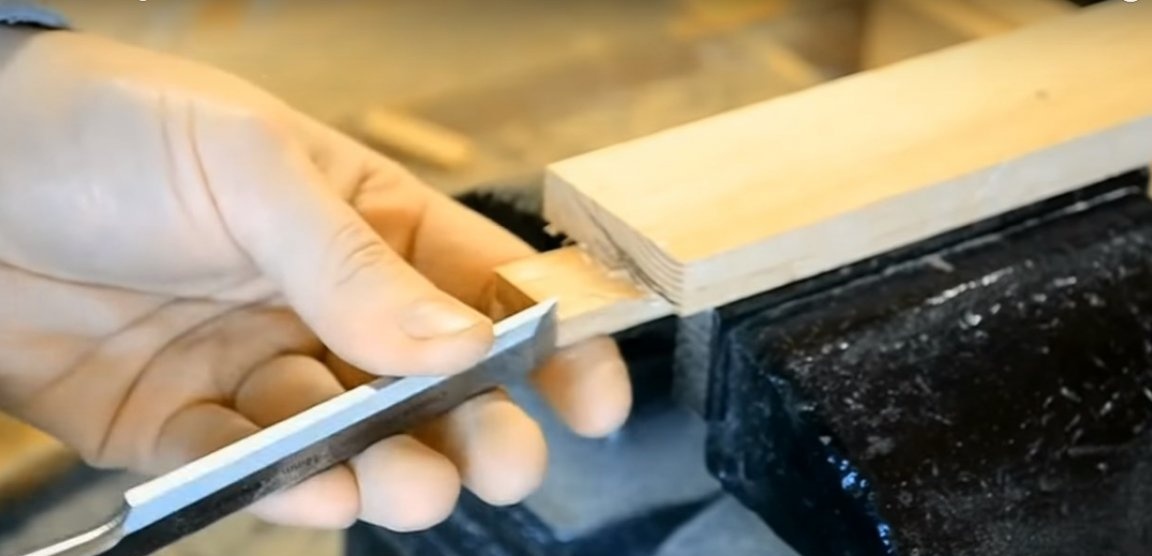
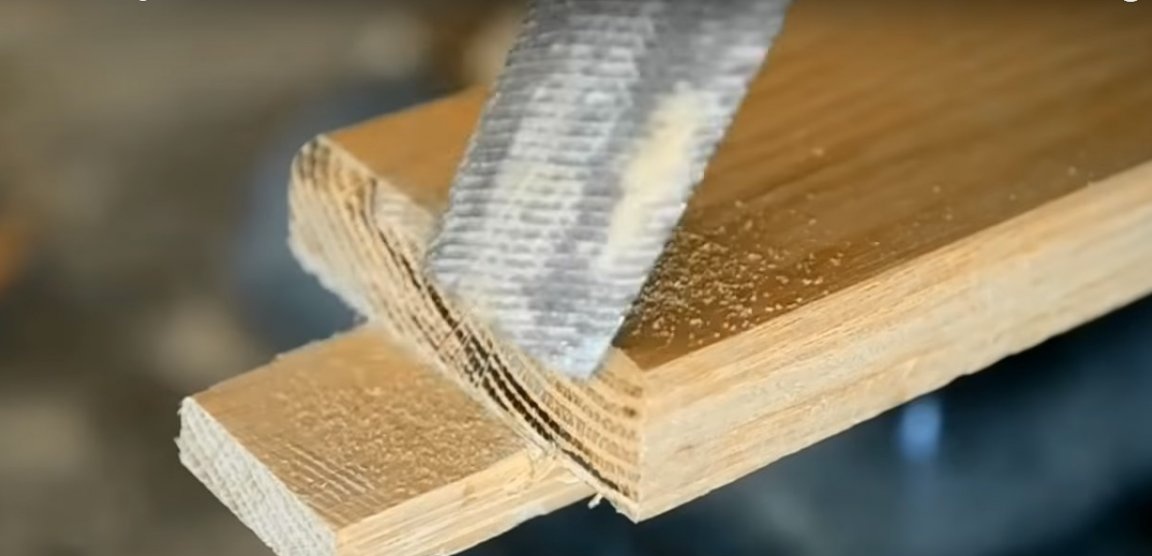
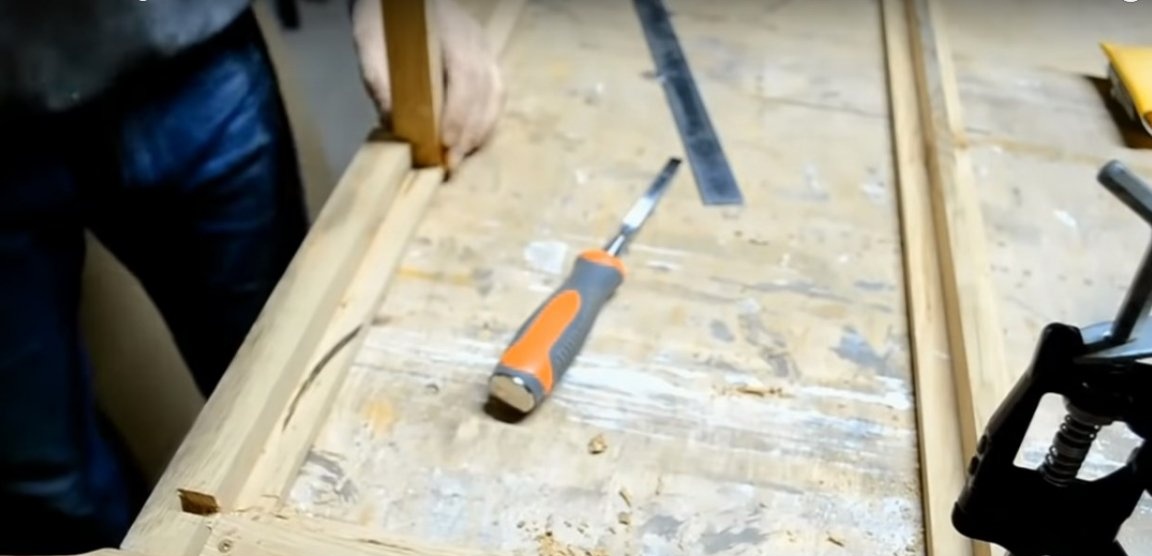
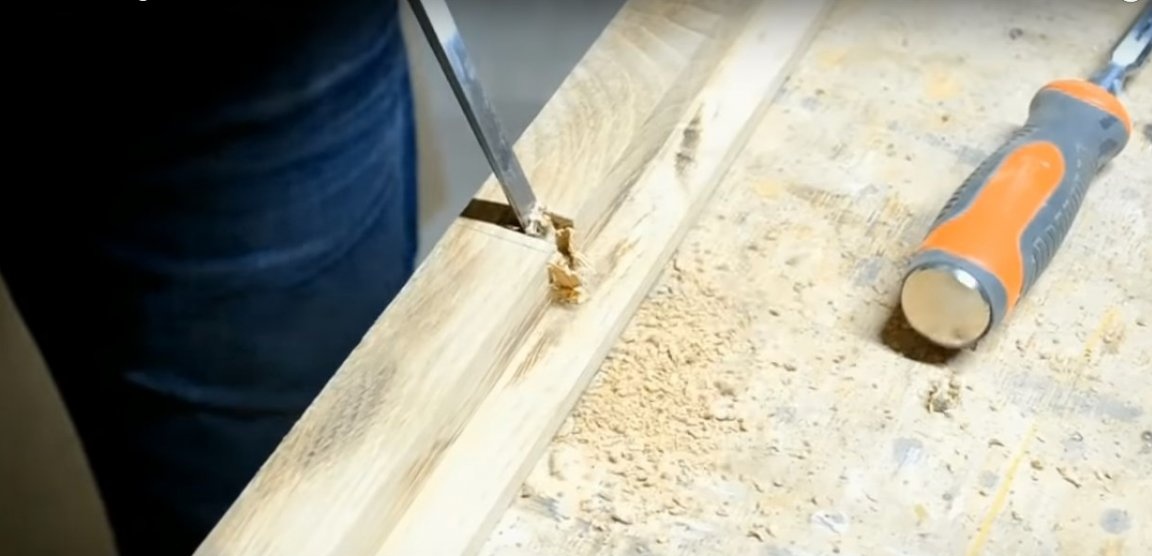
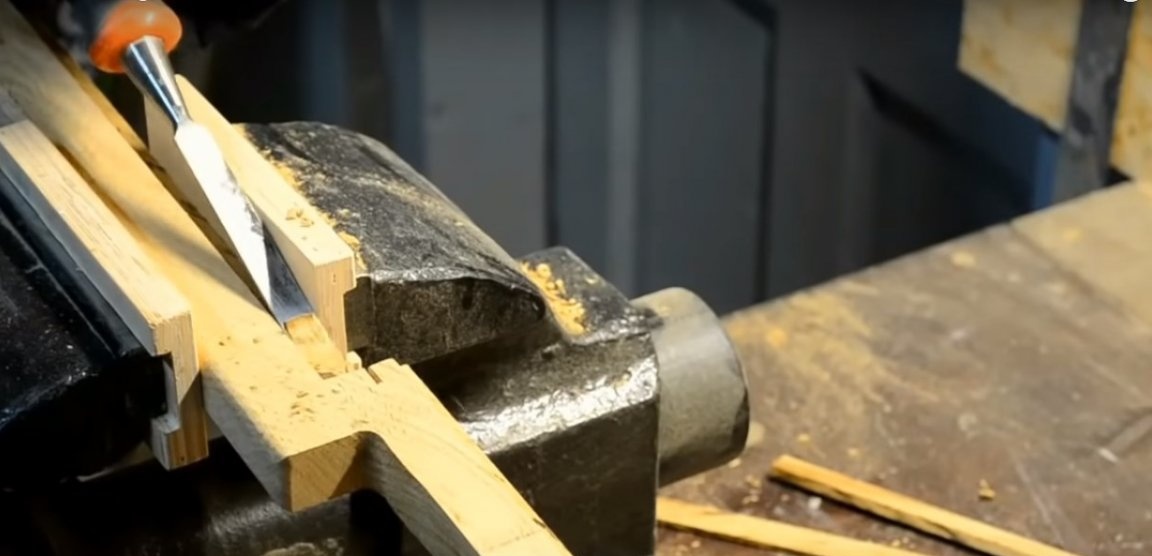
- a rasp and a chisel for editing grooves;
- rubber mallet;
- painting supplies for wood varnish;
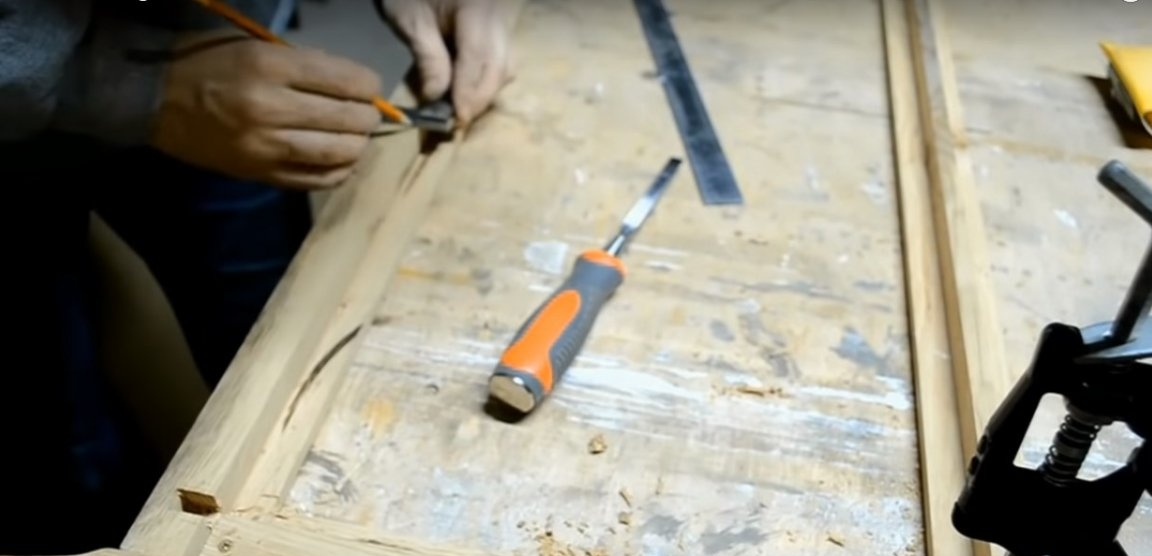
- square, long ruler, construction tape;
- marker.
Manufacturing process:
Step one: selecting and preparing frame materials
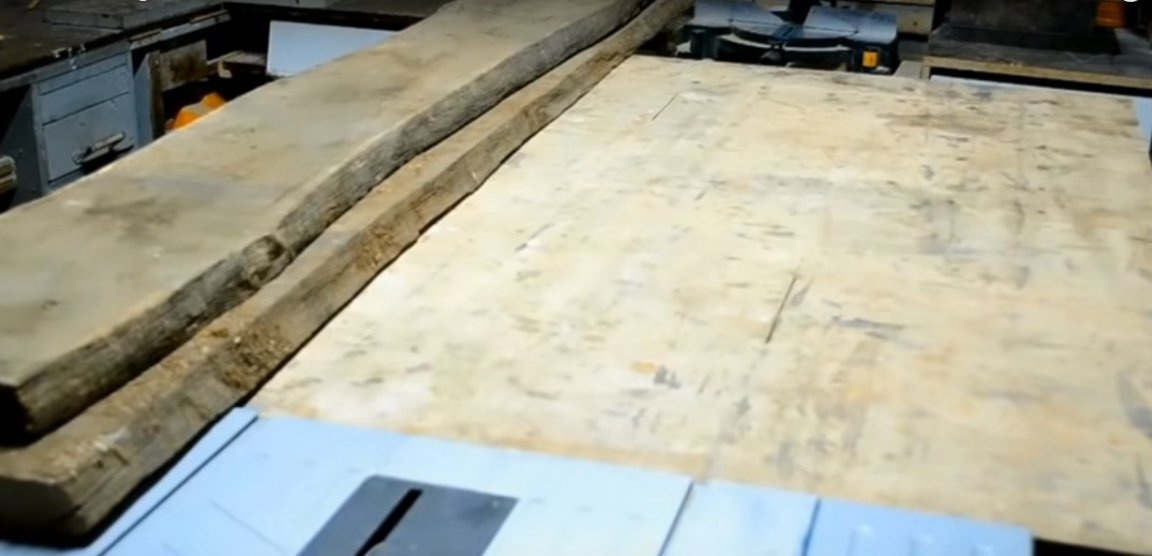
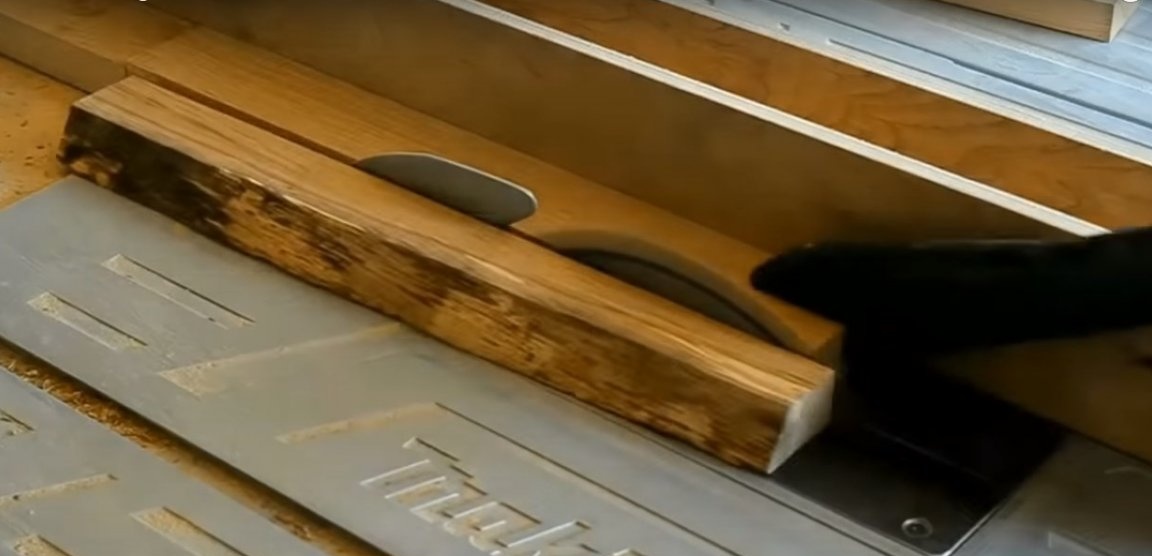
If everything is more or less clear with the choice of laminate, then it is worth saying a few words about the choice of lumber. You can buy ready-made bars and slats for the manufacture of the frame. The author uses an unedged oak board with a thickness of 40-50 mm.
For frame elements, choose wood with a dense texture - oak, ash, acacia, maple, etc. In extreme cases, you can take a pine, but do not forget that the pine has quite soft wood and is easily cracked.
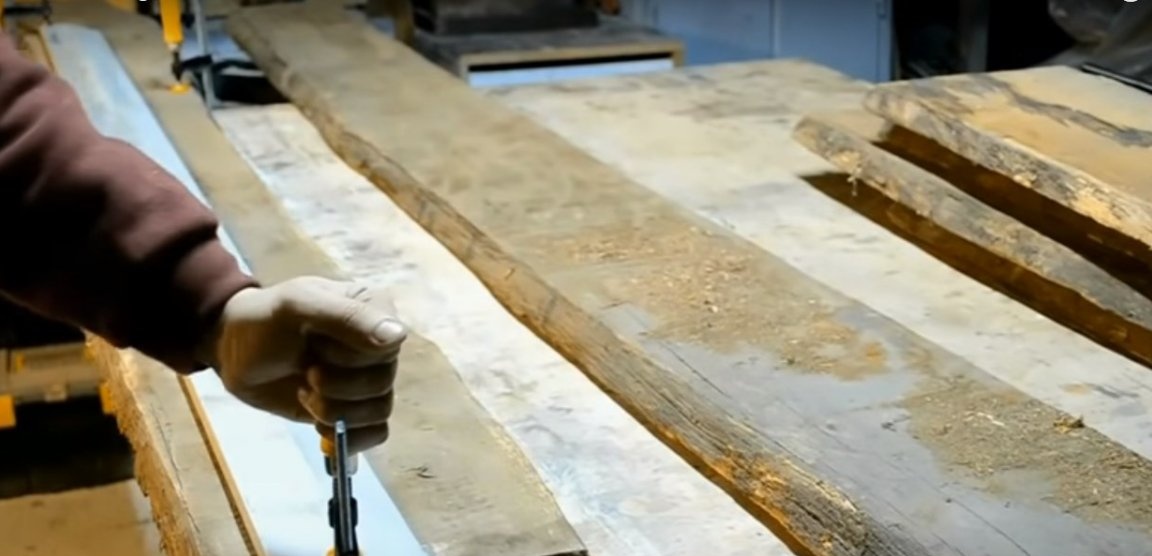
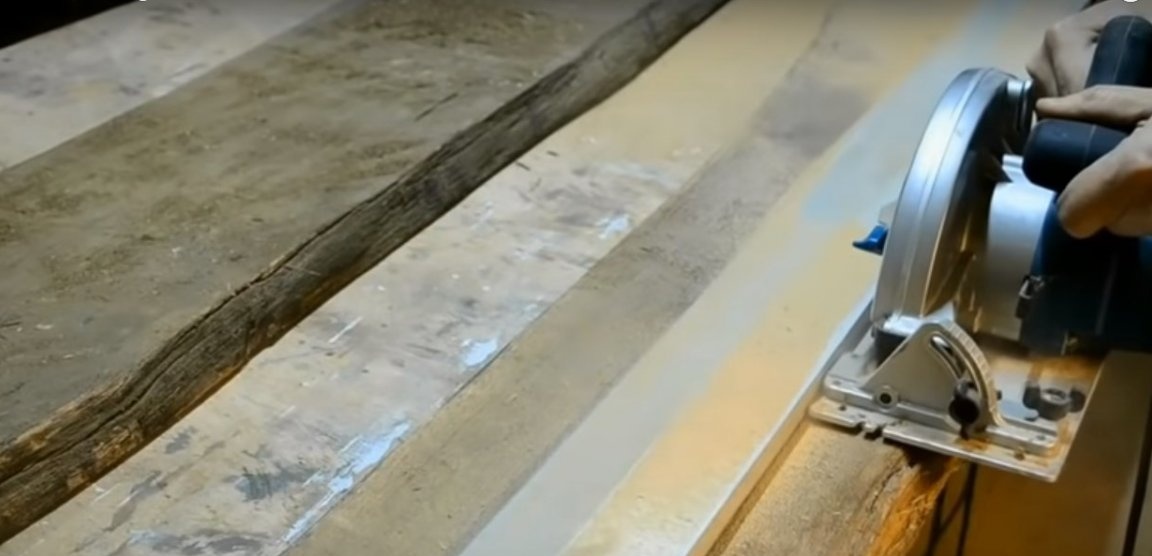
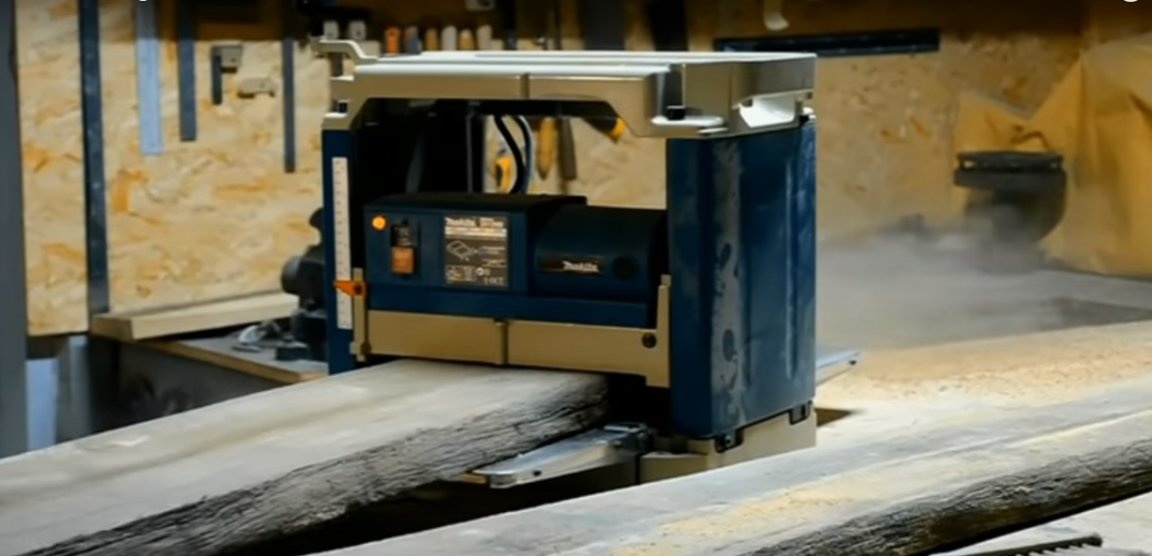
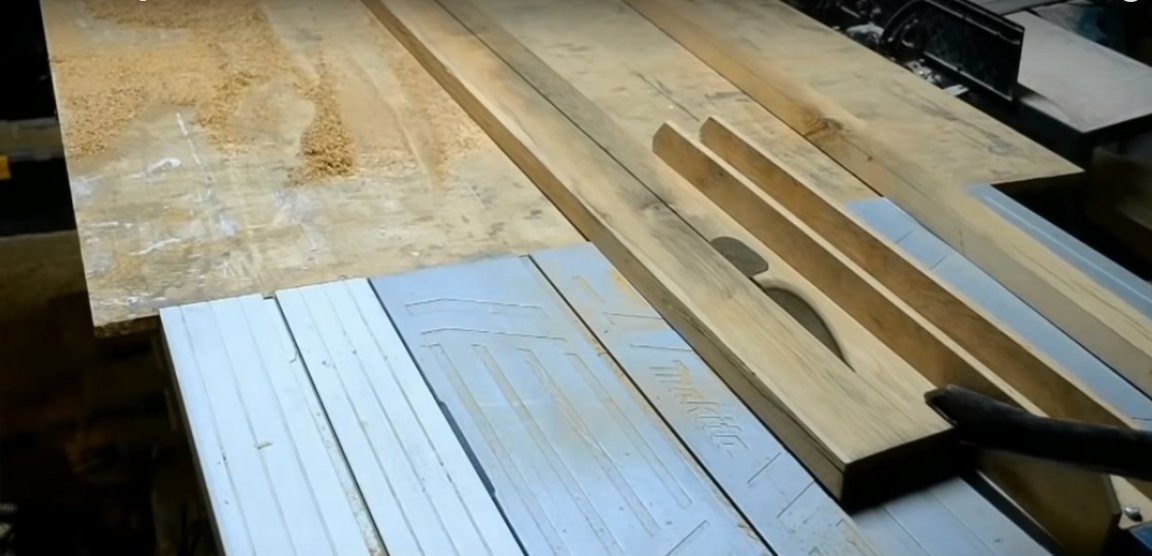
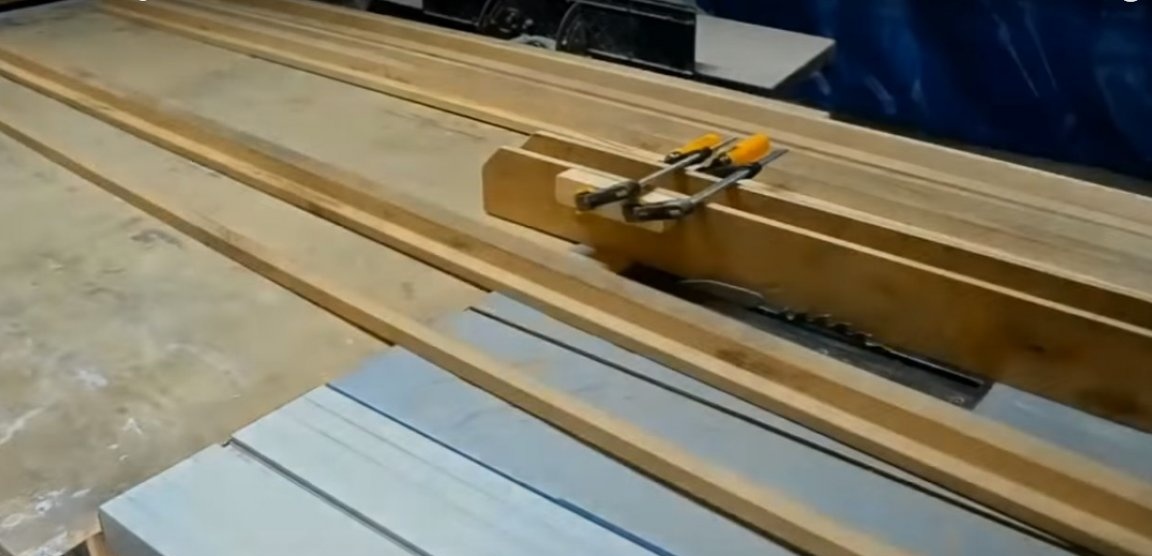
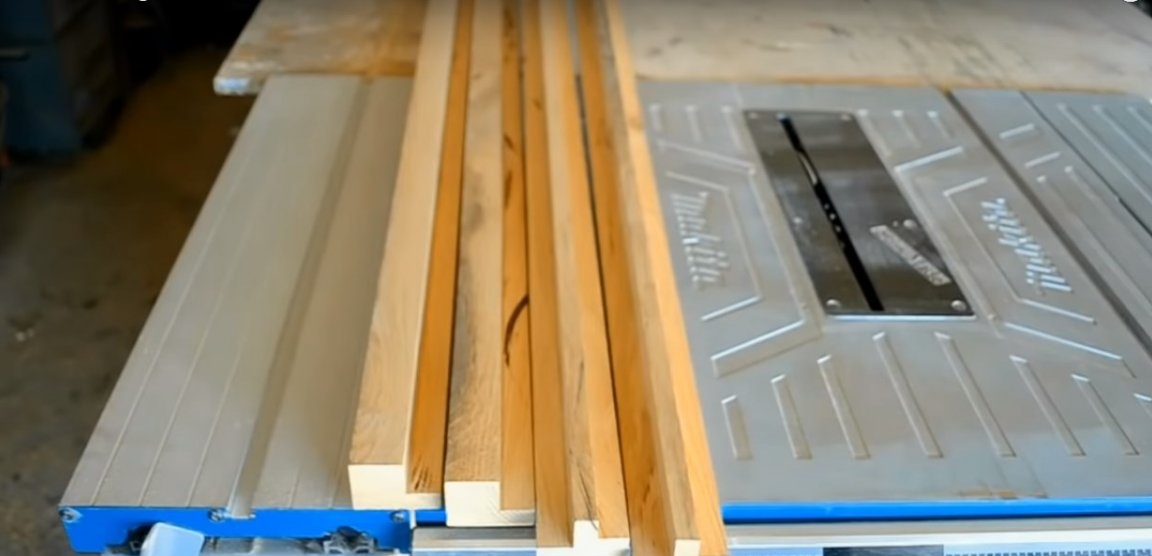
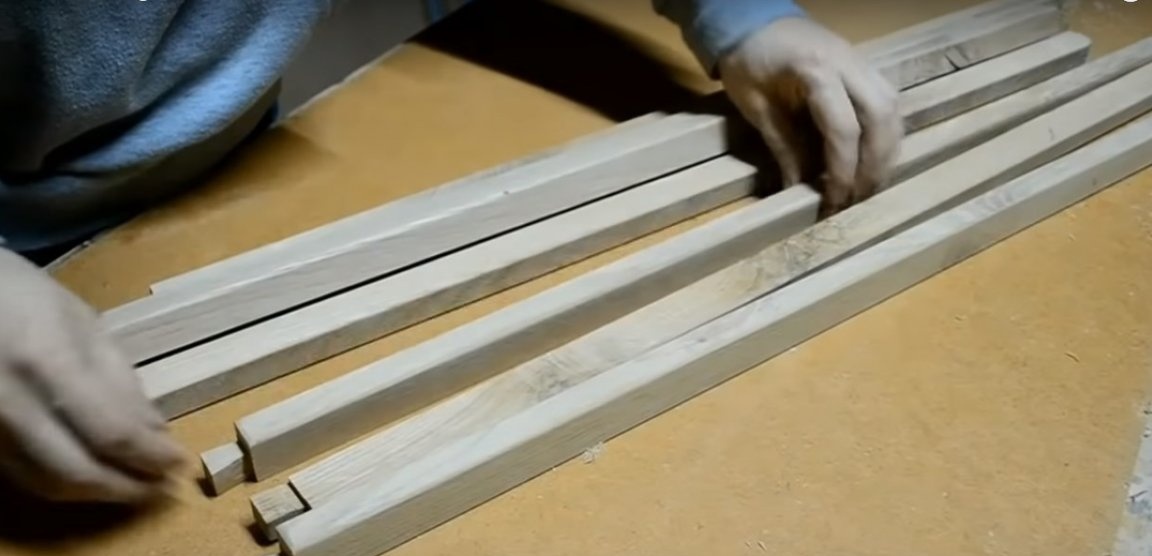
The author passed the oak board through the thicknesser, thereby ensuring the same thickness of the working material and removing the upper aged layer of wood.After that, the boards were disbanded on bars of suitable section.
Step Two: Making an Oak Frame
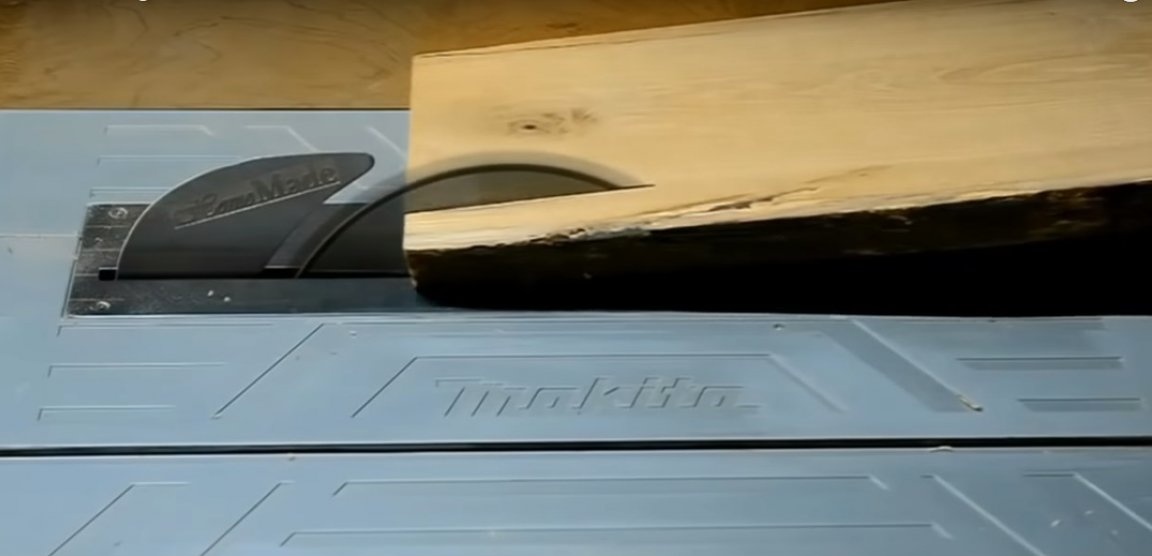
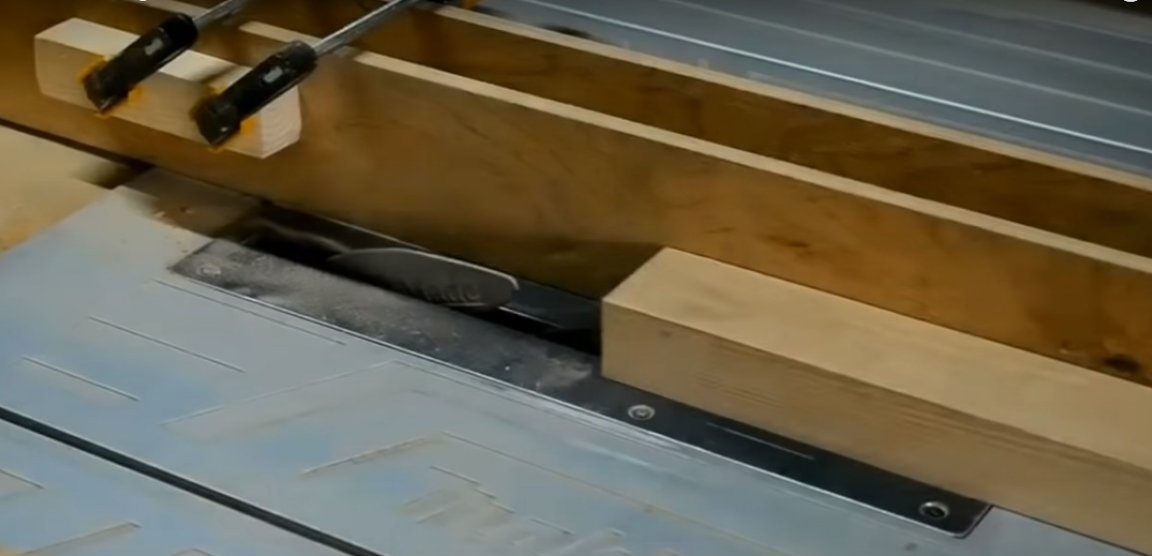
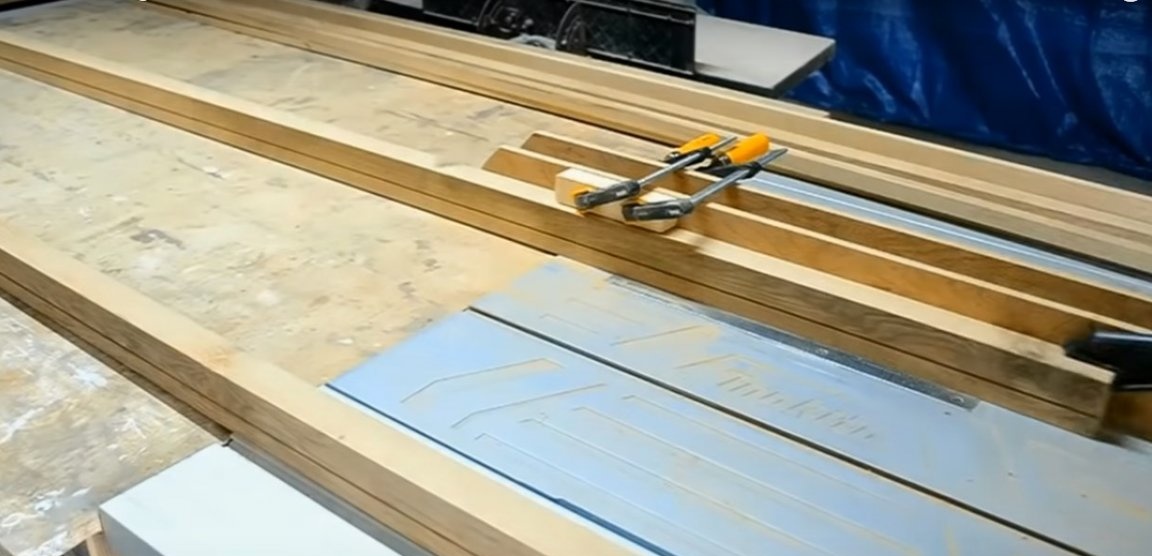
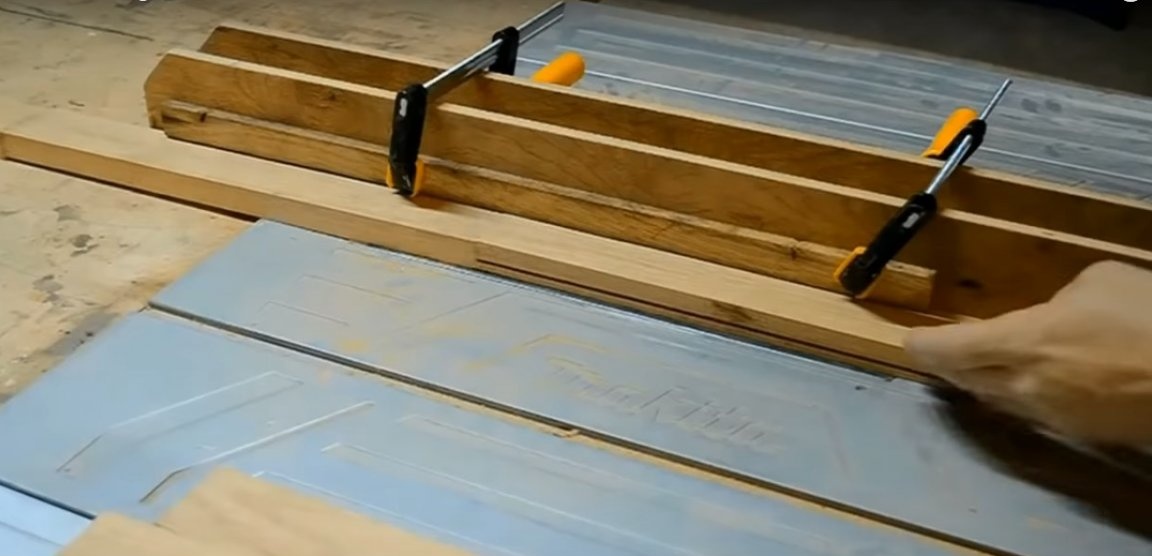
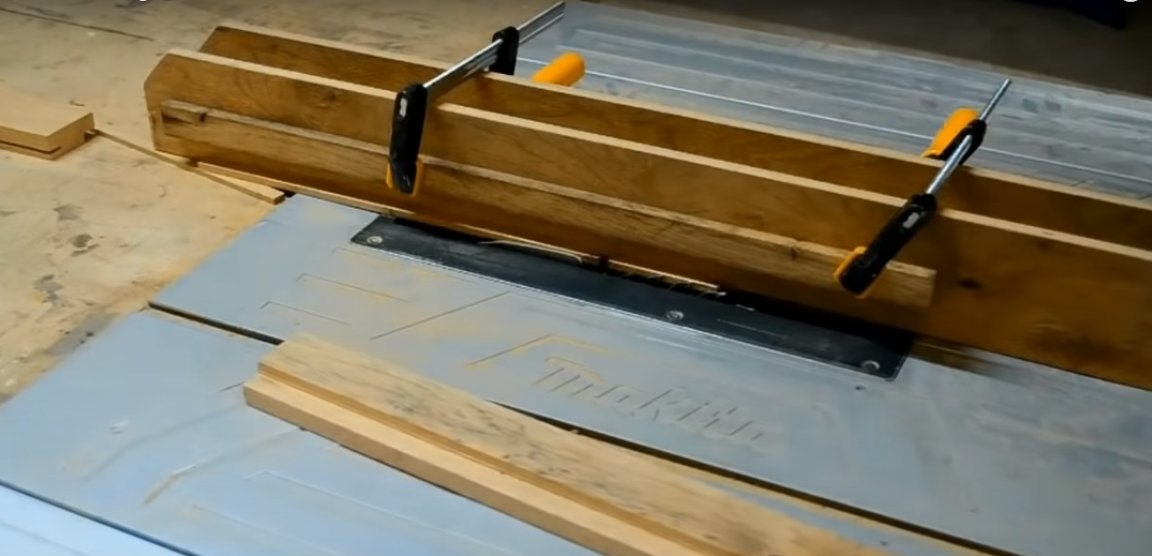
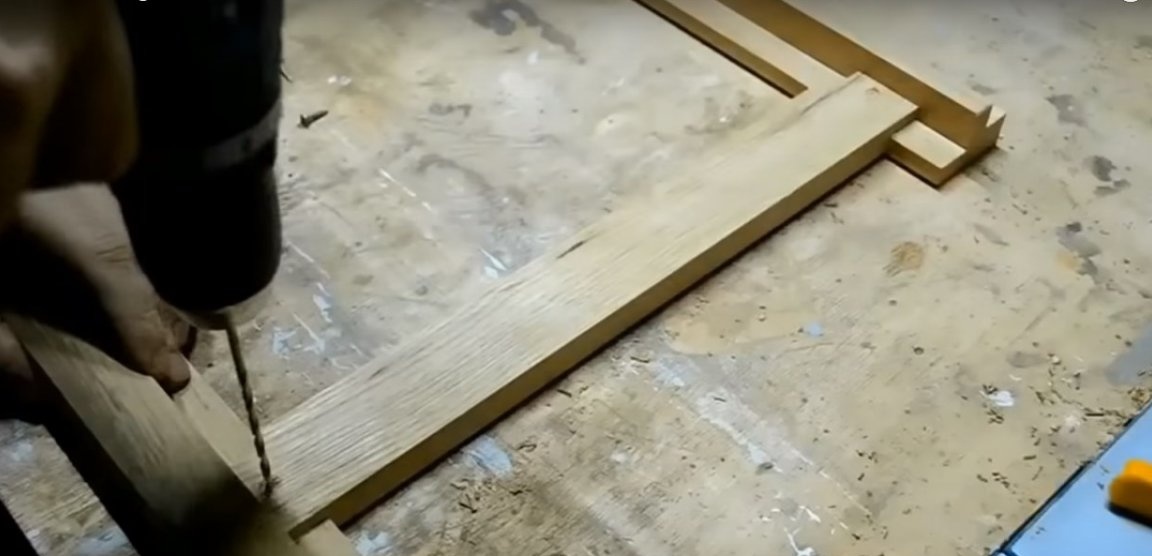
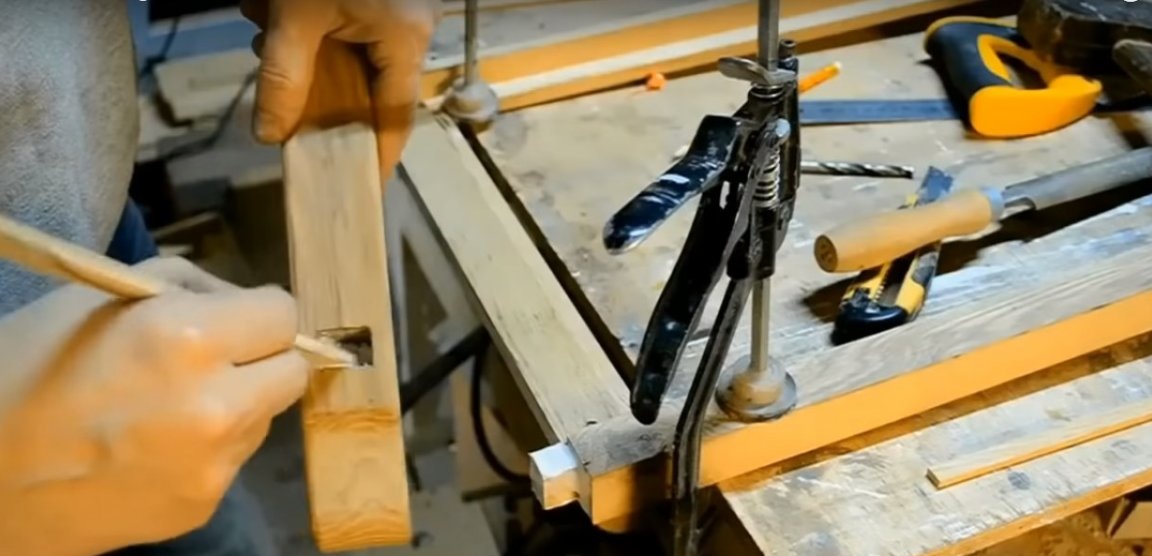
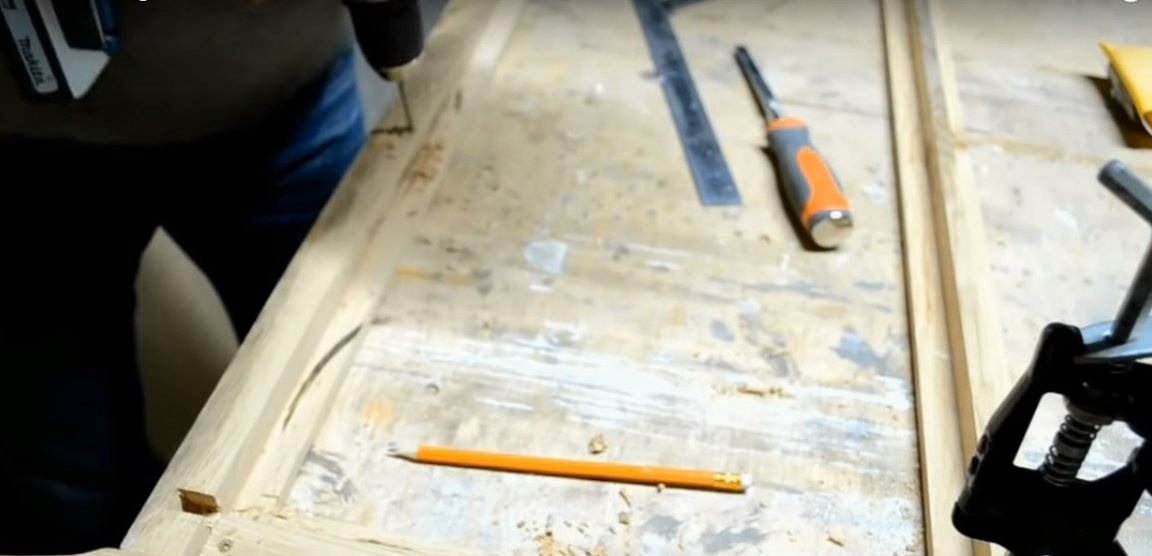
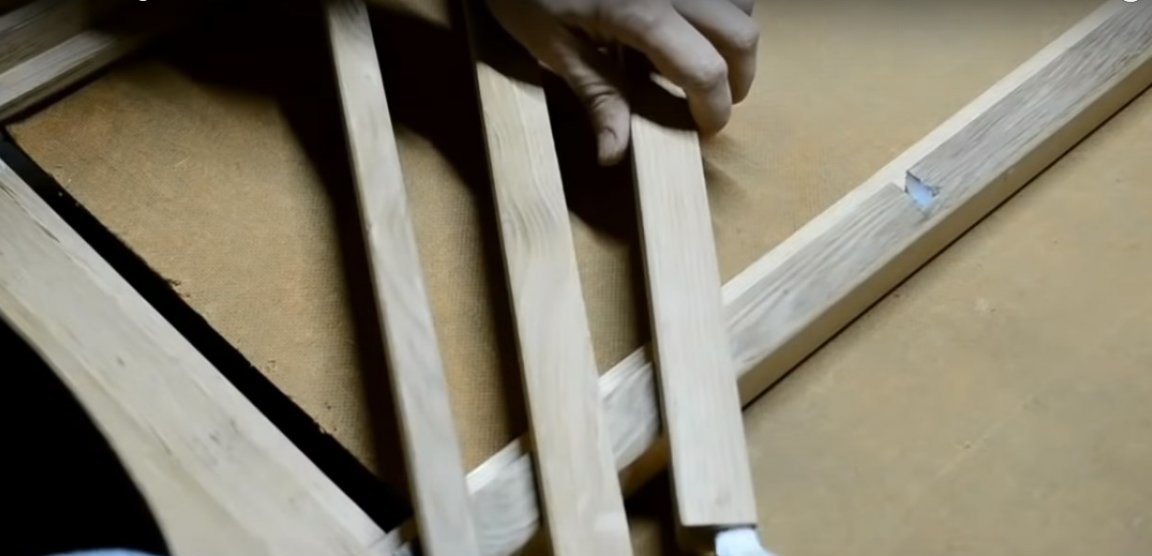
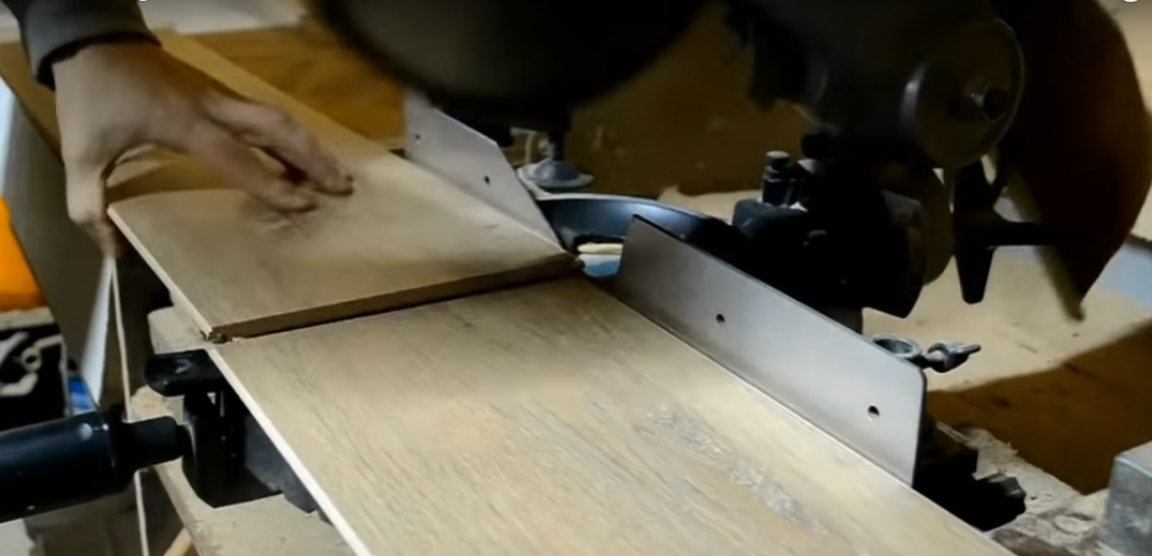
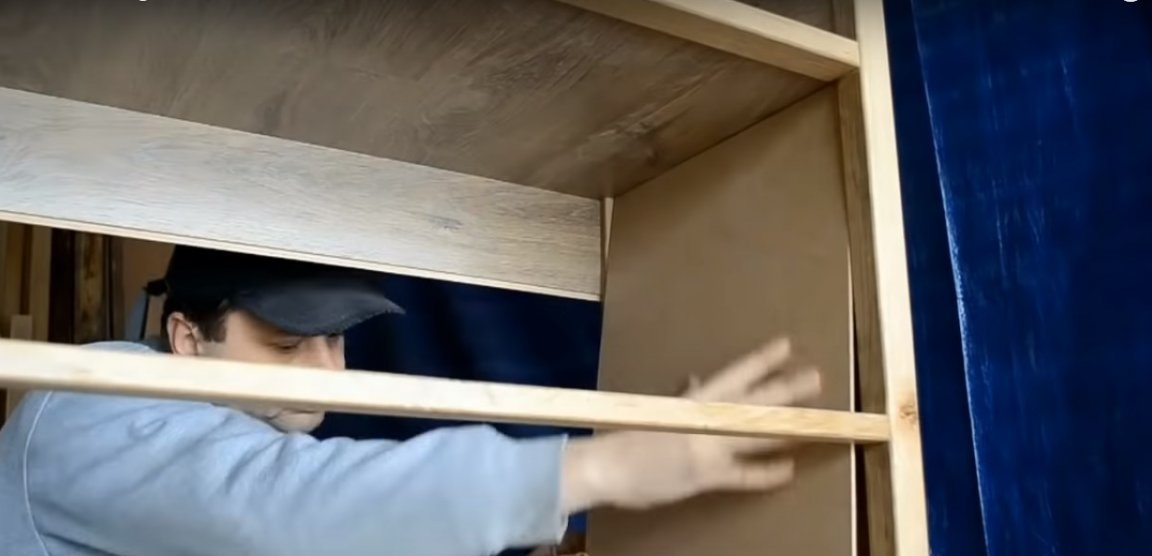
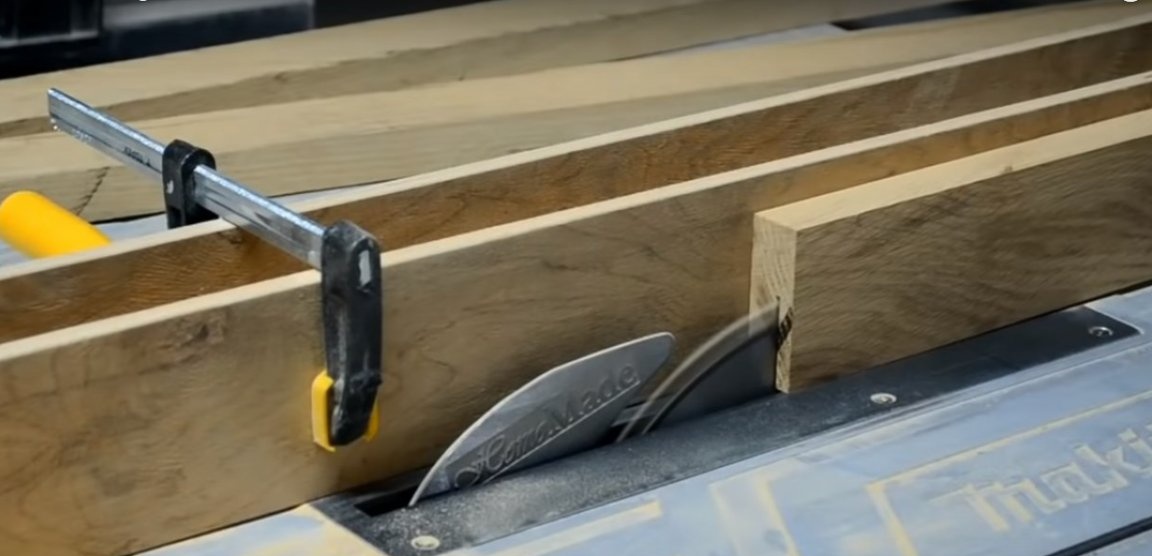
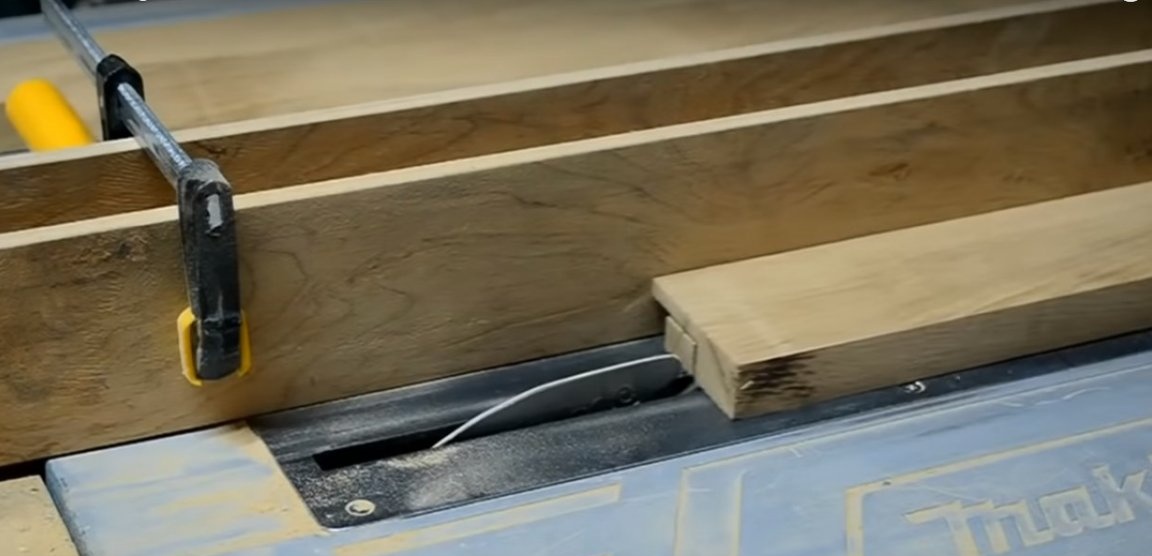
Start by making the basic elements of the frame. Mark the parts and cut the bars in length using a miter saw.
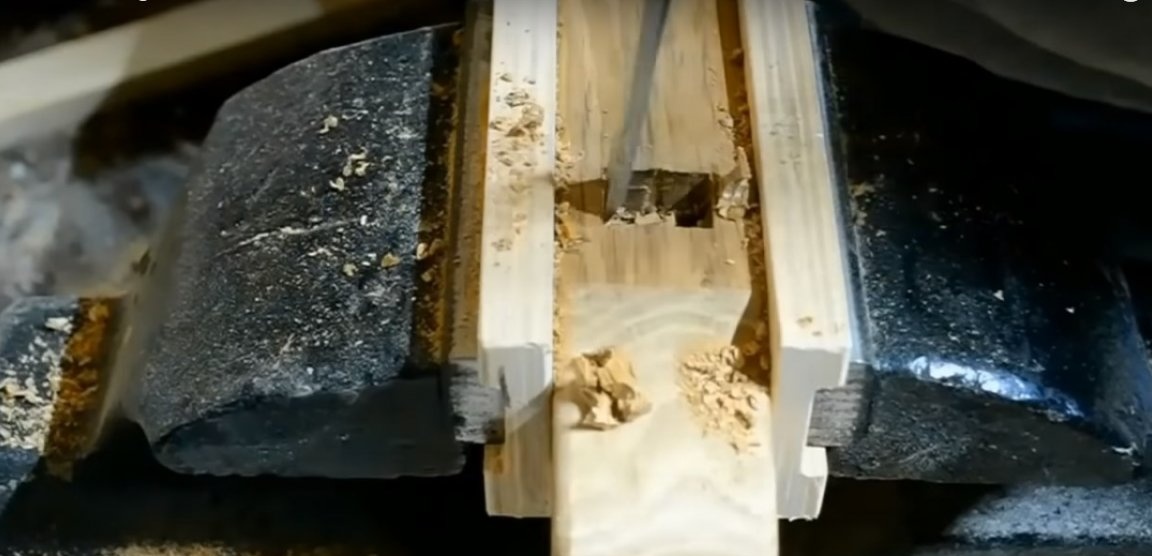
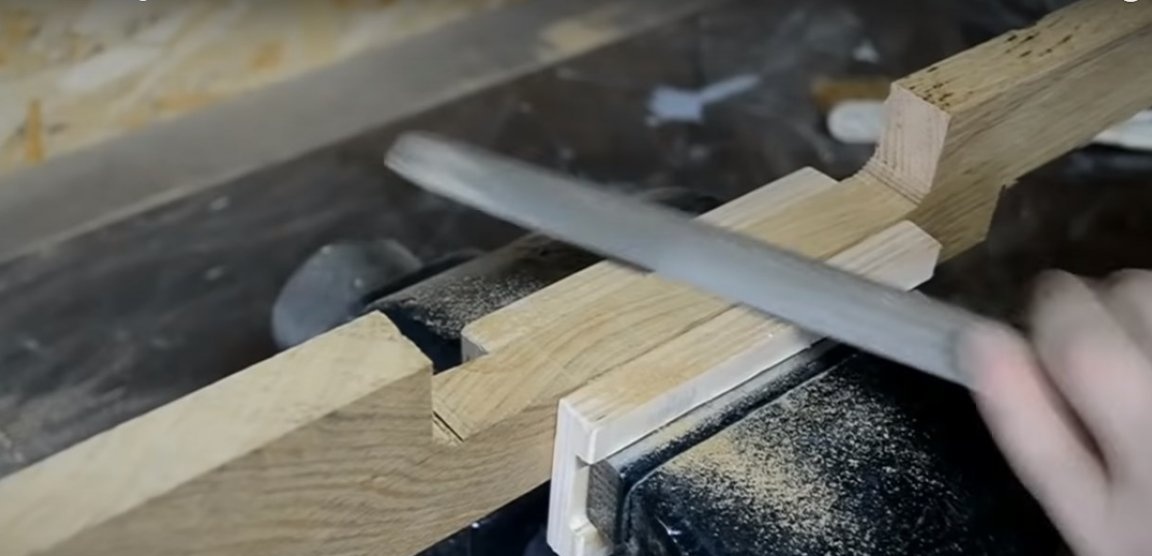
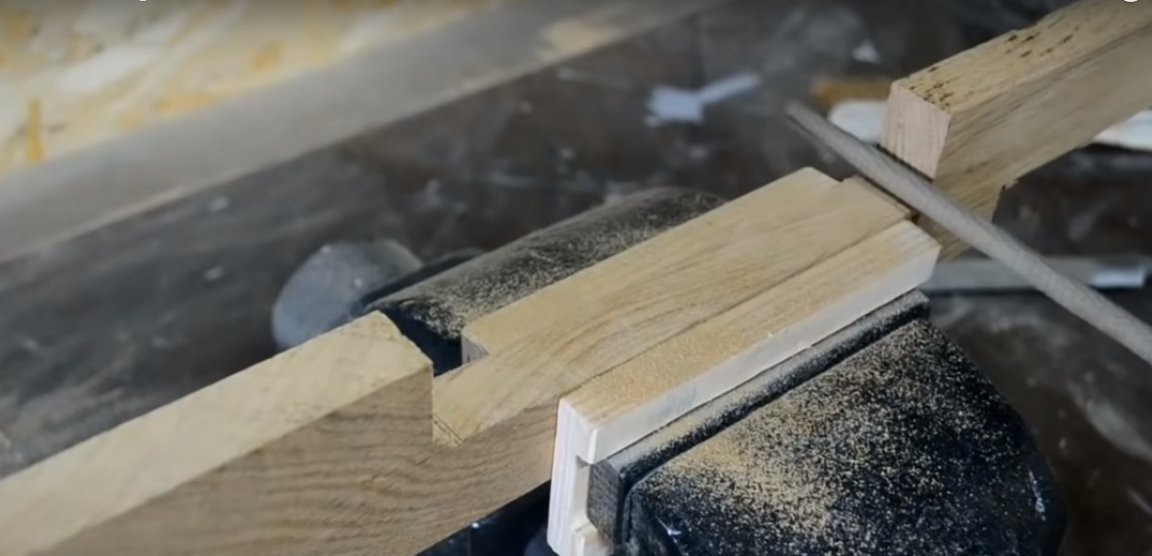
Each sidewall consists of 2 longitudinal parts: with a selected quarter and a ridge along the entire length. They are interconnected by crossbars in half a tree and smaller ones into a spike.


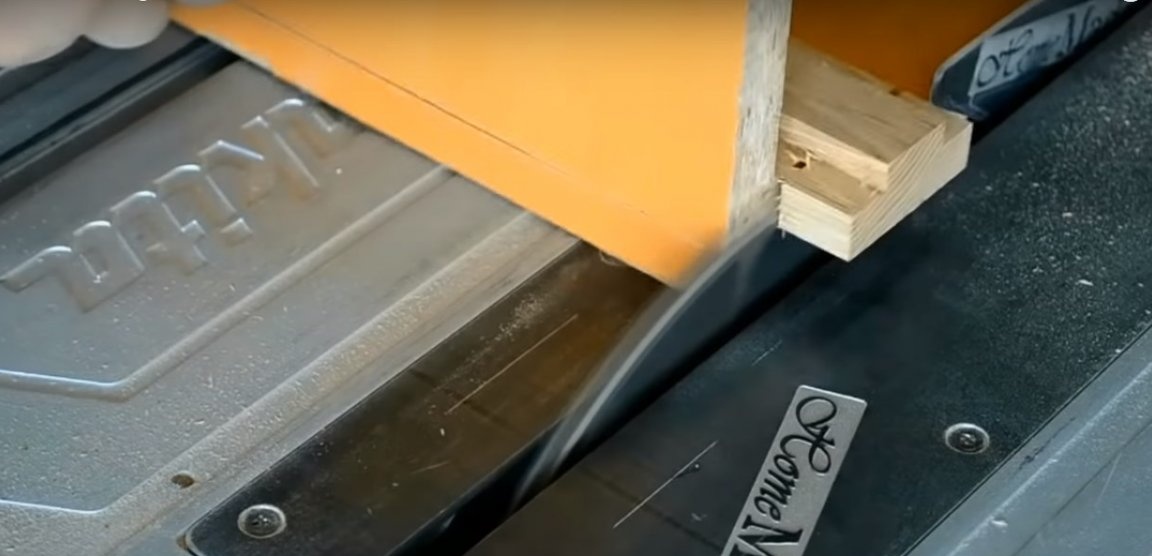


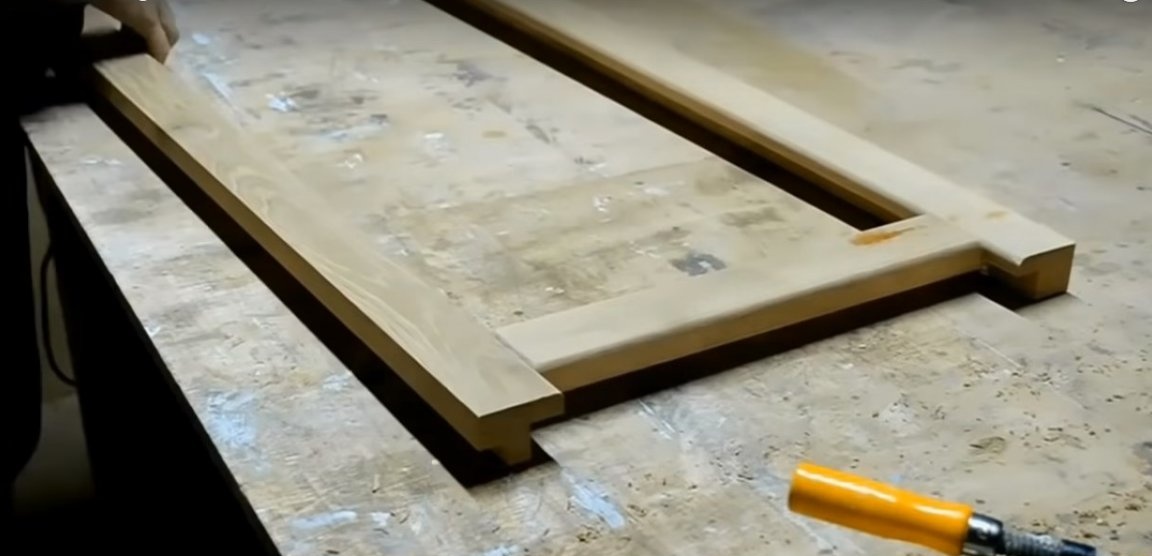

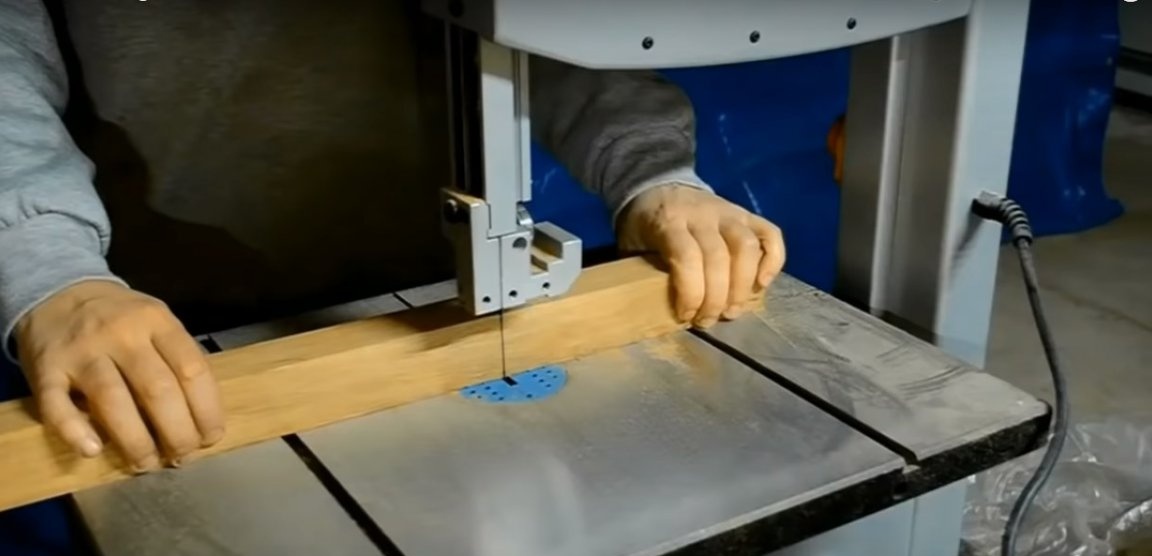
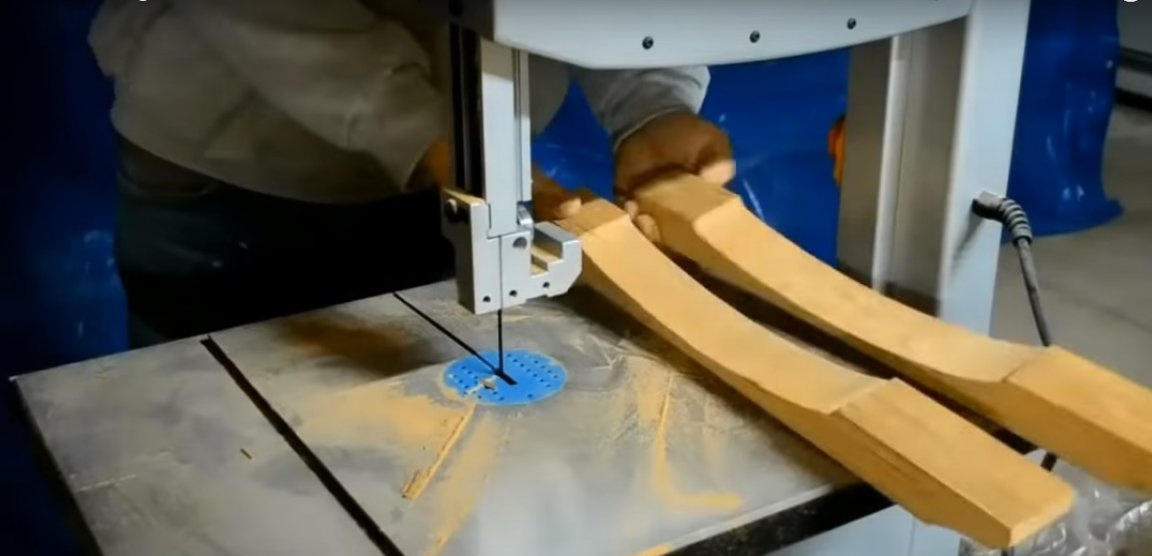
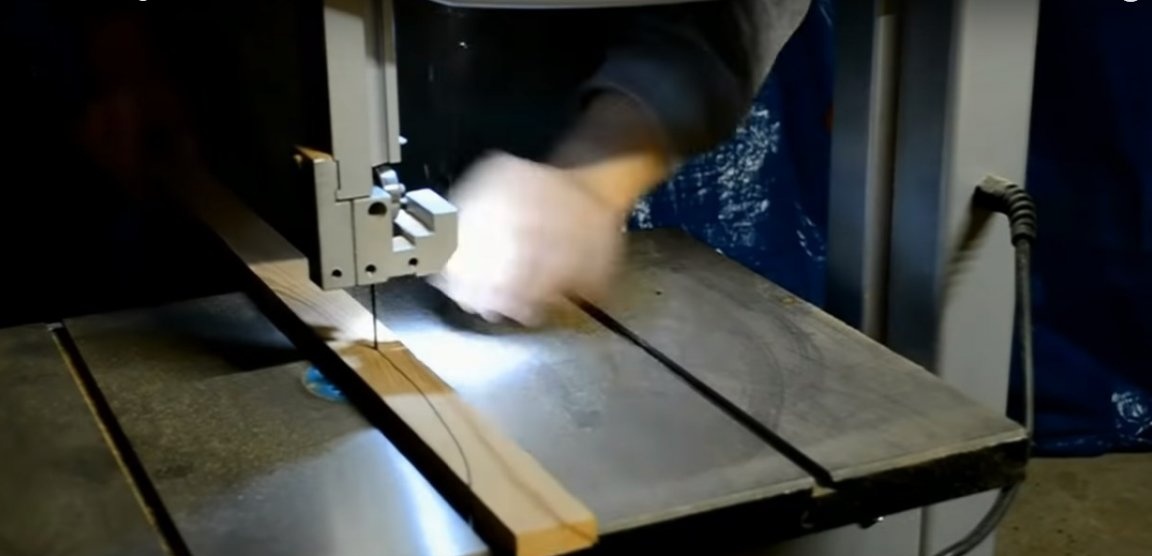
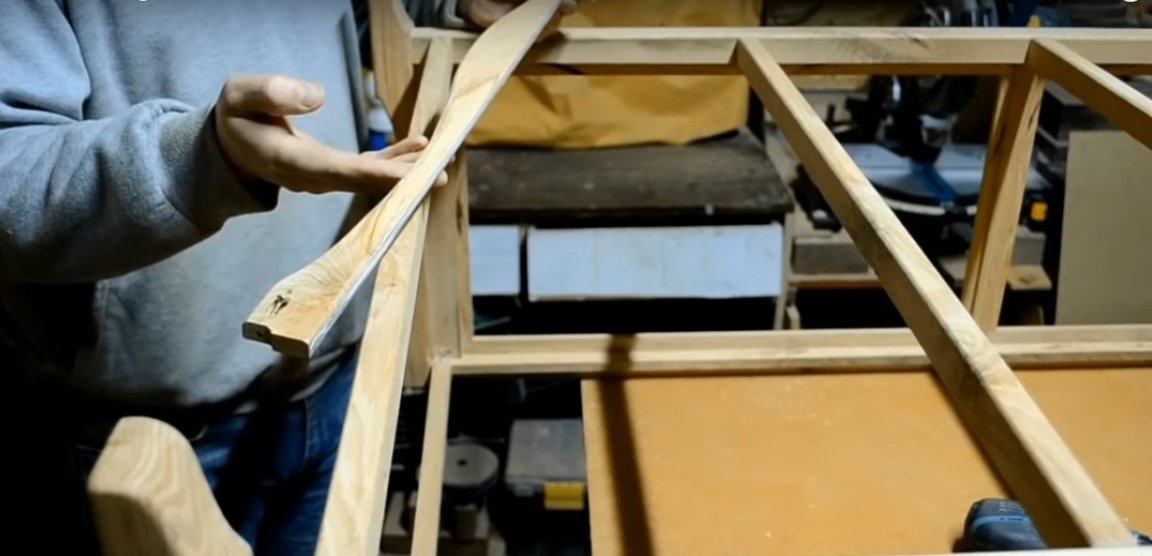
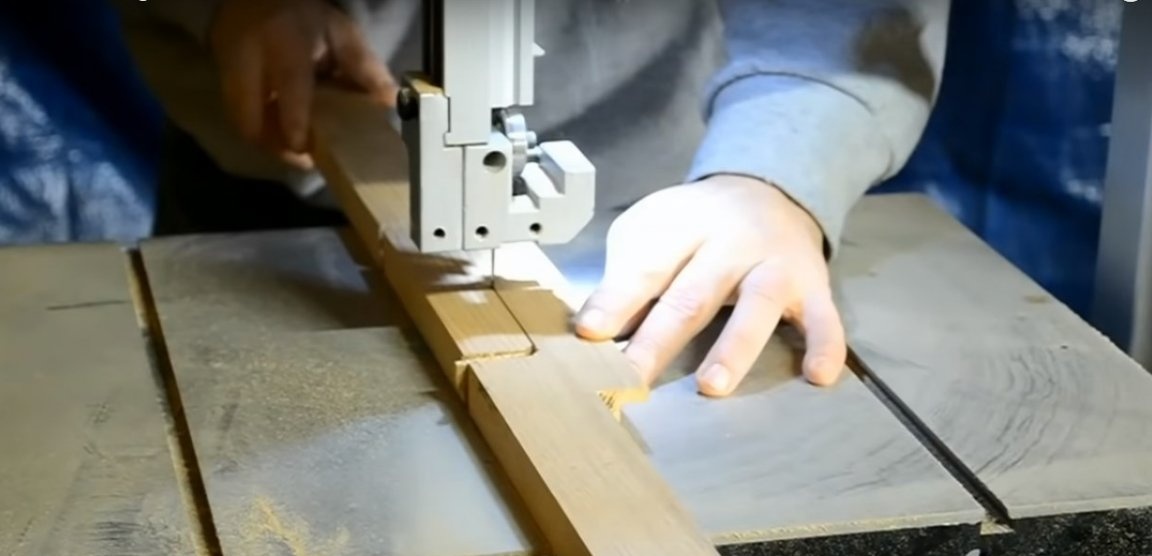
At the base of the future chest of drawers on the bottom of the sidewalls, curly "legs" are fixed, which the author cut out using a tape machine.
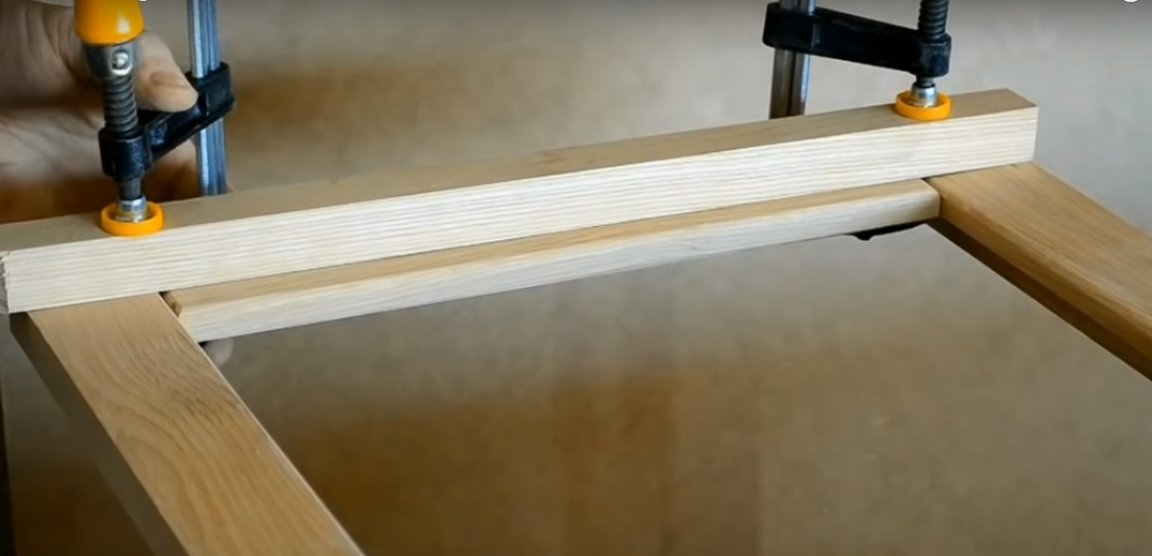
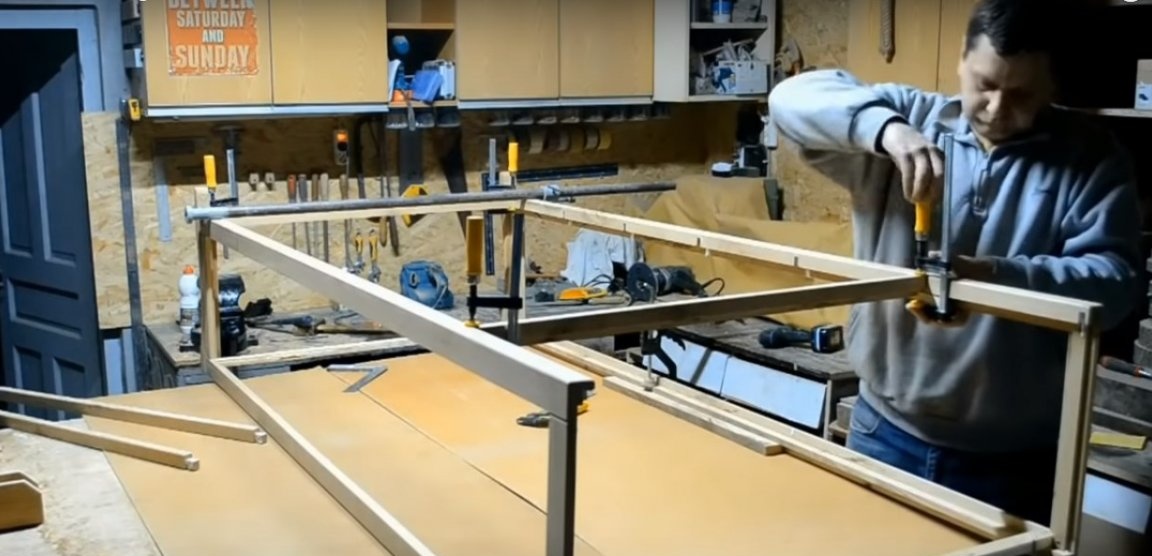
The author connected the side panels with transverse details from the front side to the dovetail spike. Visually, they divide the dresser into zones for drawers and shelves. The back has two transverse parts - bottom and top.
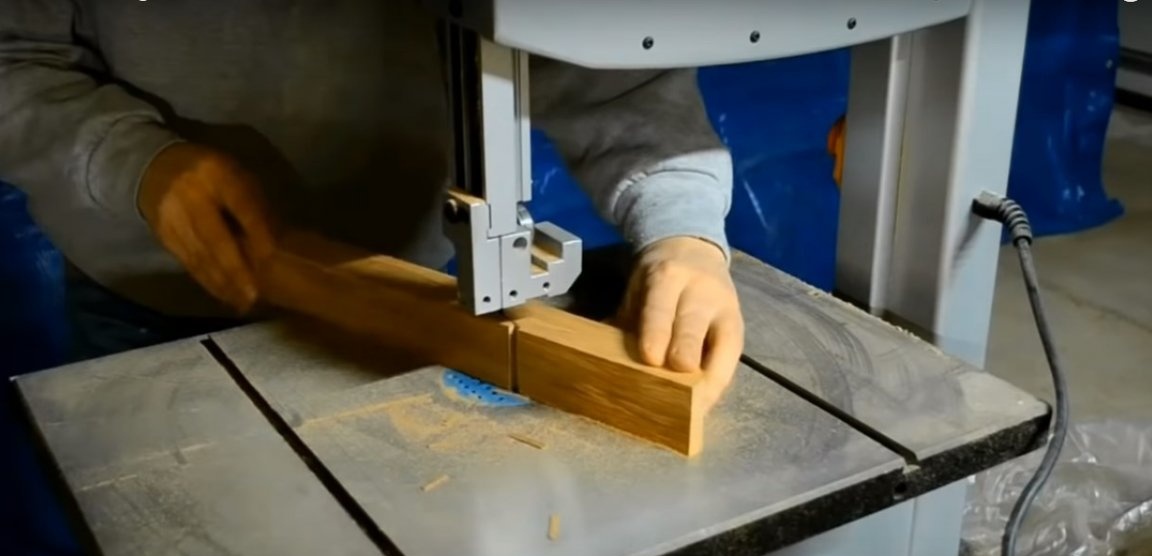
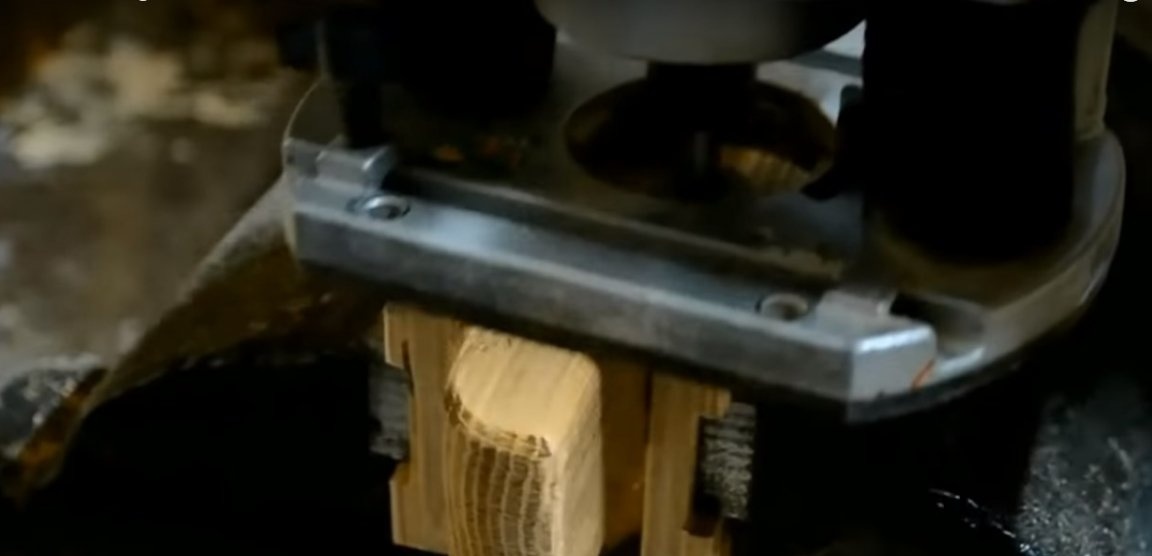
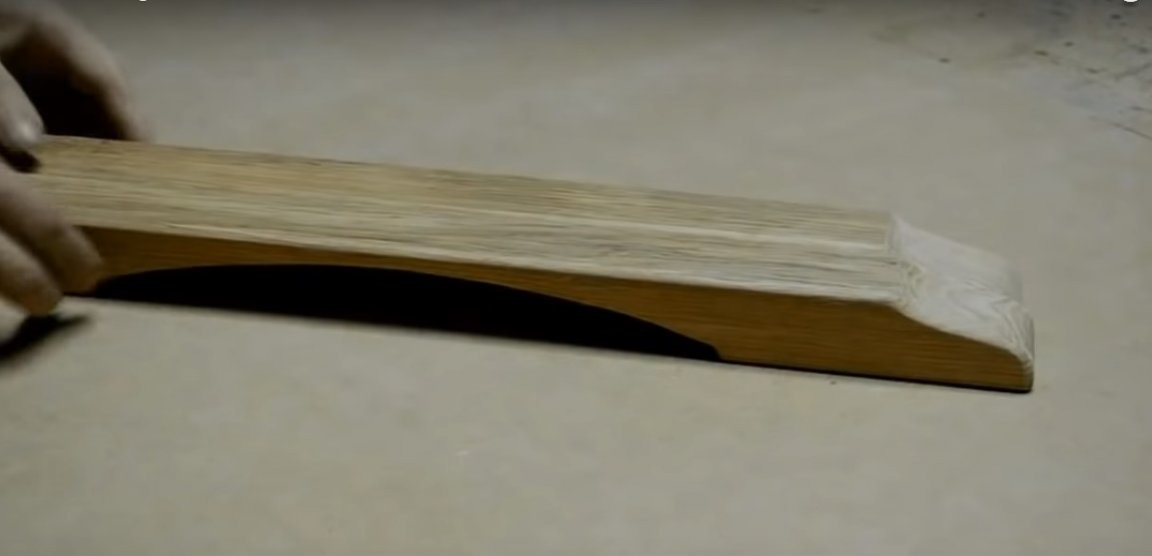
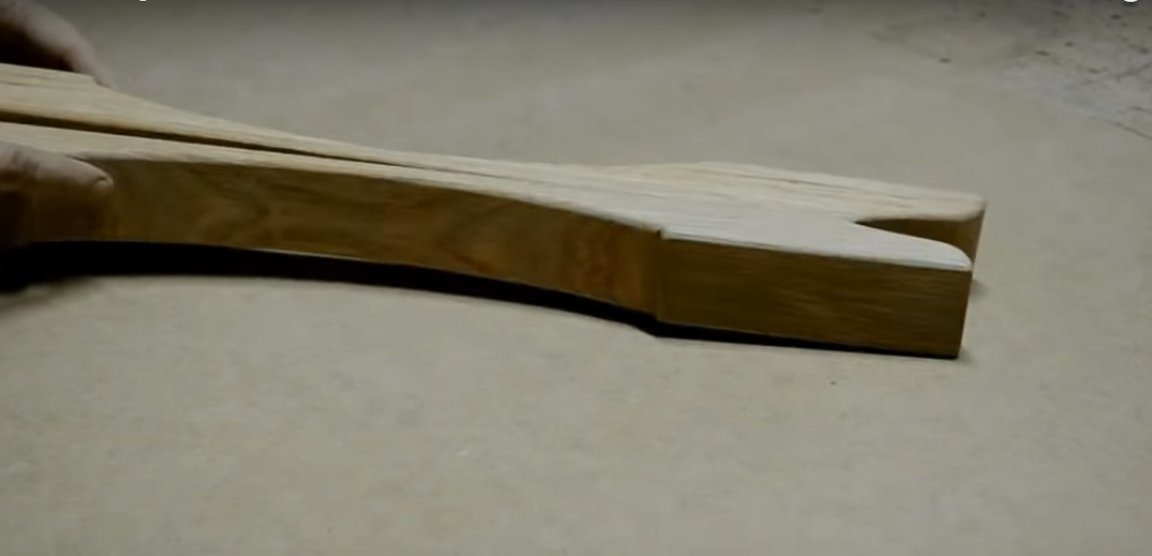
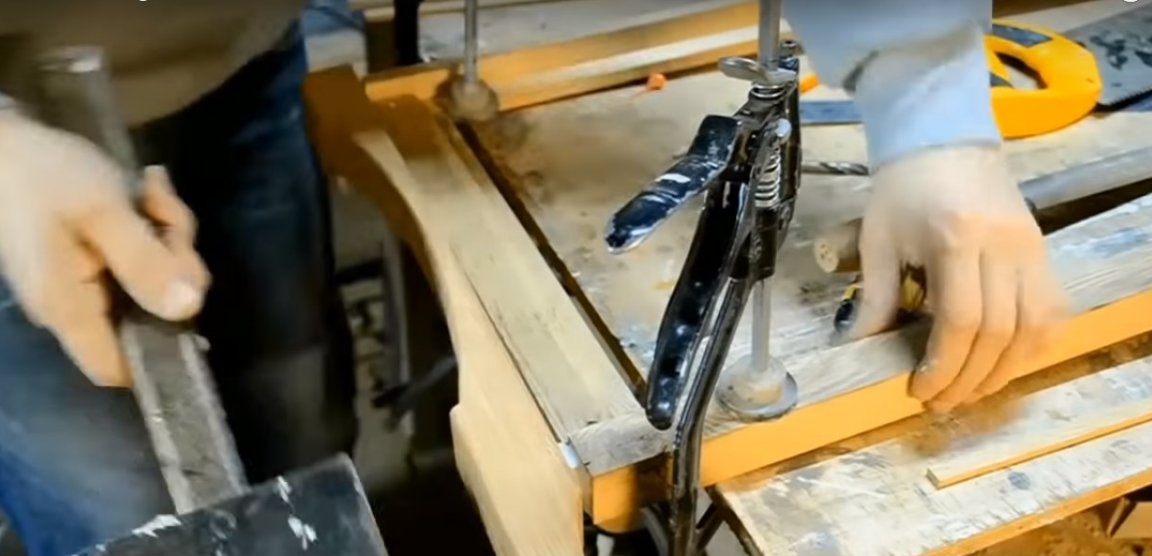
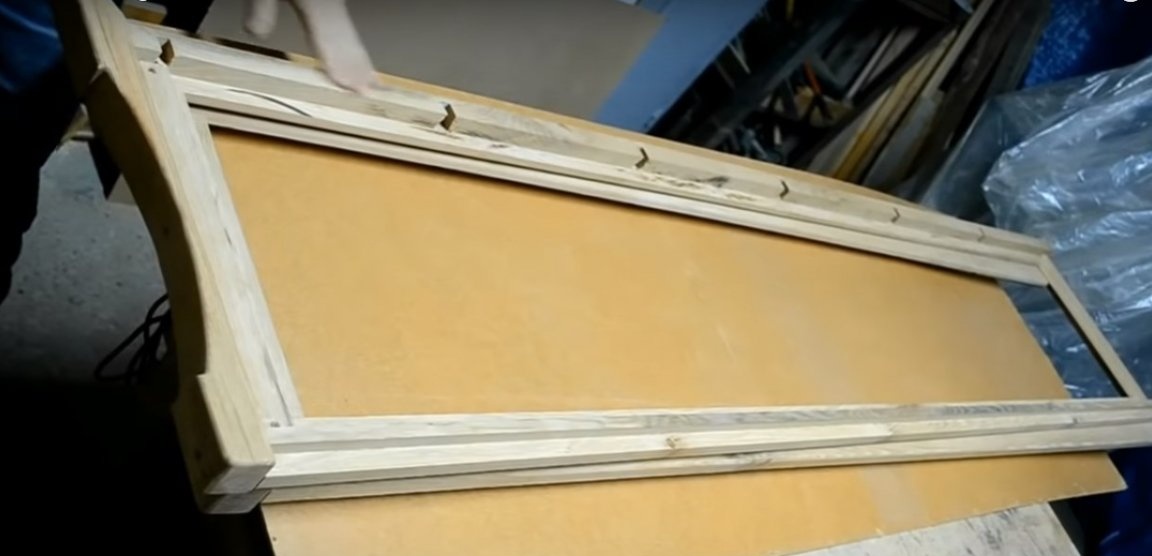
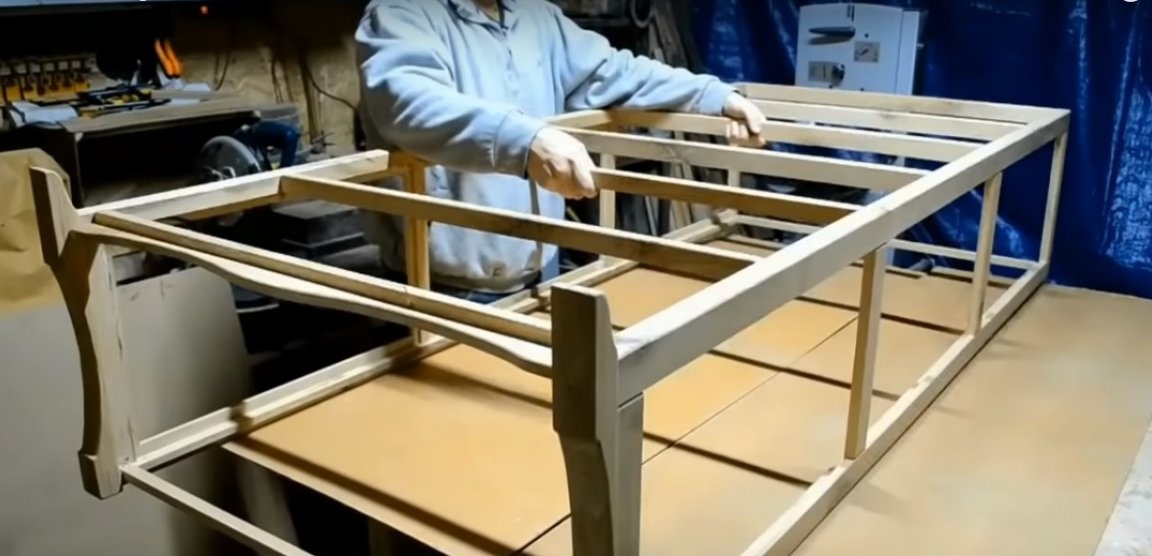
Also on the bottom of the facade, the author placed a curly element that perfectly complements the smooth lines of the legs.
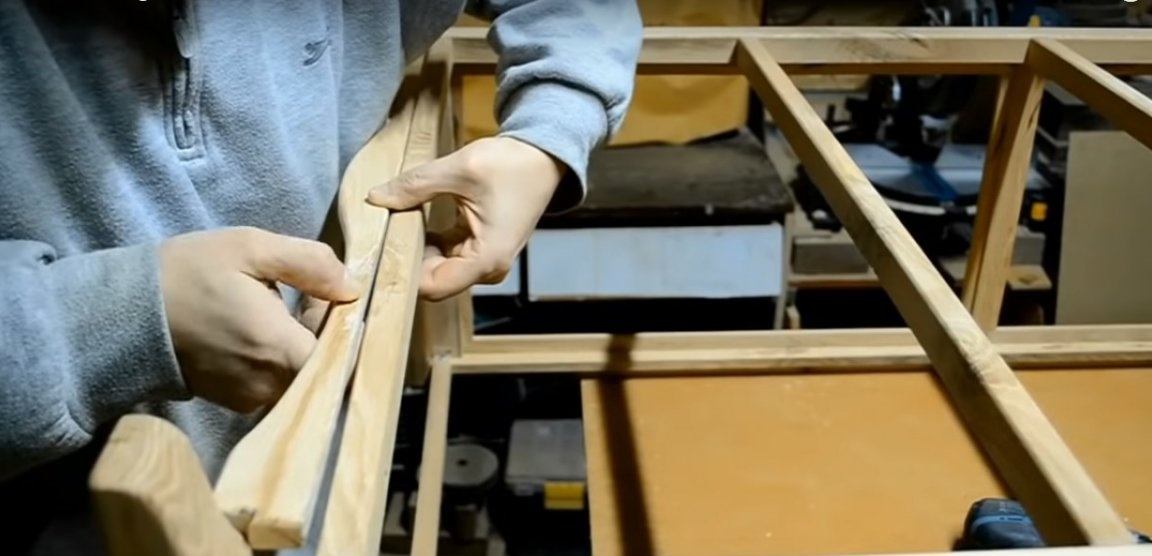

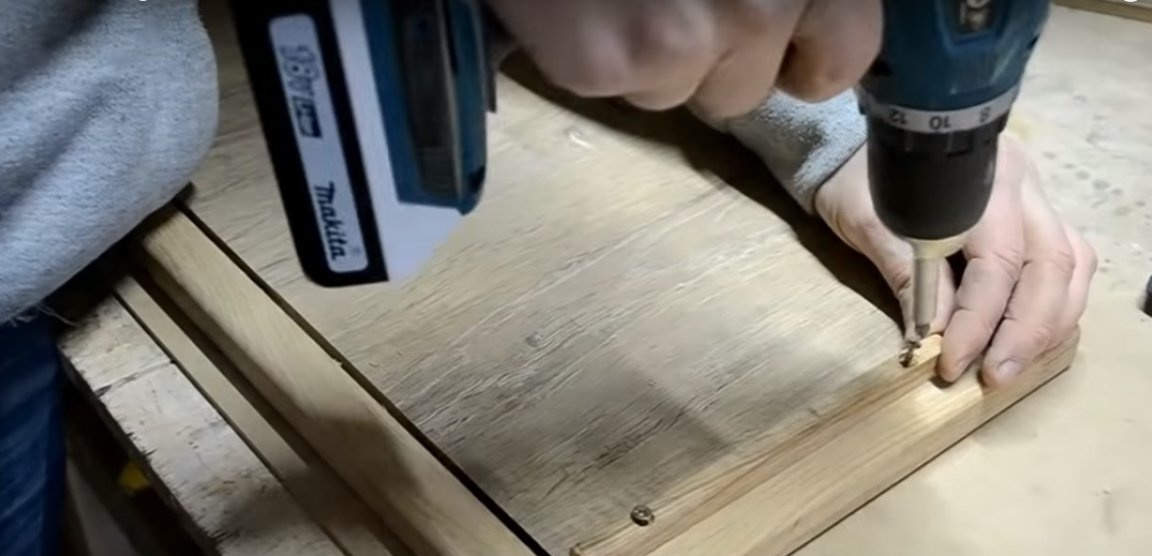
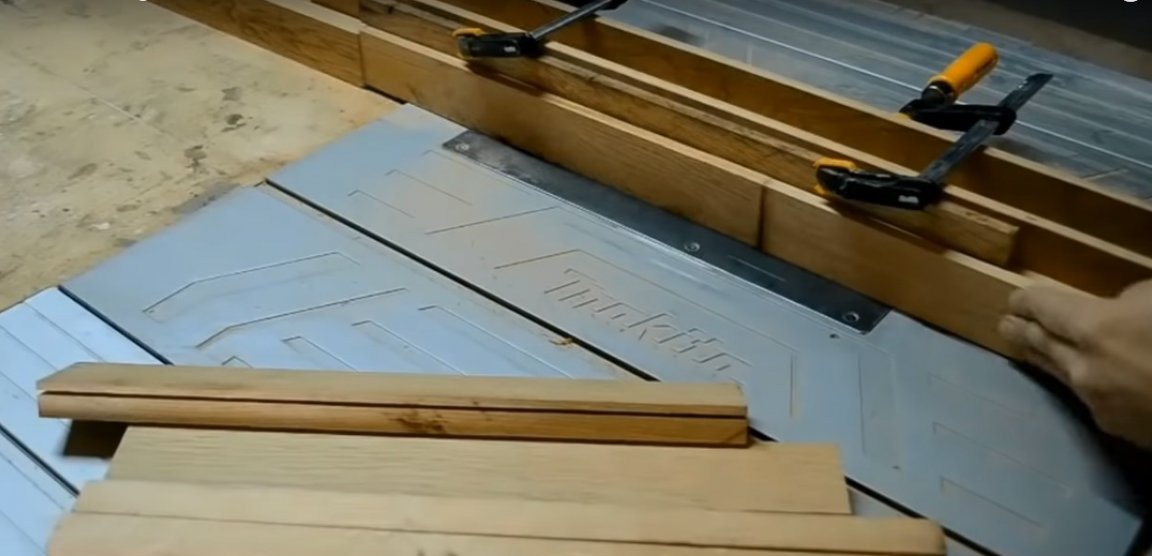
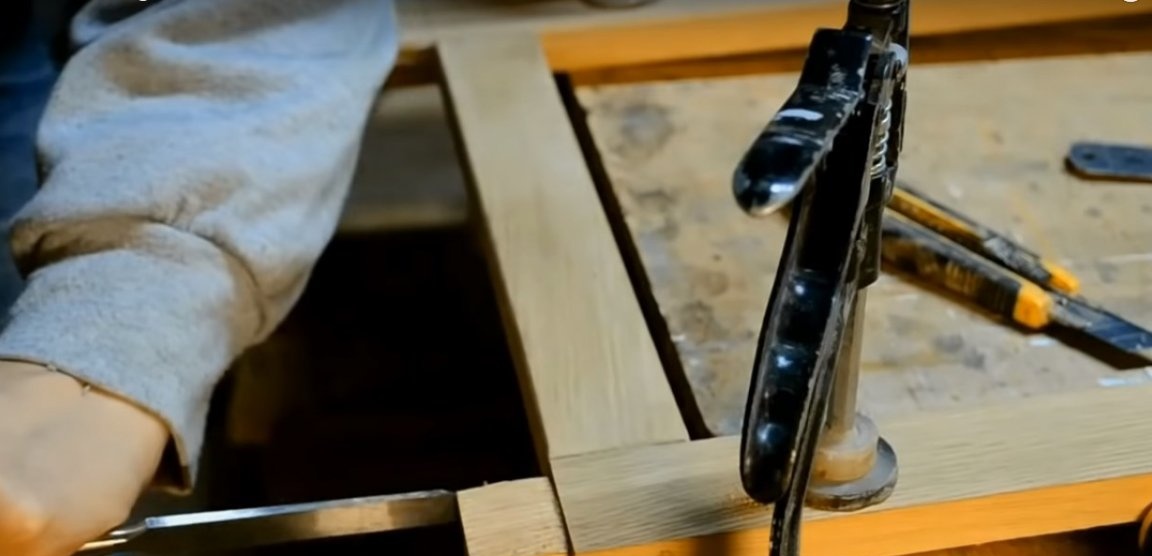
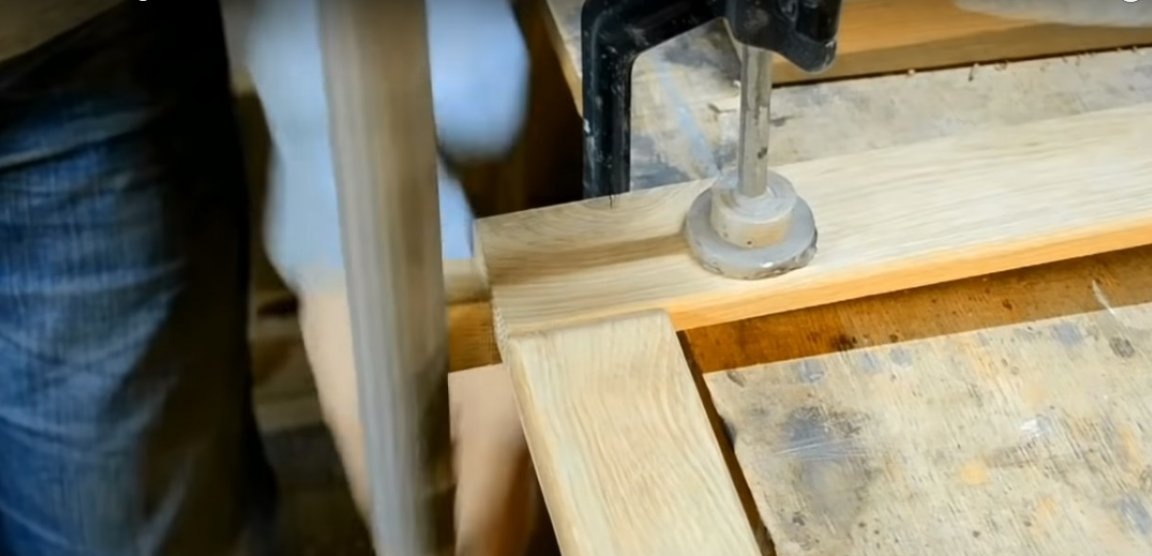
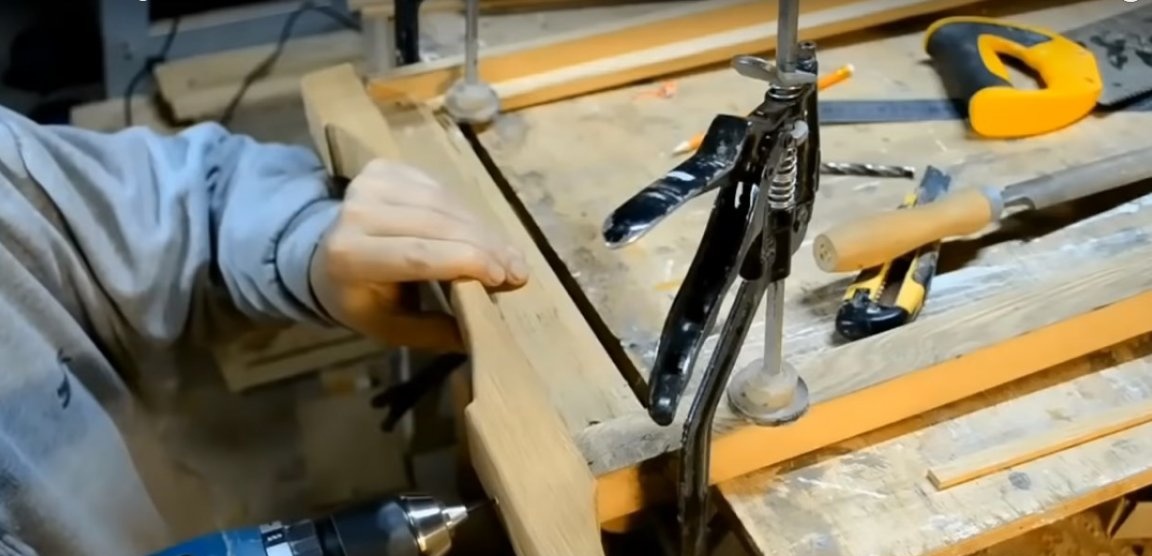
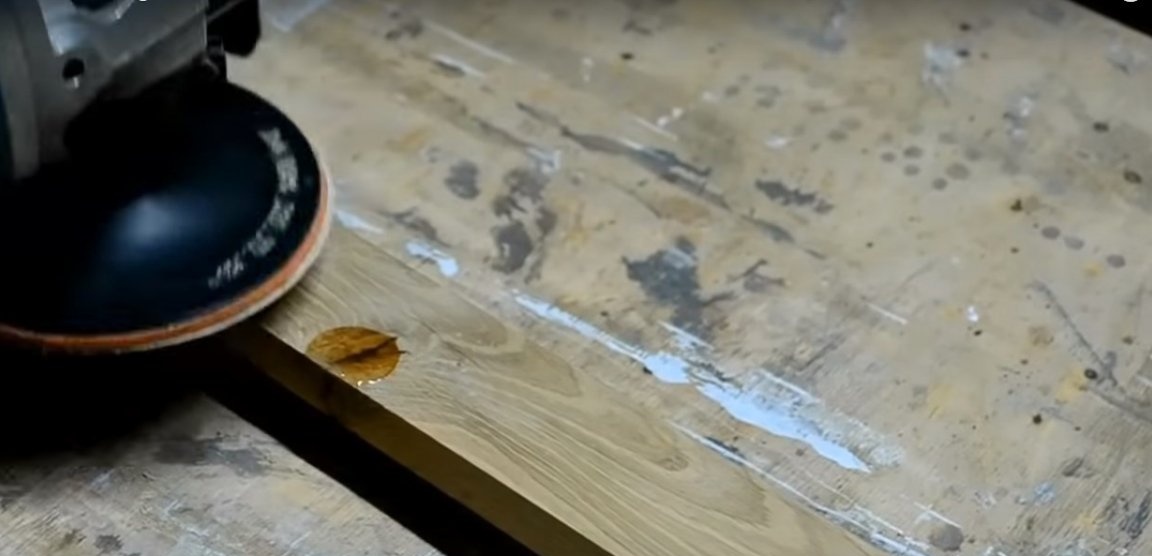
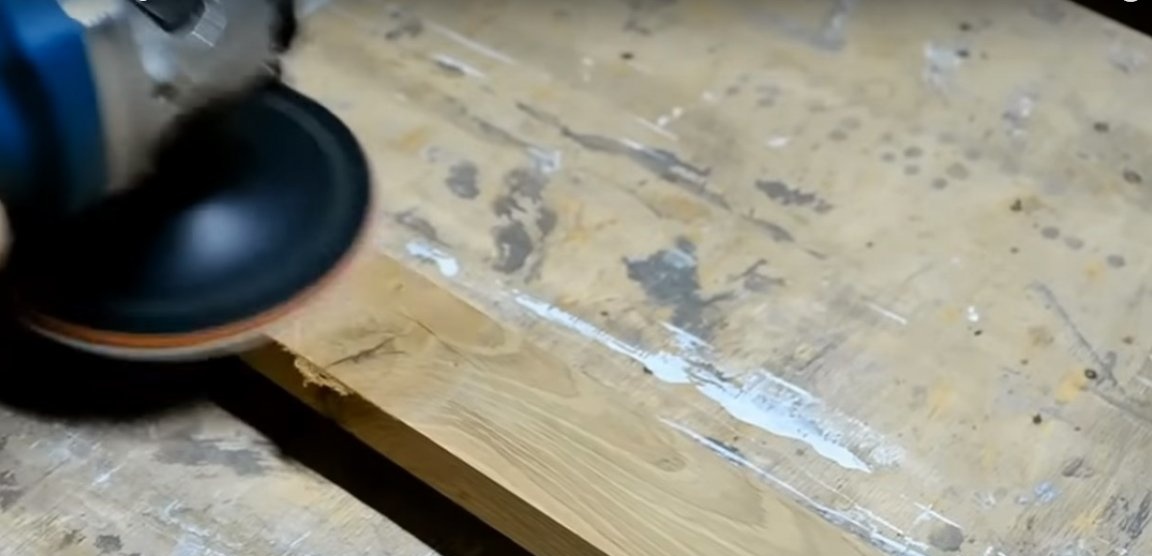
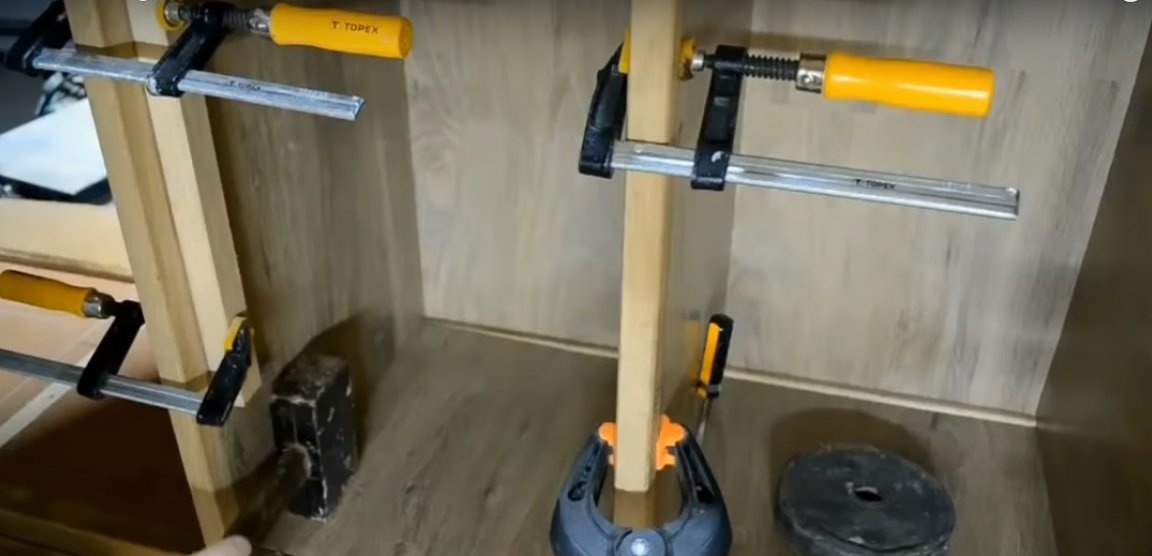
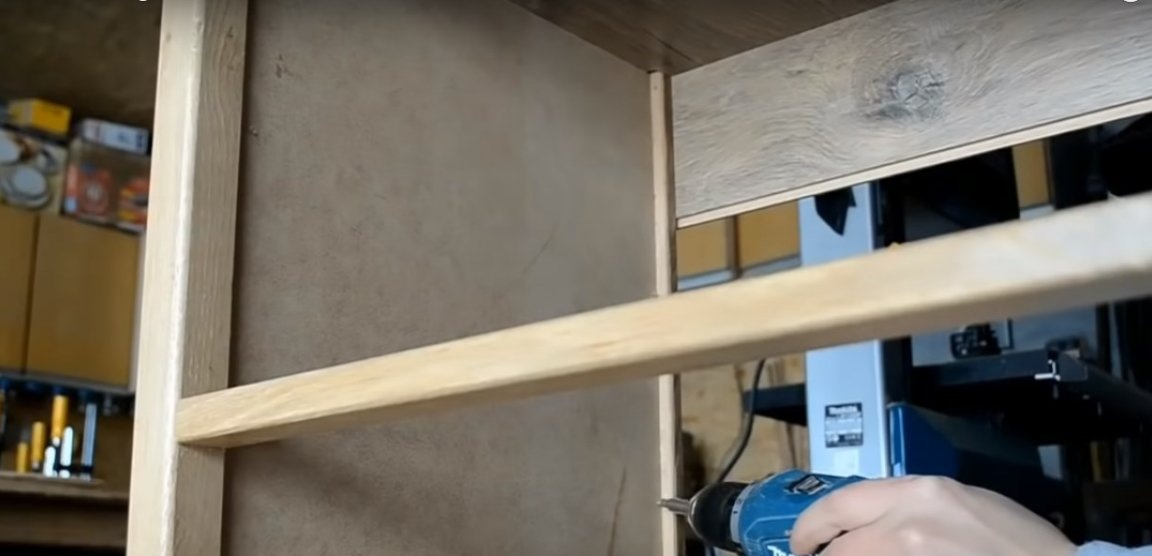
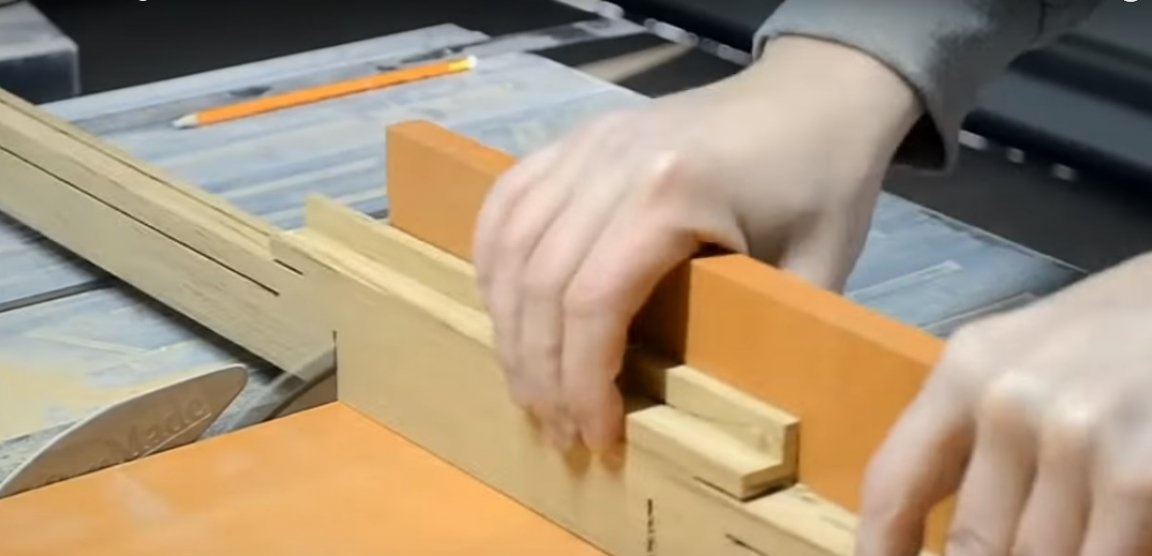
The frame is assembled on grooves and spikes with glue and screws. Each part is pre-sanded and chamfered and chamfered where necessary.
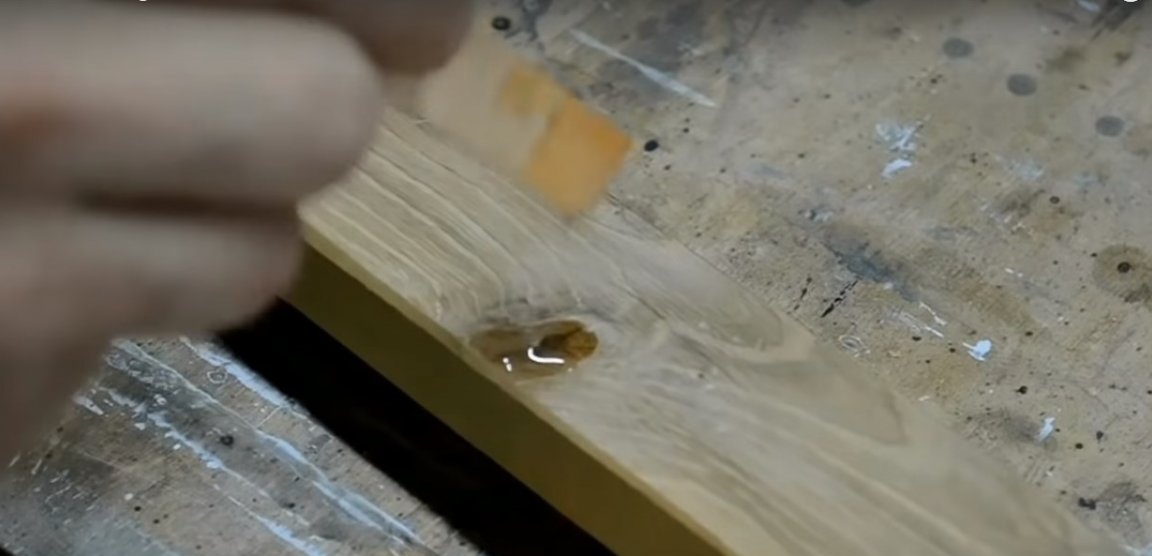
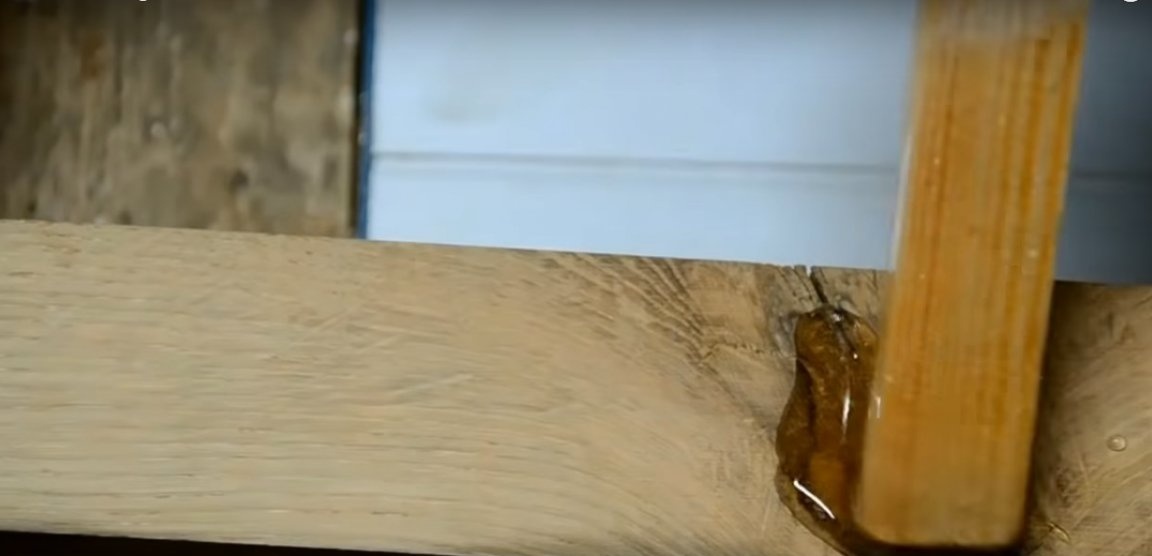
To strengthen the knots, the author used epoxy resin. The prepared mass is applied to the surface of the knot with a non-thick layer and, after solidification, is polished flush. Thus, the epoxy fills all the gaps, remaining invisible on the surface.
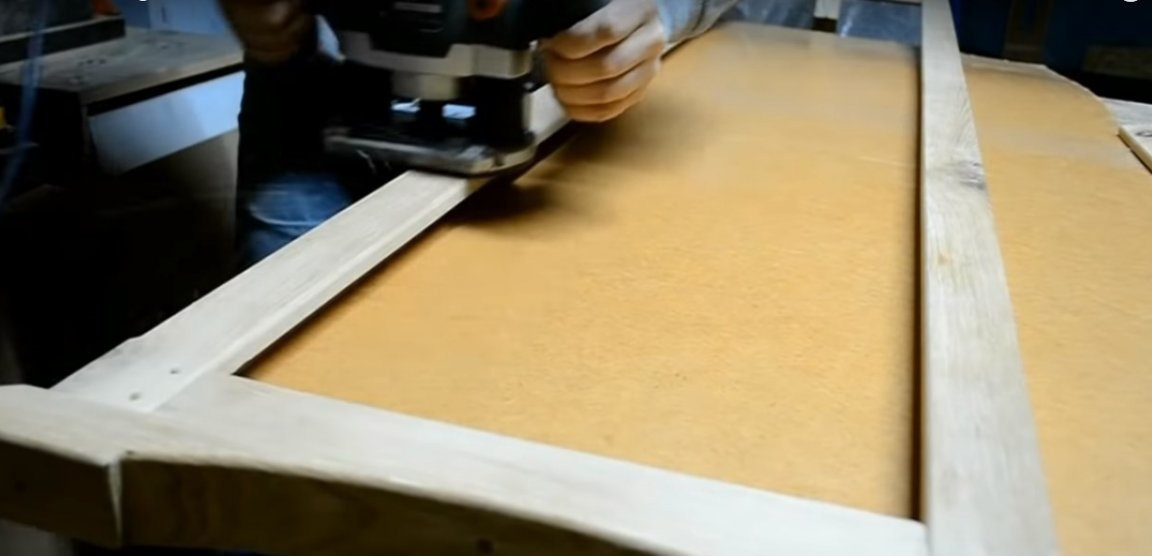
Step Three: Wireframe Processing
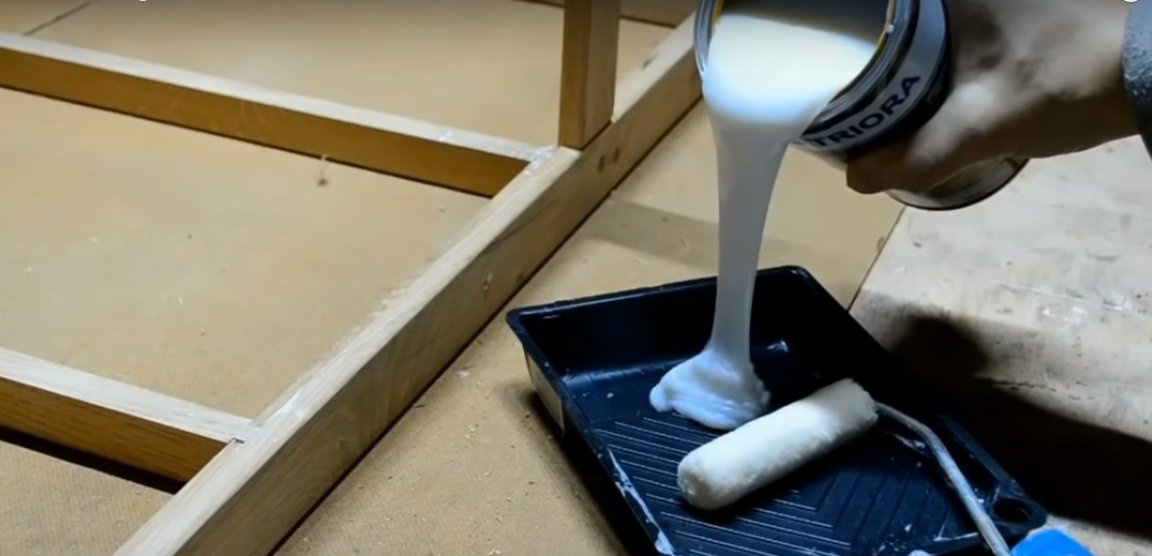
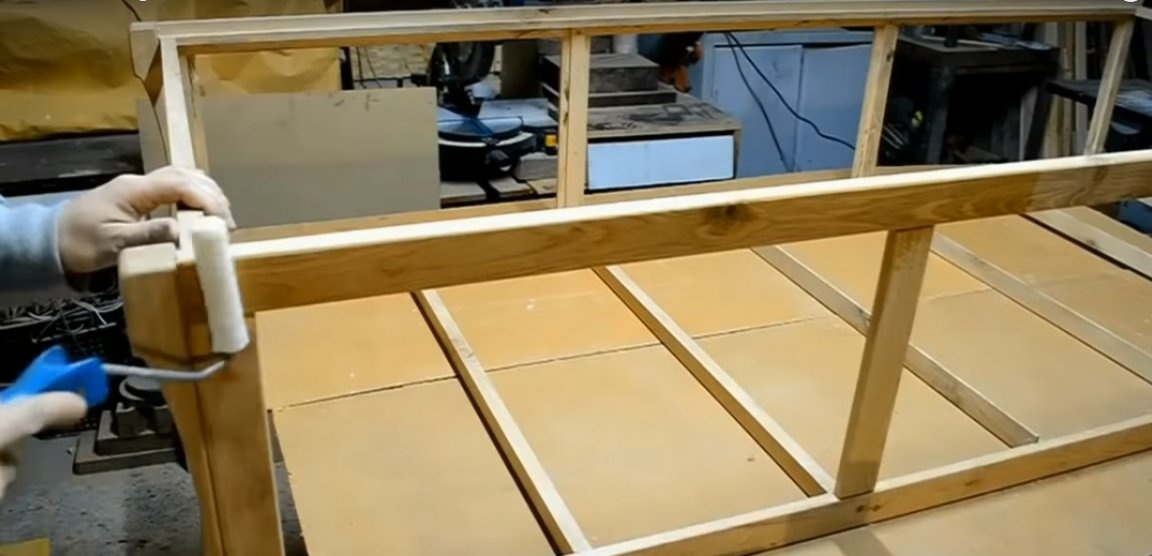
Despite the fact that oak is a dense wear-resistant wood, varnishing the frame will not hurt. The varnished surface is easy to wet and protects the tree from minor scratches and exposure to moisture.
The author uses acrylic furniture lacquer. Apply two or three coats of varnish with a paint roller. Wait for the varnish to dry completely before proceeding.
Step Four: Lining the Frame
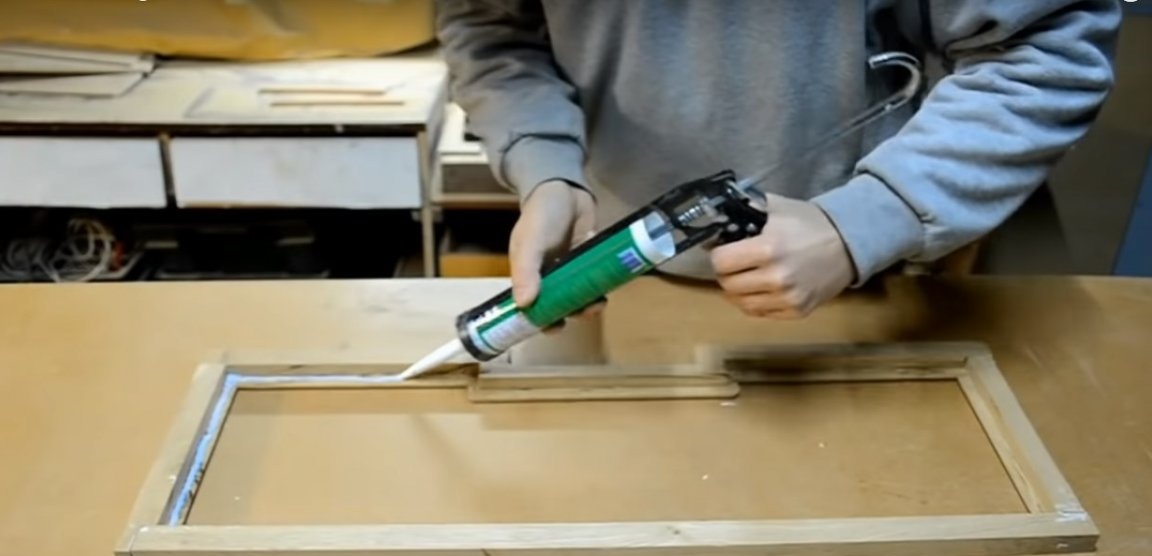
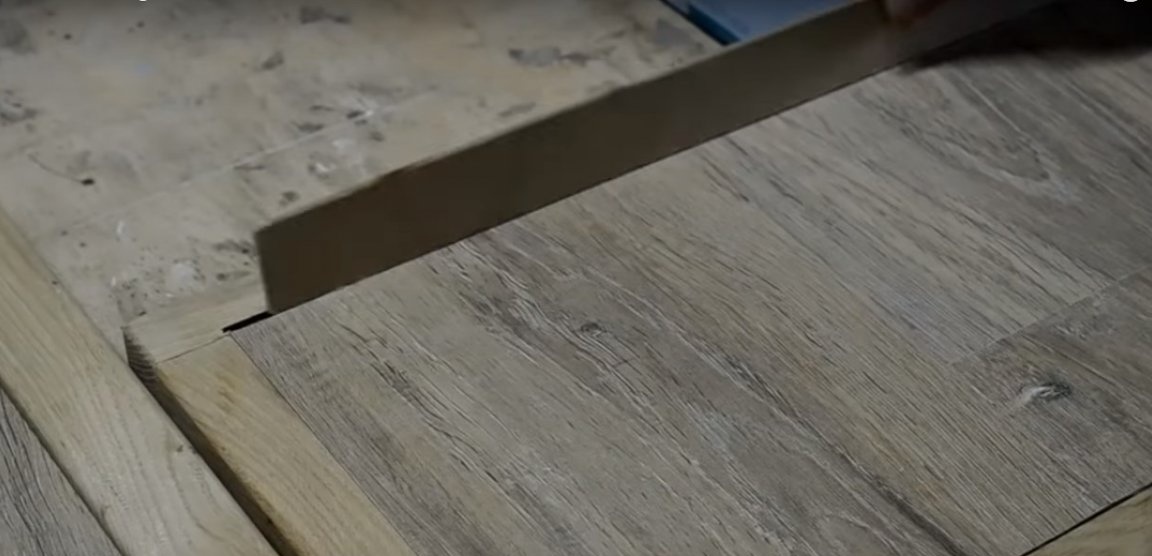
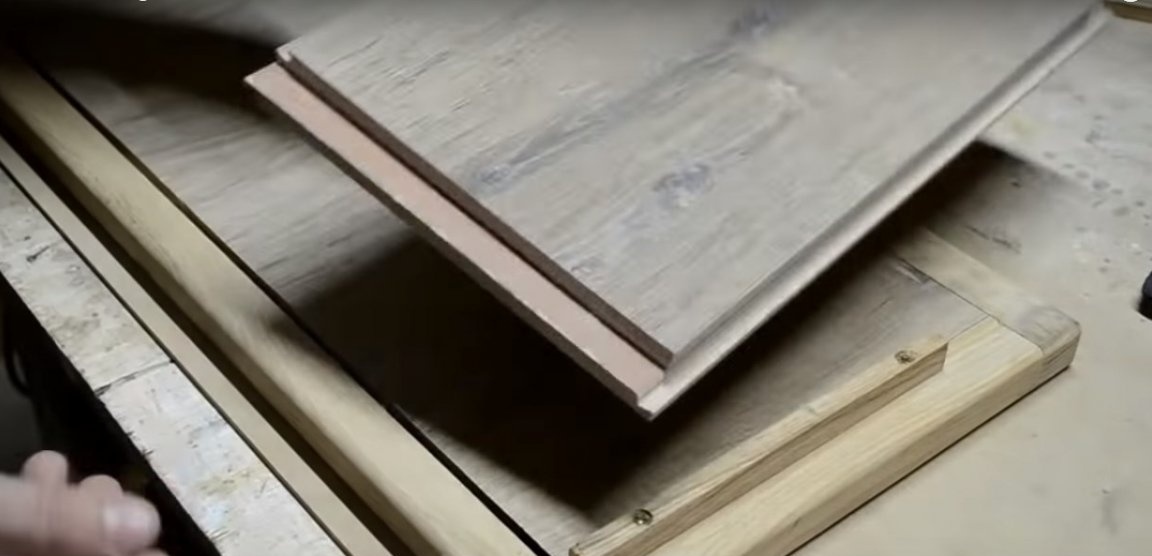
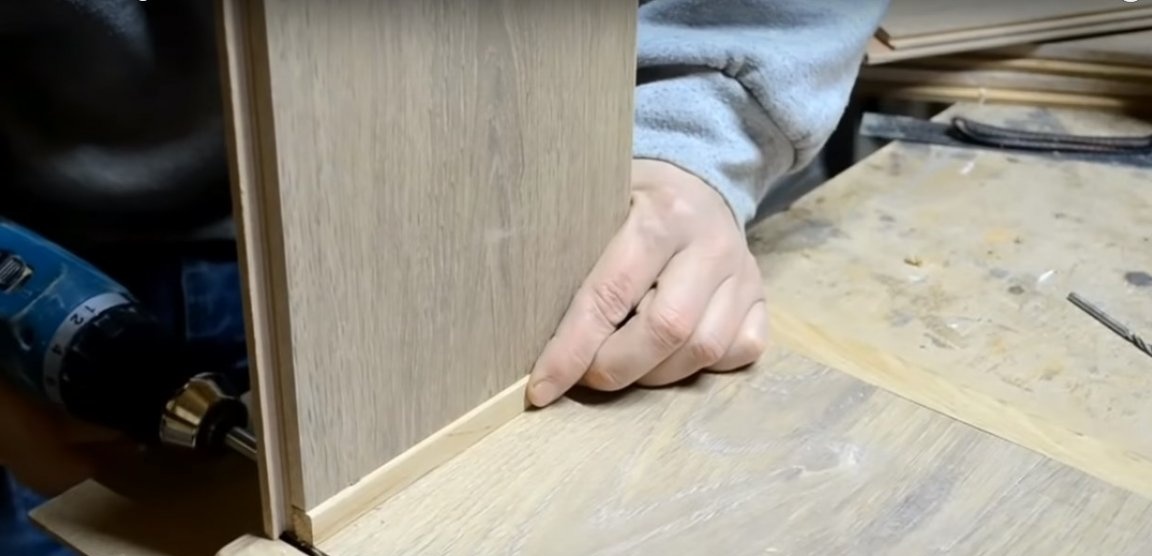
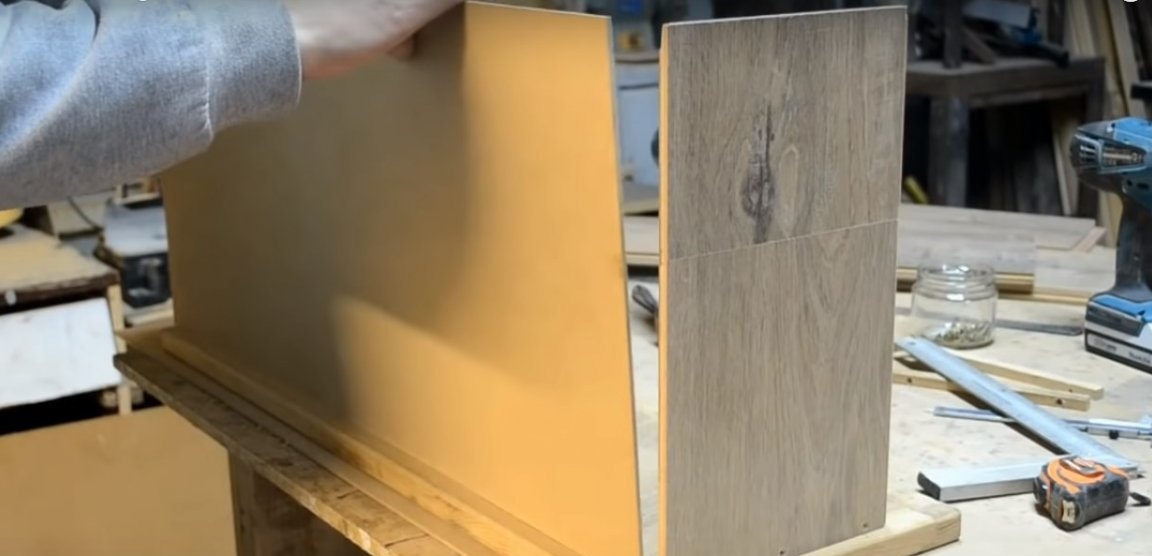
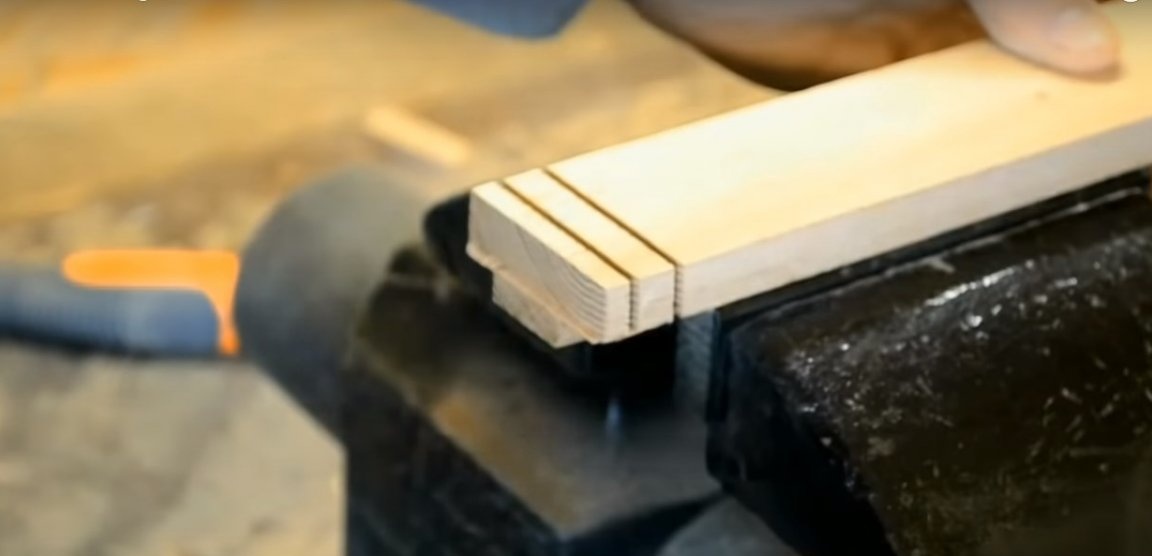
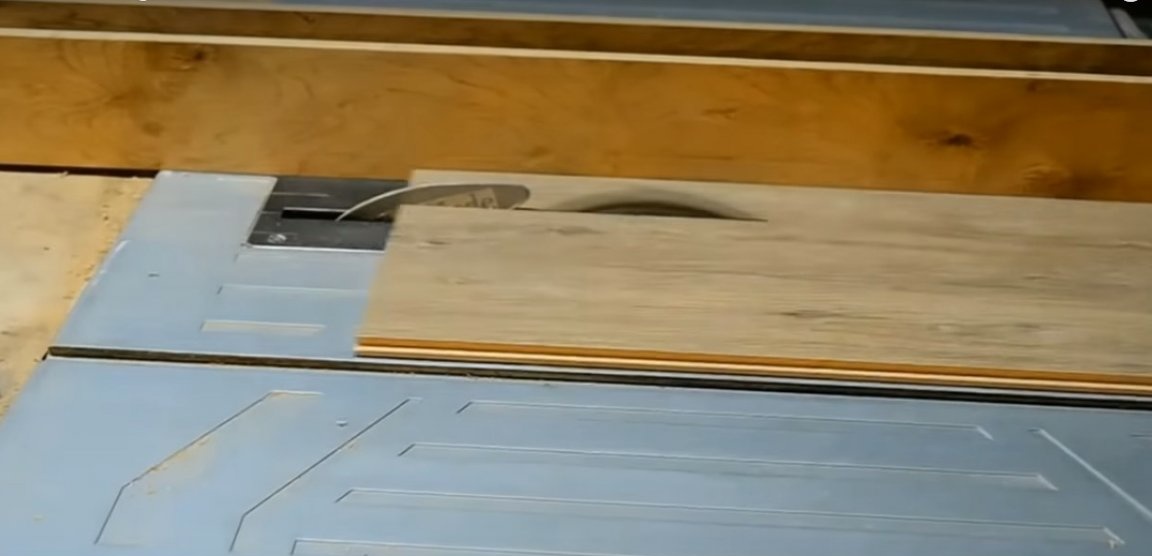
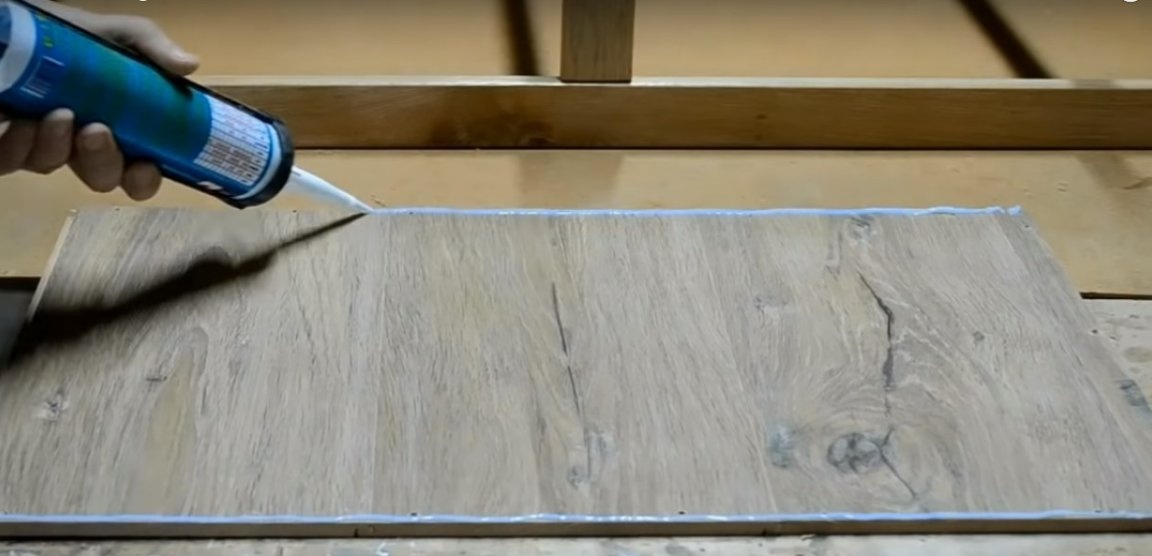
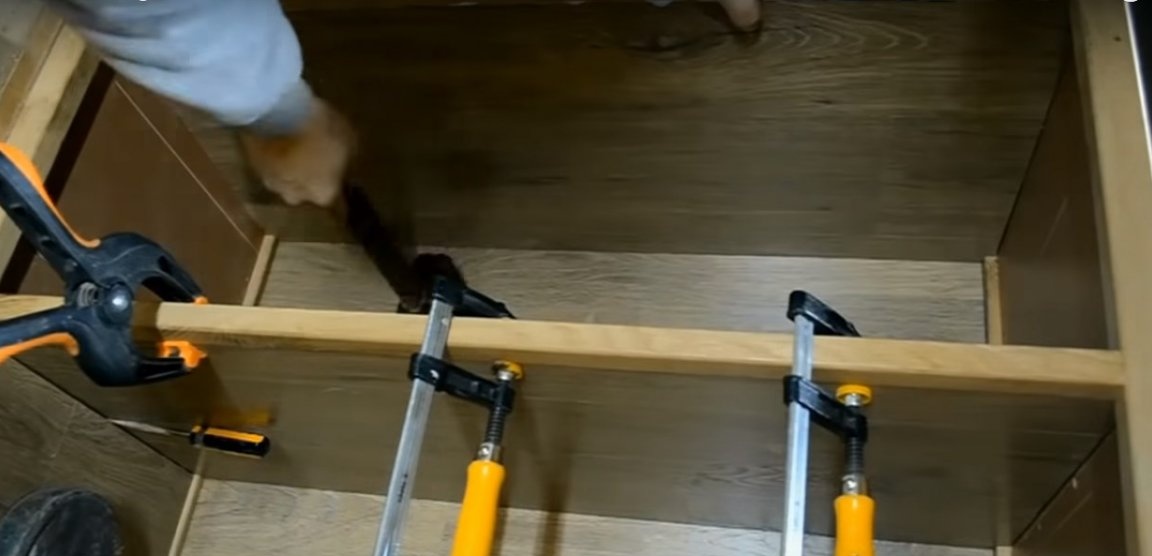
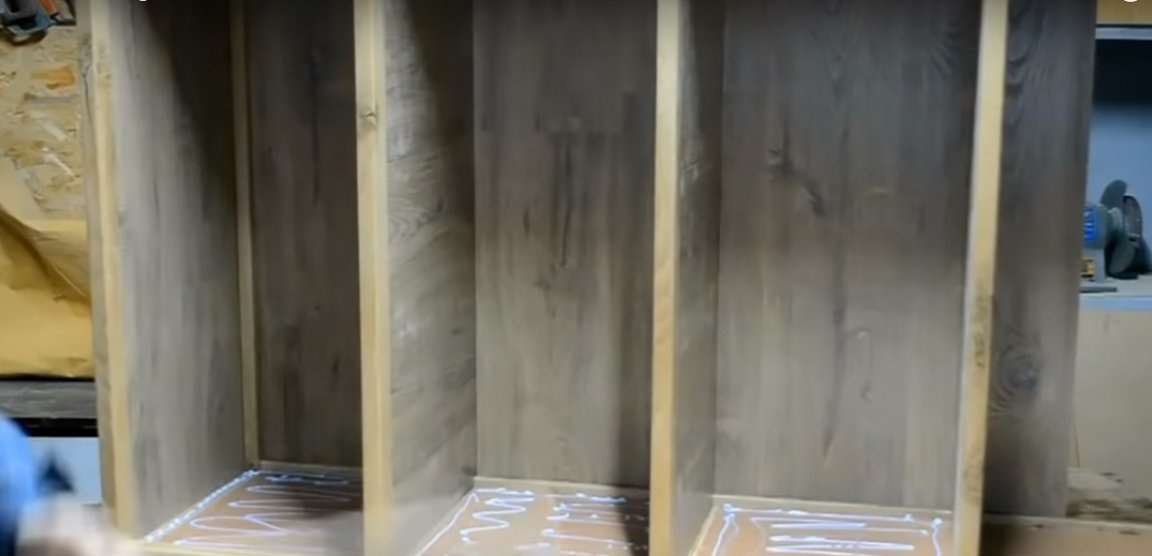
Laminate cladding is assembled in a mortise lock, the same as when laying on the floor. On the inside of the frame there are recesses for the cladding in one and two layers.
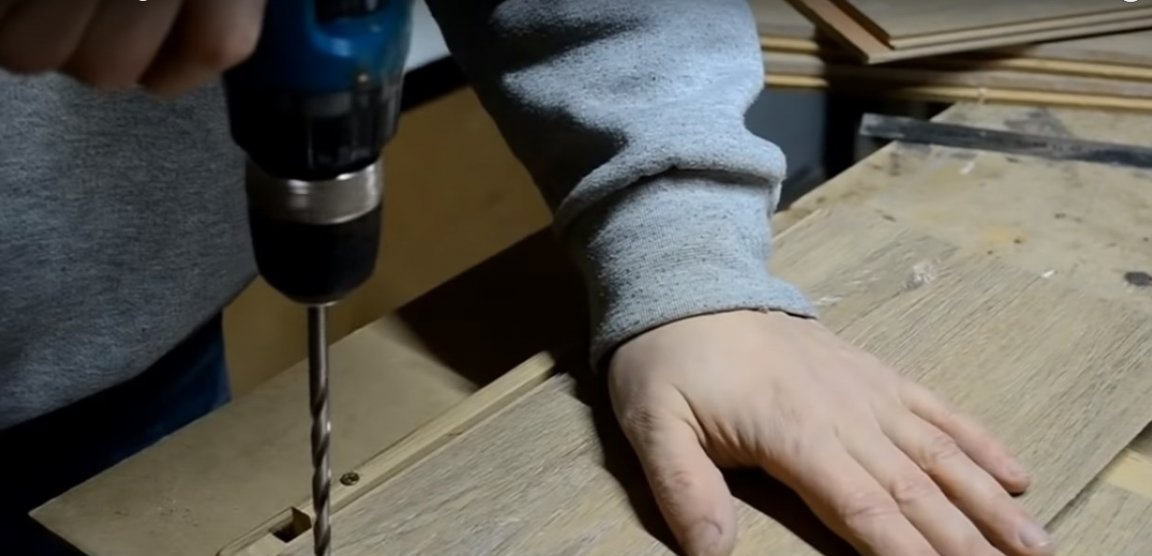
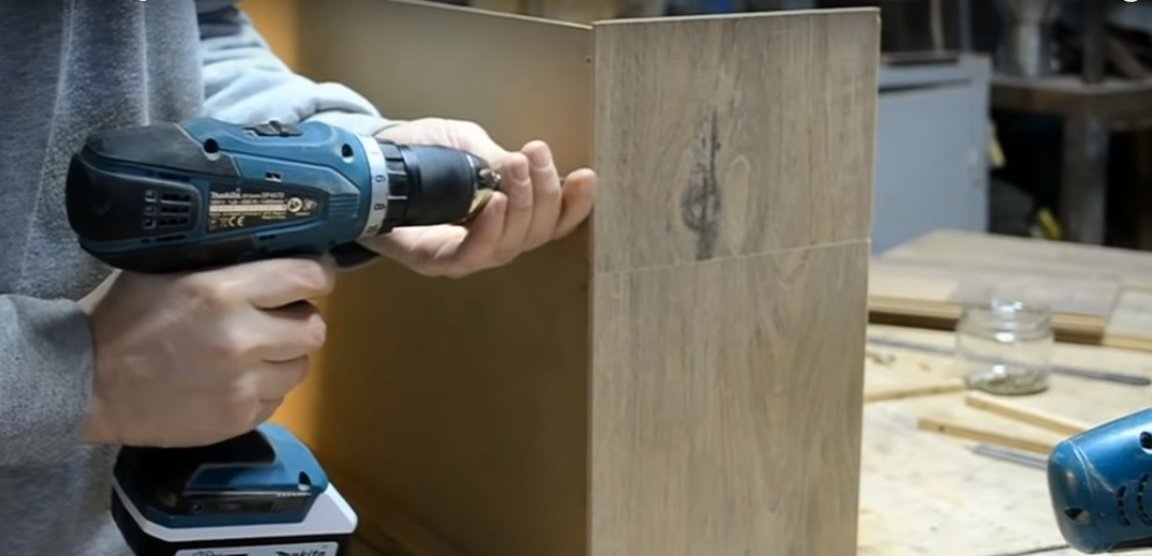
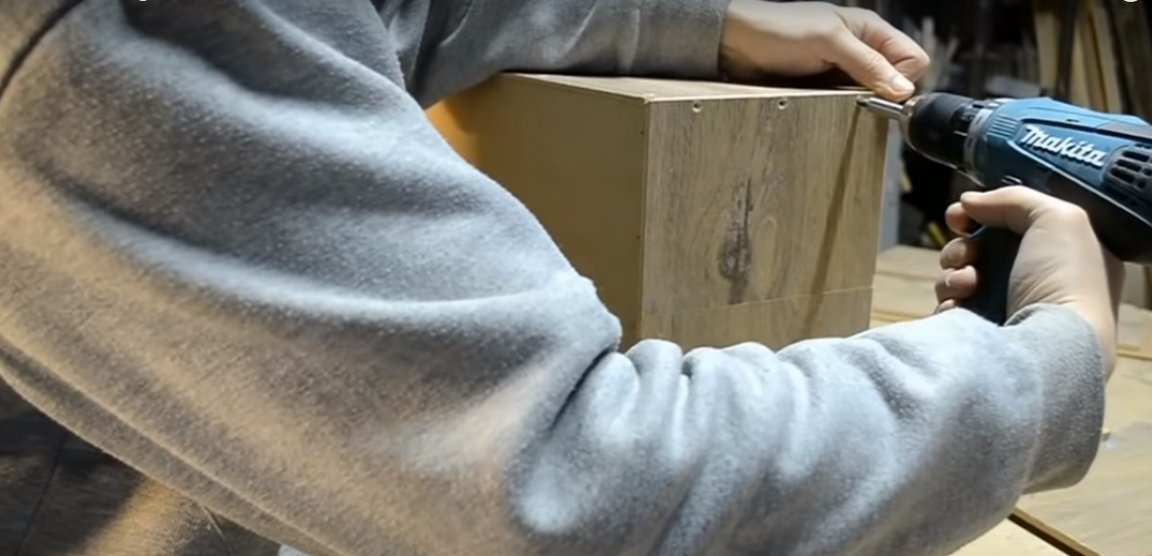
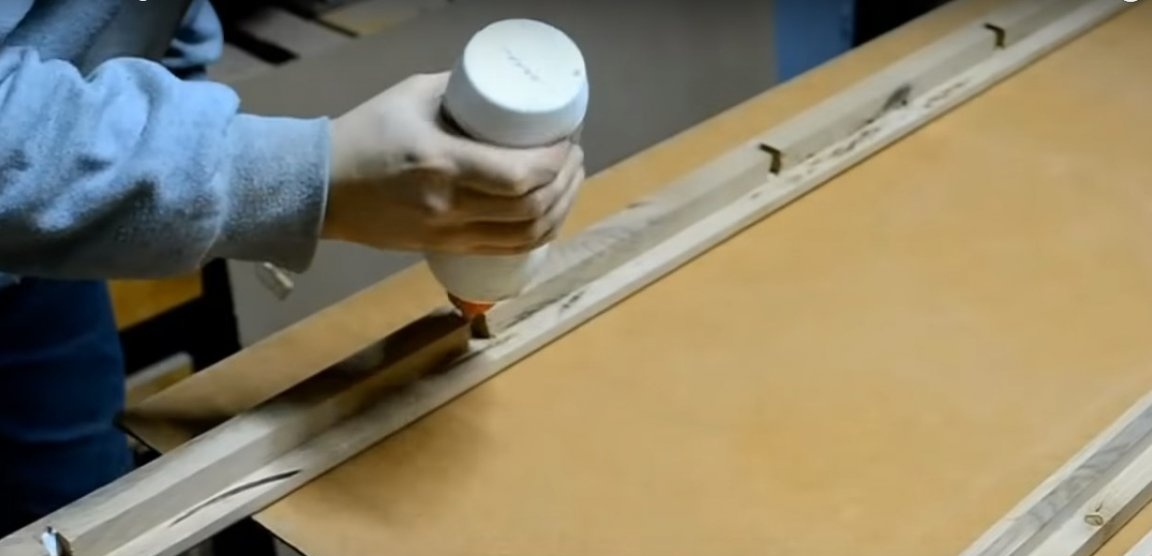
Start the skin of the frame from the side parts, where the prepared panels are secured with glue and self-tapping screws facing out. Also hem the bottom and top of the dresser as shown in the photo.
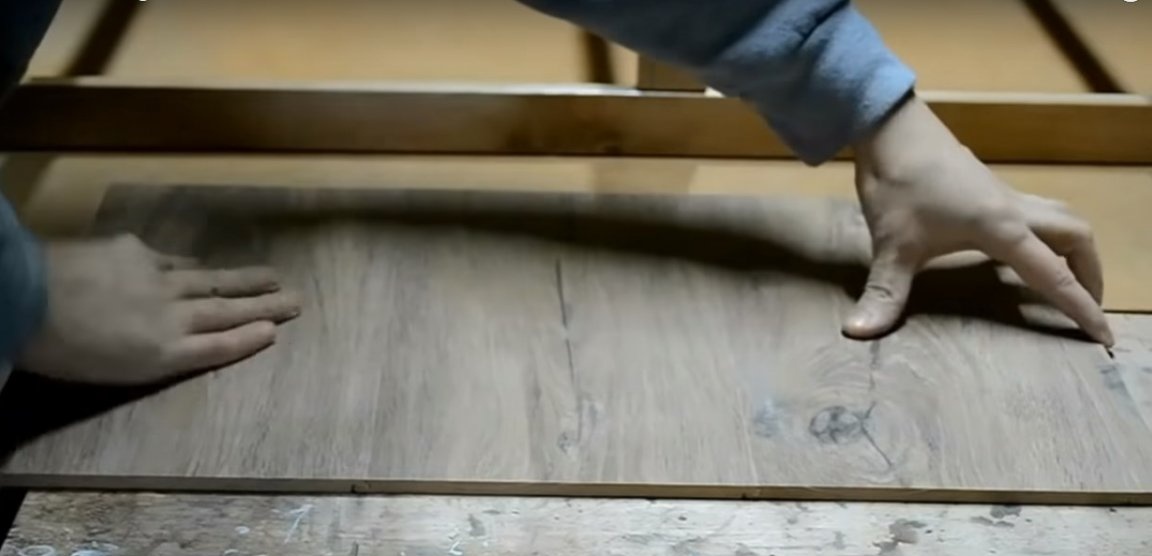

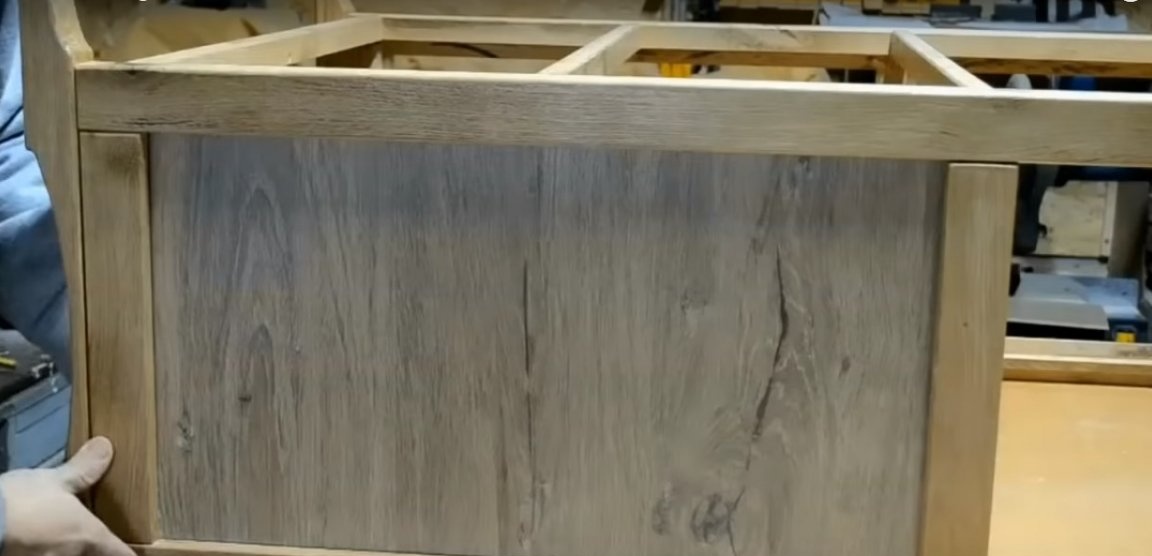

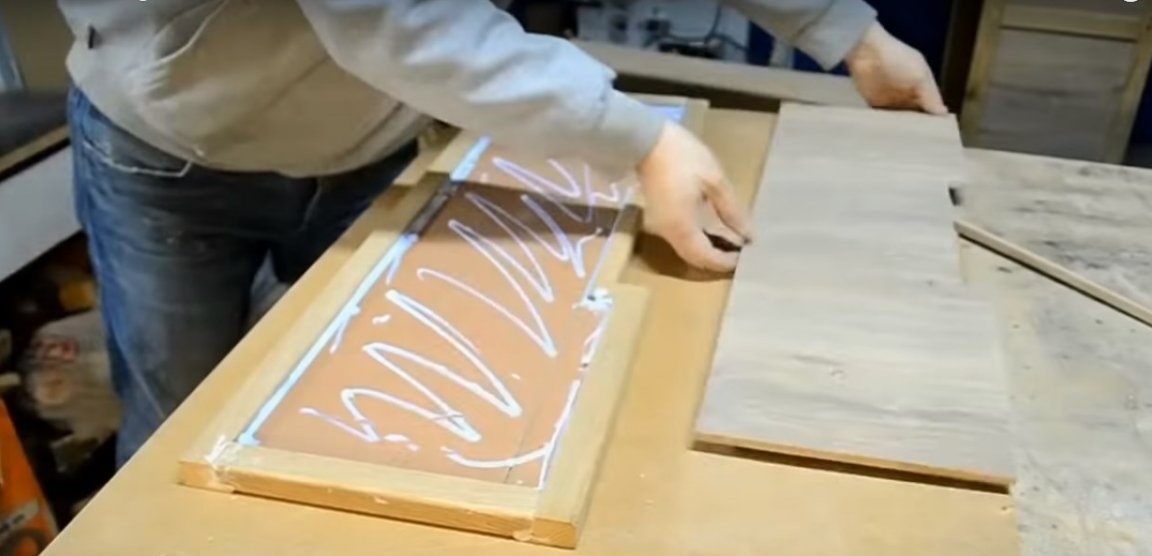
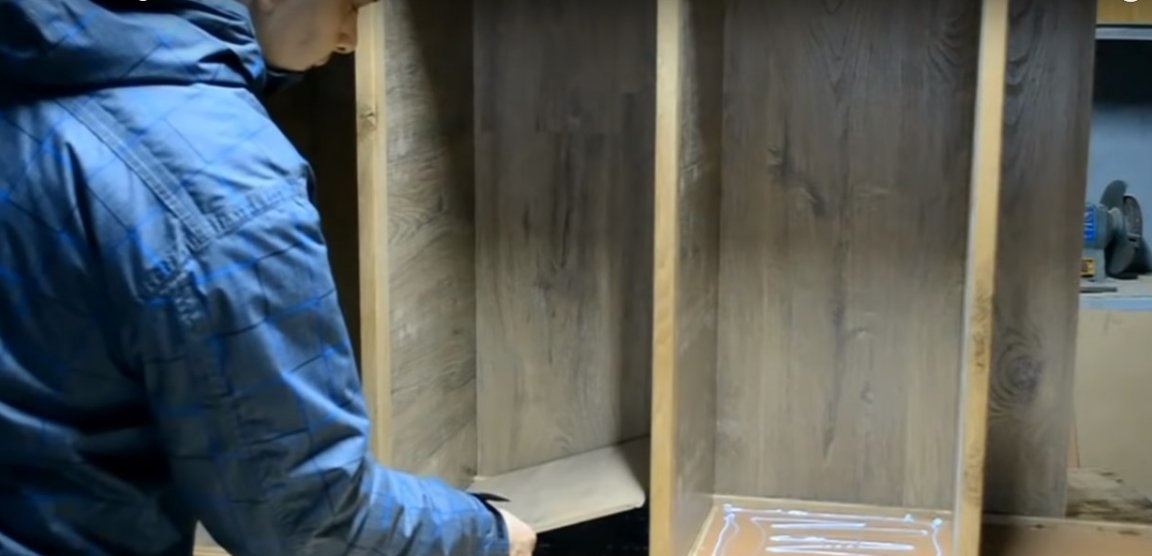
Fasten the shelves from the laminate and glue the internal details of the cladding with the front part inward.
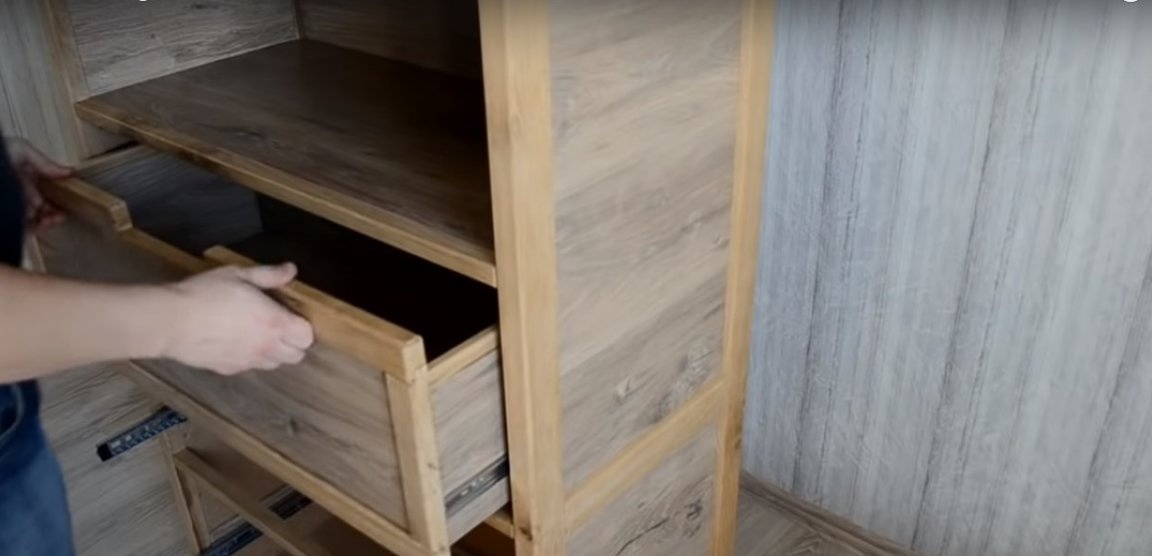
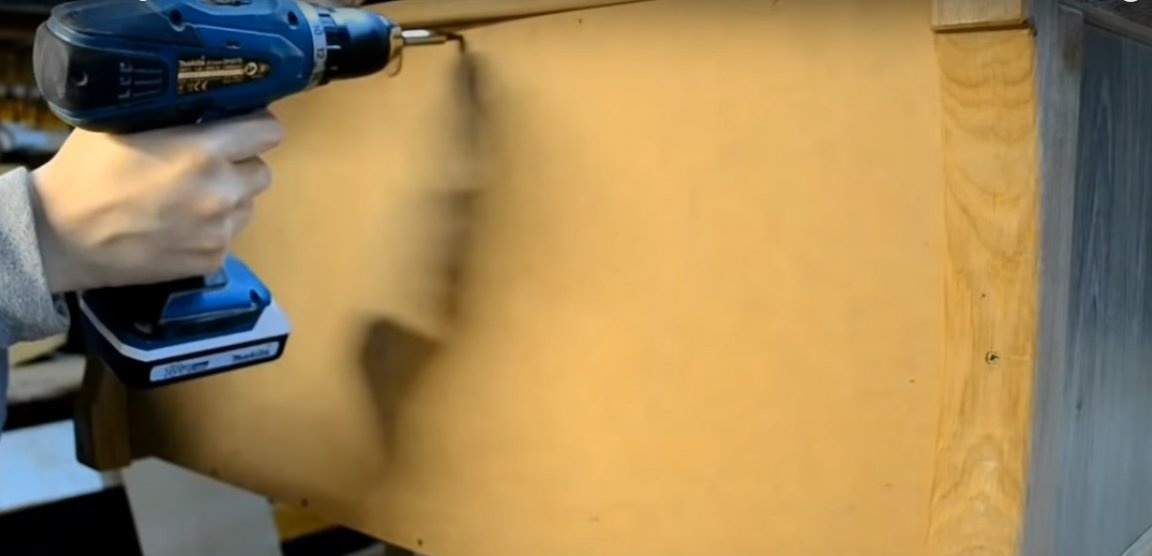
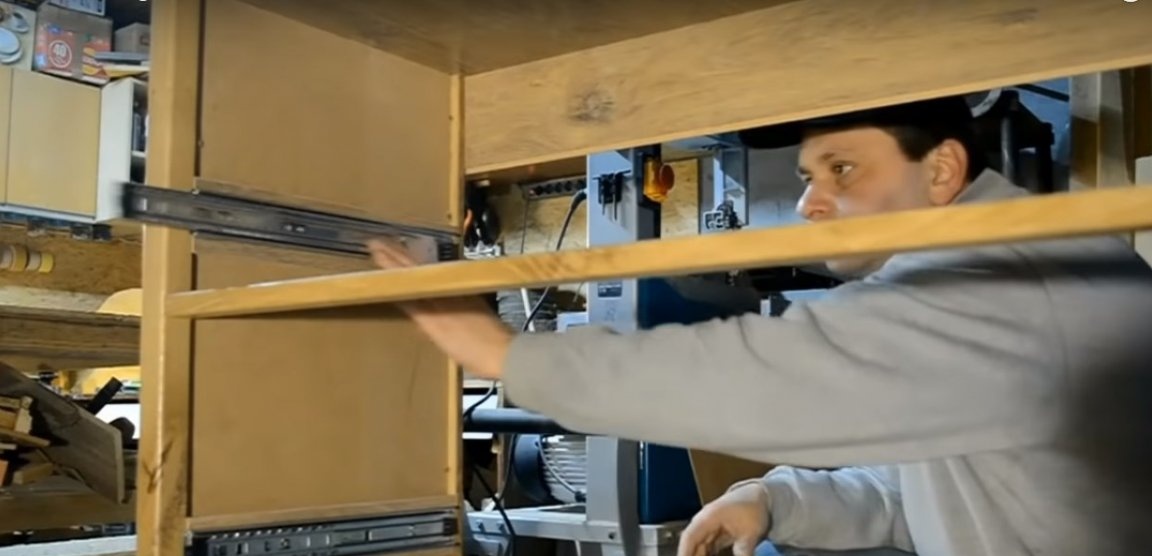
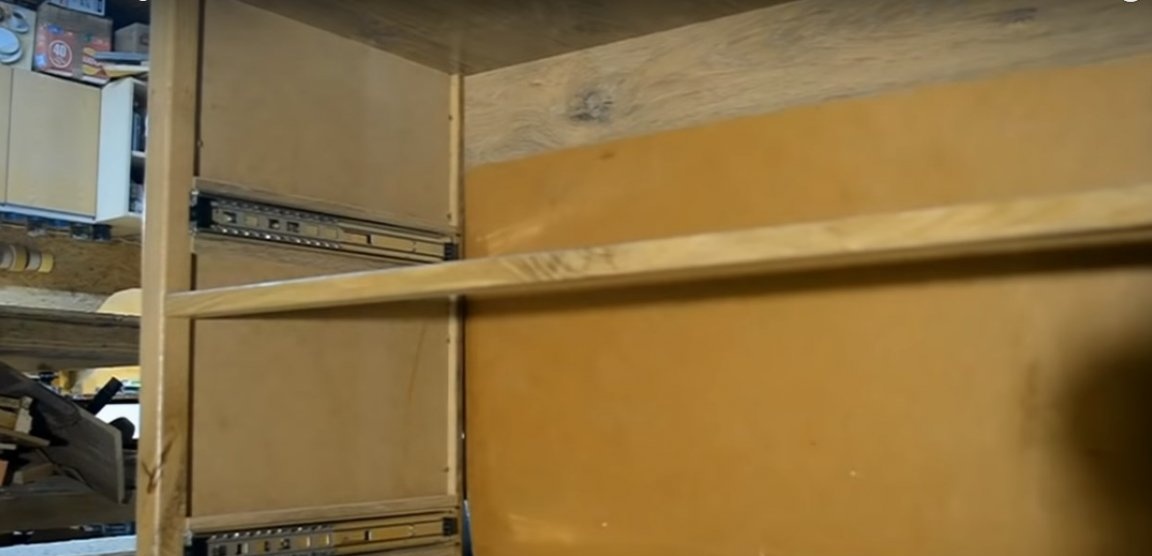
The lower tier, where the boxes are located, does not need lining from the inside. Install the fittings on the drawers, securing it with self-tapping screws. Sew the back of the dresser.

Step Five: Manufacturing and Installing Drawers
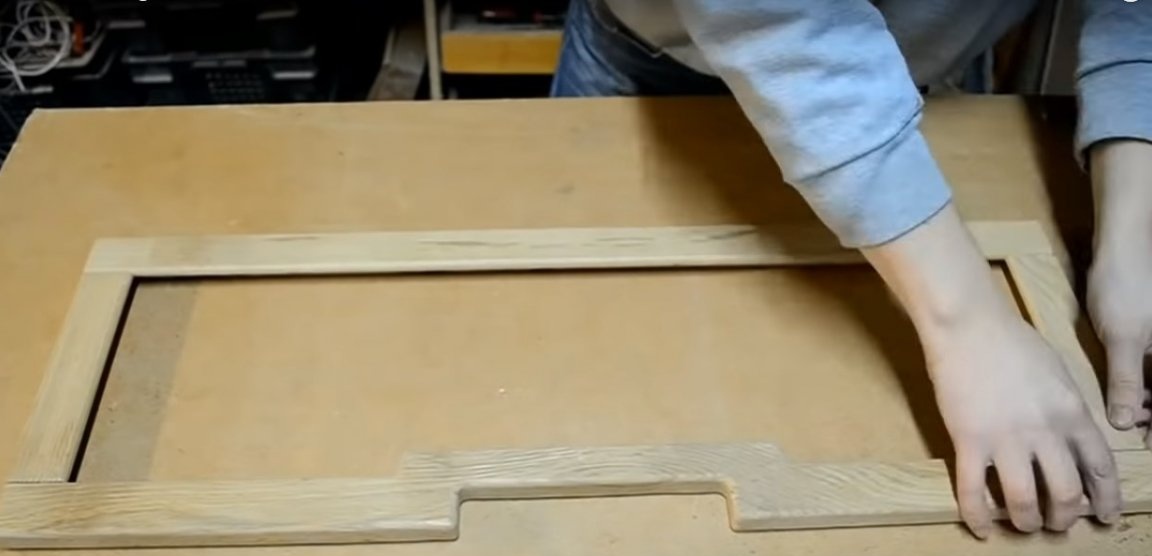
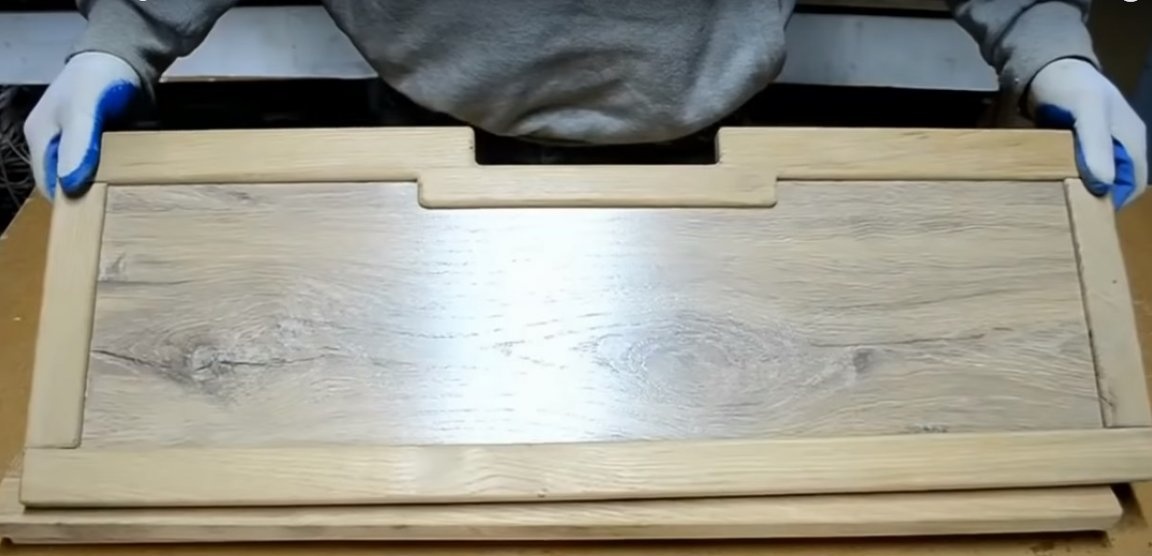
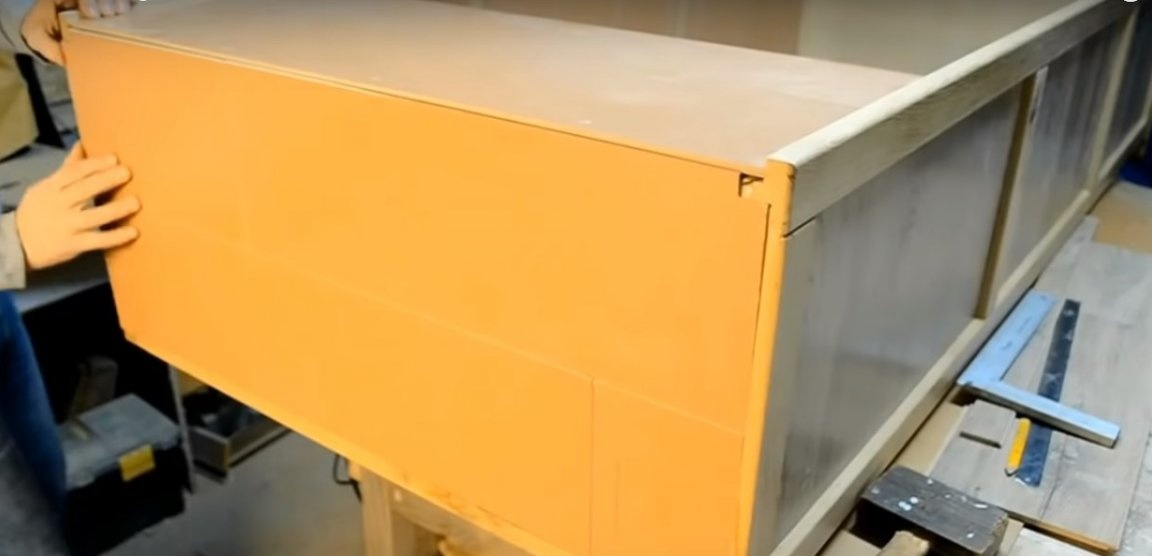
Prepare the front panels of the drawers. Each panel consists of a frame lined with laminate from 2 sides. The upper part has a curved shape. The author cut it out on a tape machine, and rounded the edge with a hand milling cutter.
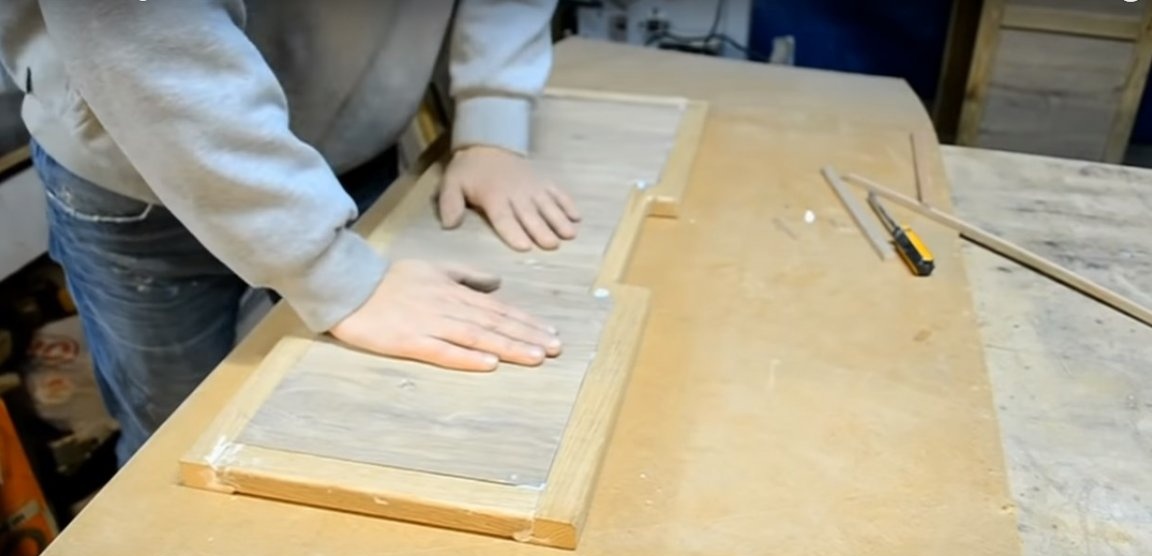
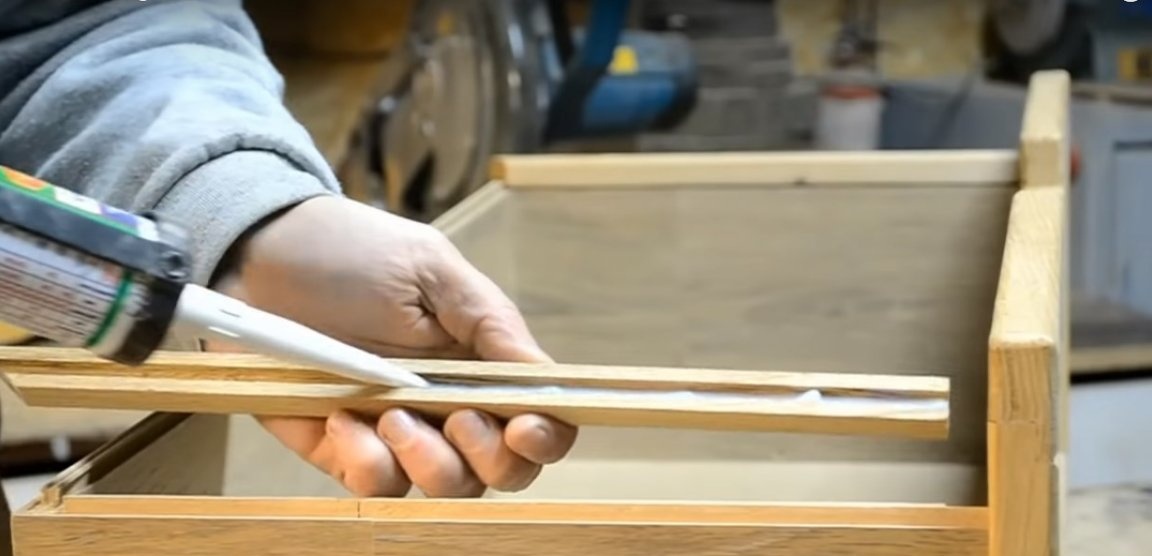
Assemble the panel as shown in the photo and sheathe it with a laminate, using glue and screws. On the back, make a groove under the bottom of the box. On the side of the screws, fasten small wooden planks. Fix the side parts of the box, install the bottom and fix the "back". On the edge, install wooden planks with a longitudinal groove.
Secure metal fittings with screws on the sides of the box. It remains only to put the boxes in the cells and make sure that everything is working properly.