

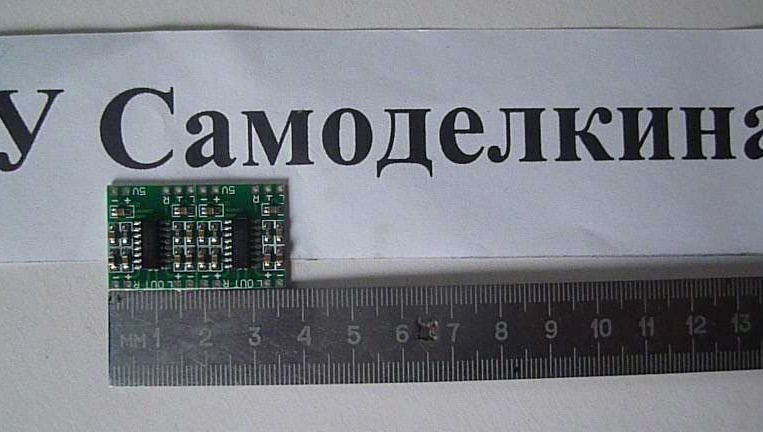
I have long wanted to make a simple VLF amplifier for small speakers. I want to apply in the garage by connecting to the phone. You can also use MP3 players, iPod media players, CD players, PDAs and, in general, any sound source as input. I found such an amplifier on Aliexpress. It was attracted by the meager price (12 rubles) and miniature sizes. It is a ready-made module for two channels, dimensions 18x21mm, power 2.5-5volts, output power 2x1.5W (with a load of 8 Ohms) and 2x3W (with a load of 4 Ohms). Since during the operation of the amplifier the heat dissipation of the elements is very small, it can be placed in any closed case without fear of overheating and failure.
The photo shows two module boards.
This article describes how to independently make a sound amplifier on a module.
See the entire manufacturing process in the video:
[media = // www.youtube.com/watch?v=MQyKQgL_fYk]
The list of tools and materials
-screwdriver;
-knife or scissors;
soldering iron;
-glue thermal gun;
Cambridge;
-device "Third hand";
-connecting wires;
- 1A charger from a cell phone;
-Light-emitting diode;
-acoustic speakers-2pcs;
-double variable resistor at 10-20K;
-Plug from headphones;
wire with USB connectors.
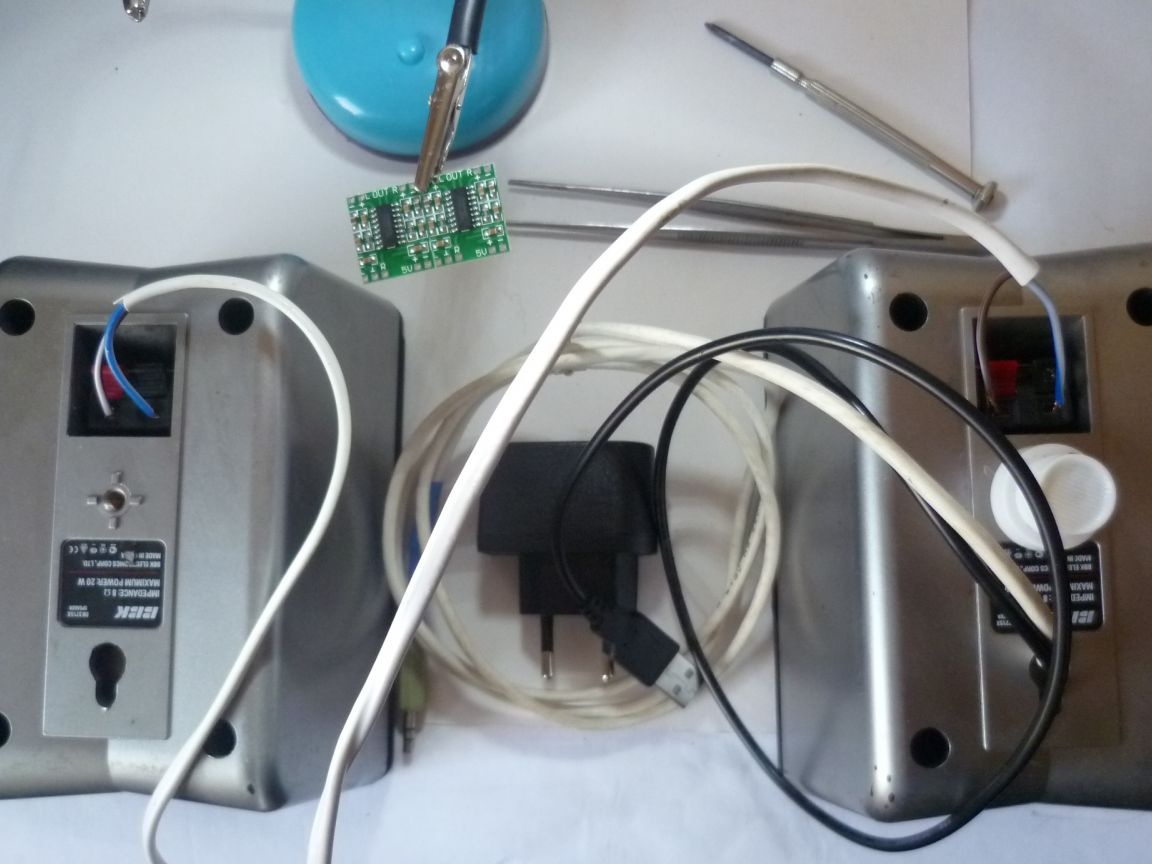
Step one.Wiring of connecting wires.
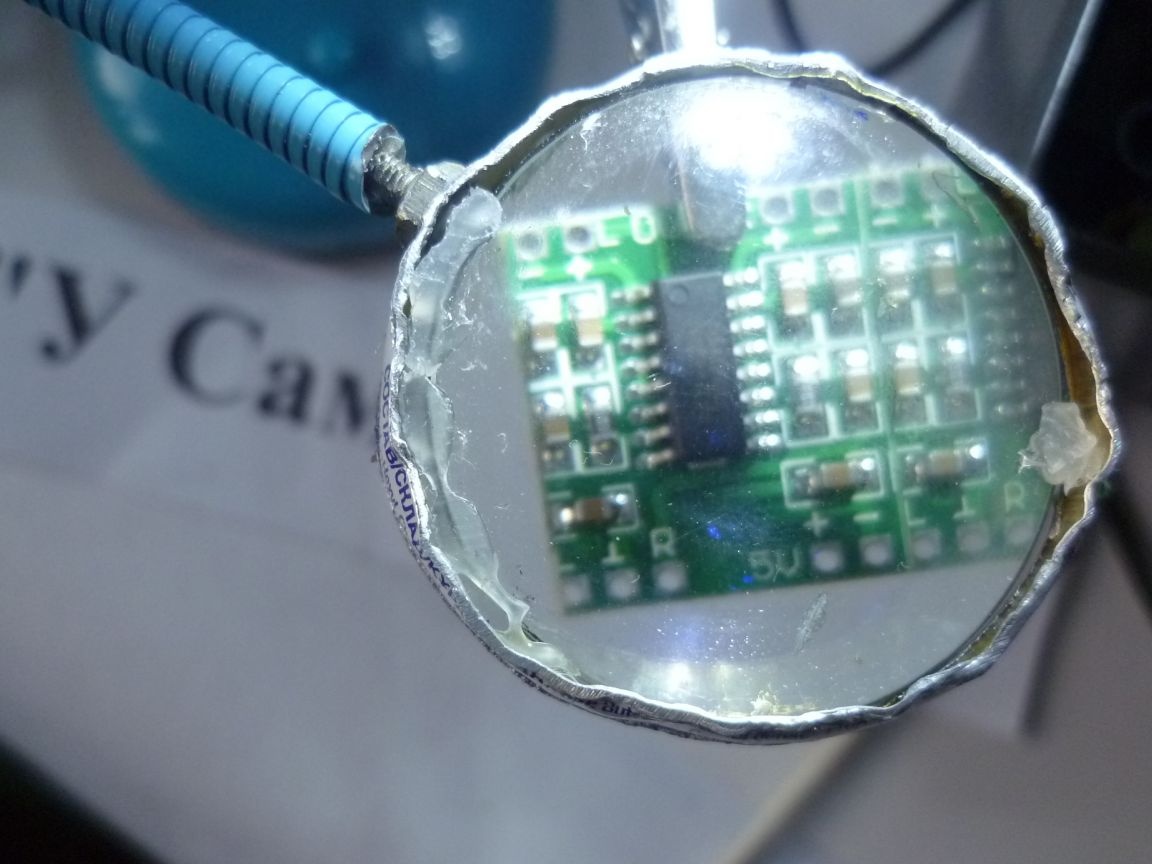
I had three amplifier boards at once. We break off one board along the fault line (like chocolate wedges). Since the basis of the device is a finished board with installed radio elements, our task is to solder the connecting wires to the board. The third-hand device with a magnifying glass, described earlier in article.
I added a volume control to directly change the sound level.

Step Two Amplifier assembly, installation in an acoustic column.
Solder the shielded wire to the jack jack (taken from the malfunctioning headphones), wind the other end of the wire through the hole in the speaker housing and solder it to the variable resistor according to the diagram. From a cable with USB connectors, bite off one connector and cut the wire. The USB cable pinout is such a red wire plus, black - minus power. Accordingly, solder to the board. I added an LED with a quenching resistor to indicate power. The regulator and LED installed in the rear wall of the speaker housing.
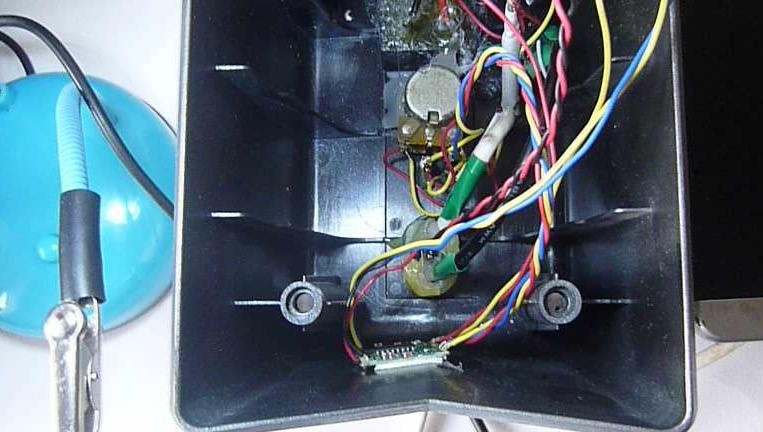
Samu electronic The amplifier board was glued to the wall inside the speaker using double-sided tape. One output to the loudspeaker was connected directly to the speaker of the speaker, and the second output was soldered to the standard speaker connector (it will be connected by wire to the second speaker.
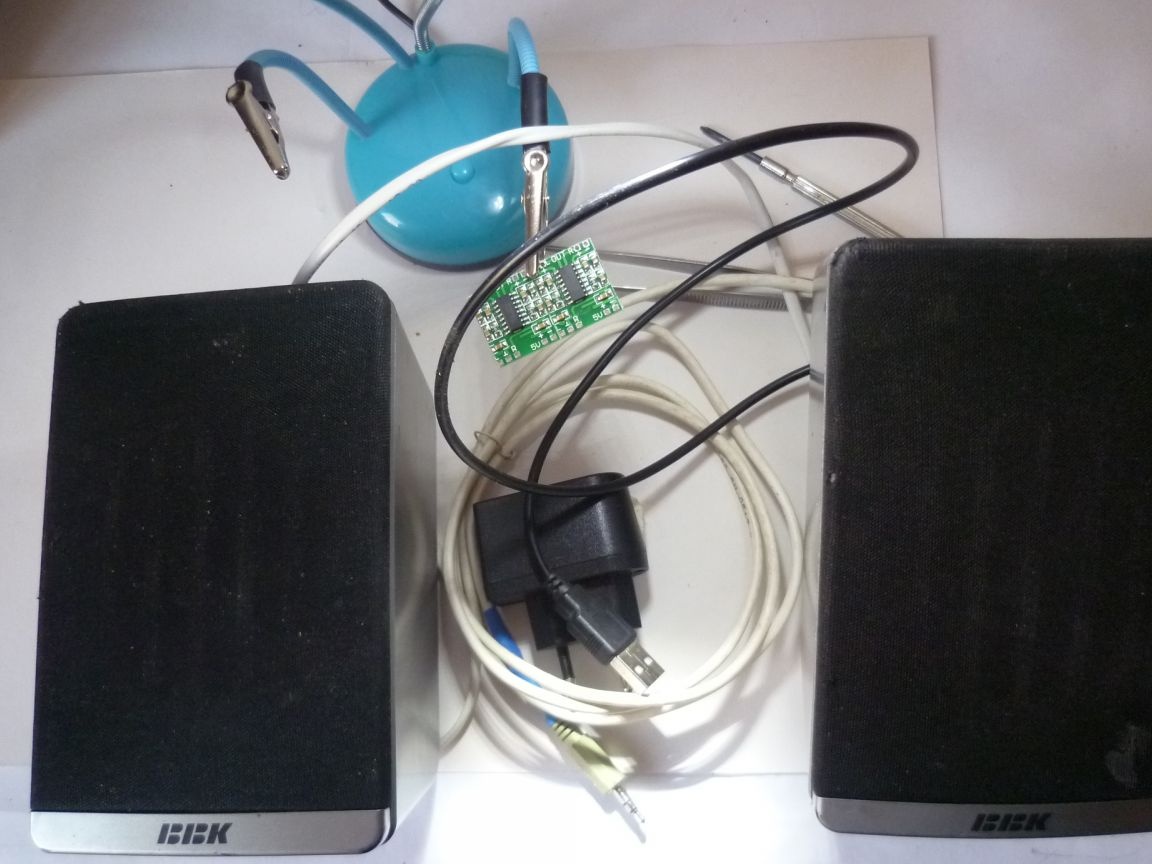
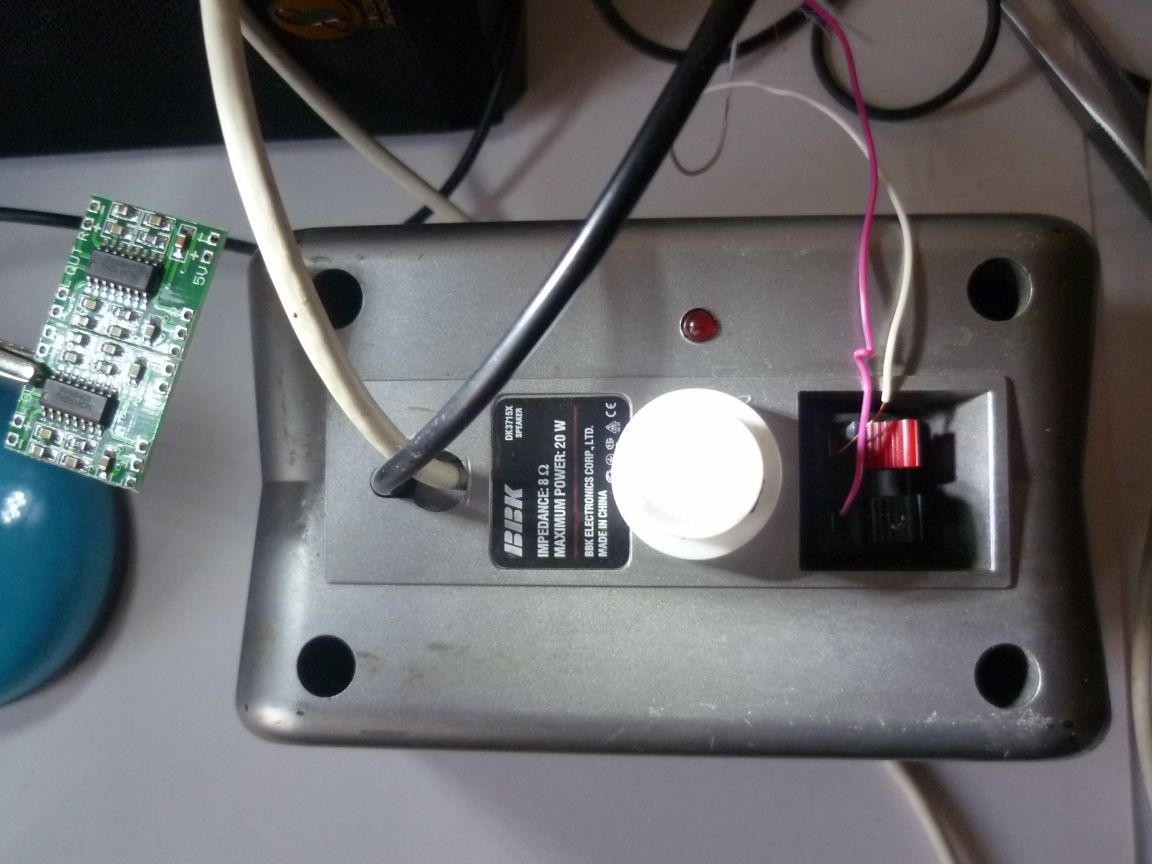
We fasten the front panel with the speaker into place. We connect the wire through the standard connectors to the second column, connect the charger (or computer USB) to the USB cable and the jack input connector to the phone. The stereo system is ready for use.
Step Three Amplifier testPAM8403.
The first test of the amplifier showed that the device works quite well. Value for money quality level. This amplifier can sound a small room, the sound quality draws on a solid four. If you wish, you can install a 18650 battery with a charging module in the speaker case, then we get a compact stand-alone stereo system. In this case, you can use it on the street, on vacation in the country, etc. Any beginner will be able to make active speakers on their own, especially since this will not entail the expense of time and finance.
The whole alteration took about 1.5 hours of free time and 12 rubles (.). The charger is free, wire connectors, speakers are similarly selected from the garage trash.