Do you like basketball ?! Not enough time for your favorite job?
Then you are on the right track, because this homemade designed just for you!
Each of us is a basketball player in our hearts, and this manifests itself at the moment when we are engaged, it seemed to be a usual thing for us, namely, we throw out the trash. A crumpled piece of paper or other object flies like a basketball into an urn, and we rejoice when the ball reaches the goal.
As you probably already understood, the author decided not to make an ordinary ballot box, but a ballot box that will have a basketball direction, with a real shield, ring, and other sports elements.
How to actually do this?
Now about everything in detail!
We will need it.
Tool:
- drill;
- clamps;
- brush;
- sandpaper;
- saw.
Materials:
- 12 equal boards for the base of the basket;
- 3 equal boards for the bottom base of the basket;
- 3 boards for the shield;
- 2 boards and a cross bar for the shield holder;
- 8 pieces of a square profile 7 cm long;
- logo of the basketball club;
- wooden dowels;
- electrical tape;
- carpentry glue;
- patina.
To begin with, we determine what size the basket will be based on, from these sizes we choose the length of the boards. In our case, approximate sizes of 6-20 cm were chosen.
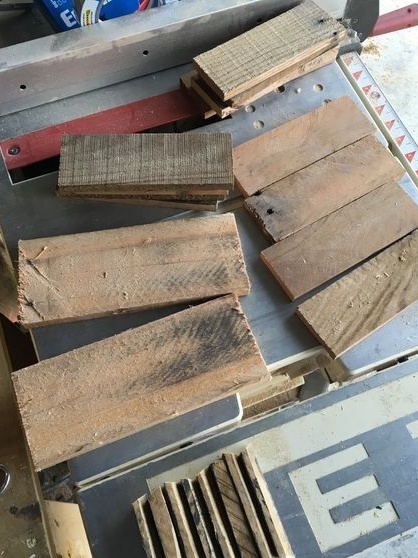
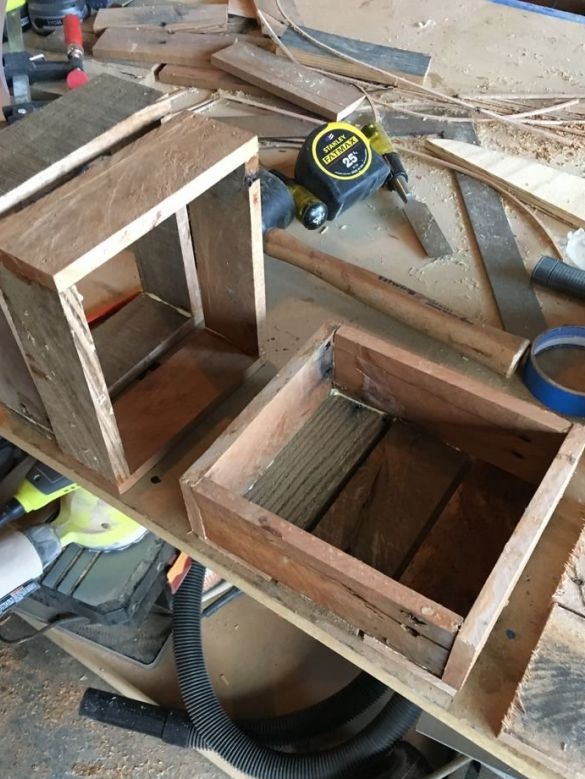
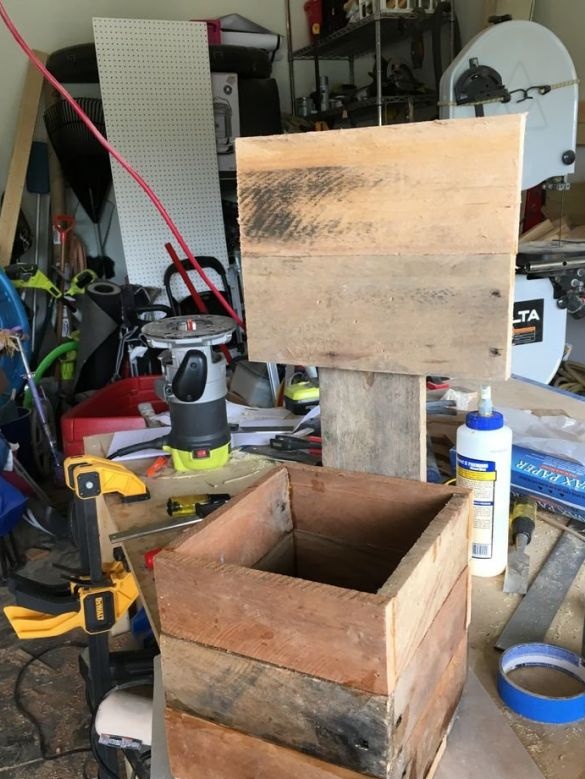
We begin to make a box for the future trash bin. We take 4 equal boards and collect in the form of a square. More details are shown in the photo. As fasteners, we use special wood glue or nails, self-tapping screws. Such square shapes must be made in the amount of three pieces. In order for the structure to stick together well, use clamping clamps.
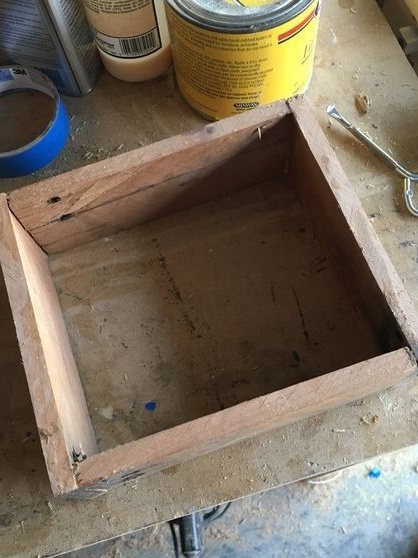
When the structure has dried, we take all three squares and glue one to one. Next, you need to take three boards and make the bottom of the basket. For fastenings we use glue or nails. We press the main part of the urn with something heavy and wait until the structure dries.
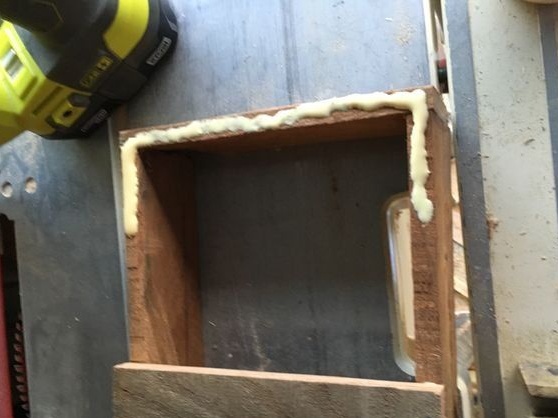
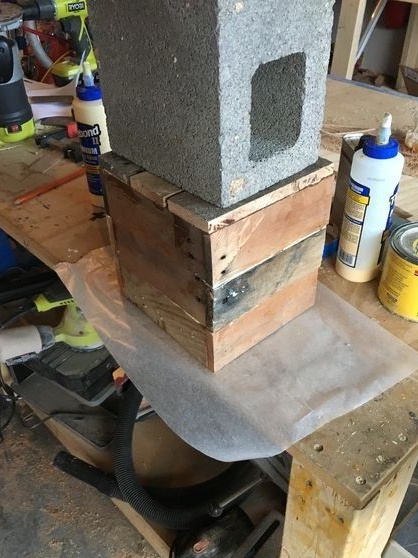
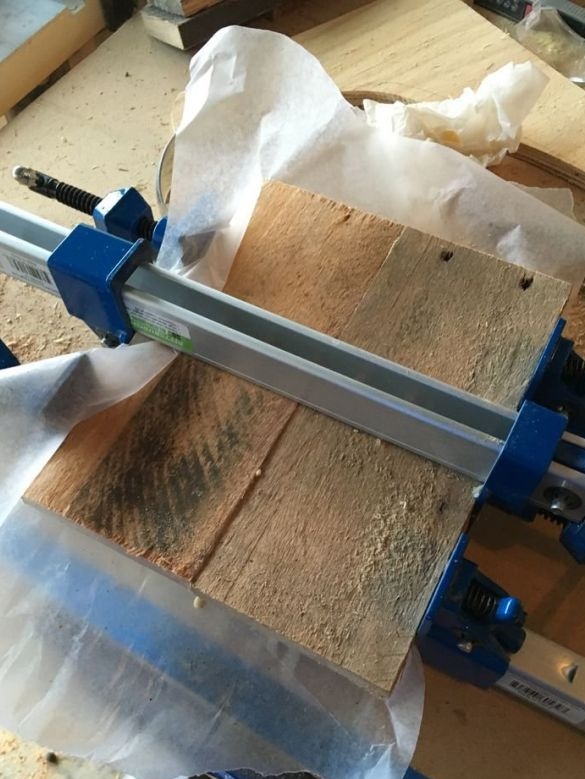
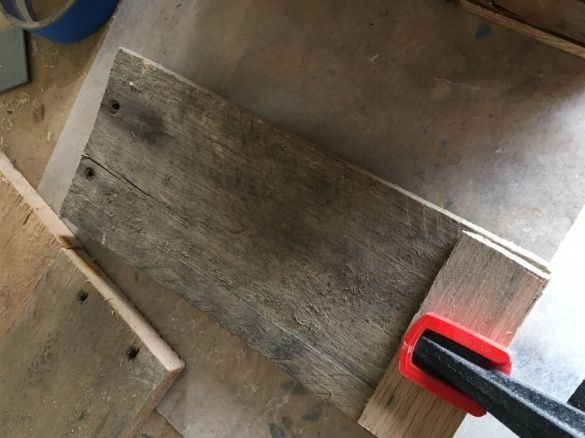
The next step is to make a basketball backboard. To do this, connect the two boards together. We choose the mounting method at our discretion.
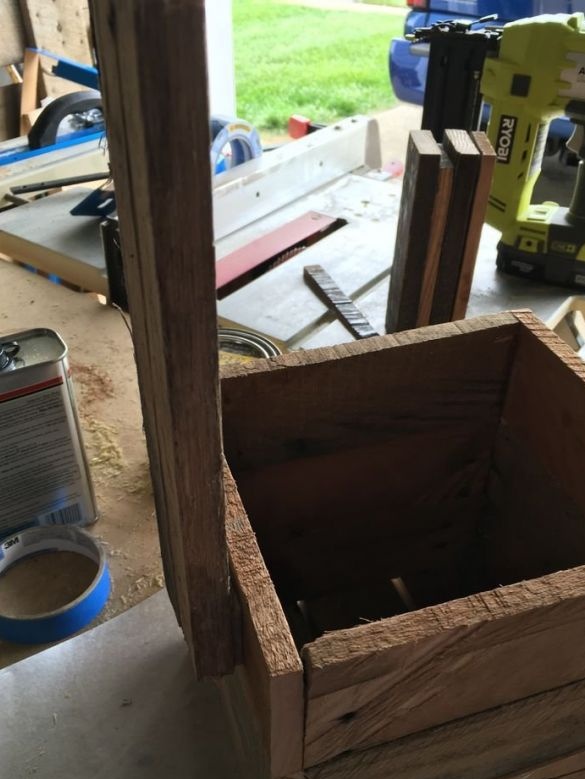
Now we assemble the holder for the shield.We take the board and in its lower part we install a small transverse bar, this is so that there is a gap between the urn and the holder where the garbage bag will be attached.
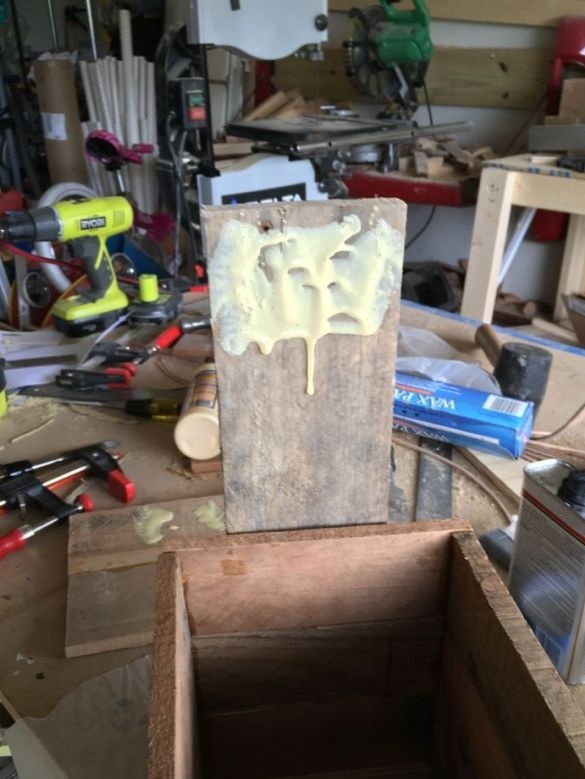
Next, glue the holder and shield to the ballot box, fix everything with clamps and wait until it dries.
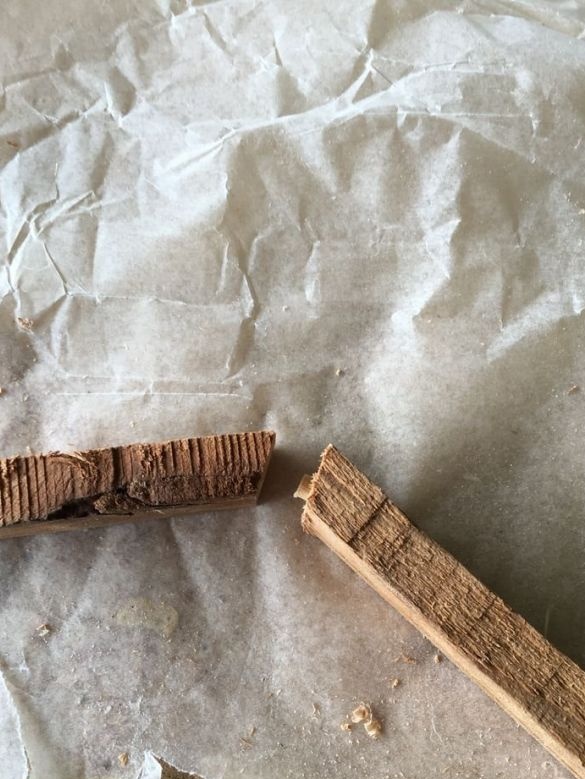
Now we will perform a very subtle operation with the tree. We take a wooden profile and make a ring out of it, we use carpentry glue and dowels as a fastener. We cut the expansion bolt shield into small parts.
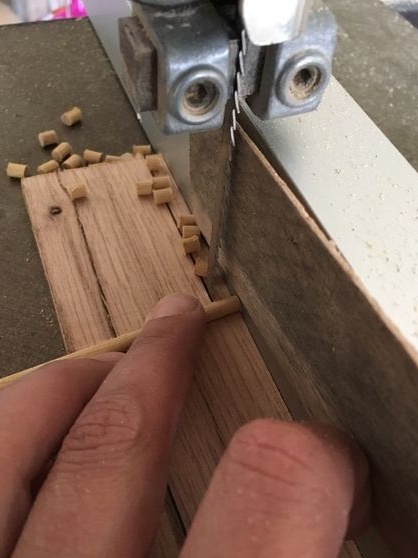
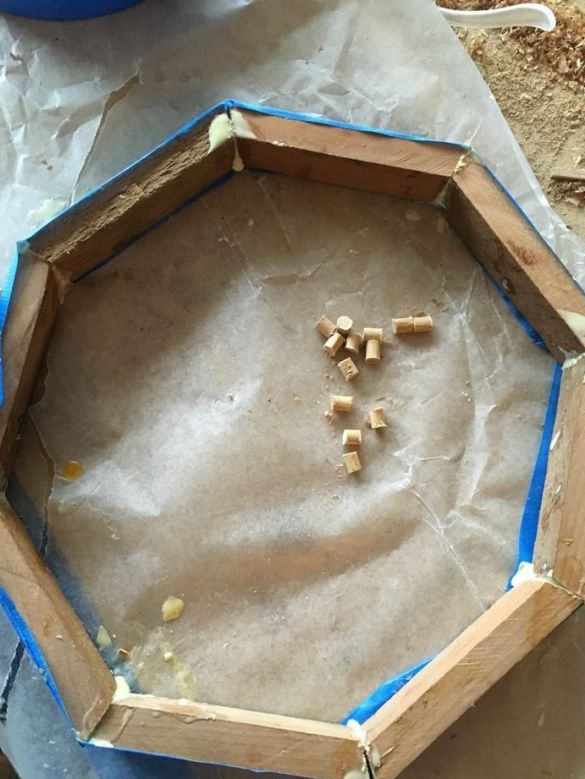
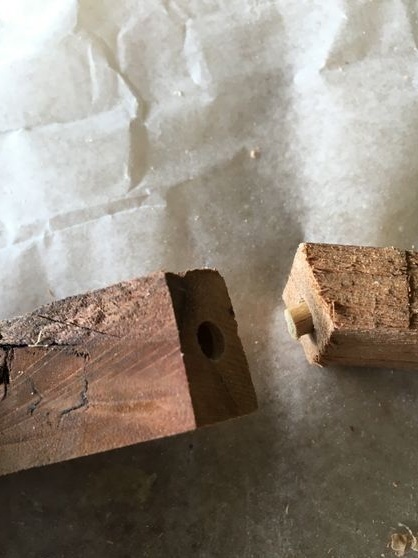
The ends of the square profile must be cut at an angle of 22.5 degrees. Then you need to make holes for the dowel in each of the bars. In order to have the same hole depth, you need to take a drill from the drill and set a limit using a conventional electrical tape.
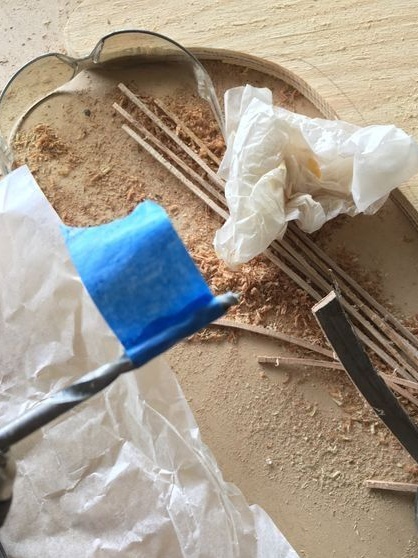
We begin to collect the ring. We put the dowels into the holes made, grease with carpentry glue and press each other so that a ring forms. As the clamping element, select the electrical tape.
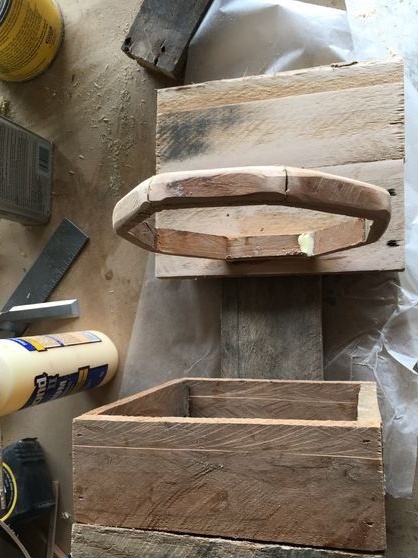
Now you need to process the ring, namely the protruding corners, with sandpaper or a grinding machine, so that the corners are of the desired shape.
We fasten the ring to the shield. In this case, with glue.
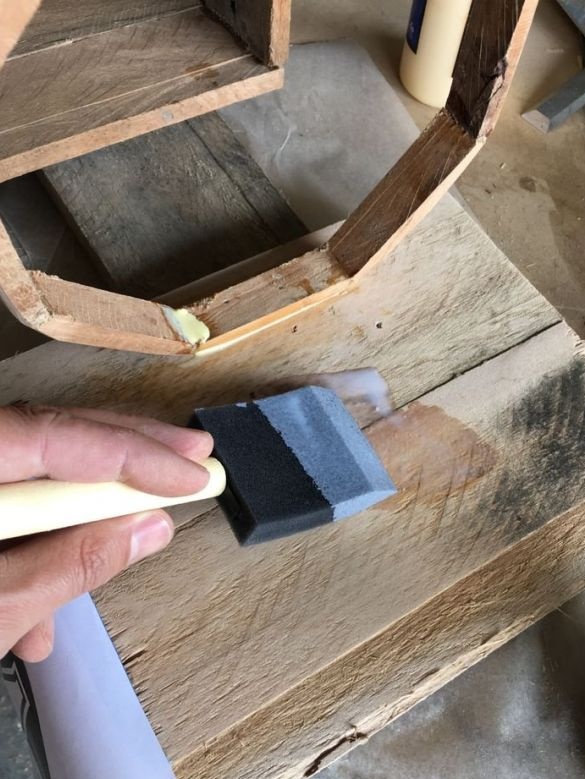
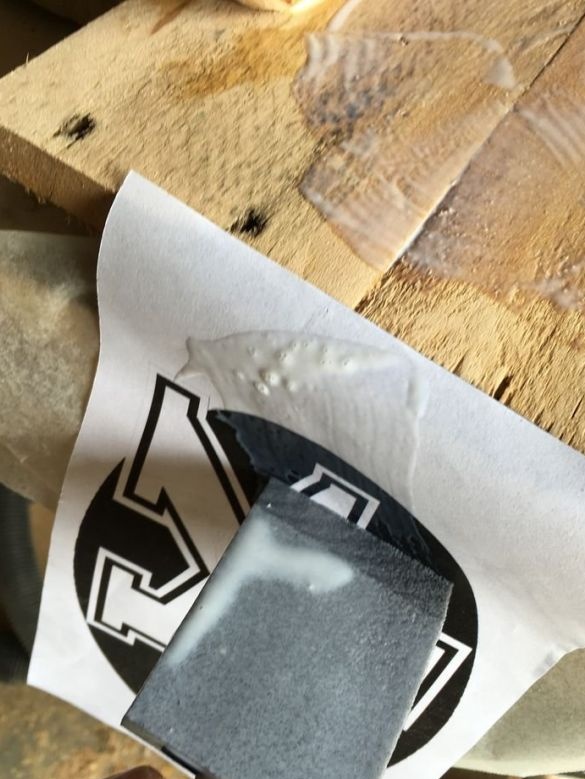
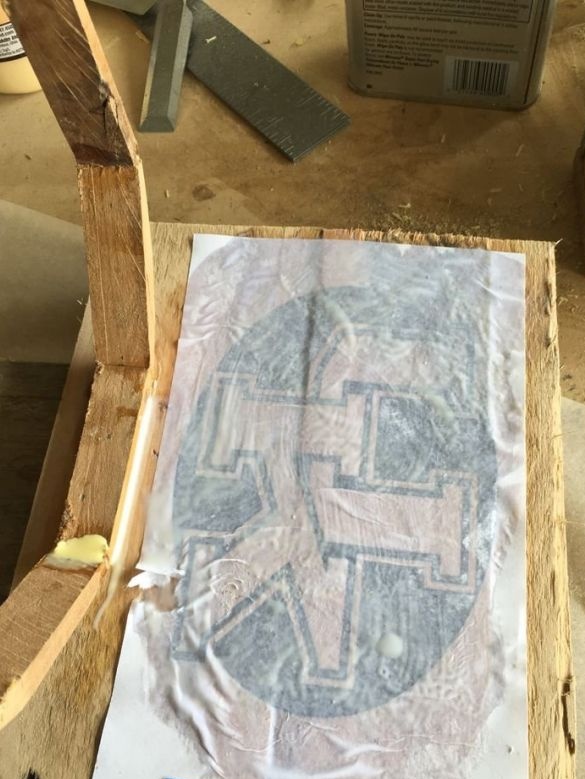
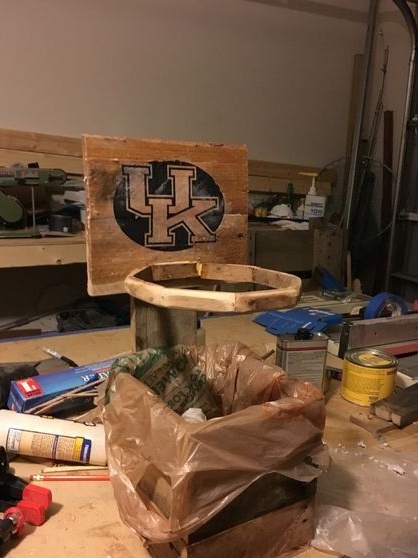
The final step will be to stick the logo of your favorite team. We use a patina. Lubricate the wooden surface and transfer the image to the shield.
That's actually all ready. We get the original basketball basket, which we can install at home, in the garage either at work. It can be used for its intended purpose or simply as part of the interior.
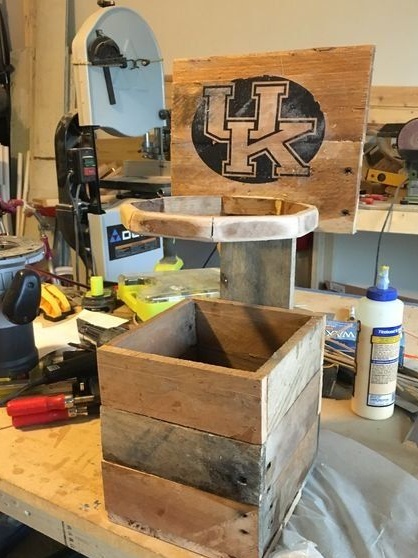
All successful shots!
Thanks for attention !

