
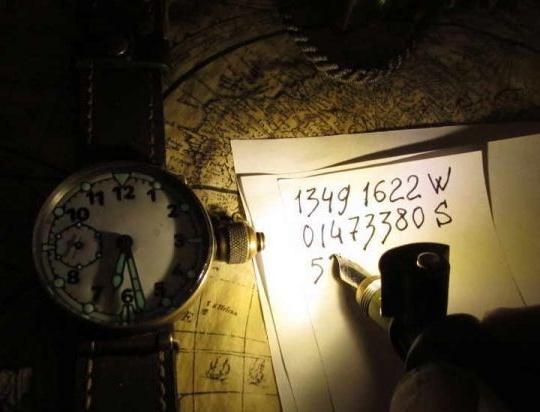
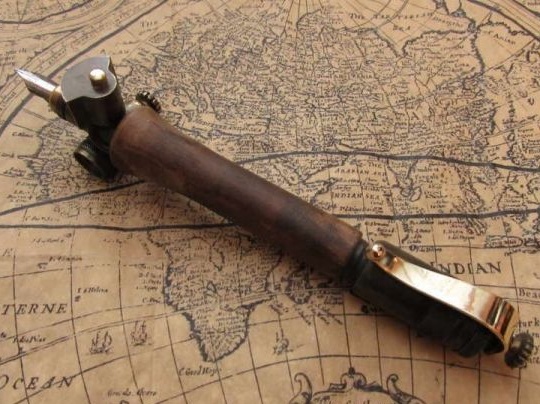
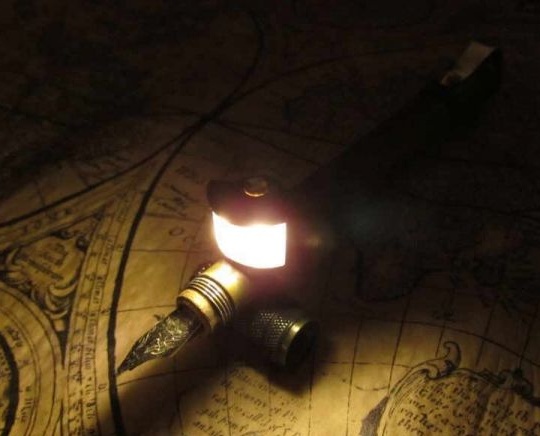
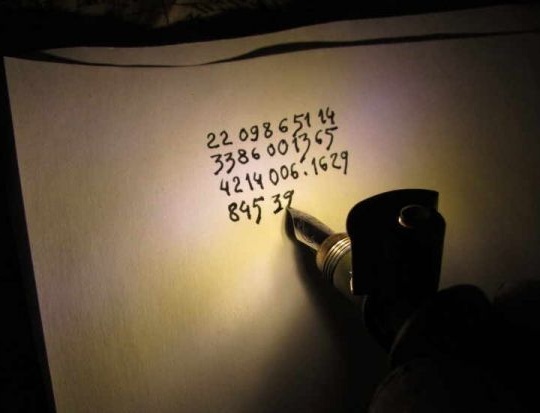
To this day, the direction of Steampunk is gaining popularity, both among young people and the older generation. The guys do interesting and unique things, and most importantly, they do everything manually and never copy work. So our author once again decided to create a unique little thing in style Steampunk, on the subject of airship-bombers and navigators-gunners. To make adjustments to the fire, the navigator needs masking lighting, so as not to fall into the enemy's sight. And so let's look at how the author made a pen with backlight and what he needed for this.
Materials
1. brass tube
2. copper wire
3. copper pipe
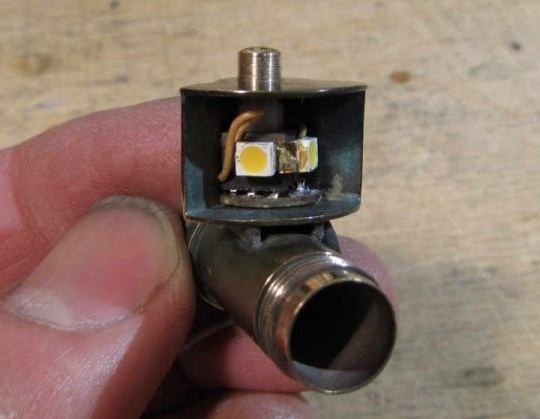
4.LED 2 pcs
5. push button switch (latching)
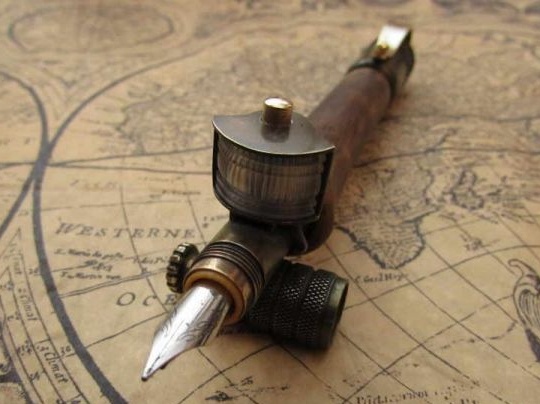
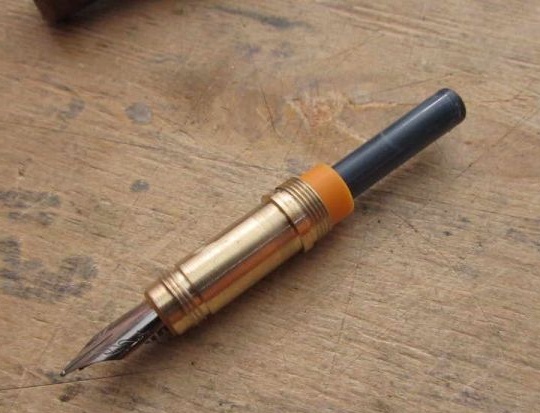
6. fountain pen
7. ink cartridge
8. copper wire
9. plexiglass
10. wooden beam
Instruments
1. lathe
2. drilling machine
3. burner
4. ammonia bath
5. sandpaper
6 boron machine
7. vernier caliper
8. soldering iron
9. pliers
10. hacksaw
11. jigsaw
The process of creating a navigator-navigator pen in a steampunk style
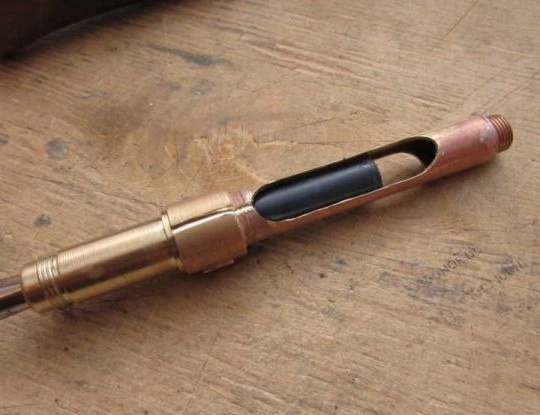
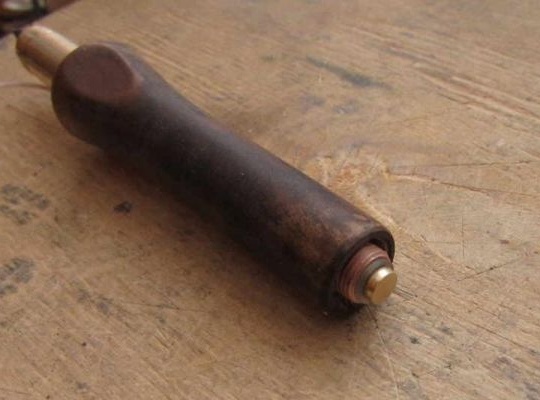
And so the first thing the author found a suitable donor from a huge selection of fountain pens. I bought several copies in the store from the cheapest for 15 rubles to an average of 90 rubles. I tested calligraphic writing on paper and came to the conclusion that the best option would be a pen that is more expensive. Further, the master dismantled it and left only a pen, and an ink cartridge, then the plastic case was slightly sharpened.


This article is for informational purposes only!