Hello to all the masters!
Many of us have a type of vehicle such as bike. Like any other vehicle, we have to repair it, and in order to replace, or just set up a bicycle, we have to put it in different positions, which is not very convenient. In order to facilitate this process, the author of the article suggests making do it yourself simple device, the so-called bicycle rack.
For the manufacture of this work we need.
Tool:
- welding machine;
- grinder;
- drill;
- jigsaw.
Material:
- Shipping basket from the supermarket .;
- Pipes with a diameter of 47 and 60 mm, thickness 44 mm;
- A metal rod with a diameter of 10 mm;
- Metal corners 25 x 25 mm and 34 x 34 mm;
- A piece of rubber 30 mm thick.
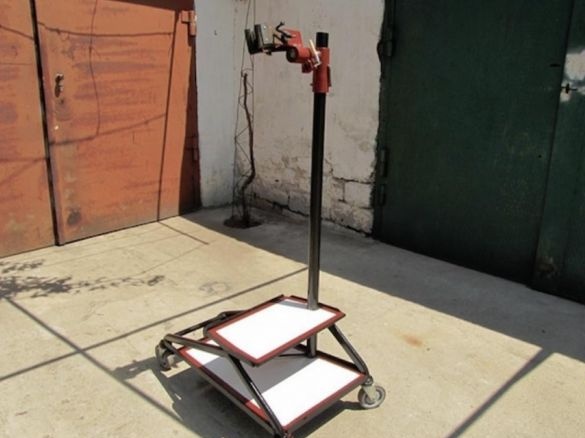
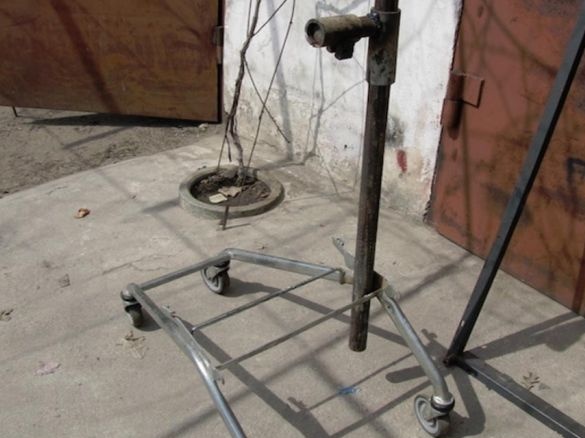
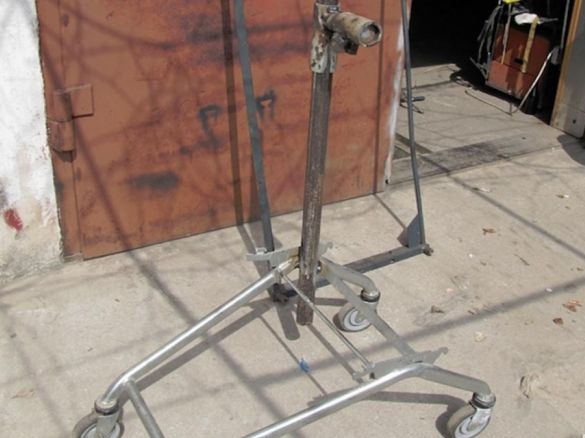
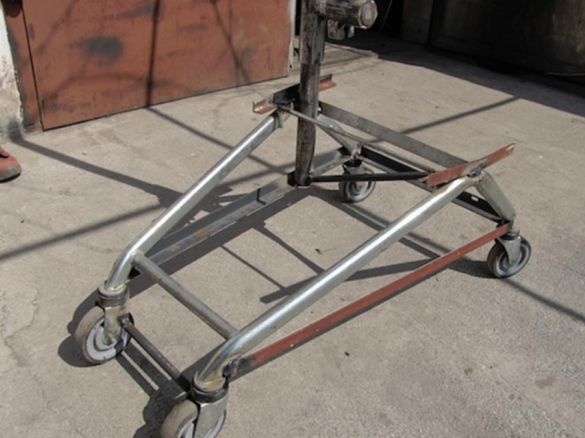
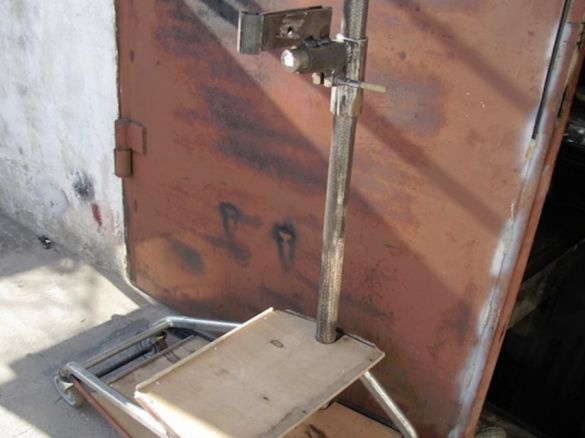
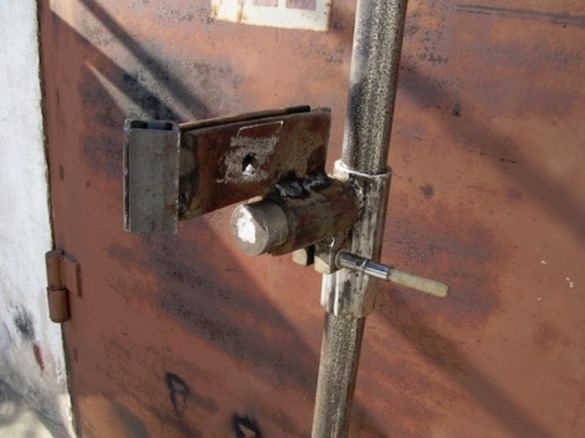
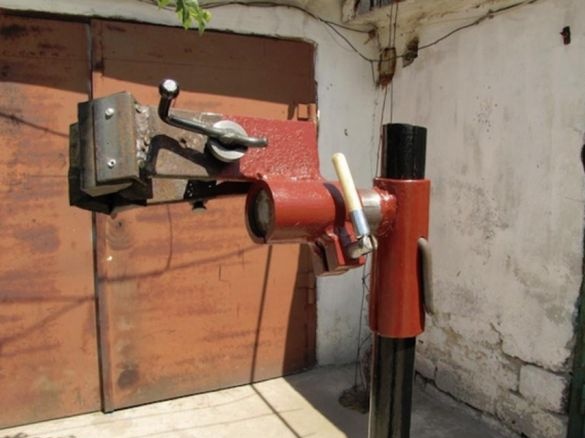
The basis of the design was the cart from the supermarket, from which we removed the entire upper part, leaving only the chassis. Further, as shown in the photo, we welded a vertical pipe with a diameter of 47 mm. Then we designed fixing devices, for this we took two pieces of pipe and one round. One piece of pipe will go to a vertical stand, its diameter should be larger, this will work on the principle of “tube in pipe”, thanks to this we can change the vertical position. Next, we weld a horizontal round to this pipe segment. Then we take the remaining piece of the pipe and use a grinder to cut it in length, then we weld two cheeks, on which we will place the fastener in the future. This scheme will work like a vice, and we can change the angle of the bicycle. See the photo for more details.
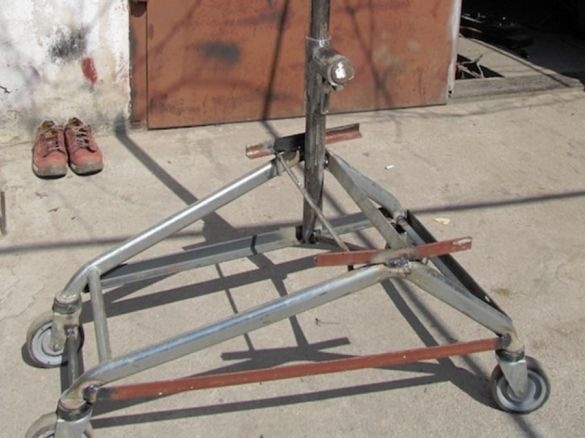
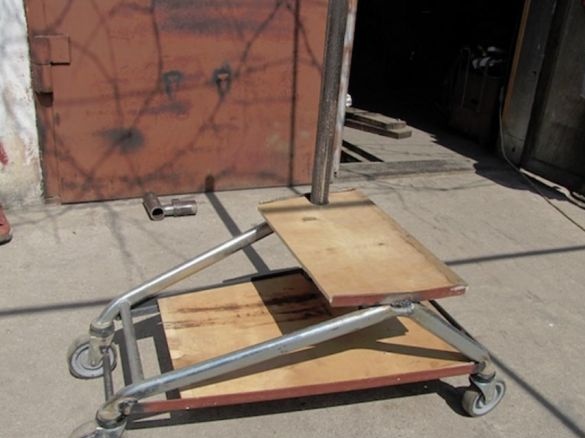
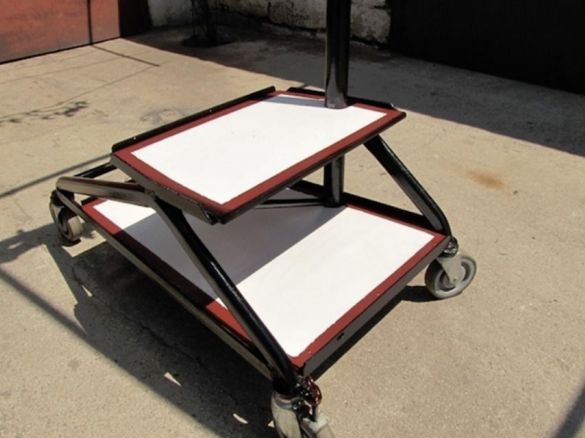
Next, let's move on to the chassis. It was decided to make a small upgrade, namely to add a couple of shelves on which the necessary tool will be placed, which we will use during the repair. To do this, a corner of 25 x 25 was taken, cut into pieces of a certain length and welded to the structure below and above, as shown in the photo. It also reinforced the design. Then we take the plywood and cut out two shelves for the structure according to the size, and install them in their place.
Now let's go back a little to the main fixing element, we need to finish it a bit. To do this, take two metal plates, in the center of which we drill a hole. Further, at the ends of the plates on each of them we weld two corners (35 mm), these two corners will play the main role as a retainer, between them will be placed a bicycle frame.Then we take one of the plates and weld it to a horizontal tube. Then, in the drilled hole on the cheeks, we install a tightening element, which was removed from the old bicycle. When everything is ready and the welding work behind, you can slightly modify the locking element, namely, install small pieces of rubber inside the corners, so that the bicycle frame is better fixed.
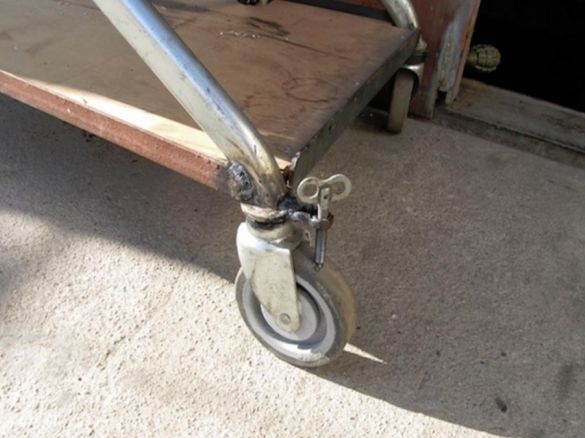
As can be seen in the photo above, the frame will be fixed by closing and opening two plates. In order for the stand to stand motionless during repair, we weld a nut in the lower part near the wheel, in which a bolt with a “wing” nut will be screwed.
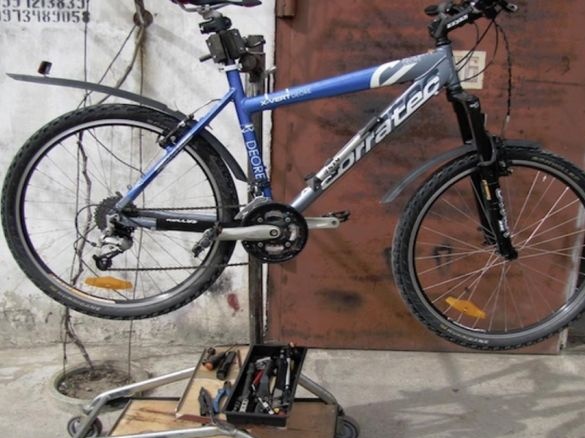
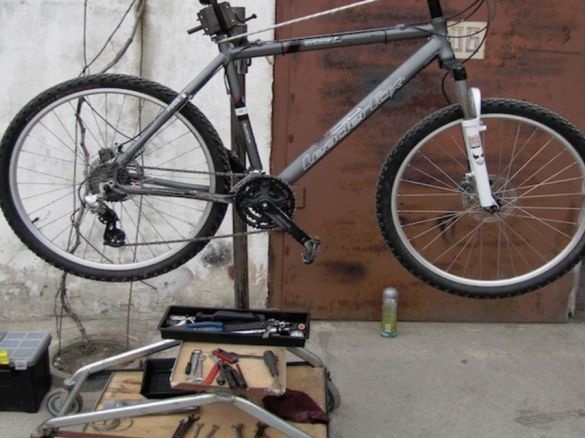
Now we can assume that the home-made rack is ready, it remains only to drill it and see what it is capable of. We install bicycles and see what happened.
The final step will be painting.
This work can be considered completed.
The stand turned out to be very reliable, and convenient to use.
Thank you all for your attention!

