


Hello to all lovers homemade. Many people know that achieving good quality photos and videos is not so easy. The main guarantee of success is good lighting. Buying ready-made solutions is expensive and sometimes it is an unjustified waste of money. So I decided to make a tripod lamp do it yourself, which will not only illuminate the workplace, but also serve as a tripod for the camera.
Video of making a homemade tripod lamp.
In order to make our homemade product you will need:
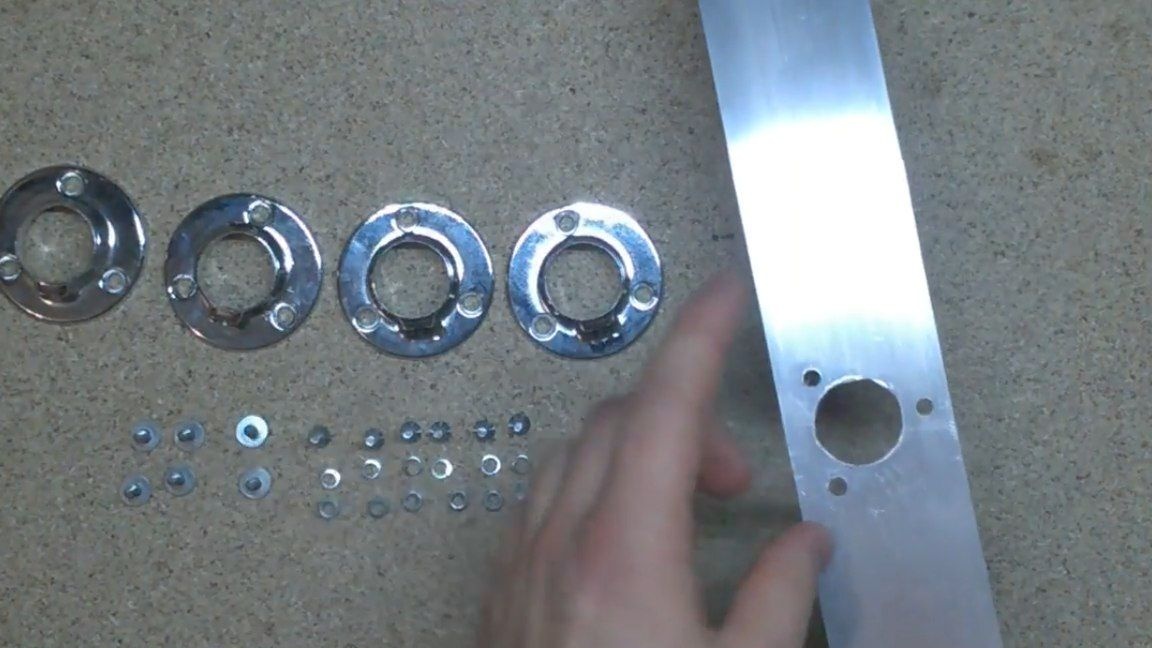
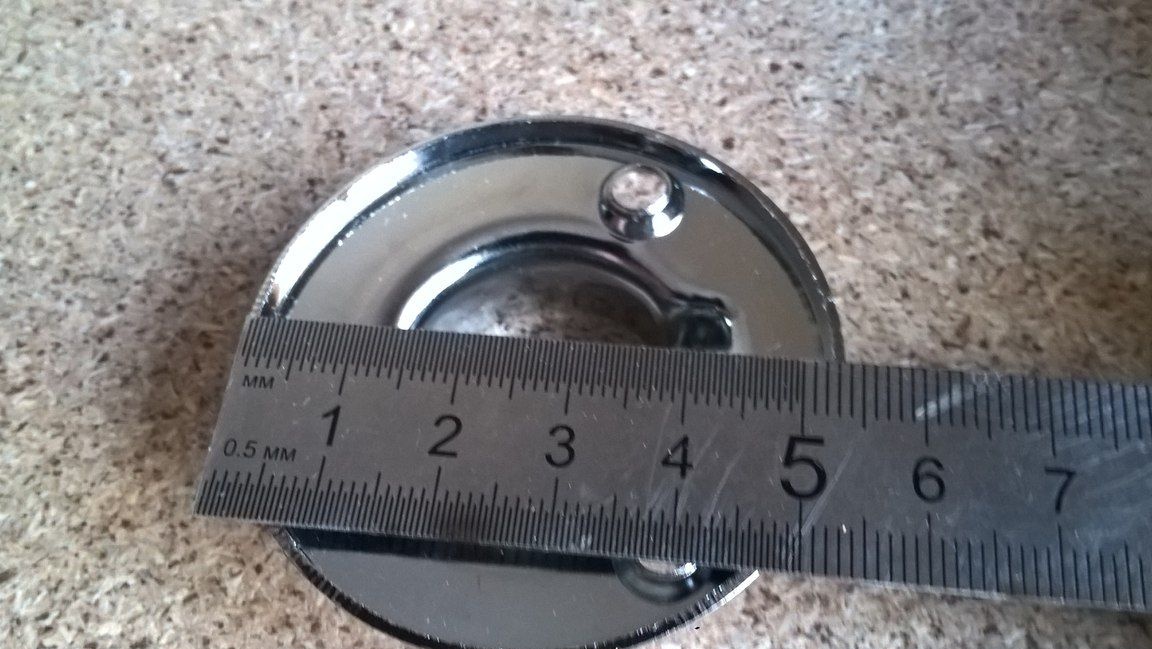
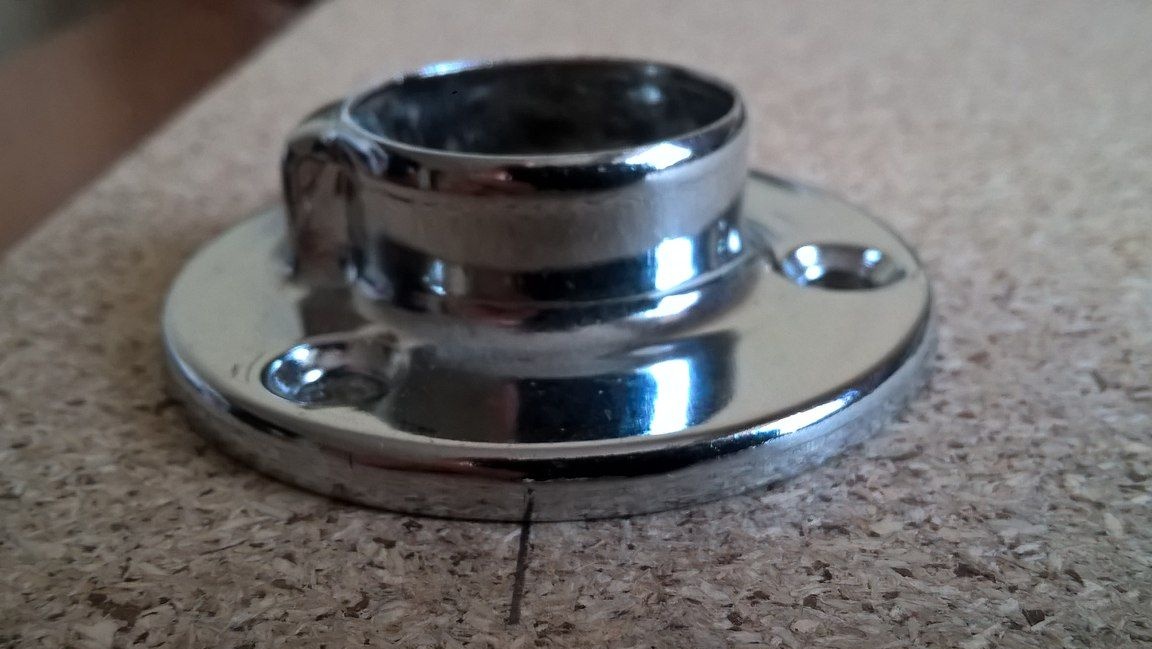
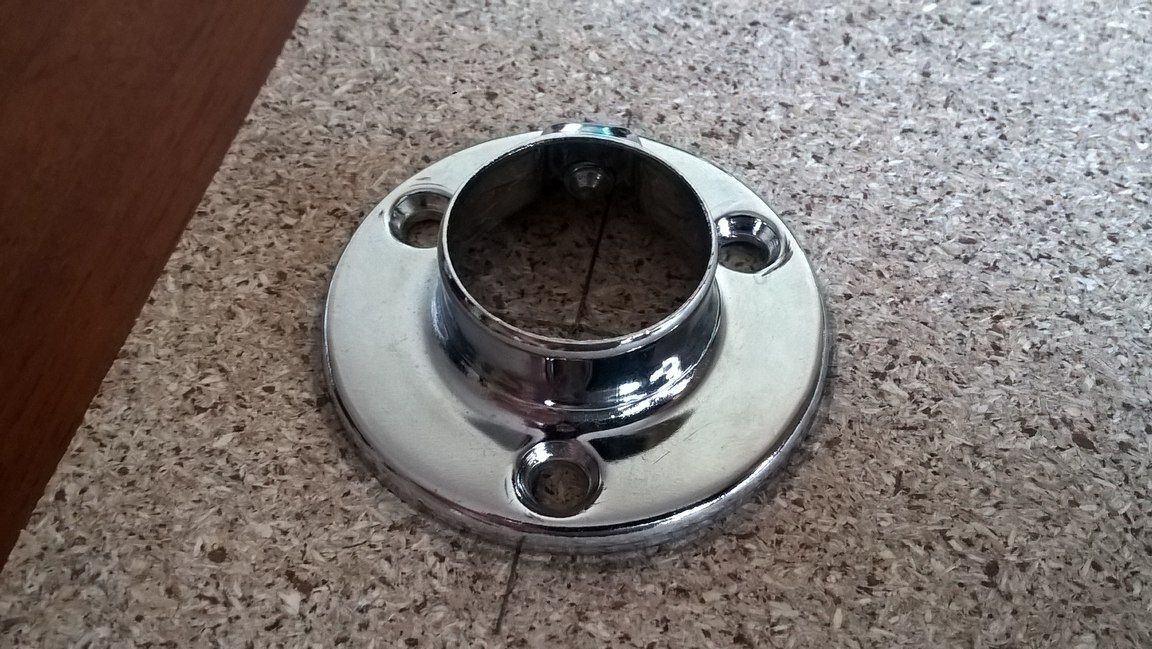
* 4 fasteners for a pipe with a diameter of 25 mm.
* 4x12mm screws, also nuts and engraver for them.
* 3 terminals.
* Three-position switch.
* The wire.
* Two pipes with a diameter of 25mm and a length of 500mm.
* Aluminum corner 50x20x2mm 1 meter long.
* LED strip about 4 meters.
* Heat shrink tube of any color.
* Ruler.
* Scalpel, an alternative to a clerical knife.
* Solder.
* Soldering iron.
* Power supply 12 volts.
* Rosin.
* Files.
* Lighter.
* Felt-tip pen or pencil.
* Drill with drills and cutting disc.
* Sheet chipboard.
Well, that’s all the materials with the tools are ready, proceed to the assembly.
Step one.
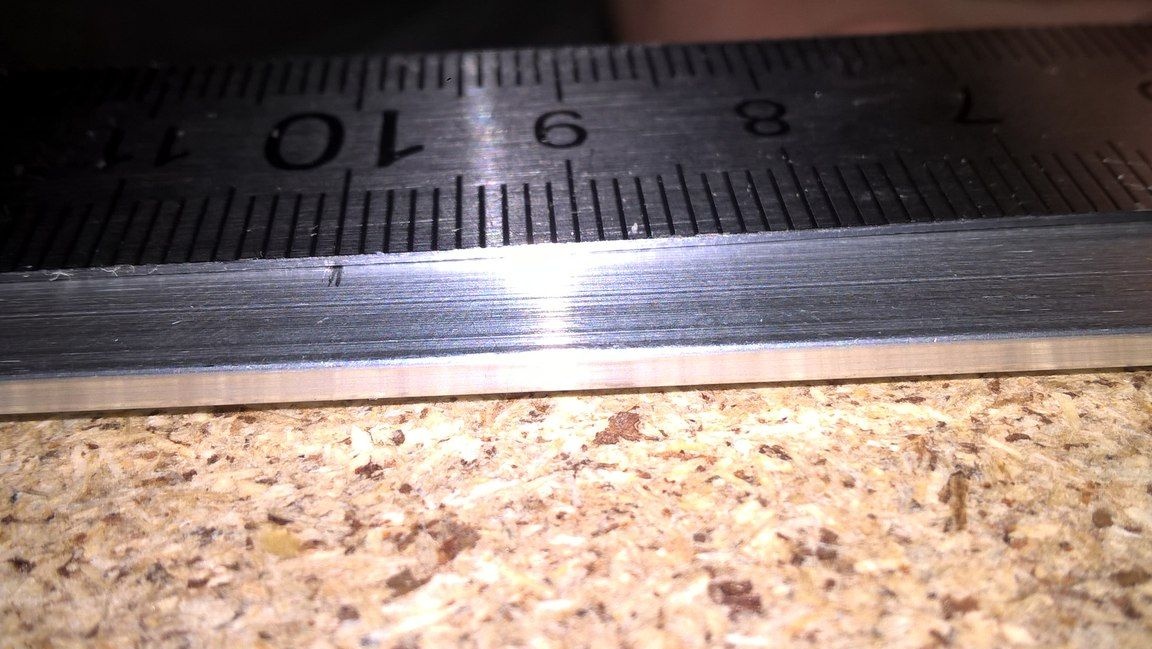
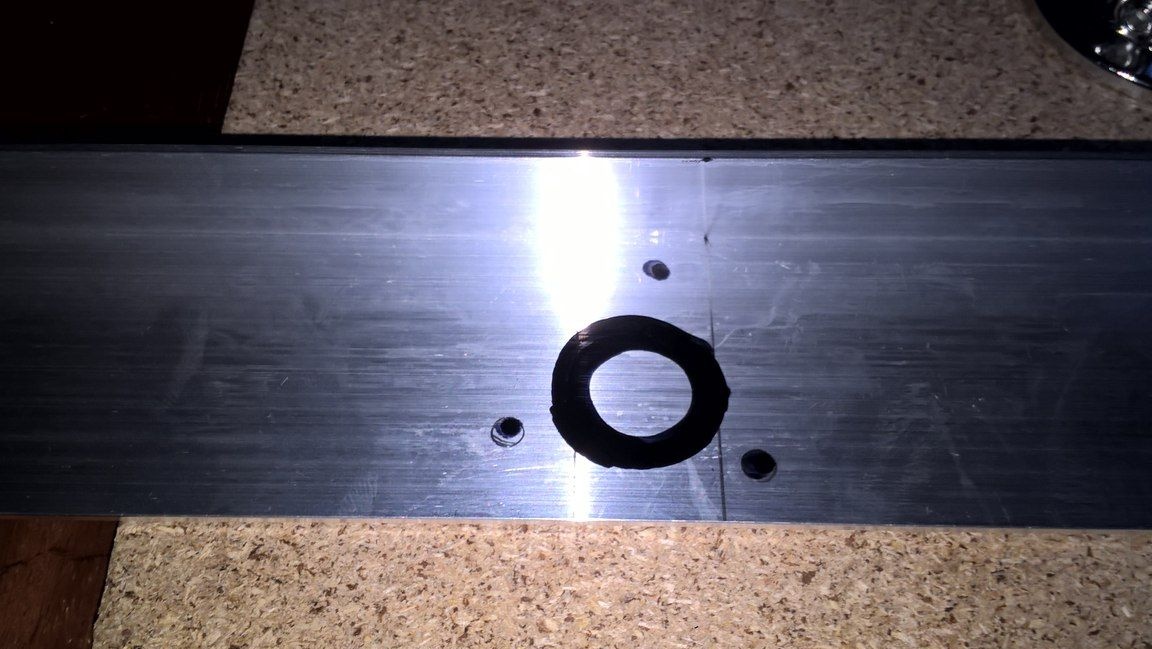
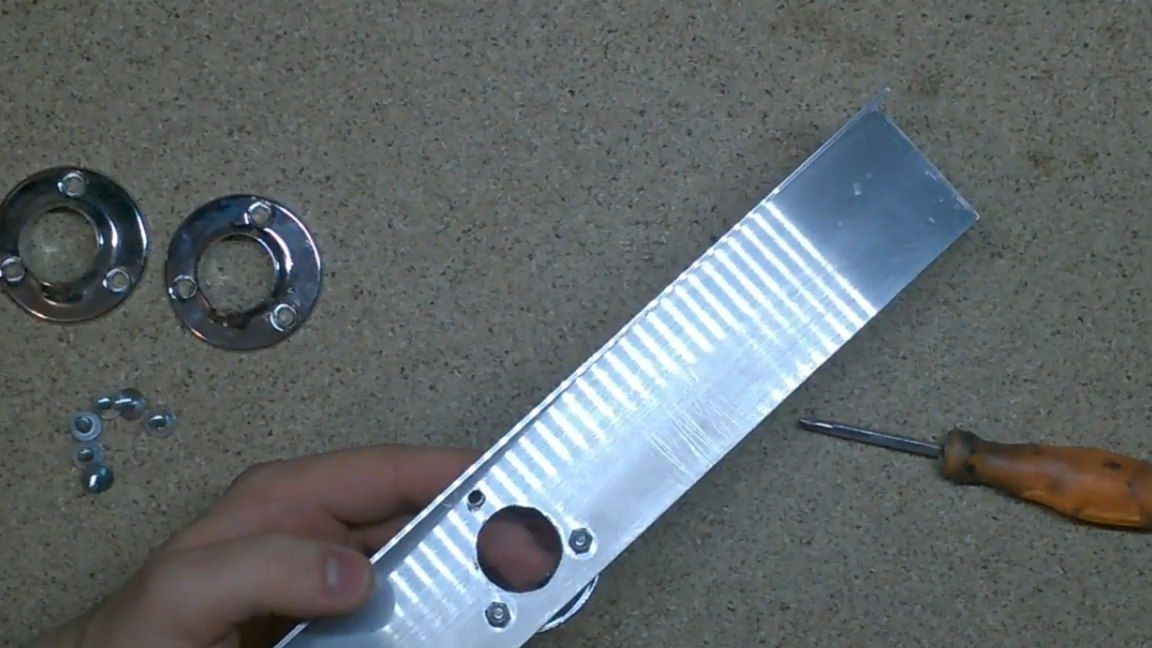
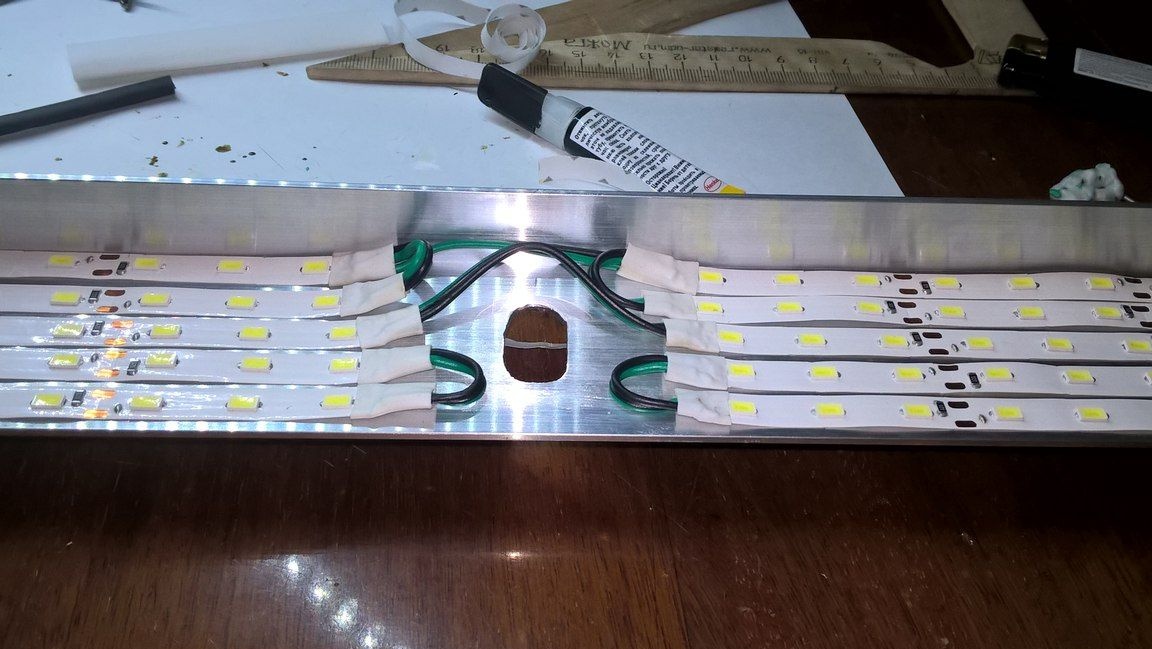
First of all, you will need to cut a hole in the aluminum profile for mounting the pipe with screw holes, as well as a hole in the middle so that the peephole of the phone camera fits there. We make markings on the profile and saw out the drill, setting the cutting disc. After that, we adjust the holes to the desired size using a file.
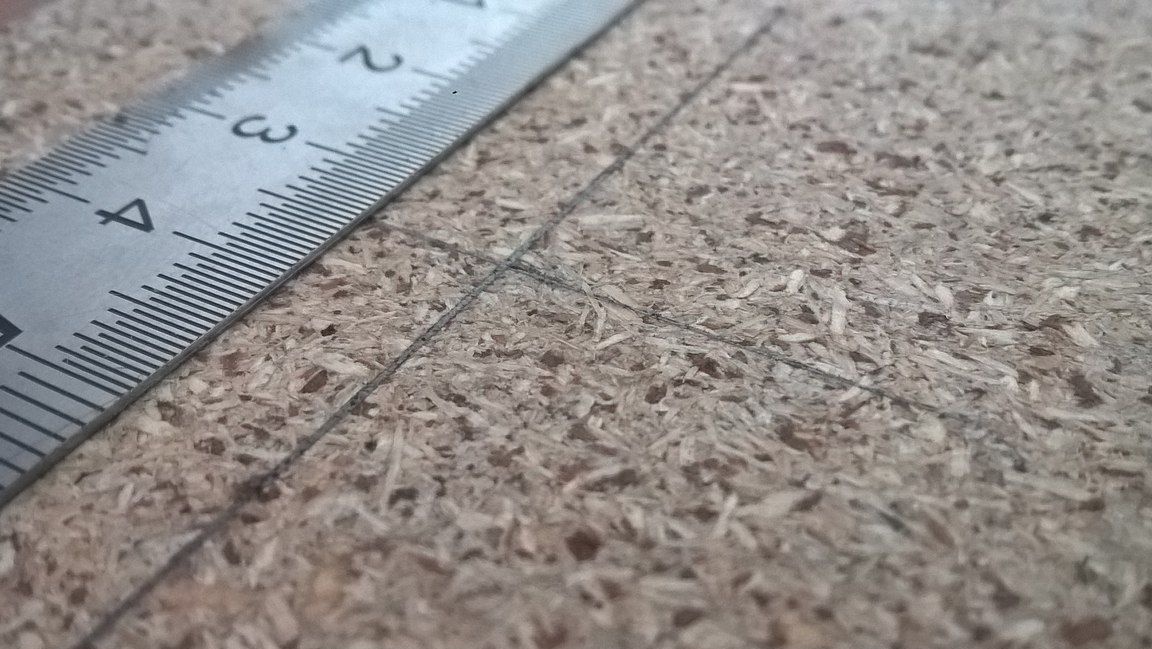
We also make markings on the chipboard sheet itself, where the fasteners will be located.

Then we twist the screws to form a thread in the chipboard, and then try on the fasteners and screw them on. Similarly, we do with the second.
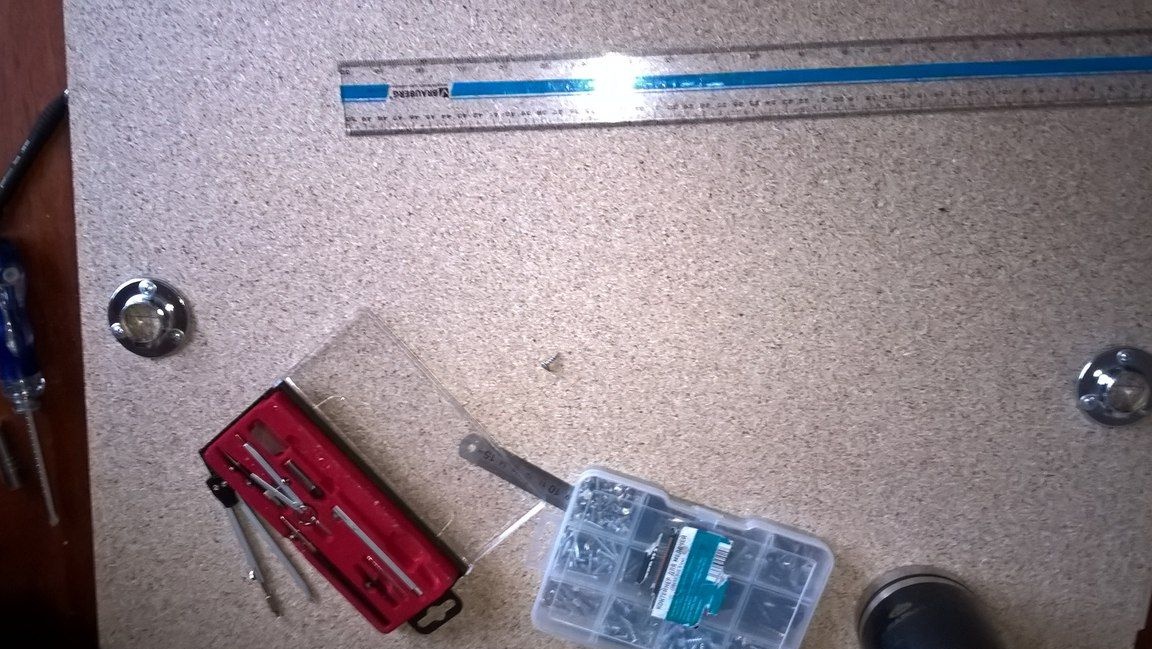
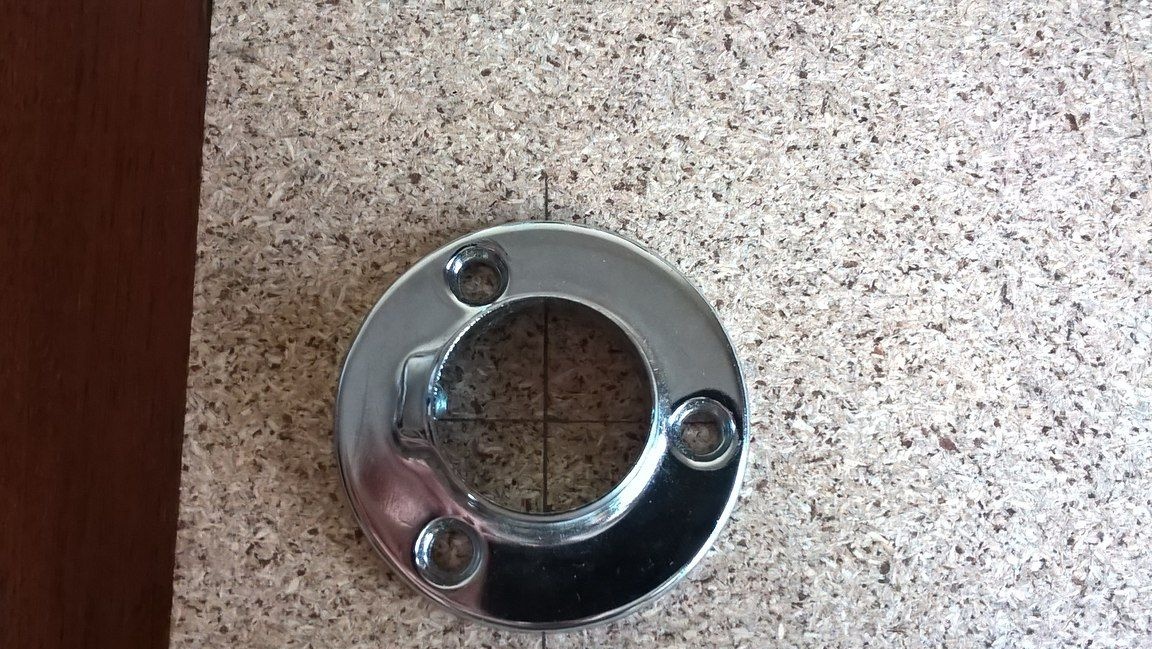

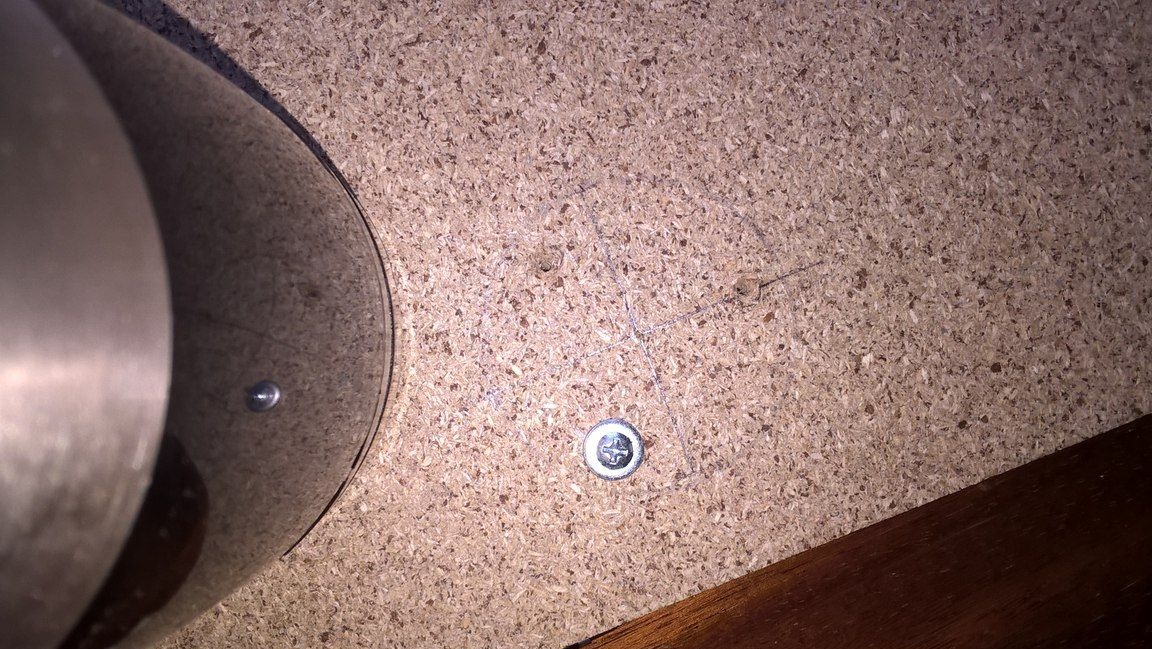
Fasten everything with a screwdriver and six screws onto which after we throw the engraver and nut. On the reverse side it looks like this.
Step Two
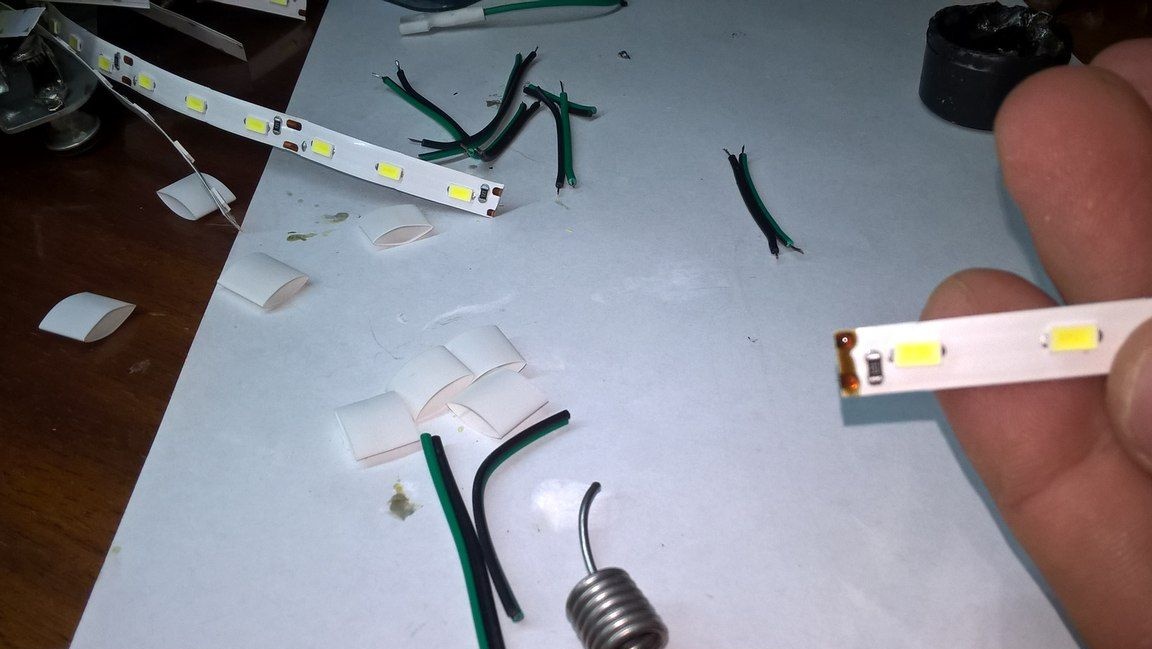
Now you need to cut the LED strip into strips 25 cm long. For this operation, ordinary scissors and a ruler are suitable. There were 10 such strips, which is quite enough.

Step Three
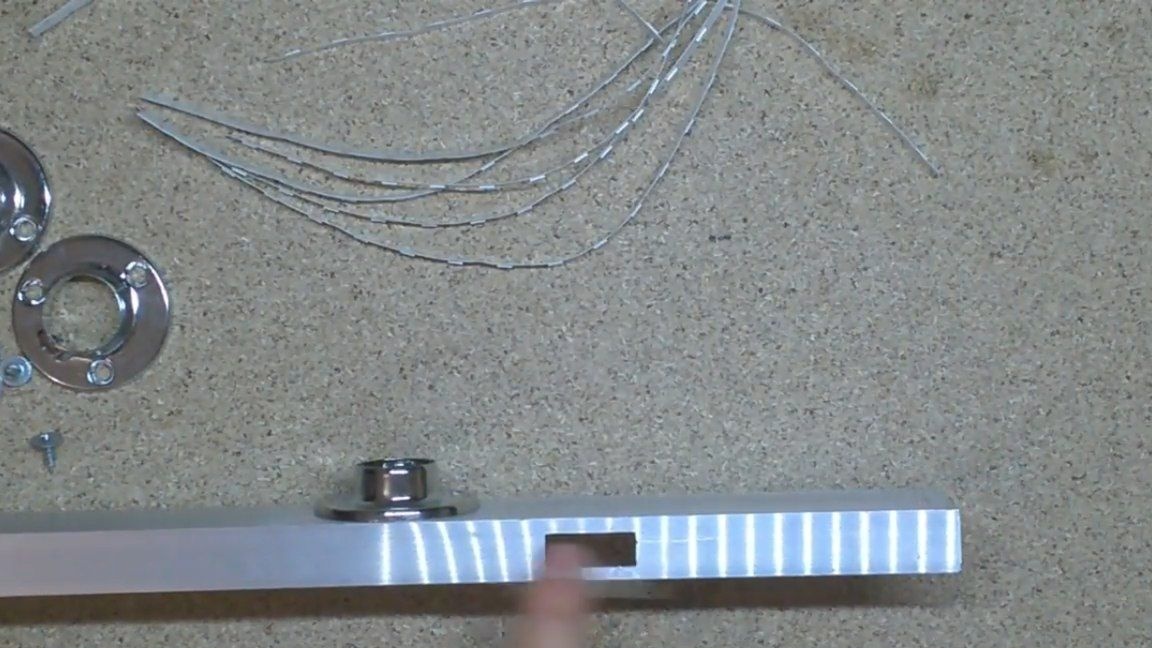
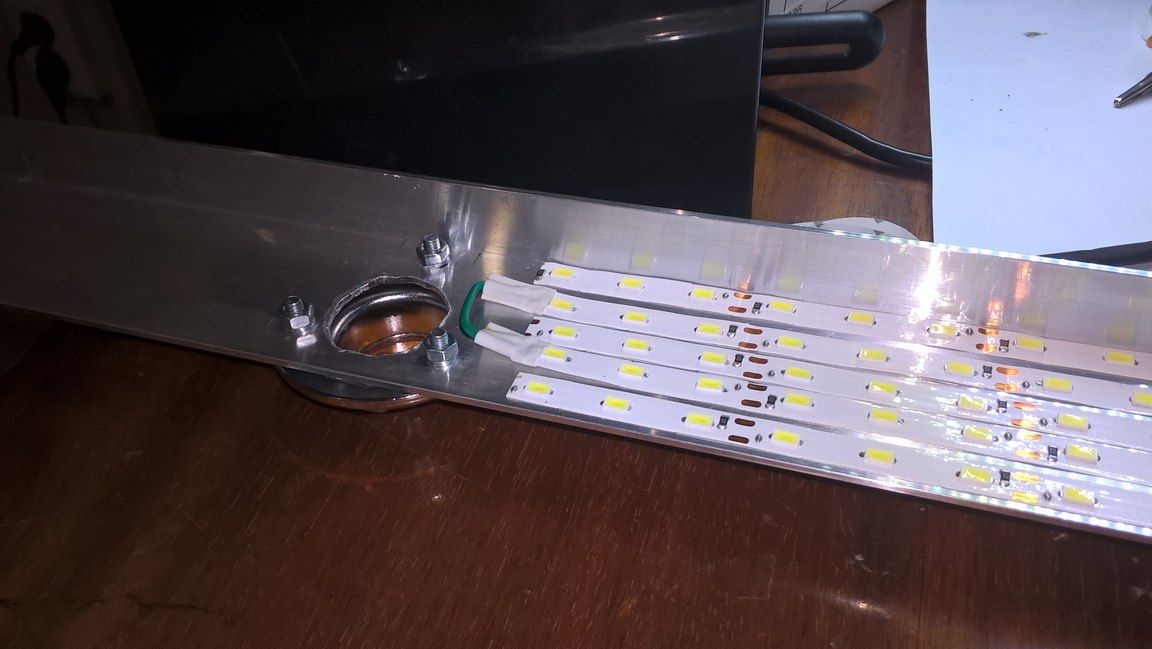
It is too early to glue the tapes, you need to make them a single chain.I connected the tapes so that at one position of the switch only one strip shone, which will be in the middle, and at the second position, 4 strips will shine, which will make it possible to switch between strong and low light. When the switch is in the zero position, which is installed in a rectangular hole in the corner, the lamp will be inactive. We adjust the accuracy of the hole with a file.
Now let's move on to soldering.
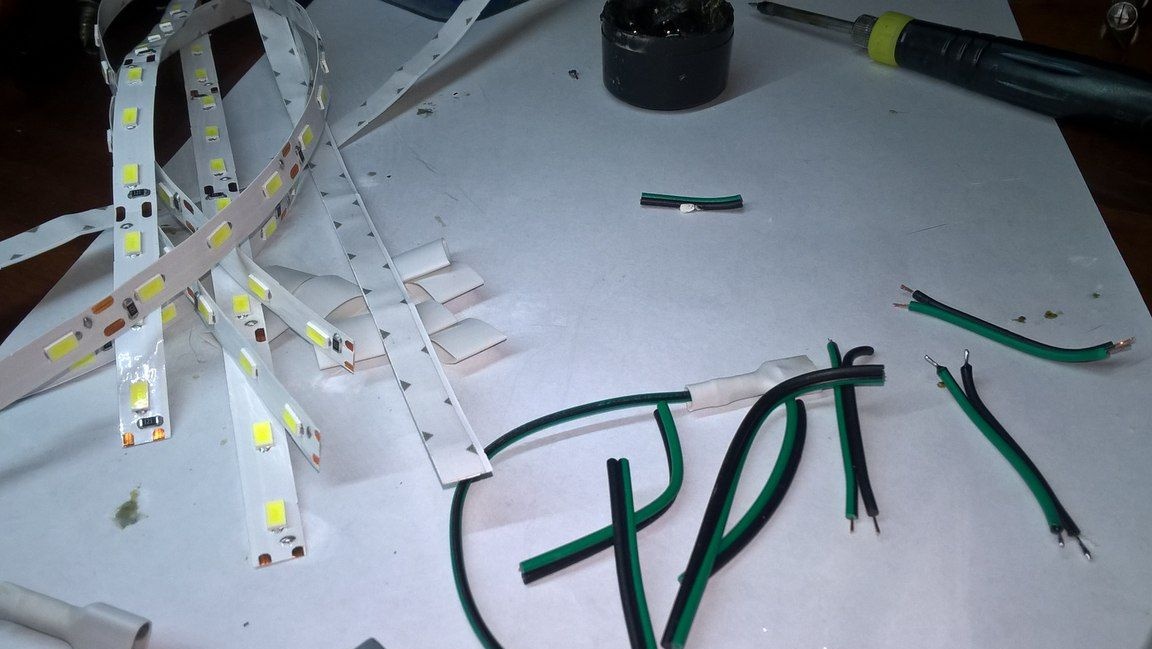
Step Four
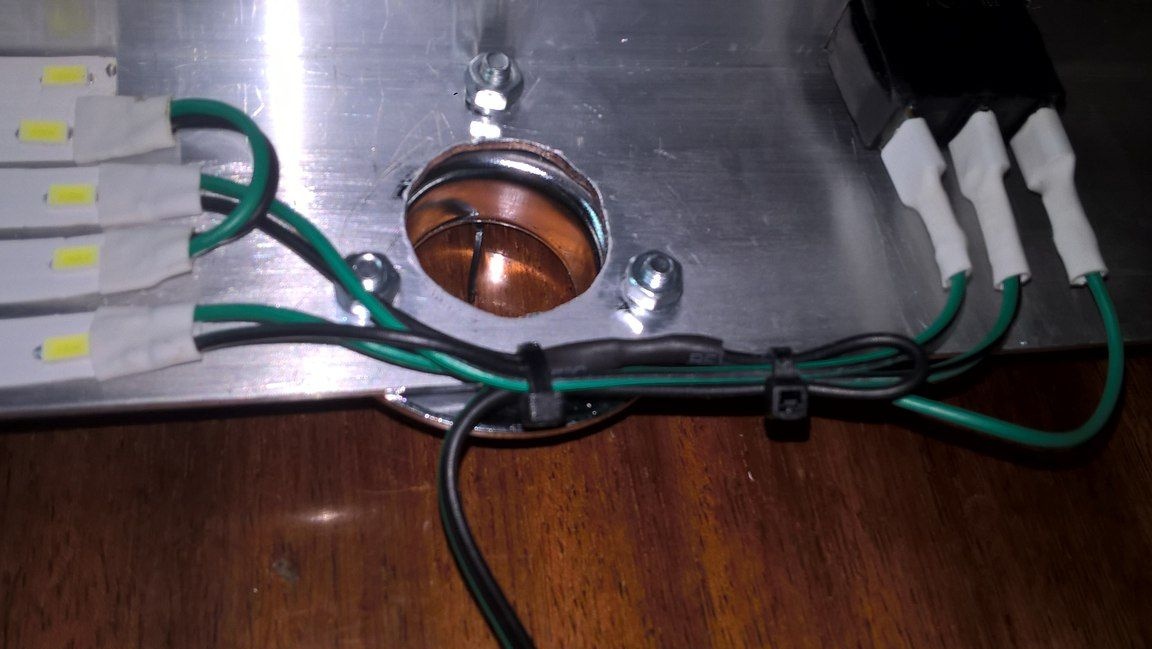
We cut the wires into short segments, tin them and solder them to the tape to connect them into a single whole. Also do not forget to insulate the place of soldering heat shrink.
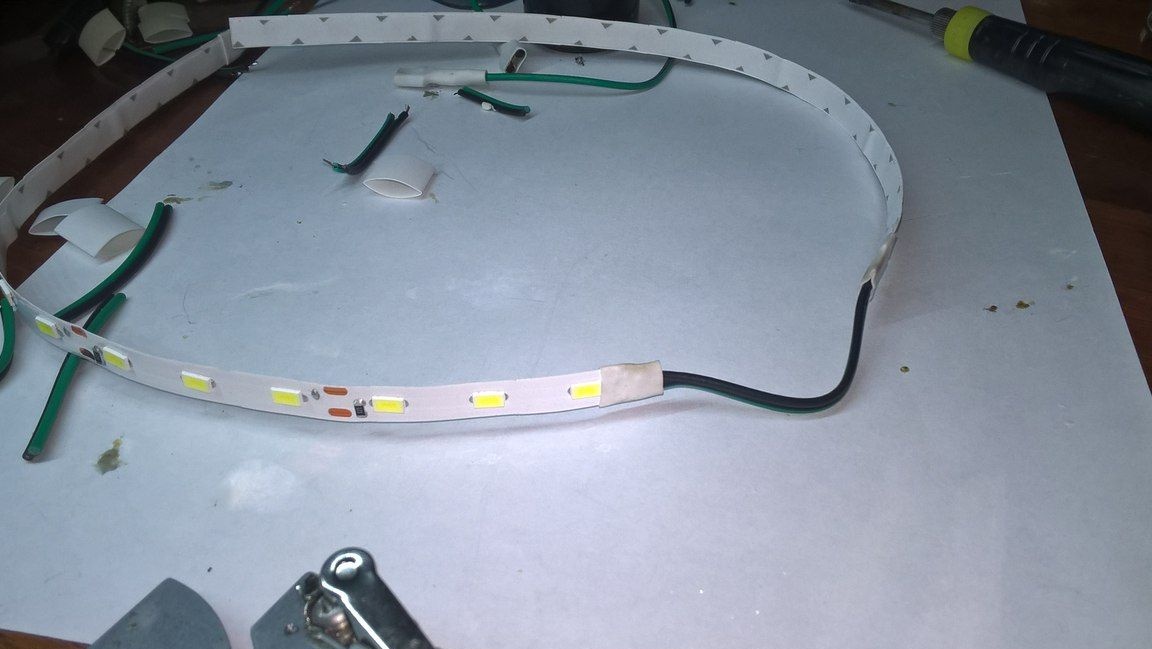
We do the same with the terminals.

After that, we glue the finished tapes on the profile and solder the wires into the break of the switch with the power supply.
Step Five
Well, now it's time to install the pipes in their seats. We fix two pipes in the fasteners with a hexagon, which were previously screwed onto a chipboard sheet. Then we fasten the aluminum profile with the tape and get the finished structure. The advantage of these fasteners is that with them it became possible to adjust the height of the backlight and for one tripod.


The homemade tripod lamp is ready for this. The result is a convenient functional lamp that performs two functions at once, a lamp and a tripod. There is also a convenient tripod and backlight height adjustment at the same time, and two brightness modes, which is also important.
Thank you all for your attention and successful homemade products to you.