
Many of us go camping, get out on campsites, etc. places. At certain times, when we never have to use a tool, it can be a shovel, which needs to be dug up somewhere, dug up something, an ax in order to chop wood, a hammer - to knock down or hammer into them something, in general, they really help us away from civilization. In order not to carry a large set of tools and lighten a backpack, which is not easy without it, the author of this article suggests us to make do it yourself multi-functional assistant, which will include all the most necessary tools, and at the same time will not take up much space. The article will have a detailed description, with a full photo report.
To make a multifunctional tool, we need:
Materials:
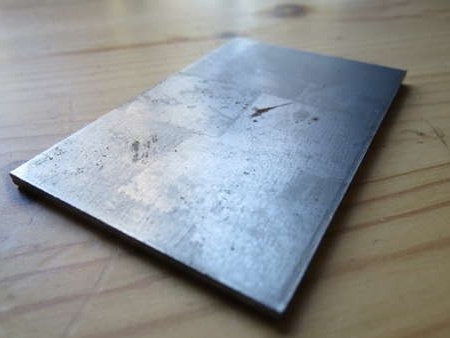
• cold-rolled steel sheet with a thickness of 3 mm;
• 3 mm sheet of plastic;
• steel rod with a diameter of 8 mm;
• steel wire;
• epoxy or superglue;
• black paint.
Instruments:
• welding machine;
• a hacksaw for metal (manual or electric);
• drilling machine;
• milling machine;
• grinder;
• clamps;
• pliers.
Let's start manufacturing.
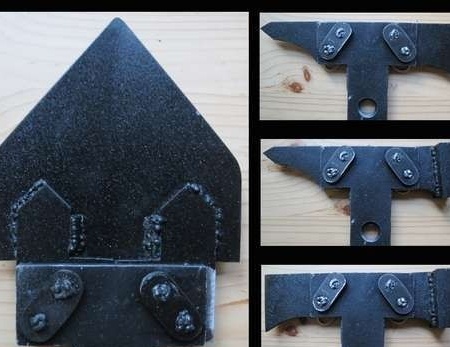
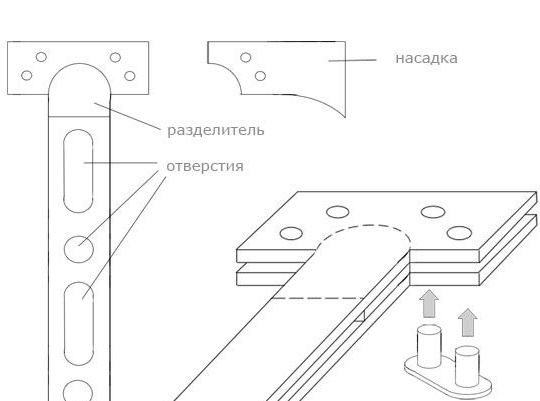
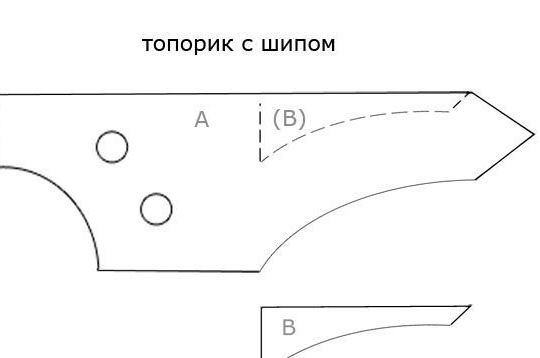
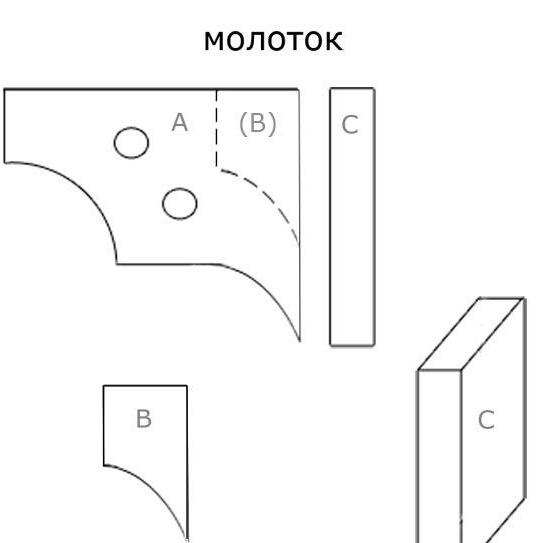
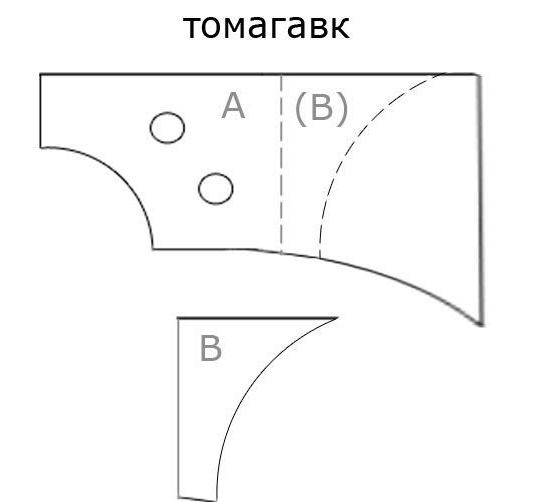
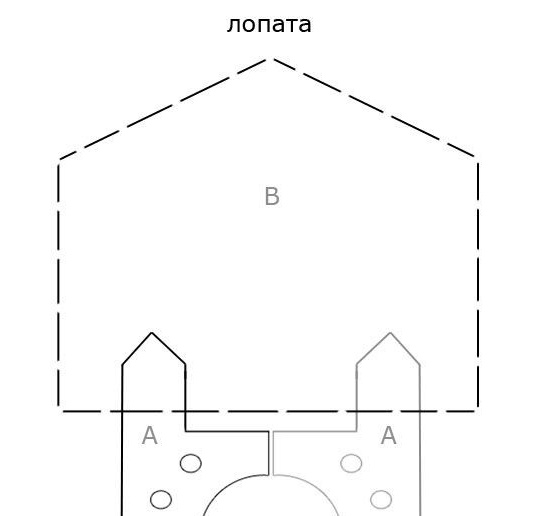
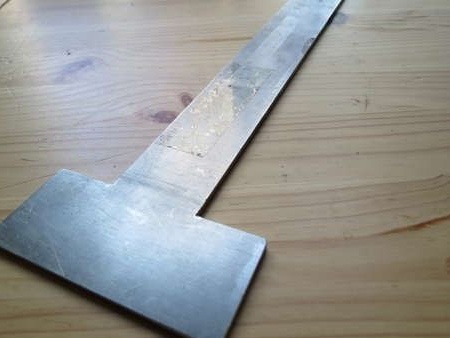
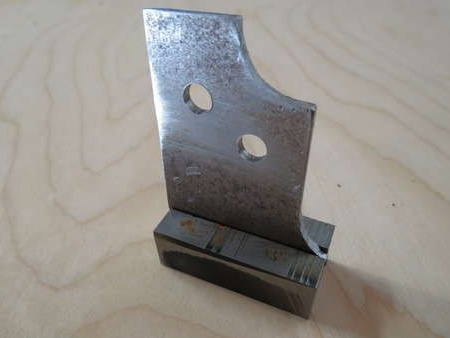
The main elements of the tool will be two T-shaped workpieces, between which the separator will be located. In the resulting gap between the two workpieces, it will be possible in the future to place and fix interchangeable nozzles, they will be held in place by special clamps - these will be plates having two pins in which holes are made for the studs.
For a better understanding, the author gives schematic drawings of the main parts of the tool.
For the manufacture of T-shaped parts, we take a steel sheet 3 mm thick, and cutouts from it two blanks and a separator of the same width. We use a hacksaw for metal or another available specialized tool as a cutting tool.
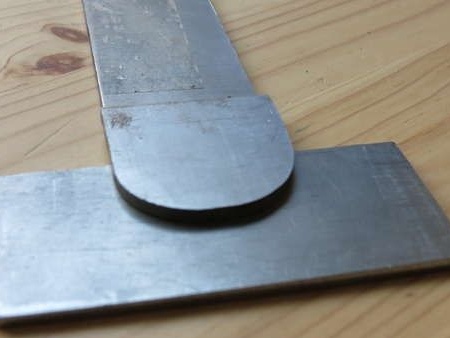
Set the separator close to the working part.
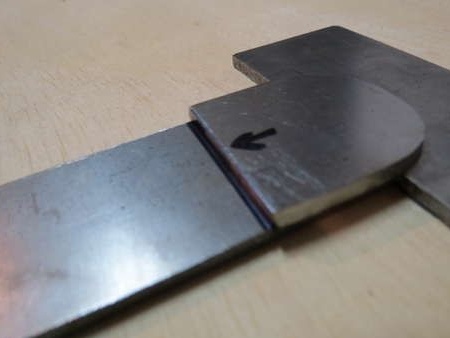
In the gap that we have in the upper part, interchangeable nozzles will be attached in the future. The gap that goes between the two T-shaped plates is covered with a strip of plastic, cut to size, which we fix with glue.
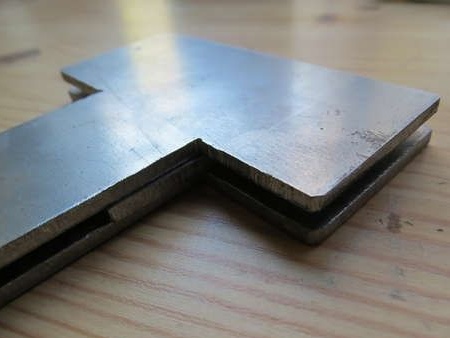
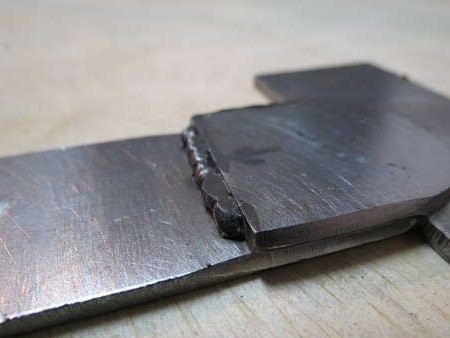
Next, we weld the separator to one workpiece, when everything is ready, we weld the second T-shaped part.
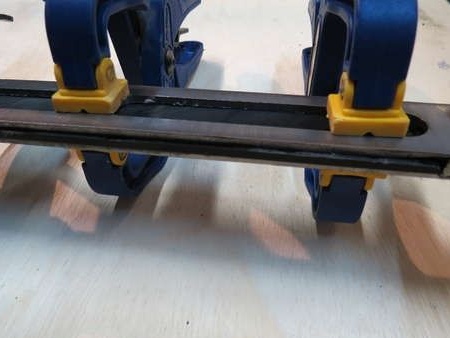
We clean the formed seams with a grinder, then we drill holes for the clamps, the diameter of the holes should correspond to the diameter of the steel bar of your choice. The holes made must be in strictly parallel, most likely you will not be able to drill them with a conventional drill, it is best to use a drilling machine.
Next, according to the drawings, we cut out special interchangeable nozzles, as the material we take the same 33 mm steel sheet. On the cut parts, we slightly round off sharp corners with an emery machine or grinder.
An example of three finished nozzles.
In order to make the holes in the desired parallel, we additionally use clamps, they will fix the parts in place. We use previously drilled holes as guides. We remove the burrs near the holes we made using sandpaper or a file.
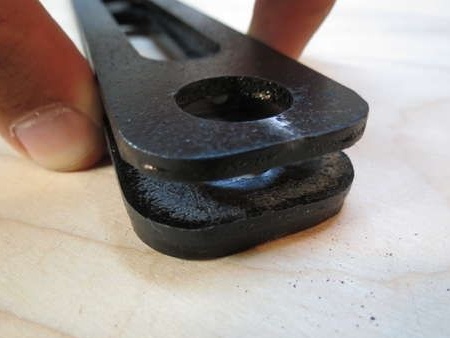
We make the refinement of the handle.
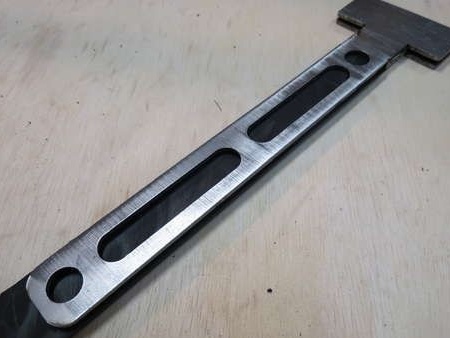
To ensure that the handle is not too heavy, we cut out a few holes in it, thus, the weight of the handle will decrease, for this we use a milling machine.
These cuts shift the center of gravity to the working part, and also make it possible to mount the tool on a hiking backpack or belt.
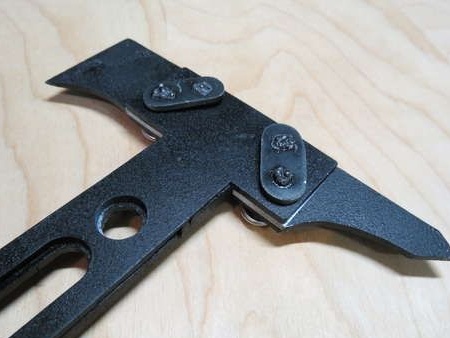
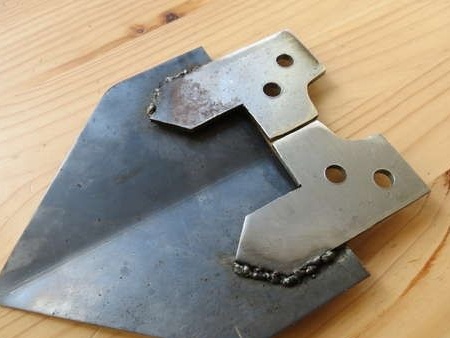
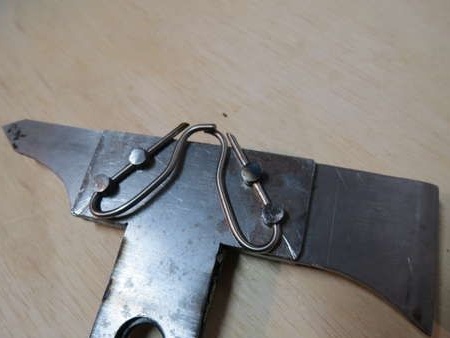
We make special clamps, they will consist of three main parts: a plate, metal bars, a hairpin.
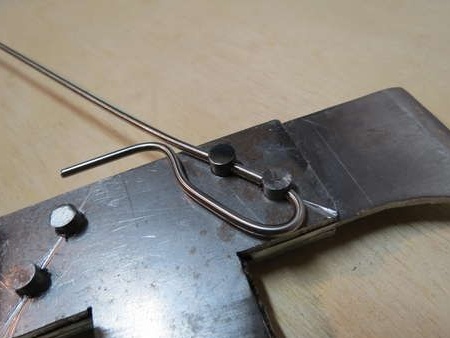
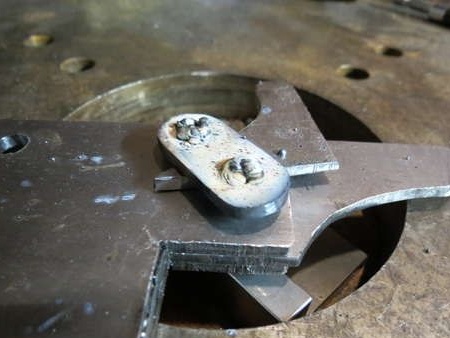
We take a steel rod and cut off four pins from it, each 2 cm long, the resulting pins are welded to the jumper. It is best to weld the pins after they are installed in the hole, then we install the clamps in their place, in which we make the holes for the studs.
The hairpin can be used in the finished version, or you can do it yourself.
If necessary, file the holes made and smooth out the sharp parts.
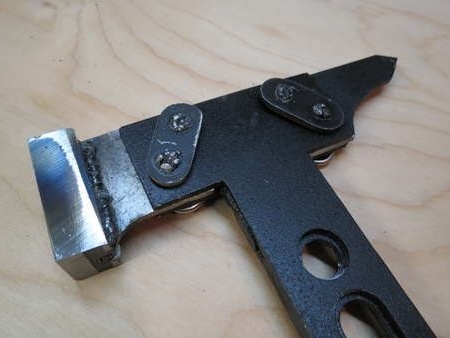
When everything is ready, you can paint. You can use a regular spray can with car paint, or take a special hammer.
In order that the metal edge would not press in our hand, if desired, we braid the handle with a cord.
As a result of all the actions, we get such a multifunctional hiking tool.
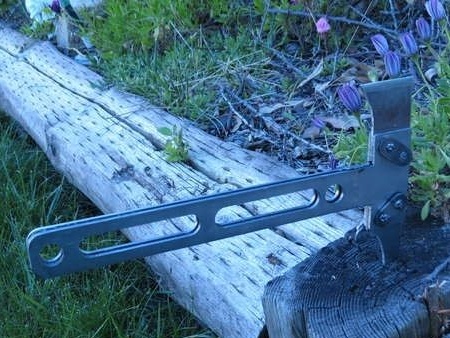
Thank you all for your attention.